
Sweet & Savory: Baking Honey Rye Bread

Welcome to BakeWithEase!
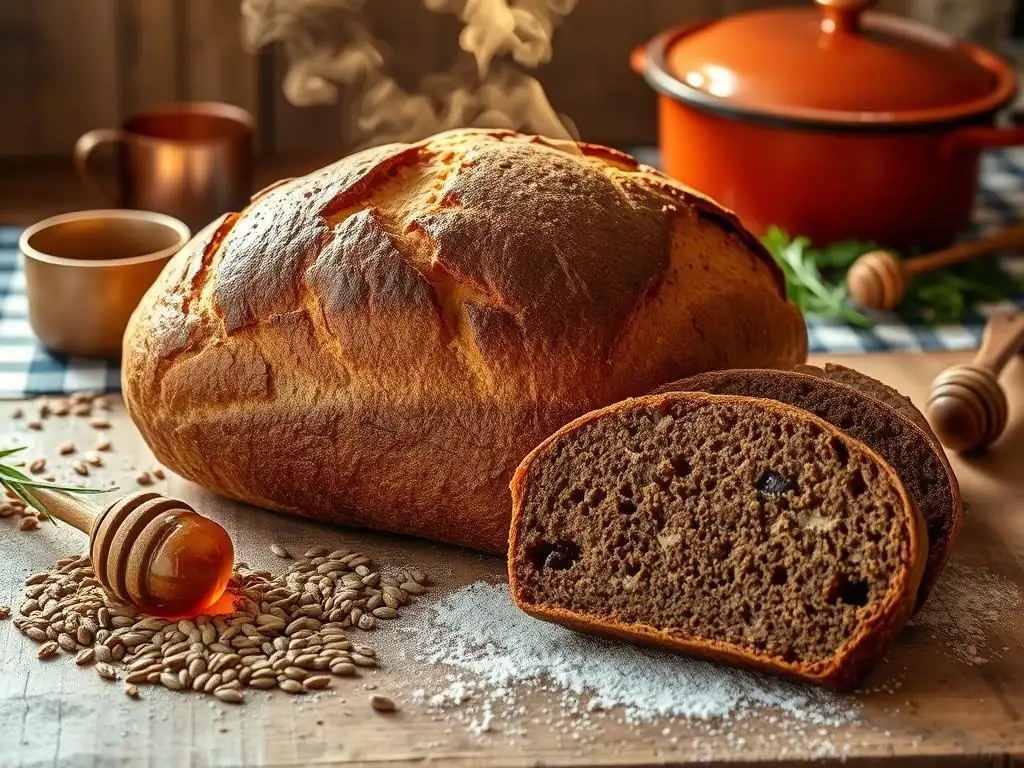
Ever dreamt of pulling a warm, fragrant loaf of bread from your oven, its crust perfectly golden and its aroma filling your home? Unlock the secrets to baking artisan bread at home with our simple, yet satisfying approach. Today, we're diving into the world of bread baking with our featured honey rye bread recipe. Discover how easy it is to create this sweet and savory delight, and prepare to impress your friends and family. Intrigued? Keep reading to uncover the step-by-step guide and baking tips for a truly unforgettable bread experience.
- Rustic Charm: Baking a Caraway Rye Bread
- From Our Kitchen to Yours: The Ultimate Caraway Rye Bread Recipe
- Understanding the Appeal of Caraway Rye Bread
- Mastering the Caraway Rye Bread Recipe: A Step-by-Step Guide
- Tips and Tricks for Perfect Caraway Rye Bread
- Storing Your Homemade Caraway Rye Bread
- Why Bake Caraway Rye Bread? A Recap
-
Frequently Asked Questions
- What makes a Honey Rye Bread recipe different from other bread recipes?
- What are the key ingredients needed for the BakeWithEase Honey Rye Bread recipe?
- Is this Honey Rye Bread recipe suitable for beginner bakers?
- How can I tell if my Honey Rye Bread is properly proofed?
- What are some serving suggestions for Honey Rye Bread?
- Final Reflection: The Enduring Allure of Honey Rye
- Unleash Your Inner Baker: Craft the Perfect Honey Rye!
Rustic Charm: Baking a Caraway Rye Bread
From Our Kitchen to Yours: The Ultimate Caraway Rye Bread Recipe
Elevate Your Baking: Discover the Delight of Homemade Caraway Rye Bread
There's a unique satisfaction that comes from pulling a warm, fragrant loaf of bread from your oven, especially one with the distinctive aroma of caraway and rye. Baking caraway rye bread at home allows you to control the quality of ingredients, tailor the texture to your liking, and avoid the additives often found in commercial loaves. It's a rewarding process that transforms simple flour, water, yeast, and seeds into a complex and flavorful bread, perfect for sandwiches, toast, or simply enjoyed with butter.
Mastering a caraway rye bread recipe is an accessible goal for bakers of all levels. While it might seem daunting at first, breaking down the process into manageable steps reveals the simplicity at its heart. The journey from raw ingredients to a beautiful, crusty loaf is incredibly fulfilling, offering not just delicious results but also a deeper connection to the food you eat. Let's embark on this baking adventure together and create a caraway rye bread that will impress everyone who tries it.
Understanding the Appeal of Caraway Rye Bread
What Makes Caraway Rye Bread Special? A Flavor Profile
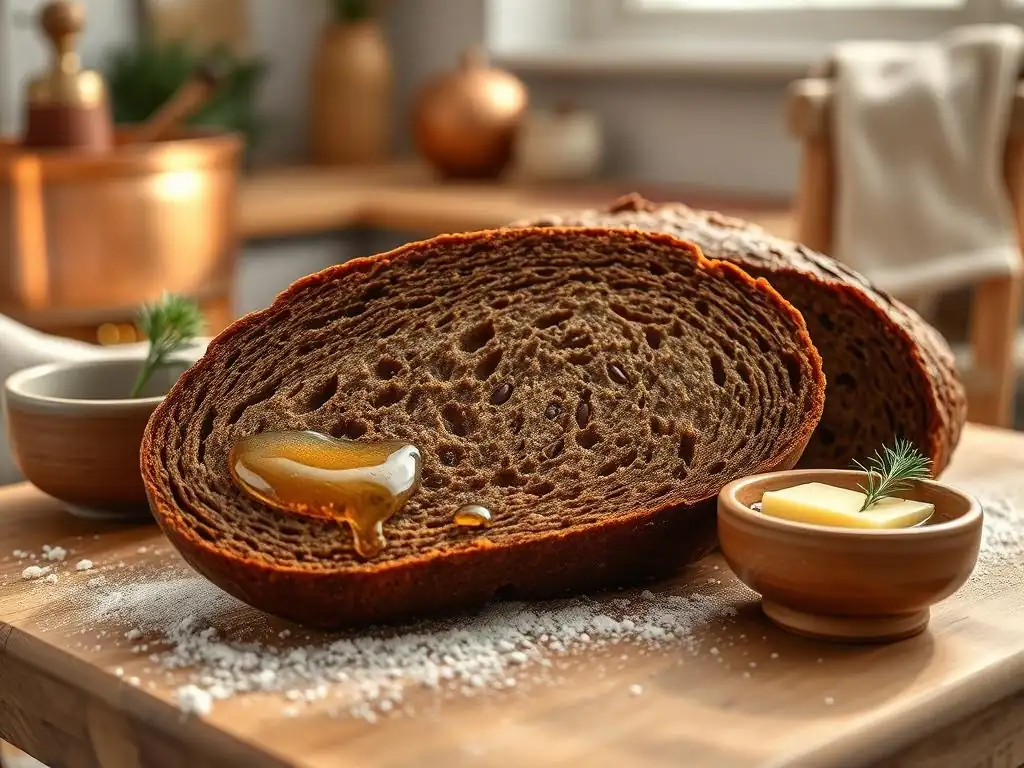
Caraway rye bread stands out in the world of baking due to its specific, assertive flavor profile. Unlike standard white or wheat breads, rye flour contributes a dense crumb and a slightly tangy, earthy taste. This distinct base is then elevated by the addition of caraway seeds, which provide a warm, slightly peppery, and anise-like note that is instantly recognizable. This combination creates a bread that is both hearty and aromatic, offering a more complex sensory experience than many other types of bread.
The flavor isn't the only appeal; the texture is also unique. Depending on the proportion of rye flour used, the bread can range from moderately dense with a tight crumb to very dense and moist. This texture, combined with the robust flavor, makes caraway rye bread an excellent companion for strong cheeses, cured meats, or hearty soups. It's a bread that holds its own and adds character to any meal it accompanies.
The Perfect Combination: Peppery Caraway and Earthy Rye
The synergy between caraway seeds and rye flour is what defines this classic bread. Rye flour, especially darker varieties, imparts a deep, slightly sour note and contributes to a moist, compact crumb structure because it contains less gluten-forming protein than wheat flour. This earthiness provides a sturdy foundation for the vibrant flavor of caraway.
Caraway seeds, often mistaken for cumin, have a distinct taste profile – warm, slightly bitter, and with hints of citrus and anise. When baked, these flavors bloom, infusing the entire loaf with their characteristic zest. Without the caraway, it would simply be rye bread; without the rye, caraway wouldn't have the earthy, slightly tangy backdrop that makes this bread so beloved. This partnership is a testament to how two distinct ingredients can combine to create something truly special.
Mastering the Caraway Rye Bread Recipe: A Step-by-Step Guide
Ingredients for Your Caraway Rye Bread
Essential Ingredients for Authentic Caraway Rye Flavor
-
Rye Flour: Choosing Light, Medium, or Dark Rye
Rye flour significantly impacts the final loaf's color, flavor, and texture. Light rye flour results in a lighter, less dense loaf with a milder flavor. Medium rye offers a good balance, while dark rye flour, milled from the whole rye berry including the bran and germ, yields a dense, dark, and intensely flavored bread. For a classic caraway rye bread recipe, a blend of medium rye and bread flour is often used to balance flavor and structure.
-
Bread Flour: Providing Structure and Gluten Development
Since rye flour is lower in gluten, bread flour (which has a higher protein content than all-purpose flour, typically around 12-14%) is crucial for providing the necessary structure and rise. The gluten developed from the bread flour helps trap the gases produced by the yeast, preventing the loaf from being excessively dense and giving it a desirable crumb structure.
-
Caraway Seeds: The Signature Flavor Component
These small, crescent-shaped seeds are non-negotiable for a traditional caraway rye bread recipe. They can be used whole, lightly toasted to enhance their aroma, or even slightly crushed. A typical recipe might call for 1 to 2 tablespoons of seeds per standard loaf, though you can adjust this amount based on your preference for intensity.
-
Yeast: Instant or Active Dry Yeast Options
Both instant yeast and active dry yeast work well for this bread. Instant yeast can usually be mixed directly into the dry ingredients, while active dry yeast often requires blooming in warm water first. The quantity needed will depend on the recipe and desired proofing time, but typically ranges from 1 to 2 teaspoons for a loaf.
-
Water: Achieving the Ideal Dough Hydration
Water hydrates the flour, activates the yeast, and allows gluten development. The exact amount of water needed can vary based on the type of flour used and environmental humidity, but rye doughs often require a higher hydration percentage than wheat doughs due to rye flour's higher pentosan content (which absorbs more water). Using warm water (around 95-105°F or 35-40°C) helps activate the yeast.
-
Salt: Enhancing Flavor and Controlling Yeast Activity
Salt is vital for flavor and also plays a role in regulating yeast activity and strengthening the gluten structure. Too little salt results in a bland loaf with potentially uncontrolled rising, while too much can inhibit yeast and lead to a tough texture. Kosher or sea salt is often preferred for its pure flavor; about 1.5% to 2% of the total flour weight is a common ratio.
-
Molasses: Adding Depth and Color (Optional)
Molasses is a traditional addition to many rye bread recipes. It contributes a subtle sweetness, a darker color, and a rich, slightly tangy depth of flavor that complements the rye and caraway beautifully. A tablespoon or two is usually sufficient and makes a noticeable difference in the final loaf's character.
Preparing the Caraway Rye Bread Dough: A Detailed Process
Step 1: Activating the Yeast and Creating the Preferment [Detailed instructions for a Poolish or Biga]
Using a preferment like a poolish (equal parts flour and water by weight, plus a tiny amount of yeast) or a biga (a stiffer preferment with less water than flour) significantly enhances the flavor and texture of rye bread. To create a poolish, whisk together 100g of rye or bread flour with 100g of warm water and a pinch (about 0.1g) of instant yeast in a medium bowl. Cover loosely and let it sit at room temperature for 12-16 hours, or until bubbly and slightly collapsed.
This slow fermentation develops complex flavors. If using a biga, combine 100g flour, 60g water, and a pinch of yeast; it will be much stiffer and may take slightly longer. This step is crucial for a truly flavorful caraway rye bread recipe.
Step 2: Mixing the Dough: Incorporating Ingredients for Optimal Texture [Detailed instructions including autolyse]
In a large mixing bowl or the bowl of a stand mixer, combine the preferment with the remaining water, rye flour, bread flour, caraway seeds, molasses (if using), and yeast (if not all yeast was in the preferment). Mix on low speed or with a wooden spoon until just combined and no dry flour remains. At this point, let the dough rest for 20-30 minutes.
This resting period, known as the autolyse, allows the flour to fully hydrate and the gluten to begin developing without the interference of salt or vigorous mixing. After the autolyse, add the salt and continue mixing.
Step 3: Kneading the Dough: Developing Gluten Strength and Structure [Detailed instructions for windowpane test]
Kneading develops the gluten network, which gives the bread its structure. Knead the dough on a lightly floured surface by hand or using a stand mixer with a dough hook. Rye dough can be stickier than wheat dough, so avoid adding too much extra flour.
Knead for about 8-10 minutes by hand or 6-8 minutes in a mixer until the dough is smoother and more elastic. To test for sufficient gluten development, perform the windowpane test: carefully stretch a small piece of dough; if it can be stretched thin enough to see light through it without tearing, the gluten is well-developed. If it tears easily, continue kneading for a few more minutes and test again.
Step 4: First Proofing: Allowing the Dough to Rise and Develop Flavor [Detailed instructions for bulk fermentation]
The first proofing, or bulk fermentation, is where the dough rises and develops significant flavor. Lightly oil a large bowl. Place the kneaded dough in the bowl, turning it to coat all sides with oil. Cover the bowl tightly with plastic wrap or a damp kitchen towel.
Let the dough rise in a warm place (around 75-80°F or 24-27°C) for 1.5 to 2 hours, or until it has nearly doubled in size. The exact time will vary based on room temperature and yeast activity. This slow rise is essential for the characteristic taste of a great caraway rye bread recipe. During this time, you can perform one or two "stretch and folds" in the first hour to further strengthen the dough.
Shaping and Baking Your Caraway Rye Bread
Shaping Techniques for a Classic Loaf [Round boule, oblong loaf, or braided]
Once the bulk fermentation is complete, gently turn the dough out onto a lightly floured surface. For a round boule, gently pull the edges of the dough towards the center, flipping it over and cupping your hands around the dough to create surface tension as you rotate it. For an oblong loaf (batard), flatten the dough slightly into a rectangle, fold the top edge down about two-thirds, then fold the bottom edge up over the first fold.
Pinch the seam shut and gently roll the loaf to even out the shape. You could also attempt a simple braid with three strands of dough for a decorative loaf. Handle the dough gently to avoid degassing it completely.
Second Proofing: Ensuring a Light and Airy Texture Before Baking [Detailed instructions for final proof]
The second proofing, or final proof, allows the shaped loaf to rise again before baking. Place the shaped loaf into a prepared proofing basket (banneton) or on a baking sheet lined with parchment paper. If using a banneton, heavily flour it with rice flour (which doesn't absorb into the dough) or a mix of rice and rye flour. Cover the loaf loosely with plastic wrap or a light kitchen towel to prevent a skin from forming.
Let it rise at room temperature for 45-75 minutes, or until it looks visibly puffy and has increased by about 50-75%. You can perform the "poke test": gently press a finger into the dough; if the indentation springs back slowly, it's ready. If it springs back immediately, it needs more time. If it stays indented completely, it might be over-proofed.
Baking the Bread: Achieving a Deep Brown Crust and Internal Temperature [Detailed instructions including scoring]
Preheat your oven to a high temperature, typically 450-475°F (230-245°C), with a baking stone or Dutch oven inside for at least 30-60 minutes. For a crusty loaf, steam is essential in the first part of baking. If using a baking stone, you can create steam by placing a pan of water or ice cubes on the bottom rack of the oven just before loading the bread. If using a Dutch oven, the lid traps the bread's own steam.
Before baking, score the top of the loaf with a sharp razor blade or lame. This allows the bread to expand predictably as it bakes. Bake for 20 minutes covered (if using a Dutch oven) or with steam, then remove the lid/steam source and continue baking for another 20-30 minutes, or until the crust is deep golden brown and the internal temperature reaches 200-210°F (93-99°C) with an instant-read thermometer.
Cooling and Slicing: Allowing the Bread to Set Before Enjoying [Detailed instructions for preventing gummy texture]
This is a critical step often overlooked! Once baked, immediately transfer the bread to a wire cooling rack. It is essential to let the bread cool completely, for at least 1-2 hours, before slicing. As the bread cools, steam continues to escape, and the internal structure sets. Slicing a warm loaf of caraway rye bread will result in a gummy, dense texture because the starches haven't finished their transformation. While the aroma is tempting, patience here is key to enjoying the perfect crumb and texture you worked hard to achieve with your caraway rye bread recipe.
Tips and Tricks for Perfect Caraway Rye Bread
Achieving a Crispy Crust: Secrets to a Golden Exterior
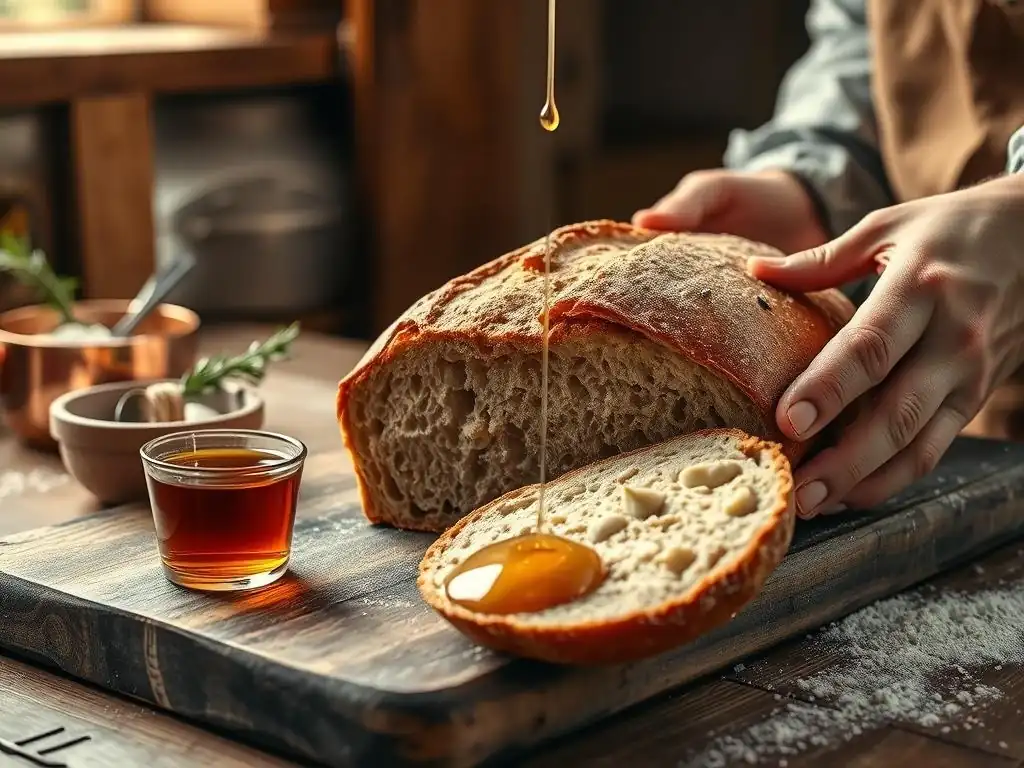
A crispy crust is one of the hallmarks of a great artisan loaf. The key to achieving this lies in providing sufficient steam during the initial phase of baking. Steam keeps the surface of the dough moist, allowing it to expand fully before the crust hardens. This results in a thinner, crispier crust rather than a thick, tough one. Baking in a preheated Dutch oven is one of the simplest ways to achieve this, as the lid traps moisture released by the dough.
If you don't have a Dutch oven, you can replicate this effect using a baking stone or steel and a steam pan. Place a metal tray on the bottom rack of your oven while preheating. Just before you load the bread, carefully pour a cup of hot water or a handful of ice cubes into the hot tray.
Close the oven door quickly to trap the steam. Alternatively, you can mist the inside of the oven walls with a spray bottle just after loading the bread, repeating once or twice in the first 10 minutes, though this is less effective than a dedicated steam source.
Troubleshooting Common Baking Problems [Dense crumb, tough crust, or uneven shape]
Encountering issues is part of the baking journey, especially with a caraway rye bread recipe. A dense crumb is often a sign of insufficient gluten development (not enough kneading), under-proofing (not enough rise time), or over-proofing (the dough rose too much and collapsed). Ensure you knead adequately, watch the dough's volume during proofing, and perform the poke test. A tough crust usually indicates a lack of steam during baking.
Review the steam methods discussed earlier. An uneven shape can result from inconsistent shaping techniques or placing the loaf on an uneven surface for the final proof. Practice shaping and use a well-floured banneton or a baking sheet with strong sides if needed. Don't be discouraged by early attempts; baking improves with practice!
Variations on the Caraway Rye Bread Recipe
Adding Onion Flakes for Extra Flavor [Dried or toasted onion flakes]
For an even more savory twist on your caraway rye bread recipe, consider adding onion flakes. You can mix 1-2 tablespoons of dried onion flakes directly into the dough during the initial mixing stage. For a richer, deeper flavor, lightly toast the dried onion flakes in a dry pan over medium heat for a few minutes until fragrant before adding them to the dough. This variation creates a loaf reminiscent of classic deli rye bread, pairing wonderfully with pastrami or smoked salmon.
Incorporating a Sourdough Starter for Tang [Converting recipe to sourdough]
If you're a sourdough enthusiast, you can easily convert this caraway rye bread recipe. Replace the yeast and preferment with a portion of active rye or wheat sourdough starter. A common ratio is to use starter equal to about 20-30% of the total flour weight, adjusting the water and flour in the main dough to account for the starter's hydration.
The bulk fermentation and final proofing times will be longer, typically 4-6 hours for the first rise and 2-3 hours for the second, depending on your starter's activity and room temperature. This adds a delightful tang that complements the caraway and rye beautifully.
Swirling Marble Rye: Combining Light and Dark Rye Doughs [Creating a visually appealing loaf]
Marble rye is a visually stunning variation that is surprisingly simple to achieve. Prepare two separate doughs: one using light rye flour and the standard caraway rye bread recipe, and a second dough using dark rye flour and adding a bit of cocoa powder or dark molasses for extra color. After the first proofing, gently divide each dough into a few pieces, roughly flatten them, and layer the light and dark pieces alternately.
Gently twist or fold the layered dough a few times to create swirls, then shape the loaf. This technique results in a beautiful marbled pattern when sliced, offering a slightly different flavor profile depending on which part of the slice you're tasting.
Storing Your Homemade Caraway Rye Bread
Maintaining Freshness: Proper Storage Techniques
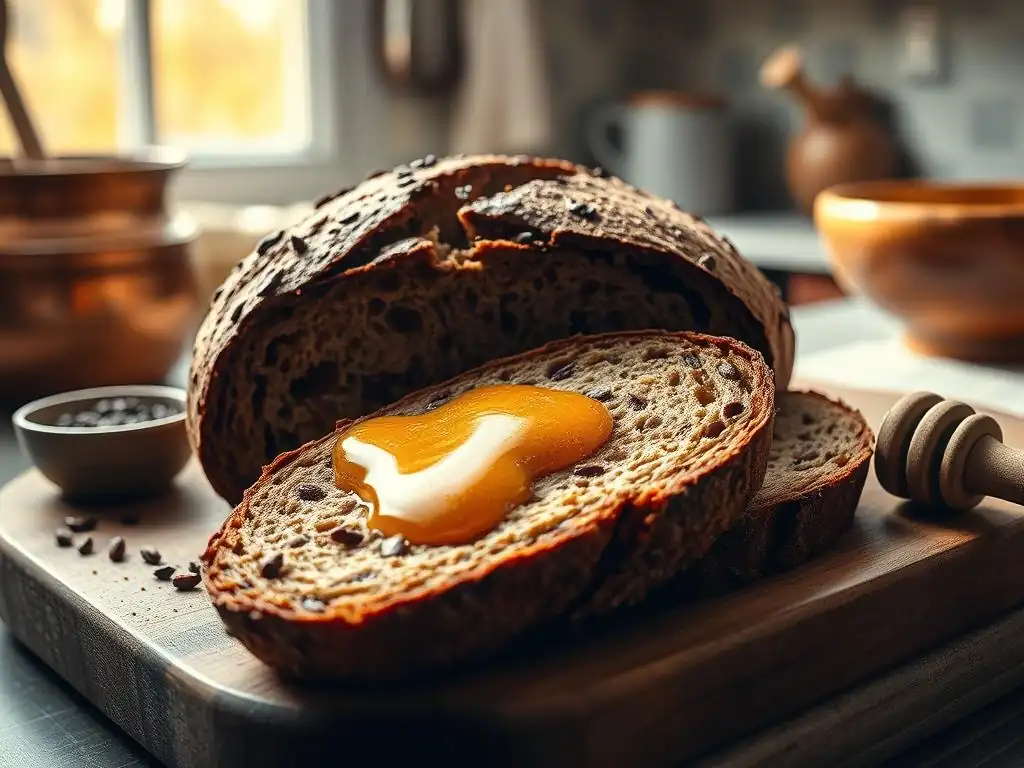
To keep your homemade caraway rye bread fresh, proper storage is key. Once completely cooled, store the loaf at room temperature. Avoid refrigerating bread, as it tends to dry out and become stale faster due to a process called starch retrogradation, which happens quickly in cool temperatures. The best method is to wrap the bread tightly in plastic wrap, beeswax wrap, or place it in a clean paper bag inside a bread box. A paper bag will help maintain a crispier crust, while plastic wrap keeps the interior softer. A well-stored loaf can last 3-4 days at room temperature.
Freezing Caraway Rye Bread for Long-Term Preservation
If you won't finish the loaf within a few days, freezing is an excellent option for long-term preservation. Ensure the bread is completely cooled. You can freeze the entire loaf or slice it first. Slicing before freezing allows you to thaw only what you need. Wrap the bread tightly in plastic wrap, then place it in a freezer-safe bag or wrap again in aluminum foil.
Proper wrapping prevents freezer burn. Frozen caraway rye bread can maintain its quality for up to 2-3 months. To thaw, simply unwrap (if freezing a whole loaf) and let it sit at room temperature, or take out individual slices as needed. You can refresh a whole thawed loaf by warming it in a moderate oven for 10-15 minutes.
Why Bake Caraway Rye Bread? A Recap
The Satisfaction of Baking: Crafting Delicious Bread at Home
Baking caraway rye bread is more than just following a caraway rye bread recipe; it's a deeply satisfying creative process. From mixing the dough and watching it transform during fermentation to the incredible aroma filling your kitchen as it bakes, each step offers a sense of accomplishment. Holding the warm, rustic loaf you made yourself is a simple pleasure that connects you to the age-old tradition of bread making. It's a delicious way to nourish yourself and your loved ones with wholesome, homemade goodness.
We love seeing what you bake! Once you've mastered this caraway rye bread recipe, snap a photo of your beautiful loaf and share it with the BakeWithEase community. Let us know what variations you tried or any tips you discovered along the way. Your baking successes (and even the learning moments!) inspire others to get into the kitchen and start their own bread-making journey. Happy baking!
Frequently Asked Questions
What makes a Honey Rye Bread recipe different from other bread recipes?
Honey Rye Bread utilizes both rye flour and honey as key ingredients. These additions contribute to a distinct flavor profile and texture not found in typical white or wheat breads.
What are the key ingredients needed for the BakeWithEase Honey Rye Bread recipe?
The recipe requires ingredients like rye flour, bread flour, honey, yeast, water, salt, and often caraway seeds for added flavor. Specific quantities are detailed in the recipe itself.
Is this Honey Rye Bread recipe suitable for beginner bakers?
While baking bread can be intimidating, our BakeWithEase recipe is designed with step-by-step instructions and easy-to-find ingredients, making it accessible for beginners.
How can I tell if my Honey Rye Bread is properly proofed?
The dough should double in size during proofing. You can also gently press the dough; if the indentation slowly springs back, it's likely ready to bake.
What are some serving suggestions for Honey Rye Bread?
Honey Rye Bread is delicious on its own, toasted with butter, or used for sandwiches. It pairs well with savory toppings like cheese, deli meats, and pickled vegetables.
Final Reflection: The Enduring Allure of Honey Rye
The simple act of baking honey rye bread connects us to a rich culinary history while simultaneously offering a deeply satisfying present-day experience. This seemingly straightforward recipe, explored throughout this article, transcends mere instruction; it's a journey into the heart of flavor, texture, and the comforting ritual of creating something delicious from scratch. The enduring appeal of honey rye, with its complex sweetness and hearty texture, speaks to a timeless human desire for both nourishment and pleasure.
The subtle interplay of sweet and savory in honey rye bread reflects a broader cultural shift towards embracing nuanced flavors and appreciating the artistry of baking. It's a testament to the power of simple ingredients to create something extraordinary. This recipe, for me, represents more than just a culinary endeavor; it's a connection to generations past who perfected this balance of flavors, and a legacy I hope to continue sharing. The best things in life are simple,
a sentiment that perfectly encapsulates the essence of this humble yet magnificent loaf.
Now, I invite you to step away from the screen, gather your ingredients, and embark on your own honey rye baking adventure. Don't be afraid to experiment, to adjust the recipe to your own taste, and to savor the process as much as the final product.
The warmth of the oven, the intoxicating aroma filling your kitchen, and the sheer satisfaction of creating something delicious with your own hands – these are the rewards that await you. Let the simple act of baking honey rye bread be a reminder of the enduring power of tradition, the joy of creation, and the simple pleasures that enrich our lives.
Unleash Your Inner Baker: Craft the Perfect Honey Rye!
Thanks for joining us on this baking adventure! We hope you've gained the confidence and knowledge to tackle this delicious honey rye recipe. Ready to take your baking skills to the next level?
- Bake your own loaf today! Use the recipe as your guide and experiment with different flours or add-ins. Let your creativity shine!
- Share your baking journey! Post a picture of your finished loaf on social media and tag us – we'd love to see your creation.
- Explore our other bread recipes: Discover new flavors and techniques to expand your baking repertoire.
What unique twist will you add to your next honey rye loaf?