
Why Did My Bread Collapse? Bread Machine Baking Tips & Tricks

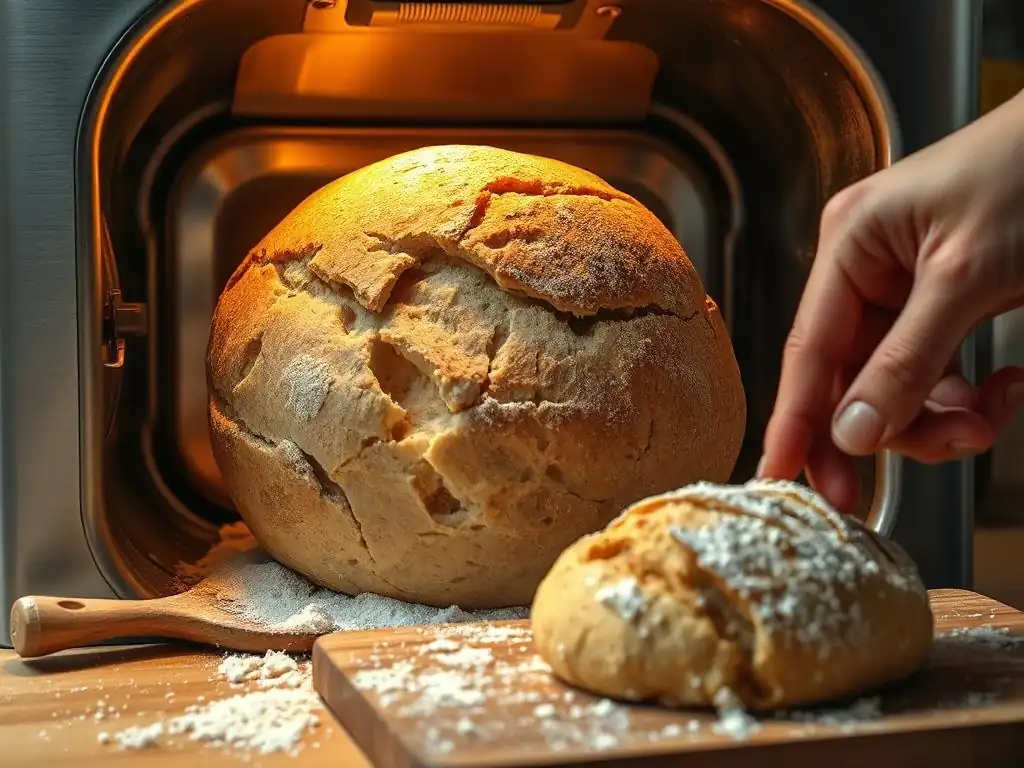
Welcome to BakeWithEase, your haven for baking mastery! Ever wondered why your bread machine creation resulted in a collapsed dough disaster? You're not alone! Dive into our guide to uncover the secrets behind achieving that perfect loaf, avoiding common pitfalls, and mastering the art of bread machine baking. Get ready to troubleshoot, learn, and bake with confidence!
- Understanding Bread Machine Dough Collapse
- Common Causes of Bread Machine Dough Collapse
- Bread Machine Baking Troubleshooting: Preventing Dough Collapse
- Bread Machine Baking Tips & Tricks for Strong Bread
- Bread Machine Collapsed Dough Fix: Step-by-Step Solutions
- Avoiding Bread Machine Baking Mistakes: A Summary Checklist
- Frequently Asked Questions
- Final Reflection: The Triumphant Rise (and Fall, and Rise Again!) of Bread Machine Baking
- Unleash Your Inner Baker: Perfect Loaves Await!
Understanding Bread Machine Dough Collapse
One of the most disheartening sights for any baker, especially when using a bread machine, is seeing a beautifully risen loaf deflate or collapse during the final stages of the cycle. This phenomenon, often resulting in a dense, sunken loaf, is typically referred to as dough collapse. It happens when the gluten structure within the dough, responsible for holding the air pockets created by yeast fermentation, becomes too weak to support the volume achieved during the final rise.
Understanding the mechanics behind this is key to preventing it. During the bread machine cycle, the dough undergoes kneading, rising (proofing), and baking. Yeast produces carbon dioxide gas, causing the dough to expand.
The gluten network, formed when flour and liquid are mixed and kneaded, traps this gas. If this network is compromised – either too weak from the start or weakened by excessive rising – it can no longer hold the gas, leading to a dramatic deflation, often right before or during the early part of the baking phase. Identifying the root cause is the first step to a successful bread machine collapsed dough fix.
Common Causes of Bread Machine Dough Collapse
Too Much Liquid: Impact on Dough Structure
Adding too much liquid is a very common culprit behind a collapsed loaf in a bread machine. Bread dough requires a specific ratio of liquid to flour (hydration level) to develop properly. While sufficient liquid is necessary for gluten formation and yeast activity, excess liquid results in a slack, sticky dough that lacks the necessary structural integrity.
Consider a typical white bread recipe using 3 cups (about 360g) of all-purpose flour. A standard hydration might be around 65%, meaning you'd use about 234g (roughly 1 cup) of liquid. If you accidentally add an extra 1/4 cup (about 60g) of water, the hydration jumps to over 80%. This significantly weakens the gluten network, making it unable to support the expanding dough during the final rise, leading to a collapse. The dough rises too high, too fast, and then simply can't hold its own weight.
Incorrect Flour Type: Weak Gluten Development
The type of flour used profoundly impacts the dough's gluten development and strength. Bread flour, with its higher protein content (typically 12-14%), is ideal for yeast breads because it forms a strong, elastic gluten network capable of trapping gas and supporting a significant rise. Using a lower-protein flour, such as cake flour (around 7-9% protein) or even some all-purpose flours (10-12% protein) that are on the lower end of the spectrum, can result in a weaker dough structure.
If a recipe specifically calls for bread flour and you substitute it with a lower-protein all-purpose flour, the gluten network may not be strong enough to withstand the pressure of the rising gases. The dough will rise, sometimes even appearing normal initially, but the weaker structure will eventually give way, causing a collapse. This is particularly true for larger loaves or recipes with added ingredients like nuts or fruits, which add extra weight the structure must support.
Yeast Issues: Inactive or Overactive Yeast
Yeast is the engine of your bread's rise, but using yeast that is inactive or overactive can lead to dough collapse. If your yeast is old, improperly stored, or killed by hot liquid, it won't produce enough gas, resulting in a dense, under-risen loaf, which technically isn't a collapse but a failure to rise adequately. However, the opposite problem – overactive yeast – is a direct cause of collapse.
Overactive yeast, often due to using too much yeast, using very warm liquid (above 120°F for instant yeast or 115°F for active dry), or placing the bread machine in a very warm environment, causes the dough to rise too quickly and too high. The gluten network develops, but the rapid gas production stretches it beyond its capacity before it can set during baking. The structure simply breaks down under the strain, leading to a dramatic fall, often creating a mushroom-like shape on top.
Excessive Sugar: Interfering with Gluten
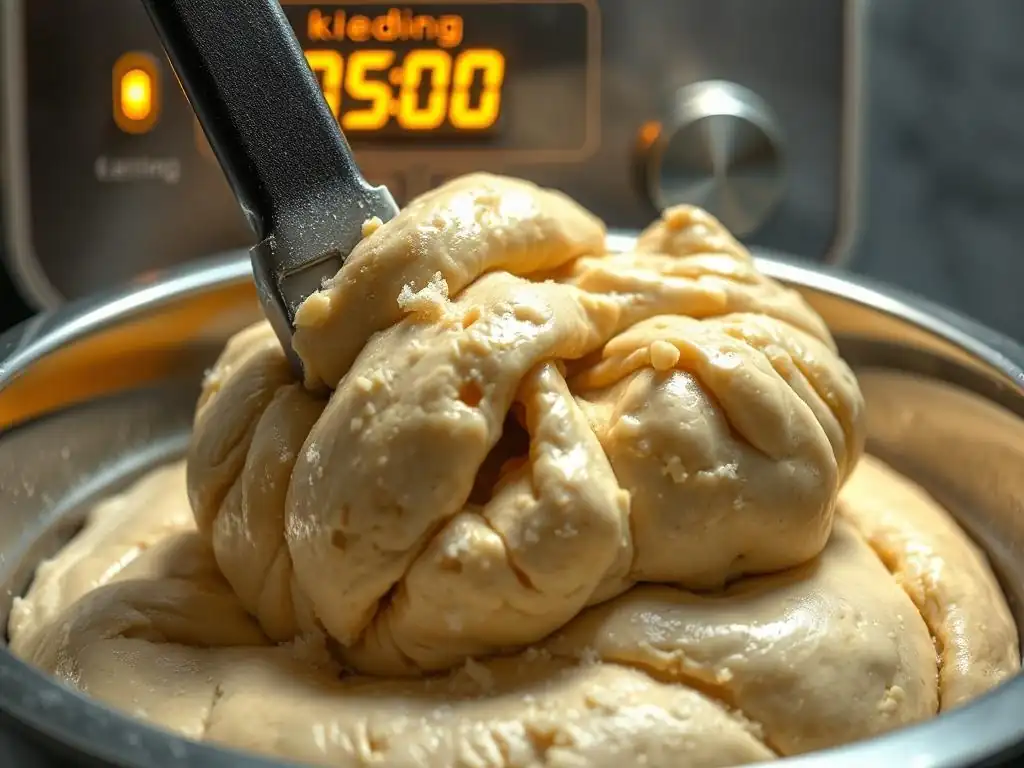
While sugar feeds yeast and helps with crust browning, using too much sugar can negatively impact gluten development and contribute to dough collapse. Sugar is hygroscopic, meaning it attracts and holds onto water. In excessive amounts (generally considered more than 5-10% of the flour weight in a standard loaf), sugar competes with the flour for available liquid.
This competition can hinder the proper hydration of the flour proteins needed to form gluten. Additionally, high sugar levels can stress the yeast, causing it to produce gas too rapidly initially, further weakening the underdeveloped gluten structure. The result is a dough that rises quickly but lacks the underlying strength to maintain its structure through the final rise and into the bake cycle, often leading to a collapse.
High Altitude Baking: Faster Rise and Weakened Structure
Baking at high altitudes presents unique challenges due to lower atmospheric pressure. At sea level, the air pressure helps to slightly restrain the dough's rise. As altitude increases, the lower pressure allows the dough to rise faster and higher than it would at sea level. While this might sound good, it can easily overproof the dough before the bread machine's bake cycle begins.
The rapid rise stretches the gluten network more quickly, potentially weakening it. Furthermore, water evaporates faster at higher altitudes, which can affect the dough's hydration balance. A loaf that performs perfectly at sea level might rise too vigorously and collapse at 5,000 feet or higher because the existing recipe proportions aren't adjusted for the reduced pressure and increased evaporation. Adjusting recipes is crucial for successful high-altitude baking.
Bread Machine Baking Troubleshooting: Preventing Dough Collapse
Accurate Ingredient Measurement: Precision is Key
One of the most critical steps in preventing dough collapse is precise ingredient measurement, especially for flour and liquid. Using measuring cups can be notoriously inaccurate; a cup of flour can vary in weight by as much as 20% depending on how it's scooped and leveled. This variability directly impacts the hydration ratio, a primary factor in dough structure.
Using a digital kitchen scale is highly recommended for consistent results. Weighing ingredients, particularly flour and water, eliminates the guesswork. For instance, a standard U.S. cup of all-purpose flour weighs approximately 120-130 grams, while bread flour is slightly denser, around 130-140 grams. Measuring by weight ensures that you are using the correct proportion of flour to liquid every time, providing the foundation for a strong gluten structure capable of preventing a bread machine collapsed dough fix.
Selecting the Right Flour: Bread Flour vs. All-Purpose
Choosing the correct flour type is paramount for successful bread machine baking. Recipes are typically developed using either bread flour or all-purpose flour, and substituting one for the other without adjustment can lead to problems, including collapse. Bread flour, with its higher protein content (12-14%), is designed to develop a stronger, more elastic gluten network essential for trapping the gas produced by yeast in risen breads.
If a recipe calls for bread flour, using all-purpose flour (10-12% protein) will likely result in a weaker dough that may not support the full rise, leading to a collapse. While you can sometimes substitute, it often requires adjustments like adding vital wheat gluten (about 1-2 tablespoons per cup of all-purpose flour) to boost protein or slightly reducing liquid to compensate for the lower absorption rate of some all-purpose flours. Always check the recipe's specific flour recommendation and stick to it for best results.
Yeast Activation and Storage: Ensuring Potency
The vitality of your yeast is fundamental to a proper rise. Inactive or weak yeast won't produce enough gas, leading to a dense loaf, while overly active yeast can cause the dough to rise too fast and collapse. Always check the expiration date on your yeast package. Store yeast properly: unopened packages in a cool, dry place, and opened packages in an airtight container in the refrigerator or freezer.
If you're unsure about your yeast's freshness, you can proof it before adding it to the machine (though many bread machine recipes don't require this step directly in the machine pan). Dissolve 1 teaspoon of sugar in 1/4 cup of warm water (around 105-115°F for active dry yeast, or follow package instructions). Stir in 2 1/4 teaspoons (one packet) of yeast. If it's active, it should become foamy and bubbly within 5-10 minutes. If not, discard it and use fresh yeast. This simple test can save you from a collapsed loaf due to inactive yeast.
Balancing Sugar Content: Sweetness vs. Structure
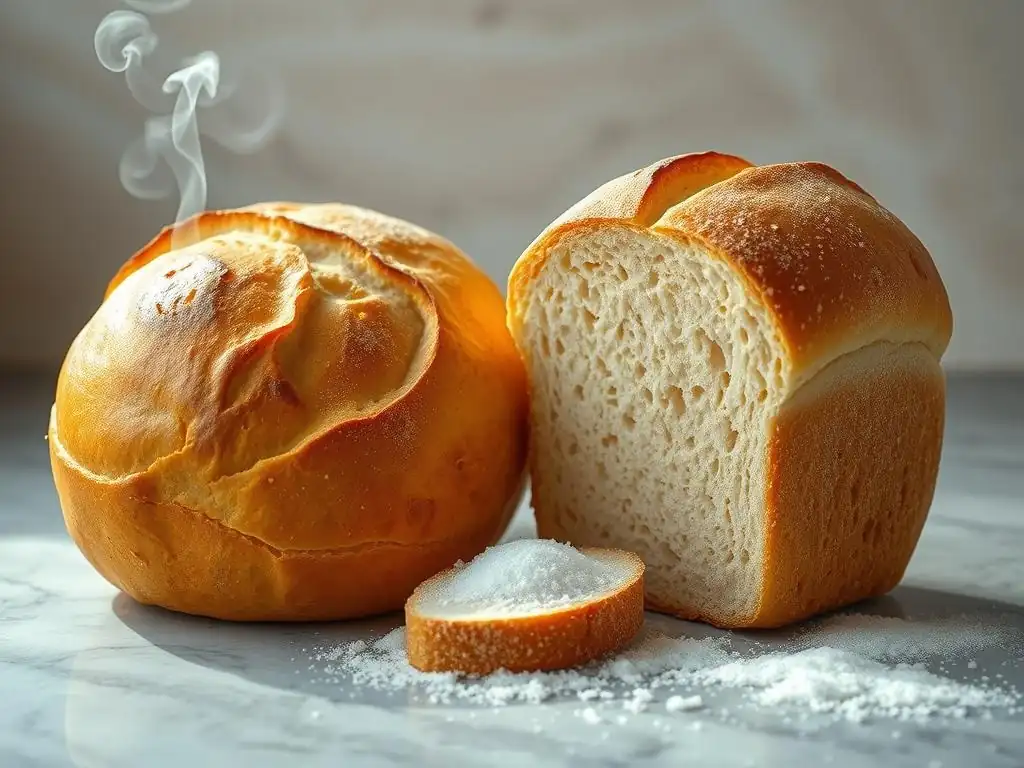
Sugar plays a role in yeast activity and flavor, but its quantity must be balanced. Most standard bread recipes contain a relatively small amount of sugar (often 1-3 tablespoons for a 1.5-2 lb loaf), primarily to feed the yeast and improve crust color. However, recipes for sweet breads, brioche, or cinnamon rolls often contain significantly more sugar.
While delicious, these high-sugar recipes require a stronger gluten structure to support the dough. If you are adapting a recipe or if the sugar content seems unusually high for a basic loaf, it might be contributing to a weaker gluten network by competing for liquid. Ensure your recipe's sugar level is appropriate for the type of bread being made. For very sweet doughs, consider using a recipe specifically formulated for high-sugar baking, which may include ingredients like vital wheat gluten or egg to provide extra structure, helping prevent the need for a bread machine collapsed dough fix.
Adjusting Recipes for High Altitude: Reducing Yeast and Liquid
Baking at high altitudes requires specific recipe modifications to counteract the effects of lower atmospheric pressure and reduced moisture. The primary adjustments for bread machine baking typically involve reducing the amount of yeast and potentially the liquid. Less yeast is needed because the lower pressure allows the dough to expand more easily.
A common starting point for adjustment at altitudes above 3,000 feet is to reduce the yeast by about 1/4 to 1/2 teaspoon per loaf. You may also need to slightly reduce the liquid (by 1-2 tablespoons per cup of liquid) to create a slightly stiffer dough that can better support the rapid rise. Sometimes, adding a bit more flour or a small amount of vital wheat gluten can also help strengthen the structure. Experimentation is often necessary to find the perfect balance for your specific altitude and bread machine.
Bread Machine Baking Tips & Tricks for Strong Bread
Enhancing Gluten Development: Kneading and Resting
Proper gluten development is fundamental to a strong bread structure. In a bread machine, the kneading cycle is designed to develop this network. Ensure your machine's kneading paddle is properly installed and that the dough ball forms and is kneaded smoothly against the sides of the pan. A dough that looks ragged or isn't being worked effectively by the paddle may not develop sufficient gluten.
Allowing the dough adequate resting time between kneading and rising phases (which the machine does automatically) is also important. This rest allows the gluten strands to relax and become more extensible, making them capable of stretching further during the rise without tearing. If you are using a custom cycle or a very short program, ensure the dough is getting enough mechanical work during the kneading phase.
Achieving Ideal Dough Consistency: The Windowpane Test
Even with a bread machine, understanding ideal dough consistency is helpful. During the first few minutes of kneading, you can often peek inside (carefully!) to see if the dough looks right. It should form a smooth ball that is slightly sticky but pulls away cleanly from the sides of the pan. If it's too wet, it will stick excessively; too dry, it will be crumbly or the machine will struggle to knead it.
While you can't easily perform a full windowpane test inside the machine, the dough's appearance gives clues. The windowpane test involves stretching a small piece of dough very thinly; if it stretches enough to see light through it before tearing, the gluten is well-developed. If your dough consistently looks too wet or dry after the initial kneading, you may need to slightly adjust the liquid or flour in future batches. A common bread machine collapsed dough fix involves learning to recognize and correct off-target dough consistency.
Choosing the Right Bread Machine Cycle: Matching Dough Type
Bread machines offer various cycles optimized for different types of bread. Using the correct cycle is crucial. A basic white bread cycle is programmed for a specific kneading, rising, and baking time suited for standard dough hydration and yeast levels. Using this cycle for a rich, heavy dough like brioche or a dense whole wheat dough might lead to problems.
Whole wheat flour requires a longer kneading time to develop gluten due to the bran interfering with formation. Sweet doughs with high sugar and fat content also need specific handling. Using a cycle too short for the dough type can result in underdeveloped gluten and subsequent collapse. Conversely, using a cycle that's too long can lead to over-proofing, another cause of collapse. Always match the cycle to the recipe and dough type for optimal results.
Cooling Bread Properly: Preventing Condensation
Once your bread machine finishes its cycle and beeps, it's tempting to slice into that warm loaf immediately. However, proper cooling is essential for the bread's final structure and texture. As the bread cools, moisture redistributes, and the internal structure sets. Removing the bread from the machine pan promptly (usually within 10-15 minutes) and letting it cool completely on a wire rack is vital.
Leaving the bread in the warm, humid pan allows steam to condense around the crust, making it soggy. More critically, slicing hot bread can cause the internal structure to compress and become gummy or dense. While improper cooling doesn't cause a collapse during the bake cycle itself, it can ruin the texture and appearance of a loaf that otherwise baked successfully, sometimes making it look slightly sunken or dense.
Bread Machine Collapsed Dough Fix: Step-by-Step Solutions
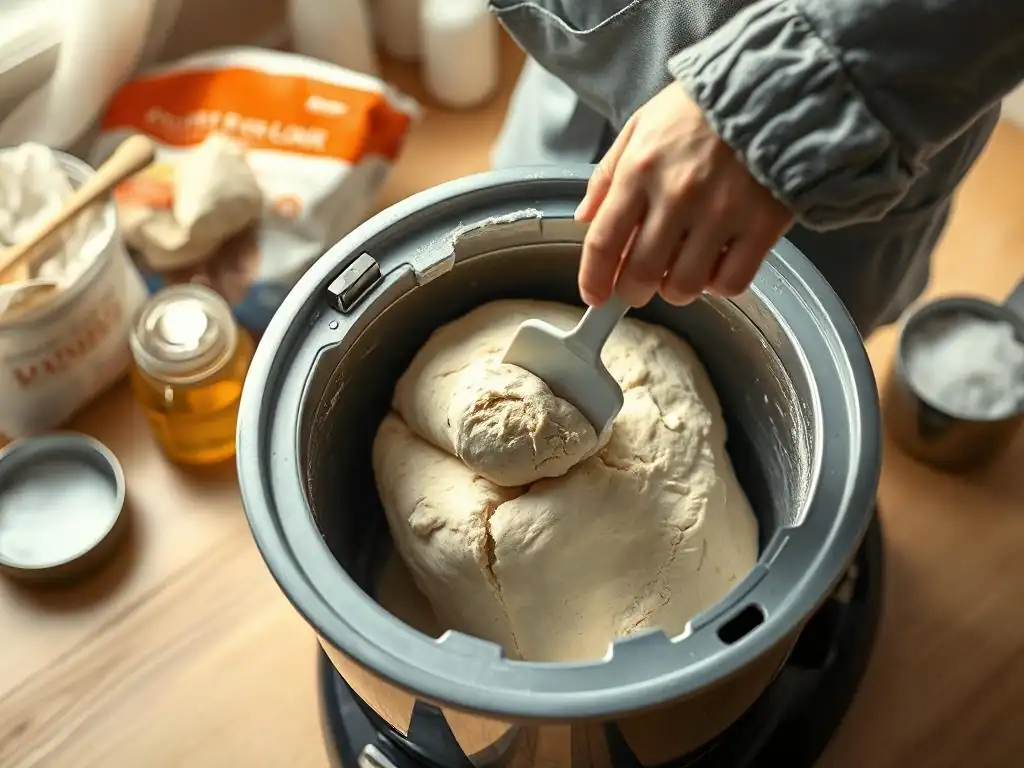
If you've experienced a collapsed loaf, don't despair! While you can't save a fully collapsed loaf mid-bake, you can often troubleshoot and prevent it from happening again. Here's how to approach a bread machine collapsed dough fix for future loaves:
Reducing Liquid Content: Practical Adjustments
If your collapsed loaf was likely due to excessive liquid (the dough looked very wet and sticky during kneading, or the baked loaf was dense and gummy at the bottom), adjust your recipe for the next attempt.
- For the next loaf: Reduce the liquid by 1-2 tablespoons per cup of liquid called for in the recipe. For example, if a recipe uses 1.5 cups (360g) of water, try reducing it to 1 cup + 6 tablespoons (approx. 330g).
- Observe during kneading: Watch the dough during the first 5-10 minutes of kneading. It should form a smooth ball. If it still looks too wet, add flour, 1 tablespoon at a time, allowing it to incorporate fully before adding more, until the dough looks right. Note the total amount added for future reference.
- Use weight: The most reliable fix is to measure ingredients by weight. If your recipe provides weight measurements, use them. If not, weigh your standard cup measurements once to get a baseline, then adjust the weights slightly down for liquid or up for flour.
Strengthening Gluten: Adding Vital Wheat Gluten
If you suspect weak gluten development (perhaps you used an all-purpose flour lower in protein than ideal, or had issues with the kneading process), adding vital wheat gluten can provide a significant boost to dough strength.
- How much to add: A common guideline is to add 1 to 2 tablespoons of vital wheat gluten per cup of flour in the recipe, especially when using all-purpose flour instead of bread flour, or when baking with a significant portion of whole wheat or other low-gluten flours.
- When to add: Add the vital wheat gluten to the bread machine pan along with the flour and other dry ingredients at the beginning of the cycle.
- Benefit: Vital wheat gluten is concentrated protein (often 75-80% protein), which greatly enhances the dough's ability to form a strong, elastic network capable of trapping more gas and supporting a higher rise, directly addressing a common cause of bread machine collapsed dough.
Adjusting Yeast Amounts: Finding the Perfect Balance
Yeast issues are a frequent cause of collapse. If your loaf rose aggressively high before collapsing, you likely used too much yeast or your yeast was too active for the conditions.
- Reduce yeast: For subsequent loaves using the same recipe, try reducing the amount of yeast by 1/4 to 1/2 teaspoon. This will slow down the fermentation slightly, allowing the gluten structure more time to develop relative to the gas production.
- Check liquid temperature: Ensure the liquid (water or milk) you are adding to the machine is not too hot. Ideal temperatures are typically between 75°F and 85°F (24-29°C) for most bread machine cycles, as the machine will warm it further. Using liquid over 100°F can cause yeast to activate too quickly.
- Ambient temperature: If your kitchen is very warm, consider using cooler liquid (room temperature or slightly below) to slow down the initial rise. Some machines have a "light crust" setting which might have a slightly shorter rise time, potentially helping in warm conditions.
Adapting Recipes: Example with Whole Wheat Bread
Whole wheat bread is particularly prone to collapse in bread machines due to the bran particles interfering with gluten formation and the flour absorbing more liquid over time. A common bread machine collapsed dough fix for whole wheat involves specific adaptations.
- Increased Liquid (initially): Whole wheat flour absorbs more liquid than white flour. Recipes often start with slightly more liquid. However, watch the dough; it should still form a smooth, slightly sticky ball.
- Vital Wheat Gluten: Adding 1-2 tablespoons of vital wheat gluten per cup of whole wheat flour is highly recommended to strengthen the dough structure.
- Observe Dough: Whole wheat dough can look dry at the start of kneading but become stickier as the flour hydrates. Monitor the dough ball during the first 10-15 minutes. It should be slightly sticky but cohesive. You might add a teaspoon of water or flour at a time during the knead cycle if it seems too dry or wet, respectively.
- Use the Whole Wheat Cycle: Always use the specific 'Whole Wheat' cycle on your machine, as it's designed with longer kneading and different rising times to accommodate the nature of whole wheat flour.
Avoiding Bread Machine Baking Mistakes: A Summary Checklist
Preventing a collapsed loaf in your bread machine comes down to attention to detail and understanding the basics of bread making within the machine's context. By avoiding common pitfalls, you significantly increase your chances of baking a perfect loaf every time, rendering the need for a bread machine collapsed dough fix far less frequent.
Here is a checklist of common mistakes leading to collapse and their corresponding solutions:
Checklist of Common Mistakes and Solutions
- Mistake: Using incorrect ingredient measurements.
- Solution: Use a digital scale to weigh flour and liquid for accuracy.
- Mistake: Too much liquid in the recipe.
- Solution: Reduce liquid by 1-2 tablespoons per cup for the next loaf. Watch dough consistency during kneading and adjust slightly if needed.
- Mistake: Using low-protein flour (like cake flour) instead of bread flour.
- Solution: Use the flour type specified in the recipe. If substituting lower-protein flour, add 1-2 tablespoons of vital wheat gluten per cup of flour.
- Mistake: Inactive or overactive yeast.
- Solution: Check yeast expiration date and store properly (airtight, cool). Proof yeast if unsure of freshness. Reduce yeast by 1/4-1/2 teaspoon if loaves consistently over-rise and collapse.
- Mistake: Liquid temperature too hot or cold.
- Solution: Use liquid around 75-85°F (24-29°C) for most cycles. Avoid using liquid over 100°F.
- Mistake: Excessive sugar in the recipe.
- Solution: Ensure sugar levels are appropriate for the bread type. Use recipes specifically designed for high-sugar doughs, which often include extra structure builders.
- Mistake: Baking at high altitude without adjustments.
- Solution: Reduce yeast by 1/4-1/2 teaspoon and liquid by 1-2 tablespoons per cup at altitudes above 3,000 feet. Consider adding vital wheat gluten.
- Mistake: Using the wrong bread machine cycle for the dough type (e.g., Basic cycle for Whole Wheat).
- Solution: Always select the cycle that best matches the recipe and flour type (e.g., Whole Wheat cycle for whole wheat bread).
- Mistake: Not removing bread from the pan promptly after baking.
- Solution: Remove the loaf from the machine pan within 10-15 minutes of the cycle finishing and cool completely on a wire rack.
Following these tips and troubleshooting steps will help you diagnose why your bread machine loaf collapsed and equip you with the knowledge for a successful bread machine collapsed dough fix, leading to perfectly baked bread every time.
Frequently Asked Questions
Why did my bread dough collapse in my bread machine?
The most common reason is too much liquid in the recipe. Also, using old or expired yeast can cause dough to collapse because it doesn't have the rising power needed.
Can I save collapsed bread dough in a bread machine?
Sometimes! You can try re-kneading the dough with a little extra flour to absorb excess moisture. However, severely collapsed dough might be best used for another recipe, like pizza crust.
What role does gluten play in preventing bread collapse?
Gluten provides the structure and elasticity needed for bread to rise and hold its shape. Insufficient gluten development, often due to under-kneading, can lead to a collapsed loaf.
How can I ensure my bread machine dough rises properly?
Always use fresh, active yeast and carefully measure your ingredients, especially liquids. Also, make sure your bread machine is functioning correctly and maintaining the proper temperature.
Are there specific bread machine settings that prevent dough collapse?
Yes! Some bread machines have settings specifically for whole wheat or gluten-free bread, which often require different rising times and kneading techniques. Experiment with these settings to find what works best for your specific recipe.
Final Reflection: The Triumphant Rise (and Fall, and Rise Again!) of Bread Machine Baking
The seemingly simple act of bread making, especially with the convenience of a bread machine, often hides a world of subtle complexities. A collapsed loaf, that deflated dream of perfectly risen dough, is a disheartening experience familiar to many home bakers. But understanding the "why" behind a failed bake empowers us to conquer the challenges and achieve consistently delicious results.
The journey of perfecting bread machine baking is a microcosm of life itself – filled with trial and error, moments of frustration, and ultimately, the immense satisfaction of success. The best bread is made with love, patience, and a little bit of flour on the counter.
This adage, though simple, encapsulates the heart of the process. It's not just about following instructions; it's about understanding the interplay of ingredients, temperature, and timing, and learning to adapt to the unique personality of your own machine. The lessons learned extend far beyond the kitchen, teaching valuable skills in problem-solving and perseverance.
So, the next time your bread machine dough decides to stage a dramatic collapse, don't despair! Use this experience as a learning opportunity. Review the tips and tricks outlined in this article, experiment with different techniques, and most importantly, remember the joy that awaits you in the aroma of freshly baked bread. You have the power to rise above the challenges and create a loaf that is not only delicious but also a testament to your baking prowess. Embrace the process, learn from your mistakes, and enjoy the sweet taste of success.
Unleash Your Inner Baker: Perfect Loaves Await!
Thanks for taking the time to explore the world of bread machine baking with us! We hope you gained valuable insights into avoiding those pesky collapsed loaves. Ready to put your newfound knowledge into action?
- Bake your perfect loaf today! Experiment with a new recipe, focusing on the techniques we discussed to achieve that beautiful rise.
- Share your baking journey! Post a picture of your masterpiece on social media and tag us – we’d love to see your success!
- Consider exploring different flours or adjusting hydration levels to discover your ideal bread texture.
What unique ingredient or technique are you most excited to try in your next bread-baking adventure?