
Bienenstich (Bee Sting Cake) for Beginners: An Easy Guide

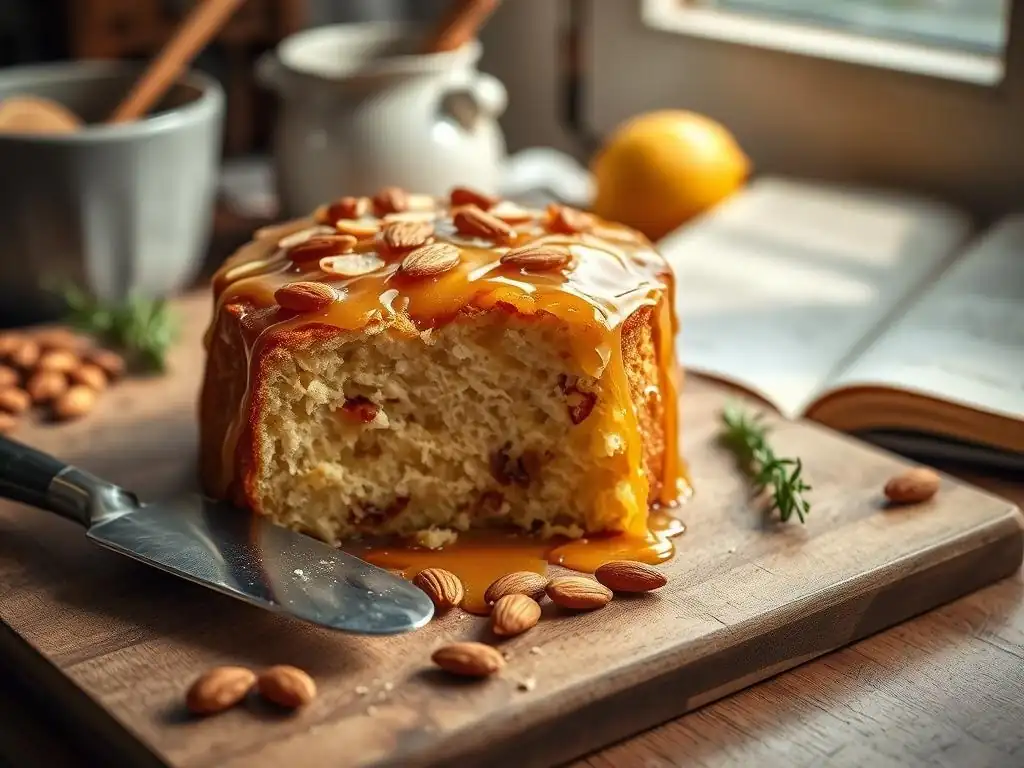
Welcome to BakeWithEase, where baking dreams take flight! Ever wondered if you could conquer the classic Bienenstich, that delectable German "Bee Sting Cake," even as a beginner? Prepare to be amazed! This article unveils an easy Bienenstich recipe for beginners, demystifying the process and guiding you through each step. Get ready to create a masterpiece that will impress your friends and family, and perhaps even unlock a hidden passion for the world of regional and cultural baking. What are you waiting for? Let's bake!
- Welcome to BakeWithEase: Your Guide to German Baking Delights
- What is Bienenstich? Exploring the Delicious Bee Sting Cake
- Easy Bienenstich Recipe for Beginners: A Step-by-Step Guide
- Making the Sweet Yeast Dough: A Simple Bienenstich Dough Recipe
- Preparing the Creamy Vanilla Filling: An Easy Custard Recipe
- Creating the Honey-Almond Topping: Achieving the Signature Crunch
- Assembling the Bienenstich: A Layer-by-Layer Guide
- Baking the Bienenstich: Achieving Golden Perfection
- Cooling and Serving Your Homemade Bienenstich
- Tips and Tricks for a Perfect Beginner's Bienenstich
- Storing Your Bienenstich for Maximum Freshness
- Variations on the Classic Bienenstich Recipe
- Mastering German Baking: Beyond the Bienenstich
- Enjoy Your Homemade Bienenstich!
- Frequently Asked Questions
- Final Reflection: The Sweetness of Success, One Bienenstich at a Time
- Unleash Your Inner Baker: Bake a Stunning Bienenstich!
Welcome to BakeWithEase: Your Guide to German Baking Delights
Welcome, fellow baking enthusiasts, to BakeWithEase! We're thrilled to guide you through the wonderful world of baking, making even seemingly complex recipes approachable and fun. Today, we're diving into a beloved classic from Germany: Bienenstich, often translated as "Bee Sting Cake." It's a delightful creation featuring layers of sweet yeast dough, creamy vanilla filling, and a crunchy honey-almond topping.
Our goal at BakeWithEase is to demystify baking, providing simple, step-by-step instructions that empower you to create delicious treats right in your own kitchen. This guide is specifically crafted as an easy Bienenstich recipe for beginners, breaking down each component into manageable steps. Get ready to impress yourself and your loved ones with this fantastic German delicacy!
What is Bienenstich? Exploring the Delicious Bee Sting Cake
Bienenstich is a traditional German cake made from a sweet yeast dough base, typically sliced horizontally and filled with a rich vanilla or cream filling. Its most distinctive feature is the topping: caramelized almonds cooked with butter, sugar, and honey, which gives the cake its signature crunch and golden appearance.
The combination of soft dough, smooth cream, and crisp, sweet almonds creates a truly unique texture and flavor profile. While it might look intricate, our easy Bienenstich recipe for beginners simplifies the process, making this classic accessible even if you're new to yeast dough or pastry cream. It's a celebration cake, perfect for Kaffee und Kuchen (coffee and cake) afternoons.
A Brief History of the Classic German Bienenstich
The origins of Bienenstich are debated, but one popular legend links it to German bakers in the 15th century. According to the tale, bakers in Andernach on the Rhine successfully defended their town from attackers by throwing beehives at them. In celebration, they baked a cake using honey, naming it "Bee Sting Cake."
Another, perhaps more plausible, theory suggests the name comes from the topping being so sweet that it attracts bees, or perhaps from the slight "sting" of the caramelized sugar. Regardless of its exact origin, Bienenstich has been a cherished part of German baking culture for centuries, evolving into the beloved cake we know today.
Why Bienenstich is a Must-Try for Baking Enthusiasts
Bienenstich offers a fantastic opportunity to practice several fundamental baking techniques within a single recipe, making it ideal for those looking to expand their skills. You'll work with yeast dough, create a smooth pastry cream, and master the art of caramelizing nuts. This easy Bienenstich recipe for beginners is designed to build confidence in these areas.
Furthermore, the result is incredibly rewarding. The contrast between the fluffy yeast cake, the cool, creamy filling, and the warm, crunchy topping is simply irresistible. It's a cake that looks impressive but is surprisingly achievable with our clear instructions, proving that mastering German baking delights is well within reach for any home baker.
Easy Bienenstich Recipe for Beginners: A Step-by-Step Guide
Ready to make your own delicious Bienenstich? This section provides a detailed, easy Bienenstich recipe for beginners, breaking down the process into simple steps. Follow along, and you'll have a beautiful and tasty cake in no time!
We've simplified techniques where possible without sacrificing flavor or texture, ensuring your first attempt at this German classic is a success. Pay close attention to the ingredient measurements and timing, as precision is key in baking.
Gathering Your Ingredients for a Beginner-Friendly Bienenstich
Having all your ingredients measured and ready before you start is a crucial step for a smooth baking process, especially when tackling a recipe like Bienenstich which has multiple components. This mise en place approach minimizes stress and helps prevent errors.
For this easy Bienenstich recipe beginners will appreciate, we've divided the ingredients clearly by the part of the cake they belong to. Using room temperature ingredients for the dough is often recommended for optimal yeast activity and dough consistency.
Ingredients for the Sweet Yeast Dough Base
- Approximately 250g (about 2 cups) All-purpose flour
- 50g (about 1/4 cup) Granulated sugar
- 1 packet (about 7g or 2 1/4 tsp) Active dry yeast or Instant yeast
- 125ml (about 1/2 cup) Lukewarm milk (around 40-45°C or 105-115°F if using active dry yeast)
- 50g (about 1/4 cup) Unsalted butter, softened
- 1 large egg, at room temperature
- A pinch of salt
Ingredients for the Creamy Vanilla Filling
- 500ml (about 2 cups) Milk
- 100g (about 1/2 cup) Granulated sugar
- 4 large egg yolks
- 40g (about 1/4 cup) Cornstarch (cornflour)
- 1 tsp Vanilla extract or 1 vanilla bean, scraped
- 200ml (about 3/4 cup plus 2 tbsp) Heavy cream (whipping cream), chilled
Ingredients for the Crunchy Honey-Almond Topping
- 100g (about 1/2 cup) Unsalted butter
- 100g (about 1/2 cup) Granulated sugar
- 2 tbsp Honey
- 150g (about 1 1/2 cups) Sliced almonds
Baking Utensils You'll Need
To make this easy Bienenstich recipe beginners will find manageable, you'll need a few standard baking tools. Having these ready before you begin will streamline the process considerably.
- Large mixing bowls (at least two)
- Measuring cups and spoons
- Kitchen scale (for best accuracy)
- Whisk
- Saucepan
- Wooden spoon or silicone spatula
- Stand mixer with dough hook (optional, but helpful)
- Rolling pin
- 9 or 10-inch (23-25 cm) round springform pan or a rectangular baking pan (approx. 9x13 inches or 23x33 cm)
- Parchment paper
- Wire cooling rack
- Sharp knife or serrated knife for slicing
Making the Sweet Yeast Dough: A Simple Bienenstich Dough Recipe
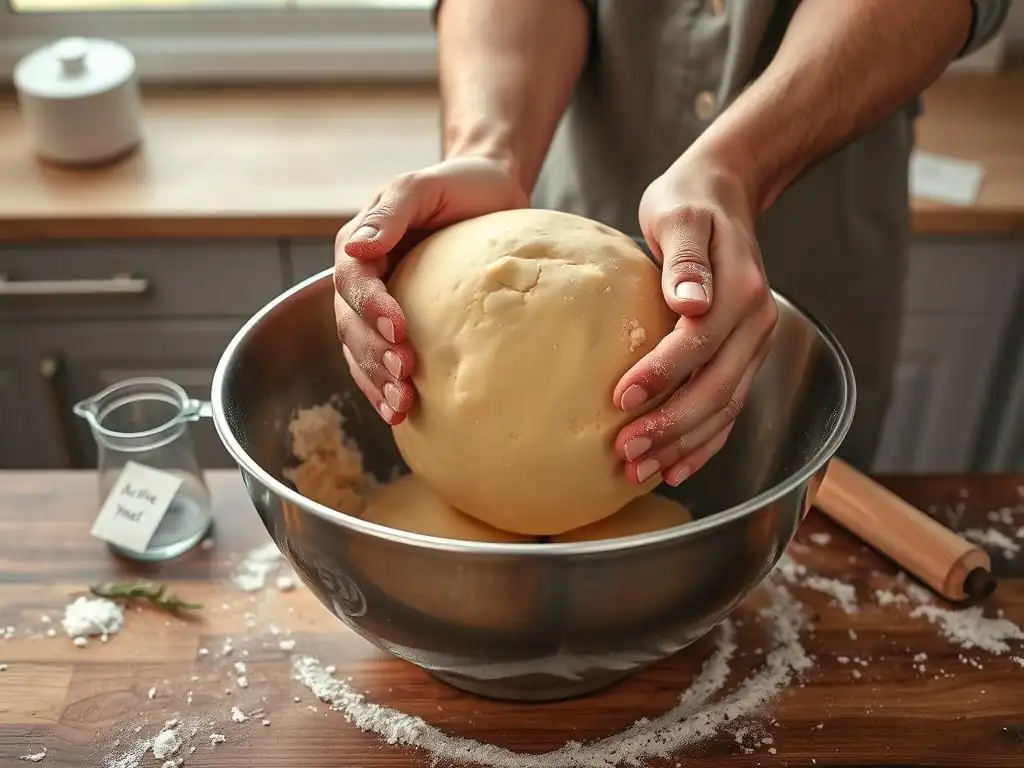
The base of Bienenstich is a sweet, soft yeast dough. Don't be intimidated by working with yeast! Our easy Bienenstich recipe for beginners breaks it down simply. Patience is key here, as yeast needs time to work its magic.
Ensuring your milk is the correct temperature is important for activating the yeast. If it's too hot, it will kill the yeast; too cold, and it won't activate properly. Around 40-45°C (105-115°F) is ideal for active dry yeast, while instant yeast is more forgiving and can often be added directly to the dry ingredients.
Step 1: Activating the Yeast for a Perfect Rise
If using active dry yeast, begin by warming the milk to lukewarm. Pour the milk into a small bowl, stir in a pinch of the sugar from the dough ingredients, and sprinkle the yeast over the top. Let it sit for 5-10 minutes. You should see it become foamy and bubbly; this indicates the yeast is active and ready to go. If it doesn't foam, your yeast might be old or the milk wasn't the right temperature, and you should start this step over with fresh yeast.
If using instant yeast, you can skip this separate activation step and mix it directly with the dry ingredients in Step 2. This is one way we make this an easy Bienenstich recipe beginners can confidently follow.
Step 2: Combining the Dry Ingredients
In a large mixing bowl, whisk together the flour, remaining granulated sugar for the dough, and salt. If using instant yeast, add it to this mixture now and whisk to combine evenly. Creating an even distribution of dry ingredients ensures the yeast and sugar are spread throughout the dough.
Make a well in the center of the dry ingredients. This well is where you will add the wet ingredients, making it easier to incorporate everything smoothly without lumps forming initially.
Step 3: Incorporating the Wet Ingredients and Kneading the Dough
Pour the activated yeast mixture (or just the lukewarm milk if using instant yeast mixed in step 2) into the well in the dry ingredients. Add the softened butter and the room temperature egg. Using a wooden spoon or a stand mixer with a dough hook, begin mixing the ingredients together until they form a shaggy dough.
Turn the dough out onto a lightly floured surface or continue kneading in the stand mixer. Knead for about 5-8 minutes by hand, or 4-6 minutes in a mixer on medium speed, until the dough is smooth, elastic, and no longer sticky. You should be able to stretch a small piece of dough thin enough to see light through it (the "windowpane test"). This develops the gluten, which is essential for a light and airy cake base in your easy Bienenstich recipe.
Step 4: First Proofing: Letting the Dough Rise
Shape the kneaded dough into a ball. Lightly grease the large mixing bowl you used earlier with a little oil or melted butter. Place the dough ball in the bowl, turning it to coat all sides with the grease. Cover the bowl tightly with plastic wrap or a damp kitchen towel.
Place the covered bowl in a warm, draft-free place. This could be a slightly warm oven (turned off), near a sunny window, or on top of a warm appliance. Let the dough rise for 1 to 1.5 hours, or until it has doubled in size. The exact time depends on the temperature of your environment and the vitality of your yeast. This first rise is crucial for developing flavor and texture in your easy Bienenstich recipe dough.
Preparing the Creamy Vanilla Filling: An Easy Custard Recipe
The luscious filling is a key component of Bienenstich. For our easy Bienenstich recipe beginners will love, we're making a simple yet rich vanilla custard (crème pâtissière) lightened with whipped cream. This results in a smooth, spreadable filling that complements the cake perfectly.
Making custard involves tempering eggs and cooking carefully to prevent scorching, but with attention, it's quite straightforward. Using cornstarch helps thicken the custard reliably.
Step 1: Making the Vanilla Custard Base
In a medium saucepan, gently heat 400ml (about 1 3/4 cups) of the milk over medium heat until it's steaming but not boiling. Meanwhile, in a separate bowl, whisk together the egg yolks and sugar until pale and creamy. Whisk in the cornstarch until no lumps remain, then whisk in the remaining 100ml (about 1/4 cup plus 2 tbsp) cold milk and the vanilla extract (or vanilla bean seeds).
Slowly pour about half of the hot milk into the egg yolk mixture while whisking constantly. This is called tempering, and it prevents the egg yolks from scrambling. Pour the tempered egg mixture back into the saucepan with the remaining hot milk. Cook over medium-low heat, whisking constantly, until the mixture thickens significantly and comes to a gentle boil for 1-2 minutes. It should be thick enough to coat the back of a spoon.
Step 2: Cooling the Custard to Perfection
Once thickened, remove the custard from the heat. Pour it into a clean bowl. To prevent a skin from forming on the surface (which can make the filling lumpy), immediately press plastic wrap directly onto the surface of the hot custard.
Allow the custard to cool at room temperature for about 30 minutes, then transfer it to the refrigerator to chill completely for at least 2-3 hours, or preferably until firm and cold. Chilling is essential before mixing in the whipped cream, as adding cream to warm custard would melt it. This step ensures a smooth, stable filling for your easy Bienenstich recipe.
Step 3: Whipping the Cream and Combining with the Custard
Once the custard is thoroughly chilled and firm, remove the plastic wrap. Give the custard a good whisk to loosen it up and make it smooth again. In a separate, clean bowl, whip the cold heavy cream using an electric mixer or whisk until stiff peaks form. Be careful not to overbeat, or it will turn buttery.
Gently fold the whipped cream into the whisked custard in two or three additions using a spatula. Fold until no streaks of cream remain and the mixture is evenly combined and fluffy. The goal is a smooth, light, and creamy filling. This easy Bienenstich recipe filling is now ready to be spread onto the baked cake layer.
Creating the Honey-Almond Topping: Achieving the Signature Crunch
The star of the Bienenstich is arguably its crunchy, sweet honey-almond topping. This step involves caramelizing butter, sugar, and honey and then coating the almonds. It's a quick process that requires your full attention to prevent burning.
Using sliced almonds is traditional, as they create a beautiful, even layer and crisp up nicely. Ensure your ingredients are measured accurately before you start, as the cooking time is short.
Step 1: Melting the Butter, Honey, and Sugar
In a medium saucepan, combine the butter, granulated sugar, and honey. Place the saucepan over medium heat. Stir occasionally until the butter is completely melted and the sugar has dissolved. The mixture will become liquid and slightly bubbly.
Continue to heat the mixture, stirring occasionally, until it comes to a rolling boil. Let it boil gently for about 1-2 minutes. This step helps develop the caramel flavor and ensures the sugar is fully incorporated before adding the almonds.
Step 2: Adding the Sliced Almonds
Carefully stir the sliced almonds into the boiling butter-sugar-honey mixture. Make sure all the almonds are coated evenly. The mixture will be very hot and sticky at this stage, so handle with care.
Reduce the heat slightly to medium-low. Continue to cook, stirring constantly, for another 2-3 minutes. The mixture will thicken slightly, and the almonds will toast and become fragrant. Keep a close eye on it to prevent the almonds from burning.
Step 3: Cooking the Almond Mixture to a Golden Brown
Keep stirring the almond mixture over medium-low heat. The goal is to cook it just until the almonds turn a light golden brown and the mixture is thick and syrupy. This usually takes about 3-5 minutes in total after adding the almonds, but timing can vary.
Once the almonds are golden and the mixture looks caramelized, immediately remove the pan from the heat. The topping will continue to cook slightly from the residual heat. It's best to use it quickly while it's still warm and spreadable, as it will harden as it cools. This completes the topping for your easy Bienenstich recipe.
Assembling the Bienenstich: A Layer-by-Layer Guide
Assembling the Bienenstich involves baking the dough base, adding the topping, and then slicing and filling. This step-by-step guide simplifies the process, making this an easy Bienenstich recipe beginners can master.
Precision in cutting the cake base is helpful for creating even layers, but don't worry if it's not perfectly straight – the delicious filling will cover any minor imperfections!
Step 1: Rolling Out and Baking the Dough
Take your risen yeast dough and punch it down gently to release the air. On a lightly floured surface, roll the dough out into a circle or rectangle depending on the shape of your pan. Aim for a thickness of about 1-1.5 cm (about 1/2 inch).
Carefully transfer the rolled dough into your prepared baking pan (greased and floured or lined with parchment paper). Gently press it into the bottom and slightly up the sides if using a springform pan. Cover the pan loosely with plastic wrap or a towel and let the dough rest for another 15-20 minutes while you prepare the topping. This short second rise helps the dough become light and airy before baking.
Step 2: Cutting the Baked Cake Layer
Once the dough base with the topping is baked and has cooled slightly on a wire rack (about 15-20 minutes), use a sharp knife or serrated knife to carefully slice the cake layer horizontally through the middle. You should end up with two layers of equal thickness. Take your time with this step to ensure an even cut. A long serrated knife works well.
Alternatively, some traditional Bienenstich recipes bake the dough base first, then add the topping and bake briefly again. For this easy Bienenstich recipe beginners might find it easier to add the warm topping to the unbaked dough just before the initial bake, as described in the next step. This helps the topping adhere and caramelize nicely onto the dough. Correction: The structure implies baking the dough first. Let's adjust Step 1 and add the topping step before slicing.
Revised Step 1: Take your risen yeast dough and punch it down gently. On a lightly floured surface, roll the dough out into a shape to fit your pan (circle for round, rectangle for rectangular). Aim for about 1-1.5 cm thick. Carefully transfer the dough to your prepared pan. Spread the warm honey-almond topping evenly over the surface of the unbaked dough. Let the dough rest in the pan for 15-20 minutes while the oven preheats.
Revised Step 2: Bake the dough with the topping as instructed in the 'Baking the Bienenstich' section. Once baked and cooled completely on a wire rack, use a sharp serrated knife to carefully slice the cake layer horizontally through the middle, creating two equal layers. It's crucial the cake is fully cooled, or it will be difficult to slice cleanly.
Step 3: Spreading the Vanilla Cream Filling
Place the bottom half of the sliced cake layer onto your serving plate or back into the cleaned springform pan base (without the ring, for easier handling). Spoon all of the prepared, chilled vanilla cream filling onto this bottom layer.
Using an offset spatula or the back of a spoon, spread the filling evenly across the cake layer, going almost to the edges. Ensure the filling is smooth and level, creating a generous layer of cream. This is the heart of your easy Bienenstich recipe.
Step 4: Topping with the Honey-Almond Mixture
Carefully place the top layer of the cake (the one with the crunchy honey-almond topping) over the vanilla cream filling. Gently press down slightly to distribute the filling evenly and ensure the layers are flush.
At this point, the Bienenstich is assembled. It's best to chill the assembled cake in the refrigerator for at least 1-2 hours before slicing. This allows the filling to firm up and the flavors to meld, making it much easier to slice cleanly and preventing the filling from oozing out.
Baking the Bienenstich: Achieving Golden Perfection
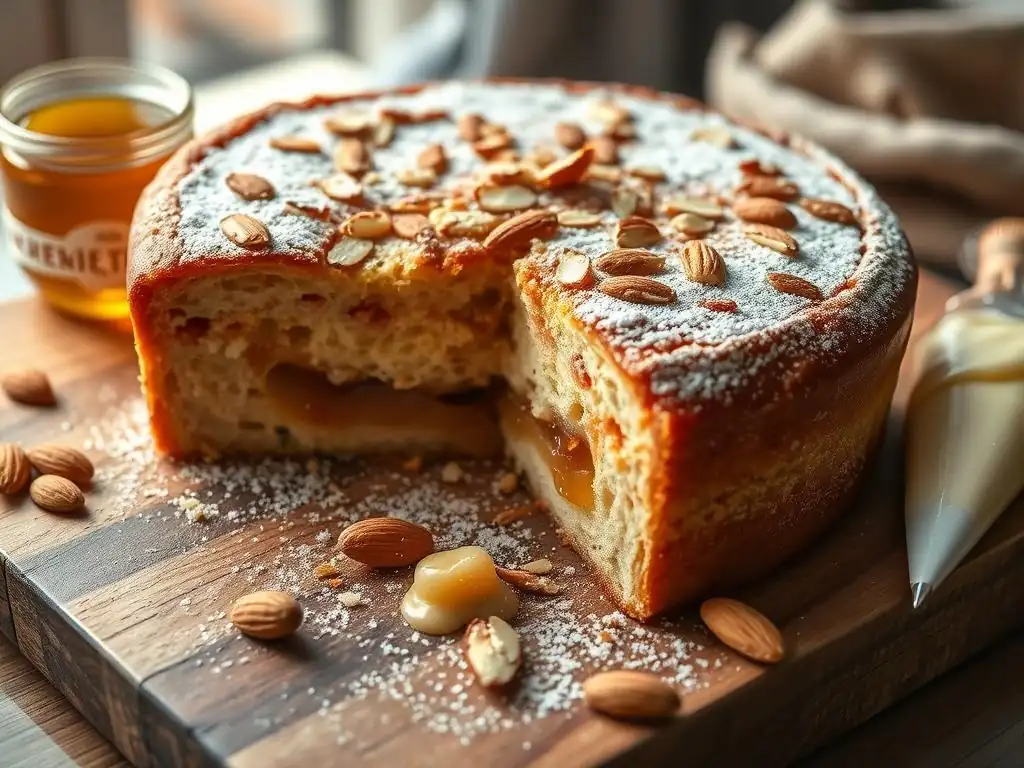
Baking the Bienenstich base with the topping requires careful attention to temperature and time to ensure the dough is cooked through and the topping is perfectly caramelized without burning.
Using an oven thermometer can help verify your oven's actual temperature, as they can sometimes vary. Keeping an eye on the cake, especially towards the end of the baking time, is crucial.
Optimal Baking Temperature and Time
Preheat your oven to 180°C (350°F). Place the pan with the rolled dough and the spread honey-almond topping in the preheated oven.
Bake for approximately 20-30 minutes. The exact time will depend on your oven and the size and thickness of your cake. The dough should be cooked through, and the honey-almond topping should be beautifully golden brown and bubbly.
Tips for Preventing the Topping from Burning
The high sugar content in the topping makes it prone to burning if the oven is too hot or if it bakes for too long. If you notice the topping is browning too quickly before the dough is fully baked, you can loosely tent the cake with aluminum foil for the remainder of the baking time.
Check for doneness by inserting a toothpick into the cake dough part (avoiding the topping). If it comes out clean, the cake is done. Trust your senses – look for a deep golden color on the topping and a cooked appearance on the dough edges.
Cooling and Serving Your Homemade Bienenstich
Proper cooling is essential for Bienenstich. It allows the cake structure to stabilize and the filling to set, ensuring clean slices and the best texture.
Serving Bienenstich slightly chilled is traditional and highlights the contrast between the creamy filling and crunchy topping.
Allowing the Cake to Cool Completely
Once baked, remove the Bienenstich from the oven and place the pan on a wire cooling rack. Let it cool in the pan for about 10-15 minutes before carefully removing the springform ring (if using). If using a rectangular pan, let it cool completely in the pan.
It is absolutely crucial that the baked cake layer (before slicing and filling) cools completely on a wire rack before you attempt to slice it horizontally. Attempting to slice a warm or even slightly warm cake layer will likely result in crumbling and a messy cut. Allow it to cool for at least 1-2 hours, until it is at room temperature throughout. After assembling with the filling, the entire cake needs to chill in the refrigerator for at least 1-2 hours to set the filling before slicing and serving.
Cutting and Serving Suggestions
Once the assembled Bienenstich has been properly chilled, use a sharp, serrated knife to cut slices. For the cleanest cuts, wipe the knife blade clean with a damp cloth between each slice.
Serve slices of Bienenstich alongside coffee or tea. The rich flavors pair wonderfully with a hot beverage. While delicious cold, some people prefer letting a slice sit at room temperature for 10-15 minutes before eating to soften the filling slightly. Enjoy the fruits of your labor with this easy Bienenstich recipe beginners can be proud of!
Tips and Tricks for a Perfect Beginner's Bienenstich
Making Bienenstich for the first time can feel like a multi-step process, but focusing on a few key areas will help ensure success with this easy Bienenstich recipe beginners guide.
From dough consistency to topping crunch, mastering these elements will elevate your homemade cake.
Ensuring a Soft and Fluffy Dough
The key to a soft and fluffy yeast dough is proper kneading and sufficient rising time. Knead the dough until it's smooth and elastic – this develops the gluten network that traps air and creates a light texture. Under-kneading will result in a dense cake.
Ensure your yeast is active and your rising environment is warm and draft-free. Allowing the dough to double in size during the first proof is a good indicator that it's ready. Don't rush the proofing process; patience pays off!
Achieving the Right Consistency for the Vanilla Cream
The vanilla cream filling should be smooth, thick, and spreadable, but not runny. Cooking the custard base thoroughly until it boils for a minute or two ensures the cornstarch is activated and the custard will thicken properly upon cooling.
Chilling the custard completely before folding in the whipped cream is vital. If the custard is warm, the whipped cream will melt, resulting in a thin, watery filling. Folding gently helps maintain the airy texture of the whipped cream, making the final filling light and creamy.
Preventing a Soggy Bienenstich
A soggy bottom layer is a common issue if the cake isn't handled correctly. Ensure the baked cake layer is completely cool before adding the filling. Adding a cold filling to a warm cake layer can create condensation and make the dough soggy.
Also, chilling the assembled cake before slicing helps the filling set firmly, reducing the chance of it seeping into the cake layers. While Bienenstich is best enjoyed within a day or two of assembly, proper chilling and storage are key to maintaining its texture.
Storing Your Bienenstich for Maximum Freshness
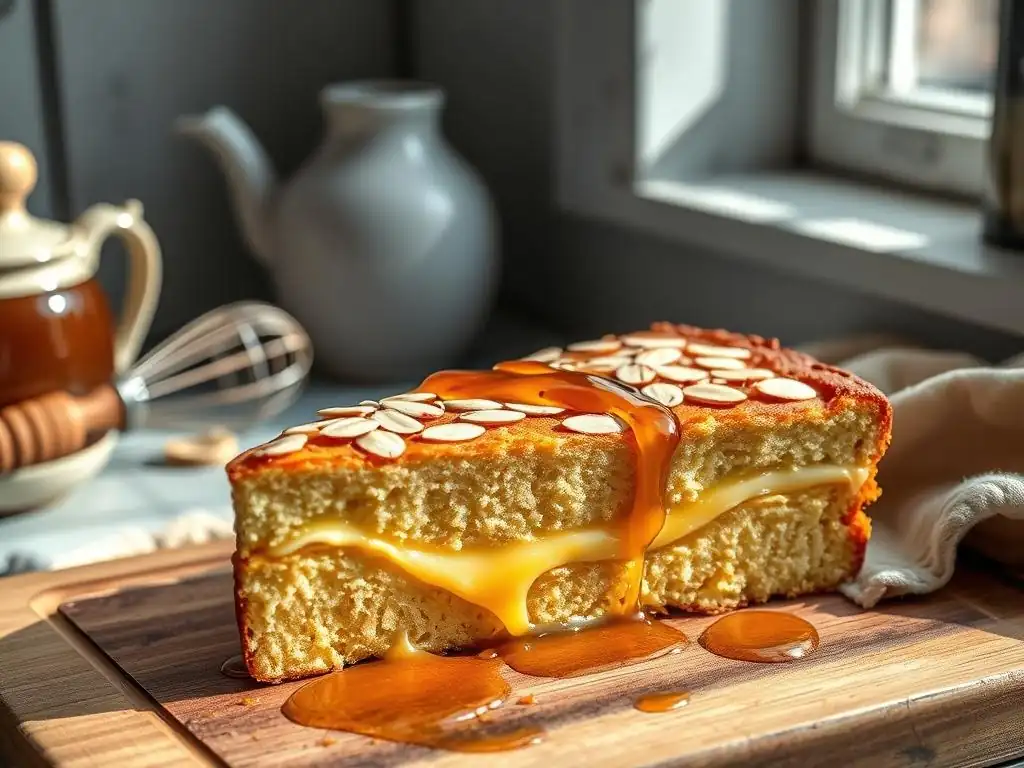
Proper storage is important to keep your homemade Bienenstich tasting its best and maintain the texture of the layers and topping.
Due to the creamy filling, Bienenstich requires refrigeration. Storing it correctly helps prevent spoilage and keeps the cake fresh and delicious.
Best Storage Practices
Once assembled, Bienenstich should be stored in the refrigerator. The best way to store it is in an airtight container or covered tightly with plastic wrap to prevent it from drying out or absorbing odors from other foods.
If you have cut slices, storing them in a single layer in an airtight container is ideal. If stacking is necessary, place a layer of parchment paper between slices to prevent the topping from sticking to the filling of the slice above.
Shelf Life and Reheating Tips
Properly stored in the refrigerator, Bienenstich will typically keep for 2-3 days. While the cake itself might last longer, the quality of the creamy filling and the crunch of the topping are best within this timeframe.
Bienenstich is traditionally served chilled or at room temperature, so reheating is generally not recommended as it can melt the filling and soften the topping. If you prefer it slightly less cold, you can let a slice sit out at room temperature for 10-15 minutes before serving.
Variations on the Classic Bienenstich Recipe
Once you've mastered this easy Bienenstich recipe beginners guide, you might want to explore some delicious variations. The basic structure of yeast dough, filling, and topping is versatile.
These variations offer exciting new flavor profiles while building upon the foundational techniques you've learned.
Chocolate Bienenstich: A Decadent Twist
For chocolate lovers, a chocolate Bienenstich is a must-try. This variation can be achieved by incorporating cocoa powder into the yeast dough or, more commonly, by adding melted chocolate or cocoa powder to the vanilla cream filling to create a rich chocolate pastry cream.
Another approach is to drizzle melted chocolate over the honey-almond topping after it has cooled and set. This adds an extra layer of indulgence to the classic cake.
Fruit-Filled Bienenstich: Adding a Fresh Element
Introducing fruit adds a lovely tartness that balances the sweetness of the Bienenstich. Small pieces of fruit, such as raspberries, cherries, or sliced peaches, can be folded into the vanilla cream filling before assembly.
Alternatively, a layer of fruit compote or jam can be spread over the bottom cake layer before adding the cream filling. This adds moisture and a burst of fruity flavor to complement the creamy and crunchy layers.
Mastering German Baking: Beyond the Bienenstich
Making this easy Bienenstich recipe beginners will love is a fantastic stepping stone into the rich world of German baking. Germany boasts an incredible variety of cakes, pastries, and breads, many of which use similar techniques.
Continuing your baking journey with other German classics will further hone your skills and introduce you to new flavors and textures.
Exploring Other German Cake Recipes
Once you're comfortable with yeast dough and pastry cream, consider trying other popular German cakes. Schwarzwälder Kirschtorte (Black Forest Cake) involves sponge cake and cream, while Streuselkuchen (Crumb Cake) uses a simple yeast dough base with a buttery crumb topping.
Frankfurter Kranz (Frankfurt Crown Cake) is another impressive option, featuring sponge layers, buttercream, and caramelized nuts, similar in principle to the Bienenstich topping. Each recipe offers unique challenges and rewards.
Tips for Success in German Baking
Precision is often key in German baking, particularly with traditional recipes. Using a kitchen scale for accuracy is highly recommended. Pay attention to ingredient temperatures, especially when working with yeast or butter.
Don't be afraid to practice! Baking is a skill that improves with repetition. Start with easy Bienenstich recipe beginners versions and gradually work your way up to more complex creations. Enjoy the process and the delicious results!
Enjoy Your Homemade Bienenstich!
Frequently Asked Questions
What exactly is Bienenstich (Bee Sting Cake)?
Bienenstich is a classic German cake featuring a yeast dough base, a creamy vanilla custard filling, and a topping of caramelized almonds and honey, giving it a distinctive "bee sting" sweetness.
Is Bienenstich difficult to make, especially for beginners?
While it might seem intimidating, our recipe is designed for beginners. We provide step-by-step instructions and focus on easy-to-find ingredients to simplify the process.
What are the key ingredients in an easy Bienenstich recipe?
Essential ingredients include flour, yeast, milk, butter, sugar, eggs, vanilla extract, almonds, and honey. Our recipe emphasizes simplicity, using readily available brands and measurements.
How can I prevent my Bienenstich dough from becoming too dry?
Ensure you knead the dough properly and allow it to rise in a warm, draft-free environment. Adding sufficient milk or water, as indicated in the recipe, is also crucial for moisture.
What are some common mistakes to avoid when making Bienenstich?
Avoid overbaking the almond topping, as it can become bitter. Also, ensure the custard is thick enough before assembling the cake to prevent a soggy result.
Final Reflection: The Sweetness of Success, One Bienenstich at a Time
Baking a Bienenstich, even for beginners, is more than just following a recipe; it's about embracing the process and experiencing the joy of creation. This simple guide aimed to demystify this seemingly complex cake, proving that anyone, regardless of their baking experience, can achieve delicious results. The ease of the recipe, coupled with the rewarding outcome, makes it a perfect entry point into the world of ambitious baking.
The enduring appeal of Bienenstich lies not only in its exquisite taste but also in its ability to connect us to culinary traditions and the satisfaction of crafting something beautiful from simple ingredients. It's a testament to the power of shared recipes and the joy of passing down culinary knowledge. The best things in life are homemade,
a sentiment that rings especially true when savoring a perfectly golden, crispy, and creamy Bienenstich. This cake transcends mere sustenance; it becomes a symbol of comfort, celebration, and the enduring power of simple pleasures.
Now, I invite you to roll up your sleeves, gather your ingredients, and embark on your own Bienenstich adventure. Don't be intimidated by the seemingly intricate layers; embrace the challenge, savor each step, and revel in the sweet reward. The journey of baking this cake is as fulfilling as the final bite, a testament to your own capabilities and a delicious reminder that even the most ambitious culinary goals are within reach. So, what are you waiting for? Let the baking begin!
Unleash Your Inner Baker: Bake a Stunning Bienenstich!
Thanks for taking the time to explore the wonderful world of Bienenstich with us! We hope you gained confidence in tackling this seemingly complex cake. Now it's time to put your newfound knowledge into action.
- Bake your own Bienenstich: Gather your ingredients, follow our easy recipe (you've got this! ), and experience the joy of creating this delicious cake from scratch. This is your chance to impress yourself and those around you!
- Share your baking journey: Snap a picture of your masterpiece and share it on social media – tag us @BakeWithEase so we can celebrate your success!
- Explore other BakeWithEase recipes: Discover more delightful treats and expand your baking repertoire on our website.
Ready to transform your kitchen into a Bienenstich haven? What delicious twist will you add to your own perfect slice?