
Bake Your First Rye Loaf: An Easy Beginner's Guide

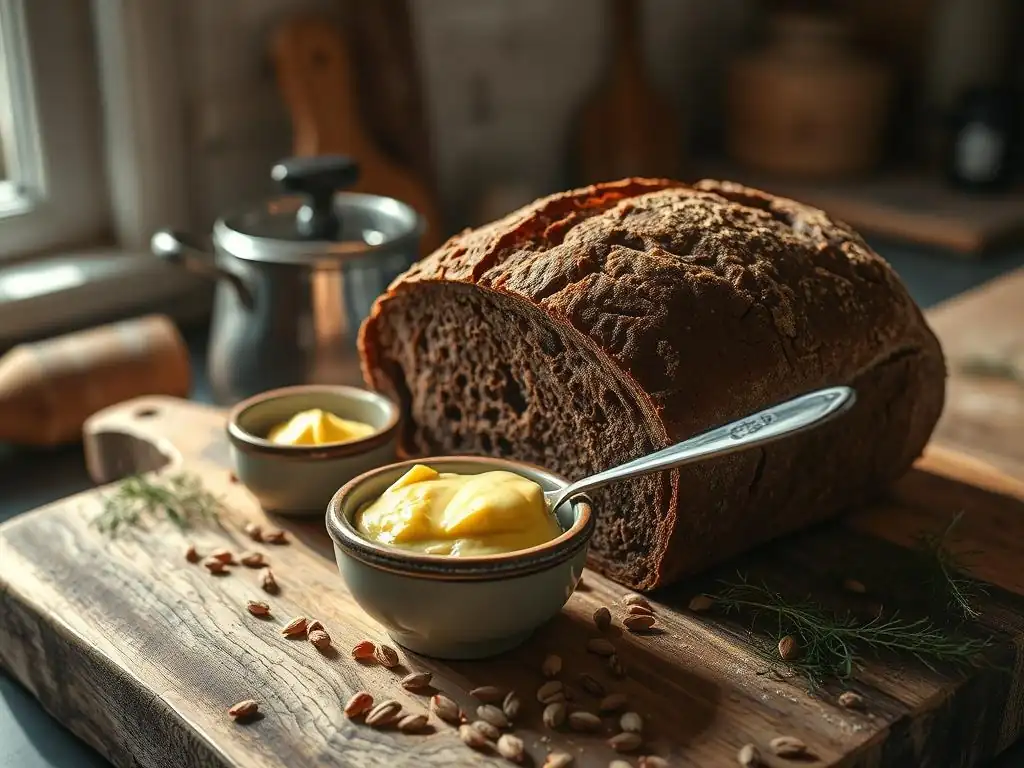
Welcome to BakeWithEase, your kitchen companion for all things baking! Ever dreamt of the rich, earthy aroma of a homemade rye loaf filling your home? Now you can! This guide unlocks the secrets to crafting an easy beginner rye loaf, demystifying the process with simple steps and readily available ingredients. Ready to experience the satisfaction of baking your own delicious bread? Let's get started – you'll be amazed at how easy it is!
- Introduction to Baking Rye Bread for Beginners
- Easy Beginner Rye Loaf Recipe: Step-by-Step
- Troubleshooting Your Beginner Rye Loaf
- Serving and Storing Your Homemade Rye Bread
- Variations on the Easy Beginner Rye Loaf Recipe
- Conclusion: Your First Rye Bread Success!
- Frequently Asked Questions
- Final Reflection: The Unexpected Joys of a Simple Rye Loaf
- Unleash Your Inner Baker: Craft Your Perfect Rye Loaf!
Introduction to Baking Rye Bread for Beginners
Embarking on the journey of baking your first loaf of bread can feel daunting, but choosing the right starting point makes all the difference. While classic white loaves are popular, diving into the world of rye bread offers a uniquely rewarding experience, particularly for those new to the craft. An easy beginner rye loaf is not only achievable but also incredibly satisfying to pull from your oven. This guide is designed to walk you through the process, demystifying the steps and building your confidence with this flavorful grain.
Rye bread, with its distinctive aroma and hearty texture, has been a staple in many cultures for centuries. It offers a different baking experience compared to wheat-based breads, primarily due to the unique properties of rye flour. Understanding these differences is key to success, but don't let that intimidate you! We'll break down everything you need to know to bake a delicious, easy beginner rye loaf that you'll be proud of.
Why Rye Bread is Perfect for New Bakers
Rye bread, especially a simple recipe designed as an easy beginner rye loaf, offers several advantages for novice bakers. Unlike high-gluten wheat doughs that require extensive kneading to develop structure, rye flour contains less gluten-forming protein. This means less time spent kneading, which can be physically demanding and technically challenging for beginners. A basic rye dough often comes together more quickly and requires less intensive handling, making the mixing process much more manageable.
Furthermore, rye's unique composition makes its dough less prone to collapsing if slightly over-proofed compared to a delicate wheat dough. While precise timing is always beneficial, the inherent structure (or lack thereof) in rye can be more forgiving. This resilience provides a small buffer that can help prevent common pitfalls like over-kneading or slight inaccuracies in rising times, increasing the chances of a successful bake on your very first attempt at an easy beginner rye loaf.
Understanding Rye Flour: A Simple Guide
Rye flour is fundamentally different from wheat flour, and understanding these differences is crucial for baking a great rye loaf. The most significant distinction lies in its protein structure; rye has less gluten-forming protein than wheat. Instead, rye flour is rich in soluble fibers called pentosans. These pentosans absorb a large amount of water, often more than wheat flour, and become gel-like when wet. This high water absorption contributes to the dense, moist crumb often associated with rye bread, but it also makes rye dough inherently stickier and less elastic than wheat dough.
There are several types of rye flour, typically classified by how much of the grain is included and how finely it's milled. Light rye flour contains mostly the endosperm, similar to white wheat flour. Medium rye includes more of the bran and germ, offering a stronger flavor.
Dark rye flour and pumpernickel flour are milled from the whole rye kernel, including all the bran and germ, resulting in the deepest color and most intense flavor. For an easy beginner rye loaf, using light or medium rye is often recommended as they are easier to handle than the denser dark flours and yield a less intensely flavored loaf, making it more broadly appealing for a first attempt.
Easy Beginner Rye Loaf Recipe: Step-by-Step
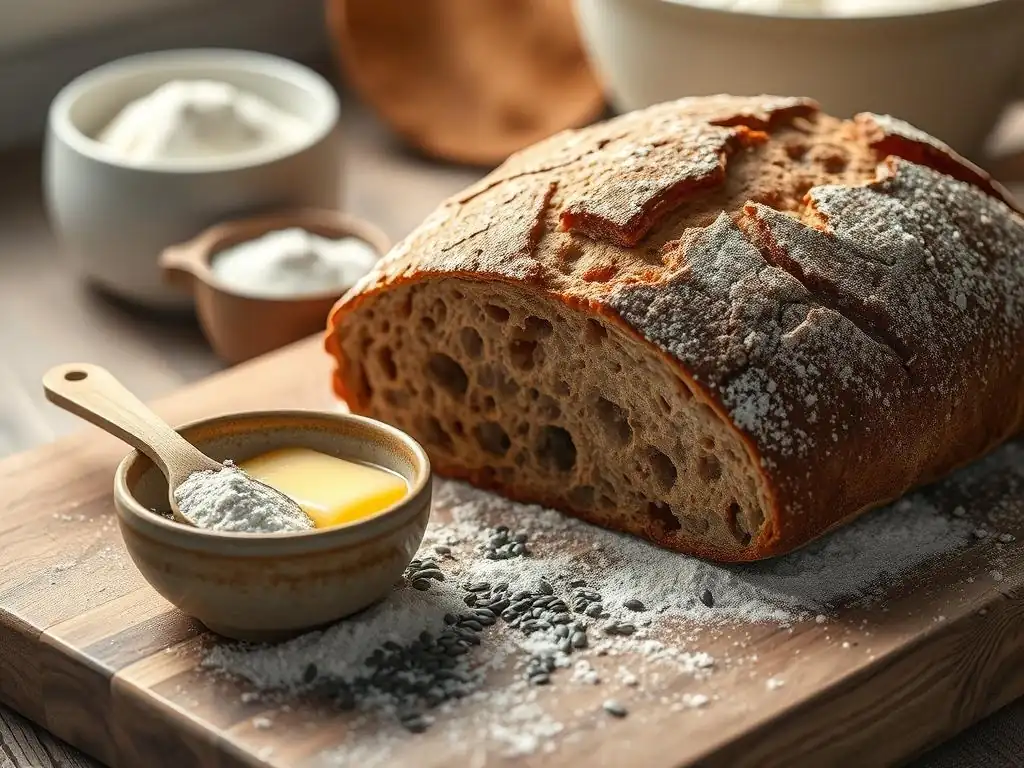
Ready to bake your first rye loaf? This recipe is designed to be straightforward and accessible, focusing on simplicity to ensure a successful first bake. We'll use common ingredients and basic techniques suitable for an easy beginner rye loaf. Follow these steps carefully, and you'll soon be enjoying the delicious fruits of your labor.
Baking bread is a process that requires patience and attention to detail, but it doesn't have to be complicated. This step-by-step guide breaks down the creation of your simple rye bread from start to finish. We'll cover everything from gathering your supplies to pulling the finished loaf from the oven, ensuring you have all the information you need for a smooth and enjoyable baking experience.
Gathering Your Ingredients for a Simple Rye Bread
Before you start, make sure you have all your ingredients measured out and ready. This recipe for an easy beginner rye loaf typically calls for a mix of rye flour (medium or light is best for beginners) and often some bread flour (high-gluten wheat flour) to provide structure and make the dough easier to handle. You'll also need water, yeast (active dry or instant), salt, and a sweetener like honey or molasses, which adds flavor and helps with crust color. Using filtered water can sometimes improve results, as chlorine in tap water can affect yeast activity.
For a standard loaf size, you might need around 200-250 grams of rye flour, 250-300 grams of bread flour, about 350-400 ml of warm water (around 100-110°F or 38-43°C if using active dry yeast), 1-2 teaspoons of yeast, 1-1.5 teaspoons of salt, and 1-2 tablespoons of honey or molasses. Having everything pre-measured in separate bowls or containers (mise en place) before you begin mixing helps streamline the process and prevents you from forgetting an ingredient, which is a common beginner mistake.
Essential Baking Tools for Your First Rye Loaf
Having the right tools can make baking your easy beginner rye loaf much smoother. You don't need a professional setup, but a few key items are very helpful. A large mixing bowl is essential – choose one that's big enough to comfortably hold the dough as it doubles in size during rising. A sturdy spoon or a dough whisk works well for initial mixing, especially with sticky rye dough.
You'll also need measuring cups and spoons for precision, and ideally, a kitchen scale to weigh your flour and water, as weighing is much more accurate than volume measurements in baking (e.g., 250 grams of flour is always 250 grams, but 1 cup can vary significantly depending on how it's scooped). Other useful tools include plastic wrap or a clean kitchen towel for covering the dough during rises, a bench scraper for handling sticky dough and cleaning up, and a baking sheet or loaf pan lined with parchment paper for baking.
For shaping, a little extra flour or oil for your hands and work surface is also key.
Step 1: Mixing the Dough for Your Beginner Rye Loaf
Begin by activating your yeast if you're using active dry yeast. In your mixing bowl, combine the warm water and sweetener (honey or molasses). Sprinkle the yeast over the top and let it sit for 5-10 minutes until it becomes foamy. If using instant yeast, you can skip this step and add it directly to the dry ingredients. Next, add the salt and most of the flours (rye and bread flour) to the bowl. Reserve a small amount of the bread flour to adjust the consistency later if needed.
Using a spoon or dough whisk, start mixing from the center outwards, incorporating the wet ingredients into the dry. Continue mixing until a shaggy dough forms and there are no dry pockets of flour remaining. At this point, you can switch to using your hands or, if you have one, a stand mixer with a dough hook.
Knead the dough on a lightly floured surface or in the mixer for about 5-7 minutes. Remember that rye dough won't develop as much gluten structure as a pure wheat dough, so it will remain somewhat sticky and less elastic. The goal is to bring it together into a relatively cohesive mass.
Tips for Achieving the Right Dough Consistency
Achieving the correct dough consistency is vital for an easy beginner rye loaf. Rye dough is naturally stickier than wheat dough due to the pentosans absorbing a lot of water. Don't be alarmed if it feels wetter than other doughs you've encountered.
The dough should be moist and tacky, but not so wet that it won't hold a loose shape. If it feels too dry and isn't coming together, add the remaining reserved water a tablespoon at a time. If it's excessively sticky and difficult to handle, add small amounts of the reserved bread flour (a tablespoon at a time) until it's manageable.
Kneading time is also different for rye. Since you're not developing a strong gluten network like in wheat bread, you don't need to knead until the dough passes the "windowpane test." Kneading for 5-7 minutes is usually sufficient to distribute ingredients and slightly develop the limited gluten present. Over-kneading rye dough can actually break down the pentosans and make the dough gummy or sludgy, so resist the urge to keep kneading if it feels like it's breaking apart rather than coming together. A slightly sticky, somewhat shaggy dough is perfectly normal for a beginner rye bread.
Step 2: First Rise - Bulk Fermentation for Rye Bread
Once your dough is mixed and lightly kneaded, it's time for the first rise, also known as bulk fermentation. Lightly grease your mixing bowl with a little oil or cooking spray. Shape the dough into a rough ball and place it seam-side down in the greased bowl. Turn the dough over once to coat the top surface lightly with oil. This prevents the dough from drying out.
Cover the bowl tightly with plastic wrap or a damp kitchen towel. Place the bowl in a warm, draft-free place. An oven with just the light on, a microwave (turned off) with a cup of hot water inside, or simply a warm spot on your counter can work. The dough needs to rise until it has increased significantly in size, typically by about 50-75%, or sometimes even doubled, depending on the temperature and yeast activity. This usually takes between 60 and 90 minutes for an easy beginner rye loaf recipe using commercial yeast.
Creating the Ideal Environment for Rye Bread to Rise
The temperature of the rising environment plays a crucial role in the activity of the yeast and thus the speed and success of your dough's rise. Yeast is most active in temperatures between 75°F and 85°F (24°C and 30°C). If your kitchen is cooler than this, finding a warmer spot is important. As mentioned, an oven with just the light on often provides a gentle warmth suitable for rising dough, typically reaching around 80-85°F (27-30°C).
Equally important is protecting the dough from drying out. A crust forming on the surface inhibits the dough's ability to expand properly. Tightly covering the bowl with plastic wrap creates a humid microclimate around the dough, preventing this. If using a kitchen towel, make sure it's slightly damp. The dough should look puffy and airy after the first rise, not necessarily doubled like a pure wheat dough, but definitely larger and softer.
Step 3: Shaping Your Easy Beginner Rye Loaf
After the first rise, gently transfer the dough onto a lightly floured surface. Rye dough can be quite soft and sticky, so handle it with care. Avoid punching it down too aggressively, as this can expel too much of the gas built up during fermentation. The goal now is to shape the dough into your desired loaf form – most easy beginner rye loaf recipes suggest a simple round (boule) or oval (batard) shape.
To shape a boule, gently tuck the edges of the dough underneath to form a relatively smooth top surface. Rotate the dough on the counter using the edge of your hands to create tension on the surface, forming a taut skin. For a batard, gently flatten the dough into a rectangle, then fold the top third down and the bottom third up, pressing gently to seal. Then, fold the dough in half lengthwise and seal the seam. Use a bench scraper if needed to help manage the sticky dough.
Simple Shaping Techniques for a Rustic Rye Loaf
Don't worry about achieving a perfectly uniform shape for your first rye loaf. A rustic look is part of the charm of homemade bread. The key is to create some surface tension to help the loaf hold its shape during the second rise and baking. For a simple round loaf, cup your hands around the dough ball and gently pull it towards you across the counter surface. The friction will help tighten the outer layer. Repeat this a few times, rotating the dough, until you feel a slight tension on the surface.
If the dough is sticking excessively to your hands or the surface, use a minimal amount of flour. Too much flour on the surface can prevent the dough from sealing properly. Alternatively, lightly oiling your hands and the work surface can sometimes be more effective with very sticky rye dough than using flour. Place your shaped loaf seam-side down on a baking sheet lined with parchment paper or into a prepared loaf pan.
Step 4: Second Rise - Proofing Your Rye Dough
The second rise, or proofing, is when the shaped loaf undergoes its final fermentation before baking. Cover the shaped loaf loosely with plastic wrap or a light kitchen towel to prevent it from drying out. Place it back in a warm, draft-free location for the final proof.
The duration of the second rise is typically shorter than the first, often ranging from 30 to 60 minutes for an easy beginner rye loaf. You're looking for the loaf to increase in size again, but not necessarily double. It should look visibly puffier and feel lighter when gently poked. This stage is critical; under-proofing will result in a dense loaf, while over-proofing can cause the loaf to collapse in the oven.
Knowing When Your Rye Loaf is Ready to Bake
Determining when your easy beginner rye loaf is perfectly proofed is a skill that improves with practice, but there's a reliable test you can use: the poke test. Gently press the surface of the loaf with a lightly floured finger. If the indentation springs back immediately, the loaf is under-proofed and needs more time. If the indentation stays completely, the loaf is likely over-proofed.
The ideal stage for baking is when the indentation slowly springs back halfway. This indicates that the dough has enough gas built up to expand in the oven (oven spring) but still has enough structure to hold its shape. Pay attention to the look and feel of the dough – it should look airy and feel delicate but not fragile. Timing is just a guideline; always rely on the visual cues and the poke test.
Step 5: Baking Your First Rye Loaf to Perfection
Preheat your oven well in advance, ideally with your baking surface (baking sheet or loaf pan) inside. For an easy beginner rye loaf, a common baking temperature is around 400-425°F (200-220°C). High initial heat helps the loaf achieve good oven spring and develop a nice crust. If using a baking sheet, you can transfer the loaf on the parchment paper. If using a loaf pan, simply place the pan in the oven.
Bake the loaf for approximately 30-45 minutes. The exact time will depend on your oven and the size and shape of your loaf. The loaf is done when it has a deep golden-brown crust and sounds hollow when tapped on the bottom. An internal temperature of around 200-210°F (93-99°C) is also a good indicator of doneness.
Achieving a Beautiful Crust on Your Homemade Rye Bread
A beautiful, flavorful crust is a hallmark of great bread, and you can achieve one on your easy beginner rye loaf. One simple method is to create steam in your oven at the beginning of the bake. This keeps the surface of the dough moist, allowing it to expand fully before the crust sets.
You can do this by placing a shallow pan on the bottom rack of your oven while it preheats and carefully pouring a cup of hot water into it just as you place the bread in the oven. Close the oven door quickly to trap the steam. Be cautious when doing this to avoid burns.
Another technique is to spray the surface of the loaf with water just before putting it in the oven. Some bakers also like to brush the top of a rye loaf with water or a mixture of water and cornstarch partway through baking (e.g., after 15-20 minutes) to encourage a glossier crust. If using a loaf pan, the sides will naturally be softer, but the top crust will still benefit from initial high heat and potential steam.
Troubleshooting Your Beginner Rye Loaf
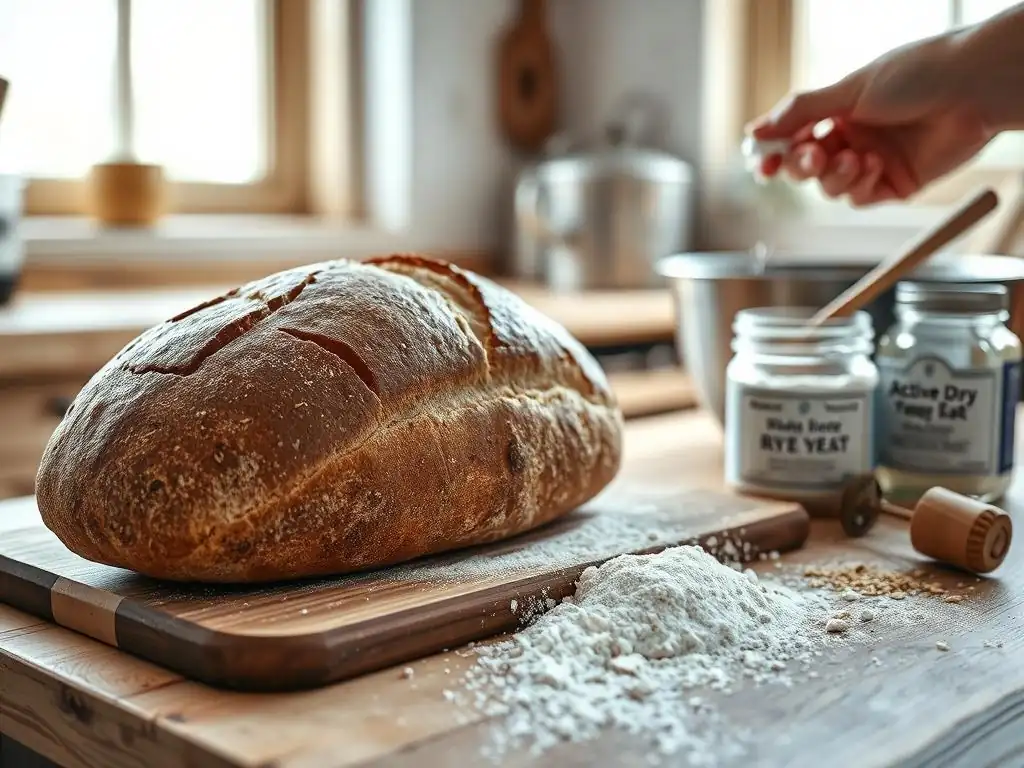
Even with an easy beginner rye loaf recipe, things don't always go exactly as planned on your first try. Don't get discouraged! Baking is a learning process, and understanding common issues can help you identify what went wrong and improve for your next bake. Most problems with rye bread relate to its unique dough structure and handling.
Encountering challenges is a normal part of learning any new skill, including baking bread. The good news is that many common issues with an easy beginner rye loaf have straightforward solutions. By recognizing the symptoms and understanding the causes, you can adjust your technique and achieve better results in subsequent attempts. Let's look at a couple of frequent problems.
Common Mistakes and How to Avoid Them
One of the most common mistakes when baking an easy beginner rye loaf is mismanaging the hydration level or handling the sticky dough incorrectly. Rye dough is naturally sticky, and trying to compensate by adding too much flour can lead to a dry, dense loaf. Conversely, not adding enough water might result in a dough that's hard to mix and doesn't rise well. Another frequent issue is related to proofing – either under-proofing, which results in a dense crumb, or over-proofing, which can cause the loaf to collapse.
To avoid these issues, measure your ingredients accurately, ideally by weight. Trust the recipe's hydration level, even if the dough feels wetter than you expect. Use minimal flour on your work surface when shaping, or try lightly oiling your hands and surface instead. Pay close attention during the rising stages; use the poke test to judge proofing readiness rather than relying solely on time. Remember that ambient temperature greatly affects rising speed, so adjust accordingly.
What to do if your Rye Bread is Too Dense
A dense crumb is a common complaint with homemade rye bread, particularly with an easy beginner rye loaf. This is often caused by under-proofing. If the dough hasn't had enough time to develop sufficient gas during fermentation, it won't have good oven spring and will result in a heavy, brick-like texture. Ensure your rising environment is warm enough (75-85°F) and that you are letting the dough rise until it passes the poke test described earlier (slowly springing back halfway).
Another factor can be the ratio of rye to wheat flour. A loaf made with 100% rye flour will naturally be denser than one with a mix. If your recipe uses a high percentage of rye and your loaf is too dense for your preference, try increasing the proportion of bread flour slightly in your next attempt. Also, ensure you are using active yeast that hasn't expired; inactive yeast won't produce enough gas for a light crumb.
How to Fix a Sticky Rye Dough
Working with sticky rye dough is a common challenge when baking an easy beginner rye loaf. Rye flour's high pentosan content makes it absorb a lot of water and develop a naturally sticky texture. Resist the urge to dump copious amounts of flour onto the dough or your work surface; this will change the hydration of the dough and can make the finished loaf dry and heavy.
Instead, embrace the stickiness to some extent. Use a bench scraper to help you manage and move the dough. Keep your hands lightly floured or, better yet, lightly oiled (using a neutral oil like vegetable or canola oil).
A light coating of oil on your hands and the work surface can prevent sticking more effectively than flour without altering the dough's hydration. If the dough is exceptionally wet and unmanageable after the initial mix and short knead, you can add a tablespoon of flour at a time, incorporating it fully before adding more, until the dough is merely tacky, not glue-like.
Serving and Storing Your Homemade Rye Bread
Congratulations on baking your first rye loaf! The aroma filling your kitchen is one of the most rewarding parts of baking bread at home. Before you slice into it, allow the loaf to cool completely on a wire rack. Slicing hot bread can compress the crumb and make it seem doughy inside. Cooling allows the internal structure to set and steam to escape, resulting in a better texture. This can take 1-2 hours for a standard-sized loaf.
Once cooled, your easy beginner rye loaf is ready to be enjoyed. The flavor of rye often pairs wonderfully with a variety of toppings and meals. Proper storage is also key to keeping your delicious bread fresh for as long as possible, allowing you to savor its unique taste over several days.
Delicious Ways to Enjoy Your Freshly Baked Rye Bread
Your homemade easy beginner rye loaf is incredibly versatile. One of the simplest and most satisfying ways to enjoy it is sliced thickly and spread with butter. The slightly tangy, robust flavor of the rye is perfectly complemented by the richness of butter. It also makes fantastic toast, providing a sturdy base for toppings like avocado, smoked salmon, or jam.
Rye bread is a classic base for open-faced sandwiches. Try topping slices with cream cheese and chives, hard-boiled eggs, pickled herring, or cured meats. It's also wonderful served alongside soups and stews, perfect for soaking up flavorful broths. Consider serving it with a cheese board; the hearty texture and distinct flavor of rye pair well with strong cheeses like cheddar or Swiss, or creamy cheeses like goat cheese. Don't forget classic pairings like pastrami or corned beef for a delicious deli-style sandwich.
Proper Storage Techniques for Maintaining Rye Bread Freshness
To keep your easy beginner rye loaf fresh, store it at room temperature, not in the refrigerator, which can dry out bread quickly. Once completely cool, the best way to store it is wrapped tightly to prevent it from drying out. A clean linen bread bag allows some air circulation while keeping the crust relatively crisp. Alternatively, wrap the loaf tightly in plastic wrap or aluminum foil.
For longer storage, homemade rye bread freezes exceptionally well. Slice the cooled loaf first, then wrap the slices tightly in plastic wrap or place them in a freezer-safe bag or container. Frozen sliced bread can be toasted directly from the freezer. A whole loaf can be frozen wrapped tightly; simply thaw it at room temperature before slicing. Stored at room temperature and wrapped well, your rye loaf should stay fresh for about 3-4 days.
Variations on the Easy Beginner Rye Loaf Recipe
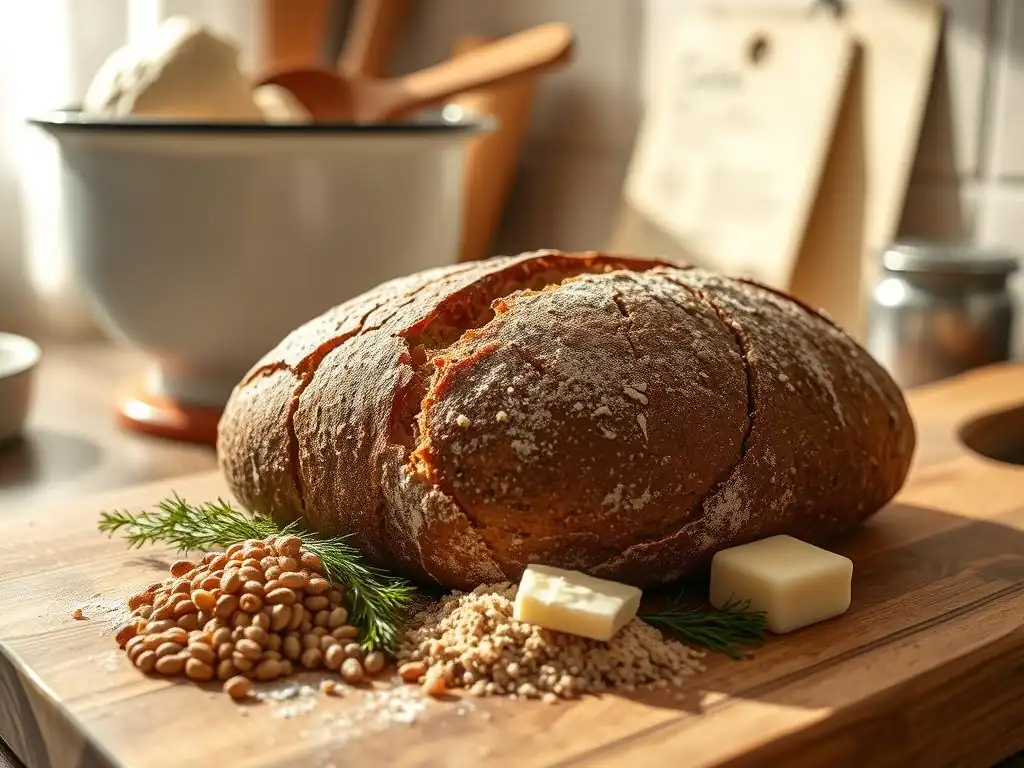
Once you've successfully baked your first easy beginner rye loaf, you might feel inspired to experiment. Rye bread is a wonderful base for incorporating other flavors and textures. These simple variations can add complexity and personalization to your next bake, building on the foundational skills you've just mastered.
Exploring variations allows you to tailor your rye bread to your personal taste preferences. Whether you want to add some crunch, introduce a different type of fermentation, or explore deeper flavors, the basic easy beginner rye loaf recipe provides a flexible starting point for culinary creativity.
Adding Seeds and Spices for a Unique Flavor
A very common and delicious variation for rye bread is the addition of seeds and spices. Caraway seeds are a classic pairing with rye, offering a distinct aromatic flavor that complements the bread's earthiness. You can add 1-2 teaspoons of whole caraway seeds to the dough during the initial mixing stage. Other seeds that work well include flax seeds, sunflower seeds, or pumpkin seeds, which add texture and nutty flavor. You could add a quarter cup of mixed seeds to the dough.
Spices like fennel seeds, coriander, or even a pinch of ground anise can also enhance the flavor profile of your easy beginner rye loaf. Add these with the dry ingredients. For a richer, darker flavor, consider adding a tablespoon or two of cocoa powder or instant coffee powder to the dough, along with a bit more molasses or dark sugar. This is a step towards a "black bread" profile, adding layers of flavor beyond the basic rye.
Creating a Sourdough Rye Loaf for a Tangier Taste
For those ready to explore slightly more advanced techniques, converting your easy beginner rye loaf recipe to use a sourdough starter instead of commercial yeast is a fantastic option. Sourdough fermentation introduces beneficial bacteria along with wild yeast, resulting in a tangier flavor and often a more complex crumb structure. You would typically replace the commercial yeast and warm water with a portion of active rye or wheat sourdough starter (often around 100-150 grams).
Baking with sourdough requires understanding different fermentation timelines, as sourdough rises more slowly than commercial yeast. The bulk fermentation and proofing times will be longer, potentially several hours or even overnight, depending on the starter's activity and ambient temperature. While it adds a layer of complexity, successfully baking a sourdough easy beginner rye loaf is incredibly rewarding and offers a depth of flavor that is hard to beat.
Baking a Dark Rye Bread for a Richer Flavor
To achieve a richer color and more intense flavor profile, you can adapt your easy beginner rye loaf recipe by using a higher percentage of dark rye flour or even pumpernickel flour. These flours include more of the bran and germ, contributing a deeper color and more robust taste. However, remember that dark rye flours are even lower in gluten and higher in pentosans than light or medium rye, making the dough stickier and denser.
You might need to slightly adjust the hydration (water amount) when using dark rye, as it can absorb even more liquid. The resulting loaf will likely be denser and have a tighter crumb than a loaf made with lighter rye flour.
Often, dark rye breads benefit from longer, slower fermentation times, sometimes involving a pre-ferment or scalded rye flour (where a portion of the flour is mixed with hot water to gelatinize the starches), though a simple swap in your beginner recipe is a good starting point to experience the flavor difference. Using molasses as the sweetener is also particularly complementary to dark rye.
Conclusion: Your First Rye Bread Success!
You've done it! By following this guide, you've taken the steps to bake your very first easy beginner rye loaf. From understanding the unique properties of rye flour to mixing, rising, shaping, and baking, you've navigated the process and created something truly special in your own kitchen. Hold that warm loaf in your hands and take a moment to appreciate your accomplishment.
Baking bread, especially a new type like rye, is a skill that develops with practice. Don't worry if your first loaf isn't absolutely perfect. Maybe the shape was a little wonky, or the crust wasn't exactly as you pictured. Each bake is a learning experience. What matters is that you started, you followed the steps for an easy beginner rye loaf, and you produced edible, delicious bread.
Enjoy the Process and Keep Baking!
The journey of baking is just as rewarding as the destination (eating the bread!). Savor the process of mixing the dough, watching it rise, and the incredible aroma that fills your home as it bakes. Baking is a wonderful way to slow down, engage your senses, and create something tangible and nourishing.
Now that you've successfully tackled an easy beginner rye loaf, the world of rye bread – and bread baking in general – is open to you. Try the variations suggested, experiment with different flours or techniques, or simply bake this easy beginner rye loaf recipe again to hone your skills. The more you bake, the more intuitive the process will become. So, keep baking, keep experimenting, and most importantly, keep enjoying the delicious results of your efforts!
Frequently Asked Questions
What is an easy beginner rye loaf?
An easy beginner rye loaf is a simple recipe designed for novice bakers. It typically involves minimal ingredients and straightforward steps, making it accessible for those new to baking.
Do I need any special equipment to bake a rye loaf?
No, you can bake a rye loaf using basic kitchen equipment. Common items include a mixing bowl, a baking pan, and an oven, which are usually found in any home kitchen.
How long does it take to bake a rye loaf?
The total time can vary, but typically an easy beginner rye loaf takes about 2 to 3 hours, including preparation, rising time, and baking. This makes it manageable for beginners.
Can I add ingredients to my rye loaf?
Absolutely! You can customize your rye loaf by adding ingredients like seeds, nuts, or dried fruits. Just remember that adding extra ingredients may affect the baking time and texture.
Where can I find step-by-step guides for baking?
You can explore detailed step-by-step guides and recipes on BakeWithEase.com, which offers a wealth of resources tailored for bakers of all levels, including those looking to master the easy beginner rye loaf.
Final Reflection: The Unexpected Joys of a Simple Rye Loaf
Baking a rye loaf, even a simple one, is more than just following a recipe; it's a journey of discovery, a testament to the enduring power of traditional techniques in our modern world. The ease with which even a novice baker can achieve a delicious, satisfying loaf speaks volumes about the accessibility of this often-misunderstood bread. This accessibility opens doors to a deeper connection with food, fostering a sense of accomplishment and pride that extends far beyond the kitchen.
The enduring appeal of homemade bread, and rye in particular, lies in its ability to connect us to a rich culinary history while simultaneously offering a comforting, familiar taste. The process itself is meditative, a rhythmic dance between measuring, mixing, and kneading. It's a welcome respite from the relentless pace of modern life. Bread is the staff of life,
they say, and I believe it's true not just for sustenance, but for the soul as well. The simple act of creating something nourishing and delicious from scratch offers a profound sense of satisfaction.
Now, I invite you to take that first step. Don't be intimidated by the seemingly complex nature of rye bread. Use this guide as your springboard, experiment with different flours and techniques, and most importantly, enjoy the process. The aroma of freshly baked rye filling your kitchen, the satisfying crust giving way to a tender crumb – these are the rewards that await you. Embrace the challenge, and discover the unexpected joys that await within your own kitchen.
Unleash Your Inner Baker: Craft Your Perfect Rye Loaf!
Thanks for joining us on this rye bread journey! You’ve just unlocked the secrets to baking a delicious, homemade loaf – even if you're a complete beginner. Now it's time to put your newfound knowledge into action!
- Bake your own rye loaf today! Use the recipe and tips from the article as your guide. Don't be afraid to experiment – that's half the fun!
- Share your baking experience! Post a picture of your finished loaf on social media using #BakeWithEaseRye and tag us – we'd love to see your creation.
- Explore other delicious bread recipes on BakeWithEase.com – maybe you'll discover your next favorite bake!
Ready to taste the satisfaction of a perfectly crafted rye loaf? What unique ingredient will you add to your next bake?