
Rough Puff Pastry Simplified: Get Great Layers Fast

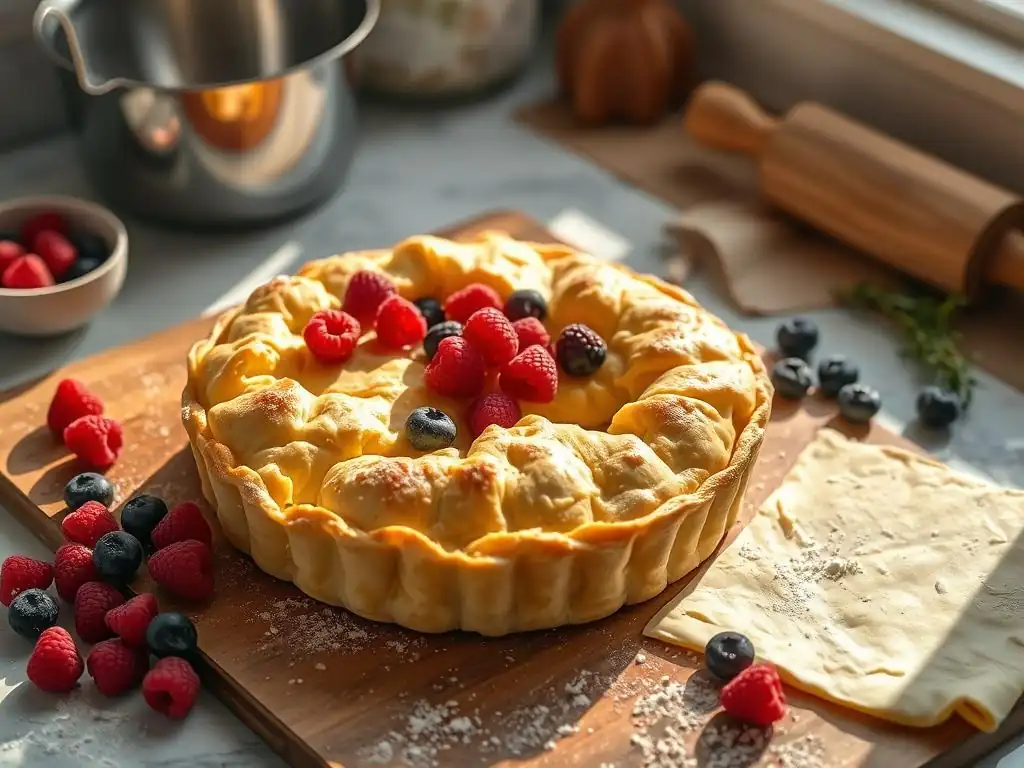
Welcome to BakeWithEase, where baking becomes a joy, not a chore! Ever dream of flaky, buttery layers without the fuss? Our latest article dives deep into an easy rough puff pastry recipe, demystifying the process and empowering you to create stunning pastries at home. Ready to unlock the secrets to perfectly imperfect, incredibly delicious rough puff? Let's get baking!
- Rough Puff Pastry Simplified: Get Great Layers Fast with Sally's Baking Addiction
- Introduction to Easy Rough Puff Pastry
- Understanding Rough Puff vs. Classic Puff Pastry
- Ingredients for Your Easy Rough Puff Pastry Recipe
- Step-by-Step: Sally's Baking Addiction's Simplified Rough Puff Pastry Recipe
- Tips for Perfect Rough Puff Pastry Every Time
- Using Your Homemade Easy Rough Puff Pastry
- Mastering Puff Pastry: Beyond the Basics
- Conclusion: Enjoying Your Easy Homemade Puff Pastry
-
Frequently Asked Questions
- What exactly is rough puff pastry, and how does it differ from regular puff pastry?
- Is this "Easy rough puff pastry recipe" truly easy, even for a beginner baker?
- What are the key ingredients I need to make this rough puff pastry, and are they easily accessible?
- What are the most common mistakes people make when attempting rough puff pastry, and how can I avoid them?
- What types of baked goods can I create using this "Easy rough puff pastry recipe"?
- Final Reflection: The Joy of Effortless Elegance
- Unleash Your Inner Pastry Chef: Flaky Layers Await!
Rough Puff Pastry Simplified: Get Great Layers Fast with Sally's Baking Addiction
Introduction to Easy Rough Puff Pastry
Why Rough Puff Pastry is Perfect for Home Bakers
Traditional puff pastry, while undeniably glorious, can feel like a daunting Everest for many home bakers. It demands precision, patience, and a significant time commitment involving multiple chilling and rolling cycles. This is where an easy rough puff pastry recipe steps in as a true game-changer. It offers a much more approachable path to achieving those coveted flaky layers without the rigorous techniques of classic pâte feuilletée.
Rough puff pastry simplifies the lamination process by incorporating chunks of butter directly into the dough before rolling and folding. This less formal method still creates distinct layers of butter and dough, resulting in a pastry that is wonderfully light and crisp. It's an excellent starting point for beginners venturing into layered doughs and a reliable, quicker alternative for experienced bakers on a tighter schedule. Mastering an easy rough puff pastry recipe opens the door to a wide variety of delicious sweet and savory treats.
Sally's Baking Addiction's Guide to Simplified Puff Pastry
For many home bakers seeking reliable recipes, resources like Sally's Baking Addiction are invaluable. Known for her clear instructions and tested methods, Sally provides a fantastic framework for tackling potentially intimidating baking projects. The approach to rough puff pastry often shared by such trusted sources focuses on minimizing complexity while maximizing results, ensuring that even those new to layered dough can succeed.
This simplified method, often found in guides like those on Sally's Baking Addiction, typically streamlines the butter incorporation and folding steps. Instead of meticulously distributing thin sheets of butter, larger pieces are cut into the flour mixture, and the dough is then subjected to fewer, more forgiving "turns" compared to the five or six turns required for classic puff pastry. This focus on ease makes whipping up an easy rough puff pastry recipe a weekend afternoon project rather than an all-day affair.
Understanding Rough Puff vs. Classic Puff Pastry
What Makes Rough Puff Pastry Easier?
The primary difference that makes rough puff pastry significantly easier than its classic counterpart lies in the method of incorporating the butter. In classic puff pastry, a perfectly smooth dough is made first, and then a large, flat slab of butter is meticulously encased within it before the extensive rolling and folding process begins. This requires careful handling to prevent the butter from breaking through the dough layers.
Rough puff pastry, on the other hand, involves cutting cold butter chunks directly into the flour and water mixture. The butter pieces remain visible within the dough. When this dough is rolled and folded, these butter pieces flatten out into layers. While not as uniform as the butter layers in classic puff, this technique is much faster and less prone to error, making an easy rough puff pastry recipe accessible to bakers without specialized equipment or extensive experience.
Achieving Flaky Layers: The Key Difference
Both rough puff and classic puff pastry rely on the principle of lamination – creating alternating layers of dough and fat. During baking, the water in the butter turns to steam, which forces the dough layers apart, resulting in that characteristic flaky, airy texture. The key difference in achieving these layers lies in their uniformity and number.
Classic puff pastry, with its precise butter block and numerous turns (often 6 single turns or 3 double turns), develops hundreds or even thousands of incredibly thin, distinct layers. This yields a pastry that rises dramatically and is exceptionally light and delicate. Rough puff pastry, with its chunkier butter distribution and fewer turns (typically 3 or 4 single turns), produces thicker, less uniform layers. While it may not rise quite as high as classic puff, it still delivers a satisfyingly flaky result, perfectly suitable for pies, tarts, and turnovers, proving that an easy rough puff pastry recipe can still achieve impressive flakiness.
Ingredients for Your Easy Rough Puff Pastry Recipe
The Essential Flour for Flaky Pastry
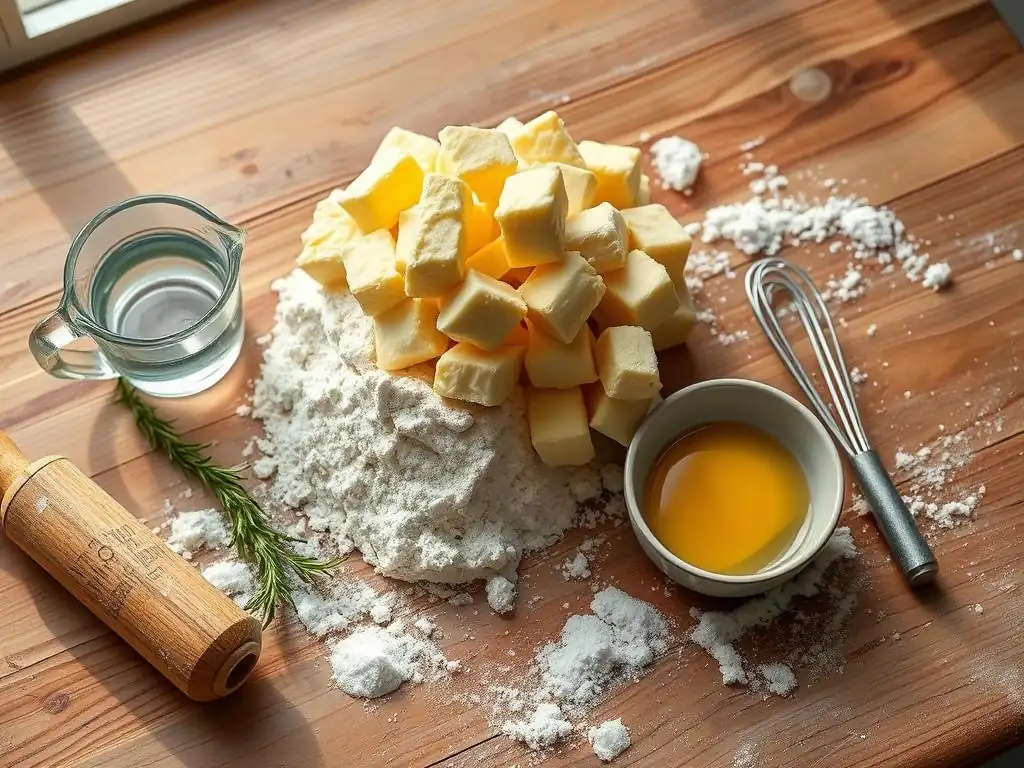
Choosing the right flour is fundamental for any successful pastry, and an easy rough puff pastry recipe is no exception. All-purpose flour is the standard choice for puff pastry because it contains a moderate amount of protein, typically ranging from 10% to 12%. This protein level provides enough structure to handle the rolling and folding without developing excessive gluten, which could result in a tough pastry.
Using bleached or unbleached all-purpose flour works well. Some bakers prefer unbleached for its slightly higher protein content and more robust flavor, but bleached flour is perfectly acceptable and widely available. Ensuring your flour is fresh is also important for optimal results. A typical recipe using about 2 cups (approximately 240-250 grams) of all-purpose flour is a good starting point for a batch of easy rough puff pastry.
Butter: The Star Ingredient for Layered Dough
Butter is arguably the most crucial ingredient in achieving those beautiful, flaky layers in any puff pastry, including an easy rough puff pastry recipe. High-quality, unsalted butter is essential. Unsalted butter allows you to control the salt content in your recipe, and its flavor is paramount since it makes up a significant portion of the dough (often a 1:2 ratio of butter to flour by weight, meaning about 1 cup or 2 sticks of butter for 2 cups of flour).
The temperature of the butter is absolutely critical. It must be very cold, straight from the refrigerator. Some recipes even suggest freezing it briefly and then cutting it into small cubes or grating it. The cold, distinct pieces of butter are what create the layers as they melt during baking. Using butter that is too soft or warm will result in it mixing too readily with the flour, leading to a less flaky, more biscuit-like texture instead of the desired distinct layers.
Cold Water: The Secret Weapon for Texture
Just like the butter, the water used in an easy rough puff pastry recipe needs to be ice cold. Cold water helps keep the butter solid and prevents it from melting prematurely during the mixing and rolling process. It also helps to limit gluten development in the dough, contributing to a tender pastry.
The amount of water needed can vary slightly depending on the humidity and the specific flour used, but it's typically a relatively small amount, often around 1/2 cup (approximately 120 ml) for 2 cups of flour. It's best to add the water gradually, just until the dough comes together. The dough should be firm and not sticky. Using ice water, or water with a few ice cubes that are strained out before using, ensures the lowest possible temperature.
Ingredient Ratios and Precise Measurements
While an easy rough puff pastry recipe is more forgiving than classic puff, accurate ingredient ratios are still important for success. A common ratio by weight is approximately 2 parts flour to 1 part butter, though some recipes use slightly more butter for extra richness, closer to a 3:2 ratio (flour:butter). For instance, using 250 grams of flour might call for 125-175 grams of cold butter.
Precision in measuring, especially the flour and butter, is key to achieving the correct dough consistency and maximizing flakiness. Using a kitchen scale for flour and butter provides the most accurate measurements. For liquids like water, measuring cups are acceptable, but starting with a slightly smaller amount and adding more only if needed is a good practice to avoid overly wet dough. Remember, the goal is a shaggy dough that just comes together, not a smooth, elastic one.
Step-by-Step: Sally's Baking Addiction's Simplified Rough Puff Pastry Recipe
Step 1: Preparing the Dough
The initial stage of creating your easy rough puff pastry involves bringing the basic components together. Unlike classic puff where butter is added later, here we combine the butter with the dry ingredients from the start. This step is quick and aims to create a shaggy mixture with visible butter pieces, which is fundamental to the rough puff method.
Begin by ensuring all your ingredients are cold. The butter should be diced into small cubes, roughly 1/2 inch or 1 cm in size, and kept chilled until ready to use. This preparation is simple but vital for the outcome of your easy rough puff pastry recipe.
Combining Dry Ingredients
Start by whisking together your all-purpose flour and a pinch of salt in a large mixing bowl. The salt adds flavor and helps control yeast activity if you were making a yeasted dough, but here it's primarily for taste. A typical amount might be 1/2 teaspoon of fine salt per 2 cups of flour.
Ensure the dry ingredients are well combined before adding the butter. This simple step guarantees that the salt is evenly distributed throughout the dough, contributing to a balanced flavor in your finished easy rough puff pastry.
Incorporating the Butter: The Key to Layers
Add the very cold, diced butter directly into the bowl with the flour mixture. Using your fingertips, a pastry blender, or a food processor with a pulse function, quickly cut the butter into the flour. The goal is not to create a uniform sandy mixture like you would for pie crust.
You want the mixture to resemble coarse crumbs with many visible pieces of butter ranging in size from a pea up to a small bean ( 1/4 inch to 1/2 inch). These distinct butter pieces are what will flatten out into layers during the rolling and folding process, creating the characteristic flakiness of your easy rough puff pastry recipe.
Adding Water and Forming the Dough
Gradually add the ice-cold water to the flour and butter mixture. Start with the minimum amount specified in your recipe (e.g., 1/2 cup for 2 cups flour) and mix gently with a fork or your hands until the dough just begins to come together. It should be shaggy and may still have some dry bits at the bottom of the bowl.
Avoid overmixing. You don't want to develop the gluten too much. The dough should be moist enough to hold together when squeezed but not sticky. If it seems too dry, add water just a teaspoon at a time. Once it forms a rough mass, turn it out onto a lightly floured surface.
Step 2: Lamination - Creating the Layers
Lamination is the core process where the layers are created through rolling and folding, known as "turns." For an easy rough puff pastry recipe, this process is simplified compared to classic puff pastry, requiring fewer turns but still demanding careful handling and chilling.
This stage requires patience and a very cold environment. Keeping the dough and your workspace cool is paramount to preventing the butter from melting into the dough, which would hinder layer formation.
The First Turn: Folding and Rolling
Gather the shaggy dough into a rough rectangle on your lightly floured surface. Gently pat or roll it into a rectangle approximately 1/2 inch thick. Aim for a rectangle that is roughly three times as long as it is wide.
Perform the first "turn" by folding the dough into thirds, like a letter. Bring one short end up to cover two-thirds of the rectangle, then fold the remaining third over the top. This completes the first turn, beginning the layering process for your easy rough puff pastry recipe.
The Second and Third Turns: Developing the Dough
After the first turn, rotate the dough 90 degrees so the folded edge is now on your left (or right, consistently). Gently roll the dough out again into a rectangle, similar in size to the first time. Be careful not to press too hard, which could force the butter out.
Repeat the folding process, bringing one end up two-thirds of the way and folding the final third over. This completes the second turn. Repeat this entire roll-and-fold process one more time for a total of three turns. Some easy rough puff pastry recipes call for four turns for slightly more layers.
Chilling the Dough: Essential for Relaxation
After completing the final turn, wrap the dough tightly in plastic wrap. It's crucial to chill the dough thoroughly between turns, although in the simplified rough puff method, chilling after all turns are completed is often sufficient before rolling to shape.
Chill the dough in the refrigerator for at least 30 minutes, or preferably 1-2 hours. This resting period allows the gluten to relax, making the dough easier to roll, and more importantly, it firms up the butter layers, ensuring they remain distinct during the final shaping. Proper chilling is non-negotiable for a flaky easy rough puff pastry recipe.
Step 3: Final Rolls and Shaping
Once your rough puff pastry dough has been adequately chilled and rested, it's ready for its final roll-out and shaping according to your specific recipe's needs. This is the stage where you transform the layered block into the base for your desired pastries.
Handle the dough gently during this final stage to maintain the integrity of the layers you've worked to create. A light hand and a cool surface are your best friends here.
Achieving the Desired Thickness
Remove the chilled dough from the refrigerator and place it on a lightly floured surface. Roll it out carefully and evenly to the thickness required by your recipe, typically between 1/8 inch ( 3 mm) and 1/4 inch ( 6 mm) thick, depending on what you are making.
Work from the center outwards, applying even pressure. If the dough starts to spring back excessively, cover it and let it rest in the refrigerator for 10-15 minutes before continuing. This relaxation step helps prevent tough pastry and makes rolling easier.
Shaping the Pastry for Your Recipe
Once rolled to the correct thickness, you can cut the dough into the desired shapes – squares for turnovers, rectangles for palmiers, circles for tart bases, or strips for cheese straws. Use a sharp knife or a pastry wheel for clean cuts, which helps the layers rise properly during baking.
Gather any scraps, stack them (don't knead them), gently press them together, and chill briefly before rolling them out again. While scraps might not yield as many distinct layers as the initial dough, they can still be used for smaller pastries or decorative elements, ensuring no part of your delicious easy rough puff pastry recipe goes to waste.
Tips for Perfect Rough Puff Pastry Every Time
Keep Everything Cold: The Golden Rule
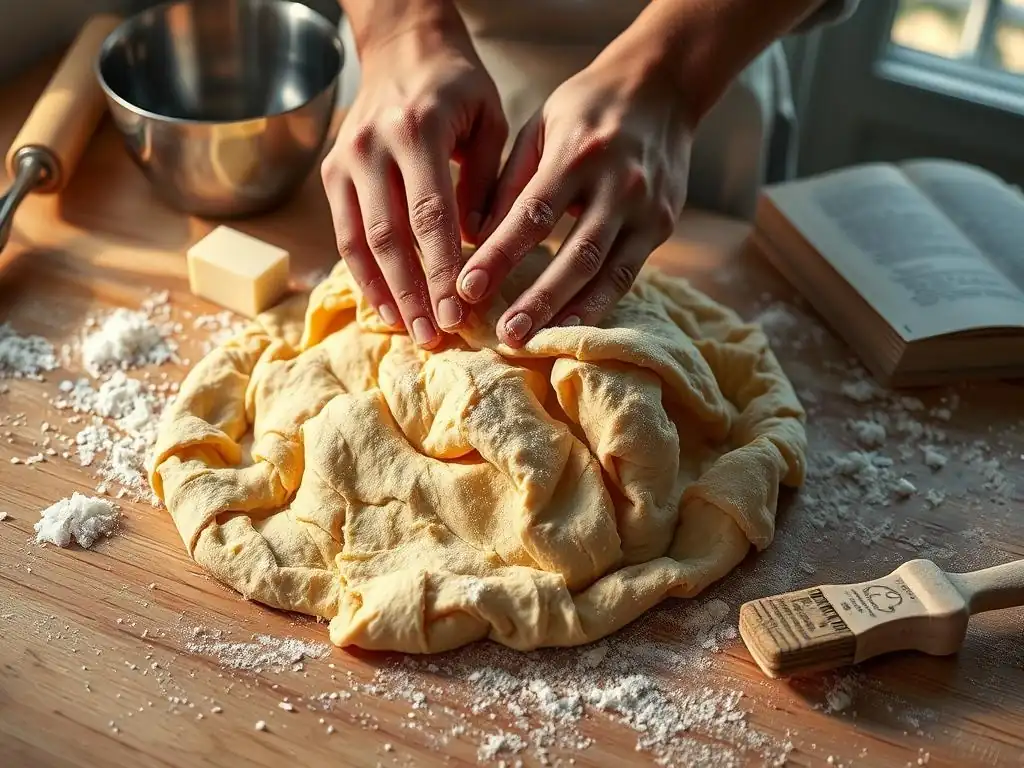
Maintaining cold temperatures is the single most important factor for success when making any puff pastry, especially an easy rough puff pastry recipe. Cold butter creates steam pockets, cold water limits gluten, and cold dough is easier to handle and roll without the butter melting into the dough.
Ensure your butter, water, and even your flour are cold. If your kitchen is warm, consider chilling your mixing bowl and rolling pin beforehand. Work quickly during the rolling and folding steps, and don't hesitate to pop the dough back into the refrigerator for 10-15 minutes if it becomes soft or difficult to handle. A minimum chilling time of 30 minutes between turns (if doing multiple short rests) or after the final turn is crucial.
Handling the Dough Gently: Preventing Toughness
Overworking the dough is the enemy of flaky pastry. Excessive mixing when adding the water or aggressive rolling during the turns can develop too much gluten, resulting in a tough, rubbery texture instead of light, crisp layers.
Mix the water in just until the dough comes together. When rolling, use firm but not heavy pressure. If the dough resists rolling or shrinks back significantly, it means the gluten needs to relax. Simply cover it and refrigerate for 15-20 minutes before trying again. Gentle handling ensures the butter layers remain intact and the dough stays tender for your easy rough puff pastry recipe.
Using High-Quality Butter: For Rich Flavor and Flakiness
The type and quality of butter you use significantly impact both the flavor and texture of your rough puff pastry. European-style butter, which typically has a higher butterfat content (around 82-84%) compared to American-style butter (around 80%), is often preferred by professional bakers.
The higher fat content in European butter contributes to richer flavor and can potentially yield slightly flakier results because there is less water to interfere with layer separation. However, a good quality American-style unsalted butter that is very cold will still produce excellent results in an easy rough puff pastry recipe. Avoid using butter blends or margarine, as their different melting points and water content will not create the same flaky layers.
Troubleshooting Common Puff Pastry Issues
Even with an easy rough puff pastry recipe, you might encounter hiccups. If your dough is sticky, you likely added too much water; try adding a tablespoon or two of flour during the initial mix or on your rolling surface. If butter is oozing out during rolling, your dough is too warm; chill it immediately and ensure your workspace is cool.
Pastry that doesn't rise or isn't flaky is usually due to the butter melting into the dough (not enough chilling, warm ingredients, or overworking) or not enough turns were performed. If your pastry shrinks excessively when baking, the dough wasn't rested enough after rolling and shaping. Recognizing these common issues helps you adjust your technique for future attempts at your easy rough puff pastry recipe.
Using Your Homemade Easy Rough Puff Pastry
Sweet Applications: Apple Turnovers, Cream Horns
Homemade rough puff pastry is incredibly versatile for sweet treats. Its flaky texture provides a wonderful contrast to fruit fillings, creams, and custards. One classic use is for apple turnovers: simply fill squares of rolled-out dough with a spiced apple mixture, fold into triangles, seal the edges, and bake until golden and puffed.
Another delightful application is cream horns. Strips of pastry are wrapped around conical molds and baked until crisp. Once cooled, they are filled with sweetened whipped cream, pastry cream, or a stable meringue filling. The ease of making an easy rough puff pastry recipe makes these impressive-looking pastries surprisingly accessible for a home baker.
Savory Applications: Beef Wellington Bites, Cheese Straws
Rough puff pastry isn't just for desserts; it excels in savory dishes too. Its buttery flakiness pairs beautifully with meats, cheeses, and vegetables. Small squares can be topped with caramelized onions and goat cheese for quick tarts, or used as a base for mini quiches.
For a more substantial savory bite, consider making Beef Wellington bites. Wrap small pieces of cooked beef tenderloin (perhaps with mushroom duxelles) in squares of the pastry and bake until the pastry is puffed and golden. Simple cheese straws are another easy savory option: brush rolled pastry with egg wash, sprinkle generously with grated hard cheese like Parmesan, cut into strips, and twist before baking. An easy rough puff pastry recipe makes elevating simple savory ingredients effortless.
Storing Your Rough Puff Pastry: Freshness Tips
Proper storage ensures that your hard work in making an easy rough puff pastry recipe pays off whenever you're ready to bake. Unbaked rough puff pastry dough can be stored in the refrigerator for up to 2-3 days. Wrap it very tightly in plastic wrap to prevent it from drying out or absorbing odors.
For longer storage, rough puff pastry freezes exceptionally well. Wrap the entire block of dough tightly in plastic wrap, then again in aluminum foil or place it in a freezer-safe bag. Frozen dough can last for up to 3 months. Thaw frozen dough overnight in the refrigerator before rolling and using. Baked rough puff pastries are best enjoyed the same day for maximum flakiness, but can be stored in an airtight container at room temperature for a day or two, though they will lose some crispness.
Mastering Puff Pastry: Beyond the Basics
Advanced Techniques for Even Better Layers
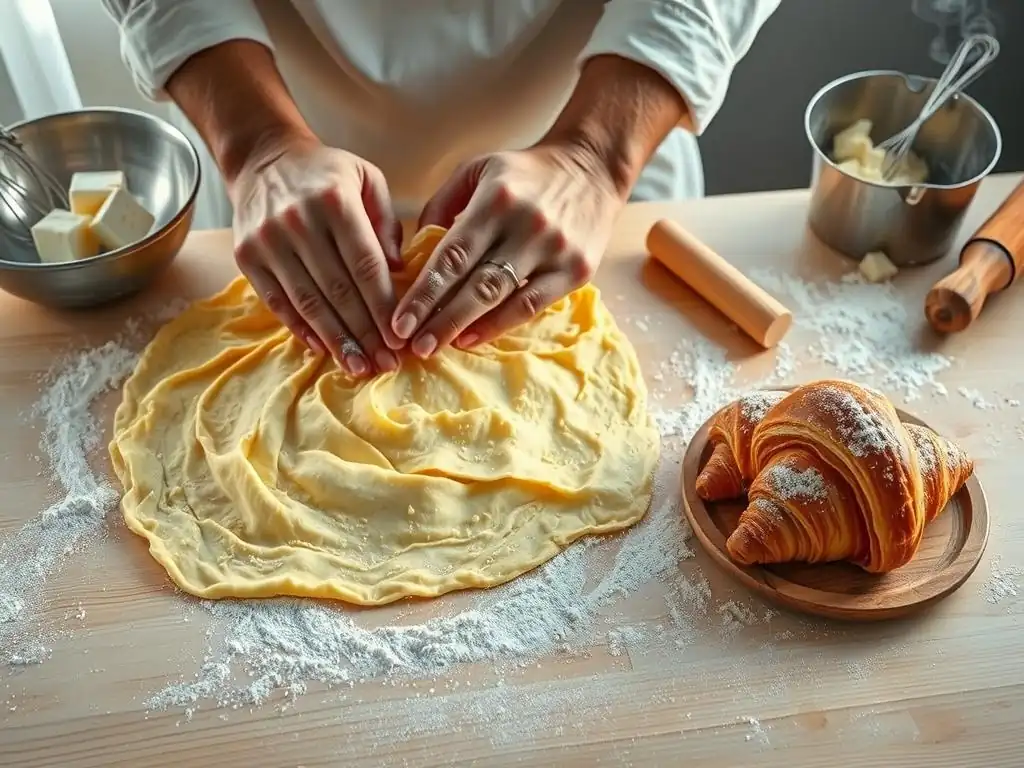
While an easy rough puff pastry recipe provides a fantastic foundation, bakers seeking to refine their skills can explore techniques that lead to even more consistent and dramatic layers. One such technique involves ensuring the butter chunks are roughly the same size and evenly distributed before the first roll. Some bakers also experiment with grating the butter instead of cutting it for potentially finer layers.
Another step towards more advanced results is incorporating a brief chill period ( 15-20 minutes) after each turn, not just at the end. This extra chilling time ensures the butter stays firm throughout the lamination process, leading to cleaner separation and higher rise. While this adds time, it can significantly improve the structure and flakiness beyond a basic easy rough puff pastry recipe.
Experimenting with Flavors in Your Rough Puff Pastry
Once you're comfortable with the basic easy rough puff pastry recipe, you can start experimenting with adding flavors directly into the dough. Savory variations can include incorporating dried herbs like rosemary or thyme into the flour mixture, or adding grated cheese like cheddar or Gruyère (about 1/4 cup per 2 cups flour) along with the butter.
For sweet applications, consider adding a teaspoon of vanilla extract to the cold water or a pinch of ground cinnamon to the flour. Zest from a lemon or orange can also be added to the dry ingredients for a subtle citrus note. These small additions can transform your basic rough puff pastry into a flavored base perfect for specific recipes.
Resources for Further Puff Pastry Learning
To continue your journey in mastering layered doughs, numerous resources are available beyond a single easy rough puff pastry recipe. Cookbooks dedicated to pastry techniques often provide detailed explanations and step-by-step photos of both rough puff and classic puff methods. Online baking communities and forums offer opportunities to ask questions and learn from the experiences of other bakers.
Reliable baking websites and blogs, like those from established culinary schools or popular baking personalities, frequently feature video tutorials that can be incredibly helpful for visualizing the rolling and folding process. Watching the technique demonstrated can clarify steps that might be confusing in written instructions alone. Exploring these resources can deepen your understanding and help you tackle even more complex pastry projects.
Conclusion: Enjoying Your Easy Homemade Puff Pastry
Congratulations! By following an easy rough puff pastry recipe, you've unlocked the secret to making delicious, flaky layered dough right in your own kitchen. While classic puff pastry has its place, the simplified rough puff method proves that you don't need hours of work or advanced techniques to achieve impressive results.
Whether you choose to fill it with sweet fruit, savory meats, or simply sprinkle it with sugar or cheese and bake, your homemade rough puff pastry will elevate your baking. Embrace the flakiness, enjoy the buttery flavor, and take pride in creating something truly special from scratch. This easy rough puff pastry recipe is just the beginning of your layered pastry adventures!
Frequently Asked Questions
What exactly is rough puff pastry, and how does it differ from regular puff pastry?
Rough puff pastry is a simplified version of puff pastry, designed to be quicker and easier to make. The main difference lies in the technique; rough puff doesn't require the meticulous folding and resting of classic puff pastry.
Is this "Easy rough puff pastry recipe" truly easy, even for a beginner baker?
Yes! This recipe focuses on simplicity and clear instructions, making it accessible for beginners. The key is to follow the steps carefully and not overwork the dough.
What are the key ingredients I need to make this rough puff pastry, and are they easily accessible?
You'll need flour, butter, cold water, and a pinch of salt. These ingredients are common pantry staples and easily found in most grocery stores.
What are the most common mistakes people make when attempting rough puff pastry, and how can I avoid them?
Common mistakes include using warm butter, overworking the dough, and not chilling the dough adequately. Ensure your butter is cold and follow the chilling instructions closely.
What types of baked goods can I create using this "Easy rough puff pastry recipe"?
You can use this recipe for a wide variety of baked goods, such as pies, tarts, sausage rolls, and palmiers. The possibilities are endless and delicious!
Final Reflection: The Joy of Effortless Elegance
Mastering rough puff pastry doesn't have to be a daunting culinary feat; it's a surprisingly accessible skill that unlocks a world of delicious possibilities. This simplified approach, focusing on speed and ease without sacrificing flaky, buttery layers, empowers home bakers to elevate their creations with professional-quality pastry. The ease of this method makes it a truly transformative technique, bringing the joy of homemade pastries to everyone.
The impact of readily available, high-quality recipes like this one is profound. It democratizes baking, allowing individuals to connect with the satisfaction of creating something beautiful and delicious from simple ingredients. Baking is at once child's play and adult joy. And love, of course.
This quote perfectly encapsulates the feeling of accomplishment and pure pleasure that comes from successfully making rough puff pastry, regardless of skill level. The accessibility of this recipe allows more people to experience that joy, enriching their culinary lives and fostering a deeper appreciation for the art of baking.
Now, I challenge you to embrace the simplicity and elegance of this rough puff pastry recipe. Don't be intimidated by the seemingly complex nature of pastry; this method proves that achieving incredible results is within everyone's reach. Experiment with fillings, shapes, and flavors – let your creativity soar! The journey of baking is as rewarding as the destination, and with this recipe as your guide, the path to delicious, flaky perfection is smoother than ever before.
Unleash Your Inner Pastry Chef: Flaky Layers Await!
Thanks for joining us on this delicious journey into the world of simplified puff pastry! You've just unlocked the secret to effortlessly creating restaurant-quality pastries at home. Ready to put your new skills to the test?
- Bake your dream pastry: Try the recipe from the article – you'll be amazed at how easy it is to achieve those beautiful, flaky layers.
- Share your success: Post a picture of your creation on social media and tag us @BakeWithEase – we'd love to see your masterpiece!
- Challenge a friend: Send them this article and see who can bake the most impressive puff pastry creation.
What incredible treat will you bake first?