
Shiny Finish: Glazing Eclairs with Chocolate Like a Pro

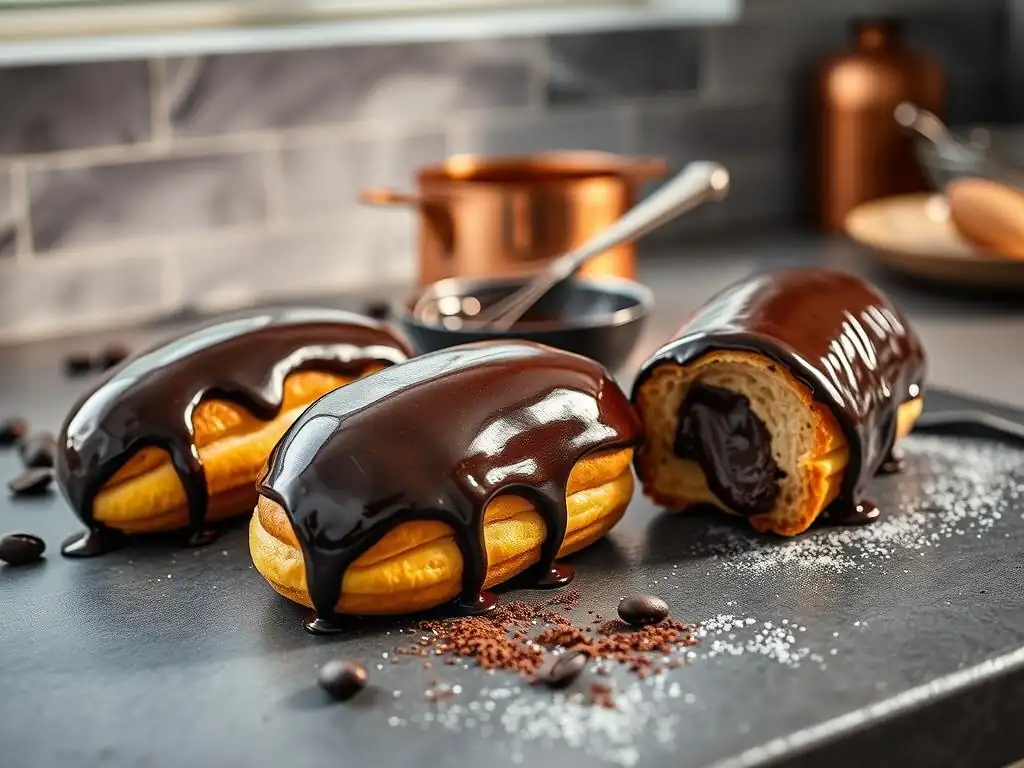
Welcome to BakeWithEase, your guide to baking bliss! Ever wondered how to achieve that perfect, shiny finish on your éclairs? This week, we're diving deep into the secrets of a truly spectacular chocolate eclair glaze. Discover the tips and tricks to our chocolate eclair glaze recipe and elevate your pastry game to the next level. Are you ready to create éclairs that not only taste amazing but look absolutely stunning? Let's get started!
- Introduction to Perfect Chocolate Eclair Glaze
- Understanding the Fundamentals of Chocolate Eclair Glaze Recipe
- The Ultimate Chocolate Eclair Glaze Recipe: Step-by-Step Guide
- Glazing Eclairs Like a Pro: Techniques and Tips
- Troubleshooting Common Chocolate Eclair Glaze Problems
- Flavor Variations: Beyond Basic Chocolate Eclair Glaze
- Storing Your Leftover Chocolate Eclair Glaze
- Conclusion: Mastering the Art of Chocolate Eclair Glaze
- Frequently Asked Questions
- Final Reflection: The Enduring Allure of the Perfect Chocolate Glaze
- Unlock Your Inner Pâtissier: Glaze Like a Pro!
Introduction to Perfect Chocolate Eclair Glaze
Why a Flawless Chocolate Glaze is Key for Eclairs
A truly professional-looking eclair hinges significantly on its glaze. It's not just an afterthought; it's the crowning glory that provides visual appeal and a delightful textural contrast to the light, airy choux pastry shell and the creamy filling within. A glossy, smooth chocolate glaze signals quality and craftsmanship, inviting anticipation with its mirror-like sheen.
Consider a display at a high-end patisserie – the eclairs with the most impeccable glazes are often the first to sell, commanding a higher price point because their appearance suggests perfection in every bite. A dull, streaky, or uneven glaze, on the other hand, can make even the most delicious eclair seem amateurish, diminishing the overall perception of quality.
Beyond aesthetics, the chocolate eclair glaze adds a crucial layer of flavor and texture. As it sets, it forms a delicate, slightly firm shell that snaps satisfyingly when bitten into, contrasting beautifully with the soft choux and smooth crème pâtissière. This textural interplay is fundamental to the classic eclair experience. Mastering the chocolate eclair glaze recipe means achieving this ideal balance – a glaze that's not too hard, not too soft, intensely flavored, and visually stunning. It transforms a simple filled pastry into an elegant dessert worthy of any occasion, whether it's a family gathering or a special celebration.
Level Up Your Choux Pastry: Mastering the Eclair Glaze
Mastering choux pastry is the first step to great eclairs, but perfecting the chocolate eclair glaze is what truly elevates your baking skills. Think of it as moving from baking a good cake to decorating a masterpiece. A skilled baker understands that the glaze isn't just melted chocolate; it's a carefully balanced mixture designed for optimal shine, set, and flavor. Achieving that perfect shiny finish requires precision in ingredient selection, temperature control, and technique.
Learning the nuances of a great chocolate eclair glaze recipe involves understanding how different types of chocolate behave, the role of fats and liquids, and the importance of working quickly at the right temperature. For example, using a high-quality couverture chocolate with a specific cocoa butter percentage (often around 30-35% for milk or dark) can drastically improve shine compared to standard baking chips.
By focusing on these details, you transition from simply covering a pastry to applying a professional-grade finish that makes your eclairs look like they came straight from a Parisian bakery, showcasing your growth as an intermediate baker ready to tackle more refined techniques.
Understanding the Fundamentals of Chocolate Eclair Glaze Recipe
Key Ingredients for a Shiny Chocolate Eclair Glaze
The magic of a glossy chocolate eclair glaze lies in the quality and combination of its core ingredients. Typically, a classic recipe involves chocolate, a liquid (like milk, cream, or water), and sometimes a sweetener or fat. The interaction between these components dictates the final texture, set time, and, most importantly, the shine. Using subpar ingredients will inevitably result in a lackluster glaze that may be dull, brittle, or grainy, no matter how perfect your technique is.
A reliable chocolate eclair glaze recipe prioritizes ingredients that contribute to smoothness and gloss. This often means using high-quality chocolate with sufficient cocoa butter, incorporating a small amount of fat or oil to enhance flow and shine, and controlling the amount of liquid to achieve the desired consistency. Understanding the function of each ingredient – how fat contributes to gloss, how sugar affects set, how liquid impacts viscosity – is fundamental to achieving that coveted shiny finish every time you glaze your eclairs.
Choosing the Right Chocolate for Your Eclair Glaze
The type of chocolate you use is arguably the most critical factor in achieving a shiny, smooth chocolate eclair glaze. Couverture chocolate, with its higher cocoa butter content (often specified on the packaging, look for percentages like 32% for milk or 54% for dark), is the professional's choice for dipping and glazing because it melts smoothly and sets with a beautiful snap and high gloss. Standard baking chips or bars often contain stabilizers and less cocoa butter, which can result in a duller finish and a less fluid texture when melted.
For the best results in your chocolate eclair glaze recipe, opt for a good quality dark, milk, or white couverture chocolate depending on your preference. Brands like Callebaut, Valrhona, or Ghirardelli (their professional lines) are excellent choices. If using baking chocolate, look for bars labeled "baking chocolate" rather than chips, as they tend to have a better composition for melting. The higher the quality and cocoa butter content, the more likely you are to achieve that desirable mirror-like shine on your glazed eclairs.
The Importance of High-Quality Cocoa Powder in Eclair Glaze
While many chocolate eclair glaze recipes rely solely on melted chocolate, some traditional or specific recipes incorporate cocoa powder, often alongside melted chocolate or as the primary chocolate component when mixed with fat and sugar (like a ganache or fudge-style glaze). When cocoa powder is used, its quality significantly impacts flavor depth and color. Natural cocoa powder (like Hershey's regular) is acidic and yields a reddish-brown color and sharp flavor, while Dutch-processed cocoa powder (like Droste or Valrhona) is neutralized, resulting in a darker color, smoother flavor, and is often easier to dissolve, contributing to a smoother glaze texture.
Using a high-quality, finely milled cocoa powder ensures a rich, intense chocolate flavor without grittiness. If your chocolate eclair glaze recipe calls for cocoa powder, choosing a premium brand, especially a Dutch-processed one for its smooth flavor and dark color, will elevate the taste and appearance of your glaze. It helps create a deep, opaque coating that enhances the visual appeal of the eclair before the shine even catches the light.
Exploring Different Types of Sugar for Glaze Texture
Sugar plays a multifaceted role in a chocolate eclair glaze recipe, influencing sweetness, texture, and set. Powdered sugar (confectioners' sugar) is commonly used in quick glazes that don't involve cooking, as its fine texture dissolves easily, creating a smooth finish. However, it contains cornstarch to prevent clumping, which can sometimes slightly dull the shine if used in very high proportions in certain glaze types.
Granulated sugar is typically used in cooked glazes or syrups that are then combined with chocolate. When granulated sugar is dissolved completely and cooked to a specific temperature (like in a simple syrup or fudge base), it contributes to a smoother, more stable glaze that sets well. Some glazes might use liquid sweeteners like corn syrup or glucose, which are excellent for preventing crystallization and enhancing gloss. A classic chocolate eclair glaze recipe often balances sweetness from the chocolate itself with minimal added sugar, focusing instead on fat and liquid ratios to control texture and shine.
Essential Equipment for Chocolate Eclair Glazing
Having the right tools makes the process of creating and applying a chocolate eclair glaze much smoother and more successful. Precision in temperature and mixing is key, and specific equipment facilitates this. A double boiler or a heatproof bowl set over a saucepan of simmering water is crucial for gently melting chocolate without scorching it, which is vital for maintaining its temper and ensuring a shiny set. Overheated chocolate quickly loses its ability to set properly and shine.
Other essential tools include a reliable thermometer (digital is best for quick, accurate readings) to monitor the glaze temperature for both melting and application, whisks for smoothing out the mixture, and an offset spatula or bench scraper for leveling excess glaze. Cooling racks placed over baking sheets are indispensable for allowing excess glaze to drip away cleanly. Having these items ready before you start preparing your chocolate eclair glaze recipe will streamline the process and contribute significantly to achieving a professional finish on your eclairs.
The Ultimate Chocolate Eclair Glaze Recipe: Step-by-Step Guide
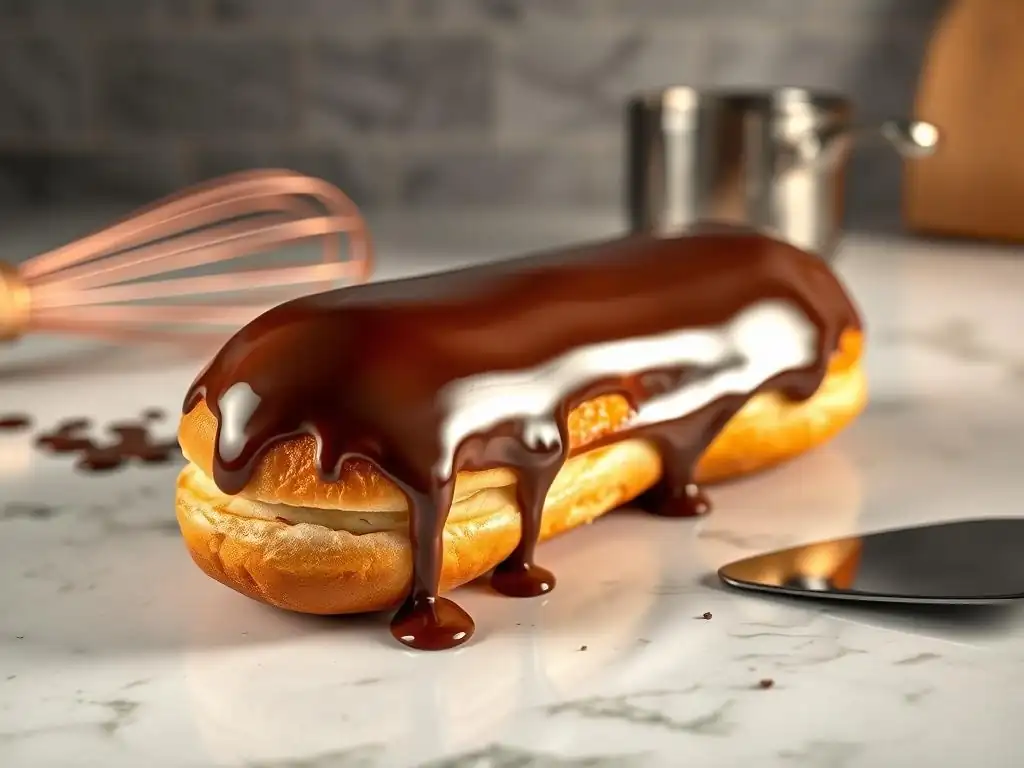
Step 1: Preparing Your Ingredients for the Chocolate Glaze
Before you even think about melting chocolate, ensure all your ingredients for the chocolate eclair glaze recipe are measured out and ready to go. This mise en place is crucial for a smooth process, especially since chocolate glazes can set quickly. For a common type of shiny glaze (often based on chocolate and cream or butter), you might need approximately 6-8 ounces (170-225g) of finely chopped high-quality chocolate, 1/4 to 1/2 cup (60-120ml) of heavy cream or milk, and potentially a tablespoon or two of butter or corn syrup for added shine and flexibility.
Finely chopping the chocolate is particularly important as it helps it melt more evenly and quickly, reducing the risk of overheating. If using butter, cut it into small cubes so it incorporates smoothly. Having your liquid measured and slightly warmed (but not hot) can also help the chocolate melt without seizing. This preparation step, while simple, sets the foundation for a successful and frustration-free experience when making your chocolate eclair glaze.
Step 2: Combining the Ingredients for a Smooth Glaze
The method of combining ingredients depends on your specific chocolate eclair glaze recipe, but a common technique for a simple, shiny glaze involves the double boiler method or heating the liquid and pouring it over the chocolate. If using a double boiler, gently heat the chocolate with any solid fats (like butter) until mostly melted, then whisk in your warmed liquid until smooth. Avoid direct high heat, which can burn the chocolate or cause it to seize.
Alternatively, bring the liquid (cream or milk) just to a simmer in a saucepan. Remove from heat and pour it directly over the finely chopped chocolate in a heatproof bowl. Let it stand for a minute or two to allow the heat from the liquid to start melting the chocolate, then gently whisk from the center outwards until a smooth, glossy emulsion forms. If adding corn syrup or extracts, incorporate them at this stage. This method ensures the chocolate melts gently and evenly, leading to a perfectly smooth chocolate eclair glaze.
Step 3: Achieving the Perfect Consistency for Eclair Glazing
The ideal consistency for a chocolate eclair glaze is fluid enough to coat the pastry smoothly but thick enough to set without dripping excessively or becoming transparent. It should resemble warm, flowing honey or thick paint. If the glaze is too thick, it will be difficult to apply smoothly and may set too quickly, resulting in an uneven or lumpy finish. If it's too thin, it will run off the eclair, leaving a very thin, possibly translucent layer.
You can adjust the consistency slightly at this stage. If it's too thick, whisk in a very small amount (start with a teaspoon) of warm milk, cream, or water until it reaches the desired flow. If it's too thin, you can let it cool slightly; as it cools, it will thicken.
Alternatively, if it's significantly too thin and cooling isn't enough, you might need to gently reheat it and whisk in a few more pieces of finely chopped chocolate, letting them melt into the mixture off the heat. Achieving this 'just right' consistency is key to a professional-looking finished product from your chocolate eclair glaze recipe.
Step 4: Testing the Chocolate Glaze Before Glazing
Before you commit to dipping your beautifully baked eclairs, it's wise to test the chocolate eclair glaze's consistency and setting ability. This simple step can save you from potential frustration. Dip the back of a spoon or a small piece of leftover choux pastry into the glaze. Lift it out and observe how the glaze coats it and how quickly it sets.
The glaze should coat the spoon or pastry evenly without being too thin or too thick. As it cools on the test surface, it should start to set within a minute or two, forming a smooth, shiny film. If it's running off too quickly or not setting, it might be too warm or too thin. If it's clumping or setting almost instantly, it might be too cool or too thick. Adjust the temperature or consistency as needed based on this test before proceeding to glaze your entire batch of eclairs.
Glazing Eclairs Like a Pro: Techniques and Tips
Dipping vs. Pouring: Choosing the Best Glazing Method for Eclairs
There are primarily two methods for applying a chocolate eclair glaze: dipping and pouring. The dipping method is perhaps the most common for achieving a uniform, thick layer. To dip, hold the eclair by its bottom, upside down, and gently lower the top surface into the warm glaze. Lift straight up, allowing excess glaze to drip back into the bowl. This method works best when your glaze is at the optimal temperature and consistency, around 95-105°F (35-40°C) for many recipes, providing a smooth, even coating.
The pouring method involves placing the eclairs on a wire rack set over a baking sheet and carefully pouring the glaze over the tops, allowing it to flow down the sides. This method can be useful for achieving a slightly thinner or more rustic look, or when the glaze is slightly less viscous. However, it can be trickier to get a perfectly even layer without drips on the sides. For a truly professional, consistent finish with your chocolate eclair glaze recipe, dipping is generally the preferred technique for most bakers.
Achieving a Smooth and Even Chocolate Glaze Finish
Regardless of whether you dip or pour, several factors contribute to a smooth and even chocolate glaze. First, ensure your eclairs are completely cool before glazing. Glazing warm pastries will cause the glaze to melt or not set properly. Second, the glaze itself must be perfectly smooth and free of lumps or air bubbles (more on troubleshooting bubbles later). Whisk it gently just before glazing to ensure uniformity.
When dipping, use a fluid, confident motion. Dip the top surface just deep enough to cover the desired area. Lift straight up and give a gentle shake or tilt to encourage excess glaze to drip off. Avoid double-dipping, which can create an uneven, thick layer. For both methods, placing the glazed eclairs on a clean wire rack allows air circulation and lets any remaining drips fall away neatly, ensuring the bottom edge of the glaze sets cleanly. Aim for a single, decisive application for the best result from your chocolate eclair glaze recipe.
Pro Tips for Preventing a Dull or Streaky Eclair Glaze
A dull or streaky glaze is a common frustration, but often preventable with attention to detail. One major culprit is working with chocolate that was overheated during melting or tempering. Overheating damages the cocoa butter crystals necessary for a shiny set. Always melt chocolate gently, ideally using a double boiler, and avoid temperatures exceeding 115°F (46°C) for dark chocolate or 105°F (40°C) for milk/white chocolate.
Another key factor is the temperature of the glaze when you apply it. If the glaze is too hot, it will be too thin and may absorb into the pastry or run off. If it's too cool, it will be too thick, difficult to spread evenly, and may set with streaks or a matte finish. The optimal glazing temperature range, often between 95°F and 105°F (35-40°C), allows the glaze to flow smoothly and set with maximum shine. Test the temperature with your thermometer before you start dipping.
Temperature Control is Crucial for Shiny Glaze
Maintaining the correct temperature throughout the glazing process is paramount for a shiny chocolate eclair glaze. As mentioned, the temperature at which you melt the chocolate is important, but so is the temperature of the finished glaze when you apply it. If you've made a ganache-style glaze or a glaze using melted chocolate and other ingredients, it will thicken as it cools.
You need to work with the glaze when it's warm enough to be fluid but cool enough to adhere and set. This sweet spot, often in the 95-105°F (35-40°C) range, allows the glaze to coat the eclair beautifully and set with a brilliant shine as it cools further. If your glaze cools too much during the process, gently warm it back up over a double boiler or in short bursts in the microwave (stirring frequently) until it reaches the ideal temperature. Consistency in temperature leads to consistency in shine for your chocolate eclair glaze recipe.
Working Quickly to Avoid Glaze Setting
Once your chocolate eclair glaze is at the perfect temperature and consistency, it's essential to work relatively quickly, especially if you are glazing a large batch of eclairs. Chocolate glazes, particularly those with a high chocolate content, will start to cool and set as they sit. As the glaze cools, its viscosity increases, making it harder to achieve a smooth, thin coating.
If you are dipping, have your eclairs ready and lined up. Dip one eclair at a time, allowing excess to drip off, and place it on the cooling rack. Don't linger too long between dips. If the glaze starts to thicken noticeably during the process, pause and gently rewarm it to the optimal temperature. Working efficiently ensures that every eclair receives the same smooth, shiny coating that your chocolate eclair glaze recipe is designed to deliver.
Troubleshooting Common Chocolate Eclair Glaze Problems
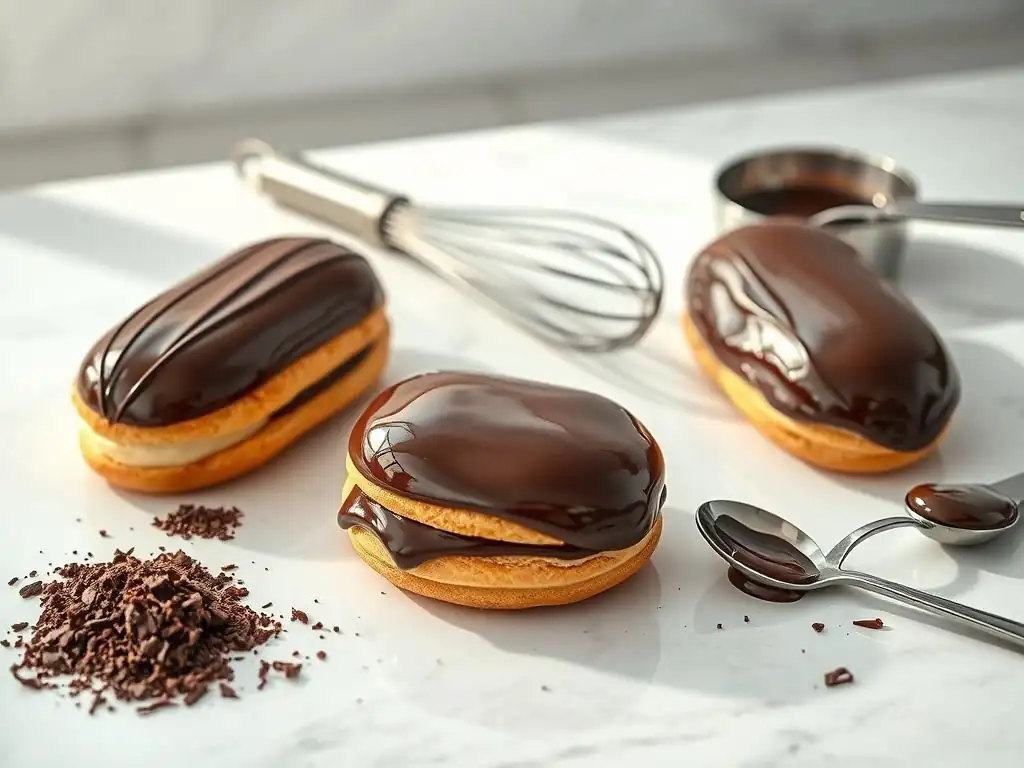
My Chocolate Glaze is Too Thick: How to Thin It Out
A chocolate eclair glaze that is too thick can be frustrating; it won't flow smoothly and will result in a heavy, uneven coating. This often happens if the glaze has cooled too much or if the ratio of chocolate to liquid was off in your chocolate eclair glaze recipe. Fortunately, it's usually an easy fix.
Gently reheat the glaze. The best way is to place the bowl over a double boiler (simmering, not boiling, water) and stir continuously. As it warms, it will become more fluid. Alternatively, you can microwave it in very short bursts (5-10 seconds), stirring thoroughly after each burst, until it reaches the desired consistency. If warming alone isn't enough, you can carefully whisk in a very small amount (start with 1/2 teaspoon) of warm milk, cream, or even water until the glaze is just thin enough to drip smoothly from a spoon.
If your chocolate eclair glaze is too thin, it will run off the eclairs excessively and create a translucent or very thin layer. This usually means the glaze is too warm or contains too much liquid relative to the chocolate. The simplest solution is to let it cool down. As the glaze cools, the chocolate will start to set, naturally thickening the mixture.
Stir the glaze occasionally as it cools to ensure even thickening. You can speed up this process by placing the bowl of glaze over an ice bath for a few minutes, stirring constantly, being careful not to let any water splash into the chocolate. If cooling doesn't thicken it sufficiently, you may need to gently rewarm the glaze and whisk in a small amount of additional finely chopped chocolate.
Let the added chocolate melt in the warm glaze off the heat, then stir until smooth. This increases the chocolate-to-liquid ratio, helping it thicken properly according to your chocolate eclair glaze recipe goals.
Avoiding Air Bubbles in Your Chocolate Eclair Glaze
Air bubbles can ruin the smooth surface of a shiny chocolate eclair glaze. They often appear if the glaze was whisked too vigorously or if air was incorporated during melting or mixing. To minimize bubbles, stir the glaze gently and slowly, using a spatula or a whisk moved slowly through the mixture, rather than whipping air into it.
After making the glaze, let it sit for a few minutes to allow any trapped air bubbles to rise to the surface. You can then gently skim them off with a spoon. Before dipping or pouring, give the glaze a final, slow stir. If you still see a few bubbles on the surface of the glazed eclair, you can often gently pop them with a pin or the tip of a sharp knife almost immediately after glazing, before the glaze starts to set.
Fixing a Grainy or Seized Chocolate Glaze
A grainy or seized chocolate glaze is usually a sign that the chocolate was overheated, came into contact with water while melting, or was shocked by adding cold liquid too quickly. Seized chocolate becomes a stiff, pasty mess. While sometimes difficult to fully recover, you can often rescue a seized or grainy chocolate eclair glaze.
Whisk in a tablespoon of hot liquid (water, milk, or cream) into the seized chocolate, stirring vigorously from the center outwards. The mixture may look worse at first, but keep stirring; the hot liquid helps to melt the cocoa solids and emulsify the mixture again. Add more hot liquid, a teaspoon at a time, stirring constantly, until the glaze becomes smooth and fluid.
Be careful not to add too much liquid, or your glaze will become too thin. This process can sometimes slightly dull the final shine compared to a perfectly made glaze, but it will make the glaze usable.
Flavor Variations: Beyond Basic Chocolate Eclair Glaze
Adding Extracts and Essences to Your Chocolate Glaze
While a classic chocolate eclair glaze recipe is delicious on its own, adding extracts and essences can introduce exciting flavor dimensions. Vanilla extract is a common addition that enhances the overall chocolate flavor. A small amount, perhaps 1/2 to 1 teaspoon per batch of glaze made with 6-8 ounces of chocolate, is usually sufficient. Add extracts after the chocolate has fully melted and the glaze is smooth, as some extracts (especially alcohol-based ones) can cause chocolate to seize if added too early or in large quantities to melted chocolate alone.
Other extracts like coffee, almond, or even a hint of orange or peppermint can complement the chocolate beautifully. Consider adding 1/4 to 1/2 teaspoon of coffee extract for a mocha-flavored eclair glaze, or a drop or two of high-quality peppermint oil for a festive touch. Always start with a small amount, as extracts can be potent, and taste as you go.
Creating a Dark Chocolate Eclair Glaze
To make a dark chocolate eclair glaze, simply use dark chocolate as the base for your chocolate eclair glaze recipe. For a rich, intense flavor, choose a dark chocolate with a high cocoa percentage, such as 60-70%. The higher cocoa butter content in quality dark chocolate often contributes to an excellent shine.
Follow your standard glaze recipe, substituting dark chocolate for the type specified. Be mindful that dark chocolate melts at a slightly higher temperature than milk or white chocolate, but still requires gentle heat to avoid scorching. A dark chocolate glaze pairs wonderfully with classic vanilla or coffee crème pâtissière fillings, offering a sophisticated, less sweet alternative.
Making a Milk Chocolate Eclair Glaze
A milk chocolate eclair glaze provides a sweeter, creamier flavor profile compared to dark chocolate. When adapting a chocolate eclair glaze recipe for milk chocolate, remember that milk chocolate contains milk solids and sugar, which makes it more susceptible to seizing from heat and can affect its melting properties.
Use a good quality milk couverture chocolate (often around 30-35% cocoa solids) for the best results. Melt it very gently, using a double boiler at a lower heat setting, and be extra careful with temperature control. Milk chocolate glazes may naturally be slightly less shiny than dark chocolate glazes due to their composition, but using a high-quality product and proper technique will still yield a beautiful finish. A milk chocolate glaze is perfect for eclairs filled with caramel or hazelnut cream.
Experimenting with Different Chocolate Glaze Flavors
The possibilities for flavoring your chocolate eclair glaze are nearly endless. Beyond extracts, you can infuse the liquid component with flavors before adding it to the chocolate. For instance, steep tea leaves (like Earl Grey) in the cream, strain, and then use the flavored cream for a tea-infused chocolate glaze.
You can also incorporate other ingredients. A small amount of peanut butter or hazelnut paste can be stirred into the finished glaze for a nutty twist. A pinch of sea salt added to a dark chocolate glaze creates a popular salted chocolate flavor. Task: Try adding a pinch of cayenne pepper to a dark chocolate glaze next time for a hint of spice. Task: Consider infusing cream with orange zest before making the glaze. Always ensure any additions are finely textured or fully dissolved to maintain the glaze's smoothness.
Storing Your Leftover Chocolate Eclair Glaze
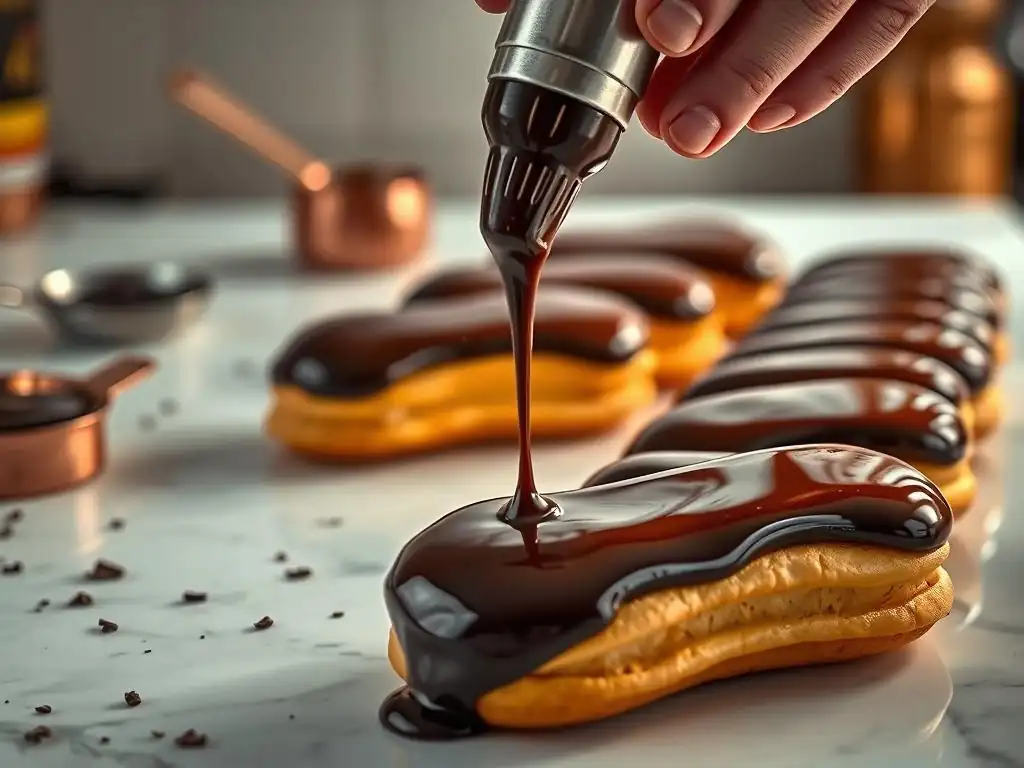
Proper Storage Techniques to Maintain Glaze Quality
If you find yourself with leftover chocolate eclair glaze, proper storage is key to preserving its quality for future use. The best way to store most chocolate glazes, especially those made with chocolate and cream (like ganache), is in an airtight container in the refrigerator. The cold temperature prevents spoilage and helps maintain the glaze's structure.
Before storing, allow the glaze to cool slightly at room temperature, then press a piece of plastic wrap directly onto the surface of the glaze before putting the lid on the container. This prevents a skin from forming on top, which can make the glaze lumpy when reheated. Stored correctly, most chocolate eclair glaze recipes based on chocolate and cream can last for 1-2 weeks in the refrigerator. Glazes made primarily with powdered sugar and liquid may have a shorter shelf life.
Reheating and Reusing Leftover Chocolate Glaze
Reheating leftover chocolate eclair glaze requires the same gentle approach as melting chocolate initially. Avoid high heat, which can cause it to seize or become oily. The best method is to place the desired amount of cold glaze in a heatproof bowl over a double boiler set to low heat. Stir gently and continuously until the glaze is melted and smooth, reaching your desired application temperature (around 95-105°F / 35-40°C).
Alternatively, you can microwave the glaze in short 10-15 second intervals on a low power setting (around 50%), stirring thoroughly after each interval, until it is fluid and smooth. Be patient and avoid the temptation to overheat it. Once reheated and at the correct temperature and consistency, the glaze should perform just like freshly made glaze for your chocolate eclair glaze recipe, ready to give another batch of eclairs a shiny finish.
Conclusion: Mastering the Art of Chocolate Eclair Glaze
Elevate Your Baking with a Perfect Chocolate Eclair Glaze Recipe
Mastering the chocolate eclair glaze recipe is a skill that significantly elevates your patisserie game. It transforms a simple baked good into a stunning dessert that looks as impressive as it tastes. By paying close attention to ingredient quality, understanding the role of temperature, and practicing precise techniques, you can consistently achieve that coveted smooth, shiny finish that is the hallmark of a professional eclair.
Whether you prefer a classic dark chocolate sheen or experiment with flavored variations, the principles remain the same: gentle melting, proper consistency, optimal application temperature, and working efficiently. Don't be discouraged by initial imperfections; like all baking skills, perfecting your chocolate eclair glaze comes with practice. Keep refining your technique, and soon you'll be glazing eclairs like a true pro, creating desserts that delight both the eyes and the palate, all thanks to your perfected chocolate eclair glaze recipe.
Frequently Asked Questions
What makes a chocolate eclair glaze shiny?
A shiny chocolate eclair glaze usually results from the proper ratio of ingredients, including fats like butter or oil, and the correct temperature control during preparation. Glossy glazes also often benefit from the addition of corn syrup or glucose.
Can I use different types of chocolate for the eclair glaze?
Yes, you can! However, the type of chocolate will affect the final taste and appearance. Using high-quality chocolate will always yield better results, with the percentage of cacao affecting the intensity of the chocolate flavor.
What if my chocolate eclair glaze is too thick?
If your glaze is too thick, gradually add a small amount of warm milk or water until you reach the desired consistency. Be careful not to add too much liquid, or the glaze will become too thin and lose its shine.
How do I store leftover chocolate eclair glaze?
Leftover glaze can be stored in an airtight container in the refrigerator for up to a week. Gently rewarm the glaze in the microwave or over a double boiler before using it to restore its smooth texture.
What are some common mistakes to avoid when making chocolate eclair glaze?
Common mistakes include overheating the chocolate, which can cause it to seize, and not sifting the powdered sugar, which can result in a lumpy glaze. Always use fresh ingredients and follow the recipe closely for best results.
Final Reflection: The Enduring Allure of the Perfect Chocolate Glaze
The art of glazing an éclair transcends mere culinary technique; it's about achieving a flawlessly glossy finish that elevates a classic pastry to a masterpiece. This seemingly simple act, as explored throughout this article, demands precision, patience, and a deep understanding of both chocolate and its interaction with other ingredients. The pursuit of that perfect sheen, that mirror-like surface, speaks to a fundamental human desire for beauty and perfection in even the smallest details.
The impact of a beautifully glazed éclair extends far beyond the individual experience of tasting it. It's a visual feast, a testament to the dedication and skill of the pastry chef, and a symbol of celebration and indulgence. A perfect éclair is a small work of art, a testament to the power of simple ingredients transformed by skill and passion.
This quote, though not directly from a renowned chef, encapsulates the feeling I hope this article has conveyed: that the seemingly simple act of glazing an éclair is a profound act of creation. The enduring appeal of chocolate, its rich history and cultural significance, only adds to the allure of this delectable treat.
Now, I invite you to consider your own approach to baking. Perhaps you'll try your hand at this chocolate glaze recipe, striving for that perfect shine. Or maybe this article will inspire you to explore other glazing techniques, to experiment with different flavors and textures. Regardless, I hope this exploration of the seemingly simple act of glazing an éclair has sparked a deeper appreciation for the artistry and dedication involved in creating something truly beautiful and delicious. Go forth and glaze!
Unlock Your Inner Pâtissier: Glaze Like a Pro!
Thanks for joining us on this delicious journey into the world of perfectly glazed éclairs! You've learned the secrets to achieving that stunning, mirror-like shine. Now it's time to put your new skills to the test!
- Master the Glaze: Practice your glazing technique on a batch of éclairs – the more you practice, the better you'll become! Try experimenting with different chocolate types and temperatures.
- Share Your Success: Show off your beautifully glazed creations on social media! Use #BakeWithEaseGlaze and tag us – we'd love to see your masterpieces.
- Explore New Flavors: What other delectable fillings could you use to complement your perfect chocolate glaze? Let your creativity run wild!
Ready to transform your éclairs from ordinary to extraordinary? What unique flavor combination will you try next?