
Advanced Tips for Freezing and Thawing Pizza Dough Without Compromise

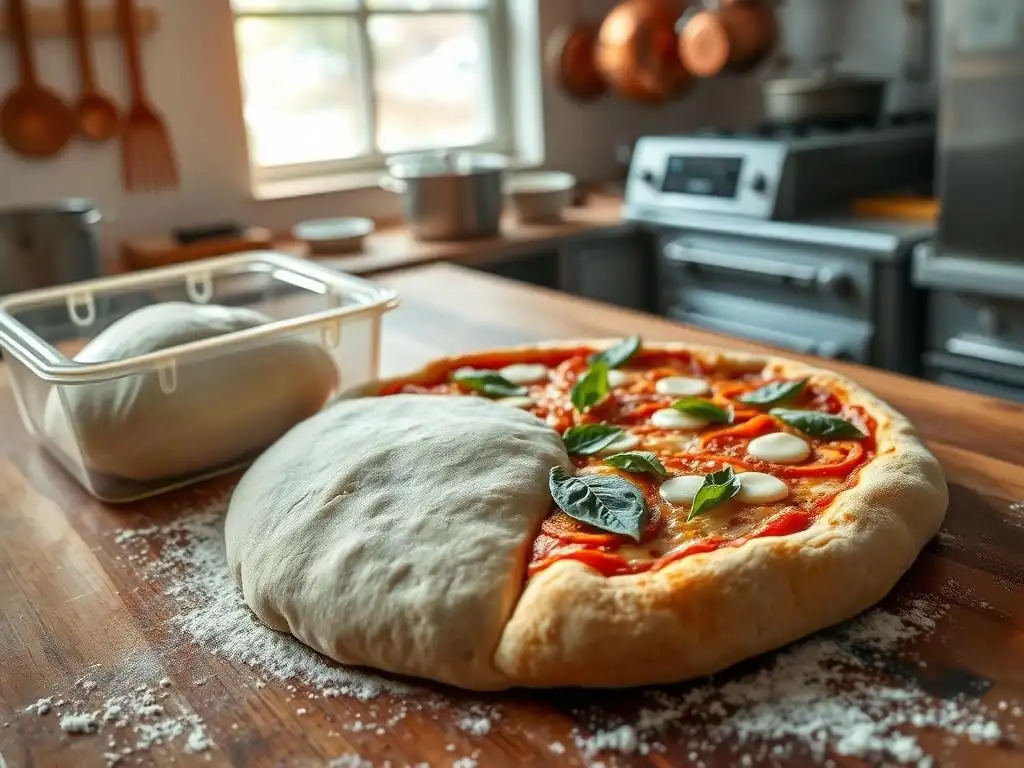
Welcome to BakeWithEase, your trusted guide to baking brilliance! Ever wonder how to have perfectly proofed pizza dough ready anytime? Unlock the secrets to freezing and thawing pizza dough like a pro, ensuring incredible flavor and texture every single time. Dive in and discover advanced techniques that will revolutionize your pizza nights!
- BakeWithEase: Advanced Techniques for Freezing and Thawing Pizza Dough
- Preparing Pizza Dough for Optimal Freezing
- The Freezing Process: Temperature and Timing
- Thawing Pizza Dough: A Step-by-Step Guide
- Working with Thawed Pizza Dough: Tips and Tricks
- Baking with Thawed Pizza Dough: Ensuring a Crispy Crust
- Advanced Freezing and Thawing Techniques for Pizza Dough
- Common Mistakes to Avoid When Freezing and Thawing Pizza Dough
- Conclusion: Mastering the Art of Freezing and Thawing Pizza Dough for BakeWithEase
- Frequently Asked Questions
- Final Reflection: The Art of Frozen Dough: Preserving Pizza Perfection
- Unlock Your Pizza Dough's Full Potential!
BakeWithEase: Advanced Techniques for Freezing and Thawing Pizza Dough
Welcome to BakeWithEase! We know the joy of making perfect pizza dough from scratch, but sometimes life gets busy. Wouldn't it be wonderful to have ready-to-go dough for a spontaneous pizza night? Mastering the art of freezing thawing pizza dough is a game-changer for home bakers. It allows you to prepare dough in advance, saving time and effort on busy days while still enjoying homemade quality. This guide dives deep into the advanced techniques to ensure your frozen pizza dough performs just as well as fresh.
Freezing pizza dough isn't just about convenience; it's also about efficiency. When you make a large batch of dough, freezing portions prevents waste and ensures you always have a supply on hand. This eliminates the need to mix, knead, and proof dough every single time you crave pizza. Properly handled freezing thawing pizza dough maintains its structure and flavor, giving you delicious results whenever you're ready to bake.
Why Freeze Pizza Dough? Benefits for Home Bakers
Freezing pizza dough offers significant advantages, especially for those who bake frequently or in larger quantities. The primary benefit is unparalleled convenience. Imagine deciding on a Friday evening that you want homemade pizza; with pre-frozen dough, you simply need to remember to thaw it ahead of time, skipping hours of preparation steps. This makes weeknight pizza a realistic and enjoyable option.
Beyond convenience, freezing helps manage batch sizes. Many dough recipes yield enough for multiple pizzas. Freezing individual portions means you don't have to bake several pizzas at once or waste leftover dough. It provides flexibility, allowing you to bake one pizza for yourself or several for a gathering, all from a single dough batch made previously. This strategic approach to freezing thawing pizza dough optimizes your baking workflow.
Understanding Dough Quality: Maintaining Integrity Through Freezing and Thawing
The quality of your frozen pizza dough hinges on how well its structure and yeast activity are preserved during the temperature fluctuations. Dough is a living thing, containing yeast that produces gases for leavening and a gluten network that provides structure and elasticity. Freezing pauses this activity, but the process itself can impact the dough. Slow freezing can create large ice crystals that damage the gluten structure, potentially leading to a less airy crust.
Thawing also plays a critical role. Too rapid thawing can shock the yeast and affect the dough's consistency. The goal with freezing thawing pizza dough is to minimize cellular damage and maintain yeast viability. Techniques like rapid freezing and slow, controlled thawing are key to preserving the dough's elasticity, rise potential, and overall texture, ensuring that once thawed, it behaves like fresh dough ready for shaping and baking.
Preparing Pizza Dough for Optimal Freezing
Choosing the Right Dough Recipe for Freezing Success
Not all pizza dough recipes are created equal when it comes to freezing. Recipes with slightly higher hydration levels (the ratio of water to flour, typically 65-75%) tend to fare better in the freezer as the extra moisture can help protect the gluten structure from ice crystal damage. However, overly wet dough (above 80% hydration) can become challenging to handle after thawing. A standard, reliable recipe using bread flour or a strong all-purpose flour is usually a safe bet, as the higher protein content builds a robust gluten network that can withstand freezing.
Avoid recipes that rely heavily on ingredients that don't freeze well, such as large amounts of fresh herbs mixed directly into the dough (they can discolor and lose flavor) or excessive amounts of butter (though some enriched doughs freeze well, very buttery ones can sometimes become crumbly). Simple, classic pizza dough recipes focusing on flour, water, yeast, salt, and perhaps a touch of oil and sugar are generally the most forgiving and successful when it comes to freezing thawing pizza dough.
Essential Steps Before Freezing: Kneading, Proofing, and Shaping Considerations
Proper preparation before freezing is paramount for successful results. The dough should be fully kneaded to develop a strong gluten network. This structure is what helps the dough maintain its integrity during freezing and thawing. After kneading, a short initial proofing is beneficial – often called a 'bulk fermentation'. Let the dough rise at room temperature for about 60-90 minutes, or until it has increased in size by about 50-75%. This allows the yeast to become active but stops short of full proofing, which can lead to issues after thawing.
- Knead dough until smooth and elastic.
- Allow a brief bulk fermentation (approx. 1-1.5 hours).
- Do not let the dough double in size before freezing.
Once partially proofed, the dough is ready for shaping and freezing. Some prefer to shape the dough into balls at this stage, while others might flatten it slightly into discs. Shaping into balls makes it easier to thaw individual portions, while discs might be preferred if you plan to make thin-crust pizzas. Ensure the dough is cool before packaging; warm dough can create condensation which turns into damaging ice crystals.
Dividing and Portioning Dough for Individual Pizzas
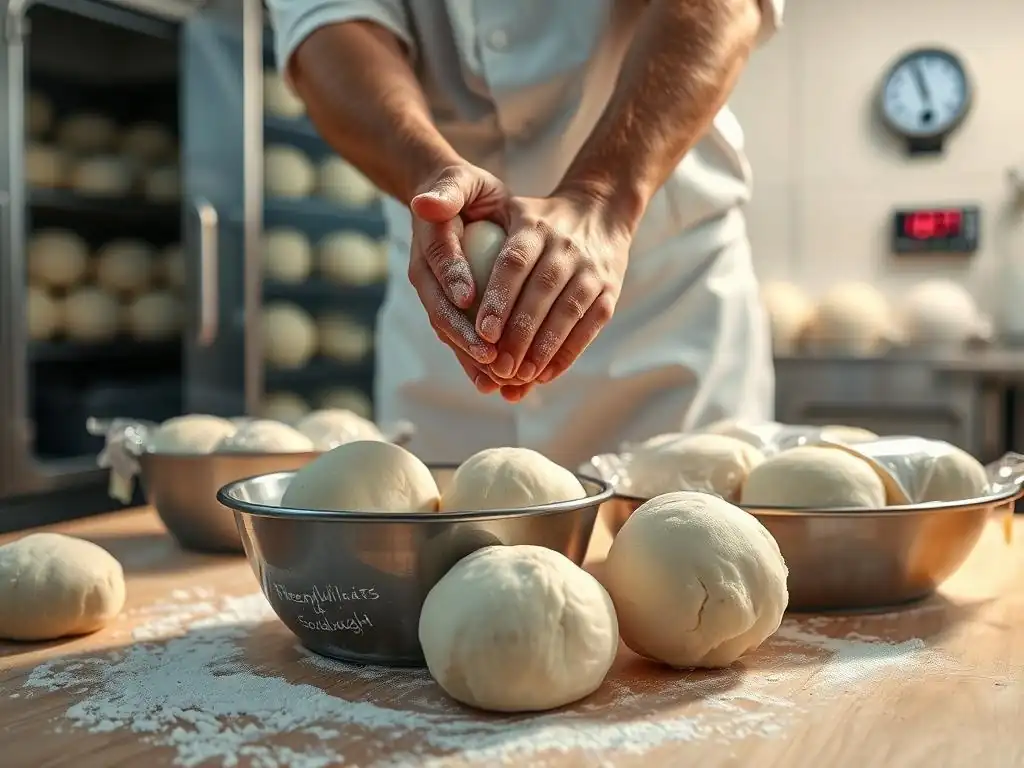
Dividing your dough into single-pizza portions before freezing is highly recommended for convenience and optimal thawing. A standard dough ball for a 12-14 inch pizza typically weighs between 200 and 280 grams (approximately 7 to 10 ounces). Using a kitchen scale ensures consistent portion sizes, which helps with uniform thawing times later on.
After dividing, gently shape each portion into a smooth, taut ball. This helps organize the gluten structure and makes the dough easier to handle once thawed. Avoid excessive handling or degassing at this stage, as you want to preserve some of the initial gas produced during the brief proofing. Place the shaped dough balls on a lightly floured surface or a baking sheet lined with parchment paper, leaving space between them. You can briefly chill them in the refrigerator for about 30 minutes before packaging; this firms them up and makes them easier to handle for the next step.
The Best Packaging Methods for Freezing Pizza Dough: Vacuum Sealing, Freezer Bags
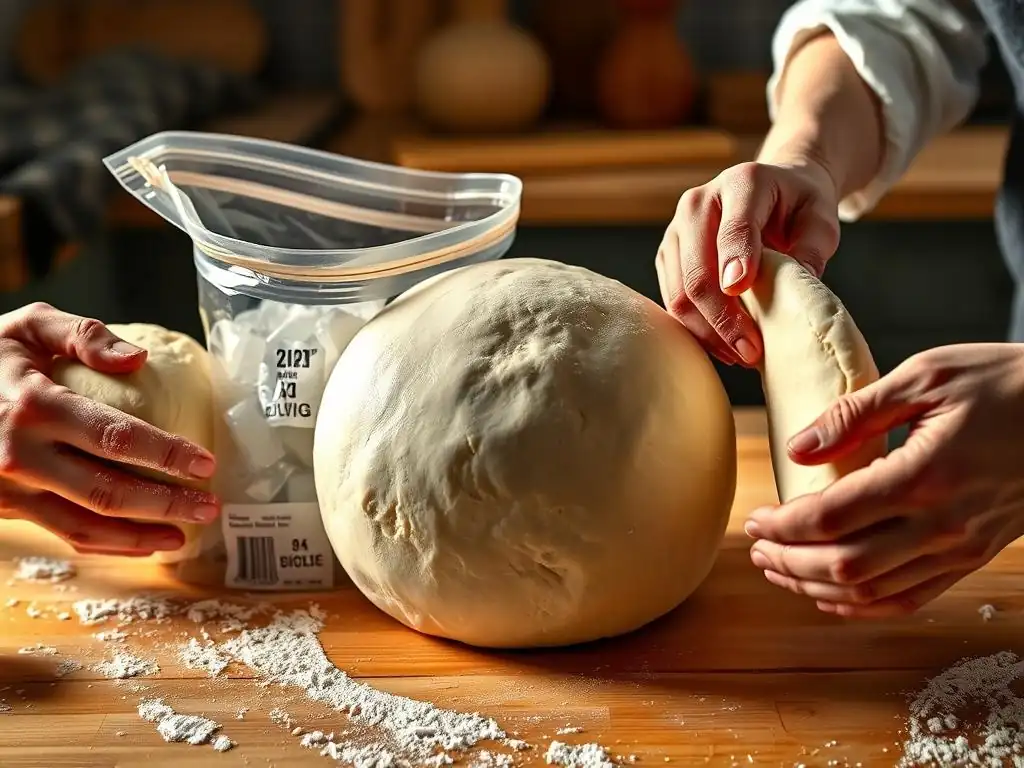
Effective packaging is crucial to protect your pizza dough from freezer burn, which causes dryness and off-flavors. Vacuum sealing is arguably the best method as it removes all air, preventing oxidation and ice crystal formation almost entirely. If you have a vacuum sealer, place each dough ball or disc into a vacuum seal bag and seal according to the manufacturer's instructions. This creates a perfectly preserved environment for the dough.
If you don't have a vacuum sealer, heavy-duty freezer bags or plastic wrap combined with aluminum foil work well. Wrap each individual dough ball tightly in plastic wrap, ensuring no air pockets. Then, wrap again securely in aluminum foil. Finally, place the double-wrapped dough portions into a high-quality freezer bag, squeezing out as much air as possible before sealing. This multi-layer approach minimizes exposure to cold, dry freezer air, critical for successful freezing thawing pizza dough.
The Freezing Process: Temperature and Timing
Achieving Rapid Freezing for Minimal Ice Crystal Formation
The speed at which your pizza dough freezes significantly impacts its final quality. Rapid freezing minimizes the formation of large, destructive ice crystals within the dough's structure. These large crystals can puncture the gluten network and cell walls, leading to a less elastic dough with reduced rise potential upon thawing. The ideal freezer temperature for rapid freezing and long-term storage is -18°C (0°F) or lower.
To facilitate rapid freezing, place the packaged dough portions in the coldest part of your freezer, ideally away from the door where temperatures fluctuate. Avoid stacking too many warm items together, as this slows down the freezing process for everything. If freezing multiple dough balls, spread them out on a shelf initially until they are solid (which might take a few hours), then they can be stacked to save space. Some modern freezers have a 'fast freeze' or 'super freeze' function; using this feature for the first 24 hours can be very beneficial for the dough's quality.
Properly Labeling and Dating Your Frozen Pizza Dough
Once your pizza dough is packaged and ready for the freezer, proper labeling is a step you should never skip. While it seems simple, clearly marking each package with the contents and the date it was frozen is essential for managing your freezer inventory and ensuring you use the dough within its optimal timeframe. Use a permanent marker suitable for freezer conditions.
Write "Pizza Dough" and the date (e.g., "PD 2023-10-27") clearly on the outside of the freezer bag or on the aluminum foil wrapping. If you make different types of dough (e.g., whole wheat, sourdough), specify that as well ("WW PD 2023-10-27"). This practice prevents guessing games later and helps you rotate your stock, ensuring you use the oldest dough first. Well-labeled packages make the process of grabbing dough for freezing thawing pizza dough simple and efficient.
Ideal Freezer Storage Time for Pizza Dough Quality
While technically safe to eat for longer periods, pizza dough is best used within a specific timeframe to ensure optimal quality, texture, and flavor. For most standard pizza dough recipes, the ideal freezer storage time is typically up to 2 to 3 months. Beyond this period, even with excellent packaging, the dough can gradually lose some of its elasticity and rise potential, and flavors might begin to degrade slightly.
Using dough within this 2-3 month window ensures that the yeast is still viable and the gluten structure remains robust, leading to a delicious, well-risen crust. While some sources might suggest longer storage, aiming for this shorter timeframe guarantees the best possible outcome when you perform freezing thawing pizza dough. Always check the date on your label and prioritize using older dough first.
Thawing Pizza Dough: A Step-by-Step Guide
Safe Thawing Methods: Refrigerator vs. Countertop
Thawing your frozen pizza dough correctly is just as critical as freezing it properly. The safest and most recommended method is thawing slowly in the refrigerator. This gradual process allows the dough to come back to temperature gently, minimizing stress on the gluten structure and allowing the yeast to reactivate in a controlled environment. Simply transfer the packaged dough from the freezer to the refrigerator and let it thaw.
An alternative, faster method is thawing at room temperature on the countertop. This method requires closer monitoring and is generally less recommended, especially in warm kitchens, as it can lead to over-proofing on the outside while the inside is still cold. If using the countertop method, ensure the dough is still in its packaging to prevent it from drying out. Never use warm water or a microwave to thaw dough, as this can kill the yeast and cook parts of the dough, ruining its texture.
Understanding the Thawing Timeline: How Long Does it Take?
The thawing timeline depends heavily on the method used and the size of the dough portion. Refrigerator thawing is slow and steady. A single 250g dough ball typically takes between 12 to 24 hours to thaw completely in the refrigerator. It's best to plan ahead and transfer the dough the day before you intend to make pizza. The dough should feel soft and pliable all the way through when thawed in the fridge.
Countertop thawing is much faster but riskier. Depending on your room temperature (ideally around 20-24°C or 68-75°F), a 250g dough ball might thaw in 2 to 4 hours. It's crucial to monitor it closely. Once thawed, the dough will start to proof, so you need to use it relatively quickly. For effective freezing thawing pizza dough, understanding these timelines is key to having your dough ready when you need it.
Troubleshooting Common Thawing Issues: Dough is Too Wet, Dough is Too Dry
Sometimes, despite best efforts, thawed dough can present issues. If your dough feels too wet or sticky after thawing, it might be due to condensation inside the packaging, especially if there were temperature fluctuations during freezing or thawing.
- Dough Too Wet:
- Turn the dough out onto a lightly floured surface.
- Gently knead in small amounts of flour (a tablespoon at a time) until it reaches a manageable consistency. Be careful not to add too much flour, which can make the crust tough.
- Allow it to rest for 10-15 minutes after adding flour before shaping.
If the dough feels too dry or stiff, it could be a sign of freezer burn or insufficient hydration initially.
- Dough Too Dry:
- Gently knead in a very small amount of lukewarm water (a teaspoon at a time).
- Work the water into the dough until it becomes more pliable.
- This requires patience, adding just enough water to restore elasticity without making it sticky.
- Let it rest for 10-15 minutes after hydration adjustment.
Addressing these issues promptly ensures your frozen thawing pizza dough is ready for its final rise and shaping.
Working with Thawed Pizza Dough: Tips and Tricks
Kneading and Proofing Thawed Dough: Restoring Elasticity
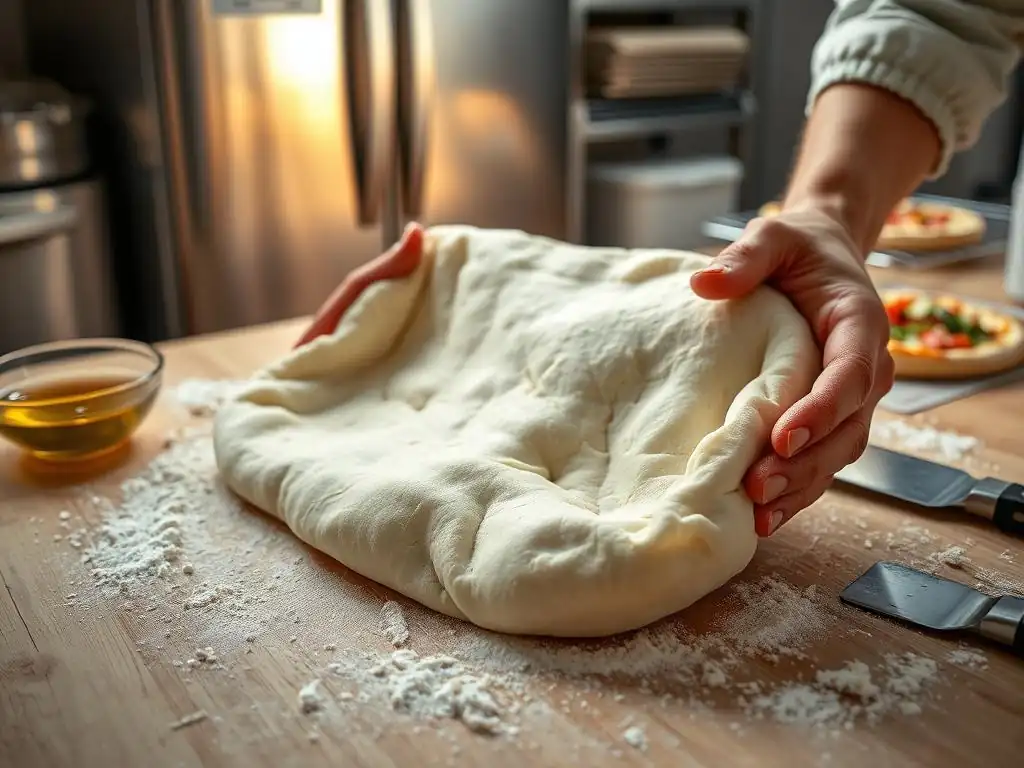
Once thawed, your pizza dough will likely feel a bit deflated and possibly less elastic than fresh dough. It needs a period of rest and a final proof to restore its structure and rise potential. Turn the thawed dough out onto a lightly floured surface. Gently knead it for a minute or two. This brief kneading helps realign the gluten proteins that may have been disrupted during freezing.
After this brief knead, shape the dough into a ball again and place it in a lightly oiled bowl. Cover the bowl tightly with plastic wrap or a damp towel. Allow the dough to proof at room temperature (around 20-24°C or 68-75°F) until it has roughly doubled in size. This final proofing step is crucial for developing a light and airy crust. The time required can vary depending on your room temperature and the dough's specific characteristics, but it typically takes between 1.5 to 3 hours.
Adjusting Hydration Levels After Thawing: Adding Flour or Water
As mentioned in the troubleshooting section, thawed dough might need slight hydration adjustments. This is a common occurrence when dealing with freezing thawing pizza dough. The key is to make these adjustments after the initial thawing and before or during the final proofing/shaping stage.
If the dough feels excessively sticky even after a brief rest, gently work in a small amount of flour. Use just enough to make it manageable – think dusting your hands and the surface rather than incorporating large quantities. Conversely, if the dough feels stiff or doesn't stretch easily during shaping, it might need a touch more hydration. Carefully work in a tiny amount of water (a teaspoon or two), kneading gently until it's absorbed and the dough becomes more pliable. This subtle adjustment can significantly improve the dough's texture and handling.
Shaping and Stretching Thawed Dough: Achieving the Perfect Pizza Base
Shaping thawed pizza dough requires a gentle touch and patience. Unlike fresh dough which might be very elastic and spring back, thawed dough can sometimes be a little less cooperative initially. After the final proof, turn the dough out onto a lightly floured surface. Start by gently pressing the air out from the center towards the edges, leaving a small rim for the crust.
From there, you can use various techniques:
- Hand Stretching: Lift the dough and gently stretch it using the backs of your hands, letting gravity help. Rotate the dough as you stretch.
- Knuckle Stretching: Place the dough over your knuckles and gently pull and rotate.
- Rolling Pin: If hand stretching is difficult, a rolling pin can be used, though it tends to push air out of the crust, resulting in a denser edge.
Be patient and avoid forcing the dough. If it springs back excessively, cover it and let it rest for 10-15 minutes before trying again. This rest allows the gluten to relax, making stretching easier. Aim for an even thickness across the base, leaving the edges slightly thicker for a good crust.
Baking with Thawed Pizza Dough: Ensuring a Crispy Crust
Oven Temperature and Baking Time Adjustments
Baking pizza requires high heat to achieve a crispy crust and properly cooked toppings. For baking thawed pizza dough, the same high-temperature principles apply. Preheat your oven to the highest temperature it can safely reach, typically between 220°C and 250°C (425°F and 475°F). Allow the oven to preheat for at least 30-60 minutes to ensure the baking surface (stone or steel) is thoroughly heated.
Baking time for a pizza made with thawed dough is usually similar to that of fresh dough, depending on the thickness of the crust and the amount of toppings. Thin crusts might bake in 8-12 minutes, while thicker crusts or pizzas with many toppings could take 12-18 minutes. Keep a close eye on the pizza; the crust should be golden brown, and the cheese should be melted and bubbly.
Preventing Soggy Crusts: Baking Stone, Pizza Steel Techniques
A common issue when baking homemade pizza, especially with thawed dough, is a soggy bottom crust. This often happens because the oven temperature isn't high enough, or the baking surface isn't sufficiently preheated to provide an immediate burst of heat to the dough base. Using a pizza stone or a pizza steel is highly recommended to combat this.
A pizza stone or steel absorbs and retains heat exceptionally well. Placing it in the oven during the entire preheating cycle ensures it's scorching hot when the pizza is placed on it. This intense heat transfer to the bottom of the dough causes rapid expansion and crisping, preventing sogginess. Slide the shaped and topped pizza directly onto the preheated stone or steel using a pizza peel dusted with cornmeal or flour. This direct contact with the hot surface is key to achieving that desirable crispy bottom crust when using freezing thawing pizza dough.
Evaluating the Final Result: Texture, Flavor, and Appearance
After successfully baking pizza made with thawed dough, take a moment to evaluate the result. A well-baked pizza from properly frozen and thawed dough should have a crust that is crispy on the bottom, airy and perhaps slightly chewy on the edges (the cornicione), and cooked through without being dense or tough. The flavor should be pleasant, with no off-notes from freezer burn.
Visually, the crust should have a good color – golden brown with some darker spots (charring) if baked at very high temperatures on a steel. The toppings should be cooked through, and the cheese melted and bubbly. Comparing the result to a pizza made with fresh dough will help you assess the success of your freezing thawing pizza dough process. With careful attention to detail at each stage, the difference should be minimal, if noticeable at all.
Advanced Freezing and Thawing Techniques for Pizza Dough
Freezing Pre-Baked Pizza Crusts: A Time-Saving Hack
For ultimate convenience, consider freezing partially pre-baked pizza crusts instead of raw dough. This is an excellent time-saving hack for busy individuals or families. After shaping your dough, bake the crust without any toppings in your hot oven (preferably on a pizza stone or steel) for about 5-7 minutes, or until it is set but not yet browned. The crust should be firm enough to handle but still pale.
Remove the crust from the oven and let it cool completely on a wire rack. Once cool, you can stack them with parchment paper in between, wrap the stack tightly in plastic wrap and then foil, and place them in a freezer bag. To use, simply take a pre-baked crust from the freezer, add your toppings (no need to thaw first! ), and bake at your usual pizza temperature until the toppings are cooked and the crust is golden brown, usually 10-15 minutes. This method bypasses the thawing and final proofing steps for the dough itself.
Freezing Dough with Different Flour Types: Whole Wheat, Gluten-Free Considerations
Freezing thawing pizza dough works well with various flour types, but there are considerations. Whole wheat dough, with its higher bran content, can sometimes be slightly less forgiving than white dough. The bran can interfere with gluten development. When freezing whole wheat dough, ensure the gluten is well-developed through thorough kneading. It might also benefit from a slightly higher hydration level than an all-white flour dough to prevent dryness after thawing. Whole wheat dough might also have a slightly shorter optimal freezer life (perhaps closer to 2 months) compared to white dough.
Gluten-free pizza dough presents unique challenges as it lacks the gluten structure that provides elasticity. Gluten-free doughs often rely on binders like xanthan gum or psyllium husk. Freezing can sometimes affect the texture of these binders. It's often recommended to test freeze a small batch of your specific gluten-free recipe first.
Some gluten-free doughs freeze better shaped into crusts rather than raw balls. Thawing gluten-free dough should always be done slowly in the refrigerator. Be prepared to adjust the dough's consistency with a little liquid or flour blend after thawing, as gluten-free doughs can be more prone to becoming crumbly or sticky.
Freezing Sourdough Pizza Dough: Specific Considerations
Sourdough pizza dough can be successfully frozen, preserving its unique tangy flavor and leavening power. The key difference is managing the sourdough starter's activity. Freeze the dough after the initial bulk fermentation but before the cold proof or final proof. The dough should have developed flavor and some initial rise, but not be fully proofed.
When thawing sourdough pizza dough, the refrigerator method is strongly preferred. This allows the wild yeast and bacteria in the starter to slowly reactivate as the dough warms. Once thawed (which might take up to 24-36 hours due to the complexity of sourdough), let it sit at room temperature for its final proof until it's ready to shape. The total proofing time after thawing might be longer than commercial yeast dough. Freezing thawing pizza dough made with sourdough requires patience during the thawing and final proofing stages to allow the natural leaven to work effectively.
Common Mistakes to Avoid When Freezing and Thawing Pizza Dough
Over-Proofing Before Freezing
A frequent error when freezing pizza dough is allowing it to proof too much before putting it in the freezer. If the dough has fully doubled or even tripled in size before freezing, the yeast has expended a significant amount of its energy. Freezing and thawing further stress the yeast cells.
When this over-proofed dough is thawed, the remaining yeast activity might be insufficient to provide a good final rise. The resulting crust can be dense, heavy, and lack the desired airy texture. Remember the advice: allow only a partial initial rise (50-75%) before shaping and freezing. This preserves yeast vitality for the crucial final proof after thawing, ensuring a successful freezing thawing pizza dough process.
Improper Packaging Leading to Freezer Burn
Freezer burn is the enemy of frozen dough quality. It occurs when air comes into contact with the surface of the dough, causing moisture to evaporate and leading to dry, discolored, and tough spots. This is typically a result of inadequate packaging. Using thin plastic wrap, leaving air pockets, or using bags that are not specifically designed for freezing are common culprits.
Always use heavy-duty freezer bags, vacuum seal bags, or a combination of plastic wrap and aluminum foil, ensuring the dough is wrapped tightly with as little air as possible touching the surface. Double-wrapping provides an extra layer of protection. Taking the time to package properly upfront saves the dough from becoming unusable due to freezer burn, ensuring your efforts in freezing thawing pizza dough pay off.
Thawing Too Quickly or Unevenly
Thawing frozen pizza dough too quickly, such as in warm water or a microwave, can severely damage the dough. Rapid temperature changes can kill the yeast and negatively impact the gluten structure, leading to a tough, lifeless dough that won't rise or stretch properly. Using the countertop method in a very warm environment without monitoring can also lead to the outside thawing and starting to proof rapidly while the inside remains frozen, resulting in uneven thawing and potentially poor texture.
The safest and most reliable method is always slow thawing in the refrigerator. While it requires planning, it ensures the dough thaws evenly and gently, allowing the yeast to reactivate gradually and the gluten structure to recover without shock. Patience during the thawing phase is essential for achieving the best results with freezing thawing pizza dough.
Conclusion: Mastering the Art of Freezing and Thawing Pizza Dough for BakeWithEase
Enjoy Homemade Pizza Anytime: The Convenience of Frozen Dough
Mastering the techniques for freezing thawing pizza dough opens up a world of convenience for home bakers. No longer is homemade pizza relegated to weekends or days when you have several hours to spare for dough preparation. By strategically making larger batches and freezing portions, you ensure that delicious, high-quality pizza dough is always within reach, ready to be thawed and transformed into your favorite meal.
The ability to pull dough from the freezer means you can satisfy a pizza craving on a Tuesday night or be ready for unexpected guests. It's about bringing the joy and satisfaction of homemade pizza into your life with greater ease and spontaneity. This advanced understanding of freezing thawing pizza dough empowers you to bake more often and with less stress.
Key Takeaways: Ensuring Success with Your Frozen Pizza Dough
Successful freezing and thawing of pizza dough boils down to a few core principles:
- Start with a robust dough recipe, preferably with good hydration.
- Partially proof the dough before freezing; avoid over-proofing.
- Divide and shape dough into individual portions for easy use.
- Package the dough meticulously to prevent freezer burn – vacuum sealing is ideal, but proper wrapping works too.
- Freeze rapidly at -18°C (0°F) or lower.
- Label and date everything clearly.
- Thaw slowly and safely in the refrigerator whenever possible (12-24+ hours).
- Allow thawed dough a final proofing period to regain its rise.
- Be prepared to make minor hydration adjustments after thawing.
- Bake at high temperatures, ideally on a preheated pizza stone or steel, to ensure a crispy crust.
By following these advanced tips, you can confidently freeze and thaw your pizza dough, ensuring that every pizza you make, whether from fresh or frozen dough, is a delicious success. Happy baking!
Frequently Asked Questions
How long can I freeze pizza dough?
You can generally freeze pizza dough for up to 3 months without significantly impacting the dough's texture or rise. Beyond that, ice crystals can form and affect its quality.
What's the best way to thaw frozen pizza dough?
The best method is to thaw it slowly in the refrigerator overnight. This allows for even thawing and helps maintain the dough's gluten structure and prevent it from becoming sticky.
Can I freeze pizza dough that has already risen once?
Yes, you can freeze dough after its first rise. Simply punch it down gently before wrapping and freezing to remove excess air. This helps maintain its texture and rise capability after thawing.
What are the signs that frozen pizza dough has gone bad?
Signs of spoilage include a sour or off odor, excessive dryness, or a slimy texture. Discard the dough if you observe any of these indicators.
Can I refreeze pizza dough that has been thawed?
It's generally not recommended to refreeze pizza dough. The freeze-thaw cycle can damage the gluten structure, leading to a poor final product.
Final Reflection: The Art of Frozen Dough: Preserving Pizza Perfection
The ability to freeze and thaw pizza dough without compromising its texture and flavor is no longer a niche skill; it's a crucial element in efficient and consistent pizza-making, whether you're a home cook or a professional pizzaiolo. Mastering this technique unlocks a world of culinary possibilities, allowing for pre-prepared doughs ready at a moment's notice, eliminating the pressure of last-minute dough-making and ensuring consistently delicious results every time.
The impact of readily available, high-quality frozen dough extends beyond individual kitchens. It empowers home bakers to experiment with different recipes and techniques without the time constraints of fresh dough preparation. The greatest pleasure in life is doing what people say you cannot do.
This quote, while not directly about pizza dough, perfectly encapsulates the sense of accomplishment and empowerment that comes from mastering the art of freezing and thawing it successfully. The ability to freeze dough opens up a world of culinary creativity, allowing for greater flexibility and less waste.
Now, consider your own pizza-making journey. Are you ready to elevate your skills and embrace the convenience and consistency that proper freezing and thawing techniques offer? Experiment with the methods outlined in this article, refine your own process, and discover the joy of perfectly crafted pizza, anytime, anywhere. Don't let the fear of compromised dough hold you back – embrace the possibilities and unlock a new level of pizza perfection.
Unlock Your Pizza Dough's Full Potential!
Thanks for taking the time to explore the art of freezing and thawing pizza dough! We hope you now feel confident in preserving your delicious creations without sacrificing texture or taste. Ready to put your new skills to the test?
- Bake a masterpiece tonight! Use your freshly-thawed dough to create the pizza of your dreams. Experiment with new toppings and share your creations with friends and family!
- Share your frozen pizza dough success (or challenges!) in the comments below. Let's build a supportive community of bakers who master the art of frozen dough.
- Challenge yourself to freeze and thaw a batch this week. Track your progress and see how simple – and delicious – it can be!
So, what unique pizza topping combination will you unleash on the world this week?