
Easy Rustic Bread with Biga: A Simple PreFerment Guide

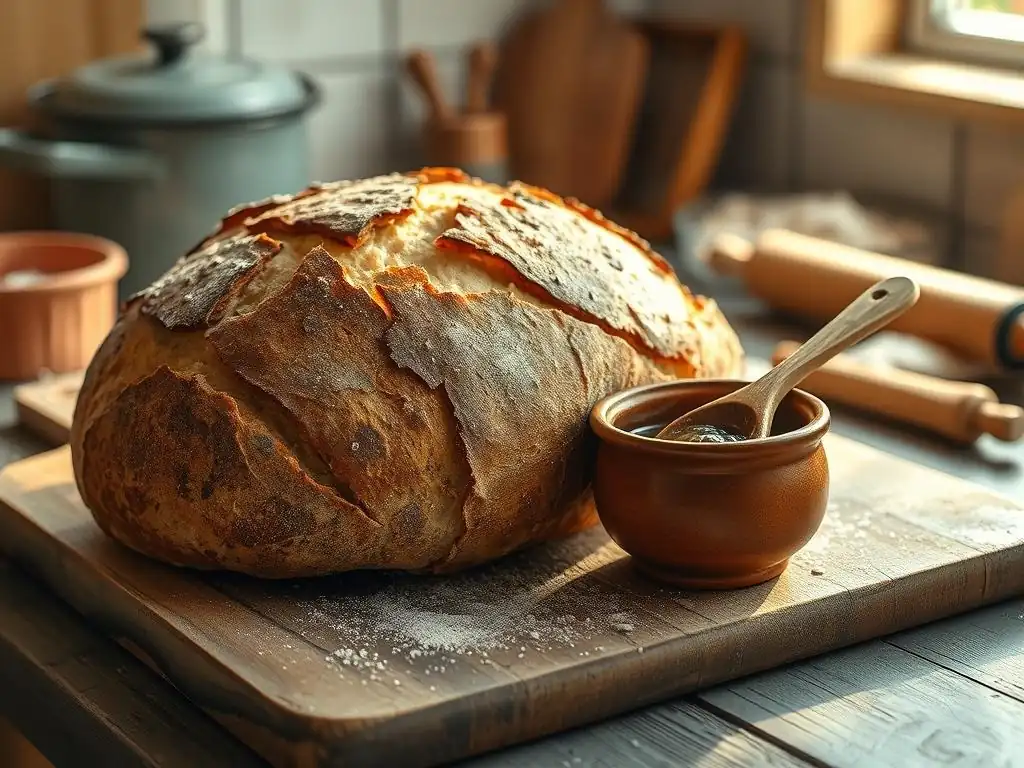
Welcome to BakeWithEase, where the joy of baking meets effortless execution! Ever wondered how to achieve that perfect, artisanal flavor in your bread without the fuss? Dive into our guide on crafting an easy rustic bread biga – a simple pre-ferment technique that unlocks a world of flavor and texture. Discover how this surprisingly easy method can elevate your bread baking game and create loaves that are bursting with character. Intrigued? Let's get baking!
- Bake Delicious Rustic Bread at Home with Biga
- What is Biga and Why Use It in Rustic Bread?
- Easy Rustic Bread Biga Recipe: Step-by-Step Guide
- Tips and Tricks for Perfect Rustic Bread with Biga
- Serving and Storing Your Homemade Rustic Biga Bread
- Easy Rustic Bread Biga: Frequently Asked Questions
- Rustic Bread Biga Recipe Summary: Bake With Ease!
-
Frequently Asked Questions
- What is a biga and why is it used in baking, especially for rustic bread?
- How does using a biga make rustic bread "easy" to bake?
- Can I substitute the ingredients in the biga recipe, and what are the risks?
- How long should I ferment the biga, and what are the signs that it's ready to use?
- What happens if I over-ferment the biga? Will it ruin the bread?
- Final Reflection: The Enduring Appeal of Simple Breadmaking
- Unleash Your Inner Baker: Craft Your Own Rustic Loaf!
Bake Delicious Rustic Bread at Home with Biga
Creating delicious, crusty rustic bread at home might seem daunting, but with a little planning and a simple technique called using a biga, it becomes incredibly achievable and rewarding. This guide will walk you through the process, demystifying the pre-ferment and helping you bake beautiful, flavorful loaves that rival your favorite bakery. The secret to that wonderful aroma and chewy texture often lies in allowing the dough to develop flavor over time, and a biga is a perfect way to kickstart that process for your easy rustic bread.
Using a biga not only enhances the flavor profile of your rustic bread but also contributes significantly to its structure and keeping quality. It's a method favored by bakers worldwide for good reason. By preparing this simple mixture of flour, water, and a tiny amount of yeast in advance, you are building a foundation for a truly exceptional loaf. Let's dive into how this pre-ferment works and why it's a game-changer for your homemade easy rustic bread biga recipe.
What is Biga and Why Use It in Rustic Bread?
Understanding Biga: A Baker's Secret Weapon
Biga is a type of pre-ferment used in Italian baking, typically characterized by its relatively low hydration level, usually ranging from 45% to 60% water to flour weight. It's made by mixing flour, water, and a very small amount of commercial yeast (often less than 1% of the flour weight) into a stiff or firm dough. This mixture is then left to ferment for a significant period, often between 12 to 24 hours, sometimes even longer, at room temperature or in the refrigerator.
Unlike a liquid starter, the low hydration of biga results in a less active but longer and slower fermentation process. This extended fermentation allows enzymes in the flour to break down starches into sugars, which the yeast then consumes, producing a complex array of flavor compounds. The result is a mature pre-ferment that, while not as bubbly as a poolish or liquid starter, has developed significant strength and aromatic qualities crucial for adding depth to easy rustic bread.
Benefits of Using Biga in Your Rustic Bread Recipe
Incorporating biga into your rustic bread recipe brings a multitude of advantages. Firstly, it dramatically improves the flavor profile of the final loaf. The long, slow fermentation of the biga develops rich, complex flavors and aromas that you simply can't achieve with a straight dough mix. Think of it as aging wine – time adds depth and nuance.
Secondly, biga enhances the dough's structure and texture. The enzymes active during the biga fermentation strengthen the gluten network, leading to a more open, airy crumb and a sturdier crust in your easy rustic bread. Using a biga can also improve the dough's extensibility and handling. Furthermore, the acidity developed during the fermentation process contributes to a longer shelf life for the finished bread, keeping your homemade easy rustic bread biga fresh for an extra day or two compared to a non-pre-fermented loaf.
Biga vs. Sourdough Starter: Key Differences for Rustic Bread Baking
While both biga and sourdough starters are pre-ferments used to enhance bread, they differ significantly in their composition and the fermentation process they employ. A sourdough starter is a wild ferment, relying on naturally occurring wild yeasts and lactic acid bacteria present in flour and the environment. It requires regular feeding and maintenance and produces a distinctive tangy flavor due to the lactic and acetic acids produced by the bacteria. A sourdough starter typically has a hydration of 100% or more.
In contrast, biga uses commercial yeast, usually active dry or instant yeast, in a controlled, low-hydration environment. This means it's much more predictable and faster to establish than a sourdough starter, which can take weeks to become viable. Biga primarily contributes complex flavors from yeast activity and enzymatic breakdown of starches, with less of the pronounced acidity found in sourdough. For those seeking an easy rustic bread with deep flavor and excellent texture without the commitment and tang of sourdough, biga is an ideal choice.
Easy Rustic Bread Biga Recipe: Step-by-Step Guide
Ingredients for Your Simple Rustic Bread Biga
To make your easy rustic bread biga, you'll need just a few basic ingredients. For the biga itself, you'll typically use about 150 grams of strong bread flour, around 75-90 grams of cool water (this gives a hydration of 50-60%), and a tiny pinch of instant dry yeast, perhaps just 0.5 to 1 gram. The exact amount of yeast depends on your desired fermentation time and temperature, but less is usually more for a long, slow ferment.
For the final dough, you'll use all of your prepared biga, plus additional bread flour (let's say another 350 grams), more water (around 250-300 grams, adjusting for desired hydration and flour absorption), about 10 grams of salt, and a small amount of fresh yeast or instant yeast (maybe 2-3 grams) to give the final dough a boost. The total hydration for the final dough, including the biga's water, might be around 70-75%, contributing to a lovely open crumb in your easy rustic bread.
Preparing the Biga: A Detailed Walkthrough
Preparing the biga is straightforward. In a medium bowl, combine the specified amount of flour, water, and the tiny pinch of yeast. Mix with a spoon or your hands until all the flour is hydrated and you have a shaggy, slightly dry dough ball. There's no need to knead it smooth; just ensure there are no dry pockets of flour. The low hydration means it will be quite stiff.
Once mixed, cover the bowl tightly with plastic wrap to prevent the surface from drying out. Place the bowl in a cool spot, ideally between 18°C and 20°C (64°F-68°F), for its long fermentation. If your kitchen is warmer, you might need to reduce the fermentation time slightly or use even less yeast. After several hours, you'll notice tiny bubbles forming. By the end of the fermentation period, the biga should be slightly domed and have a pleasant, slightly yeasty aroma, ready for your easy rustic bread.
Biga Fermentation Time and Temperature
The typical fermentation time for a biga at a cool room temperature (18-20°C) is between 12 and 18 hours. During this period, the yeast slowly works, and enzymatic activity develops complex flavors. You'll know it's ready when it has increased slightly in volume, is covered in small bubbles, and might show signs of starting to collapse slightly on top if it's reached peak maturity.
If you need more flexibility, you can ferment the biga in the refrigerator after an initial couple of hours at room temperature. Cold fermentation slows the yeast activity significantly, allowing the biga to develop over 24, 48, or even up to 72 hours. This extended cold ferment can contribute even more complex flavors to your easy rustic bread biga. Just ensure it's well-covered to prevent drying.
Making the Rustic Bread Dough: Combining Biga and Fresh Ingredients
Once your biga is mature, it's time to make the final dough for your easy rustic bread. In a large mixing bowl (or the bowl of a stand mixer), crumble the biga into smaller pieces. Add the additional flour, water, and the small amount of fresh yeast (if using). Hold off on adding the salt for the initial mixing phase, as salt can tighten the gluten and slow down the initial dough development.
Mix these ingredients together until a shaggy dough forms and there are no dry patches of flour. This initial mix can be done by hand or using the dough hook attachment on a stand mixer on a low speed. Allow the dough to rest for 20-30 minutes (this is called autolyse) to allow the flour to fully hydrate and gluten development to begin naturally before adding the salt. This step makes kneading easier and improves the dough's structure for your easy rustic bread biga.
Mixing the Dough for Optimal Texture
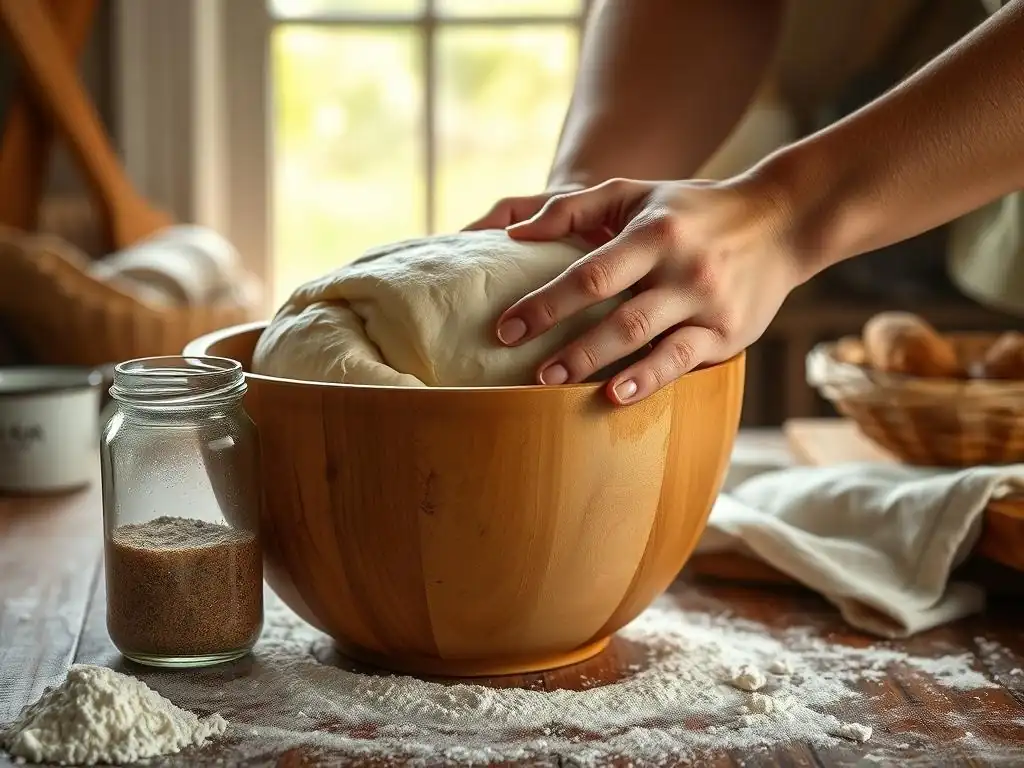
After the autolyse period, add the salt to the dough. If using a stand mixer, knead the dough on medium-low speed for about 5-8 minutes. The dough will start sticky but should become smoother and more elastic, pulling away from the sides of the bowl. It might still be a bit tacky due to the high hydration typical for rustic bread.
If kneading by hand, turn the dough out onto a lightly floured surface. Knead using techniques like stretching and folding or the French fold for about 10-15 minutes. The dough is properly kneaded when it feels smooth, elastic, and passes the windowpane test – stretching a small piece thin enough to see light through without tearing. Proper kneading is key to developing the gluten structure needed for a good crumb in your easy rustic bread.
Bulk Fermentation: Developing Flavor in Your Rustic Bread
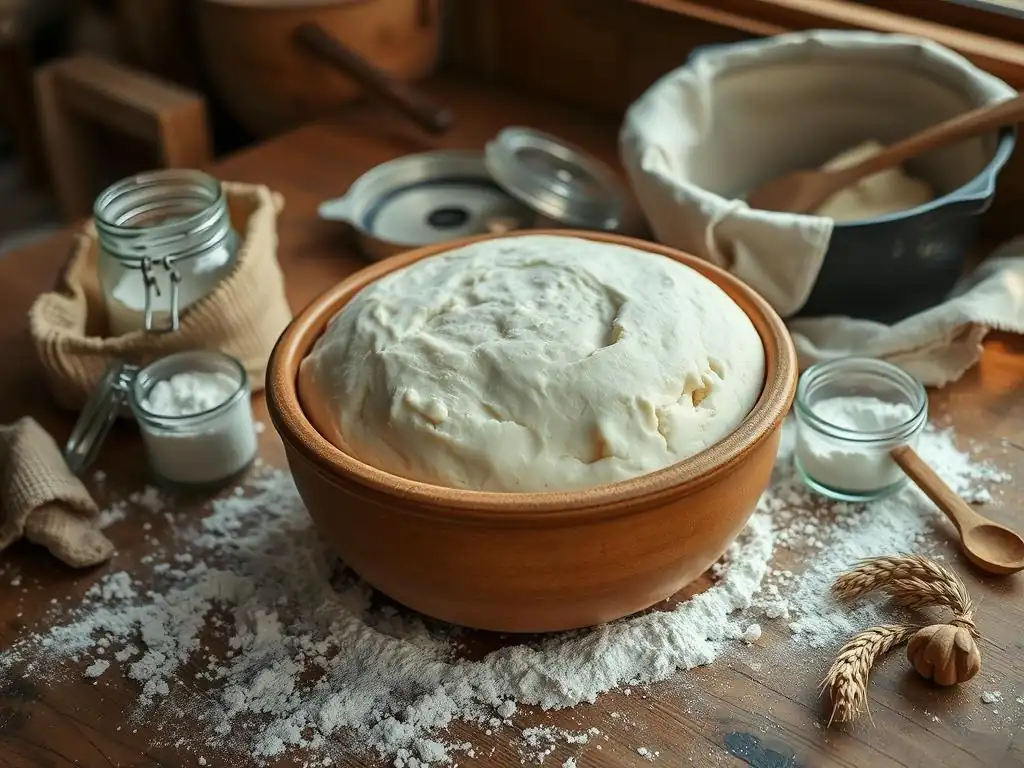
Bulk fermentation, also known as the first rise, is where the dough develops most of its volume and flavor. Place the kneaded dough in a lightly oiled bowl, cover it tightly, and let it rise in a warm spot (around 24-26°C or 75-79°F) until it has roughly doubled in size. This typically takes between 1.5 and 2.5 hours, depending on the temperature and yeast activity.
During the bulk fermentation, perform a few sets of stretch and folds. For example, do 3 sets of stretch and folds at 30-minute intervals during the first 1.5 hours. To do a stretch and fold, gently lift one side of the dough, stretch it upwards, and fold it over the center. Rotate the bowl and repeat 3 more times for a total of four folds per set. This strengthens the gluten and redistributes the yeast and gases, leading to a more even crumb in your easy rustic bread biga.
Shaping Your Rustic Bread Loaf: Techniques for a Perfect Crust
Once the bulk fermentation is complete, gently turn the dough out onto a lightly floured surface. Be careful not to deflate it too much. For rustic bread, simple shaping is often best. You can shape it into a round loaf (a boule) or an oval loaf (a batard).
To shape a boule, gently pull the edges of the dough towards the center, then flip it over and cup your hands around the dough, rotating it to create tension on the surface. For a batard, gently pat the dough into a rectangle, then fold the top third down to the center and the bottom third up over the center. Fold the dough in half lengthwise and seal the seam.
Gently roll the loaf to even it out and create surface tension. Place the shaped loaf seam-side up (if using a proofing basket) or seam-side down on parchment paper for the final proof. Proper shaping helps the loaf hold its form and contributes to a beautiful crust on your easy rustic bread.
Baking Your Rustic Bread: Temperature and Time for Golden Perfection
Preheat your oven with a baking stone or Dutch oven inside to a very high temperature, typically between 230°C and 250°C (450°F-475°F). High heat is crucial for achieving a good oven spring and a crisp crust on rustic bread. If using a Dutch oven, ensure it preheats for at least 30-45 minutes.
Carefully transfer the proofed loaf into the hot oven. If using a baking stone, create steam by placing a tray of hot water or ice cubes on the bottom rack of the oven just before loading the bread. Steam helps the crust remain pliable initially, allowing the loaf to expand fully before the crust sets.
Bake the loaf covered (in a Dutch oven) or with steam for the first 20-25 minutes, then remove the lid or steam tray and continue baking for another 15-20 minutes, or until the crust is deep golden brown and the internal temperature reaches 93-99°C (200-210°F). This two-stage baking process (steam then dry heat) is key to a perfect easy rustic bread biga crust.
Tips and Tricks for Perfect Rustic Bread with Biga
Achieving the Ideal Crust and Crumb
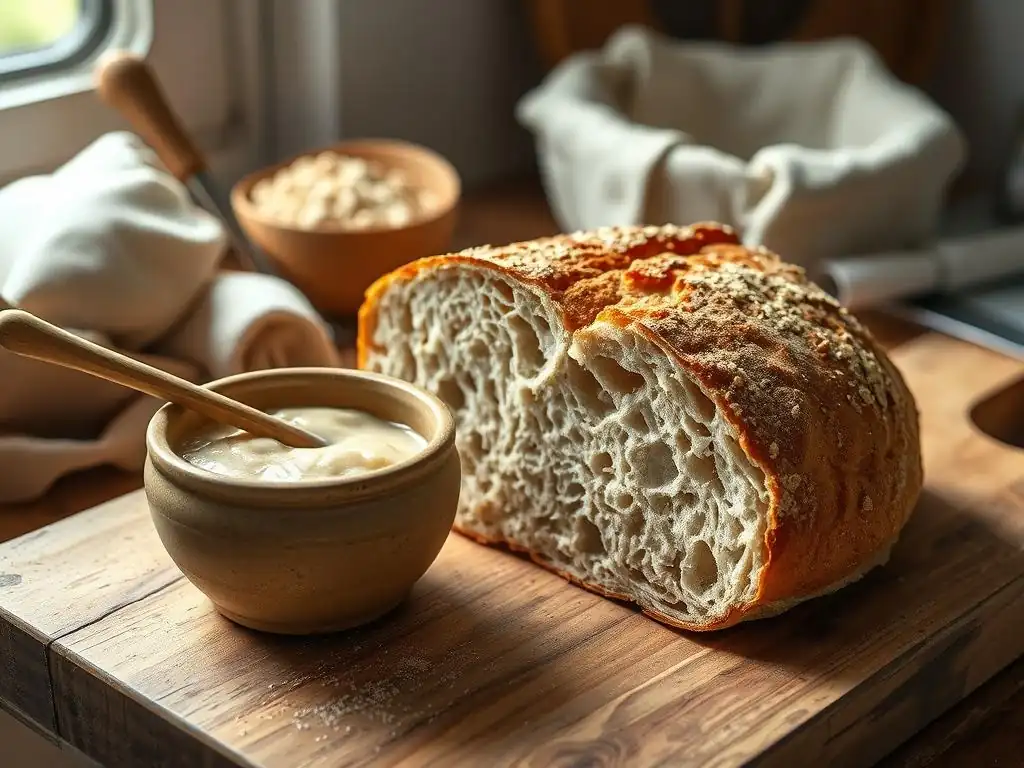
A hallmark of great rustic bread is its crispy crust and open, airy crumb. To achieve this, ensure your oven is fully preheated to a high temperature before baking. Using steam during the initial phase of baking is paramount – whether via a Dutch oven or by creating steam in your oven with water or ice. This prevents the crust from hardening too quickly, allowing the loaf to expand (oven spring) and resulting in a thinner, crispier crust.
For the open crumb, proper fermentation and gentle handling are key. Don't rush the bulk fermentation; allow the dough to develop sufficiently. Perform stretch and folds to build strength without degassing the dough excessively. When shaping, be firm enough to create tension but gentle enough to preserve the internal gas bubbles. Finally, always let your easy rustic bread cool completely on a wire rack after baking. Cutting into a hot loaf collapses the steam inside, leading to a gummy texture instead of a beautiful open crumb. Cooling allows the internal structure to set properly.
Troubleshooting Common Biga Bread Problems
Sometimes, even with a biga, things don't go perfectly. If your easy rustic bread has a dense crumb, it's likely under-fermented. Allow more time for bulk fermentation and final proofing. If the crust is too tough or thin and papery, you probably didn't use enough steam during the initial bake or the oven temperature wasn't high enough.
If your dough is excessively sticky and hard to handle, it might be over-hydrated for your flour or skill level. You can try reducing the water slightly in future batches or practice techniques for handling high-hydration doughs. If your loaf spreads out flat instead of holding its shape, it could be over-proofed or lacked sufficient tension during shaping. Pay attention to the dough's feel and appearance at each stage to identify potential issues with your easy rustic bread biga.
Variations: Experimenting with Different Flours and Flavors
Once you've mastered the basic easy rustic bread biga recipe, feel free to experiment! Substituting some of the white bread flour with other types can significantly change the flavor and texture.
Adding Whole Wheat Flour for a Nutty Flavor
Adding whole wheat flour is a popular variation for easy rustic bread. Try replacing 10-20% of the total flour weight with whole wheat flour. For example, if your recipe uses 500 grams total flour, substitute 50-100 grams with whole wheat. Whole wheat flour absorbs more water, so you might need to slightly increase the overall hydration. This addition will lend a pleasant nutty flavor and a slightly denser, more wholesome texture to your easy rustic bread biga.
Incorporating Seeds and Herbs into Your Rustic Bread
Another delightful variation is adding seeds or herbs to your easy rustic bread dough. Common additions include poppy seeds, sesame seeds, sunflower seeds, or a mix of seeds. For a savory twist, incorporate chopped fresh rosemary, thyme, or dried herbs like Herbes de Provence.
Mix about 20-50 grams of seeds or 1-2 tablespoons of fresh herbs per 500 grams of flour into the dough during the final mixing stage after adding the salt. This adds wonderful texture, flavor, and visual appeal to your homemade easy rustic bread biga. Toasting seeds lightly before adding them can enhance their flavor even further.
Serving and Storing Your Homemade Rustic Biga Bread
Enjoying Your Freshly Baked Rustic Bread
There's little in the world as satisfying as slicing into a loaf of warm, freshly baked easy rustic bread biga. The crackle of the crust and the soft, aromatic interior are pure bliss. Serve it simply with good quality butter, dip it in olive oil with balsamic vinegar, or use it as the base for incredible sandwiches or bruschetta.
This type of bread is also fantastic for soaking up sauces or serving alongside soups and stews. The complex flavor developed by the biga makes it delicious on its own, perfect for tearing off chunks and enjoying the fruits of your labor. Sharing your homemade easy rustic bread biga with friends and family is a simple pleasure that truly highlights the joy of baking.
Proper Storage Techniques for Maintaining Freshness
Proper storage is key to keeping your easy rustic bread biga fresh for as long as possible. Once the loaf is completely cool (this is crucial! ), store it at room temperature. The best storage method for rustic bread is typically a paper bag or a linen bread bag, which allows the crust to remain relatively crisp while protecting the interior.
Avoid storing rustic bread in plastic bags, especially while it's still warm, as this traps moisture and will soften the crust quickly. You can also store it in a bread box. For longer storage, rustic bread freezes exceptionally well. Slice the cooled loaf and freeze the slices or wrap the whole loaf tightly in plastic wrap followed by aluminum foil. Frozen easy rustic bread biga can last for a couple of months; simply thaw at room temperature or toast slices directly from frozen.
Easy Rustic Bread Biga: Frequently Asked Questions
Can I use instant yeast for the biga?
Yes, absolutely. Most recipes for biga actually call for instant dry yeast because it's so reliable and doesn't require proofing before mixing. If your recipe specifies active dry yeast for the biga, you can typically substitute it with instant yeast by using about 75-80% of the amount specified for active dry yeast. For example, if the recipe says 1 gram of active dry, use about 0.75-0.8 grams of instant yeast for your easy rustic bread biga.
How long can I store the biga in the refrigerator?
A biga can be stored in the refrigerator for a longer, slower fermentation period. After mixing, you can place it in the fridge for anywhere from 24 hours up to 3-5 days. The cold temperature significantly slows down the yeast activity, but enzymatic breakdown and flavor development continue. This extended cold ferment can lead to even more complex flavors in your easy rustic bread biga. Just ensure it's well-sealed to prevent it from drying out or absorbing odors.
What if my dough is too sticky?
High hydration doughs like those often used for easy rustic bread biga can be quite sticky, especially if you're not used to working with them. First, ensure you kneaded it sufficiently; sometimes sticky dough just needs more development. If it's still unmanageably sticky, you can add a tiny bit more flour, a tablespoon at a time, during kneading until it's easier to handle. Alternatively, embrace the stickiness and use techniques like wet hands or a bowl scraper to manage the dough during folds and shaping.
Can I make this recipe without a stand mixer?
Absolutely! This easy rustic bread biga recipe can be made entirely by hand. The process will involve mixing the biga by hand, then combining the biga and final ingredients and kneading the dough by hand. Hand kneading will require more time and effort compared to using a stand mixer, typically 10-15 minutes of active kneading for the final dough, but it is a very rewarding and effective method for developing gluten and achieving a great loaf.
Rustic Bread Biga Recipe Summary: Bake With Ease!
Making easy rustic bread with biga is a rewarding process that introduces you to the power of pre-ferments. By preparing a simple biga in advance, you unlock deeper flavors, enhance texture, and improve the keeping quality of your homemade loaf. From understanding the science behind biga to mixing, fermenting, shaping, and baking, each step contributes to that perfect crusty exterior and open, chewy interior characteristic of great rustic bread. Don't be intimidated by the extra step; it's a simple addition that yields incredible results, making baking delicious easy rustic bread biga a truly enjoyable experience.
Frequently Asked Questions
What is a biga and why is it used in baking, especially for rustic bread?
A biga is a type of pre-ferment used in bread making. It's a mixture of flour, water, and a small amount of yeast that's allowed to ferment before being added to the final dough. This process enhances the flavor and texture of the bread, particularly rustic loaves.
How does using a biga make rustic bread "easy" to bake?
While it adds a step, the biga actually simplifies the overall process. It develops the complex flavors ahead of time, reducing the need for long fermentation times in the final dough. This makes the process more manageable and the outcome more predictable.
Can I substitute the ingredients in the biga recipe, and what are the risks?
Generally, you should stick to the specified flour and water ratios for the biga. Substituting ingredients can affect the fermentation process and the final outcome of the bread. Using different flours might alter the hydration levels needed.
How long should I ferment the biga, and what are the signs that it's ready to use?
The biga should ferment for at least 12 hours, and up to 24 hours, at room temperature (or longer in the refrigerator). It's ready when it has visibly increased in size, is bubbly, and has a slightly sour, yeasty aroma.
What happens if I over-ferment the biga? Will it ruin the bread?
An over-fermented biga will have a strong, acidic smell and might even deflate. While it won't necessarily ruin the bread, it can lead to a sour or unpleasant taste. It's best to use it sooner rather than later or refrigerate it to slow down the fermentation.
Final Reflection: The Enduring Appeal of Simple Breadmaking
The art of bread baking, once a cornerstone of daily life, is experiencing a powerful resurgence, driven by a desire for wholesome food and a deeper connection to our culinary heritage. This renewed interest highlights the enduring appeal of simple, yet satisfying, recipes like our Easy Rustic Bread with Biga. The seemingly complex process is, in reality, surprisingly accessible, proving that crafting delicious, artisanal bread doesn't require years of experience or specialized equipment.
The use of a biga, a simple pre-ferment, is more than just a technique; it's a gateway to understanding the fundamental principles of breadmaking. It allows for a deeper appreciation of the interplay between flour, water, and time, transforming the process from a mere recipe into a mindful practice. Bread is the staff of life,
a simple saying, yet it encapsulates the profound connection between this basic food and our very existence. This connection, enhanced by the slow fermentation of the biga, elevates the act of baking beyond mere sustenance to a meditative experience.
Now, consider your own kitchen. Imagine the aroma of freshly baked bread filling your home, the satisfying crust giving way to a soft, airy crumb. Don't let the perceived complexity of rustic bread intimidate you. This article has provided you with the tools and knowledge to embark on this rewarding journey. Take the time, experiment with the recipe, and discover the joy of creating something beautiful and delicious with your own hands. The reward – a loaf of bread imbued with your own effort and care – is well worth the effort.
Unleash Your Inner Baker: Craft Your Own Rustic Loaf!
Thanks for joining us on this baking adventure! We hope you’ve gained a newfound appreciation for the power of a simple biga and the delicious rustic bread it creates. Ready to take your baking to the next level?
- Bake your own rustic masterpiece! Use the recipe and techniques from the article to create your first (or next!) beautiful loaf. Don't be afraid to experiment with different flours and additions!
- Share your baking journey! Post a picture of your creation on social media using #BakeWithEaseBiga and inspire others to try this rewarding process.
- Discover more simple baking techniques: Explore our other articles for more easy-to-follow recipes and tips to enhance your baking skills.
What unique ingredient will you add to your next biga-enhanced rustic loaf? Let's hear your ideas in the comments below!