
Never Fail Again: Common SliceandBake Pitfalls & How to Avoid Them


Welcome to BakeWithEase, your haven for effortless baking! Ever wondered why your slice-and-bake cookies sometimes crumble, spread too thin, or just don't look quite right? We're diving deep into the common pitfalls of these convenient treats, uncovering secrets to guaranteed success. Read on to discover how to avoid these baking blunders and achieve perfectly irresistible cookies every time!
- Mastering Slice-and-Bake Cookies: Troubleshooting & Tips
- A Baker's Guide to Perfect Slice-and-Bake Cookies
- Common Slice-and-Bake Cookie Problems & Solutions
- Essential Tips for Consistently Great Cookies
- Troubleshooting Common Dough Issues
- Elevating Your Slice-and-Bake Creations
- Slice-and-Bake Recipe Ideas
- Conclusion: Simple Baking, Delicious Results
-
Frequently Asked Questions
- What are some common issues people encounter when using slice-and-bake cookie dough?
- How can I prevent my slice-and-bake cookies from spreading too much in the oven?
- What's the best way to slice slice-and-bake cookie dough for even thickness?
- My slice-and-bake cookies are always burnt on the bottom. What am I doing wrong?
- How long can I store slice-and-bake cookie dough in the refrigerator before baking?
- Final Reflection: Mastering the Art of the Perfect Slice-and-Bake
- Unlock Your Baking Potential: Master the Art of Slice and Bake!
Slice-and-bake cookies represent one of the simplest paths to freshly baked treats. At its core, slice-and-bake dough is pre-made cookie dough, typically formed into a cylindrical log, that is designed to be sliced into individual portions and baked immediately. This eliminates the need for measuring ingredients, mixing, and often, the initial chilling phase required by many traditional cookie recipes. It's an accessible entry point into baking, perfect for impromptu cravings or busy schedules.
The convenience factor is undeniable, making slice-and-bake a popular choice for families, students, and anyone looking for a quick dessert fix. You can find a wide variety of flavors, from classic chocolate chip and sugar cookies to more adventurous options like peanut butter or double chocolate. The consistent format of the dough log ensures that each cookie, once sliced, starts with a similar size and shape, leading to more uniform baking results compared to scooping individual dough portions.
Benefits of Pre-Made Dough: Speed and Consistency
The primary benefit of using pre-made slice-and-bake dough is the incredible speed with which you can go from package to warm cookie. Without the steps of gathering ingredients, measuring flour, sugar, and butter, and then mixing everything together, the preparation time is drastically reduced. You simply preheat your oven, slice the log, place the portions on a baking sheet, and bake. A batch of warm cookies can often be ready in under 15-20 minutes total, including baking time.
Beyond speed, consistency is a major advantage. Commercial slice-and-bake dough is produced under controlled conditions, ensuring a uniform ratio of ingredients in every batch. This means that if you follow the package instructions, you can generally expect consistent results in terms of texture, flavor, and spread each time you bake. This reliability makes it a forgiving option for beginner bakers and helps avoid many common baking errors associated with ingredient measurement or mixing technique. Understanding these inherent qualities is key to mastering slice and bake cookies and avoiding common slice and bake pitfalls.

Problem #1: Dough Crumbles When Slicing
Cause: Dough Too Cold or Dry
Solution: Let Dough Warm Slightly or Add a Touch of Milk
One of the most frequent slice and bake pitfalls is encountering a dough log that crumbles rather than slicing cleanly. This usually happens when the dough is excessively cold, making the butter and other ingredients too rigid to cut without breaking apart. Dough stored in the back of a very cold refrigerator, or even briefly in the freezer, is particularly susceptible to this issue.
To remedy crumbling slice and bake dough, allow the log to sit at room temperature for 10 to 15 minutes before attempting to slice. This slight warming will soften the butter just enough to make the dough pliable for cutting.
If the dough still seems very dry and crumbly after warming slightly, you can try gently kneading the log very briefly with your hands to warm it further. In rare cases where the dough seems genuinely dry, you might carefully work in a single teaspoon of milk or cream into the crumbling section, but be cautious not to overwork it or add too much liquid, as this can alter the cookie's final texture.
Cause: Dough Too Warm or High Fat Content
Solution: Chill Dough Longer or Reduce Butter Slightly
Cookies spreading too much on the baking sheet, resulting in thin, flimsy discs, is another common slice and bake pitfall. The primary culprit is often dough that is too warm when it goes into the oven. Warm butter melts faster, causing the cookies to spread rapidly before the structure of the dough can set. High oven temperature can also contribute, but warm dough is typically the main issue with pre-made logs.
To combat excessive spread, ensure your slice and bake dough is adequately chilled. If the package recommends chilling, follow that guidance. If not, or if your kitchen is particularly warm, placing the sliced cookie portions on the baking sheet and then refrigerating the entire sheet for 15-30 minutes before baking can make a significant difference.
For persistent spreading issues, especially with certain brands or flavors known for high fat content, chilling the dough log in the refrigerator for an extra hour or two beyond typical storage can help firm it up considerably before slicing. While you can't change the recipe of pre-made dough, ensuring it's sufficiently cold before baking is your best defense against excessive spread.
Problem #3: Burnt Bottoms & Pale Tops
Cause: Oven Imbalance or Dark Baking Sheet
Solution: Use a Lighter Baking Sheet or Lower Rack Position
Achieving an even bake with golden bottoms and tops can sometimes be tricky, leading to the frustrating slice and bake pitfall of burnt bottoms and undercooked tops. This often points to uneven heat distribution in your oven or the type of baking sheet you are using. Dark-colored baking sheets absorb more heat than light-colored ones, which can cause the bottoms of cookies to brown and potentially burn faster than the tops.
To address this, consider the equipment and oven setup. If you are using dark baking sheets, try switching to lighter, shiny aluminum sheets. These reflect heat better, promoting a more even bake. Additionally, experiment with your oven rack position. If bottoms are consistently burning while tops remain pale, moving the baking sheet to a slightly higher rack position can help balance the heat exposure. If your oven has known hot spots or temperature inconsistencies (which can be checked with an inexpensive oven thermometer showing variations of +/- 10°F or more), rotating the baking sheet halfway through the baking time is crucial for ensuring all cookies bake evenly.
Cause: Insufficient Grease or Old Baking Sheet
Solution: Use Parchment Paper or a Silicone Baking Mat
Having your perfectly baked slice and bake cookies stubbornly stick to the pan is a truly annoying slice and bake pitfall. While some non-stick baking sheets are designed to release cookies easily without grease, many require some form of preparation. An old, scratched, or worn non-stick surface is also more likely to cause sticking.
The simplest and most reliable solution is to line your baking sheet with parchment paper or use a silicone baking mat. Both options create a non-stick surface that ensures easy release without the need for greasing the pan itself. Parchment paper can be used once and discarded, while silicone mats are reusable. If you prefer not to use liners and are using a standard baking sheet, ensure it is properly greased with butter, shortening, or baking spray before placing the dough slices. Even then, monitor closely and ensure the cookies are fully set before attempting to remove them.
Cause: Overbaking or Inaccurate Oven Temperature
Solution: Reduce Baking Time or Calibrate Oven
Dry, hard cookies are often the result of baking them for too long or baking them at a temperature that is too high. Even a minute or two of overbaking can turn a perfectly chewy or tender slice and bake cookie into a brittle, unappealing disc. Oven temperatures can also fluctuate, and an oven running hotter than the set temperature will bake cookies faster and dry them out.
To avoid this common slice and bake pitfall, pay close attention to the baking time specified on the package, but treat it as a guideline rather than a strict rule. Start checking the cookies a minute or two before the minimum recommended time. Look for visual cues: the edges should be set and lightly golden, but the centers should still look slightly soft or not fully dry. If your oven seems inconsistent, using an oven thermometer to verify its accuracy is a good idea. If it consistently runs hot, you may need to reduce the temperature by 10-25 degrees Fahrenheit ( +/- 5-15°C) or significantly shorten the baking time. Remember that cookies continue to set slightly as they cool on the baking sheet after being removed from the oven.
Tip #1: Choose High-Quality Dough
The quality of your final slice and bake cookies starts with the dough itself. Different brands and varieties use different ingredients and ratios, which impact flavor, texture, and how well they bake. Opting for a reputable brand known for good quality ingredients can make a significant difference in avoiding slice and bake pitfalls.
Read reviews if possible, or try a couple of different brands to see which one yields results you prefer in terms of taste and texture. Some premium options might use real butter and higher quality chocolate or other inclusions, leading to a more satisfying cookie experience. While convenience is key, the foundation of your cookie is still the dough you choose.
Tip #2: Store Dough Properly in the Refrigerator
Proper storage of your slice and bake dough log is crucial for maintaining its texture and ensuring it slices and bakes correctly. Always store the dough in the refrigerator until you are ready to use it. The cold temperature keeps the butter firm, which is essential for controlling spread during baking.
Keep the dough in its original packaging to protect it from drying out or absorbing odors from other foods in the refrigerator. Avoid storing it in the refrigerator door, as temperatures there can fluctuate more than on interior shelves. Maintaining a consistent cold temperature helps prevent issues like crumbling or excessive spreading when you go to bake.
Tip #3: Use a Sharp Knife for Clean Slices
The way you slice the dough log directly impacts the shape and appearance of your finished slice and bake cookies. Using a dull knife is a common reason for misshapen or crumbling slices, contributing to slice and bake pitfalls. A dull blade can compress and distort the dough rather than cutting cleanly through it.
A sharp chef's knife or a sturdy serrated knife works best for slicing cold slice and bake dough. Use a steady, downward motion without sawing back and forth too much. Aim for even pressure across the log as you cut. Clean slices not only look better but also bake more uniformly because the dough is not compressed unevenly.
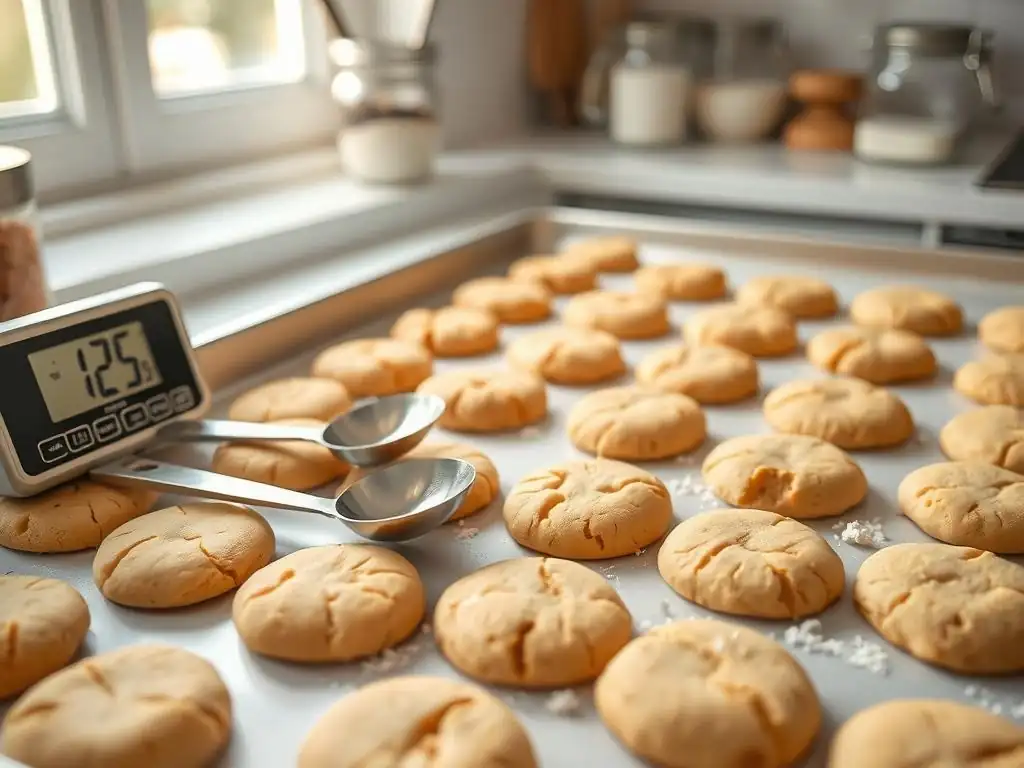
Consistency in cookie thickness is vital for achieving an even bake across the entire batch. If some slices are thick and others are thin, the thin ones will bake faster and potentially burn, while the thick ones may remain undercooked in the center. This variation is a classic slice and bake pitfall that's easy to avoid.
Try to make each slice of dough the same thickness, ideally between 1/4 inch and 1/2 inch, depending on your preference and the dough type (thicker slices often yield chewier cookies). Using a ruler as a visual guide for the first few slices can help establish a consistent measure. Placing the log on a cutting board with measurement markings can also be helpful.
Tip #5: Add Extracts or Zest for Enhanced Flavor
While pre-made slice and bake dough is convenient, you can easily elevate its flavor profile with simple additions. This is a great way to customize a basic dough and make it taste more like homemade, moving beyond the standard offerings.
Before slicing, you can gently knead in a small amount (like 1/4 to 1/2 teaspoon) of vanilla extract, almond extract, or lemon zest into the dough log. Be careful not to overwork the dough when adding extracts. For zest, roll the log in the zest before slicing, or gently press it into the surface of the sliced cookies. These additions provide an extra layer of aroma and taste that can significantly enhance the final cookie.
Troubleshooting Common Dough Issues
What to Do If Your Dough Is Too Sticky
Sometimes, even straight from the fridge, slice and bake dough can feel excessively sticky, making it hard to handle or slice cleanly. This might be due to a slightly warmer storage temperature, humidity, or the specific dough formulation.
If the dough is too sticky, the best course of action is to chill it for a longer period. Place the dough log back in the refrigerator for at least 30 minutes, or even in the freezer for 10-15 minutes, to firm it up considerably. A colder dough is less likely to stick. You can also lightly flour your knife before slicing, wiping and re-flouring as needed, but be cautious not to incorporate too much flour into the dough itself, which could dry out the cookies.
How to Fix Crumbly Dough
As mentioned earlier, crumbly dough is a common slice and bake pitfall caused by the dough being too cold or dry. While warming it slightly is the first step, sometimes it needs a bit more help.
If warming doesn't entirely resolve the crumbling, you can very gently knead the dough log a few times with your hands to introduce a little warmth and flexibility. If the dough still refuses to hold together, you can try incorporating a tiny amount of liquid – perhaps 1/2 to 1 teaspoon of milk or heavy cream – into the most crumbly section. Do this sparingly and work it in just until the dough comes together, as adding too much liquid will change the cookie's texture and spread.
Can You Freeze Slice-and-Bake Dough?
Yes, you absolutely can freeze slice-and-bake dough logs to extend their shelf life and have cookies ready whenever a craving strikes. Freezing is a great way to prevent waste if you don't plan to bake the entire package within a few days.
To freeze, keep the dough log in its original packaging and place it inside a freezer-safe bag or wrap it tightly in an extra layer of plastic wrap or aluminum foil to prevent freezer burn. Label it with the date. Frozen slice and bake dough can typically be stored for up to 1-2 months. When you're ready to bake, transfer the log to the refrigerator to thaw overnight, or leave it at room temperature for 30-60 minutes until it's firm enough to slice but not frozen solid.
Elevating Your Slice-and-Bake Creations
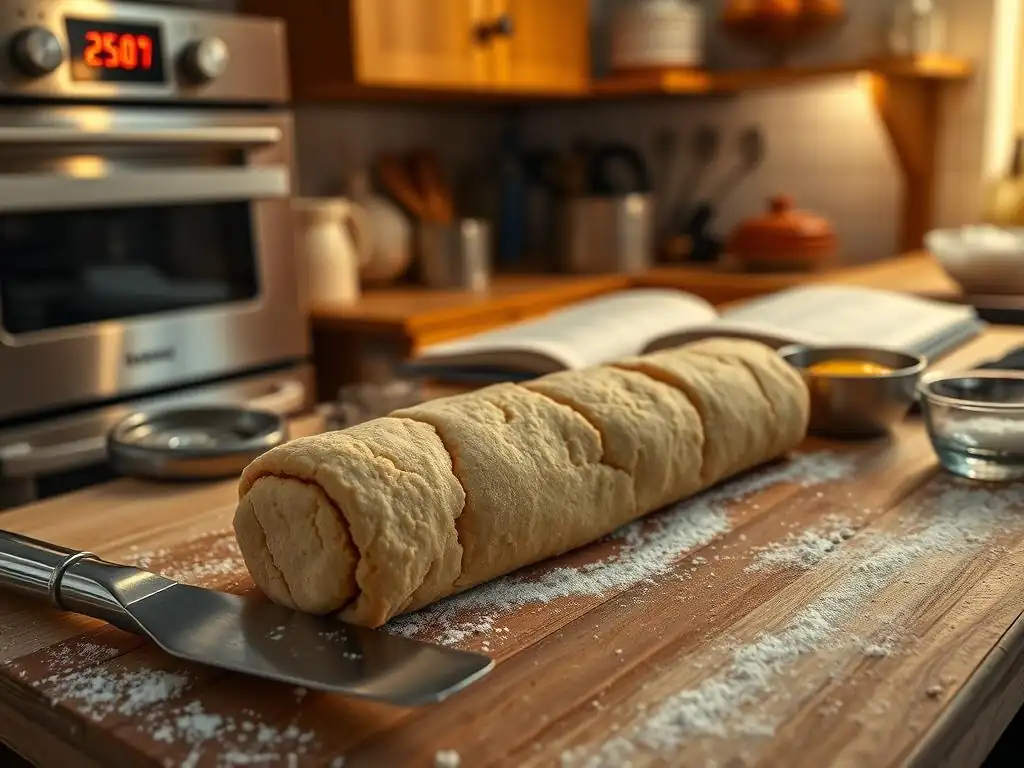
Exploring Flavor Combinations and Toppings
Slice-and-bake cookies, while convenient, offer a fantastic canvas for simple customization. You don't have to settle for just the base flavor; you can easily add ingredients to enhance or change the taste profile.
Consider rolling plain sugar cookie dough in colored sprinkles before slicing for a festive look. For chocolate chip dough, press extra chocolate chips, chopped nuts, or even a sprinkle of sea salt onto the tops of the sliced cookies before baking. You could also press a small piece of caramel or a mini peanut butter cup into the center of each slice. For a different flavor, try rolling the edge of a sugar cookie slice in cinnamon sugar before placing it on the baking sheet.
Even without being a master decorator, you can make slice-and-bake cookies look special for holidays or occasions. Simple techniques require minimal effort but add a touch of homemade charm.
Once baked and cooled, slice and bake sugar cookies are perfect for dipping. Dip half the cookie in melted chocolate (milk, dark, or white) and then sprinkle with jimmies, nonpareils, or finely chopped nuts before the chocolate sets. You can also make a simple glaze using powdered sugar and milk or lemon juice and drizzle it over the cooled cookies. For a quick festive touch, use edible markers or simple royal icing to draw basic shapes or patterns on sugar cookies.
Slice-and-Bake Recipe Ideas
Imagine warm, chewy cookies dotted with sweet raisins. While you can buy pre-made oatmeal raisin slice-and-bake dough, you could also potentially enhance a plain oatmeal variety by gently pressing extra raisins or a sprinkle of cinnamon onto the tops of the slices before baking.
For the serious chocolate lover, a double chocolate chunk slice-and-bake dough delivers intense flavor. These typically feature a chocolate base dough with generous chunks of chocolate mixed in. Ensure they are adequately chilled to prevent excessive spread, as the extra chocolate adds to the melt factor.
A brighter, zippier option, lemon poppy seed slice-and-bake cookies offer a refreshing change. The poppy seeds add a slight crunch, while the lemon provides a tangy counterpoint to the sweet dough. If you have plain sugar dough, you could try gently kneading in fresh lemon zest and a teaspoon of poppy seeds before slicing.
Conclusion: Simple Baking, Delicious Results
Frequently Asked Questions
Common slice-and-bake pitfalls include uneven baking due to temperature variations in your oven and dough that spreads too thin while baking. Another issue is difficulty slicing the dough cleanly if it's not properly chilled.
To prevent excessive spreading, ensure the dough is well-chilled before slicing and baking. Also, avoid over-greasing the baking sheet, as this can contribute to spreading.
Use a sharp, thin knife and clean it between slices to prevent sticking. Chilling the dough thoroughly will also make it easier to slice evenly.
Burnt bottoms often indicate the oven rack is too low or the baking sheet is too thin. Try using a double baking sheet or moving the rack to the middle position.
Generally, slice-and-bake dough can be stored in the refrigerator for up to a week. However, always check the expiration date on the packaging for specific recommendations.
Final Reflection: Mastering the Art of the Perfect Slice-and-Bake
The seemingly simple act of baking pre-made dough holds a surprising number of pitfalls, yet mastering these techniques unlocks a world of delicious possibilities. Ignoring even minor details can lead to disappointing results, from tough cookies to unevenly browned pastries. This article highlighted these common mistakes, providing practical solutions for achieving consistently perfect results every time.
The impact of readily available pre-made dough on our baking habits is undeniable. It offers convenience, but without proper understanding, it can lead to frustration and a sense of baking inadequacy. The best things in life are worth the effort,
and while pre-made dough shortens the process, it doesn't negate the need for skill and attention. This journey of perfecting the slice-and-bake method is not just about achieving perfectly golden-brown treats; it's about understanding the science behind the bake and building confidence in your culinary abilities.
Now, consider your own baking experiences. Have you encountered any of these pitfalls? What adjustments did you make, and what did you learn? I encourage you to experiment, to embrace the small details, and to not be discouraged by imperfections. The path to becoming a confident baker is paved with both successes and failures – but with the knowledge shared in this article, you are now equipped to navigate those challenges and consistently achieve the delicious results you deserve. Embrace the process, and enjoy the sweet rewards!
Unlock Your Baking Potential: Master the Art of Slice and Bake!
Thanks for taking the time to explore the common pitfalls of slice-and-bake baking! You've now armed yourself with the knowledge to create perfectly baked treats every time. Ready to put your newfound skills to the test?
- Bake your best batch yet: Grab your favorite cookie dough, follow your improved technique, and experience the joy of perfectly baked goodness. Let us know how it turns out!
- Share your success (or even your baking mishaps!): We'd love to see your creations and hear about your baking journey on our social media channels.
- Experiment with new recipes: Now that you’ve mastered the basics, try adapting your favorite slice-and-bake recipe with unique flavor combinations!
What surprising ingredient will you add to your next slice-and-bake masterpiece?