
Minimum Effort, Maximum Flavor: Baking Focaccia with Less Kneading

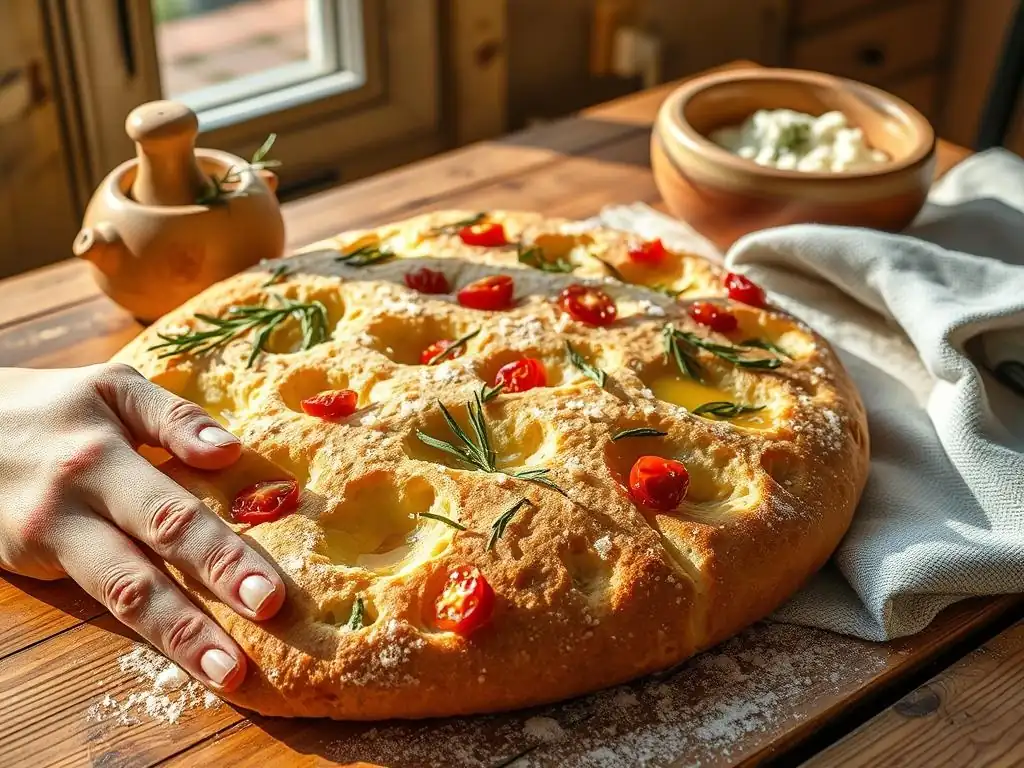
Welcome to BakeWithEase, your kitchen companion for unlocking the delicious world of baking! Ever dreamed of creating bakery-worthy bread with minimal effort? Our latest article dives deep into an easy noknead focaccia recipe, proving that phenomenal flavor doesn't require hours of kneading. Discover the secrets to a perfectly airy and flavorful focaccia, and prepare to be amazed by how simple baking can be. Intrigued? Let's get baking!
- Simple Focaccia: Maximum Flavor, Minimal Effort
- The Beauty of No-Knead: Simplicity and Taste
- No-Knead Focaccia Recipe: Step-by-Step
- Troubleshooting Your Focaccia
- Focaccia Variations
- Taking Your Baking Further
-
Frequently Asked Questions
- What exactly is a no-knead focaccia, and how does it differ from traditional focaccia?
- What are the key ingredients needed for an easy no-knead focaccia recipe?
- How long does it typically take to make a no-knead focaccia from start to finish?
- What are some tips for achieving a light and airy texture in a no-knead focaccia?
- Can I customize my no-knead focaccia with different toppings, and what are some popular choices?
- Final Reflection: The Joy of Imperfectly Kneaded Bread
- Unleash Your Inner Baker: Knead-Free Focaccia Awaits!
Simple Focaccia: Maximum Flavor, Minimal Effort
Welcome to the wonderfully simple world of baking, where creating something utterly delicious doesn't always require hours of strenuous effort. Focaccia, that glorious Italian flatbread, is a perfect example. Its rustic charm and incredible flavor usually come from a long fermentation process, which, thankfully, eliminates the need for intensive kneading. This means you can achieve bakery-quality results right in your own kitchen with minimal fuss.
This approach is particularly appealing for busy home bakers or those just starting their bread journey. Forget the sore arms from kneading; here, time does the heavy lifting. The result is a light, airy, and flavorful bread base, ready to be adorned with your favorite toppings. It's a truly rewarding baking experience that proves you don't need to be a seasoned expert to bake incredible bread.
The Beauty of No-Knead: Simplicity and Taste
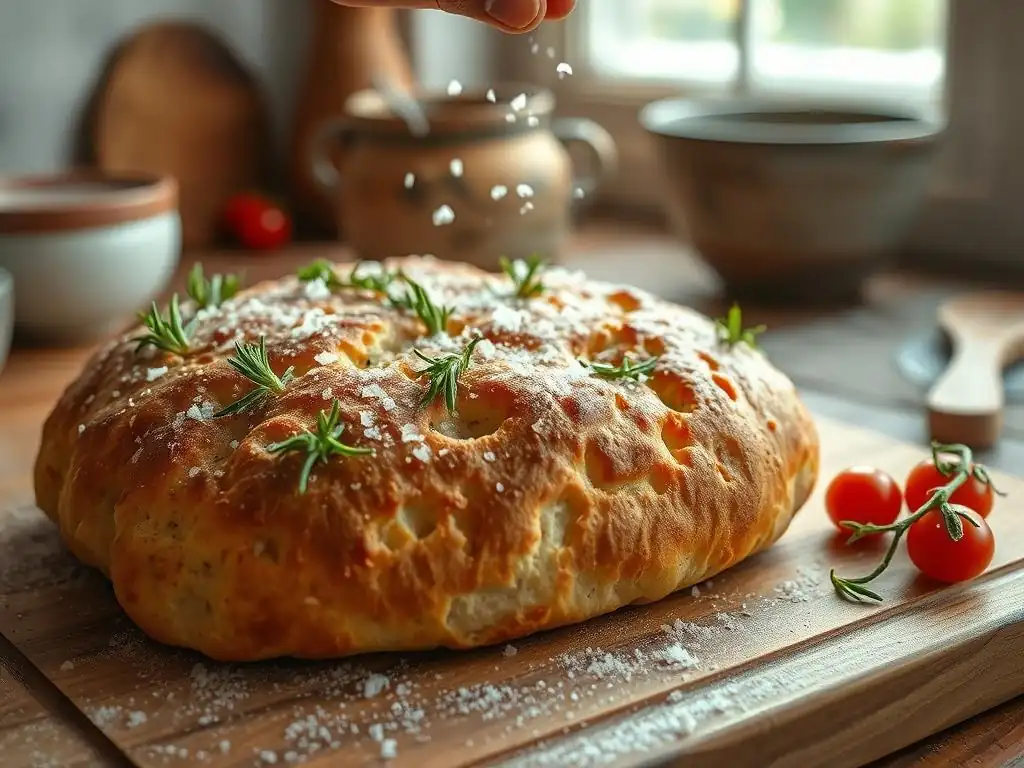
The no-knead method has revolutionized home baking, making it accessible to everyone. Its core principle relies on a long fermentation period, allowing enzymes to break down starches and proteins in the flour. This natural process develops the gluten structure that gives bread its texture, without you having to manually work the dough. For an easy no-knead focaccia recipe, this means less time spent active in the kitchen and more time letting the magic happen on its own.
Beyond the sheer convenience, this slow fermentation also contributes significantly to the flavor profile of the bread. Complex flavors develop over time, resulting in a more nuanced and delicious focaccia than a quickly mixed and baked loaf. It's proof that sometimes, the simplest methods yield the most profound results.
Why Choose No-Knead Focaccia?
Choosing an easy no-knead focaccia recipe is primarily about maximizing convenience without compromising quality. Traditional bread making can be intimidating due to the perceived need for expert kneading technique. The no-knead method bypasses this hurdle entirely. You simply mix the ingredients until combined, and then time and ambient temperature take over, developing the dough's strength and elasticity for you. This makes it an ideal recipe for beginners or anyone looking for a low-stress baking project.
Furthermore, the extended fermentation period typical of no-knead recipes contributes significantly to the dough's hydration and structure. This higher hydration is key to achieving the characteristic open, airy crumb and delightful chewiness that defines great focaccia. So, while you're putting in minimal physical effort, the dough is developing maximum potential, leading to a superior final product that is both easy to make and fantastic to eat.
Achieving Artisan Bread at Home
Many people associate "artisan bread" with complex techniques and professional equipment. However, the principles behind great bread – quality ingredients, proper hydration, and sufficient fermentation – are achievable at home with simple methods like the no-knead approach. By allowing the dough a long, slow rise, you encourage the development of flavorful organic acids and a robust gluten network, hallmarks of artisan loaves. This easy no-knead focaccia recipe empowers you to produce bread with a beautiful open crumb structure and a delightful chew, rivaling loaves from your local bakery.
Consider the transformation of simple flour and water over 12 to 18 hours of fermentation. This extended time allows the yeast and natural enzymes to work slowly, building flavor compounds and strengthening the dough without vigorous handling. The result is a dough that is naturally airy and resilient, ready to bake into a focaccia with that coveted bubbly surface and irregular, open interior crumb. It’s a testament to how patience, rather than brute force, can unlock the secrets to artisan-quality bread in your own oven.
No-Knead Focaccia Recipe: Step-by-Step
Ready to bake? This easy no-knead focaccia recipe breaks down the process into simple, manageable steps. You'll see just how little active time is required to create this delicious bread.
Step 1: Assembling Your Ingredients
Gathering all your ingredients before you begin is a crucial first step in any baking project, ensuring a smooth and stress-free process. For this simple no-knead focaccia, the ingredient list is short and sweet, focusing on quality over quantity. Having everything measured and ready saves time and prevents last-minute scrambling, making the whole experience more enjoyable and increasing the likelihood of success.
Ensuring your ingredients are fresh is also vital. Active dry or instant yeast should be within its expiration date, and good quality olive oil will significantly impact the final flavor. Using bread flour can give a slightly chewier texture, but all-purpose flour works perfectly well for this easy no-knead focaccia recipe, making it accessible for most home bakers.
Key Ingredients for Focaccia
- Flour
- Water
- Yeast
- Salt
- Olive Oil
- Rosemary (Optional, but classic)
Step 2: Mixing and the First Rise
Combining your ingredients for this easy no-knead focaccia recipe is incredibly simple. In a large bowl, whisk together the flour, yeast, and salt. Then, pour in the water and a generous drizzle of olive oil. Use a spoon or spatula to mix everything until just combined – there's no need for vigorous stirring or kneading. The dough will be shaggy and sticky, which is exactly what you want. Cover the bowl tightly with plastic wrap or a damp tea towel.
The bulk fermentation, or the first rise, is where the magic of the no-knead method truly happens. Place the covered bowl in a warm spot, or for a slower, more flavorful rise, in the refrigerator. At room temperature (around 70-75°F or 21-24°C), this rise might take 12-18 hours, or even up to 24 hours. In the refrigerator, it can take 24-72 hours. The dough should roughly double in size and develop bubbles on the surface. This long rest is key to developing the gluten and flavor without any kneading from you.
Step 3: Shaping the Dough
Once your dough has completed its long fermentation and is bubbly and expanded, it's time to transfer it to your baking pan. Generously oil a baking sheet or a 9x13 inch pan with olive oil – don't be shy! The oil is essential for preventing sticking and contributes significantly to the focaccia's crispy bottom and rich flavor. Gently scrape the dough out of the bowl using a well-oiled spatula or scraper, letting it fall into the prepared pan. The dough will be very wet and slack.
Now comes the fun part: dimpling! Using well-oiled fingertips, gently press straight down into the dough, creating indentations across the surface. Try not to deflate the dough completely; the goal is to create pockets for olive oil and toppings and to help the bread bake evenly. Drizzle more olive oil over the top, ensuring it pools in the dimples. This is also the stage to add your primary toppings, like fresh rosemary sprigs or coarse sea salt.
Step 4: The Second Rise
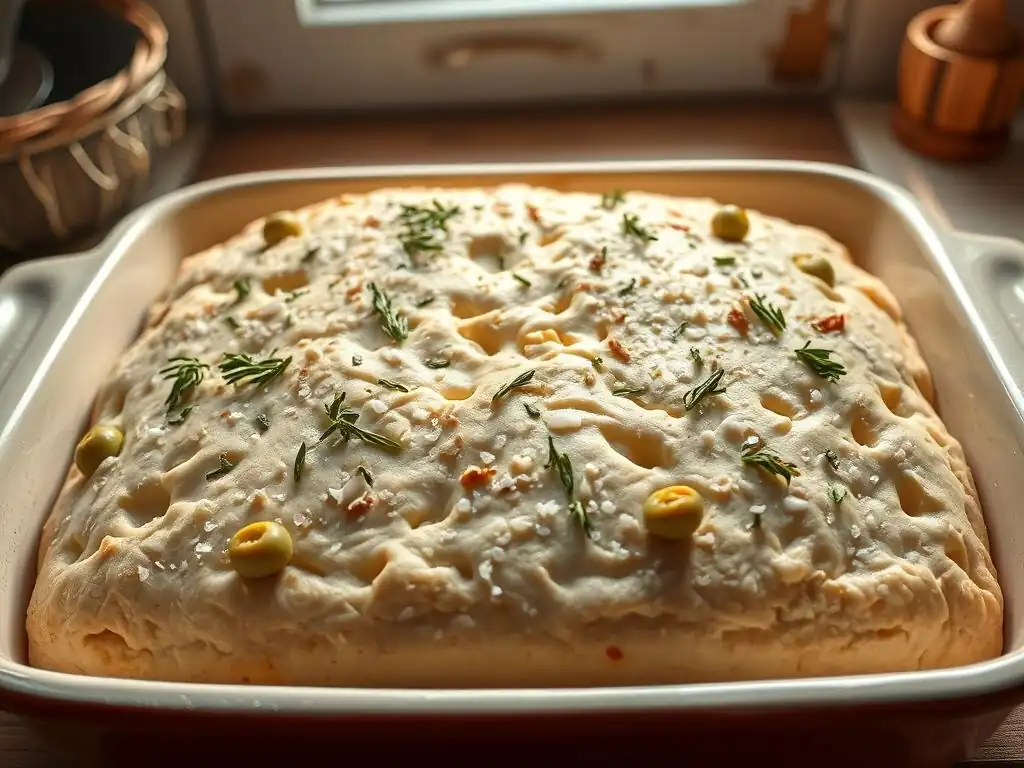
After shaping and dimpling, the dough needs a second, shorter rise, often called proofing. Loosely cover the pan with plastic wrap or a light cloth and let it rest at room temperature for about 1-2 hours. During this time, the dough will relax, spread out slightly, and puff up, becoming light and airy. This proofing stage is crucial for achieving the desired texture and volume in your baked focaccia.
The goal of this second rise is to allow the yeast to produce a final burst of carbon dioxide, expanding the dough gently before it hits the hot oven. You'll notice the dimples might partially fill in, and the surface will look bubbly and alive. Ensure the dough isn't exposed to drafts during this time. A warm, still environment helps it proof evenly, setting the stage for a perfectly textured, easy no-knead focaccia.
Step 5: Baking to Perfection
Preheating your oven to a high temperature is essential for achieving a beautiful crust and proper rise in your focaccia. Preheat your oven to around 425°F (220°C) with a rack in the center. Allow the oven to preheat for at least 20-30 minutes after it signals it's reached temperature; this ensures the oven walls and rack are fully heated, providing consistent radiant heat to the bread.
Carefully place the pan with the proofed dough into the hot oven. The baking time for an easy no-knead focaccia recipe typically ranges from 20 to 30 minutes, but this can vary based on your oven and pan size. You'll know it's done when the top is golden brown and the bottom is crisp. If you can safely lift the focaccia slightly, the underside should also be golden brown.
Step 6: Toppings and Enjoying
While the classic topping for focaccia is simply flaky sea salt and fresh rosemary, the possibilities are nearly endless. Consider pressing cherry tomatoes, sliced olives, thinly sliced garlic, or even caramelized onions into the dimples before the second rise or just before baking. Experiment with different herbs like thyme or oregano, or sprinkle with grated Parmesan cheese during the last few minutes of baking. The key is to not overcrowd the surface, allowing the bread itself to shine.
Once baked, slide the focaccia onto a wire rack to cool slightly. While it's tempting to dive in immediately, letting it cool for 10-15 minutes improves its texture and makes it easier to slice. Serve it warm, either sliced into squares or torn into rustic pieces. Leftovers can be stored at room temperature for a day or two, or wrapped tightly and frozen for longer storage. Reheat in a warm oven for the best texture. Enjoy this delicious, easy no-knead focaccia as a side, for sandwiches, or simply on its own!
Troubleshooting Your Focaccia
Even with a simple no-knead focaccia recipe, sometimes things don't go exactly as planned. Don't worry, most common issues are easily fixable or explainable.
Dough Too Sticky?
It's common for no-knead doughs to be quite sticky due to their high hydration level. This stickiness is actually desirable as it contributes to the open, airy crumb structure. When handling the dough, especially when transferring and dimpling, liberally oiling your hands and tools (like spatulas or scrapers) is key. This prevents the dough from sticking excessively and makes it much more manageable.
If your dough seems exceptionally wet, almost like a batter, you might have mis-measured the flour or water slightly. For a very sticky dough, ensure you are using enough olive oil in the pan and on your hands. Resist the urge to add much more flour at the handling stage, as this will change the hydration and can result in a tougher bread. Trust the process and rely on oil to manage the stickiness.
Insufficient Rise?
If your dough hasn't risen sufficiently during the bulk fermentation (the first rise), several factors could be at play. The most common reasons are inactive yeast, a too-cold environment, or insufficient time. First, check the expiration date on your yeast. If it's old, it might be dead or inactive. Ensure your water temperature wasn't too hot when mixing, as this can kill the yeast (ideally, water should be lukewarm, around 100-110°F or 38-43°C, though room temperature is fine for a long, slow rise).
Also, consider the temperature of your rising environment. If your kitchen is cool (below 70°F or 21°C), the rise will take significantly longer than the typical 12-18 hours for room temperature. Try placing the dough in a slightly warmer spot, like inside a turned-off oven with the light on, or simply give it more time. Patience is often the key with slow fermentation methods.
Burning on the Bottom?
A common issue, especially with highly hydrated doughs baked in metal pans, is the bottom crust cooking too quickly or even burning before the top is fully golden. This usually means the heat source from the bottom of your oven is too intense or too close to the pan. Using a well-oiled, thicker pan (like cast iron or a heavy-gauge baking sheet) can help distribute heat more evenly.
If you consistently experience a burnt bottom, try placing your baking pan on a rack positioned slightly higher in the oven. Alternatively, you can place another baking sheet or a pizza stone on the rack below your focaccia pan to act as a heat shield, deflecting some of the direct heat away from the bottom of your pan. Lowering the oven temperature slightly and extending the baking time can also help ensure the bread cooks through evenly without burning the base.
Focaccia Variations
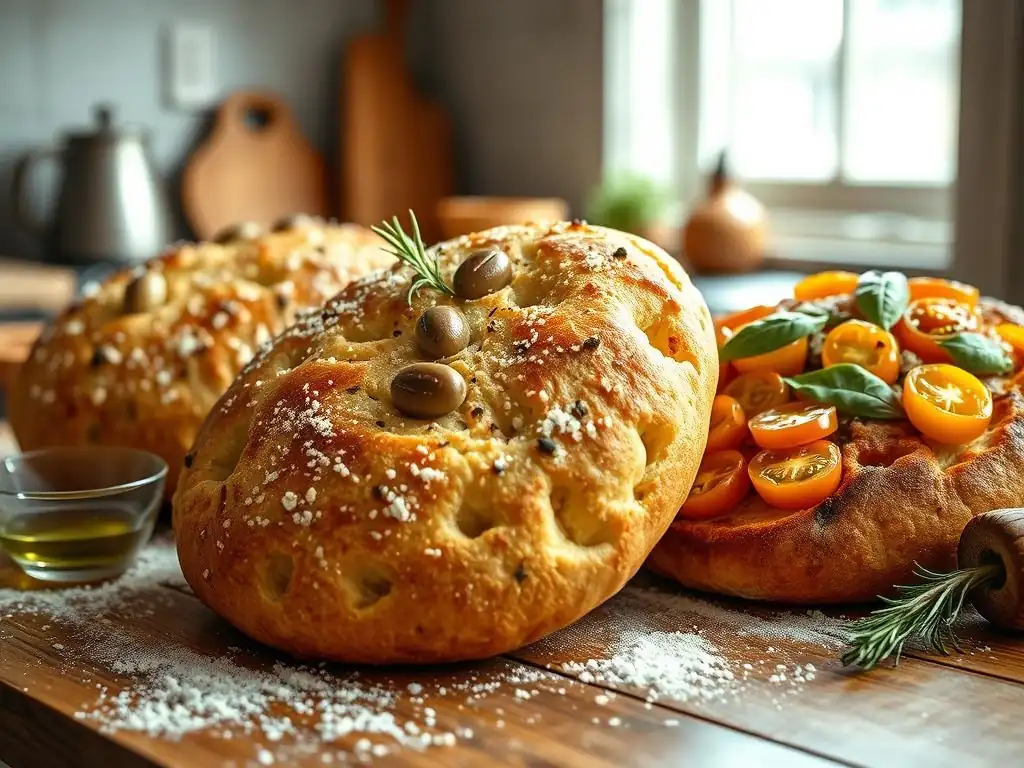
While the classic easy no-knead focaccia is delightful on its own, its simple base is perfect for creative flavor combinations. Experimenting with toppings is one of the joys of baking this versatile bread.
Rosemary and Sea Salt
The quintessential focaccia topping, rosemary and sea salt, is a classic for a reason. The pungent, piney aroma of fresh rosemary pairs perfectly with the rich olive oil and the subtle tang of the bread. Sprinkle generous flakes of coarse sea salt over the dimpled surface just before baking; the salt crystals dissolve slightly into the oil and dough, providing bursts of flavor and a satisfying textural contrast.
To enhance the rosemary flavor, you can gently bruise the sprigs or finely chop some of the leaves and sprinkle them directly onto the dough. A truly authentic touch involves warming the rosemary in some olive oil first to infuse the oil before drizzling it over the dough. This simple yet elegant topping allows the delicious base of your easy no-knead focaccia to shine.
Olive and Tomato
For a burst of Mediterranean flavor, topping your focaccia with olives and cherry tomatoes is a fantastic choice. Halve cherry tomatoes and scatter them across the dimpled surface, pressing them gently into the dough. The tomatoes will soften and sweeten as they bake. Use pitted olives, such as Kalamata or Castelvetrano, sliced or left whole, distributing them evenly.
Ensure the tomatoes and olives are well-drained if they were stored in liquid, as excess moisture can prevent the top of the focaccia from crisping properly. A final drizzle of olive oil over these vibrant toppings before baking ensures they cook beautifully and meld with the bread. This variation adds moisture, tanginess, and a delightful visual appeal to your easy no-knead focaccia recipe.
Garlic and Herb
Aromatic and savory, a garlic and herb topping elevates focaccia to new levels. You can thinly slice fresh garlic cloves and press them into the dimples, or for a milder flavor, roast the garlic first until soft and sweet, then mash and dot it over the dough. Combine the garlic with a mix of fresh herbs like oregano, thyme, and parsley.
Mix the chopped herbs and garlic with a little olive oil before drizzling it over the dough, or simply scatter them directly onto the oiled, dimpled surface. Be mindful that fresh garlic can sometimes burn if exposed directly to high heat for too long; embedding the slices slightly into the dough or using roasted garlic can help prevent this. This variation adds a powerful, fragrant punch to your easy no-knead focaccia.
Taking Your Baking Further
Mastering an easy no-knead focaccia recipe is a fantastic stepping stone into the world of bread baking. It builds confidence and provides a foundation of understanding basic dough handling, fermentation, and baking principles. Don't stop here! There's a whole universe of bread waiting for you to explore, and the skills you've gained are transferable to many other recipes.
Consider this focaccia your gateway bread. Now that you've seen how simple ingredients and time can create something wonderful, you might feel inspired to try other no-knead recipes, like simple rustic loaves or even pizza dough. Each bake teaches you more about how dough behaves and how your oven performs, building your intuition as a baker.
Experimenting with Flours and Toppings
Once comfortable with the basic easy no-knead focaccia recipe, don't hesitate to experiment. Try using different types of flour – perhaps substituting a portion of the all-purpose flour with whole wheat or spelt flour for added flavor and nutrition. Note that different flours absorb water differently, so you might need slight adjustments to the water quantity.
Expand your topping repertoire beyond the classics. Consider sun-dried tomatoes, thinly sliced potatoes and onion (par-cooked first), different cheeses like mozzarella or feta, or even sweet versions with grapes or figs. The surface of the focaccia is a blank canvas for your culinary creativity. Each experiment is a learning opportunity, helping you discover new favorite flavor combinations and further refine your baking skills.
Mastering Focaccia
While an easy no-knead focaccia recipe is a great start, true mastery comes from understanding the nuances. Pay attention to how the dough feels at different stages – its stickiness, its elasticity after the long rest, and how it proofs. Notice how the ambient temperature affects the rise time and adjust accordingly. Baking is as much about feel and observation as it is about following instructions precisely.
Try baking the focaccia in different pans or sizes to see how it affects the bake time and crust. Experiment with varying the amount of olive oil used in the pan and on top. Each small adjustment can subtly change the final texture and flavor. By observing, experimenting, and baking regularly, you'll develop an intuitive understanding of this wonderful bread, eventually being able to produce a perfect focaccia almost effortlessly, time and time again.
Frequently Asked Questions
What exactly is a no-knead focaccia, and how does it differ from traditional focaccia?
No-knead focaccia uses a high-hydration dough and time instead of kneading to develop gluten. This results in a focaccia with a rustic texture and minimal effort. Traditional focaccia requires more active kneading.
What are the key ingredients needed for an easy no-knead focaccia recipe?
The key ingredients are flour, water, yeast, salt, and olive oil. The simplicity of ingredients is what makes it so accessible. You can add herbs and spices for enhanced flavor.
How long does it typically take to make a no-knead focaccia from start to finish?
While the active time is minimal, the total time is longer due to the fermentation process. Expect around 12-18 hours for the dough to rise, followed by baking. This long fermentation is key.
What are some tips for achieving a light and airy texture in a no-knead focaccia?
Use high-quality flour and ensure your yeast is active. The correct hydration level is also crucial for a light and airy texture. Don't overbake!
Can I customize my no-knead focaccia with different toppings, and what are some popular choices?
Absolutely! Popular toppings include rosemary, sea salt, olives, tomatoes, and garlic. Experiment with different herbs and cheeses to create your own unique flavor profile. Think about seasonal ingredients for extra freshness.
Final Reflection: The Joy of Imperfectly Kneaded Bread
The pursuit of effortless excellence is a delicious journey, and focaccia, as we've explored, is its perfect embodiment. This isn't just about a quick recipe; it's about reclaiming the joy of baking without the tyranny of endless kneading. It's about proving that sometimes, less is truly more, yielding results that are both stunning and surprisingly simple to achieve.
The ease of this no-knead approach has resonated deeply with me, reminding me that baking should be a source of pleasure, not stress. It's a quiet rebellion against the perfectionism often associated with culinary pursuits. The best things in life are simple,
a sentiment often repeated, rings especially true when considering this wonderfully forgiving bread. The slightly irregular texture, the subtle variations in browning – these imperfections are what make each loaf unique and deeply satisfying. This recipe has opened my eyes to the beauty of embracing the unexpected in the kitchen.
Now, it's your turn. Don't be intimidated by the idea of homemade bread. Try this recipe. Embrace the simplicity, the slightly uneven rise, the rustic charm. Let the aroma of baking focaccia fill your kitchen, a testament to the fact that extraordinary results can stem from minimal effort. You might just discover a new favorite way to bake, and a new appreciation for the art of imperfection.
Unleash Your Inner Baker: Knead-Free Focaccia Awaits!
Thanks for joining us on this focaccia journey! We hope you’ve gained some delicious inspiration and newfound confidence in the kitchen. Ready to bake your own crispy, flavorful masterpiece?
- Bake your dream focaccia today! Use our simple recipe (found in the article) and impress yourself with how easy it is.
- Share your creation! Post a picture on social media and tag us – we'd love to see your focaccia success story. Use #BakeWithEaseFocaccia
- Explore other easy bread recipes on our site. Discover your next baking adventure!
What unique topping will you add to your next focaccia masterpiece? Let's hear it in the comments!