
Is Your Yeast Dead? A Simple Test to Check

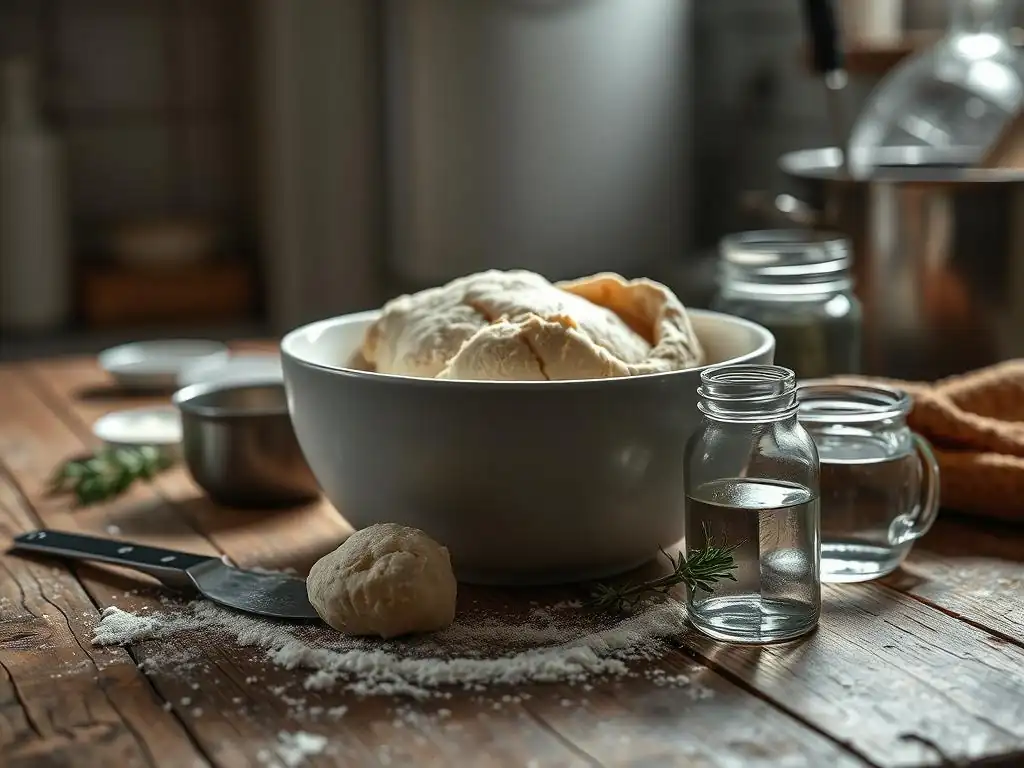
Welcome to BakeWithEase, your trusted guide to baking brilliance! Ever wondered why your dough isn't quite rising as it should? Unlock the secrets to perfect bread every time with our simple guide to the yeast not rising test. Discover how to ensure your yeast is active and ready to work its magic, setting you up for baking success! Curious to know more? Let's get started!
- Is Your Yeast Dead? A Simple Test to Check | BakeWithEase.com
- Introduction: The Dreaded Dough Not Rising Scenario
- The "Yeast Proofing Test": A Step-by-Step Guide
- Interpreting Your Yeast Test Results: Troubleshooting Guide
- Troubleshooting Yeast Proofing Problems
- Identifying Other Causes of Dough Not Rising
- Addressing Sluggish Yeast: Tips and Tricks
- Preventing Yeast Problems in the Future
- Conclusion: Ensuring Your Bread Rises to the Occasion
- Frequently Asked Questions
- Final Reflection: The Humble Yeast and the Rise of Baking Knowledge
- Unleash Your Inner Baker: Is Your Yeast Alive?
Is Your Yeast Dead? A Simple Test to Check | BakeWithEase.com
Introduction: The Dreaded Dough Not Rising Scenario
Imagine this: you've followed a recipe perfectly, mixed your ingredients, kneaded the dough until it feels just right, and now you wait. You've covered it gently, placed it in a warm spot, and you anticipate that magical moment when your dough doubles in size. But hours pass, and... nothing. Your dough remains stubbornly flat. It's a frustrating experience that every baker, from beginner to seasoned pro, has likely faced. This lack of activity often points to one primary suspect: inactive or "dead" yeast.
This common baking disappointment can throw a wrench in your plans for a beautiful loaf or a batch of fluffy rolls. Understanding why your dough isn't rising is the first step to fixing the problem and preventing it in the future. While several factors can contribute to poor rise, the viability of your yeast is often the easiest to check and the most frequent culprit behind a completely flat dough. This article will guide you through a simple, effective method to test your yeast and ensure your next bake is a success.
Why Active Yeast Matters for Successful Bread Baking
Active yeast is the lifeblood of most bread baking. These microscopic, single-celled organisms are fungi that perform a process called fermentation. When yeast is mixed with warm liquid and a food source (like sugar or the starches in flour), it consumes the sugars and produces carbon dioxide gas and alcohol as byproducts. It's the carbon dioxide gas that gets trapped within the gluten structure of the dough, causing it to rise and develop that light, airy texture we love in bread. Without active yeast, this crucial fermentation process doesn't happen, and your dough won't rise.
The quality and activity level of your yeast directly impact the speed and extent of your dough's rise. Highly active yeast will cause dough to double in size relatively quickly under optimal conditions, perhaps within 1-2 hours depending on the recipe and environment. Sluggish yeast, on the other hand, might take much longer, or produce very little gas, resulting in a dense, heavy loaf. Ensuring your yeast is vibrant and ready to work is fundamental to achieving a good rise and a successful bake, making a yeast not rising test a valuable skill.
Common Bread Baking Problems: Is Your Yeast the Culprit?
While a flat loaf is a clear sign something is wrong, identifying the exact cause can sometimes feel like detective work. Could it be the temperature of your water? Did you add too much salt? Was the dough kneaded enough? These are all valid questions, but an inactive yeast is one of the most common and definitive reasons why dough fails to rise at all. If your dough shows absolutely no signs of expansion after the initial proofing period, performing a yeast not rising test should be your first step.
Other issues, like insufficient kneading or incorrect proofing temperature, might result in a slow or partial rise, but a complete lack of activity often points squarely at the yeast itself. For instance, dough proofing in a very cold environment (say, below 60°F or 15°C) will rise extremely slowly, but given enough time, active yeast will still produce some gas. Similarly, slightly under-kneaded dough might not hold gas efficiently, but you'd still see some initial signs of fermentation. A simple check of your yeast's viability can quickly rule out this major potential problem before you troubleshoot other variables.
The "Yeast Proofing Test": A Step-by-Step Guide
Fortunately, determining if your yeast is still active is incredibly simple and takes just a few minutes. This process, often called "proofing" the yeast, involves waking up the yeast and giving it a quick snack to see if it's alive and kicking. It's a small step that saves you the time and ingredients you would waste on a batch of dough made with inactive yeast. Think of it as a quick quality control check before you commit to a full recipe.
Performing this test provides visual confirmation of yeast activity. You're essentially creating a mini-environment where the yeast can thrive and produce visible signs of fermentation. If you're ever in doubt about a packet or jar of yeast, especially if it's been sitting in your pantry for a while or is past its printed date, this simple yeast not rising test is a crucial step in your baking process. It's a reliable indicator of whether your yeast is ready to leaven your dough effectively.
What You'll Need for the Yeast Proofing Test
Gathering the right ingredients and tools for this simple test is quick and easy. You won't need anything specialized, just basic kitchen staples you likely already have on hand. The key is to provide the yeast with the optimal conditions it needs to become active: warmth, moisture, and food.
You will need:
- Warm water (the correct temperature is crucial!)
- A small amount of sugar (granulated sugar works perfectly)
- Your yeast (either active dry or instant)
- A small bowl or cup (clear is best for observation)
- A spoon for stirring
- Optionally, a thermometer to check water temperature accurately
Step 1: Combining Warm Water, Sugar, and Yeast
Start by measuring out your warm water. The temperature is critical here. For active dry yeast, aim for water between 105°F and 115°F (40°C to 46°C). This range is warm enough to wake up the yeast but not so hot that it kills it.
If using instant yeast, you can use slightly cooler water, around 95°F to 100°F (35°C to 38°C), although the 105-115°F range also works well. Using a kitchen thermometer is highly recommended for accuracy; guessing can lead to water that's too hot or too cold, giving you a false result in your yeast not rising test. Pour the warm water into your clean bowl or cup.
Next, stir in a pinch or about 1 teaspoon of sugar into the warm water. This sugar acts as the food source for the yeast, jumpstarting the fermentation process. Finally, sprinkle the recommended amount of yeast from your recipe (or about 2 1/4 teaspoons, the amount in one standard packet) over the surface of the sugary water. Do not stir it in immediately if using active dry yeast; let it sit on the surface for a minute or two to soften. If using instant yeast, you can gently stir it in.
Step 2: Observing the Yeast Mixture for Activity
Once the yeast has been added to the warm, sugary water, the waiting game begins. Place the bowl in a warm spot, away from drafts. Now, you simply need to observe the mixture for signs of life. Within 5 to 10 minutes, you should start to see changes, especially if using active dry yeast which often forms a creamy layer on top.
What you're looking for is visible evidence of the yeast producing gas. As the yeast consumes the sugar, it will release carbon dioxide. This gas will create foam or bubbles on the surface of the water. The mixture should become frothy and expand slightly. This is the tell-tale sign that your yeast is active and healthy. If after 10 minutes you see a significant amount of foam and bubbling, your yeast has passed the yeast not rising test with flying colors!
Step 3: Understanding the Results: Active, Sluggish, or Inactive Yeast
After 10 to 15 minutes, evaluate the appearance of your yeast mixture to determine its activity level. There are generally three possible outcomes:
- Active Yeast: The surface of the water should be covered in a thick, foamy layer, often bubbling vigorously. The volume of the mixture may have increased noticeably. This indicates the yeast is healthy, active, and ready to leaven your dough effectively. You can proceed with your baking recipe.
- Sluggish Yeast: You might see some minimal bubbling or a very thin layer of foam, but nothing substantial. The mixture doesn't look particularly lively or expanded. This yeast is still alive but may be weak or past its prime. While you might be able to use it by adjusting your recipe (more on this later), it's often best to err on the side of caution.
- Inactive Yeast: The water remains mostly flat with perhaps a few scattered bubbles, or the yeast simply sinks to the bottom without creating any foam. There are no visible signs of fermentation. This yeast is likely dead or completely inactive and will not make your dough rise. It's time to discard this yeast and get a fresh batch. This result is the clearest indication from your yeast not rising test that the yeast is the problem.
Interpreting Your Yeast Test Results: Troubleshooting Guide
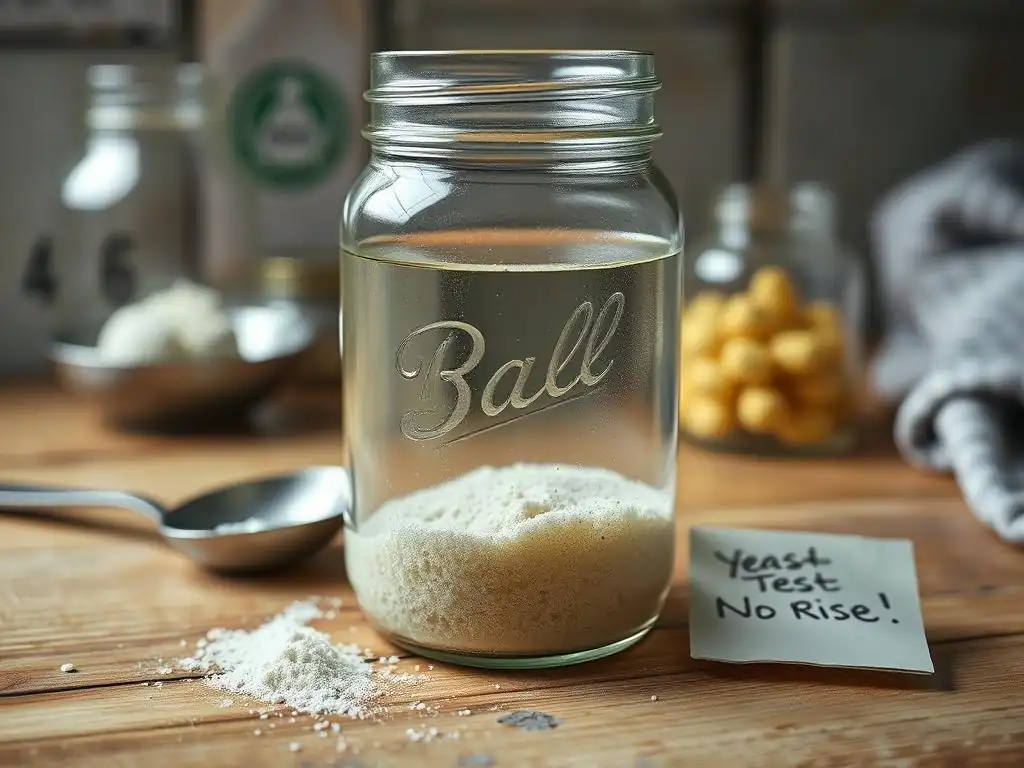
Understanding what your yeast proofing test tells you is crucial for deciding how to proceed with your baking. The results offer a clear path forward, whether that's confidently starting your recipe or identifying that your yeast needs replacing.
Active Yeast: Ready to Bake!
If your yeast produced a thick, frothy layer within 5-10 minutes, congratulations! Your yeast is vibrant and active. This means the primary leavening agent for your bread is in excellent condition. You can confidently proceed with your recipe, incorporating the proofed yeast mixture (water, sugar, and yeast) as the liquid component. Remember to use the water temperature specified by your recipe for the rest of the dough, as the proofing water temperature was just for waking up the yeast.
Having successfully performed this yeast not rising test and confirmed your yeast is active eliminates a major potential cause for dough not rising. If you still encounter issues with your dough rising later in the process, you'll know to look at other factors like kneading technique, proofing temperature, or ingredient measurements, rather than blaming your lively yeast.
Sluggish Yeast: Can You Still Use It? [Considerations and Adjustments]
If your yeast test showed only minimal bubbling or a thin layer of foam after 10-15 minutes, your yeast is sluggish. It's alive but weak. While some bakers might try to use it, it comes with risks. Dough made with sluggish yeast will rise very slowly, if at all, and might not achieve the desired volume or texture. Using sluggish yeast often leads to dense, disappointing bread.
If you decide to attempt using sluggish yeast, you'll need to make adjustments. One common approach is to increase the amount of yeast used in the recipe, perhaps by 25-50%, to compensate for the lower activity level. You will also need to be prepared for a significantly longer proofing time for your dough, potentially double or triple the time specified in the recipe. This isn't ideal, and often, the best advice when your yeast is sluggish is simply to get fresh yeast.
Inactive Yeast: Time for a New Batch
If your yeast not rising test resulted in little to no activity – no foam, no bubbling, just flat water – your yeast is inactive. It's dead or dormant beyond revival for baking purposes. Attempting to bake with this yeast will inevitably result in a flat, unleavened dough because the crucial fermentation process won't occur.
Do not proceed with your recipe using this inactive yeast. It's best to discard the old yeast and purchase a fresh supply. Using fresh, active yeast is the most reliable way to ensure your bread rises properly and you achieve the texture and volume you expect. While it might be slightly frustrating to discard yeast, it saves you the time, effort, and cost of other ingredients that would be wasted on a failed batch of dough.
Troubleshooting Yeast Proofing Problems
Sometimes, even with seemingly good yeast, the proofing test doesn't yield the expected bubbly results. This doesn't automatically mean your yeast is dead; it could mean there was an issue with the testing environment itself. Understanding common mistakes can help you get an accurate reading on your yeast's viability.
Common Mistakes When Testing Yeast
Several factors can interfere with a successful yeast proofing test, leading you to believe your yeast is inactive when it might not be. One frequent error is using water that is too hot or too cold. As mentioned, yeast is sensitive to temperature extremes. Another common mistake is using too little sugar or no sugar at all; the yeast needs this initial food source to quickly become active and produce visible gas. Using old or contaminated water can also sometimes inhibit yeast activity.
Furthermore, the type of yeast matters. Active dry yeast must be proofed in warm water to activate. Instant yeast can often be mixed directly into dry ingredients, but proofing it in warm water with sugar is still a reliable way to check its viability, though it might not foam up quite as dramatically as active dry yeast. Ensure you're using the correct water temperature and waiting the full 10-15 minutes for the test to be accurate.
Water Temperature: Too Hot or Too Cold?
Water temperature is perhaps the most critical factor in the yeast not rising test. Yeast is a living organism with an optimal temperature range for activity. Water that is too cold (below 70°F or 21°C) will simply keep the yeast dormant or slow down its activation significantly, potentially leading you to think it's inactive when it's just sleepy.
Conversely, water that is too hot (above 120°F or 49°C for active dry yeast, or even higher for instant yeast) can kill the yeast cells. Think of it like boiling water – it would kill most living things. Using a thermometer is the best way to ensure your water is in the ideal range of 105°F-115°F (40°C-46°C) for active dry yeast or 95°F-100°F (35°C-38°C) for instant yeast during the proofing test. A few degrees can make a big difference in the outcome of your yeast not rising test.
Sugar Type: Does it Matter?
For the yeast proofing test, standard granulated sugar (sucrose) is the ideal food source. Yeast readily consumes simple sugars like glucose and fructose, which are quickly derived from sucrose. While other sweeteners like honey, maple syrup, or brown sugar can also feed yeast in dough, they might contain other compounds that could potentially affect the speed or appearance of the initial foaming in the test.
Using about 1 teaspoon of granulated sugar per packet (2 1/4 teaspoons) of yeast in the warm water provides ample food for the yeast to quickly become active and produce visible signs of fermentation. Avoid using artificial sweeteners, as these do not contain the sugars that yeast needs to metabolize and produce gas. Stick to granulated sugar for the most reliable yeast not rising test result.
Yeast Storage: Ensuring Freshness
How you store your yeast significantly impacts its lifespan and activity level. Yeast is a perishable product, and improper storage is a common reason for it becoming inactive before its expiration date. Heat, moisture, and air are the enemies of yeast freshness.
For active dry yeast, once opened, it's best stored in an airtight container in the refrigerator or freezer. Stored in the pantry after opening, it loses potency relatively quickly, perhaps within a few months. In the refrigerator, it can last 4-6 months, and in the freezer, up to a year or even longer.
Instant yeast also benefits from airtight, cool storage. While unopened packets have a longer shelf life at room temperature, once opened, they should be stored similarly to active dry yeast. Always check the expiration date on the package as a first indicator of freshness, but the yeast not rising test is the definitive check.
Identifying Other Causes of Dough Not Rising
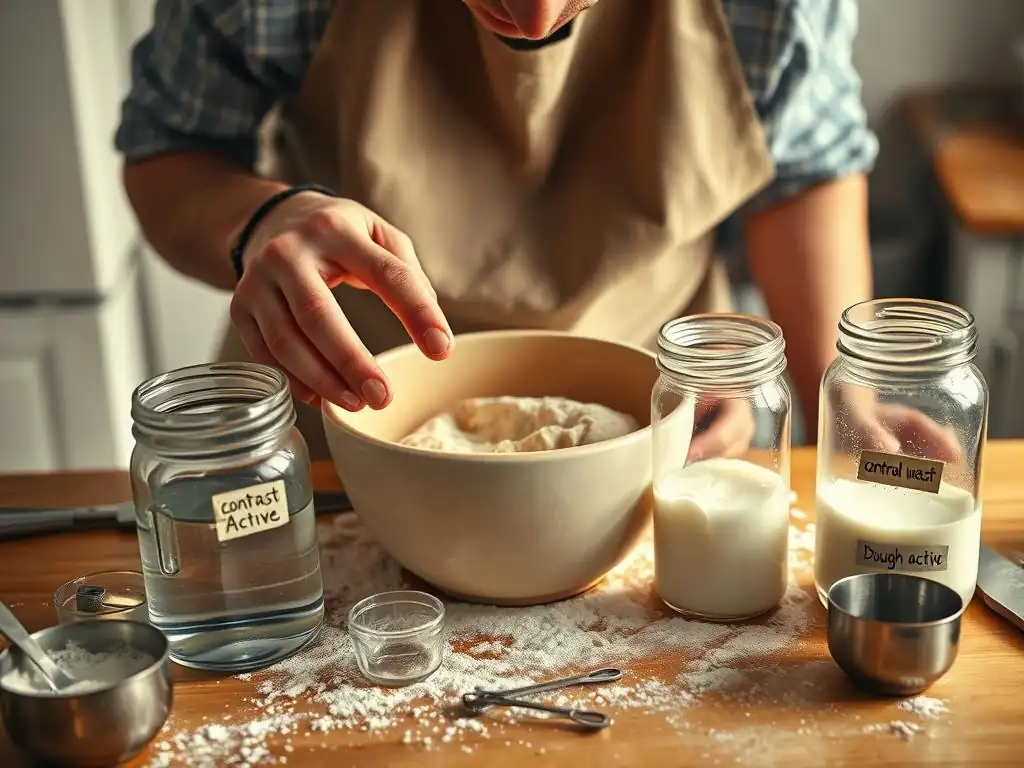
Even with perfectly active yeast, your dough might still fail to rise properly. If your yeast not rising test was successful, but your dough remains stubbornly flat, it's time to investigate other potential culprits in your baking process. Bread baking involves a delicate balance of ingredients, temperature, and technique.
Several factors besides inactive yeast can inhibit fermentation or prevent the dough from holding the gas produced by the yeast. These include incorrect ingredient ratios, issues with gluten development, and environmental conditions during proofing. Pinpointing the exact issue might require reviewing your recipe steps and technique carefully.
Salt Content: Inhibiting Yeast Activity
Salt is a vital ingredient in bread making, enhancing flavor and controlling the rate of fermentation. However, too much salt can actually kill yeast or severely inhibit its activity. Salt draws moisture out of yeast cells through osmosis, effectively dehydrating them. A typical bread recipe uses salt in a concentration of around 1.8% to 2.2% relative to the flour weight. Adding significantly more than this can negatively impact your rise.
If you accidentally added too much salt to your dough, even active yeast will struggle to produce gas. For example, if a recipe calls for 500g of flour and 10g of salt (2%), accidentally adding 20g (4%) could significantly slow or halt fermentation. Ensure you measure salt accurately, ideally by weight, to avoid this issue after a successful yeast not rising test.
Insufficient Kneading: Gluten Development Issues
Kneading is the process that develops the gluten network in dough. Gluten, formed from proteins in flour when hydrated and agitated, creates an elastic structure that can trap the carbon dioxide gas produced by the yeast. Think of gluten as tiny balloons within the dough. If the gluten isn't properly developed, these "balloons" are weak and can't hold the gas, causing the dough to spread outwards rather than rise upwards.
Dough that hasn't been kneaded enough will feel slack, sticky, and won't pass the "windowpane test" (stretching a small piece thin enough to see light through). Even with active yeast, poor gluten development will result in a dense loaf with minimal rise. If your yeast not rising test was positive, but your dough didn't rise, consider if you kneaded for the appropriate amount of time or until the dough reached the correct stage of development.
Temperature Issues During Proofing: Finding the Sweet Spot
Just as water temperature is critical for activating yeast, the ambient temperature during the dough's proofing phase is crucial for fermentation speed. Yeast is most active in a warm, humid environment, typically between 75°F and 85°F (24°C to 29°C). Temperatures significantly outside this range will affect how quickly your dough rises.
If your dough is proofing in a cold room (e.g., 60°F or 15°C), the yeast will be very sluggish, and the rise could take many hours, potentially much longer than your recipe suggests. Conversely, a very hot environment (above 95°F or 35°C) can cause the dough to rise too quickly, potentially leading to less flavor development and a weaker structure, or even killing the yeast over time. After confirming yeast viability with a yeast not rising test, ensure your proofing environment is suitably warm.
Dough Hydration: Too Wet or Too Dry?
The amount of liquid in your dough (hydration level) can also impact its rise. Dough that is too dry can be dense and stiff, making it difficult for the yeast to move around and for the gas bubbles to expand within the tight structure. This can result in a slower or less significant rise.
On the other hand, very wet doughs (high hydration) can be challenging to handle and develop sufficient gluten structure to hold the gas. While some high-hydration doughs are intentionally slack, they require careful technique to achieve good volume. If your yeast not rising test was positive but your dough didn't rise, double-check your liquid measurements against the recipe. Using weight measurements for ingredients, especially flour and water, is highly recommended for accuracy.
Addressing Sluggish Yeast: Tips and Tricks
If your yeast not rising test indicated that your yeast is sluggish rather than completely inactive, you might be tempted to try and salvage it. While getting fresh yeast is the most reliable solution, there are a couple of potential adjustments you can make if you're determined to use that batch.
Extending Proofing Time
The simplest way to compensate for sluggish yeast is to give your dough significantly more time to rise. If a recipe calls for a 1-hour proof, you might need 2, 3, or even more hours for dough made with weak yeast to achieve a similar rise. You'll need to rely on visual cues (the dough doubling in size) rather than strictly adhering to the recipe's time estimate.
This approach requires patience and careful observation. Check the dough periodically, perhaps every 30-60 minutes, to monitor its progress. Ensure the dough is covered to prevent it from drying out during this extended proofing period. While this can sometimes work, results may vary, and the final texture might not be as light and airy as with active yeast.
Increasing Proofing Temperature
Another strategy to encourage sluggish yeast is to provide a slightly warmer proofing environment, within the safe range (e.g., 80-85°F or 27-29°C), to nudge the yeast into greater activity. You could try placing the covered dough in a slightly warm oven (turned off, but perhaps warmed briefly beforehand), a proofing box, or near a warm appliance.
Be cautious not to make the environment too hot, as this could stress or kill the already weak yeast. Combining a slightly warmer temperature with extended proofing time might help coax a better rise from sluggish yeast. However, remember that yeast activity is finite; if the yeast is very weak, even ideal conditions may not produce a satisfactory rise. A positive yeast not rising test is the ideal starting point.
Preventing Yeast Problems in the Future
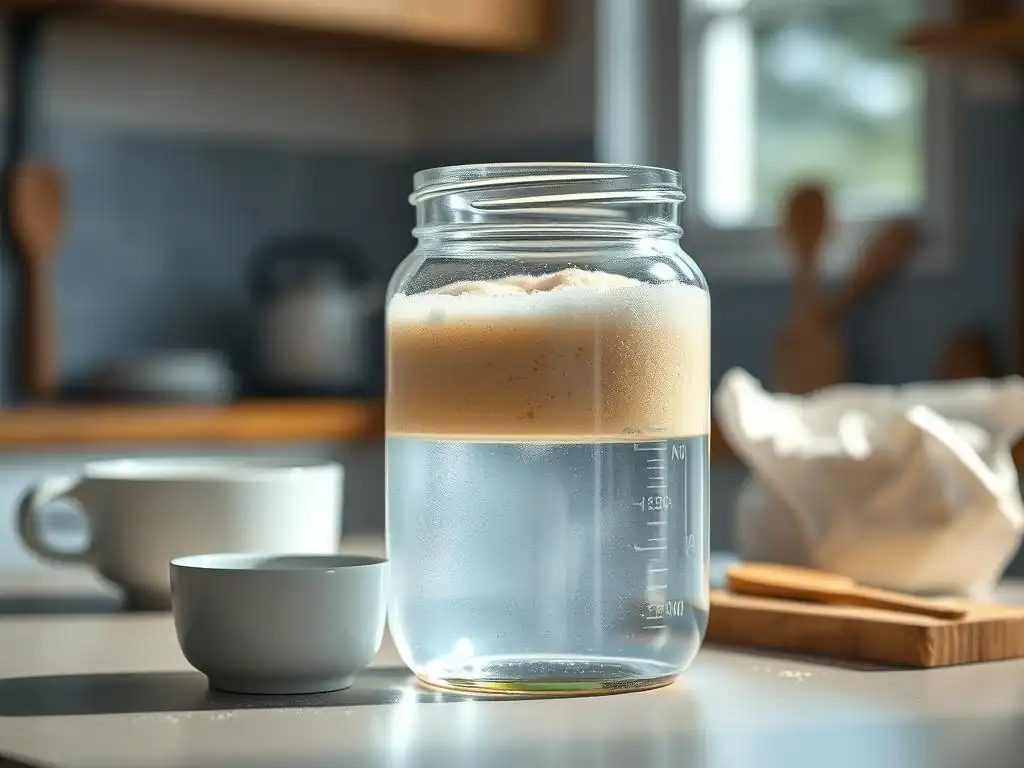
Proactive measures can significantly reduce the chances of encountering yeast issues in your baking. By understanding how to store yeast properly and paying attention to its freshness, you can ensure your yeast is ready to perform whenever inspiration strikes.
Proper Yeast Storage Techniques
Correct storage is key to maintaining yeast viability. Unopened packages of yeast, especially active dry yeast, can often be stored at cool room temperature until their expiration date. However, for opened yeast (both active dry and instant) and for longer-term storage of unopened yeast, refrigeration or freezing is highly recommended.
Transfer opened yeast from its original packet to an airtight container, such as a small jar or a zip-top bag with the air squeezed out. Label it with the date you opened it. Store this container in the back of your refrigerator or freezer.
Freezing is particularly effective for preserving yeast activity over many months. When ready to use, simply take out the amount needed and let it come closer to room temperature for a few minutes before proofing. This simple step can extend the useful life of your yeast significantly, helping you avoid a failed yeast not rising test.
Checking Yeast Expiration Dates Regularly
Yeast packages come with a "Best By" or expiration date. While this date is a good guideline, yeast can lose potency over time, especially if not stored ideally. Make it a habit to check the date on your yeast package before you plan to bake.
If the date is approaching or has passed, it's wise to perform a yeast not rising test before committing to a full recipe. Even yeast within its expiration date can be inactive if it was exposed to heat or moisture during storage or transport. Regular checks and proactive testing save time and ingredients.
Using a Kitchen Thermometer for Accurate Water Temperature
As highlighted earlier, water temperature is critical for activating yeast. Guessing the temperature by feel is unreliable; what feels "warm" to your hand might be too hot or too cold for the yeast. Investing in an inexpensive kitchen thermometer is a simple but effective way to ensure you hit the correct temperature range (105°F-115°F or 40°C-46°C for active dry) for your yeast not rising test.
Using a thermometer eliminates a major variable and ensures you are providing the yeast with the optimal environment for activation. This accuracy will give you confidence in the results of your test and the subsequent rise of your dough. It's a small tool that makes a big difference in yeast performance.
Conclusion: Ensuring Your Bread Rises to the Occasion
Experiencing a flat, unrisen dough can be disheartening, but it's a common hurdle in the baking world. The good news is that the most frequent culprit – inactive yeast – is also the easiest to identify. By incorporating the simple yeast not rising test into your baking routine, you gain a powerful tool to assess the viability of your yeast before you even start mixing your dough.
This quick proofing test, using warm water and sugar, provides a clear visual indicator of whether your yeast is active, sluggish, or dead. A bubbly, frothy mixture means your yeast is ready to create that beautiful rise. If the test shows minimal or no activity, you know to replace your yeast, saving yourself from a guaranteed baking disappointment.
Remember to store your yeast properly in an airtight container in the refrigerator or freezer and check expiration dates as part of your preventative strategy. By taking these simple steps, you significantly increase your chances of baking success, ensuring your bread rises perfectly to the occasion every time.
Frequently Asked Questions
How can I tell if my yeast is dead before I start baking?
The easiest way is the yeast not rising test: dissolve yeast in warm water with sugar. If it doesn't foam or bubble within 5-10 minutes, your yeast is likely dead.
What temperature should the water be for the yeast test?
The water should be warm, but not hot. Aim for around 105-115°F (40-46°C). Too hot, and you'll kill the yeast.
What kind of sugar should I use for the yeast not rising test?
Any granulated sugar, like white sugar or cane sugar, will work perfectly fine. The sugar provides the necessary food for the yeast to activate.
What happens if I use cold water for the yeast test?
Cold water will significantly slow down the yeast activation process. You might not see any activity, even if the yeast is still alive, giving you a false negative result.
What if my yeast foams a little but not a lot? Is it still usable?
If the yeast foams a little, it's probably still usable, but it might be weaker than it should be. Your dough might take longer to rise, or the final product might not be as light and airy.
Final Reflection: The Humble Yeast and the Rise of Baking Knowledge
The ability to reliably test for live yeast is not just a baker's trick; it's a fundamental skill that connects us to centuries of food production and ensures consistent, delicious results. A simple test can mean the difference between a perfectly risen loaf and a disappointing failure, highlighting the often-overlooked importance of understanding the basic elements of our culinary practices.
The impact of readily available, high-quality yeast has been profound, transforming baking from a laborious, unpredictable process to a more accessible and enjoyable hobby for many. Yet, understanding the life cycle of yeast, and knowing how to quickly assess its viability, remains a crucial skill. The simplest things are often the most profound,
a wise baker once said, and this simple yeast test embodies that truth. It's a reminder that even in our technologically advanced world, the fundamentals still hold the key to success.
Now, consider your own baking journey. Have you ever experienced the frustration of a dough that refused to rise? Take a moment to reflect on that experience. Armed with the knowledge gained from this article, you can now approach baking with greater confidence and a deeper understanding of the ingredients that bring your creations to life. Go forth, test your yeast, and let the joy of baking rise!
Unleash Your Inner Baker: Is Your Yeast Alive?
Thanks for taking the time to learn about the importance of fresh yeast! You've now got the knowledge to avoid baking disasters. Ready to put your new skills to the test?
- Perform the Yeast Test: Try the simple test outlined in the article – it's quick, easy, and will save you a lot of frustration in the long run.
- Share Your Results: Let us know (and other bakers!) if your yeast passed the test! Share your experiences in the comments below.
- Bake Something Amazing: Now that you're a yeast-testing pro, it's time to bake! What delicious treat will you create?
What’s your favorite recipe that absolutely requires perfectly active yeast? Let's hear it!