
Tough Bread Crust? Secrets to a Tender Crumb

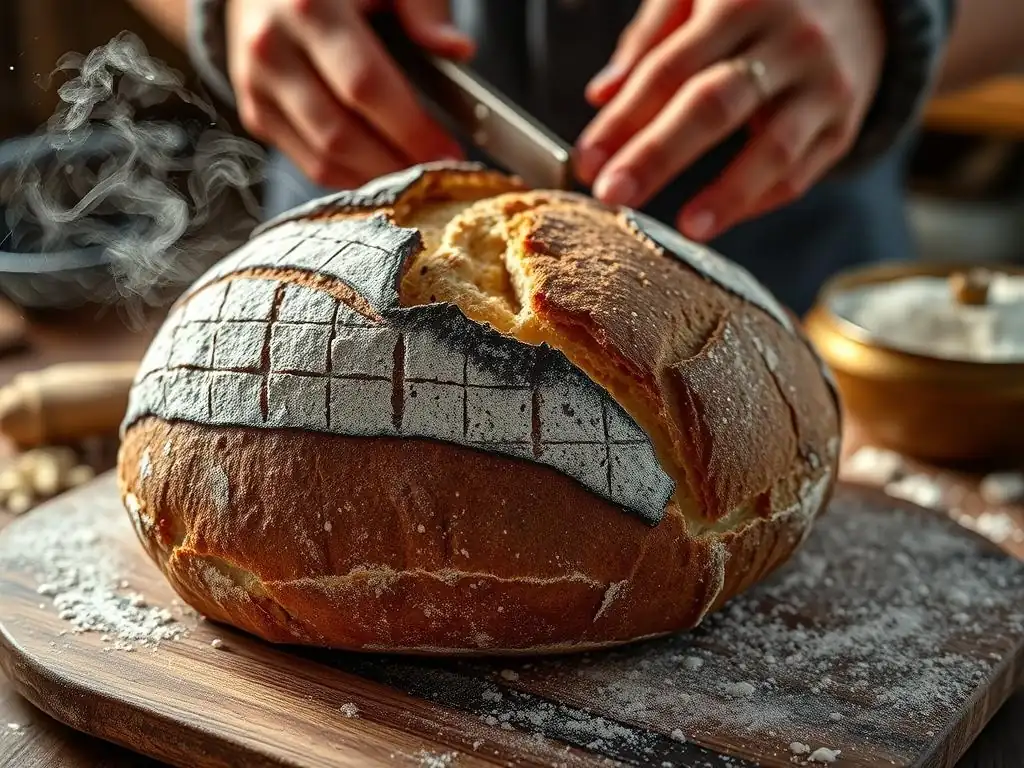
Welcome to BakeWithEase, where we demystify the delightful world of baking! Are you ready to unlock the secrets to achieving that perfect sourdough crust texture? Many bakers struggle with a crust that's either too tough or too soft, but fear not! We're about to delve into the techniques that will transform your sourdough into a masterpiece. Curious to learn how a few simple adjustments can drastically improve your bread? Let's get baking!
- Achieving the Perfect Sourdough Crust: A Comprehensive Guide
- Understanding Crust Formation
- Common Causes of a Tough Crust
- Troubleshooting Crust Issues: Practical Solutions
- Achieving a Tender Crumb: Complementary Techniques
- Advanced Techniques for Crust Perfection
-
Frequently Asked Questions
- What causes a tough bread crust when baking sourdough?
- How can I achieve a more tender crumb while still getting a good crust on my sourdough?
- What role does oven temperature play in perfecting sourdough crust texture?
- What are some techniques for creating steam in a home oven when baking sourdough?
- What type of flour is best for achieving a desirable sourdough crust texture?
- Final Reflection: The Enduring Quest for the Perfect Sourdough Crust
- Unlock the Secret to Perfectly Tender Bread!
Achieving the Perfect Sourdough Crust: A Comprehensive Guide
Understanding Crust Formation
The Maillard Reaction: Developing Color and Flavor
The Maillard reaction is a complex chemical process that occurs when amino acids and reducing sugars are heated above a certain temperature, typically around 300°F (150°C). This reaction is responsible for the beautiful golden-brown color of your sourdough crust, as well as the myriad of complex flavors and aromas that make freshly baked bread so appealing. It's not just about aesthetics; the Maillard reaction contributes significantly to the overall sensory experience of biting into a perfectly baked sourdough loaf, playing a crucial role in perfecting sourdough crust texture and taste.
As the outer surface of the dough heats up in the oven, its temperature eventually reaches the threshold for the Maillard reaction to begin. The longer the crust remains at or above this temperature, the deeper the color becomes and the more pronounced the flavor compounds develop. This is why a longer bake time at the correct temperature range (often between 390°F and 450°F or 200°C and 230°C) is essential for achieving a well-developed crust with rich, complex notes, contributing directly to perfecting sourdough crust texture and depth of flavor.
Starch Gelatinization: Building Structure
Beneath the very outer layer where the Maillard reaction is dominant, starch gelatinization is occurring. As the internal temperature of the dough rises, the starch granules in the flour absorb water and swell. When the temperature reaches approximately 140-150°F (60-65°C), these swollen granules rupture, releasing starch molecules into the surrounding water. This process, known as gelatinization, creates a viscous network that helps set the internal structure of the crumb.
This gelatinized starch network provides the initial rigidity to the loaf's structure before the proteins fully coagulate. It contributes to the overall firmness and elasticity of the crumb just beneath the crust. While gelatinization primarily impacts the crumb, it's intricately linked to crust formation because the availability of moisture in the dough dictates how effectively starch can gelatinize, influencing the boundary between the developing crust and the moist interior.
Evaporation and Crust Thickness: Balancing Moisture
Crust formation is fundamentally driven by the evaporation of moisture from the surface of the dough. As the loaf bakes, heat from the oven causes water on the surface and just below it to turn into steam and escape. This drying process hardens the outer layer, transforming it into the crust we know. The rate and extent of this evaporation directly influence the thickness and crispness of the final crust.
Initially, high humidity in the oven environment can slow down surface evaporation, allowing the dough to expand maximally before the crust sets. Once the humidity drops (or the bake progresses), rapid evaporation causes the surface to dry and harden quickly. Controlling this balance of moisture loss is key to achieving the desired crust thickness and texture, whether you prefer a thin, shattering crust or a thicker, more substantial one, all part of perfecting sourdough crust texture.
Common Causes of a Tough Crust
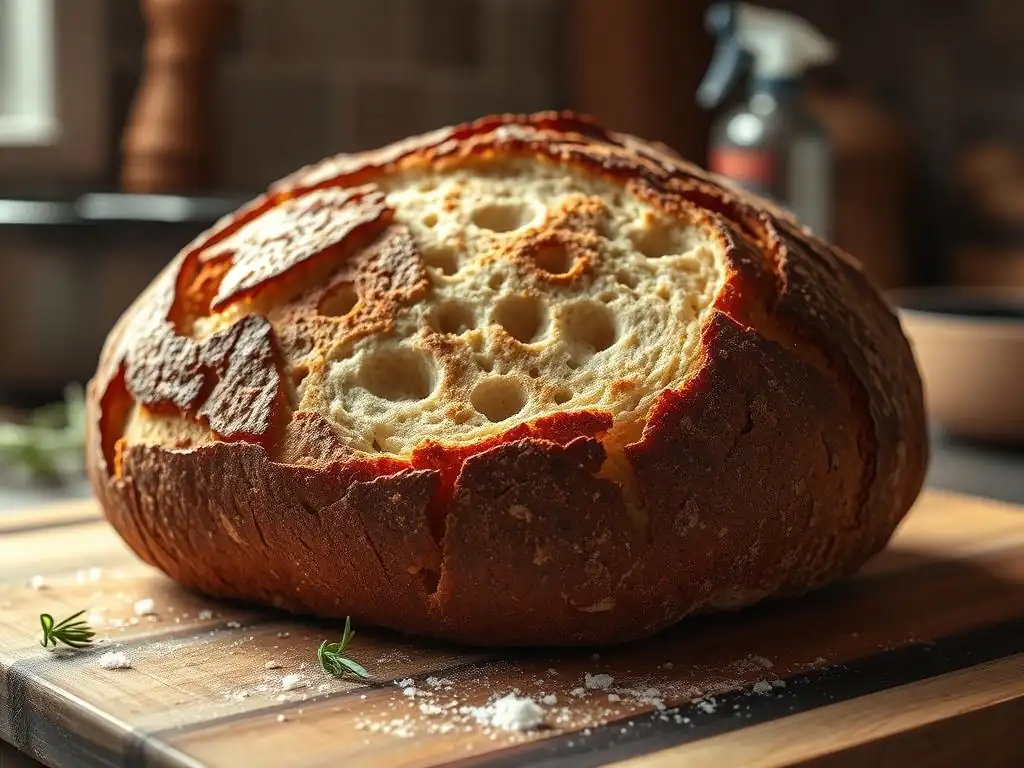
Over-Baking: Preventing Excessive Hardening
One of the most frequent culprits behind a tough, excessively hard sourdough crust is simply baking the loaf for too long or at too high a temperature without adequate moisture management. When bread is exposed to high heat for an extended period, moisture continues to evaporate from the crust long after the interior crumb is fully cooked. This excessive drying makes the crust brittle and hard, rather than pleasantly crisp or chewy.
Imagine a loaf baked for 60 minutes at 450°F (230°C) without any steam compared to one baked for 40 minutes with steam for the first 20 minutes. The first loaf will likely have a significantly harder crust because it spent more time aggressively drying out. Monitoring internal temperature (aiming for 200-210°F or 93-99°C for doneness) is crucial to avoid over-baking the crumb, which in turn helps prevent the crust from becoming overly tough.
Insufficient Oven Humidity: Maintaining Moisture Balance
A dry oven environment is a major contributor to a tough, leathery crust. In the initial stages of baking, high humidity is needed to keep the surface of the dough moist and pliable. This allows the loaf to achieve maximum oven spring (expansion) before the crust hardens. If the oven is too dry from the start, the crust forms prematurely, restricting expansion and resulting in a thicker, tougher crust that may even crack irregularly.
Think of it like a skin forming too quickly – it becomes inflexible. A common example is baking a loaf directly on a baking sheet in a conventional oven with no steam source. The crust forms almost immediately, leading to poor oven spring and a hard, often pale crust. Introducing steam is essential for delaying crust formation and promoting a tender, well-expanded loaf, vital for perfecting sourdough crust texture.
Incorrect Dough Hydration: Achieving Optimal Texture
The hydration level of your dough – the ratio of water to flour – significantly impacts the final texture of both the crumb and the crust. A dough that is too low in hydration (e.g., 60% hydration) will generally produce a loaf with a denser crumb and a thicker, chewier crust because there is less water available to convert to steam during baking and less moisture initially present in the dough structure.
Conversely, a very high hydration dough (e.g., 85% hydration) typically yields a more open, airy crumb and a thinner, crispier crust. However, managing high hydration can be challenging. If not handled correctly, or if the dough is under-developed, the excess moisture might not bake off properly, potentially leading to a gummy crumb and a tough crust where the boundary between the two is poorly defined. Finding the right hydration level for your skill and desired outcome is part of perfecting sourdough crust texture.
Insufficient Steam: Promoting Crust Expansion
As highlighted earlier, steam is paramount in the first 15-20 minutes of baking. It keeps the surface of the dough moist and elastic, allowing it to stretch as the gases inside expand during oven spring. Without sufficient steam, the surface dries out rapidly, forming a hard crust too soon. This premature crust sets the shape of the loaf before it has fully expanded, resulting in a smaller loaf with a thick, tough crust.
Consider baking two identical loaves: one in a Dutch oven (which traps steam) and one on a baking stone in a dry oven. The Dutch oven loaf will likely exhibit significantly better oven spring and a more tender, thinner crust compared to the stone-baked loaf in a dry environment, which will have limited expansion and a harder crust. Providing adequate steam is non-negotiable for achieving that signature sourdough crust.
Troubleshooting Crust Issues: Practical Solutions
Monitoring Oven Temperature: Ensuring Accurate Baking
An inaccurate oven temperature can wreak havoc on your sourdough crust. If the oven is too hot, the crust can set and burn before the interior is cooked, leading to a tough, sometimes charred exterior. If it's too cool, the crust may not develop properly, remaining pale and soft, or require an excessively long bake time which can eventually dry it out too much. Using an independent oven thermometer is highly recommended, as built-in oven thermostats can be off by as much as 50°F (28°C).
Preheating your oven adequately is also critical. A typical sourdough bake requires a high initial temperature, often 450-500°F (230-260°C), to generate powerful oven spring and kickstart crust development. Ensure your oven (and baking vessel/stone) is fully preheated for at least 30-60 minutes at the target temperature before loading your loaf. This ensures consistent heat transfer, vital for perfecting sourdough crust texture.
Adjusting Baking Time: Preventing Over-Baking
Once your loaf has achieved good oven spring and the crust has developed color (typically after the first 20-30 minutes, often with steam removed), the remaining bake time is primarily focused on cooking the interior crumb and further developing crust color and crispness. Over-baking at this stage is a common cause of a tough crust. The goal is to bake until the internal temperature reaches 200-210°F (93-99°C).
If your crust is getting too dark too quickly but the internal temperature isn't reached, you can reduce the oven temperature slightly (e.g., by 25-50°F or 15-28°C) for the remainder of the bake, or loosely tent the loaf with aluminum foil to prevent further browning while the interior finishes cooking. Conversely, if the crumb is done but the crust isn't browned enough, a few extra minutes at a slightly higher temperature (if the crust isn't already too dark) or under the broiler (with extreme caution!) can help, though care must be taken not to burn it.
Introducing Steam: Creating a Moist Oven Environment
Providing steam is arguably the most important technique for preventing a tough sourdough crust and promoting good oven spring. Steam keeps the surface of the dough moist and elastic in the critical first phase of baking, allowing the loaf to expand freely before the crust sets. There are several effective ways to introduce steam into your oven.
Without adequate steam, the surface dries and hardens prematurely. This restricts the loaf's ability to rise fully, leading to a denser crumb and a thicker, tougher crust that may even crack irregularly. Using a reliable steam method is fundamental to perfecting sourdough crust texture and achieving that desirable open crumb structure.
Dutch Oven Baking: Trapping Steam Effectively
Baking in a Dutch oven is one of the most popular and effective methods for home bakers to create a steamy environment. The lid traps the moisture evaporating from the dough itself, creating a highly humid micro-environment around the loaf. This allows for maximum oven spring and delays crust formation beautifully.
Typically, you preheat the Dutch oven with the lid on at a high temperature (e.g., 450-500°F or 230-260°C). Carefully transfer your proofed loaf into the hot Dutch oven, score it, place the lid back on, and bake for the first 20-25 minutes. Then, remove the lid to allow the crust to dry out, brown, and crisp up for the remaining 20-30 minutes at a slightly reduced temperature (e.g., 425-450°F or 220-230°C). This method consistently yields excellent results for perfecting sourdough crust texture.
Adding Water to a Hot Pan: Generating Steam
If you're not using a Dutch oven but baking on a stone or baking steel, you can create steam by placing a pan (like a cast iron skillet or a metal baking pan) on the bottom rack of your oven while it preheats. Just before you load your loaf, carefully pour about 1 cup of hot water (boiling water is best) into the preheated pan. This will instantly generate a burst of steam.
Be extremely cautious when adding water to a hot pan to avoid steam burns. Close the oven door quickly to trap the steam. This method provides humidity for the initial bake phase, similar to a Dutch oven, helping to keep the crust pliable for expansion. You'll typically bake with this steam for the first 15-20 minutes before removing the steam pan or opening the door briefly to let the steam escape for the remainder of the bake.
Spritzing the Dough: Providing Initial Surface Moisture
Spritzing the surface of the dough with water just before loading it into the oven can provide a small amount of initial surface moisture. While not as effective or long-lasting as a Dutch oven or a dedicated steam pan, it can help in a pinch or as a supplementary method. Use a clean spray bottle filled with water and lightly mist the entire surface of the loaf.
You can also spritz the oven walls, though this is less effective and can potentially damage some ovens. Spritzing the dough surface primarily helps delay the very first formation of a skin, giving the loaf a tiny bit more flexibility at the start of the bake. However, for significant oven spring and a truly tender crust, it should ideally be combined with another steam method or used for loaves that don't require as much initial expansion.
Optimizing Dough Hydration: Achieving the Right Balance
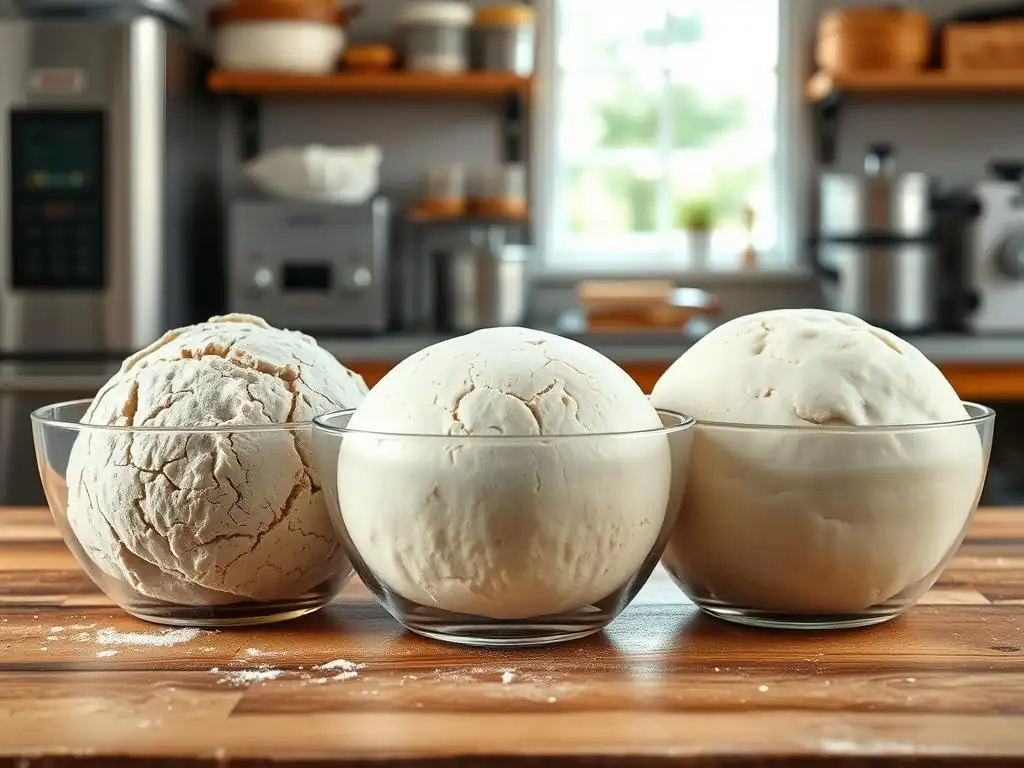
As discussed earlier, dough hydration plays a significant role in crust texture. If you're consistently getting a tough crust with a lower hydration dough (say, 65%), try increasing your hydration gradually in subsequent bakes (e.g., moving to 70% or 75%). Higher hydration generally leads to a more open crumb and a thinner, crispier crust when baked correctly with sufficient steam.
However, simply adding more water isn't a magic bullet. Higher hydration doughs can be stickier and more challenging to handle and shape. Ensure your dough is properly developed through kneading or stretching and folding to build sufficient gluten strength to support the extra water. Practice working with stickier doughs to manage them effectively, allowing you to achieve the desired hydration for perfecting sourdough crust texture and crumb structure.
Controlling Fermentation: Developing Flavor and Texture
Proper fermentation is crucial not only for the flavor and rise of your sourdough but also for the texture of the crust and crumb. Under-fermented dough may not have developed enough gas to achieve good oven spring, leading to a denser loaf and potentially a thicker, tougher crust. Over-fermented dough, while potentially having a nice flavor, can lose its structural integrity, resulting in a loaf that collapses in the oven or has a poor rise, sometimes leading to a dense, gummy crumb and a tough, leathery crust.
Pay close attention to the signs of proper fermentation: the dough should increase significantly in volume (often doubling or slightly less depending on the temperature), feel light and airy, and pass the "poke test" (a gentle poke should leave an indentation that slowly springs back). Consistent fermentation practices are foundational to achieving reliable results when perfecting sourdough crust texture and overall loaf quality.
Achieving a Tender Crumb: Complementary Techniques
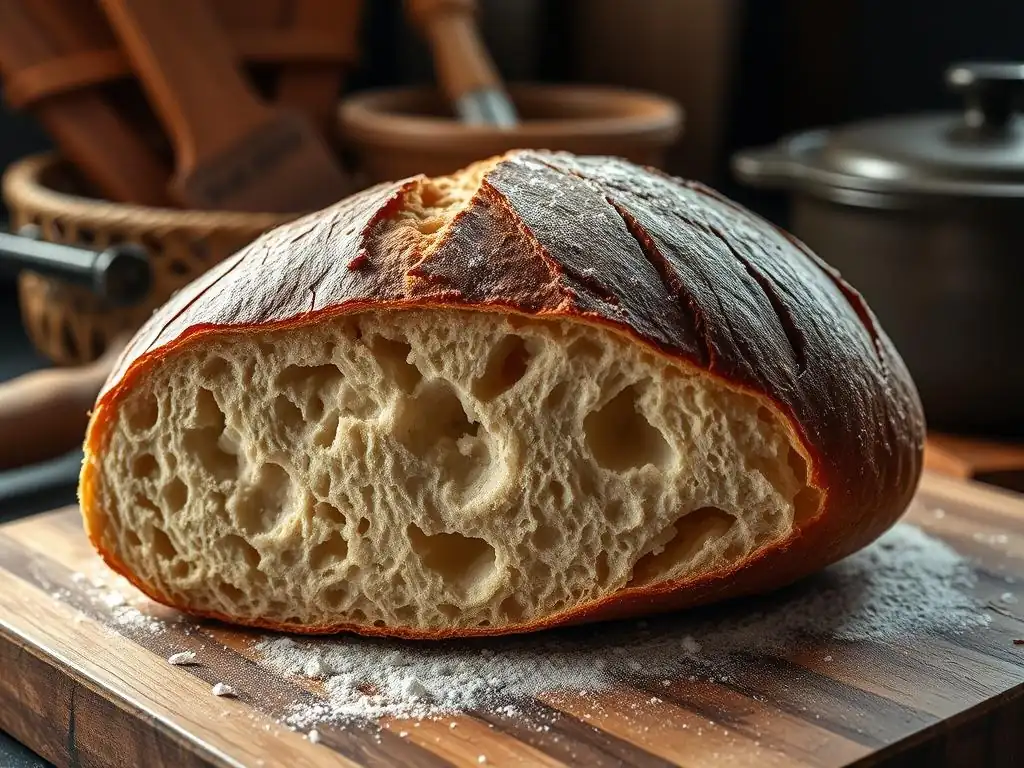
Scoring the Dough: Controlling Expansion
Scoring, or cutting the surface of the dough just before baking, is essential for controlling where the loaf expands during oven spring. Without scoring, the crust will tear randomly at the weakest points as gases push outwards. Proper scoring directs this expansion, allowing the loaf to achieve maximum volume and promoting an open crumb structure.
Well-executed scores facilitate even expansion of the crust. As the dough expands through the score lines, the surrounding crust stretches rather than tearing haphazardly. This controlled stretching contributes to a thinner, more even crust thickness and a better overall shape, complementing your efforts in perfecting sourdough crust texture and achieving a beautiful ear (the flap of crust that lifts along a score).
Cooling the Bread: Maintaining Crust Integrity
Patience is key after baking! Allowing your sourdough loaf to cool completely on a wire rack is absolutely essential for both the crumb texture and the crust integrity. While the bread cools, residual heat continues to cook the interior slightly, and moisture redistributes throughout the loaf. Cutting into a hot loaf traps steam inside, leading to a gummy crumb.
Equally important for the crust, cooling allows it to set properly. As the steam escapes from the loaf during cooling, the crust dries slightly and becomes crisp. Cutting too early can result in a soft, slightly leathery crust because the moisture hasn't had a chance to fully escape and the crust hasn't had time to firm up. Allow your loaf to cool for at least 2-3 hours, or ideally longer, before slicing.
Advanced Techniques for Crust Perfection
Using Baking Stones: Ensuring Even Heat Distribution
Baking stones or baking steels provide excellent thermal mass, meaning they absorb and retain heat very well. Preheating your stone or steel in the oven at a high temperature ensures that when you place your dough onto it, there is a powerful burst of heat transferred directly to the base of the loaf.
This conductive heat transfer from the stone promotes rapid oven spring from the bottom up and helps develop a well-baked bottom crust. Combined with adequate steam from above, using a baking stone or steel helps ensure that the entire crust, top and bottom, develops evenly and achieves the desired texture when perfecting sourdough crust texture.
Cold Proofing: Enhancing Flavor and Crust Development
Cold proofing involves placing the shaped dough in the refrigerator for an extended period, typically from 8 hours up to 24-48 hours. This slow, cold fermentation has several benefits, including significant flavor development as acids and other compounds form. It also affects the dough's structure and surface.
During cold proofing, enzymes in the dough continue to break down starches and proteins, albeit very slowly. The cold temperature firms up the dough, making it easier to handle and score directly from the refrigerator. The chilled surface also reacts favorably to the initial high heat of the oven, contributing to a better crust development and helping in perfecting sourdough crust texture.
Cold Proofing Process and Benefits
To cold proof, shape your loaf and place it into a proofing basket (banneton) or a bowl lined with a floured cloth. Cover it well to prevent drying out and place it in the refrigerator (usually between 38-40°F or 3-4°C). The dough will continue to ferment slowly, developing complex flavors that are difficult to achieve at room temperature.
Key benefits for crust and crumb include:
- Improved Flavor: Slow fermentation allows organic acids (like lactic and acetic acid) to develop, contributing to the characteristic sourdough tang.
- Easier Handling & Scoring: Chilled dough is firmer and less sticky, making it much easier to transfer and score cleanly, which leads to better controlled expansion and crust formation.
- Enhanced Oven Spring: The cold surface hits the hot oven, causing rapid expansion of gases within the dough before the crust sets, promoting a more open crumb and better crust development.
- Better Crust Color: The breakdown of starches into simpler sugars during the long, cold fermentation can contribute to more pronounced Maillard reactions and thus better crust color during baking.
Experimenting with Flour Types: Impact on Crust Characteristics
The type of flour you use has a significant impact on the characteristics of both your sourdough crumb and crust. High-protein bread flour (around 12-14% protein) develops strong gluten networks, which can support higher hydration levels and lead to a more open crumb and a thinner, crispier crust when baked correctly.
Using a portion of whole wheat or rye flour will change the crust texture. These flours contain more bran and germ, which can interfere with gluten development and absorb more water. This often results in a slightly denser crumb and a thicker, sometimes chewier, crust compared to loaves made purely with white bread flour. Experimenting with different blends (e.g., 80% white bread flour, 20% whole wheat) allows you to fine-tune the texture and flavor profile, playing a direct role in perfecting sourdough crust texture to your personal preference.
Frequently Asked Questions
What causes a tough bread crust when baking sourdough?
A tough sourdough crust is often due to excessive oven spring and insufficient moisture during baking. Also, overbaking can lead to a hard, difficult-to-chew crust.
How can I achieve a more tender crumb while still getting a good crust on my sourdough?
A higher hydration dough and proper proofing contribute to a tender crumb. Introducing steam during the initial baking phase helps achieve a crispy yet softer crust.
What role does oven temperature play in perfecting sourdough crust texture?
Baking at a high initial temperature promotes good oven spring and crust formation. Subsequently lowering the temperature allows the crumb to cook through without over-baking the crust.
What are some techniques for creating steam in a home oven when baking sourdough?
You can introduce steam by using a Dutch oven, placing a tray of water on the lower rack, or spritzing the dough with water before baking. These methods trap moisture, crucial for crust development.
What type of flour is best for achieving a desirable sourdough crust texture?
Using a high-protein bread flour is generally recommended for sourdough. The higher protein content helps develop a strong gluten network, essential for a well-structured and textured crust.
Final Reflection: The Enduring Quest for the Perfect Sourdough Crust
The pursuit of the perfect sourdough crust isn't merely about achieving a pleasing aesthetic; it's a reflection of our dedication to the craft, a testament to the transformative power of patience, and a delicious journey of discovery. The seemingly simple act of baking bread reveals a complex interplay of science and art, where understanding hydration, fermentation, and oven spring is paramount to achieving that coveted tender crumb and satisfyingly crisp crust. This knowledge, once mastered, unlocks a world of culinary possibilities.
The quest for the perfect sourdough crust transcends the kitchen; it mirrors our own personal journeys of growth and refinement. Each loaf, with its unique characteristics, reflects the lessons learned and the challenges overcome. The process itself is meditative, demanding focus and attention to detail, mirroring the mindful approach needed in many aspects of life. As the renowned baker, Chad Robertson, once said: Bread baking is a metaphor for life. It's about patience, attention to detail, and the willingness to accept imperfection.
This sentiment resonates deeply, highlighting the beauty found in the imperfections and the continuous learning inherent in the process.
Consider the lessons learned within these pages. Reflect on the nuances of hydration, the magic of fermentation, and the importance of oven management. Now, armed with this knowledge, I invite you to embark on your own baking adventures. Experiment, learn from your mistakes, and celebrate your successes. The journey to the perfect sourdough crust is a lifelong pursuit, one filled with delicious rewards and invaluable lessons along the way. Embrace the challenge, and may your next loaf be your best yet.
Unlock the Secret to Perfectly Tender Bread!
Thanks for joining us on this baking adventure! We hope you’ve gained valuable insights into achieving that perfect, tender crumb inside a beautifully crisp crust. Ready to put your new skills to the test?
- Bake your dream loaf: Try out one of the techniques discussed today – perhaps focusing on the hydration level or kneading time – and see the difference it makes!
- Share your success (or challenges!): We’d love to see your baking creations! Share a photo on social media using #BakeWithEaseTenderCrumb.
- Explore our other bread recipes: Discover even more tips and techniques to elevate your bread-making game on our website.
What’s your biggest bread-baking challenge, and what step are you most excited to try next?