
Quick Yeast Rye Bread: Ready Faster Than You Think

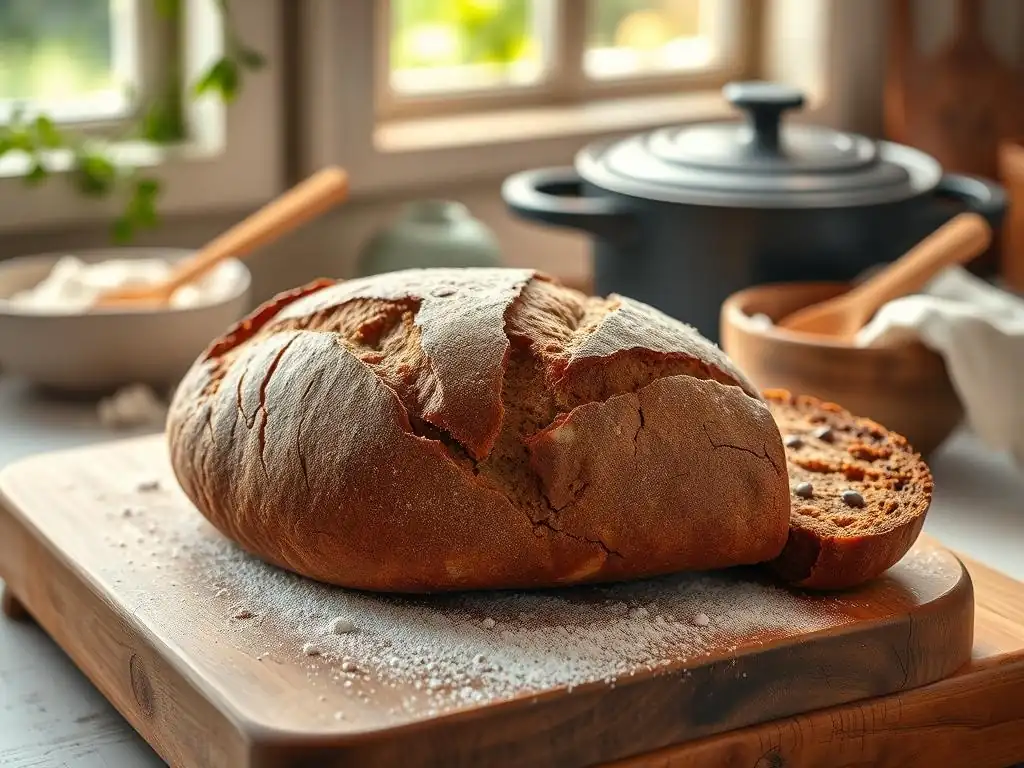
Welcome to BakeWithEase, your guide to confident baking! Ever dreamt of the rich aroma and satisfying taste of homemade rye bread? We're debunking the myth that it has to be difficult or time-consuming. Dive into our Easy Yeast Rye Bread recipe and discover how to achieve bakery-quality results faster than you think. Curious about the secret to its incredible flavor and surprisingly simple process? Let's get baking!
- Quick Rye Bread with Instant Yeast: Ready in Hours
- Bake Flavorful Rye Bread Quickly with This Simplified Recipe
- Why This Quick Rye Bread Recipe Works
- Ingredients for Your Quick Rye Bread
- Step-by-Step Guide to Baking Quick Rye Bread
- Tips for Perfecting Your Quick Rye Bread
- Serving and Storing Your Freshly Baked Rye Bread
-
Frequently Asked Questions
- How is this Quick Yeast Rye Bread different from traditional rye bread?
- What if I don't have caraway seeds? Can I still make the Easy Yeast Rye Bread?
- Can I use a different type of flour besides rye flour?
- What's the best way to store this Quick Yeast Rye Bread?
- How can I tell if my Easy Yeast Rye Bread is fully baked?
- Final Reflection: The Unexpected Joy of a Speedy Rye
- Unleash Your Inner Baker: Bake This Rye Today!
Quick Rye Bread with Instant Yeast: Ready in Hours
Bake Flavorful Rye Bread Quickly with This Simplified Recipe
Craving the hearty, distinct flavor of rye bread but don't have all day? This quick yeast rye bread recipe is designed for busy home bakers who want delicious results without the lengthy wait. Traditional rye bread, especially sourdough variations, can take 24 hours or even longer from start to finish. Our method, leveraging the power of instant yeast, dramatically cuts down the proofing time, allowing you to enjoy a warm, freshly baked loaf in just a few hours. It's an incredibly easy yeast rye bread solution for weeknight baking or last-minute sandwich needs.
This simple yeast rye bread recipe focuses on efficiency without sacrificing flavor or texture. By optimizing the yeast activity and streamlining the process, we eliminate steps that add significant time in traditional methods, such as long bulk fermentations or multiple folds over several hours. The result is a satisfying loaf with a beautiful crust and a tender crumb, perfect for slicing and serving with your favorite spreads or using as the base for robust sandwiches. Get ready to discover just how achievable easy yeast rye bread can be.
Why This Quick Rye Bread Recipe Works
The Power of Instant Yeast for Rapid Baking
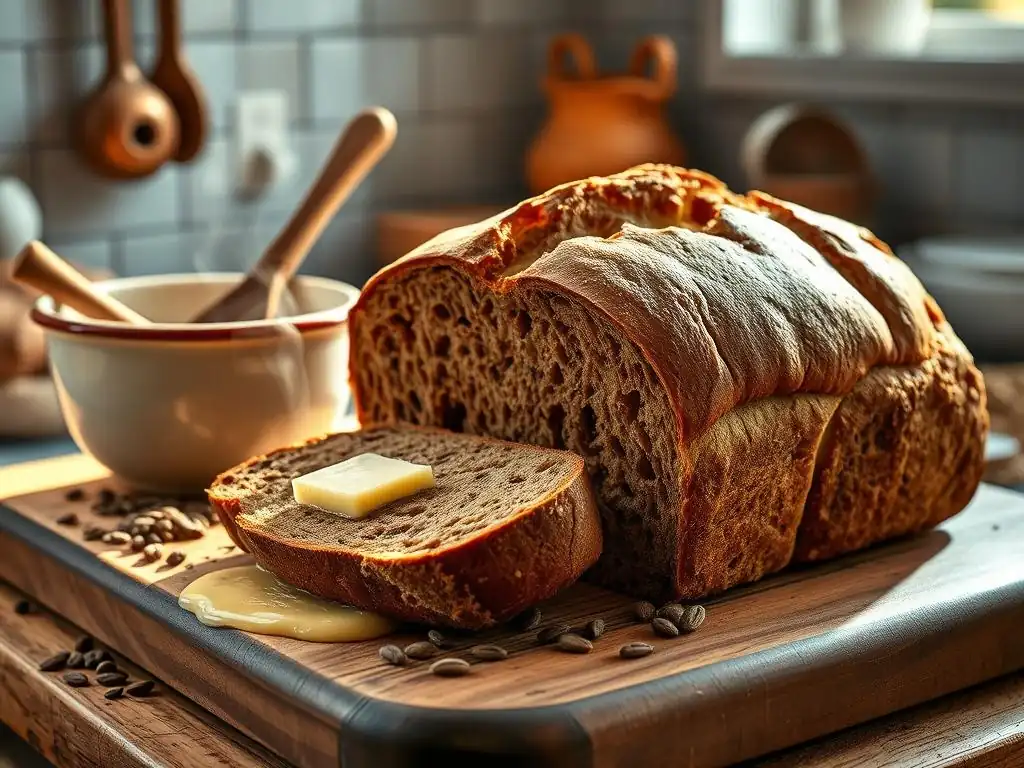
Instant yeast is a true game-changer for quick bread recipes like this easy yeast rye bread. Unlike active dry yeast, which typically requires proofing in warm liquid before use, instant yeast can be mixed directly into your dry ingredients. This saves a step and ensures the yeast is distributed evenly throughout the dough from the start. More importantly, instant yeast is formulated for a faster, more vigorous rise.
This accelerated activity means that the dough develops sufficient gas production to rise adequately in significantly less time than recipes using active dry yeast or natural sourdough starters. While a traditional bulk fermentation might take 2-3 hours or longer, often with multiple "folds" to build structure, our quick rye bread with yeast leverages the rapid lift from instant yeast to achieve sufficient volume and texture with a much shorter initial proof, perhaps just 60-90 minutes depending on ambient temperature. This efficiency is key to delivering fresh rye bread in just a few hours.
Streamlined Approach for Home Bakers
Beyond just the yeast, this recipe employs a streamlined process designed specifically for home bakers seeking an easy yeast rye bread experience. We simplify the mixing and kneading steps, often relying on a stand mixer or minimal hand kneading, reducing the physical effort and time involved compared to some intensive dough development methods. The overall structure of the recipe minimizes waiting periods.
For instance, instead of multiple long rises and shaping steps, we often use a shorter bulk fermentation followed by a single shaping and final proof. This approach, combined with the quick-acting yeast, allows the dough to develop enough structure and flavor for a delicious loaf without requiring hours of monitoring or complex techniques. It's about getting that satisfying, homemade rye bread taste onto your table faster and with less fuss.
Ingredients for Your Quick Rye Bread
Rye Flour: The Heart of the Bread
Rye flour is the defining ingredient in this quick yeast rye bread, imparting its characteristic earthy flavor and denser texture. Different types of rye flour exist, from light to dark and pumpernickel, each offering varying degrees of color and intensity. For this recipe, a medium or dark rye flour is often preferred to give a more pronounced rye flavor, typically making up 30-50% of the total flour weight in a mixed-flour loaf like this.
Using a significant proportion of rye flour affects the dough's handling properties. Rye flour contains less gluten-forming protein than wheat flour, and the starches in rye interact differently, resulting in a stickier, less elastic dough. This is completely normal for an easy yeast rye bread with a good amount of rye. The key is to embrace its unique nature rather than trying to force it to behave exactly like a pure wheat dough. The flavor contribution is well worth the slightly different handling.
Other Key Ingredients: Water, Instant Yeast, Salt, Bread Flour, Molasses, Caraway Seeds
- Water: Provides hydration necessary for the dough to form and for the yeast to activate. Warm water (around 105-115°F or 40-46°C) is ideal for getting instant yeast going quickly, though room temperature water also works, just potentially adding a few minutes to the rise time.
- Instant Yeast: As discussed, this is crucial for the rapid rise, enabling this to be a quick yeast rye bread.
- Salt: Essential for flavor development and controlling yeast activity. Don't skip it!
- Bread Flour: Provides the necessary gluten structure that rye flour lacks. Using bread flour (higher protein than all-purpose) helps create a better crumb structure and allows the loaf to hold its shape.
- Molasses: Adds traditional rye flavor, a touch of sweetness, and contributes to a darker crust color. Approximately 1-2 tablespoons per standard loaf is common.
- Caraway Seeds: A classic companion to rye bread, offering a distinct aromatic, slightly peppery note. About 1-2 teaspoons are typically mixed into the dough, though you can adjust to your preference or omit them.
Step-by-Step Guide to Baking Quick Rye Bread
Step 1: Combining Dry Ingredients
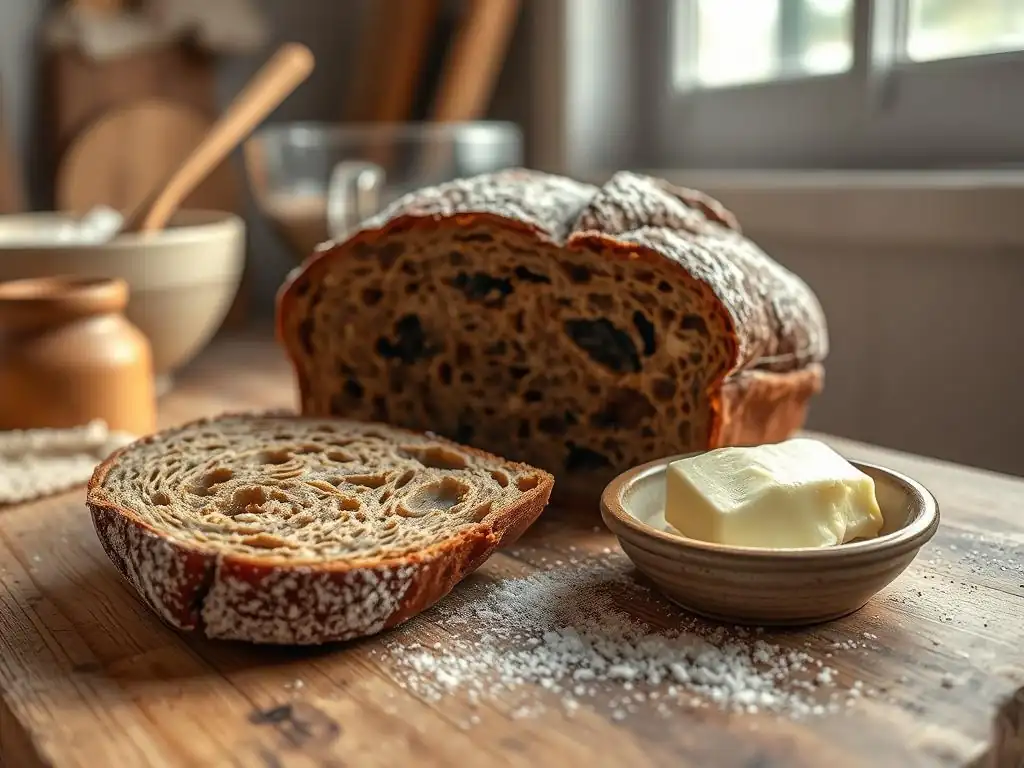
Begin by accurately measuring all your dry ingredients: the rye flour, bread flour, instant yeast, salt, and caraway seeds (if using). It's important to use a scale for accuracy, especially with flour, but volume measurements can work if precise. In a large mixing bowl or the bowl of a stand mixer, whisk these dry ingredients together thoroughly.
Combining the dry ingredients first ensures that the yeast and salt are evenly distributed throughout the flour mixture. This prevents pockets of high salt concentration that could inhibit yeast activity and ensures the leavening is consistent across the dough. This initial step is simple but foundational for a successful easy yeast rye bread.
Step 2: Adding Wet Ingredients and Mixing
Once the dry ingredients are combined, add the warm water and molasses to the bowl. If using a stand mixer, start on a low speed with a dough hook. If mixing by hand, use a sturdy spoon or spatula to incorporate the wet ingredients into the dry. Mix until a shaggy, cohesive dough begins to form and there are no significant dry patches of flour left in the bowl.
The dough will likely feel quite sticky at this stage, which is expected due to the rye flour content. Continue mixing for a minute or two until the ingredients are fully hydrated and just starting to come together. This preliminary mixing prepares the dough for the kneading stage, where gluten development will begin.
Step 3: Initial Kneading
Turn the dough out onto a lightly floured surface or continue kneading in the stand mixer on medium-low speed. Knead the dough for approximately 5-7 minutes if using a mixer, or 8-10 minutes by hand. The dough will still be somewhat sticky, but it should become smoother and more elastic as you knead. You should notice it becoming slightly less shaggy and starting to hold its shape better.
Proper kneading develops the gluten structure from the bread flour, which is necessary to trap the gases produced by the instant yeast during the rise. While rye flour doesn't contribute much gluten, the wheat flour needs this development for a good crumb structure. Don't over-knead, as rye dough can become overly sticky and difficult to handle if worked too much.
Step 4: First Rise - A Shorter Proofing Time
Lightly oil a clean bowl with vegetable oil or cooking spray. Transfer the kneaded dough to the bowl, turning it once to coat all sides. Cover the bowl tightly with plastic wrap or a damp kitchen towel. Place the bowl in a warm spot in your kitchen for the first rise. Because we're using instant yeast for this quick rye bread, this rise will be significantly shorter than traditional recipes.
Allow the dough to proof for about 60 to 90 minutes, or until it has roughly doubled in size. The exact time will depend on the temperature of your room. A warm spot near a sunny window or above a warm appliance works well. This relatively quick rise is a key advantage of making an easy yeast rye bread with instant yeast.
Step 5: Shaping the Dough
Once the dough has completed its first rise, gently turn it out onto a lightly floured surface. Deflate the dough by gently pressing down on it. Shape the dough into your desired loaf shape, typically a round boule or an oval batard. To shape, gently fold the edges of the dough towards the center, then flip it over and cup your hands around it, gently pulling it towards you to create surface tension.
Avoid adding too much extra flour during shaping, as this can result in a dry crust. Work quickly and confidently. The shaped loaf is now ready for its final proofing stage before baking.
Step 6: Second Rise - Achieving Optimal Volume
Prepare a baking sheet lined with parchment paper or a proofing basket dusted with flour (a mix of rice flour and wheat flour works well for baskets to prevent sticking). Carefully transfer your shaped loaf to the prepared surface. Cover the loaf loosely with plastic wrap or a light kitchen towel.
Allow the loaf to proof for another 30 to 45 minutes, or until it looks visibly puffy and has increased in size by about 50-75%. It won't necessarily double again, but it should feel light and airy when gently poked (the indentation should spring back slowly). This second rise is crucial for achieving good volume and a tender crumb in your quick yeast rye bread.
Step 7: Baking Your Rye Bread Loaf
Preheat your oven to a temperature suitable for bread baking, typically between 375°F and 400°F (190°C to 200°C). If using a baking stone or steel, place it in the oven while it preheats. For a crispier crust, you can create steam in the oven by placing a tray of hot water on the rack below your bread or by spraying the oven walls with water at the start of baking.
Carefully transfer the proofed loaf (on its parchment paper or from the basket onto the stone) to the hot oven. Bake for approximately 30 to 45 minutes. The baking time will vary depending on your oven and the size of the loaf. The bread is done when the crust is a deep golden brown and the internal temperature reaches around 200-210°F (93-99°C) when checked with an instant-read thermometer.
Tips for Perfecting Your Quick Rye Bread
Achieving a Crisp Crust
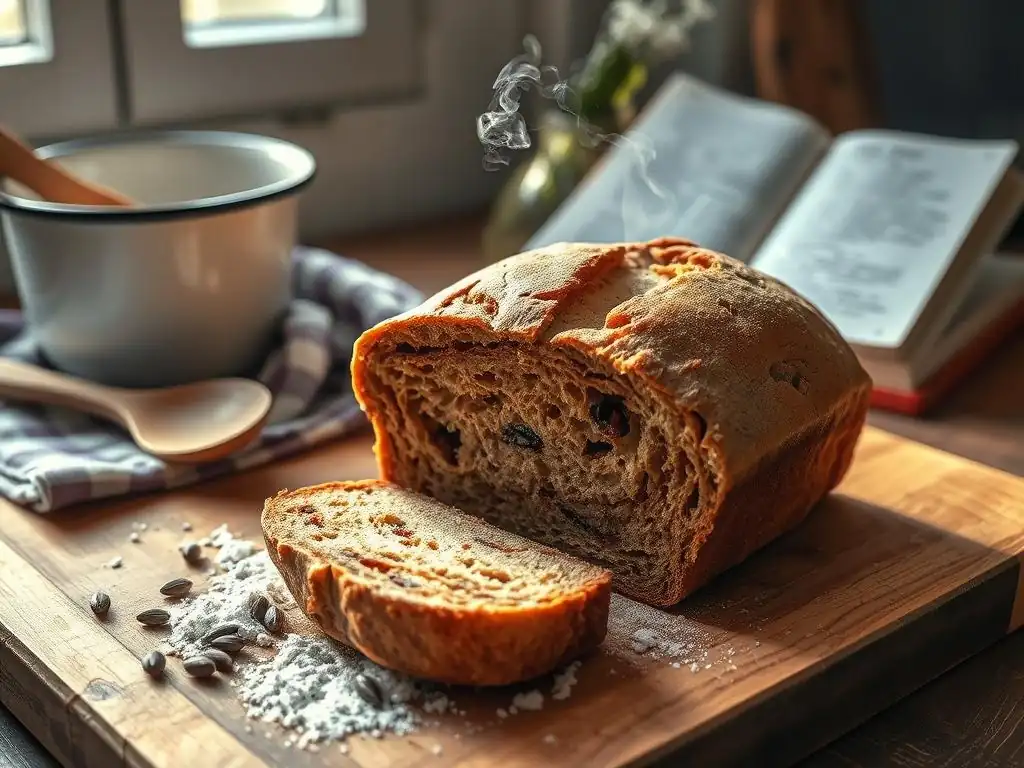
A crisp crust adds wonderful texture to your easy yeast rye bread. One effective method is baking on a preheated baking stone or steel, which transfers heat quickly to the base of the loaf, promoting a good oven spring and crust development. Another key is creating steam in the oven during the initial part of the bake (the first 10-15 minutes).
You can create steam by placing a pan of hot water on the rack below your bread, or by carefully pouring a cup of hot water into a cast-iron pan placed on the bottom rack just before you put the bread in. The steam keeps the surface of the dough moist, allowing it to expand fully before the crust sets, resulting in a thinner, crispier crust. Removing the steam source for the last 10-15 minutes of baking helps the crust dry out and crisp up further.
Troubleshooting Sticky Dough
Rye dough is inherently stickier than pure wheat dough due to the properties of rye flour. If your dough feels excessively sticky and difficult to handle during kneading or shaping, resist the urge to add large amounts of extra flour. Adding too much flour will result in a dry, dense loaf.
Instead, try wetting your hands slightly with water or oil, or using a bench scraper to help you handle the dough. A light dusting of flour on your work surface is fine, but use it sparingly. If kneading by hand, a "stretch and fold" technique can be less messy than traditional kneading. If using a mixer, ensure you've kneaded long enough to develop some gluten structure, which helps the dough become slightly less sticky. Remember, a slightly sticky dough is normal for this easy yeast rye bread recipe.
Variations: Adding Onion Flakes or Other Seeds
This quick yeast rye bread recipe is wonderfully adaptable. While caraway seeds are classic, you can easily customize your loaf with other additions. Consider adding about 1-2 tablespoons of dried onion flakes to the dough along with the dry ingredients for a savory, onion-rye flavor profile, reminiscent of deli-style rye.
Other seeds work well too. Try incorporating a mix of poppy seeds, sesame seeds, or sunflower seeds into the dough or sprinkling them on top before baking. About 1-3 tablespoons of mixed seeds can add extra texture and nutty flavor. Simply stir them in during the initial mixing phase or knead them in towards the end of the kneading process. These variations make your easy yeast rye bread even more exciting.
Serving and Storing Your Freshly Baked Rye Bread
Serving Suggestions: Sandwiches and More
Once your quick yeast rye bread is baked to perfection and has cooled completely on a wire rack (cooling is crucial for texture! ), it's ready to be enjoyed. This hearty loaf is incredibly versatile. It makes an excellent base for classic sandwiches, pairing beautifully with pastrami, corned beef, or smoked salmon.
Consider serving slices toasted with butter, cream cheese, or your favorite jam. It's also fantastic alongside soups, stews, or salads. The robust flavor of this easy yeast rye bread holds up well to strong pairings. Don't forget to slice it with a serrated knife for clean cuts.
Storing for Optimal Freshness
Proper storage will help keep your quick rye bread fresh for several days. Once completely cooled, store the loaf at room temperature. Avoid refrigerating bread, as this can actually cause it to stale faster.
The best way to store homemade bread is loosely wrapped in a linen bread bag or placed in a paper bag inside a bread bin. For longer storage, you can slice the cooled loaf and freeze the slices in an airtight freezer bag. Frozen slices can be toasted directly from the freezer, offering a taste of fresh-baked easy yeast rye bread anytime you like for up to a few months.
Frequently Asked Questions
How is this Quick Yeast Rye Bread different from traditional rye bread?
This recipe focuses on speed and simplicity using a higher yeast ratio and a shorter fermentation process. Traditional rye bread often involves longer fermentation times for a more complex flavor.
What if I don't have caraway seeds? Can I still make the Easy Yeast Rye Bread?
Yes, you can! Caraway seeds are optional. Their absence will alter the flavor profile slightly, but the bread will still be delicious and rye-flavored.
Can I use a different type of flour besides rye flour?
While this recipe is designed for rye flour, you can substitute a portion with whole wheat flour. However, using only all-purpose flour will result in a different texture and flavor.
What's the best way to store this Quick Yeast Rye Bread?
Wrap the bread tightly in plastic wrap or place it in an airtight container at room temperature. This will help maintain its freshness and moisture.
How can I tell if my Easy Yeast Rye Bread is fully baked?
The bread is done when it sounds hollow when tapped on the bottom and the internal temperature reaches around 200-210°F. A golden brown crust is another good indicator.
Final Reflection: The Unexpected Joy of a Speedy Rye
The ease of making delicious bread shouldn't be a myth, and this recipe proves it. Quick yeast rye bread, once considered a culinary challenge, is now accessible to everyone, thanks to simplified techniques and readily available ingredients. This accessibility democratizes the joy of baking, bringing the comforting aroma and satisfying taste of homemade bread to more kitchens than ever before.
The impact of this simple recipe extends beyond just a quicker baking time; it's about reclaiming the pleasure of creating something nourishing and delicious from scratch. It's a small act of rebellion against the convenience food culture, a quiet affirmation of the power of simple ingredients transformed by human hands. Bread is the staff of life,
they say, and this recipe makes that staff surprisingly easy to grasp. It's a reminder that even in our fast-paced world, taking the time to bake – even a quick loaf – can be a deeply rewarding experience.
Now, I invite you to consider your own relationship with baking. Perhaps this recipe will inspire you to try other quick bread variations, or maybe it will encourage you to explore the world of sourdough or other more complex baking techniques. Whatever your next step, remember the joy found in creating something delicious and nourishing with your own hands. Don't be intimidated by the kitchen; embrace the process, and savor the results. The world needs more homemade bread, and you might just be the baker to provide it.
Unleash Your Inner Baker: Bake This Rye Today!
Thanks for taking the time to explore the world of quick yeast rye bread with us! We hope you now feel confident and excited about tackling this delicious recipe. Ready to get baking?
- Bake your own loaf: Follow the recipe and experience the incredible aroma and satisfying texture of freshly baked rye. This is your chance to impress yourself (and maybe others!)
- Share your creation: Post a picture of your rye bread masterpiece on social media and tag us @BakeWithEase – we'd love to see your results!
- Experiment with flavors: Try adding caraway seeds, sunflower seeds, or even a touch of honey to personalize your next loaf. What unique twist will you add?
Ready to transform your kitchen into a fragrant bakery? Let's see those rye loaves!