
Easy Graham Cracker Crust Recipe for Cream Pies

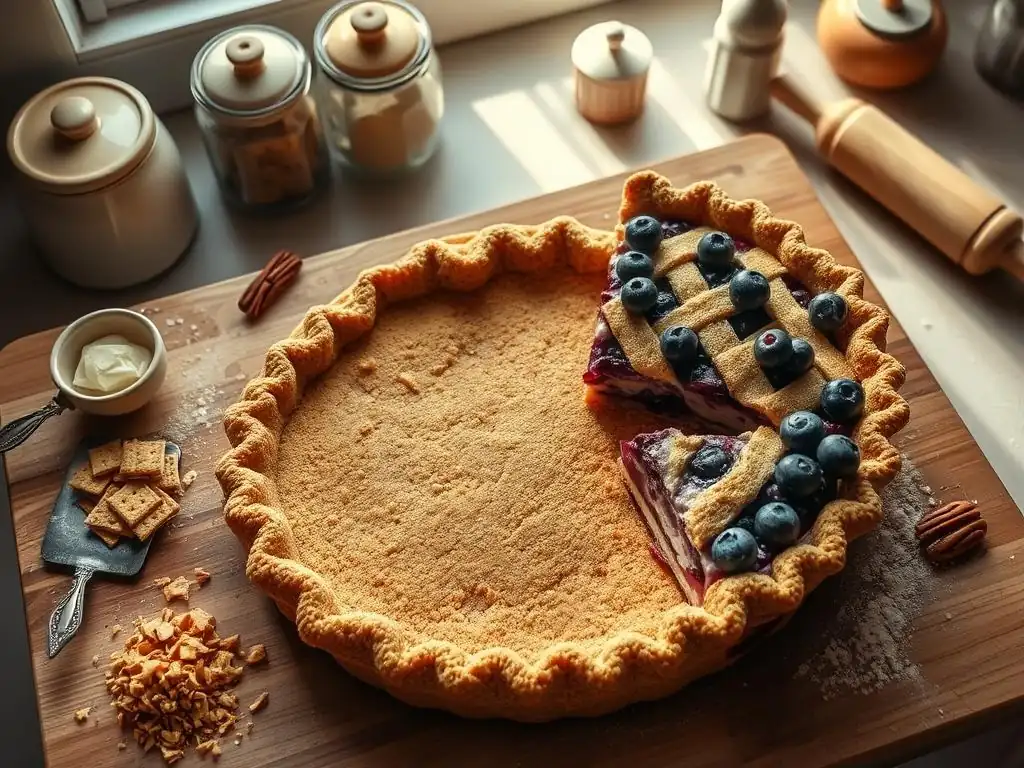
Welcome to BakeWithEase, your partner in conquering the kitchen, one delicious bake at a time! Ever dream of a perfect, no-fuss pie crust that's ready in minutes? You're in the right place. Today, we're diving into the secrets of an easy graham cracker pie crust, a foundational skill for any baker. But is it really as simple as it sounds? Let's find out!
- Introduction to the Perfect Graham Cracker Pie Crust
- Ingredients for an Easy Graham Cracker Pie Crust
- Step-by-Step Instructions: Making Your Graham Cracker Crust
- Baking the Graham Cracker Crust: Tips for a Golden Finish
- No-Bake Graham Cracker Crust: A Quick and Easy Alternative
- Troubleshooting Your Graham Cracker Pie Crust
- Storing Your Graham Cracker Pie Crust
- Cream Pie Filling Ideas for Your Graham Cracker Crust
- Conclusion: Enjoy Your Homemade Graham Cracker Crust
-
Frequently Asked Questions
- How do I make sure my graham cracker crust doesn't crumble when I cut the pie?
- Can I use a different type of cookie instead of graham crackers?
- What is the best way to prevent my graham cracker crust from getting soggy?
- How long should I bake my graham cracker crust if I choose to bake it?
- Can I make a graham cracker crust without any sugar?
- Final Reflection: The Simple Joy of a Perfect Crust
- Unleash Your Inner Pie-Maker!
Introduction to the Perfect Graham Cracker Pie Crust
Why Choose a Graham Cracker Crust for Your Cream Pie?
An easy graham cracker pie crust is often the preferred base for many beloved cream pies and no-bake desserts. Its inherent sweetness and slightly crisp texture provide a wonderful contrast to smooth, rich fillings like chocolate, banana, or coconut cream. Unlike traditional pastry crusts that require careful handling, chilling, and rolling, a graham cracker crust comes together quickly with minimal fuss, making it an excellent choice for busy bakers or beginners. It offers a consistent result that's hard to mess up, ensuring a reliable foundation for your dessert creations.
Beyond its ease of preparation, this simple graham cracker crust recipe offers a unique flavor profile that complements creamy fillings beautifully. The toasted notes of the graham crackers, combined with butter and sugar, create a comforting and familiar taste that evokes classic American desserts. This makes it a versatile base suitable for a wide range of flavors, from bright citrus fillings to deep, decadent chocolate ganaches. It's a shortcut to deliciousness that doesn't sacrifice flavor or texture.
Achieving a Simple and Delicious Crust
Creating a delicious and easy graham cracker pie crust is remarkably straightforward, requiring just a few common ingredients and minimal technique. The key lies in the ratio of graham cracker crumbs to butter and sugar, ensuring the crust holds together without being greasy or too crumbly. A standard recipe often calls for about 1 ½ cups of fine graham cracker crumbs, combined with around 6 tablespoons of melted butter and 2-4 tablespoons of sugar. This simple blend, when pressed firmly into a pie plate, forms a sturdy yet tender base.
The beauty of this easy graham cracker pie crust is its adaptability. You can achieve a perfectly set crust through either baking or simply chilling. Baking for a short period, typically 10-12 minutes, at a moderate temperature like 350°F (175°C) gives the crust a slightly toasted flavor and a firmer structure. Alternatively, chilling the crust in the refrigerator for at least an hour allows the butter to solidify, binding the crumbs together for a no-bake option perfect for delicate fillings. Both methods result in a delightful crust ready to be filled.
Ingredients for an Easy Graham Cracker Pie Crust
What You Need: Graham Crackers, Butter, and Sugar
The foundation of any easy graham cracker pie crust rests upon three primary ingredients: graham crackers, butter, and sugar. For the graham crackers, you'll need enough to yield about 1 ½ cups of fine crumbs, which typically translates to around 10-12 full sheets of graham crackers (depending on the brand). These are easily crushed using a food processor or by placing them in a zip-top bag and crushing them with a rolling pin. The goal is a fine, sandy texture without large chunks.
Melted butter is the binder that holds the graham cracker crumbs together. Unsalted butter is generally preferred so you can control the salt level, but salted butter works too, just adjust any added salt if necessary. You'll need approximately 6-8 tablespoons of melted butter. This amount ensures the crumbs are adequately moistened to press into a cohesive crust. Granulated sugar adds sweetness and helps with browning if baking. About 2 to 4 tablespoons is standard, but you can adjust this slightly based on your preference and the sweetness of your filling.
Ingredient Substitutions for Dietary Needs
One advantage of an easy graham cracker pie crust is its flexibility for dietary adjustments. For those needing a gluten-free option, many brands now offer gluten-free graham crackers that can be substituted cup-for-cup for traditional ones. Simply ensure the texture is fine after crushing. This allows individuals with gluten sensitivities to enjoy delicious cream pies with a homemade crust.
Dairy-free alternatives can also be easily incorporated. Instead of dairy butter, use a plant-based butter substitute. Look for stick-style vegan butter, as it behaves similarly to dairy butter when melted and chilled. The amount needed remains roughly the same, about 6-8 tablespoons melted. These simple swaps ensure that a delicious, easy graham cracker pie crust is accessible to a wider range of dietary needs without compromising on taste or texture.
Step-by-Step Instructions: Making Your Graham Cracker Crust
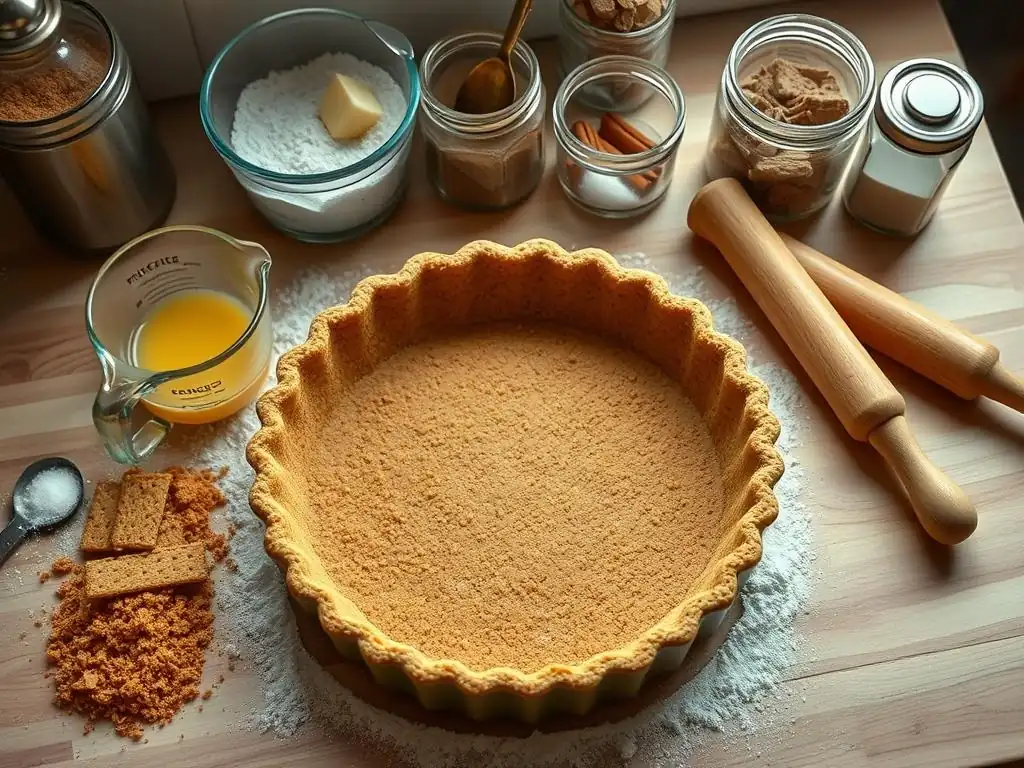
Preparing the Graham Cracker Crumbs: The Foundation of Your Crust
The first step in making your easy graham cracker pie crust is transforming the graham crackers into fine crumbs. The most efficient method is using a food processor. Simply break the graham cracker sheets into smaller pieces and pulse until they form a fine, sand-like consistency. Avoid over-processing into a powder; a slight texture is desirable. Measure out the required amount, typically 1 ½ cups, ensuring it's lightly spooned into the measuring cup rather than packed.
If you don't have a food processor, the old-fashioned bag-and-rolling-pin method works perfectly. Place the graham cracker sheets in a sturdy zip-top plastic bag, seal it tightly, removing excess air, and use a rolling pin to crush them. Roll firmly over the bag until all the crackers are reduced to fine crumbs. This method might take a little more effort, but it's very effective and ensures you get the right texture for your simple graham cracker crust.
Combining the Ingredients: Achieving the Perfect Consistency
Once you have your fine graham cracker crumbs, transfer them to a medium-sized bowl. Add the granulated sugar (2-4 tablespoons) and a pinch of salt, if desired, especially if using unsalted butter. Whisk these dry ingredients together briefly to distribute the sugar evenly throughout the crumbs. This ensures consistent sweetness in every bite of your easy graham cracker pie crust.
Next, pour the melted butter (6-8 tablespoons) over the crumb mixture. Use a fork or a spatula to stir and mix the ingredients until the crumbs are evenly moistened and resemble wet sand. The mixture should clump together when you squeeze a handful. If it seems too dry, add a little more melted butter, one tablespoon at a time, until the desired consistency is reached. This step is crucial for ensuring the crust holds its shape when pressed into the pie plate.
Pressing the Crust: Creating a Firm and Even Base
Transfer the moistened graham cracker crumb mixture into your pie plate. An 8-inch or 9-inch pie plate works well for the amounts specified. Begin by distributing the crumbs relatively evenly across the bottom and up the sides of the plate. The key to a sturdy easy graham cracker pie crust is firm and consistent pressure.
Use the bottom of a flat-bottomed glass or measuring cup to press the crumbs firmly and evenly onto the bottom and up the sides of the pie plate. Pay special attention to the edge where the bottom meets the sides, pressing firmly to create a defined rim. This ensures the crust doesn't crumble when sliced. Continue pressing until the entire surface is smooth and compact. This firm base is essential whether you plan to bake or chill your simple graham cracker crust.
Baking or No-Bake? Choosing Your Method
You have two primary options after pressing your easy graham cracker pie crust: baking or chilling. Baking the crust provides a slightly toasted flavor, a firmer texture, and helps prevent a soggy bottom, especially for fillings that are liquid or require baking. Baking is typically done for a short time, around 10-12 minutes, at 350°F (175°C).
Alternatively, you can opt for a no-bake approach, which is ideal for no-bake fillings like pudding, mousse, or ice cream. For a no-bake crust, simply place the pressed crust in the refrigerator for at least 1 hour, or preferably in the freezer for 20-30 minutes, until the butter solidifies and sets the crust. Both methods result in a usable crust, allowing you to choose the one that best suits your filling and time constraints for your easy graham cracker pie crust.
Baking the Graham Cracker Crust: Tips for a Golden Finish
Oven Temperature and Baking Time for Optimal Results
To achieve a perfectly baked, easy graham cracker pie crust with a lovely golden hue and firm texture, preheat your oven to 350°F (175°C). This moderate temperature is sufficient to toast the crumbs and set the butter without burning the sugar. Place the pressed crust on a baking sheet (this makes it easier to handle and catches any potential drips) and bake for approximately 10 to 12 minutes.
During the baking time, keep an eye on the edges of the crust. They should just begin to turn a light golden brown and the center should appear set. Over-baking can lead to a hard or burnt crust, while under-baking may result in a fragile crust that crumbles easily. Once baked, remove the crust from the oven and let it cool completely on a wire rack before adding your filling. Cooling allows the crust to firm up properly.
Preventing a Soggy Crust: Pro Tips
A common issue with graham cracker crusts, especially when filled with moist ingredients, is sogginess. Baking your easy graham cracker pie crust is the primary defense against this. The heat sets the crumbs and creates a barrier. However, for very wet fillings, you can take extra precautions.
Pro Tip:
Baking the crust for the recommended 10-12 minutes until lightly golden is the most effective way to prevent sogginess. Additionally, ensure the crust is completely cool before adding your filling. For fillings that require baking within the crust (like some baked custards), baking the crust partially (par-baking) for about 8 minutes first can help create a protective layer. Applying a thin layer of melted chocolate or a food-grade glaze to the inside of the cooled, baked crust can also create a moisture barrier, though this adds an extra step and ingredient.
No-Bake Graham Cracker Crust: A Quick and Easy Alternative
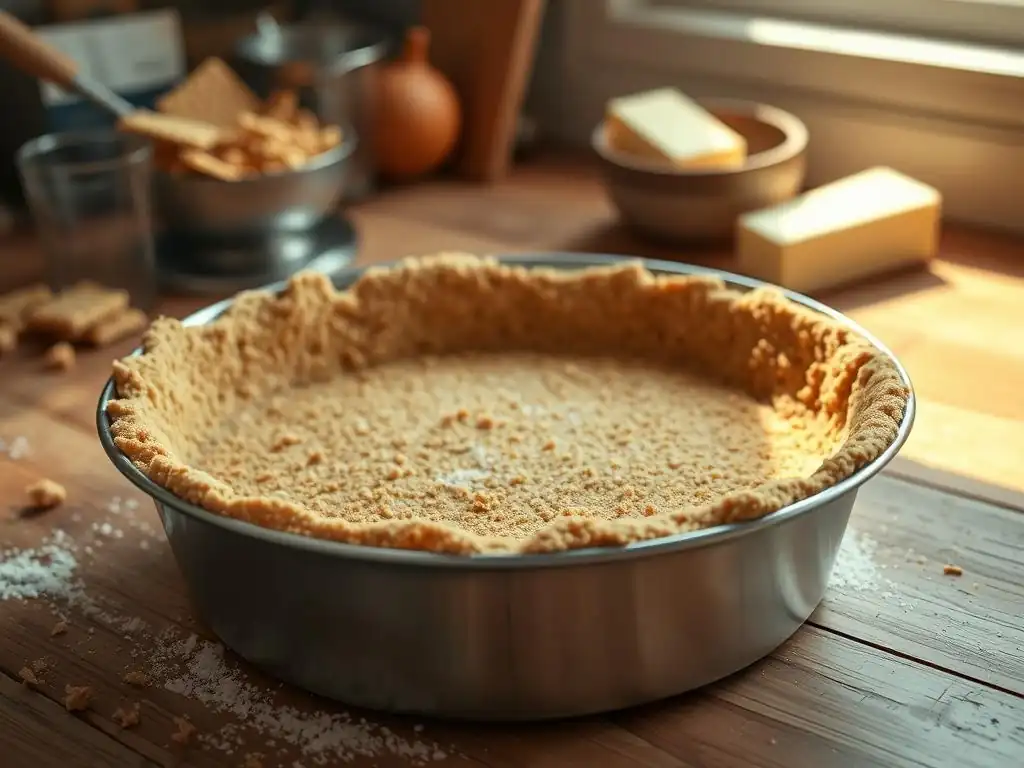
Chilling Time for a Firm No-Bake Crust
Opting for a no-bake easy graham cracker pie crust is a fantastic time-saver, especially for fillings that don't require oven time. After pressing the crumb mixture firmly into the pie plate, the key to setting the crust is sufficient chilling. The melted butter needs time to solidify and bind the crumbs together into a stable base.
Place the pressed crust in the refrigerator for a minimum of 1 hour. For best results and a truly firm crust, chill it for at least 2-3 hours, or even overnight. If you're in a hurry, placing the crust in the freezer for 20-30 minutes can speed up the process significantly. You'll know the crust is ready when it feels firm to the touch and holds its shape when the plate is gently tilted. This simple graham cracker crust is then ready for its filling.
No-Bake Variations: Adding Flavor and Texture
While the classic no-bake easy graham cracker pie crust is delicious on its own, you can easily introduce variations to enhance its flavor and texture. Consider adding a teaspoon of ground cinnamon or a pinch of nutmeg to the dry crumb mixture before adding the butter for a warm, spiced note that pairs well with apple or pumpkin cream fillings.
For added texture and flavor, you could incorporate finely chopped nuts like pecans or walnuts into the crumb mixture (about ¼ cup). Another popular variation is to use different types of cookies instead of graham crackers, such as vanilla wafers, chocolate wafers, or even shortbread cookies, crushed into fine crumbs. Each substitution creates a unique simple graham cracker crust variation perfect for different dessert profiles.
Troubleshooting Your Graham Cracker Pie Crust
Common Problems and Solutions
Even an easy graham cracker pie crust can occasionally present challenges. Two of the most common issues are the crust being too crumbly or becoming soggy. Understanding the causes and simple fixes can help you achieve a perfect crust every time. Don't be discouraged if your first attempt isn't flawless; baking is a learning process, and these are easily remedied.
Other less frequent issues might include the crust being too hard (often due to over-baking or using too little butter) or sticking to the pie plate (usually resolved by ensuring the plate is clean and the crust is pressed firmly). Identifying the specific problem is the first step towards a successful easy graham cracker pie crust.
Dealing with a Crumbly Crust
A crumbly easy graham cracker pie crust typically indicates insufficient binder. This usually means there wasn't enough melted butter relative to the amount of graham cracker crumbs. If your pressed crust feels dry and falls apart easily before baking or chilling, you can often fix it.
Gently break up the crust back into crumbs in the pie plate. Melt another tablespoon or two of butter and drizzle it over the crumbs. Mix it in thoroughly with a fork until the crumbs are uniformly moistened and clump together when squeezed. Then, re-press the mixture firmly into the pie plate. If you've already baked or chilled the crust and it's crumbly when you try to fill it, unfortunately, it's harder to fix. It might be best to use it as a topping or make a new, simple graham cracker crust.
Fixing a Soggy Crust
Preventing a soggy easy graham cracker pie crust is easier than fixing one. As mentioned, baking the crust is the primary defense. However, if you've used a no-bake method or a very wet filling, and your crust has become soggy, options are limited.
If the sogginess is minor and concentrated in the center, sometimes a brief stint in a warm oven (around 300°F or 150°C) for 5-10 minutes can help dry it out slightly, but be careful not to melt the filling. For baked fillings, ensuring the filling is fully set helps prevent moisture from seeping into the crust. In many cases, if the crust is significantly soggy, it might be beyond saving for a perfect slice. For future pies, focus on prevention: bake the crust or use a moisture barrier.
Storing Your Graham Cracker Pie Crust
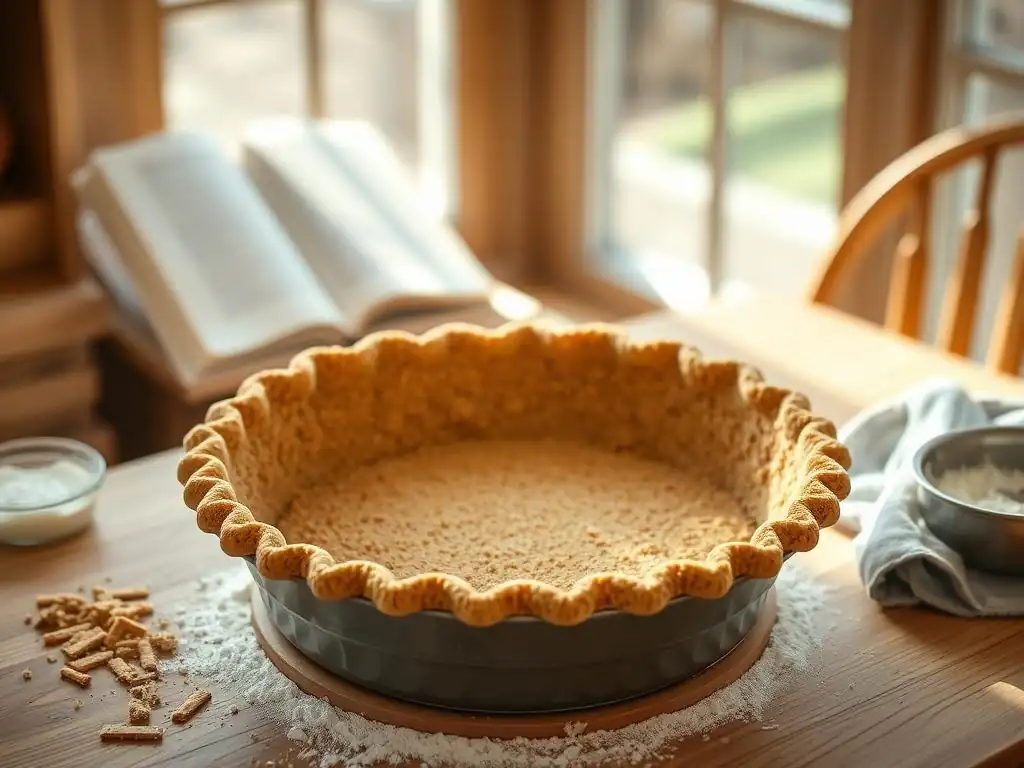
How to Keep Your Crust Fresh
Once your easy graham cracker pie crust is baked and cooled, or fully chilled (if no-bake), you can store it before adding the filling. To keep the unfilled crust fresh, cover it tightly with plastic wrap or aluminum foil. This protects it from absorbing odors from the refrigerator and keeps it from drying out.
Store the covered crust in the refrigerator for up to 2-3 days. This is a great way to prepare components of your dessert in advance, saving time on the day you plan to assemble and serve your cream pie. Ensure the covering is snug to maintain the crust's texture and prevent it from becoming stale.
Freezing the Crust
You can also freeze an unfilled, baked or no-bake easy graham cracker pie crust for longer storage. Once the crust is completely cool (if baked) or fully set (if no-bake), wrap the pie plate containing the crust very tightly with several layers of plastic wrap, followed by a layer of aluminum foil or placed in a large freezer bag. This prevents freezer burn.
Frozen graham cracker crusts can be stored for up to 1-2 months. When you're ready to use it, thaw the wrapped crust in the refrigerator overnight. Do not thaw at room temperature, as condensation can make the crust soggy. Once thawed, the simple graham cracker crust is ready to be filled with your favorite cream pie filling.
Cream Pie Filling Ideas for Your Graham Cracker Crust
Complementary Fillings: The Best Cream Pies to Make
An easy graham cracker pie crust is incredibly versatile and pairs wonderfully with a variety of cream and custard fillings. Its sweet, slightly crunchy profile provides an excellent contrast to smooth, rich textures. Some of the best fillings to complement this simple graham cracker crust include those that are creamy, pudding-based, or mousse-like. Think of fillings that don't require extensive baking within the crust, as the crust itself is already set.
Consider fillings like classic vanilla or chocolate pudding, light and airy fruit mousses (such as strawberry or lemon), or even simple whipped cream and fresh fruit assemblages. The sturdy nature of a baked or well-chilled easy graham cracker pie crust holds up well to these types of fillings, allowing clean slices.
Classic Combinations: Chocolate, Coconut, and Banana Cream Pie
Some of the most beloved cream pies traditionally use an easy graham cracker pie crust as their base.
- Chocolate Cream Pie: A rich, smooth chocolate pudding or ganache filling topped with whipped cream is a classic pairing. The slight saltiness often found in graham crackers enhances the deep chocolate flavor.
- Coconut Cream Pie: Creamy coconut pudding filled with shredded coconut, often topped with whipped cream and toasted coconut flakes, finds a perfect home in this simple graham cracker crust. The tropical flavors are beautifully complemented by the crust's sweetness.
- Banana Cream Pie: Layers of sliced bananas, smooth vanilla or banana pudding, and whipped cream are traditionally nestled in a graham cracker crust. The soft texture of the bananas and pudding contrasts delightfully with the crust's gentle crunch.
These classic examples demonstrate how the simple graham cracker crust recipe is the ideal foundation for creating iconic, delicious cream pies.
Conclusion: Enjoy Your Homemade Graham Cracker Crust
Mastering the Art of the Perfect Pie Crust
Creating a delicious and easy graham cracker pie crust is a fundamental skill for anyone venturing into the world of cream pies and no-bake desserts. By following a simple ratio of graham cracker crumbs, butter, and sugar, and mastering the techniques of pressing and setting (either through baking or chilling), you can consistently produce a reliable and tasty crust. This simple graham cracker crust recipe serves as a versatile canvas for countless filling possibilities, from time-honored classics like chocolate and banana cream to innovative new creations.
Remember the key steps: fine crumbs, proper butter distribution, firm pressing, and adequate setting time. With a little practice, you'll find that making an easy graham cracker pie crust is not only simple but also incredibly rewarding, unlocking a world of delicious dessert opportunities. So go ahead, whip up this easy graham cracker pie crust, fill it with your favorite creamy delight, and enjoy the satisfaction of a homemade masterpiece!
Frequently Asked Questions
How do I make sure my graham cracker crust doesn't crumble when I cut the pie?
Making sure your crust doesn't crumble involves using the right ratio of ingredients and pressing the mixture firmly into the pie plate. Properly binding the graham cracker crumbs with melted butter and sugar is crucial. Also, chilling the crust before filling helps solidify it.
Yes, you can substitute other cookies, but the texture and flavor will change. Consider using vanilla wafers or digestive biscuits. Just ensure you adjust the sugar content depending on the sweetness of the substitute cookies.
What is the best way to prevent my graham cracker crust from getting soggy?
To prevent a soggy crust, consider blind baking it before adding the filling. You can also brush the cooled, baked crust with melted chocolate to create a moisture barrier.
How long should I bake my graham cracker crust if I choose to bake it?
If you're blind baking, bake the crust for about 8-10 minutes at 350°F (175°C). Watch closely and prevent the edges from burning. Pre-baking ensures a crispier crust.
Can I make a graham cracker crust without any sugar?
While possible, omitting the sugar will affect the crust's texture and binding. If you're avoiding sugar, consider using a sugar substitute suitable for baking or adding a small amount of natural sweetener like honey or maple syrup for cohesion.
Final Reflection: The Simple Joy of a Perfect Crust
The humble graham cracker crust, often overlooked, is the foundation of countless delicious cream pies, and mastering its simplicity unlocks a world of culinary creativity. A perfectly crisp, buttery crust elevates even the simplest filling, transforming a dessert from good to unforgettable. This ease of creation, coupled with its undeniable deliciousness, makes it a cornerstone of both novice and experienced bakers' repertoires.
The enduring appeal of the graham cracker crust lies not just in its taste, but in its accessibility. It's a recipe that invites participation, a blank canvas for personal expression through variations in sweetness, texture, and even the addition of spices. The satisfying crunch under the creamy filling is a sensory experience that transcends mere sustenance; it's a nostalgic comfort, a reminder of simpler times and shared moments around the dessert table. The best things in life are simple.
This sentiment rings particularly true when considering the uncomplicated pleasure derived from a perfectly executed graham cracker crust.
Now, I invite you to consider your own culinary journey. Will you embrace the simplicity of this recipe, experimenting with different spices or additions to personalize your crust? Will you share this joy with loved ones, creating memories around a homemade pie? The possibilities are as endless as your creativity. Don't just bake a pie; bake an experience. Let the simple joy of a perfect crust inspire you to create something truly special.
Unleash Your Inner Pie-Maker!
Thanks for joining us on this delicious journey into the world of graham cracker crusts! You've just learned how easy it is to create a perfect foundation for your favorite cream pies. Now it's time to put your newfound skills to the test!
- Bake your dream pie: Grab those graham crackers and whip up a batch of crusts today! Experiment with different flavor additions – cinnamon, cocoa powder, even a pinch of sea salt!
- Share your creation: Post a picture of your masterpiece on social media and tag us @BakeWithEase (imaginary social media handle). Let’s see those beautiful pies!
- Join our baking community: Head over to our comments section and share your tips, tricks, and favorite pie fillings. Let's build a delicious community together!
Ready to conquer the world of cream pies, one perfectly crispy crust at a time?