
How to Know Exactly When Your Custard is Cooked Perfectly

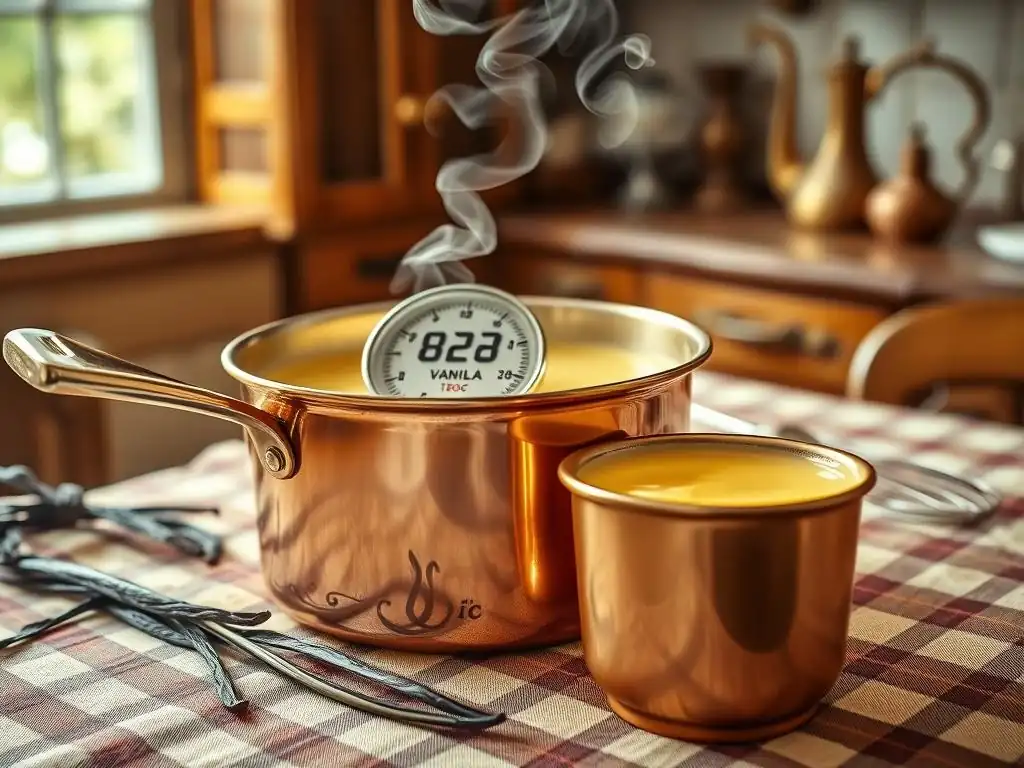
Welcome to BakeWithEase, your trusted companion on your baking journey! Ever wondered if there's a foolproof way to achieve perfectly cooked custard, avoiding that dreaded curdled texture? This guide is your answer! Dive in to discover our comprehensive perfect custard cooking temperature guide, revealing the secrets to creamy, decadent custard every single time. Are you ready to unlock the art of custard perfection?
- How to Know Exactly When Your Crème brûlée is Cooked Perfectly
- Pastry Perfection's Guide to Perfect Crème brûlée: Achieving the Ideal Cooking Temperature
- Mastering the Perfect Crème brûlée Cooking Temperature Guide
- Techniques for Checking Crème brûlée Doneness: Beyond Temperature Alone
- Troubleshooting Common Crème brûlée Cooking Problems
- Perfect Crème brûlée Recipes to Practice Your Skills
- Tips and Tricks for Consistently Perfect Crème brûlée
- Achieving Culinary Excellence: The Art of Perfect Crème brûlée
-
Frequently Asked Questions
- How does temperature relate to custard perfection?
- What's the ideal temperature range for cooking custard?
- What are the key indicators that my custard is cooked perfectly besides temperature?
- What happens if I overcook my custard?
- Are there different cooking temperature recommendations for different types of custard?
- Final Reflection: The Sweet Science of Perfect Custard
- Unlock the Secrets to Perfectly Cooked Custard!
How to Know Exactly When Your Crème brûlée is Cooked Perfectly
Pastry Perfection's Guide to Perfect Crème brûlée: Achieving the Ideal Cooking Temperature
What is Crème brûlée and Why is Temperature Control Crucial?
Crème brûlée is a classic French dessert renowned for its luxurious, creamy custard base and the satisfying crack of its caramelized sugar topping. At its heart, it's a simple mixture of egg yolks, sugar, cream (or milk), and flavorings like vanilla. However, achieving that signature silky-smooth texture in the custard requires precision, especially when it comes to applying heat. Unlike cakes or cookies where a little over or under-baking might be forgiving, custard is delicate, and slight temperature deviations can dramatically alter its final consistency. Mastering the perfect custard cooking temperature is paramount to success.
The delicate balance lies in the egg proteins. When heated, these proteins coagulate and form a network that thickens the liquid. If heated too gently or not long enough, this network won't form properly, leaving you with a runny dessert. Conversely, if heated too quickly or too high, the network tightens excessively, squeezing out moisture and resulting in a grainy, curdled texture. This is why understanding and controlling the temperature is the single most critical factor in creating a truly perfect Crème brûlée.
The Science Behind Crème brûlée Setting: Custard Formation and Thickening
The transformation of liquid ingredients into a set custard is a beautiful example of food science. Egg yolks contain proteins that are suspended in a liquid state. When these proteins are subjected to heat, they begin to unfold and bond with each other, a process called denaturation and coagulation. This creates a three-dimensional matrix that traps the surrounding liquid (the cream and milk). The result is the desired thickened, semi-solid structure we recognize as custard.
This protein coagulation happens gradually over a specific temperature range. For egg yolks, significant setting begins around 160°F (71°C). The goal is to heat the custard just enough for this network to become stable and firm without overheating the proteins, which would cause them to seize up and expel liquid. This is the core principle behind finding the optimal perfect custard cooking temperature.
Risks of Overcooked Crème brûlée: Avoid Scrambled Eggs Texture
Overcooking is a common pitfall when making Crème brûlée. If the custard is heated beyond its ideal temperature range, the protein network formed by the egg yolks becomes too tight. This excessive contraction forces liquid out of the protein matrix, leading to a broken, grainy, or curdled texture that is unpleasantly reminiscent of scrambled eggs. The smooth, velvety mouthfeel that defines a great Crème brûlée is lost.
For instance, heating the custard much above 185°F (85°C) will almost certainly result in noticeable curdling. This issue is particularly frustrating because, unlike some baking mistakes, it's very difficult, if not impossible, to fully salvage a significantly overcooked custard. Prevention through careful temperature monitoring using a perfect custard cooking temperature guide is key.
Risks of Undercooked Crème brûlée: Prevent a Watery Base
On the flip side, undercooking your Crème brûlée means the egg proteins haven't reached a sufficient temperature or held it long enough to form a stable, supportive network. The result is a custard that remains liquid or overly loose, failing to set properly even after chilling. You might find the edges are slightly set, but the center is still quite runny.
Removing the ramekins from the oven when the internal temperature is below approximately 165°F (74°C) will likely leave the center significantly undercooked. While chilling helps firm up custards, it cannot compensate for inadequate protein coagulation during the baking phase. A watery base is disappointing after the effort of preparation and highlights the necessity of accurately hitting the required perfect custard cooking temperature.
Mastering the Perfect Crème brûlée Cooking Temperature Guide
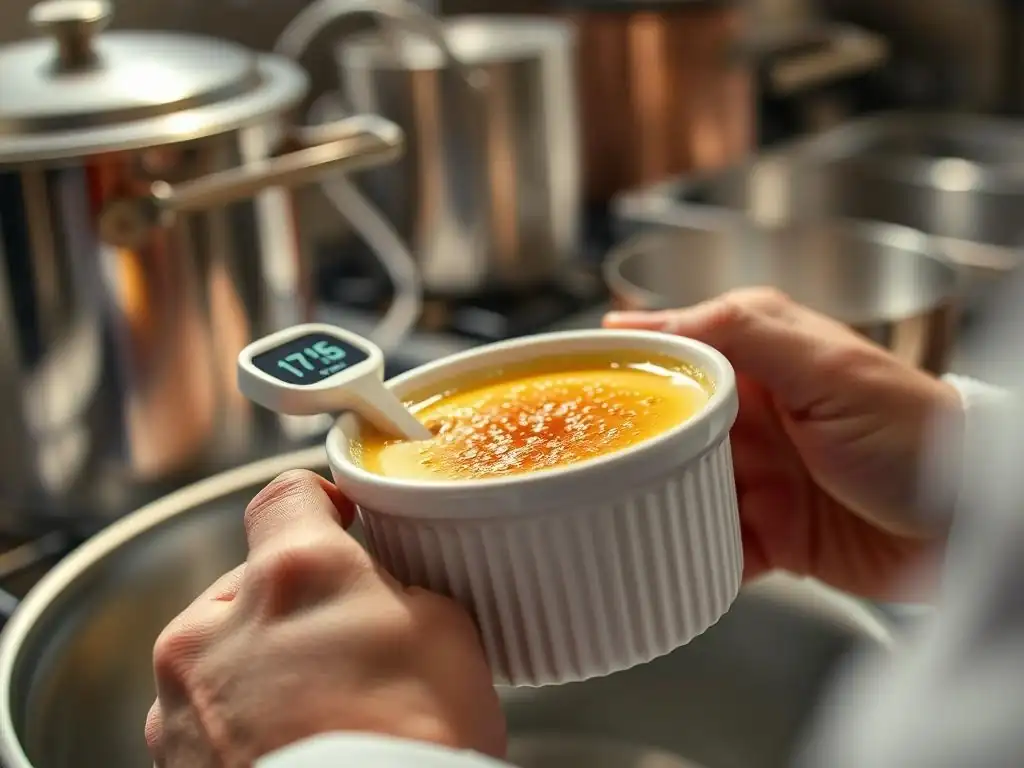
The Ideal Crème brûlée Cooking Temperature Range: [170-180°F (77-82°C)]
Based on the science of egg protein coagulation, the sweet spot for perfectly cooked Crème brûlée custard is an internal temperature range between 170°F and 180°F (77°C and 82°C). This range provides a reliable target that ensures the custard is fully set and stable without venturing into the danger zone where proteins begin to curdle. Achieving this precise internal temperature is the most accurate way to gauge doneness, far surpassing relying solely on visual cues or time.
Hitting 170°F (77°C) in the center indicates the egg proteins have coagulated sufficiently to set the custard. Allowing it to reach up to 180°F (82°C) offers a small buffer, accounting for potential variations in thermometer placement or residual heat, without significantly risking overcooking. This range is the core principle of any effective perfect custard cooking temperature guide and the secret to consistently smooth results.
Why This Temperature Range Works for Crème brûlée
This specific temperature window works because it aligns precisely with the optimal setting point for egg yolk proteins when combined with the rich liquids used in Crème brûlée. Below 170°F (77°C), the protein network is too weak, resulting in a runny custard. Above 180°F (82°C), the proteins start to seize up, leading to a grainy texture.
The use of a water bath (bain-marie), a technique almost universally recommended for Crème brûlée, is designed to help the custard reach this target temperature range gently and evenly. The water bath prevents the edges from cooking too quickly and creates a stable, humid environment that promotes uniform heat distribution throughout the custard, ensuring the entire mass reaches the perfect custard cooking temperature without hot spots.
Factors Affecting Crème brûlée Cooking Time: Dish Size & Oven Differences
While the target internal temperature remains constant, the time it takes to reach that temperature can vary significantly. One major factor is the size and depth of the ramekins or dishes you use. Shallower, wider dishes will heat more quickly than deeper, narrower ones, even if they hold the same volume of custard. Baking time charts in recipes are often based on standard ramekin sizes (typically 4-6 ounce capacity), so adjust expectations if using different dishes.
Oven calibration is another critical variable. Ovens are notoriously inaccurate, with actual temperatures often differing by 20-30°F (11-17°C) from the thermostat setting. Furthermore, convection ovens circulate air and cook faster and more evenly than conventional ovens. These variables underscore why relying on a perfect custard cooking temperature guide using a thermometer is far more reliable than strictly adhering to a recipe's suggested cooking time.
Techniques for Checking Crème brûlée Doneness: Beyond Temperature Alone
The Jiggle Test: Mastering the Gentle Shake Technique
The jiggle test is a classic method used by bakers to gauge the doneness of custards and cheesecakes. To perform it, gently nudge or shake the baking dish holding the ramekins (or carefully remove one ramekin to test). A properly cooked Crème brûlée will have edges that appear set and firm, while the center area, typically about 1 to 2 inches in diameter, will still have a slight, pudding-like jiggle. It should look like it's barely holding its shape, not sloshing like liquid.
If the entire surface jiggles freely, it's significantly undercooked and needs more time. If there is no jiggle at all and the surface looks completely firm and possibly cracked, it's likely overcooked. Mastering this visual and tactile cue complements the precision offered by a perfect custard cooking temperature guide, giving you a more complete picture of doneness.
The "Set Around the Edges" Test: Identifying the Right Consistency
Closely observing the surface of the custard provides another visual indicator of doneness. As the Crème brûlée bakes in its water bath, the heat penetrates from the outside in. This causes the custard to set around the perimeter first. You'll notice that the custard becomes opaque and appears firm around the edges, typically extending inward about an inch or two from the sides of the ramekin.
The center area, which is the last to heat up, will still appear slightly wetter or more translucent. This gradient from set edges to a slightly softer center is a strong sign that the custard is approaching its target internal temperature. When combined with a thermometer reading, this "set around the edges" test helps confirm that the heat has properly distributed throughout the custard, a key aspect of achieving the perfect custard cooking result.
Using a Thermometer: The Most Accurate Method for Perfect Crème brûlée
While visual and physical cues like the jiggle test are helpful, using a thermometer is the most reliable way to ensure your Crème brûlée is cooked to the perfect custard cooking temperature. A thermometer provides an objective measurement of the internal temperature, removing the guesswork associated with subjective visual or tactile tests. This is especially important given the narrow temperature window for perfect custard.
Measuring the internal temperature confirms that the egg proteins in the center – the last part to cook – have reached the point necessary for proper coagulation. Relying on a thermometer takes the uncertainty out of baking delicate custards and is the hallmark of a precise perfect custard cooking temperature guide.
Choosing the Right Thermometer for Crème brûlée Cooking
For checking the temperature of Crème brûlée, an instant-read digital thermometer is highly recommended. These thermometers provide quick, accurate readings, which is crucial because you want to avoid leaving the oven door open for too long or disturbing the delicate custard unnecessarily. Avoid old-fashioned candy thermometers, which are slow to register temperature changes and often too large for individual ramekins.
Look for a thermometer with a thin probe tip. A thin probe causes minimal disruption to the surface of the custard when inserted. Many kitchen thermometers designed for meats or liquids work well, as long as they are accurate in the target temperature range of 170-180°F (77-82°C).
How to Insert the Thermometer for an Accurate Reading
To get an accurate reading of your Crème brûlée's internal temperature, carefully insert the probe of your thermometer into the center of one of the custards. It's important to avoid letting the tip touch the bottom or sides of the ramekin, as these areas will be hotter than the center and give you an artificially high reading. Insert it about halfway down into the custard.
Checking the center is vital because it is the last part of the custard to reach the target temperature. If the center has reached the required perfect custard cooking temperature range, you can be confident that the rest of the custard is also properly cooked. Check a couple of different ramekins if you have many, just to be sure.
Interpreting Thermometer Readings: Knowing When to Stop
Once you insert the thermometer into the center of a Crème brûlée, wait a few seconds for the reading to stabilize. Your target is between 170°F and 180°F (77°C and 82°C). When the thermometer registers 170°F (77°C) in the center, the custard is technically set, and you can remove the ramekins from the oven. Keep in mind that residual heat will cause the temperature to rise slightly after they are removed.
If you're nervous about undercooking, waiting until the thermometer reads 175°F (79°C) is a safe bet. However, avoid letting the temperature climb much past 180°F (82°C). Once the thermometer hits 180°F, it's time to remove the custards promptly to prevent overcooking and maintain that smooth texture. Following this perfect custard cooking temperature guide ensures you stop cooking at the right moment.
Troubleshooting Common Crème brûlée Cooking Problems
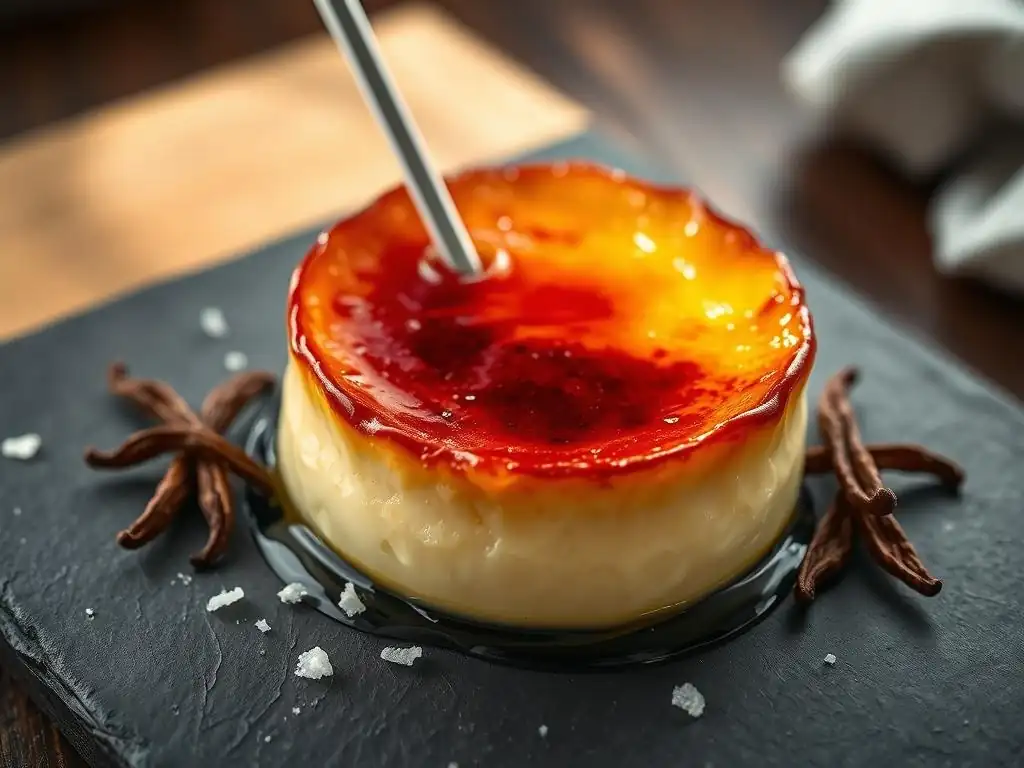
My Crème brûlée is Too Runny: Causes and Solutions
If your Crème brûlée remains too runny even after chilling, the most likely culprit is undercooking. The custard didn't reach the necessary internal temperature (170-180°F / 77-82°C) for the egg proteins to properly set. This can happen if the baking time was too short, the oven temperature was inaccurate (lower than set), or if you didn't use a water bath, leading to uneven cooking where the center never fully heated through.
To solve this next time, ensure you use a thermometer to check the internal temperature and bake until it reaches the target range following a perfect custard cooking temperature guide. Double-check your recipe's ratio of egg yolks to liquid – too much liquid or not enough yolks can also result in a weaker set. Finally, ensure you allow sufficient chilling time, ideally 4 hours or, even better, overnight, as chilling helps the custard firm up further.
My Crème brûlée is Curdled: Salvaging Overcooked Crème brûlée
A curdled Crème brûlée is typically a result of overcooking, where the custard was heated too high or for too long, causing the egg proteins to tighten excessively and expel liquid. This is often a consequence of not using a water bath, which helps regulate temperature, or failing to monitor the perfect custard cooking temperature accurately. The texture will appear grainy or separated.
Unfortunately, it's very difficult to fully reverse curdled custard. You can attempt to salvage it by carefully transferring the custard to a blender and blending until smooth, then straining it again. This might improve the texture slightly, but it often won't fully restore the silkiness of a perfectly cooked custard. The best approach is prevention: use a water bath and religiously check the internal temperature with a thermometer.
My Crème brûlée Has Bubbles: Prevention Techniques
Bubbles on the surface or within your Crème brûlée custard can detract from its smooth appearance. These are usually caused by incorporating too much air into the mixture during preparation. This can happen if you whisk the egg and sugar mixture too vigorously, creating a foamy texture, or if you pour the custard mixture into the ramekins from too high a distance, trapping air as it splashes in.
To prevent bubbles, mix your egg yolks and sugar gently with a whisk or even a spatula, just until combined and slightly thickened, not frothy. Always strain your custard mixture through a fine-mesh sieve (or even a double sieve) before pouring it into the ramekins; this catches any air bubbles. Pour the strained mixture slowly and as close to the surface of the ramekin as possible. Any tiny bubbles that remain on the surface can often be popped with the tip of a spoon or briefly zapped with a kitchen torch before baking.
Perfect Crème brûlée Recipes to Practice Your Skills
Pastry Perfection's Classic Vanilla Crème brûlée Recipe
A foundational recipe is the best place to start mastering the perfect custard cooking temperature. A typical classic vanilla Crème brûlée involves gently heating about 2 cups of heavy cream (sometimes with a little milk) with a split vanilla bean or vanilla extract. In a separate bowl, whisk together 6 to 8 egg yolks with about 1/2 cup of granulated sugar until just combined, not airy. The warm cream mixture is then slowly tempered into the egg mixture, whisking constantly.
The combined custard is then strained, poured into 4-6 ounce ramekins placed in a water bath, and baked in a preheated oven, usually around 325°F (160°C). The baking time can range from 30 to 45 minutes, but the definitive sign of doneness is when the center reaches 170-180°F (77-82°C) on your perfect custard cooking temperature guide. After baking, the ramekins are carefully removed from the water bath and chilled for at least 4 hours before brûléeing.
Lavender Infused Crème brûlée
Once you've mastered the classic, you can experiment with flavor infusions. Lavender-infused Crème brûlée adds a subtle, aromatic floral note. To make this variation, add about 1-2 teaspoons of culinary-grade dried lavender buds to the cream/milk mixture as it heats. Let it steep off the heat for about 15-20 minutes after warming to allow the flavor to infuse.
Strain the cream mixture thoroughly before proceeding with the rest of the classic Crème brûlée steps: tempering the eggs, combining, straining again, baking in a water bath to the perfect custard cooking temperature (170-180°F / 77-82°C), and chilling. The delicate lavender flavor pairs beautifully with the rich, creamy base.
Espresso Crème brûlée
For coffee lovers, Espresso Crème brûlée offers a rich, sophisticated twist. This can be achieved by dissolving instant espresso powder or adding very finely ground espresso beans to the cream/milk mixture as it heats. For instance, you might add 1-2 tablespoons of instant espresso powder per 2 cups of cream, adjusting to your desired strength. Steep and strain as with the lavender.
Alternatively, you can incorporate a small amount of very strong brewed espresso directly into the tempered egg mixture, reducing the amount of cream slightly to maintain the correct liquid ratio. Regardless of the method, the core technique remains the same: gentle heating, straining, baking in a water bath, and crucially, monitoring the internal temperature to ensure you hit that perfect custard cooking temperature range of 170-180°F (77-82°C) for a perfectly set custard with a delightful coffee kick.
Tips and Tricks for Consistently Perfect Crème brûlée
Using a Water Bath (Bain-Marie) for Even Cooking
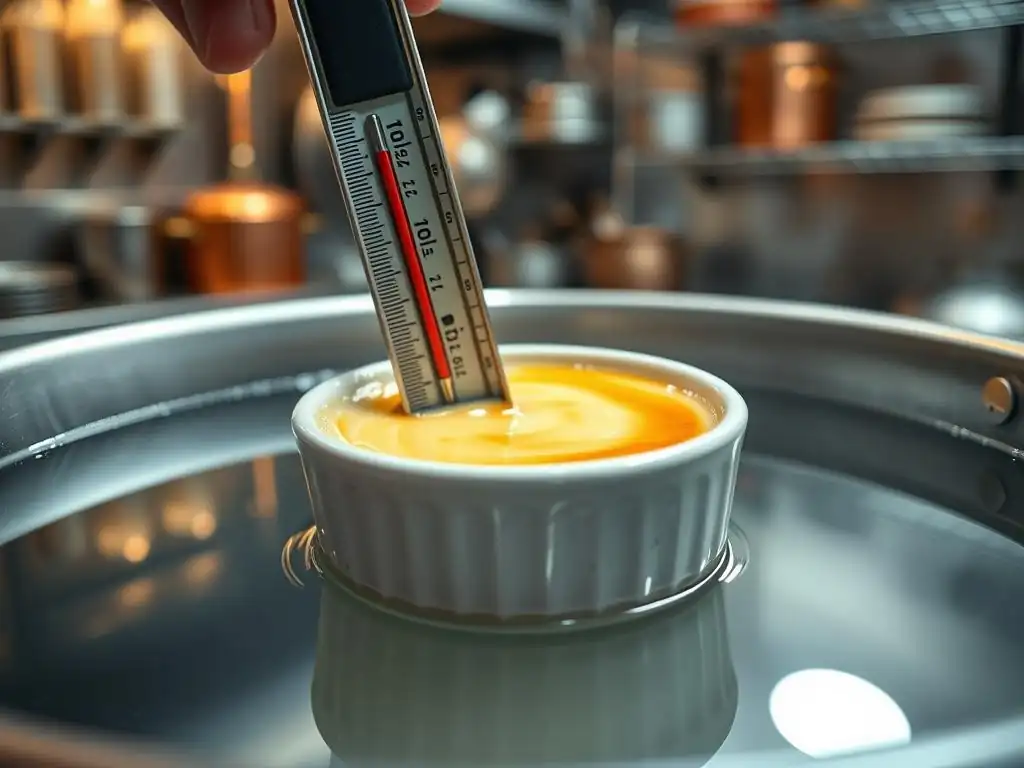
Employing a water bath, or bain-marie, is arguably the most important technique for achieving consistently perfect Crème brûlée. This method involves placing the ramekins filled with custard in a larger baking dish and filling the larger dish with hot water until it comes at least halfway, preferably two-thirds, up the sides of the ramekins. The water acts as an insulator, preventing the edges of the custard from cooking too quickly or becoming rubbery before the center is set.
The water bath also creates a humid environment in the oven, which helps prevent the surface of the custard from forming a skin or cracking. This gentle, even heat transfer is crucial for allowing the entire custard mass to slowly and uniformly reach the perfect custard cooking temperature range without localized overheating. Always pour the hot water into the baking dish after placing it in the oven to avoid spills while transferring.
Straining Your Crème brûlée for an Ultra-Smooth Texture
To ensure your Crème brûlée has that signature silky-smooth, lump-free texture, straining the custard mixture is a non-negotiable step. After you have combined the tempered egg mixture with the warm cream mixture, pour the entire liquid through a fine-mesh sieve into a clean bowl or pitcher.
This process removes any tiny bits of cooked egg that might have occurred during tempering, any undissolved sugar crystals, specks from vanilla beans or other infusions, and importantly, any air bubbles that were introduced during mixing. For the smoothest possible result, some bakers even strain the mixture twice. A perfectly smooth base is essential before baking to the perfect custard cooking temperature.
Chilling Your Crème brûlée Properly for Optimal Flavor and Consistency
Once your Crème brûlée has finished baking and reached the perfect custard cooking temperature (170-180°F / 77-82°C), it's critical to chill it thoroughly before adding the sugar crust and serving. Carefully remove the ramekins from the water bath and let them cool on a wire rack until they are just warm or at room temperature. Then, cover each ramekin tightly with plastic wrap (you can place the plastic wrap directly on the surface of the custard to prevent a skin from forming) and refrigerate.
A minimum chilling time of 4 hours is necessary, but chilling overnight is even better. During this time, the custard continues to set and firm up, achieving the ideal dense yet creamy consistency. Chilling also allows the flavors to meld and deepen. Attempting to brûlée a warm or insufficiently chilled Crème brûlée will result in a melted, messy disaster rather than a crisp, crackling sugar shell.
Achieving Culinary Excellence: The Art of Perfect Crème brûlée
Beyond the Basics: Exploring Advanced Crème brûlée Techniques
Once you've mastered the fundamental technique of making Crème brûlée and consistently hitting the perfect custard cooking temperature, you can explore more advanced variations. Experiment with different types of sugar for the brûlée crust – while granulated sugar is standard, turbinado or demerara sugar offer larger crystals and a slightly different caramelized flavor. You can also play with flavoring the custard itself beyond simple infusions; consider adding liqueurs, fruit purees, or even savory elements like foie gras (for a truly adventurous take! ).
For the brûléeing step, while a kitchen torch is the preferred tool for an even crust, you can experiment with using a broiler, though this requires extreme vigilance to avoid burning the sugar or overheating the custard. Some chefs also explore different methods of tempering or even cold-steeping flavorings into the cream mixture.
Perfect Crème brûlée Pairings: Serving Suggestions and Flavor Combinations
The classic accompaniment to Crème brûlée is fresh berries, particularly raspberries. Their slight tartness provides a wonderful contrast to the rich, sweet custard and crisp sugar crust. A simple dollop of lightly sweetened whipped cream can also enhance the experience.
For beverage pairings, Crème brûlée is often served with dessert wines like a late-harvest Sauvignon Blanc, a Sauternes, or a Moscato d'Asti, depending on the custard's flavor profile. Coffee or espresso also makes a natural partner, especially with espresso-flavored Crème brûlée. Consider how the flavor of your perfect custard cooking creation complements potential pairings – a citrus-infused custard might pair well with a citrusy liqueur, while a spice-infused version could match with a spiced tea or cider.
Frequently Asked Questions
How does temperature relate to custard perfection?
The perfect custard cooking temperature is crucial because too high a temperature results in a curdled or grainy texture. Aim for a gentle, even heat to achieve a smooth and creamy result.
What's the ideal temperature range for cooking custard?
Generally, custard should be cooked to an internal temperature between 170°F and 185°F (77°C and 85°C). This range ensures the custard sets without becoming overcooked.
What are the key indicators that my custard is cooked perfectly besides temperature?
Besides using a thermometer, look for the "coat the back of a spoon" test. The custard should be thick enough to leave a clear line when you run your finger through it.
What happens if I overcook my custard?
Overcooked custard will likely curdle and become grainy. While you might be able to salvage it with careful blending, prevention is always better with a thermometer.
Are there different cooking temperature recommendations for different types of custard?
While the general range remains similar, slight variations might exist depending on the specific recipe. Always consult the recipe for precise instructions and temperature guidelines.
Final Reflection: The Sweet Science of Perfect Custard
The pursuit of the perfect custard is more than just a culinary quest; it's a testament to the power of precision and patience in achieving culinary excellence. Understanding the exact temperature at which your custard reaches its ideal consistency isn't just about avoiding a curdled mess; it's about unlocking the full potential of this classic dessert, transforming it from a simple treat into a truly memorable experience. This understanding allows for consistent, reliable results, elevating home cooking to a new level of confidence.
The journey to mastering custard-making has profoundly impacted my own approach to cooking. It's taught me the importance of meticulous observation and the rewarding feeling of achieving a seemingly simple task with precision. The art of cooking is the art of mastering heat.
This quote, though not specifically about custard, perfectly encapsulates the core lesson learned throughout this guide: control over heat is paramount to success. The subtle shifts in texture and appearance as the custard cooks are a fascinating study in transformation, a reminder that even the smallest details can make all the difference.
Now, it's your turn. Don't just passively read these temperature guidelines; actively engage with them. Experiment, take notes, and most importantly, savor the creamy, luscious reward of a perfectly cooked custard. The journey to mastering this seemingly simple dessert is a journey of self-discovery in the kitchen, a testament to your dedication and a delicious reward for your efforts. Embrace the challenge, and let the sweet science of custard elevate your culinary skills to new heights.
Unlock the Secrets to Perfectly Cooked Custard!
Thanks for joining us on this creamy journey! You've now got the knowledge to conquer custard cooking and avoid those wobbly disappointments. Ready to put your newfound skills to the test?
- Master the custard test: Try the spoon-coating test on your next custard creation – you’ll be amazed at how easy it is to tell when it’s just right!
- Share your custard triumphs (or tales of woe!): Let’s build a community of custard experts! Share your experience and photos in the comments below.
- Experiment with flavors: Don't be afraid to get creative – what exciting new custard flavor combinations will you dream up?
What ingenious custard recipe will you create next?