
Decorating Cream Pies Like a Pro with Whipped Cream

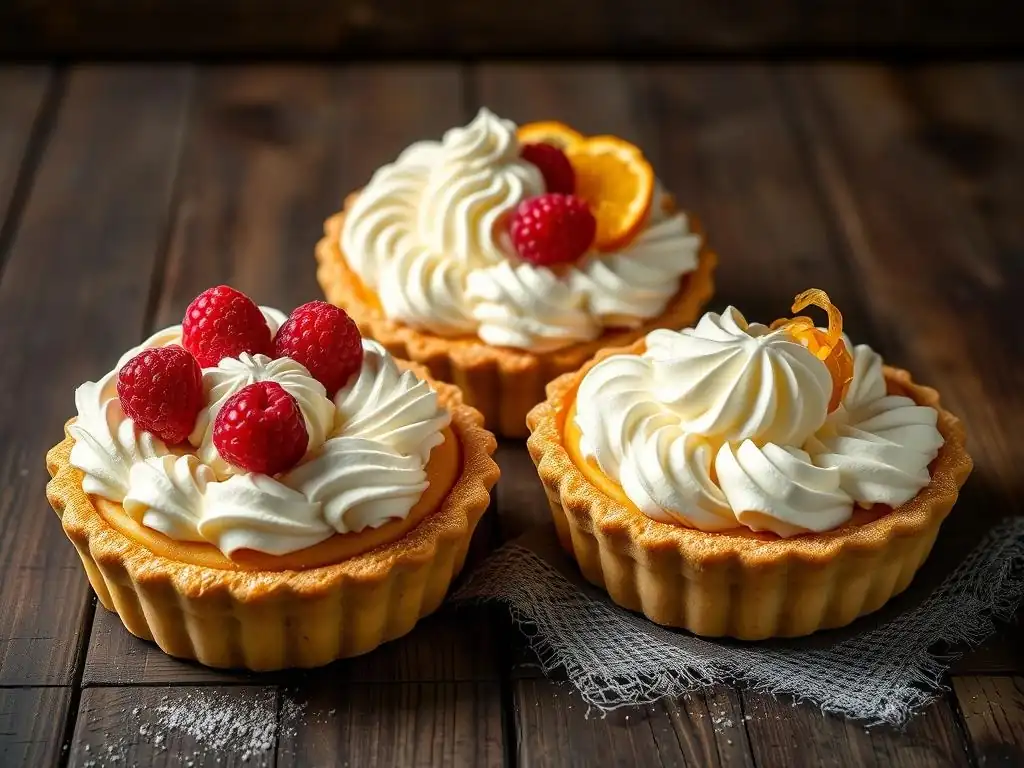
Welcome to BakeWithEase, your haven for all things baking! Ever dreamed of creating stunning desserts that look like they came straight from a patisserie? This week, we're diving into the surprisingly simple secrets of easy whipped cream pie decorating. Unlock the techniques to transform ordinary pies into extraordinary masterpieces and leave your guests utterly impressed. Intrigued? Keep reading to discover how!
- Decorating Cream Pies Like a Pro with Whipped Cream: BakeWithEase Guide
- Introduction to Whipped Cream Pie Decorating
- Essential Tools and Ingredients for Whipped Cream Pie Topping
- Preparing the Perfect Whipped Cream for Decorating
- Basic Whipped Cream Pie Decorating Techniques
- Intermediate Whipped Cream Pie Decorating Ideas
- Advanced Whipped Cream Pie Decoration Techniques
- Troubleshooting Common Whipped Cream Decorating Problems
- Whipped Cream Pie Decorating: Step-by-Step Tutorials
- Showcase of Stunning Whipped Cream Pie Decorations
- Storing and Serving Your Decorated Cream Pie
- Conclusion: Mastering Whipped Cream Pie Decorating with BakeWithEase
-
Frequently Asked Questions
- How can I achieve perfectly stiff whipped cream for pie decorating?
- What are some easy whipped cream pie decorating techniques for beginners?
- What kind of piping tips are best for decorating cream pies with whipped cream?
- How can I prevent my whipped cream from melting or weeping on my pie?
- What are some creative topping ideas to enhance a whipped cream decorated pie?
- Final Reflection: Mastering the Art of Effortless Elegance
- Unleash Your Inner Pastry Artist: Master Whipped Cream Decorating!
Decorating Cream Pies Like a Pro with Whipped Cream: BakeWithEase Guide
Introduction to Whipped Cream Pie Decorating
Elevate Your Cream Pie: Simple Techniques for Stunning Results
Adding a beautifully decorated layer of whipped cream to your cream pie isn't just about taste; it transforms a simple dessert into a showstopper. Think of the classic French Silk Pie or a rich Banana Cream Pie – while delicious on their own, they reach their full potential with a cloud of perfectly piped cream on top.
Even the most basic techniques can make a significant difference, turning an everyday bake into something special for a gathering or just a treat for yourself. Learning easy whipped cream pie decorating techniques opens up a world of possibilities for personalizing your creations.
Mastering simple whipped cream pie decorating doesn't require years of culinary school. With just a few basic tools and a bit of practice, you can achieve impressive results. For instance, a simple dollop pattern around the edge can elevate a pie's appearance dramatically. Or, covering the entire surface with soft peaks can give it a rustic, inviting look. Our goal at BakeWithEase is to guide you through these steps, making the process enjoyable and accessible for everyone, regardless of your prior baking experience.
BakeWithEase Presents: Mastering Whipped Cream Decoration
Welcome to our comprehensive guide on mastering whipped cream decoration for your favorite cream pies! At BakeWithEase, we believe that decorating should be as fun and rewarding as the baking itself. This article will walk you through everything you need to know, from selecting the right ingredients to executing impressive designs, making easy whipped cream pie decorating a skill you can confidently add to your repertoire.
We'll cover the essential steps, demystify common challenges, and provide step-by-step tutorials for popular designs. Whether you're aiming for elegant swirls, charming rosettes, or intricate patterns, our tips and techniques are designed to help you achieve professional-looking results right in your own kitchen. Get ready to transform your delicious cream pies with stunning whipped cream finishes!
Essential Tools and Ingredients for Whipped Cream Pie Topping
The Right Whipped Cream: Achieving Perfect Consistency
The foundation of great whipped cream pie decoration is, unsurprisingly, the whipped cream itself. For decorating purposes, you need whipped cream that is stable and holds its shape. This means starting with cold, heavy cream or whipping cream, which typically has a milk fat content of 36% or higher. Lower fat options like half-and-half or light cream will not whip to the firm peaks required for piping and decorating.
The temperature of your cream is critical. Cream whips best when it's very cold, ideally straight from the refrigerator. Some bakers even chill their mixing bowl and whisk attachment for 10-15 minutes beforehand to ensure the cream stays cold throughout the whipping process. This cold temperature helps the fat molecules stabilize and trap air, leading to a firm, pipeable consistency essential for beautiful whipped cream pie decorating.
Must-Have Tools for Flawless Pie Decoration: Piping Bags, Star Tips, Offset Spatula
While you can achieve a rustic look with just a spoon or a spatula, certain tools make easy whipped cream pie decorating significantly simpler and more precise. A set of piping bags (either disposable or reusable) is indispensable for creating defined shapes like swirls, rosettes, and borders. They allow you to control the flow and placement of the whipped cream with ease.
Coupled with piping bags are piping tips. For whipped cream, star tips (like the open star tip #1M or closed star tip #2D) are incredibly popular for creating classic rosettes and shell borders. A round tip (#12 or #2A) is great for simple dollops or smooth lines. An offset spatula is also a crucial tool for spreading a smooth, even layer of whipped cream over the entire pie surface before piping or for creating textured finishes. Investing in a few basic piping tips and a good offset spatula will greatly enhance your whipped cream pie decoration skills.
Ingredients Checklist: Heavy Cream, Powdered Sugar, Vanilla Extract
To make perfect whipped cream for decorating, you only need a few key ingredients. The primary ingredient is, of course, cold heavy cream (about 2 cups for a standard 9-inch pie if covering the whole surface generously). This provides the necessary fat content for whipping.
You'll also need a sweetener, with powdered sugar being the most common choice (approximately 1/2 cup per 2 cups of cream, adjusted to taste). Powdered sugar contains a small amount of cornstarch, which helps stabilize the whipped cream slightly. Finally, a touch of vanilla extract (about 1 teaspoon) adds a classic, delicious flavor that complements almost any cream pie. Some recipes might call for other flavorings like almond extract or liqueur, depending on the pie's flavor profile, but vanilla is the reliable standard for easy whipped cream pie decorating.
Preparing the Perfect Whipped Cream for Decorating
Achieving Stiff Peaks: The Key to Stable Whipped Cream
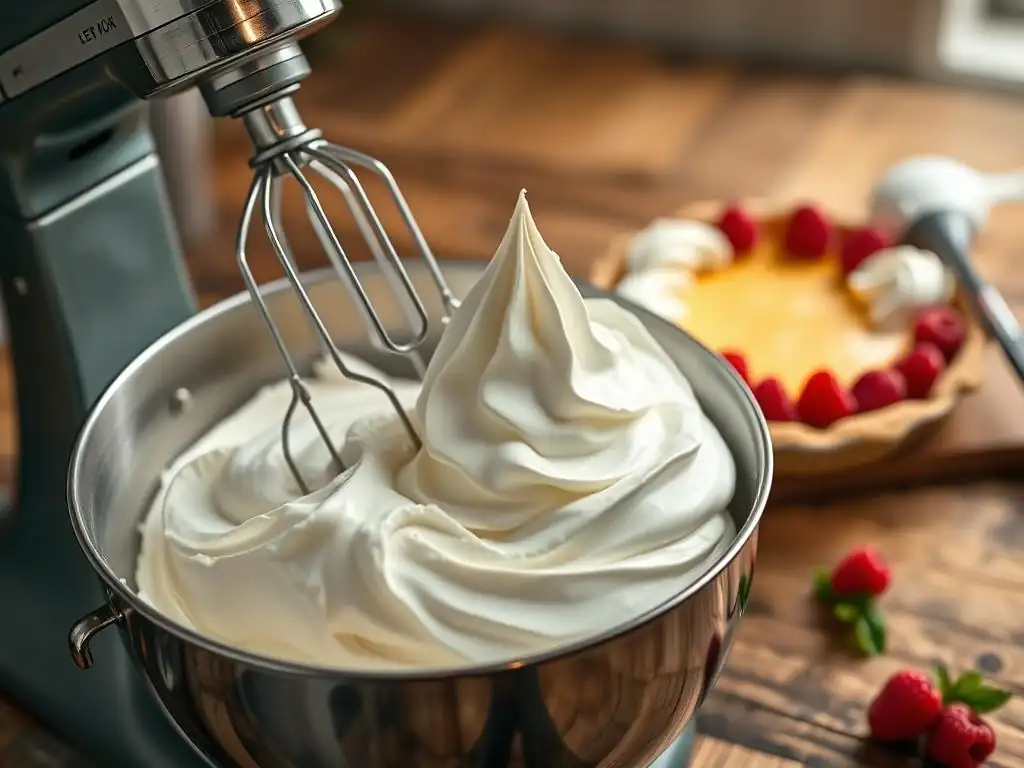
Achieving stiff peaks is the most important step when preparing whipped cream for decorating. This means whipping the cream until it holds a firm shape and doesn't droop when the whisk is lifted. When you pull the whisk out of the cream, the peaks should stand straight up, possibly with a very slight curl at the tip, but they shouldn't collapse. This stability is what allows your piped designs to hold their form on the pie.
Whipping can be done with a stand mixer, a hand mixer, or even by hand with a whisk, though a mixer is significantly faster and easier. Start on a low speed to break up the cream, then gradually increase to medium-high. Watch the cream closely; it will go from liquid to soft peaks (where peaks droop significantly) to medium peaks (where peaks hold shape but the tip curls over) to stiff peaks.
It takes approximately 3-5 minutes with a stand mixer on medium-high speed for 2 cups of cream, but this can vary based on the mixer and cream temperature. Be careful not to over-whip, which leads to grainy or curdled cream.
Sweetening Your Whipped Cream: Choosing the Right Sweetener and Flavorings
While granulated sugar can be used, powdered sugar is generally preferred for whipped cream intended for decorating. Its fine texture dissolves instantly, preventing a grainy mouthfeel, and as mentioned, the cornstarch helps with stability. Start with a ratio of about 1/4 cup powdered sugar per cup of heavy cream and adjust to your preference. Add the sugar once the cream has reached soft peaks, then continue whipping until stiff peaks form.
Flavorings should also be added at the soft peak stage. Vanilla extract is a classic choice, enhancing the cream's natural sweetness. For a chocolate cream pie, you might add a tablespoon of unsweetened cocoa powder along with the powdered sugar. For a lemon cream pie, a little lemon zest or extract can brighten the flavor. Experiment with different extracts or even a splash of liqueur (like rum or coffee liqueur) to complement the specific pie flavor, adding them in small amounts until the desired taste is achieved.
Tips for Preventing Grainy or Weepy Whipped Cream
Two common issues when making whipped cream for decorating are graininess (over-whipping) and weepiness (separation of liquid). To prevent graininess, the key is to watch the cream closely as it whips, especially as it approaches the stiff peak stage. Stop whipping as soon as stiff peaks are achieved; whipping for even a few seconds too long can turn it into butter. If it does become slightly grainy, sometimes adding a tablespoon or two of cold liquid cream and gently whisking by hand can rescue it, but it's best to avoid over-whipping altogether.
To prevent weepiness, which is when the whipped cream starts to release liquid over time, ensure your cream is very cold to start. Adding a stabilizer can also help, especially if the pie will sit for a while. Powdered sugar offers some stability, but for maximum hold, consider adding a small amount of gelatin (dissolved and cooled according to package directions) or a commercial whipped cream stabilizer. Chill the decorated pie thoroughly before serving; cold temperatures help maintain the whipped cream's structure.
Basic Whipped Cream Pie Decorating Techniques
Simple Swirls and Rosettes: Beginner-Friendly Designs
One of the easiest whipped cream pie decorating techniques is creating simple swirls or rosettes, perfect for beginners mastering easy whipped cream pie decorating. Swirls can be applied directly from a piping bag fitted with a large star tip (#1M is excellent) by starting in the center and spiraling outwards, or by making individual dollops that naturally form a swirl shape as you pipe.
Rosettes are equally simple and create a lovely, classic look. Using the same star tip, hold the piping bag perpendicular to the pie surface, squeeze firmly to create a base, then stop squeezing and pull the bag straight up or slightly to the side to finish the rosette. Practice on a piece of parchment paper first to get a feel for the pressure needed. A border of rosettes around the edge of a pie is a beautiful and achievable decoration for anyone.
Mastering the Piping Bag: Applying Even Pressure
Successfully using a piping bag for easy whipped cream pie decorating relies heavily on applying even, consistent pressure. Fill the piping bag no more than two-thirds full with whipped cream, twist the top closed to prevent cream from squeezing out the back, and hold the twisted end firmly in your dominant hand. Use your other hand to guide the tip.
As you pipe, maintain steady pressure on the bag with your dominant hand. This ensures a continuous, uniform flow of cream from the tip, resulting in smooth, consistent lines, swirls, or rosettes. Uneven pressure leads to broken lines or inconsistent shapes. Practice holding the bag and applying pressure on a flat surface before working on your pie to build muscle memory and control.
Creating Borders: Adding a Professional Touch to Your Cream Pie
Adding a border is one of the simplest ways to give your cream pie a polished, professional appearance. A border can frame the pie, cover the junction between the crust and the filling, and provide a decorative edge. Common border techniques for easy whipped cream pie decorating include shell borders, rope borders, or simple dollops.
A shell border is created using a star tip, starting at one point on the edge, squeezing to form a "shell" shape, then releasing pressure and pulling away, overlapping the next shell slightly. A rope border requires a round or star tip and a slightly different piping motion, twisting as you pipe. Even a simple border of evenly spaced rosettes or dollops around the circumference adds significant visual appeal and is a great technique for enhancing your whipped cream pie decoration skills.
Intermediate Whipped Cream Pie Decorating Ideas
Layered Decorations: Building Height and Visual Appeal
Once you're comfortable with basic piping, try layered decorations to add height and dimension to your cream pies. This technique involves piping multiple layers of whipped cream or combining different piping techniques on top of each other. For example, you could start with a base layer of smooth whipped cream spread over the pie, then pipe a border of rosettes around the edge, and finally add a large swirl or a cluster of smaller swirls in the center.
Another approach is to build upwards with multiple swirls or mounds of cream, creating a dramatic effect. Think of a classic Lemon Meringue Pie, but with whipped cream instead of meringue – the sky's the limit for building peaks! Layering different sizes or types of piping tips can also add complexity and visual interest, showcasing your developing whipped cream pie decorating skills.
Using Stencils: Achieving Intricate Patterns
Stencils offer a fantastic way to add intricate patterns or designs to the surface of your whipped cream, making easy whipped cream pie decorating look much more complex than it is. You can use pre-made cake stencils or even cut your own simple shapes out of parchment paper or thin cardboard.
First, ensure the surface of your whipped cream is relatively smooth and flat (an offset spatula works well for this). Gently place the stencil over the cream. Then, lightly dust the open areas of the stencil with a contrasting powder, such as cocoa powder, cinnamon, or finely crushed cookies (like Oreos for a chocolate cream pie). Carefully lift the stencil straight up to reveal the design. This technique is surprisingly simple but yields impressive results, adding a touch of artistry to your whipped cream pie decoration.
Incorporating Fresh Fruit: Combining Flavors and Textures
Fresh fruit isn't just a delicious accompaniment to cream pies; it's also a beautiful and easy way to enhance your whipped cream pie decorating. Arranging fresh berries, sliced bananas, kiwi, or citrus segments on or around the whipped cream adds vibrant color, contrasting texture, and complementary flavors.
Consider the type of pie when choosing fruit. Strawberries and raspberries are perfect for a vanilla or chocolate cream pie. Sliced bananas are a natural fit for banana cream pie, of course. Arrange fruit slices in a pattern on top of a smooth layer of whipped cream or place berries artfully amongst piped swirls or rosettes. This simple addition elevates both the taste and visual appeal, making for stunning whipped cream pie decoration.
Advanced Whipped Cream Pie Decoration Techniques
Creating 3D Designs: Sculpting with Whipped Cream
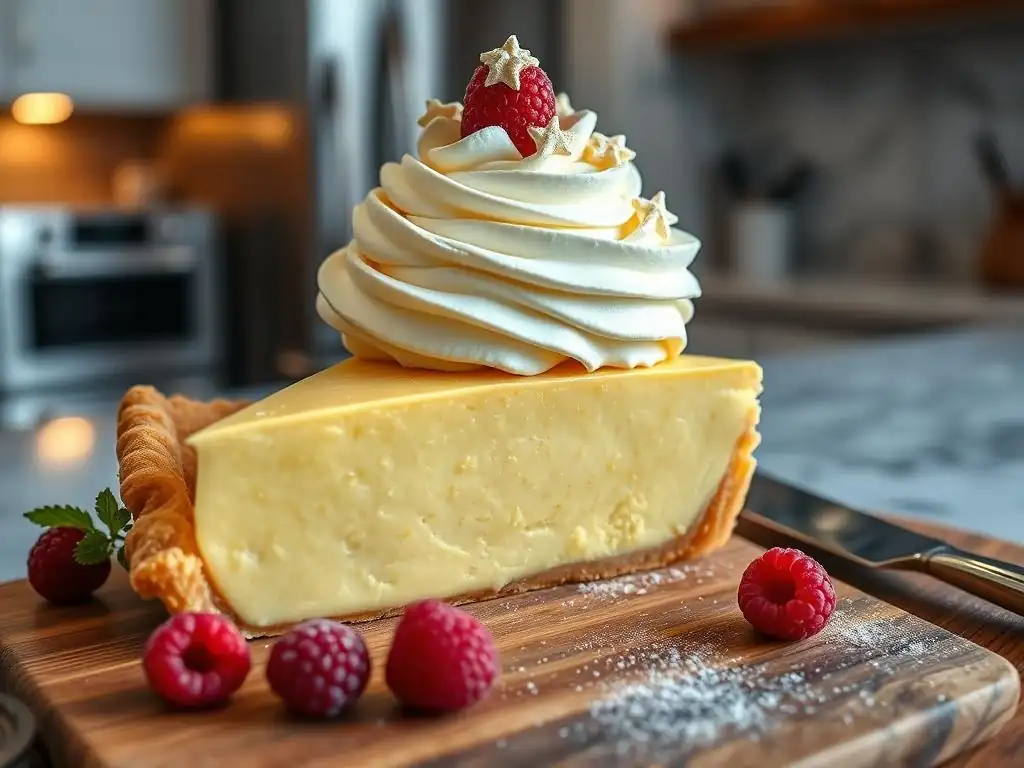
For truly show-stopping whipped cream pie decoration, you can move beyond simple piping and start sculpting with stabilized whipped cream. While pure whipped cream can be tricky to sculpt, adding a stabilizer like gelatin or cornstarch (used in a cooked paste called a "roux" or "pâte à bombe") makes it much more pliable and able to hold complex shapes.
With stabilized whipped cream, you can use spatulas, knives, or even small sculpting tools to create more intricate, three-dimensional designs directly on the pie surface. Imagine creating soft waves, peaks that resemble snowdrifts, or even abstract textures. This technique requires a bit more practice and comfort with the medium, but it allows for a high level of creativity in your whipped cream pie decorating.
Airbrushing for Color and Depth: Adding a Professional Finish
While typically associated with cake decorating, airbrushing can be used on stabilized whipped cream to add subtle color gradients, highlights, and depth. Using food-safe airbrush colors, you can lightly mist areas of the whipped cream to create shading or introduce complementary colors that match your pie's theme or ingredients.
This technique requires an airbrush kit and food-safe colors. Practice on a separate surface first to get the feel for controlling the spray and achieving the desired intensity. Airbrushing can add a sophisticated touch to your whipped cream pie decoration, making it look like it came from a professional bakery.
Chocolate Shavings and Other Garnishes: Elevating the Presentation
Beyond fruit, a variety of garnishes can take your whipped cream pie decoration to the next level. Chocolate shavings are a classic and easy addition – use a vegetable peeler or sharp knife to shave curls off a block of chocolate (milk, dark, or white) and sprinkle them over the cream.
Other effective garnishes include toasted nuts (like pecans for a pecan cream pie), cookie crumbs (such as crushed graham crackers or shortbread), caramel drizzle, or a sprinkle of cocoa powder or cinnamon through a sieve. Edible glitter or colored sugar crystals can also add sparkle. These small additions add texture, flavor, and visual interest, significantly enhancing the overall presentation of your whipped cream pie decoration.
Troubleshooting Common Whipped Cream Decorating Problems
Dealing with Melting Whipped Cream: Maintaining Cold Temperatures
One of the most common frustrations in easy whipped cream pie decorating is dealing with melting cream, especially in warm environments. Whipped cream is essentially an emulsion of fat and air stabilized by cold temperatures. When it gets warm, the fat softens, and the air escapes, causing it to lose its shape and "melt" or weep.
The primary solution is to keep everything as cold as possible. Use chilled cream, chill your mixing bowl and tools, work quickly, and return the decorated pie to the refrigerator immediately after finishing. If you're decorating in a warm kitchen, consider placing the pie on a chilled surface or even working near an open freezer door if possible. Using a stabilizer in your whipped cream is also highly recommended if the pie will be out of refrigeration for any length of time, helping it maintain its structure longer.
Fixing Uneven Piping: Practicing Consistent Pressure
Uneven piping is usually a result of inconsistent pressure on the piping bag. If your lines or shapes are thicker in some spots and thinner in others, or if they break frequently, you're likely squeezing the bag with varying force.
The fix is practice! Before decorating the actual pie, fill a piping bag with whipped cream (or even just mashed potatoes for practice) and pipe lines, swirls, or rosettes onto a piece of parchment paper. Focus solely on maintaining steady, constant pressure. You'll quickly develop the muscle control needed for smooth, even piping. Remember to keep the bag properly filled (not too full) and twisted closed for better control. Consistent practice is key to mastering this aspect of easy whipped cream pie decorating.
Preventing Cracking: Hydrating the Crust Properly
While not directly a whipped cream issue, cracking in the crust can sometimes be exacerbated by the pressure or weight of whipped cream decoration, especially if the crust is very dry or brittle. A well-hydrated and properly baked crust is essential for supporting your beautiful whipped cream pie decoration.
Ensure your pie crust recipe has sufficient fat and liquid, and avoid overworking the dough. Bake the crust fully but avoid over-baking to the point of excessive dryness. If using a blind-baked crust for a no-bake filling, consider brushing the inside with a thin layer of melted chocolate or egg wash after baking and cooling; this creates a barrier that can help prevent moisture from the filling (or the whipped cream settling slightly) from making the crust soggy or prone to cracking under pressure.
Whipped Cream Pie Decorating: Step-by-Step Tutorials
Tutorial 1: The Classic Swirl Design
Here's how to create a simple, classic swirl pattern covering your entire pie using easy whipped cream pie decorating techniques:
- Prepare the Whipped Cream: Make stabilized whipped cream (using powdered sugar and potentially a gelatin stabilizer) and ensure it's firm enough to hold shape.
- Fill the Piping Bag: Fit a piping bag with a large open star tip (#1M is perfect). Fill the bag about two-thirds full with whipped cream and twist the top shut.
- Start Piping: Hold the piping bag perpendicular to the center of the pie. Apply firm, steady pressure to start the flow of cream.
- Create the Swirl: While maintaining pressure, move the bag in a spiral motion, working outwards from the center towards the edge of the pie. Keep the lines of cream close together so they merge into one continuous swirl.
- Finish: Continue the spiral until you reach the edge. Release pressure slightly and pull the bag away quickly to finish the swirl neatly at the edge. Chill the pie immediately.
Tutorial 2: Creating a Rosette Border
Adding a beautiful rosette border is a straightforward technique for easy whipped cream pie decorating:
- Prepare the Whipped Cream: Use firm whipped cream, ideally stabilized for longer hold.
- Fill the Piping Bag: Fit a piping bag with a star tip (a #2D closed star tip or a #1M open star tip works well for rosettes). Fill the bag and twist the top.
- Position the Bag: Hold the piping bag perpendicular to the pie's edge, slightly over the crust.
- Pipe a Rosette: Apply firm, consistent pressure. The cream will fan out from the tip. Pipe in a tight circular motion (clockwise or counter-clockwise) until the rosette reaches your desired size (about 1-1.5 inches in diameter is common).
- Release and Repeat: Stop squeezing and pull the bag straight up quickly. Repeat this process, placing each new rosette right next to the previous one, all the way around the edge of the pie.
Tutorial 3: Adding Fruit Accents
Incorporating fruit into your whipped cream pie decoration is simple and effective:
- Prepare the Whipped Cream: Decorate your pie with a smooth layer of whipped cream using an offset spatula, or pipe a simple pattern like swirls or rosettes across the surface, leaving some space between them.
- Prepare the Fruit: Wash and dry fresh fruit thoroughly. Slice larger fruits like strawberries or kiwi, or leave small berries whole. Consider the colors and shapes that will complement your pie.
- Arrange the Fruit: Gently place the fruit pieces onto the whipped cream surface. You can arrange them in a pattern (like sliced strawberries fanned out), scatter them artfully, or place a single berry atop each piped swirl or rosette.
- Final Touches: Add other small garnishes if desired, like a sprinkle of powdered sugar over the fruit or a few mint leaves for color contrast. Chill the pie until ready to serve. This adds freshness and visual appeal to your easy whipped cream pie decorating efforts.
Showcase of Stunning Whipped Cream Pie Decorations
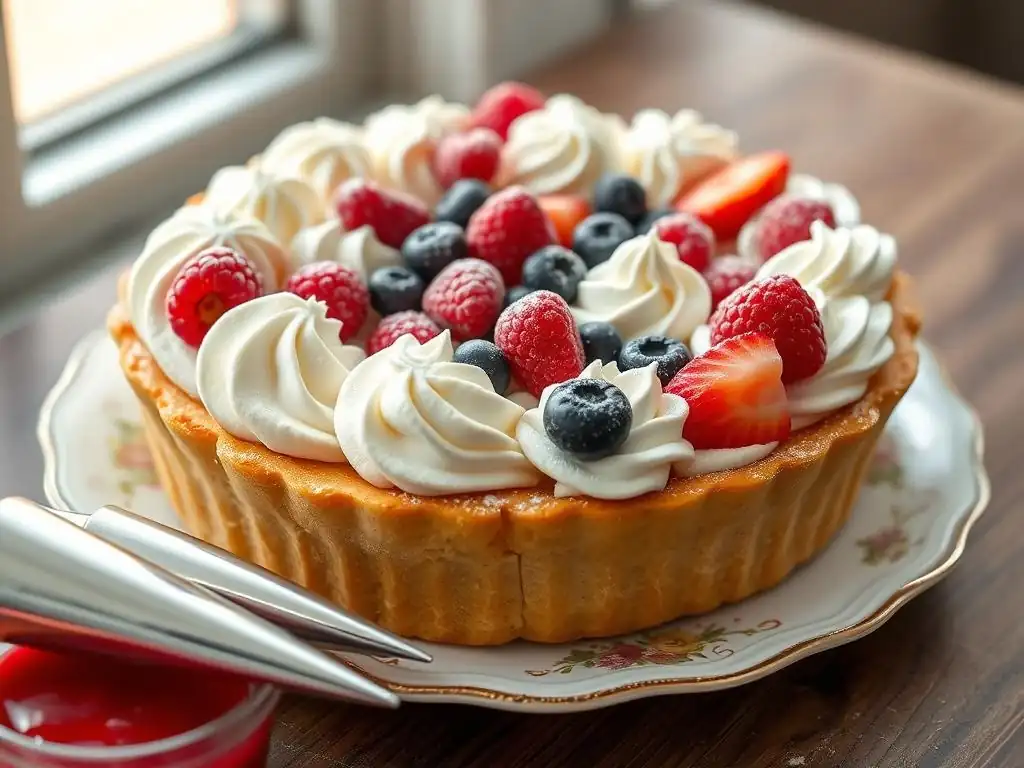
Inspiration Gallery: Beautiful Cream Pie Designs to Inspire You
Looking for ideas for your next project? The world of whipped cream pie decoration is full of inspiration! Imagine a classic Chocolate Cream Pie covered in tight, uniform rosettes, creating a textured, cloud-like surface. Or a Lemon Cream Pie topped with soft swirls and strategically placed fresh raspberry accents, the red contrasting beautifully with the white cream.
Consider a Banana Cream Pie with a smooth layer of cream, a border of shell piping, and slices of banana fanned out in the center, perhaps drizzled lightly with caramel. Even simple patterns like parallel lines piped across the surface or large, rustic dollops covering the entire pie can be incredibly appealing. Browse baking websites, social media, and cookbooks for endless examples of how easy whipped cream pie decorating can transform a dessert.
Reader Submissions: Sharing Your Whipped Cream Pie Creations
We love seeing what our BakeWithEase community creates! Many of our readers have shared stunning examples of their whipped cream pie decoration. We've seen everything from elegant, minimalist designs using a simple offset spatula technique to elaborate creations featuring multiple piping tips and vibrant fruit arrangements.
Sharing your work is a great way to inspire others and celebrate your baking achievements. Whether it's your first attempt at easy whipped cream pie decorating or you've perfected a signature style, we encourage you to share photos of your beautiful cream pies. It's amazing to see the creativity and skill applied to whipped cream pie topping ideas by home bakers just like you.
Storing and Serving Your Decorated Cream Pie
Maintaining Freshness: Proper Storage Techniques
Proper storage is crucial for keeping your beautifully decorated cream pie fresh and the whipped cream looking its best. Because cream pies and whipped cream are dairy-based, they must be kept refrigerated.
Store the pie in an airtight pie carrier or loosely cover it with plastic wrap, being careful not to press down on the whipped cream decoration. Placing toothpicks around the edge of the pie before covering can help hold the plastic wrap away from the surface. Store the pie in the coldest part of your refrigerator. For optimal appearance and texture, it's best to serve the pie within 24-48 hours of decorating, as whipped cream can start to lose its structure over time, even when stabilized.
Serving Suggestions: Complementary Flavors and Pairings
Serving your decorated cream pie is the final, rewarding step! Ensure the pie is well-chilled before slicing, which helps the filling set and the whipped cream hold its shape during cutting. Use a sharp knife and wipe it clean between slices for the cleanest cuts.
Consider serving your pie with complementary flavors or pairings. A light dusting of cocoa powder or cinnamon on the plate can be a nice touch. A small side of fresh berries or a drizzle of sauce (like chocolate or caramel) can enhance the flavor profile. For beverages, coffee, tea, or a complementary dessert wine can make the perfect accompaniment. Presenting your pie slices on nice plates showcases your beautiful whipped cream pie decoration and makes the experience even more enjoyable.
Conclusion: Mastering Whipped Cream Pie Decorating with BakeWithEase
Take Your Cream Pies to the Next Level
You've now explored the techniques, tools, and tips needed to elevate your cream pies from delicious bakes to visually stunning desserts. Mastering easy whipped cream pie decorating is an achievable goal for any home baker. From simple swirls and rosettes to more advanced techniques like layering and using stencils, the possibilities for creative expression are vast.
Remember that practice makes perfect. Don't be discouraged if your first attempts aren't flawless. Each pie you decorate is an opportunity to refine your skills, experiment with different tips and techniques, and discover your own style of whipped cream pie decoration. The most important thing is to have fun with the process!
Enjoy Baking and Decorating!
We hope this guide has inspired you to try your hand at decorating your next cream pie with beautiful whipped cream. At BakeWithEase, we're passionate about making baking and decorating accessible and enjoyable for everyone. With the knowledge you've gained, you're well-equipped to create desserts that not only taste incredible but also look absolutely spectacular.
So, grab your heavy cream, your piping bag, and your favorite pie recipe, and get ready to create some edible art. Happy baking and happy easy whipped cream pie decorating!
Frequently Asked Questions
How can I achieve perfectly stiff whipped cream for pie decorating?
To achieve stiff whipped cream, ensure your bowl and beaters are thoroughly chilled before whipping. Also, use heavy cream with a high fat content for the best results.
What are some easy whipped cream pie decorating techniques for beginners?
Simple techniques include creating swirls with a spoon or piping simple rosettes using a star tip. Focus on even application and consistent pressure for a professional look.
What kind of piping tips are best for decorating cream pies with whipped cream?
Star tips are versatile for creating rosettes, shells, and borders. Round tips are great for writing messages or creating smooth, elegant lines. Experiment to find your preferred style and piping pressure.
How can I prevent my whipped cream from melting or weeping on my pie?
Stabilize your whipped cream by adding a small amount of gelatin or cornstarch. Store the decorated pie in the refrigerator until serving to maintain its shape and texture.
What are some creative topping ideas to enhance a whipped cream decorated pie?
Consider adding fresh fruit, chocolate shavings, a sprinkle of nuts, or a drizzle of caramel sauce. Complement the pie's flavor with toppings that add texture and visual appeal to your whipped cream base.
Final Reflection: Mastering the Art of Effortless Elegance
The seemingly simple act of decorating a cream pie with whipped cream is, in reality, a gateway to expressing creativity and joy. From the perfectly swirled rosette to the delicate piped border, the possibilities are endless, and the impact on both the presentation and the enjoyment of the pie is undeniable. This isn't just about frosting a dessert; it's about transforming a simple treat into a culinary masterpiece.
The enduring appeal of homemade pies, especially those adorned with fluffy whipped cream, speaks volumes about our desire for comfort and connection. These aren't just desserts; they're often shared at celebrations, family gatherings, and moments of quiet contemplation. They represent a tangible link to tradition and a personal touch that mass-produced goods simply can't replicate. A pie is a love letter to the stomach.
This sentiment perfectly captures the emotional resonance of a beautifully decorated pie, elevating it beyond mere sustenance.
Now, I invite you to consider your own approach to pie decorating. Don't be intimidated by the seemingly complex techniques showcased in this article. Instead, embrace the freedom to experiment, to find your own style, and to let your creativity flow.
The next time you whip up a batch of cream, remember the joy of transforming a simple dessert into a work of art, a testament to your skill and a delicious expression of your personal touch. Let the ease of the process empower you to create beautiful pies that bring joy to yourself and those you share them with.
Unleash Your Inner Pastry Artist: Master Whipped Cream Decorating!
Thanks for joining us on this creamy adventure! We hope you've gained some delicious inspiration and new skills for decorating your pies. Ready to put your newfound expertise to the test?
- Take on the Whipped Cream Challenge: Choose your favorite pie (or bake a new one! ), grab your piping bag, and try one of the techniques we showcased. Share your creation with us – we'd love to see it!
- Explore our other pie decorating tutorials: Dive deeper into the world of pie artistry by checking out our other easy-to-follow guides. Let's expand your baking repertoire!
- Spread the Pie Love: Share this article with your fellow baking enthusiasts – let's inspire a whole community of pie decorators!
What stunning whipped cream design will you create first? Let's see those masterpieces!