
The Ultimate Guide to Blind Baking Pie Crusts Perfectly

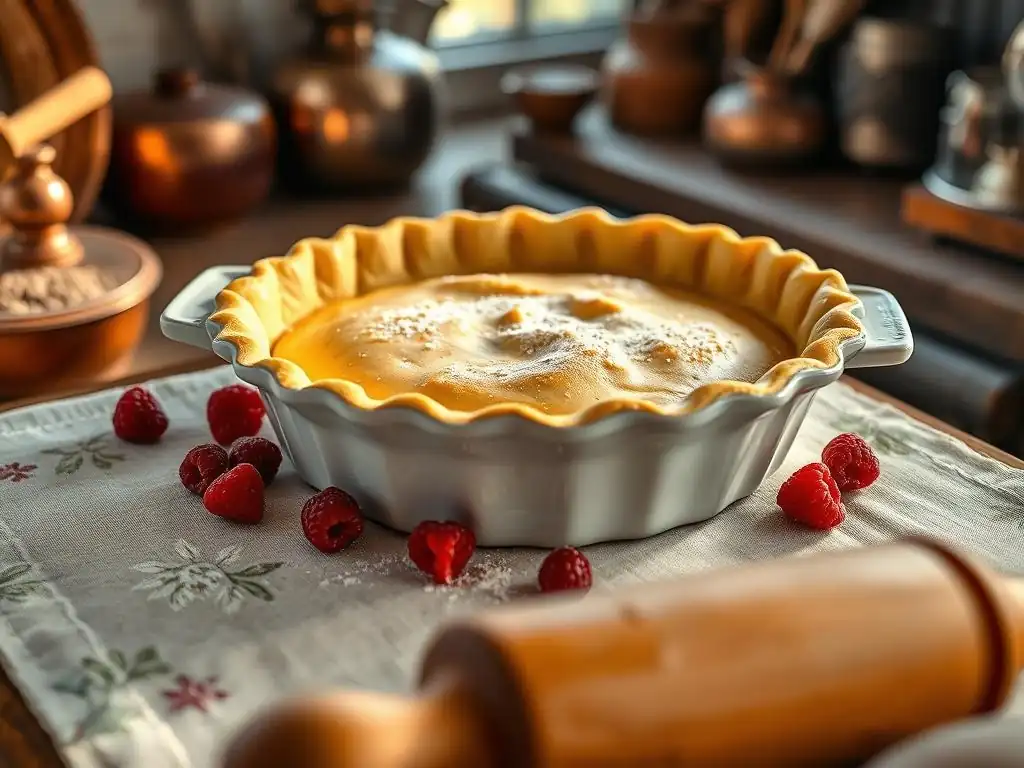
Welcome to BakeWithEase, where we believe everyone can create delicious baked goods with confidence! Ever wondered how to achieve that flawless, golden-brown pie crust without any soggy bottoms? Our guide, The Ultimate Guide to Blind Baking Pie Crusts Perfectly, unlocks the secrets to creating bakery-worthy pastry. Discover the simple steps and expert tips that will transform your pies and tarts. Ready to finally master the art of the perfectly blind bake pie crust? Let's get baking!
Step 1: Preparing Your Pie Crust for Blind Baking
Achieving a perfectly blind baked pie crust begins long before it hits the oven. The initial preparation of your pie dough is absolutely critical to ensure it bakes up sturdy and beautifully, ready to hold your delicious fillings. Proper chilling, handling, and shaping are foundational steps that prevent common issues like shrinkage and tears.
Before you even start rolling, make sure your dough is adequately chilled. Many recipes recommend chilling for at least 30 minutes, but ideally, 1-2 hours allows the gluten to relax and the fat to firm up. This makes the dough easier to work with and less likely to shrink dramatically in the oven. A well-prepared dough sets you up for success when you aim to perfectly blind bake your pie crust.
Rolling Out the Dough Evenly
Rolling out your pie dough requires a gentle touch and a focus on consistency. The goal is to achieve an even thickness across the entire sheet of dough, typically around 1/8 inch (about 3-4 mm). If the dough is thicker in some spots and thinner in others, it will bake unevenly – thinner areas might burn while thicker areas remain undercooked.
Start from the center and roll outwards, rotating the dough frequently and adding just a light dusting of flour to prevent sticking. Avoid pressing down too hard, which can make the dough tough. For a standard 9-inch pie plate, you'll need to roll the dough into a circle roughly 12-13 inches in diameter to allow enough overhang for crimping the edges properly. This careful rolling ensures a consistent foundation for your perfectly blind baked crust.
Transferring the Dough to the Pie Plate without Cracking
Transferring the rolled-out dough from your work surface to the pie plate can feel daunting, but there are simple techniques to make it easy and prevent frustrating cracks or tears. One popular method is to gently roll the dough around your rolling pin, then unroll it directly over the pie plate, centering it as you go.
Alternatively, you can carefully fold the dough in half or quarters, lift it into the plate, and then unfold it. Whichever method you choose, ease the dough into the contours of the pie plate, pressing it gently against the bottom and sides without stretching it. Stretching the dough at this stage is a major culprit for shrinkage during blind baking, so handle it delicately to ensure your perfectly blind bake maintains its shape.
Crimping or Fluting the Edges for a Professional Look
Finishing the edges of your pie crust isn't just for aesthetics; it helps secure the dough in the plate and provides a sturdy rim. There are many ways to crimp or flute edges, from simple fork presses to intricate braided designs. A classic fluted edge is created by using the thumb and index finger of one hand to push the dough against the index finger of the other hand, forming waves around the perimeter.
Ensure that the dough around the rim is thick enough to hold its shape during baking. Trim any excess dough, leaving about a 1/2 to 1-inch overhang, then fold this overhang under and press it against the rim before crimping. This reinforces the edge and prevents slumping. Taking the time to properly finish the edges contributes significantly to the overall success and appearance when you perfectly blind bake your pie crust.
Frequently Asked Questions
What exactly is blind baking a pie crust?
Blind baking is the process of baking a pie crust without a filling. This prevents the crust from becoming soggy when a wet filling is added later.
Why is blind baking a pie crust necessary?
It's crucial for pies with fillings that don't require baking or need less baking time than the crust. This ensures the crust is fully cooked and crisp before the filling is added.
What can I use as pie weights when blind baking?
You can use dedicated ceramic or metal pie weights, dried beans, or even rice. The key is to weigh down the crust to prevent it from puffing up.
How do I prevent my pie crust from shrinking during blind baking?
Properly chilling the dough before baking is essential. Also, using enough pie weights and not overworking the dough will help prevent shrinking.
At what temperature should I blind bake my pie crust?
Generally, blind baking is done at a moderate temperature, around 375°F (190°C). However, refer to your specific recipe for the most accurate temperature recommendation.
Final Reflection: Mastering the Art of the Perfectly Blind-Baked Crust
The ability to flawlessly blind bake a pie crust is more than just a culinary skill; it's the foundation upon which countless delicious desserts are built. A perfectly crisp, golden crust elevates a simple pie to a masterpiece, and understanding the nuances of this technique unlocks a world of creative possibilities in the kitchen. This isn't just about following a recipe; it's about mastering a fundamental technique that will serve you well for years to come.
The pursuit of the perfect blind-baked crust reflects a deeper human desire for precision and control in a world often characterized by uncertainty. It's a small act of creation, a testament to patience and attention to detail. The satisfaction derived from achieving that perfectly golden, crisp bottom is immense. As Julia Child once said, Find something you're passionate about and keep tremendously interested in it.
For me, that passion lies in the seemingly simple act of baking a perfect pie crust, and I hope this guide has helped you discover that passion, or at least refine your technique, within yourself.
Now, I invite you to take what you've learned and apply it. Don't be afraid to experiment, to tweak the techniques, and to find what works best for you and your oven. The journey to the perfect blind-baked crust is a personal one, filled with both triumphs and (perhaps a few) minor setbacks. Embrace the process, celebrate your successes, and remember that even the most experienced bakers continue to learn and refine their skills. So, go forth and bake! The world awaits your perfectly blind-baked pie.
Unlock Your Perfect Pie Crust: Bake Like a Pro!
Thanks for joining us on this journey to flawlessly blind-baked pie crusts! You've now got the knowledge to conquer even the flakiest, most delicate dough. Ready to put your new skills to the test?
- Bake your dream pie: Grab that recipe you've been eyeing and immediately try out your newly mastered blind baking technique. The results will be amazing!
- Share your success: Show off your perfectly golden crust on social media using #BakeWithEasePerfectPie – let's inspire other bakers!
- Challenge yourself: Try blind baking a different type of pie crust – maybe a gluten-free version or one with unique flavor additions. What will you create?
What delicious pie creation will you bake first? Let us know in the comments below!