
Master the Brush Embroidery Technique for Elegant Textures

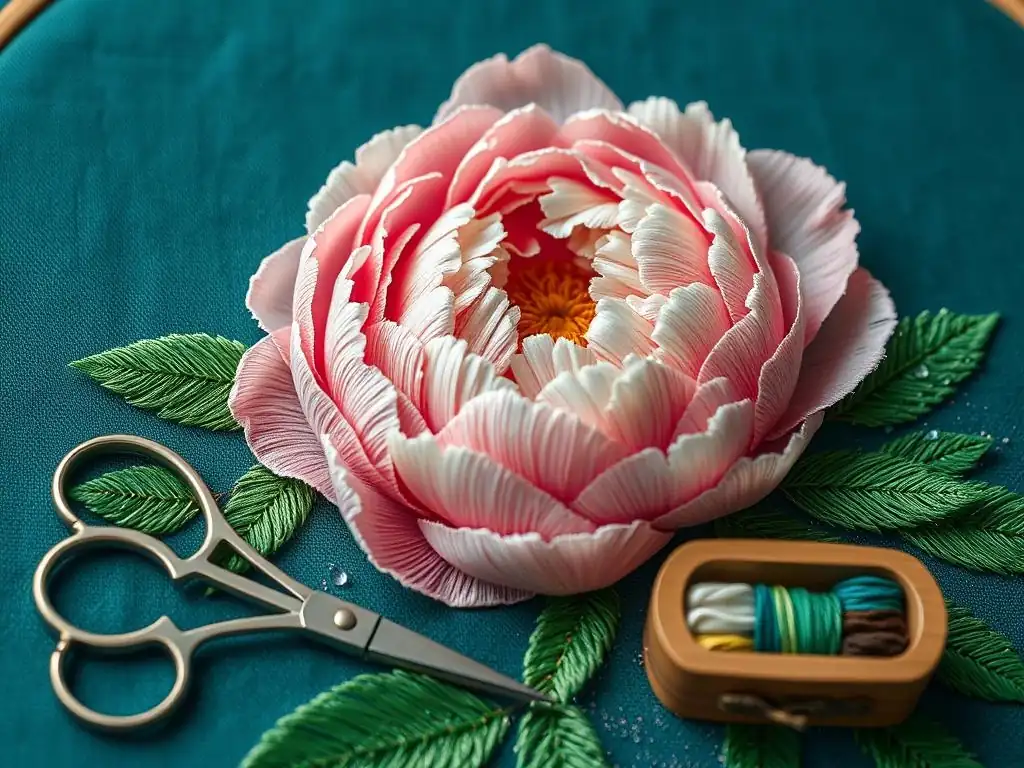
Welcome to BakeWithEase, your creative baking haven! Ever dreamt of adding delicate, textured details to your pastries and desserts? Prepare to be amazed as we unveil the secrets of Brush Embroidery Texture Techniques. Discover how to transform ordinary treats into edible masterpieces with our easy-to-follow guide – and unlock a whole new world of elegant baking. Intrigued? Let's dive in!
- Introduction to Brush Embroidery Cookie Decorating
- Essential Tools and Materials for Brush Embroidery
- Preparing Your Cookies for Brush Embroidery
- Step-by-Step Guide to Brush Embroidery Texture Techniques
- Brush Embroidery Texture Variations and Design Ideas
- Troubleshooting Common Brush Embroidery Problems
- Tips and Tricks for Perfect Brush Embroidery
- Advanced Brush Embroidery Techniques
- Conclusion: Unleash Your Creativity with Brush Embroidery
- Frequently Asked Questions
- Final Reflection: Embracing the Tactile Beauty of Brush Embroidery
- Unleash Your Inner Artisan: Elevate Your Embroidery
Taking your cookie decorating from simple floods to intricate designs can seem daunting, but techniques like brush embroidery offer a beautiful bridge. This method allows you to create stunning, textured effects that mimic stitching or delicate lace, adding a touch of sophistication to your baked goods. It's a skill that, once mastered, opens up a world of creative possibilities, turning a simple sugar cookie into a miniature work of art.
Brush embroidery texture techniques are surprisingly accessible with a bit of practice. They rely on manipulating wet royal icing with a brush to pull and feather it, creating a soft, textured look. Whether you're aiming for delicate floral patterns, elegant monograms, or intricate lace designs, understanding the fundamentals of brush embroidery will significantly enhance the visual appeal and perceived value of your cookies, making them perfect for special occasions or simply delighting friends and family.
What is Brush Embroidery and Why Use It?
Brush embroidery is a cookie decorating technique where you pipe a line or shape of royal icing and then immediately use a small, damp brush to pull sections of the icing inwards, creating a feathered or "embroidered" effect along the edges. This process is repeated, often in layers, to build up a textured design that looks like delicate needlework or intricate carvings.
The primary appeal of using brush embroidery texture techniques lies in the unique dimension and elegance they bring to cookies. Unlike flat icing designs, brush embroidery adds tactile texture and visual depth. It's particularly popular for vintage-themed cookies, wedding favors, and designs requiring a soft, romantic aesthetic. Furthermore, it's a versatile technique that can be adapted to various design styles, from simple outlines to complex, layered patterns.
Essential Tools and Materials for Brush Embroidery
Royal Icing Consistency for Brush Embroidery
The consistency of your royal icing is absolutely critical for successful brush embroidery. It needs to be thick enough to hold a piped line or dot without spreading too much, but wet enough that you can easily pull and feather it with a brush before it crusts over. A common guideline is a consistency similar to toothpaste or peanut butter – often referred to as a "15-second count" icing, meaning a ribbon of icing dropped back into the bowl disappears into the surface in about 15 seconds.
If your icing is too stiff, it will be difficult to pull with the brush and may break or crust too quickly. If it's too thin, the piped line will spread, and the feathered effect will blur rather than hold its shape. Achieving the correct consistency often requires adding very small amounts of water (literally drops) to your piping consistency icing until it reaches the desired flow. Test a small amount on a practice surface before applying it to your cookie.
Best Brushes for Creating Brush Embroidery Textures
The type of brush you use significantly impacts the final brush embroidery texture. Small, synthetic brushes with fine tips are generally preferred as they hold their shape well and are easy to clean. Sizes like a #0, #1, or #2 round brush are ideal for fine details, while slightly larger flat brushes (like 1/8 inch or 1/4 inch) can be used for broader strokes or filling larger areas with texture.
It's helpful to have a few different brush sizes on hand to experiment with varying levels of detail and texture. Ensure the brushes are specifically designated for food use to avoid contamination. Before use, slightly dampen the brush tip with clean water, dabbing off excess water on a paper towel. This slight dampness helps the brush glide through the icing smoothly without sticking or dragging.
Other Necessary Supplies: Piping Bags, Couplers, Gel Food Coloring
Beyond icing and brushes, you'll need a few other standard cookie decorating supplies. Piping bags (either disposable or reusable) are essential for applying the royal icing to the cookie surface before brushing. Using couplers allows you to easily switch between different piping tips without changing bags, which can be useful if your design incorporates both piped lines and brush embroidery elements.
Small, round piping tips, such as a PME ST50 or Wilton #1 or #2, are commonly used for piping the initial lines or dots for brush embroidery. Gel food coloring is recommended for coloring your royal icing, as it provides vibrant color without adding excess liquid that could affect your icing consistency. You'll also need a small dish of clean water for dampening your brush and paper towels for dabbing off excess water and cleaning the brush between strokes or color changes.
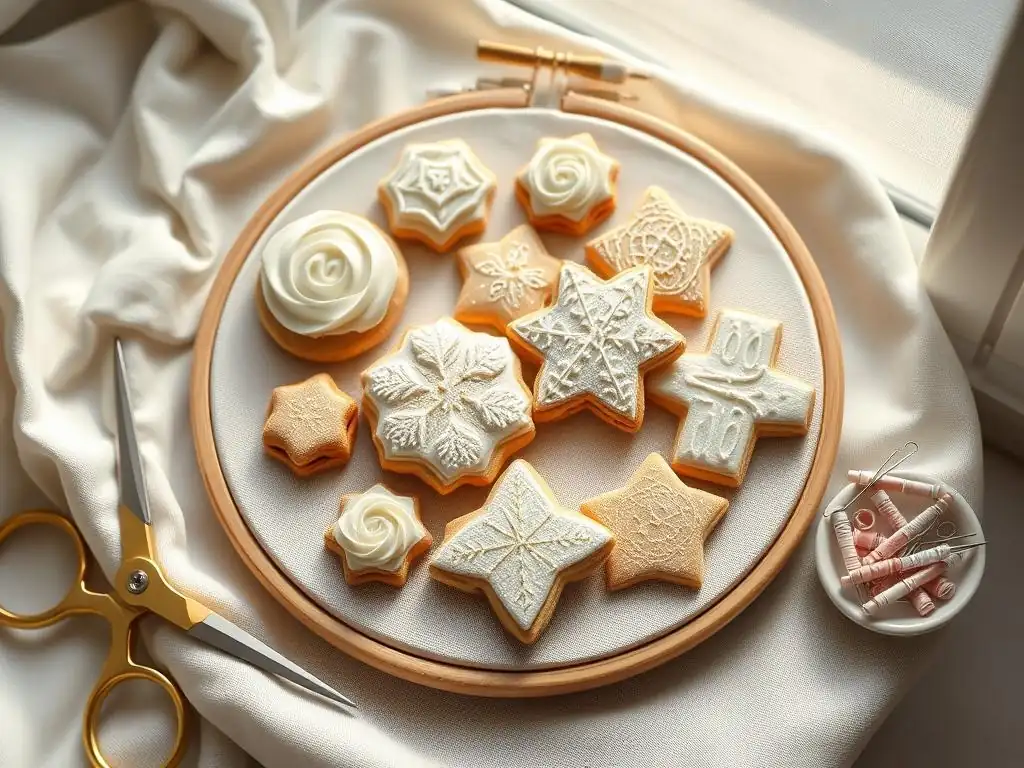
The foundation for beautiful brush embroidery is a perfectly baked cookie. Sugar cookies or gingerbread are excellent choices as they hold their shape well during baking and provide a smooth, flat surface for decorating. Aim for cookies that are evenly thick (around 1/4 inch is standard) to ensure consistent baking and a sturdy base. Avoid over-baking, which can lead to uneven surfaces or crumbling edges.
Allow the baked cookies to cool completely on a wire rack before attempting to ice them. Any residual warmth can cause the royal icing to melt or spread improperly. A smooth, sturdy cookie provides the best canvas for applying the base coat of icing, which is crucial for achieving crisp brush embroidery texture techniques later on.
Before you can apply brush embroidery, your cookies need a smooth, dry base layer of royal icing. This is typically achieved using the flood icing technique. First, outline the cookie shape with a slightly stiffer consistency icing (often called "outline consistency"). Then, fill the outlined area with a thinner consistency icing (flood consistency, usually a "10-second count"), using a scribe tool or toothpick to gently spread it evenly and coax it into corners, eliminating any air bubbles.
The flood icing should be applied evenly across the cookie surface, creating a flat, uniform layer. This base color will show through the brushed areas of your design, providing contrast and definition to your brush embroidery texture. Ensure the base layer extends fully to the outline to create a seamless look.
Allowing the Base Coat to Dry Completely
This is a critical step that cannot be rushed. The flood-iced base coat must be completely dry and hardened before you attempt to apply any brush embroidery on top. Depending on humidity levels, icing consistency, and thickness, this can take anywhere from 6 hours to overnight, or even longer in very humid conditions. Ideally, let them dry uncovered in front of a fan or in a dehydrator on a low setting for a few hours to speed up the process and ensure a hard surface.
Attempting brush embroidery on a wet or partially dry base coat will likely result in the wet icing sinking into the base layer, blurring your design, or even lifting portions of the base icing. A fully hardened base provides a stable surface for the brush to glide over, allowing you to create sharp, defined brush embroidery texture techniques without damaging the underlying layer. You should be able to gently touch the surface without leaving a mark before proceeding.
Step-by-Step Guide to Brush Embroidery Texture Techniques
Step 1: Piping the Outline of Your Design
Begin by sketching or lightly marking your design onto the dry base coat of your cookie using an edible marker or by gently etching a faint line with a scribe tool. Load a piping bag fitted with a small round tip (like a #1 or #2) with royal icing at the correct consistency (toothpaste-like, 15-second count). Carefully pipe a line of icing along one section of your design outline. Work in small sections, perhaps just an inch or two at a time, especially when you are first learning, as the icing needs to remain wet enough to manipulate.
For example, if you are creating a floral design, pipe just one petal outline or a portion of a leaf outline. If doing a lace pattern, pipe a short segment of the pattern. The thickness of this piped line will influence how much icing you have to work with for brushing, so aim for a consistent line that's not too thick or too thin – perhaps around 1/8 inch wide.
Step 2: Diluting Royal Icing for the Brush Embroidery Effect
While the initial line is piped with a slightly thicker consistency, some decorators prefer to use a slightly thinner icing consistency for the actual brushing itself, or they simply work very quickly with the piping consistency. However, the most common method involves using the same 15-second count icing for both piping and brushing. The key is having a damp brush, not a wet one.
The damp brush is what allows you to pull and spread the icing. Keep a small dish of clean water nearby. Dip just the tip of your brush into the water, then immediately dab off almost all the excess water on a paper towel. The brush should feel just slightly moist, not soaking wet. Too much water will make the icing bleed and lose its definition, ruining the brush embroidery texture.
Step 3: Applying the Royal Icing with a Fine Brush
Immediately after piping a small section of your design outline, take your slightly damp brush. Starting from the inner edge of the piped line (the side closest to the center of your design), gently place the tip of the brush into the wet icing. With light pressure, draw the brush inwards, pulling a small amount of icing away from the piped line and feathering it onto the dry base coat.
Lift the brush cleanly after each stroke. Repeat this pulling motion along the entire length of the piped line you just created, making many small, overlapping strokes. The goal is to create soft, feathered lines that radiate inwards from the piped outline, mimicking the look of stitching or brush strokes. Work quickly before the piped icing crusts over – this is why working in small sections is crucial for successful brush embroidery texture techniques.
Step 4: Creating Texture with Different Brush Strokes
The type of brush stroke you use directly impacts the final brush embroidery texture. Short, quick strokes pulled straight inwards create a fine, feathery look. Longer, sweeping strokes can create a smoother, more blended effect. Pulling strokes at different angles relative to the piped line can add movement and organic variation, especially useful for floral elements like leaves or petals.
Experiment with the amount of pressure you apply. Lighter pressure will pull less icing and create finer lines, while slightly more pressure will pull more icing, resulting in a thicker, more pronounced stroke. The key is consistency within a single section, but variation can be used across different elements of your design to add interest and depth to the brush embroidery texture.
Step 5: Adding Depth and Dimension to Your Brush Embroidery
To add depth and make your brush embroidery truly stand out, you can layer the technique. Once the first layer of brushed icing is completely dry (which might take 30 minutes to an hour depending on thickness and humidity), you can pipe another, thinner line of icing just inside the first brushed layer. Then, repeat the brushing process, pulling the icing inwards again.
This layering effect builds up the texture, making the areas closest to the original piped line appear more raised and defined, while the subsequent layers add softer, feathered details. You can use the same color icing or a slightly lighter or darker shade to enhance the dimensional effect. This layering is key to achieving the intricate, almost 3D look often seen in advanced brush embroidery texture techniques.
Brush Embroidery Texture Variations and Design Ideas
Creating Floral Brush Embroidery Designs
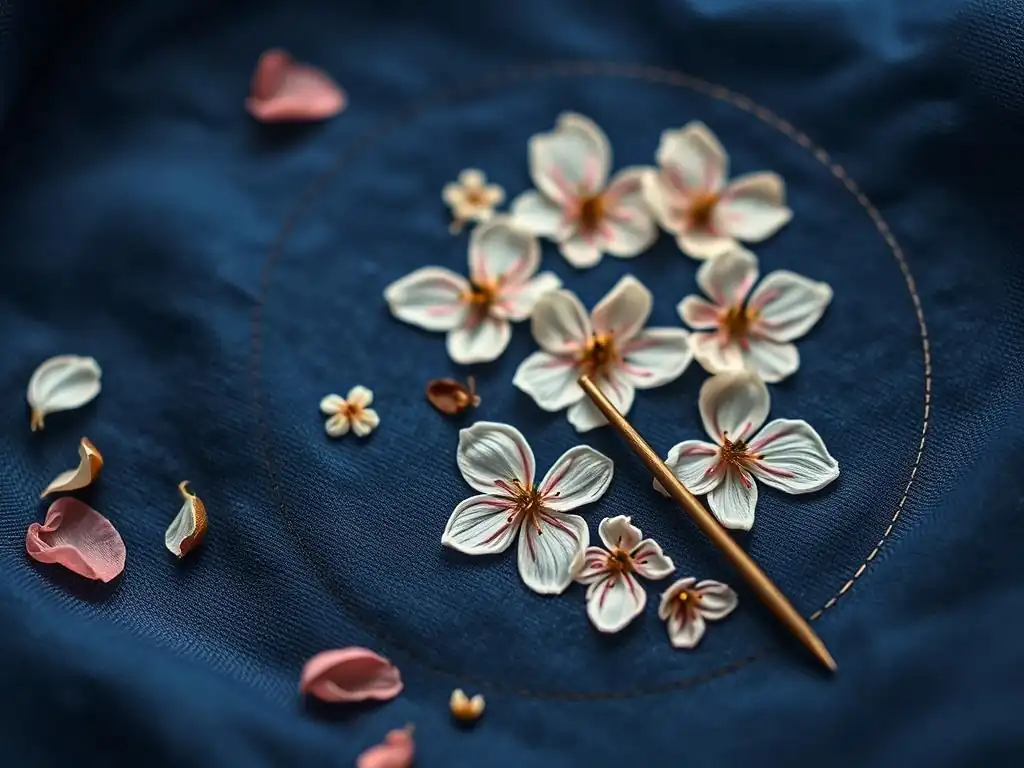
Floral patterns are perhaps the most classic application of brush embroidery texture techniques. Petals and leaves lend themselves beautifully to the feathered look created by the brush strokes. To create a petal, pipe a curved line for the outer edge, then use your damp brush to pull the icing inwards towards the center of where the flower would be. Overlap petals slightly as you work around the center.
For leaves, pipe a line down the center vein, then pipe short lines radiating outwards from the vein to form the leaf shape. Brush the icing from these short lines outwards towards the edge of the leaf. You can use different shades of green for leaves and varying colors for petals to create realistic or stylized floral brush embroidery texture. Consider adding a dot of stiff icing in the center of flowers for stamens after the brushed layers are dry.
Implementing Lace-Like Brush Embroidery Patterns
Brush embroidery is perfect for mimicking delicate lace patterns on cookies, ideal for weddings, anniversaries, or vintage themes. This involves piping intricate scrollwork, dots, or geometric shapes and then brushing specific edges to create a soft, lace-like texture. For example, pipe a series of connected loops or swirls, then brush only the inner edge of each loop inwards.
You can also pipe a series of small dots in a pattern (like a grid or a curve) and then brush each dot outwards in multiple directions to create a starburst or snowflake effect, resembling eyelet lace. Combining piped lines that are not brushed with areas of brush embroidery texture enhances the contrast and makes the lace pattern pop. White or ivory icing is traditional for lace, but soft pastels can also be stunning.
Using Brush Embroidery for Lettering and Monograms
Adding brush embroidery texture to lettering or monograms can give them an elegant, handcrafted feel. Pipe the outline of your letter or monogram using the appropriate icing consistency. Then, using your damp brush, pull the icing inwards from the outline, following the curves and lines of the letter. This works best on thicker block letters or stylized script rather than very fine fonts.
You can brush the entire letter or just parts of it, perhaps brushing the downstrokes of a script letter while leaving the upstrokes smooth. Layering can add further dimension to the monogram. For instance, after the first brushed layer is dry, pipe a slightly smaller outline inside the first and brush again. This technique adds a sophisticated touch to personalized cookies for events.
Exploring Abstract Brush Embroidery Textures
Brush embroidery texture techniques aren't limited to representational designs. You can create beautiful abstract patterns by simply piping lines, dots, or shapes randomly or in a geometric arrangement and brushing them in different directions. Pipe parallel lines and brush them all inwards towards the center of the cookie. Or pipe a series of concentric circles and brush them outwards.
Consider piping dots in a cluster and brushing them outwards to create a textured burst. You can also pipe irregular shapes and brush them from different edges to create organic, flowing textures. Experimenting with the direction and length of your brush strokes in abstract designs can lead to unique and visually striking brush embroidery texture patterns.
Troubleshooting Common Brush Embroidery Problems
Royal Icing Too Thick or Too Thin
If your royal icing is too thick, you'll find it difficult to pull smoothly with the brush. The icing might break or drag instead of feathering nicely, resulting in a choppy or uneven brush embroidery texture. To fix this, add water very gradually, a drop at a time, stirring thoroughly after each addition until you reach the desired consistency. Test on a practice surface.
Conversely, if your icing is too thin, the piped lines will spread quickly, and when you brush, the icing might bleed excessively into the base coat or lose its feathered shape, resulting in a muddy or blurry look. To thicken royal icing, you can add more sifted confectioners' sugar or meringue powder. Again, add small amounts and mix well, testing until the consistency is correct for brush embroidery texture techniques.
Brush Strokes Not Showing Up Properly
If you are brushing the icing but the feathered strokes aren't visible or distinct, there could be a few reasons. The most common is that the piped icing has started to crust over before you've had a chance to brush it. Royal icing forms a crust relatively quickly when exposed to air. This is why working in small sections is vital. Try piping shorter lines and brushing them immediately.
Another possibility is that your brush is too wet. Too much water can dissolve the icing rather than pulling it, making the strokes disappear or blend too much. Ensure you are dabbing off excess water until the brush is just slightly damp. Finally, ensure your base layer is completely dry; brushing on a wet base will cause the icing to sink.
Icing Bleeding or Blurring
Icing bleeding or blurring is often a sign that either your base layer is not fully dry, or your brush is too wet. If the base layer isn't hardened, the moisture from the wet icing and the damp brush will reactivate it, causing colors to bleed and lines to blur. Ensure cookies dry for ample time (6-12+ hours) before adding brush embroidery.
If the base is dry, check your brush. You should only dip the tip in water and then blot it thoroughly on a paper towel. The brush should feel barely damp. Too much water is the most frequent cause of bleeding when the base is dry. Using gel food coloring instead of liquid can also help prevent excess moisture issues that lead to blurring of brush embroidery texture.
Preventing Air Bubbles in Your Brush Embroidery
Air bubbles in your royal icing can pop and leave unsightly holes in your piped lines or brushed areas, disrupting the smooth brush embroidery texture. These bubbles are often introduced during the mixing process. To minimize them, mix your royal icing on a low speed once the ingredients are combined, avoiding whipping air into it.
After coloring and thinning your icing to the correct consistency, let it rest in the bowl, covered with plastic wrap touching the surface, for 10-15 minutes. This allows small bubbles to rise to the surface. Before loading your piping bag, gently stir the icing with a spatula to release any remaining bubbles, tapping the bowl lightly on the counter. Once in the piping bag, gently squeeze the bag to bring bubbles to the top and snip them off with the tip.
Tips and Tricks for Perfect Brush Embroidery
Practice Makes Perfect: Experiment with Different Techniques
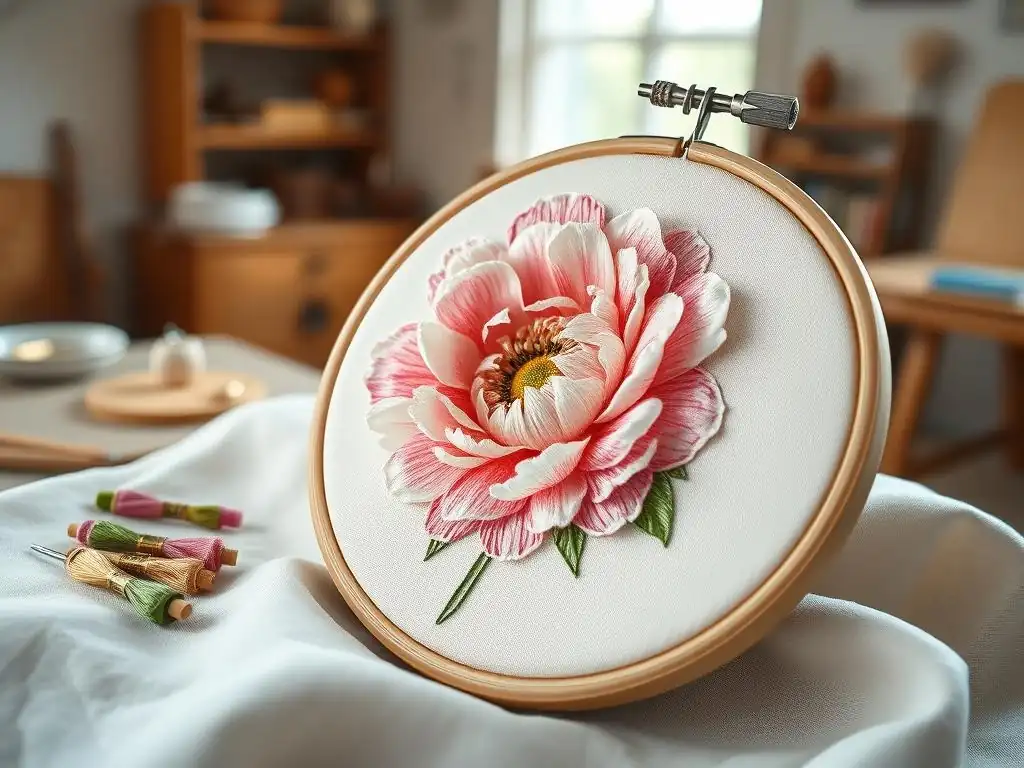
Mastering brush embroidery texture techniques, like any decorating skill, takes practice. Don't expect your first attempts to be flawless. Start with simple shapes like leaves or basic lines on practice cookies or even parchment paper taped to a flat surface. Experiment with different icing consistencies (slightly thicker or thinner), different brush sizes, and varying the angle and pressure of your brush strokes.
Keep notes on what works best for you regarding icing consistency and drying times in your environment. Practice helps you develop a feel for how the icing behaves and how quickly you need to work. The more you practice, the more control you will gain over creating consistent and beautiful brush embroidery texture.
Using Stencils to Guide Your Brush Embroidery
While freehand brush embroidery is beautiful, stencils can be a fantastic tool, especially for beginners or for achieving precise, repeatable patterns like lace or geometric designs. Place a stencil over your dry base-coated cookie. Instead of scraping icing over the stencil as you would for a typical stenciled design, pipe your lines or dots for the brush embroidery following the pattern visible through the stencil.
Once the icing is piped, carefully remove the stencil immediately (before the icing crusts). Then, proceed with brushing the piped lines as usual. This method ensures accurate placement and shape for your design elements, making it easier to focus on perfecting the brush embroidery texture itself.
Achieving Fine Details with a Steady Hand
Creating delicate brush embroidery texture, especially for intricate patterns or fine details, requires a steady hand. Find a comfortable position where you can rest your elbows on the table. Consider using a cookie turntable to easily rotate the cookie rather than twisting your body. Holding the piping bag and brush comfortably is also key.
If you find your hand shakes, try holding your piping hand with your other hand for support. For brushing, use your non-dominant hand to gently hold the cookie steady or rest the edge of your brushing hand on the table surface for stability. Taking deep breaths can also help calm nerves and steady your hand for those fine brush embroidery texture techniques.
Proper storage is essential to preserve the delicate brush embroidery texture you've created. Once the royal icing is completely dry and hardened (this includes the brushed layers, which might take 8-12 hours depending on humidity), store the cookies in an airtight container at room temperature. Layer them carefully between sheets of parchment paper to prevent the delicate icing from being damaged.
Avoid stacking cookies too high, as the weight can crush the textured icing. Keep them out of direct sunlight or extreme temperatures, which can cause colors to fade or icing to soften. When handling, pick them up gently from the edges to avoid touching the brushed surfaces. Stored correctly, brush embroidered cookies can last for several weeks, though they are best enjoyed within 1-2 weeks for optimal freshness.
Advanced Brush Embroidery Techniques
Combining Brush Embroidery with Other Decorating Methods
Once comfortable with basic brush embroidery texture techniques, try combining them with other decorating methods for more complex designs. For instance, use brush embroidery for floral elements and outline/flood for surrounding shapes or backgrounds. Pipe small beads or dots using stiff icing around the brushed areas to create a framed effect.
Wet-on-wet techniques can be used within the non-brushed areas for marbled or swirled effects that contrast with the textured brush embroidery. Airbrushing can be applied after the brush embroidery is completely dry to add soft color gradients or shimmer, highlighting the texture. Royal icing transfers or fondant pieces can also be added on top of or around brush embroidered areas for multi-dimensional designs.
Creating Multi-Colored Brush Embroidery Designs
While single-color brush embroidery is elegant, using multiple colors can add vibrancy and complexity. You can create multi-colored brush embroidery texture in a few ways. Pipe different colored lines side-by-side and brush them together, allowing the colors to blend slightly at the edges. Or, pipe one color, brush it, let it dry slightly, then pipe a second color next to it and brush it, creating distinct layers of color and texture.
Another approach is to use one color for the main brush embroidery and then use a contrasting color to pipe small details or accents on top of the dried brushed areas (like darker veins on a leaf or contrasting centers on flowers). Experiment with color palettes that complement each other to create visually appealing multi-colored brush embroidery texture.
Achieving a 3D Effect with Brush Embroidery
Layering is the primary method for creating a 3D effect with brush embroidery texture. As mentioned earlier, piping subsequent, slightly smaller lines inside the first brushed layer and brushing again builds up height and definition. You can repeat this process multiple times, using progressively smaller tips and lines, to create a highly raised, dimensional effect, particularly effective for petals or leaves.
Another technique is to pipe a mound of slightly thicker icing and then brush outwards from the center of the mound, creating a raised, textured dome. This can be used for flower centers or decorative buttons. Combining layered brush embroidery with strategically placed dots or beads of stiff icing can further enhance the 3D appearance, making elements look like they are lifting off the cookie surface.
Conclusion: Unleash Your Creativity with Brush Embroidery
Mastering brush embroidery texture techniques is a rewarding journey that allows you to transform simple cookies into exquisite edible art. By understanding the importance of icing consistency, utilizing the right tools, and patiently practicing the brushing motion, you can create stunning textures that mimic delicate stitching, intricate lace, and realistic floral patterns. It's a technique that adds a level of sophistication and artistry to your baking, making your cookies truly memorable.
The process requires attention to detail and patience, especially when waiting for layers to dry and working in small sections. However, the result – cookies adorned with beautiful, tactile brush embroidery texture – is well worth the effort. As you become more comfortable, you'll find yourself naturally developing a feel for the icing and the brush, allowing your creativity to flow and leading to increasingly complex and beautiful designs.
Where to Find Inspiration for Brush Embroidery Designs
Inspiration for brush embroidery texture designs is everywhere! Look at real-life textiles like lace, embroidery, and brocade fabrics for intricate patterns. Nature provides endless inspiration with the delicate veins of leaves, the structure of flower petals, and organic shapes. Architectural details, vintage patterns, and even wallpaper designs can spark ideas for elegant border work or central motifs.
Online platforms like Pinterest and Instagram are treasure troves of cookie art, where you can see how other decorators have used brush embroidery texture in creative ways. Don't be afraid to adapt ideas you see – perhaps taking a floral pattern from a piece of pottery or a geometric design from a tile and translating it into brush embroidery on a cookie. Start simple, then gradually challenge yourself with more complex patterns as your skills grow.
Frequently Asked Questions
What is brush embroidery texture technique?
Brush embroidery is a method of creating a raised, textured effect on baked goods, typically cookies or cakes, using royal icing. It mimics the look of embroidered fabric through careful piping and brushing techniques.
What type of icing is best for brush embroidery?
Royal icing is the preferred choice for brush embroidery. It dries hard and holds its shape well, allowing for a defined and durable texture.
What tools are needed for brush embroidery?
You'll need royal icing, piping bags, various piping tips (especially small round tips), a fine-tipped brush, and food coloring gels. A turntable can also be helpful for even application.
How do I prevent my royal icing from cracking during brush embroidery?
Ensure your royal icing has the correct consistency: not too thick, not too thin. Also, avoid overworking the icing and allow it to dry slowly in a humid environment.
What are some common brush embroidery design ideas?
Popular designs include floral patterns, delicate vines, lace-like borders, and geometric shapes. Experiment with different colors and brush strokes to create unique textures.
Final Reflection: Embracing the Tactile Beauty of Brush Embroidery
The art of brush embroidery, with its unique ability to create exquisitely textured surfaces, is experiencing a well-deserved resurgence in the crafting world. This isn't just a fleeting trend; it's a testament to our growing desire for handmade beauty and the tactile satisfaction of creating something truly unique. The techniques explored in this article offer a gateway to a world of creative expression, far beyond simple stitching.
The impact of brush embroidery extends beyond the individual craft; it speaks to a broader cultural shift towards valuing handcrafted items and appreciating the artistry behind seemingly simple techniques. It's a rebellion against mass-produced uniformity, a celebration of individuality expressed through texture and color. As the artist and writer, Louise Bourgeois, once said: Art is a collaboration between the artist and the observer.
Brush embroidery invites this collaboration, allowing both the creator and the viewer to engage with the piece on a deeply sensory level.
Now, it's your turn. Consider the textures you want to create, the emotions you want to evoke. Don't be afraid to experiment, to push the boundaries of what you think is possible with this versatile technique. Pick up your brush, choose your threads, and let your creativity flow. The journey of mastering brush embroidery is a rewarding one, filled with the joy of creation and the satisfaction of producing something truly beautiful and uniquely yours.
That website name and domain don't quite fit the article topic. Brush embroidery is a textile art, not baking. Let's assume the article is hosted on a different site appropriate for crafts. Here's a CTA built for that assumed context:
Unleash Your Inner Artisan: Elevate Your Embroidery
Thanks for exploring the world of brush embroidery! You've now learned a beautiful new technique to add texture and elegance to your projects. Ready to put your newfound skills to the test?
- Embroider a small practice piece: Start with a simple design – a flower, leaf, or abstract shape – to solidify your technique. This is your first step to mastering brush embroidery!
- Share your creations! Post photos of your work on social media and use #BrushEmbroideryInspiration to connect with fellow crafters.
- Explore advanced brush embroidery stitches: Dive deeper into the technique and discover the endless possibilities!
What unique design will you bring to life with your brush embroidery skills?