
The Advanced Baker's Guide to Understanding Dough Hydration Levels

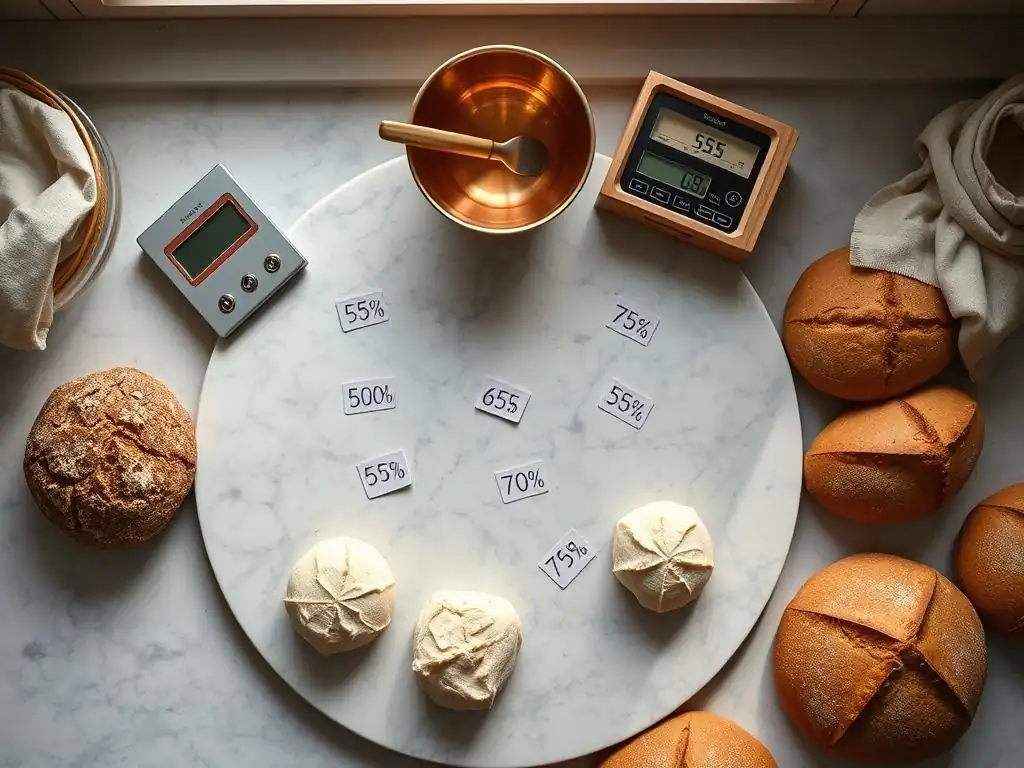
Welcome to BakeWithEase, where we believe anyone can create delicious baked goods!
Ever wondered how to achieve that perfect texture in your bread? In this guide, we unlock the secrets behind dough hydration levels explained. Understanding this crucial aspect of baking will transform your breads from good to extraordinary. Get ready to delve into the science and elevate your bread baking game – are you ready to unlock the power of perfectly hydrated dough?
- Introduction to Dough Hydration: Why It Matters for Advanced Baking
-
Demystifying Dough Hydration Percentages: A Baker's Deep Dive
- Calculating Dough Hydration: The Baker's Percentage Formula
- Low Hydration Doughs (50-65%): Characteristics and Best Uses
- Medium Hydration Doughs (65-75%): Versatility in Baking
- High Hydration Doughs (75-85%): Achieving Open Crumb and Exceptional Flavor
- Extreme Hydration Doughs (85%+): Handling and Mastering Difficult Doughs
- Factors Affecting Dough Hydration: More Than Just Water
- Techniques for Working with Different Dough Hydration Levels
- Troubleshooting Common Dough Hydration Issues
- Advanced Baking Applications: Hydration and Flavor Development
- Advanced Tools and Resources for Measuring Dough Hydration
- Conclusion: Elevate Your Baking with a Deep Understanding of Dough Hydration
-
Frequently Asked Questions
- What exactly is dough hydration, and why is it important?
- How do I calculate the hydration percentage of my dough?
- What are some common hydration levels, and what types of baked goods are they best suited for?
- What are the benefits of using a higher hydration dough?
- What challenges might I face when working with high-hydration dough, and how can I overcome them?
- Final Reflection: The Transformative Power of Hydration
- Unlock Your Baking Potential: Master Dough Hydration!
Introduction to Dough Hydration: Why It Matters for Advanced Baking
Understanding Dough Hydration Levels Explained: A Baker's Secret Weapon
Dough hydration is a critical concept for any baker looking to move beyond basic recipes and truly understand the science and art of bread making. Simply put, hydration refers to the ratio of water to flour in a dough, typically expressed as a percentage.
Mastering dough hydration levels explained is fundamental because it directly impacts the dough's texture, handling characteristics, fermentation process, and ultimately, the final quality of the baked goods. For advanced bakers, manipulating hydration is akin to controlling a key variable in a scientific experiment, allowing for precise control over outcomes like crumb structure, crust development, and overall flavor profile.
This ratio is usually calculated using the baker's percentage formula, where the weight of the water is divided by the weight of the flour and multiplied by 100. For example, 500 grams of flour and 300 grams of water result in a hydration of (300 / 500) * 100 = 60%. Understanding these dough hydration levels explained allows bakers to predict how a dough will behave and make informed decisions about mixing, kneading, fermentation, and baking techniques. It's not just about adding water; it's about understanding its relationship with the flour and how that interaction shapes the final product.
The Impact of Hydration on Dough Properties and Final Baked Goods
The hydration level of a dough profoundly affects its physical properties. Higher hydration doughs tend to be stickier and more challenging to handle but result in a more open, airy crumb structure and a thinner, crispier crust. This is because the increased water allows for greater gluten development and expansion during fermentation and baking. Conversely, lower hydration doughs are firmer, easier to knead and shape, and produce a tighter crumb and a thicker, chewier crust. Think about the difference between a dense bagel (low hydration) and a light, airy ciabatta (high hydration).
Beyond texture, hydration influences fermentation speed and flavor development. More hydrated doughs often ferment faster as water facilitates yeast activity. This can lead to more complex flavors if managed correctly through longer, cooler fermentation periods. The interaction between water, flour, yeast, and salt is dynamic, and adjusting the hydration level is a primary way advanced bakers fine-tune these interactions to achieve specific characteristics in breads, pizzas, and other baked goods. Understanding these dough hydration levels explained is key to unlocking new possibilities in your baking.
BakeWithEase's Approach to Mastering Dough Hydration
At BakeWithEase, we believe that understanding dough hydration is a cornerstone of advanced baking. Our approach focuses on demystifying the percentages and providing practical guidance on how to handle doughs at various hydration levels. We emphasize hands-on techniques and observation, teaching bakers to feel and understand how hydration affects the dough's consistency and behavior throughout the entire process, from mixing to baking.
We provide detailed guides and examples, illustrating how different hydration levels are suited for specific types of baked goods, from rustic artisan loaves to perfect Neapolitan pizza crusts. Our resources break down complex concepts like autolyse and stretch-and-folds, explaining how these techniques are particularly effective when working with higher hydration doughs to develop strength without excessive kneading. By focusing on the practical application of dough hydration levels explained, we empower our community to confidently experiment and achieve exceptional results.
Demystifying Dough Hydration Percentages: A Baker's Deep Dive
Calculating Dough Hydration: The Baker's Percentage Formula
Calculating dough hydration is fundamental to controlling your bake and is always expressed using the baker's percentage. This system calculates all ingredients as a percentage of the total flour weight, which is always considered 100%. The formula for hydration is straightforward:
Hydration % = (Weight of Water / Weight of Flour) * 100
For example, if a recipe calls for 1000 grams of bread flour and 700 grams of water, the hydration is (700 / 1000) * 100 = 70%. This method allows bakers to easily scale recipes up or down while maintaining the precise ratios that define the dough's characteristics. It also makes it easy to compare different recipes regardless of their batch size, providing a universal language for discussing dough hydration levels explained.
Understanding this formula is crucial not just for following recipes but for modifying them. If you want to adjust a recipe to be higher or lower hydration, you simply change the water weight relative to the flour weight while keeping the flour at 100%. This precise calculation ensures consistency and allows for controlled experimentation, helping you master the art of managing dough hydration levels explained for different outcomes.
Low Hydration Doughs (50-65%): Characteristics and Best Uses
Doughs with hydration levels between approximately 50% and 65% are considered low hydration. These doughs are typically firm, easy to handle, and require significant mechanical kneading (by hand or mixer) to develop gluten. They are less sticky than higher hydration doughs, making them ideal for shaping techniques that require a firm structure, such as braiding or intricate rolls.
Low hydration doughs result in a dense, tight crumb structure and a relatively thick crust. They are excellent for baked goods where a sturdy texture is desired, such as bagels (often 50-55%), some types of sandwich bread (around 60%), and certain enriched doughs like challah or brioche (though enriched doughs have fat/eggs which also affect texture). While they might lack the open structure of high hydration loaves, their ease of handling and predictable results make them a great starting point for understanding how dough hydration levels explained influence texture.
Medium Hydration Doughs (65-75%): Versatility in Baking
Medium hydration doughs, falling roughly between 65% and 75% hydration, represent a sweet spot for many types of bread and pizza. These doughs are more pliable and slightly stickier than low hydration doughs but are still relatively manageable with standard kneading techniques. They offer a good balance between ease of handling and the ability to achieve a moderately open crumb structure.
This range is incredibly versatile. Many classic lean artisan breads, such as baguettes (often 68-72%) and standard sourdough loaves (typically 70-75%), fall into this category. Pizza dough hydration for many popular styles, including New York-style pizza, often sits in the 60-65% range, though some artisan pizza doughs push towards 70%. Working with medium dough hydration levels explained allows bakers to explore a wide variety of bread types and develop skills in managing doughs that are neither too stiff nor excessively wet.
High Hydration Doughs (75-85%): Achieving Open Crumb and Exceptional Flavor
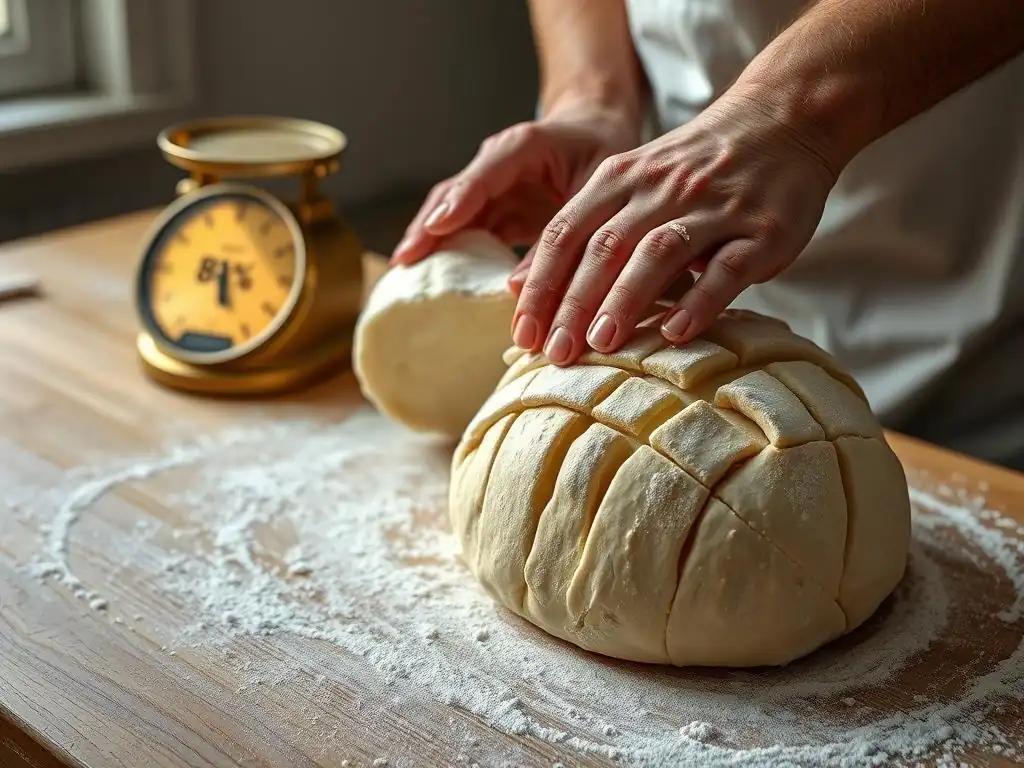
High hydration doughs, typically ranging from 75% to 85% hydration, are where bakers begin to unlock truly open, airy crumb structures and thin, crisp crusts. These doughs are noticeably sticky and slack, requiring different handling techniques than lower hydration doughs, such as stretch-and-folds rather than traditional kneading. While more challenging to work with, the results can be incredibly rewarding.
Breads like ciabatta (often 80%+), many rustic loaves, and pan pizzas aiming for a very light interior often utilize high hydration. The increased water allows for maximum gluten expansion during fermentation and oven spring, leading to large, irregular holes in the crumb. Furthermore, the higher water content can contribute to a moister crumb and enhance the development of desirable flavors during fermentation. Mastering these dough hydration levels explained is a significant step in advanced bread baking.
Extreme Hydration Doughs (85%+): Handling and Mastering Difficult Doughs
Pushing hydration levels beyond 85% enters the realm of extreme hydration doughs. These are incredibly wet, slack, and difficult to handle, often resembling a thick batter more than a traditional dough. Working with such high hydration requires specific techniques, significant practice, and often specialized equipment like dough scrapers and proofing baskets.
Examples include some ultra-light ciabatta variations or specific regional bread types. The goal with extreme hydration is often to maximize the open crumb structure and achieve an exceptionally light texture. While challenging, successfully baking an extremely hydrated dough demonstrates a high level of skill and a deep understanding of dough dynamics and dough hydration levels explained.
Factors Affecting Dough Hydration: More Than Just Water
Flour Type and Water Absorption: Understanding Flour's Role in Hydration
Not all flours absorb water equally. The type of flour used is a primary factor influencing how much water a dough can handle and how it behaves at a given hydration percentage.
Flours with higher protein content, such as strong bread flour (typically 12-14% protein), can absorb significantly more water and develop a stronger gluten network compared to lower protein flours like cake flour (around 8-10% protein). Whole wheat flour, despite its protein content, contains bran and germ which absorb water differently and can weaken the gluten structure, often requiring slightly higher hydration than white flour for a similar consistency.
Understanding your flour's absorption capacity is crucial when working with dough hydration levels explained. A 70% hydration dough made with a high-protein bread flour will feel and behave differently than a 70% hydration dough made with all-purpose flour. High-quality bread flour might comfortably handle 75% hydration, while a weaker flour might become unmanageable at that level. Experimenting with different flours and observing how they handle water is key to mastering hydration.
Ambient Temperature and Humidity: Adjusting Hydration for Your Environment
Environmental factors like ambient temperature and humidity also play a significant role in dough hydration. On a hot, humid day, flour can absorb moisture from the air, and dough water can evaporate less quickly. This means a dough mixed to a specific hydration on a dry, cool day might feel stickier and wetter on a humid day, even if the measured ingredients are identical.
Conversely, in a cold, dry environment, flour might be drier and the dough water could evaporate faster. Bakers in different climates or seasons often need to make slight adjustments to their water quantity or hydration percentage to achieve consistent results. While the baker's percentage gives you the theoretical hydration, understanding how your environment impacts the effective hydration and dough feel is part of developing advanced baking intuition regarding dough hydration levels explained.
The Role of Gluten Development in Hydrated Doughs
Gluten development is intrinsically linked to dough hydration. Gluten is formed when the proteins glutenin and gliadin in flour combine with water and are developed through mixing or kneading. Water is essential for these proteins to form the elastic network that gives dough its structure and ability to trap gases produced during fermentation.
Higher hydration doughs, with more available water, facilitate greater gluten development, allowing the gluten strands to stretch and form a more open network. This is why high hydration doughs are known for their airy crumb. However, developing a strong gluten network in high hydration doughs requires different techniques like stretch-and-folds or coil folds, as the dough is too slack for traditional kneading. Understanding how hydration influences gluten formation and which techniques best suit different dough hydration levels explained is vital for achieving desired bread structure.
Autolyse and Its Impact on Dough Hydration and Strength
Autolyse is a technique where flour and water are mixed and allowed to rest for a period (typically 20 minutes to an hour) before adding salt and yeast and beginning the main kneading process. This simple step has a profound impact, especially on dough hydration. During the autolyse period, the flour fully hydrates, and enzymatic activity begins to break down proteins and starches.
This pre-hydration makes the dough more extensible and easier to develop gluten later with less work. For high hydration doughs, autolyse is particularly beneficial as it helps the flour absorb the large amount of water more evenly and starts the gluten development process, making the dough less shaggy and easier to handle when the other ingredients are incorporated. It's a powerful tool for managing dough hydration levels explained and improving dough strength and texture.
Techniques for Working with Different Dough Hydration Levels
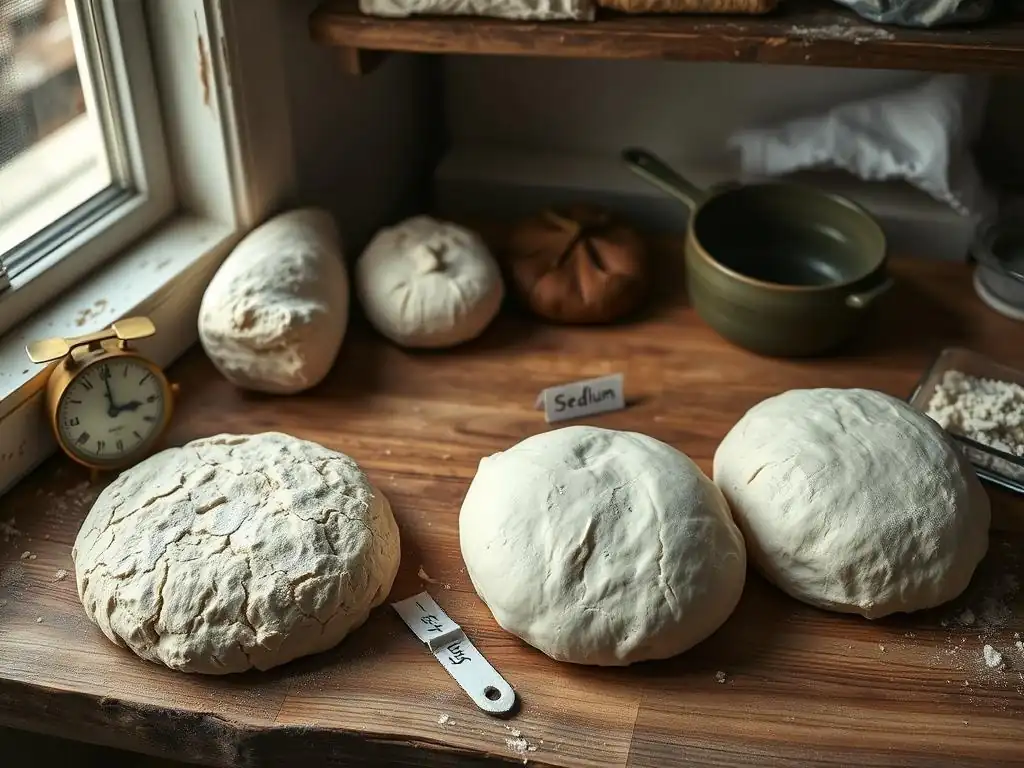
Mastering Low Hydration Doughs: Kneading and Shaping Techniques
Working with low hydration doughs (50-65%) is often the most straightforward in terms of handling. These doughs are firm and require significant mechanical kneading to build a strong gluten network. Traditional kneading methods on a floured surface or using a stand mixer are very effective. The dough will resist stretching initially but will become smooth and elastic as gluten develops.
Shaping low hydration doughs is also easier because they hold their structure well. Techniques like rolling, braiding, and precise molding for loaves or rolls are simple with these firm doughs. For instance, shaping a tight boule or battard is much easier with a 60% hydration dough than an 80% one. While simpler to handle, achieving a tender crumb still requires careful attention to fermentation and avoiding over-kneading, which can make the dough tough.
Handling Medium Hydration Doughs: Achieving Optimal Dough Strength
Medium hydration doughs (65-75%) offer a balance in handling. They can often be kneaded effectively by hand or machine, but they benefit greatly from techniques that build strength gradually. A combination of initial kneading followed by periods of rest (like the 'fold and rest' method) or a series of stretch-and-folds during the bulk fermentation can help develop the necessary gluten structure without making the dough overly resistant.
Achieving optimal dough strength is key in this hydration range to ensure the dough can hold its shape during proofing and baking and develop a good crumb. Techniques like the windowpane test are useful here to check gluten development. Shaping requires a bit more finesse than low hydration doughs, as they are slightly more relaxed, but they still hold their shape reasonably well for loaves, baguettes, and many pizza styles.
Taming High Hydration Doughs: Folding and Fermentation Strategies
High hydration doughs (75-85%) are challenging due to their stickiness and slackness. Traditional kneading is ineffective; instead, techniques like stretch-and-folds, coil folds, or slap-and-folds are used to build strength. These methods gently align the gluten strands and incorporate air without tearing the fragile network. Multiple sets of folds performed during the first hour or two of bulk fermentation are crucial.
Managing fermentation is also vital. High hydration doughs often ferment faster, so monitoring is important. Bulk fermentation is typically done in a square or rectangular container to facilitate folding. Proofing is often done in well-floured bannetons or proofing baskets to prevent sticking. Understanding these specific techniques for handling dough hydration levels explained in the high range is essential for success.
Baking High Hydration Doughs: Tips for Achieving a Perfect Crust and Crumb
Baking high hydration doughs requires attention to oven setup and technique. A hot oven is critical for achieving good oven spring before the structure sets. Baking in a Dutch oven or using steam in the oven environment is highly recommended. The steam keeps the dough surface moist initially, allowing it to expand fully before a crust forms. This contributes significantly to both oven spring and the development of a thin, crisp crust.
The high water content in the dough also contributes to a moister crumb and helps create that desirable open structure. Baking times might vary slightly; often, a period of covered baking (in a Dutch oven) is followed by uncovered baking to allow the crust to brown and crisp up properly. Mastering the baking phase is the final step in successfully working with high dough hydration levels explained.
Troubleshooting Common Dough Hydration Issues
Dough Too Sticky: Causes and Solutions for High Hydration Problems
A dough that is excessively sticky, especially at medium to high hydration, can be frustrating. Common causes include insufficient gluten development (the dough hasn't built enough structure to manage the water), not allowing the dough to rest enough (autolyse or resting between folds), or simply pushing the hydration level beyond what the flour can handle or what your current skill level can manage.
Solutions involve building strength. Ensure you are performing enough stretch-and-folds or other strengthening techniques during bulk fermentation. If the dough is still unmanageable, a small amount of additional flour can be worked in gradually during the folding process. However, it's better to learn to handle the stickiness using wet hands or a dough scraper and focusing on developing dough strength rather than adding too much extra flour, which changes the intended dough hydration levels explained.
Dough Too Dry: Adjusting Hydration and Preventing Cracking
A dough that feels too dry or stiff, often at lower hydration levels, can result in a dense crumb and potentially a crust that cracks during baking. This can be caused by inaccurate measurement, using a particularly dry batch of flour, or environmental factors like very low humidity.
If you notice the dough is too dry during mixing, you can carefully add a small amount of water, a teaspoon or tablespoon at a time, allowing it to be absorbed before adding more. Do this early in the mixing process. To prevent cracking in the crust, ensure the dough is properly proofed (not under-proofed) and consider using steam during the initial phase of baking. Understanding the signs of a dry dough and how to make minor adjustments is part of mastering dough hydration levels explained.
Achieving the Perfect Crumb Structure: Hydration's Influence
The desired crumb structure varies greatly depending on the type of bread, but hydration is a major factor in achieving it. A tight, even crumb is typical for lower hydration doughs like sandwich bread or bagels. An open, irregular crumb with large holes is characteristic of high hydration doughs like ciabatta or artisan sourdough.
To achieve an open crumb in higher hydration doughs, focus on:
- Accurate dough hydration levels explained (ensure it's high enough).
- Sufficient gluten development through gentle folding techniques.
- Proper fermentation management, including a good bulk fermentation and careful handling during shaping to preserve gas.
- Adequate oven spring, often achieved with steam or baking in a Dutch oven.
For a tighter, even crumb in lower hydration doughs:
- Ensure thorough kneading to develop a strong, even gluten network.
- Shape the dough tightly to create internal structure.
- Proof adequately but avoid over-proofing, which can lead to collapse.
Common Mistakes in Managing Dough Hydration Levels
Several common mistakes can trip up bakers when dealing with dough hydration. One is not accurately measuring ingredients, especially water and flour by weight. Volume measurements are notoriously inaccurate for baking. Another is not accounting for variations in flour absorption or environmental conditions, leading to inconsistent dough feel.
Over-kneading low hydration doughs or under-developing gluten in high hydration doughs are also frequent issues. For high hydration, trying to handle the dough too roughly or like a lower hydration dough is a common pitfall. Finally, neglecting the role of fermentation time and temperature in conjunction with hydration can lead to problems with dough strength and flavor. Learning to recognize the feel of dough at different hydration levels and adjusting techniques accordingly is crucial for avoiding these mistakes and truly understanding dough hydration levels explained.
Advanced Baking Applications: Hydration and Flavor Development
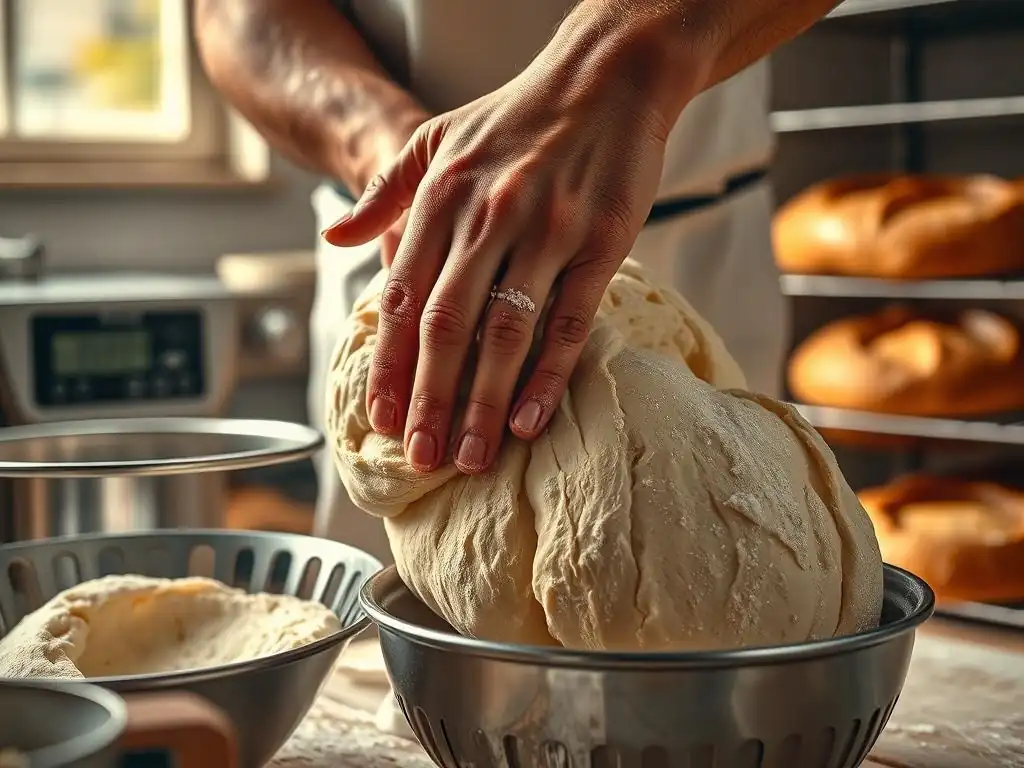
Sourdough Hydration Strategies: Achieving the Perfect Tang and Texture
Sourdough baking offers a prime example of how precise dough hydration levels explained impact both texture and flavor. Sourdough starters themselves are maintained at a specific hydration (often 100% or 50%), and the hydration of the final dough significantly influences the loaf. Higher hydration sourdoughs (75-85%) typically yield the signature open crumb, thin crust, and often a more pronounced tang due to the longer fermentation possibilities.
Lower hydration sourdoughs (65-70%) are easier to handle and shape, producing a more even, closed crumb and a slightly milder flavor profile. Bakers often adjust sourdough hydration based on desired texture and handling preference, as well as the strength of their starter and flour. Experimenting with hydration in your sourdough recipes is a fantastic way to explore variations in texture and the nuances of the sourdough tang.
Pizza Dough Hydration: From Neapolitan to New York Style
Pizza dough hydration is a fascinating area of study, with different styles relying on distinct hydration levels. Classic Neapolitan pizza dough is traditionally made with relatively low hydration, often around 55-60%. This results in a dough that is easy to stretch very thin by hand and produces a crust with characteristic blistering (cornicione) and a tender, slightly chewy interior when baked quickly at high temperatures (like in a wood-fired oven).
New York-style pizza dough typically uses a slightly higher hydration, often ranging from 60% to 65%. This hydration level contributes to a dough that can be stretched larger, baked on a deck oven, and results in a crust that is foldable yet has a satisfying chew. Other styles, like Roman-style pizza al taglio, can have very high hydration (75-80%+) to achieve a light, airy, focaccia-like base. Understanding dough hydration levels explained for different pizza styles allows you to replicate authentic results or create your own unique crusts.
Exploring Different Hydration Levels in Artisan Breads
Artisan bread covers a vast range of styles, and hydration is a key variable differentiating them. A rustic country loaf might be made at 75% hydration for an open crumb, while a traditional French pain de campagne could be around 70%. Baguettes often sit in the 68-72% range for a balance of structure and openness.
Experimenting with the same basic recipe but varying the hydration level can be an incredibly educational exercise. Starting with a base formula and making batches at 65%, 70%, and 75% hydration allows you to directly observe how the dough feels, how it handles, and how the final crumb and crust differ. This hands-on exploration is one of the best ways to internalize the impact of dough hydration levels explained.
Enhancing Flavor Through Precise Hydration Control
Beyond texture, hydration can influence flavor development. Higher hydration doughs, with more available water, can sometimes support longer fermentation times without drying out, which can lead to more complex flavor compounds being produced by the yeast and bacteria (especially in sourdough). The interaction between water, flour, and fermentation byproducts is crucial for taste.
Precise hydration control allows bakers to optimize fermentation for specific flavor profiles. A slightly higher hydration might encourage lactic acid production in sourdough for a milder tang, while a lower hydration might favor acetic acid for a sharper tang (though temperature is also a major factor here). By carefully managing dough hydration levels explained alongside fermentation time and temperature, bakers can fine-tune the flavor of their bread.
Advanced Tools and Resources for Measuring Dough Hydration
Using Digital Scales for Accurate Hydration Measurement
Accurate measurement by weight is non-negotiable for mastering dough hydration. Using a reliable digital scale is the single most important tool. Measuring flour and water by volume (cups, milliliters) is simply not precise enough due to variations in how ingredients settle and pack. A difference of just 20-30 grams of water in a 500-gram flour batch can significantly alter the dough's hydration and handling characteristics.
Always use a digital scale that measures in grams for the most accurate results. Tare the scale to zero with your mixing bowl on it before adding ingredients. This precision ensures that the dough hydration levels explained in your recipe are actually the hydration levels you are working with, removing a major variable and helping you achieve consistent results.
Hydration Calculators and Apps for Bakers
While the baker's percentage formula is simple, using online hydration calculators or baking apps can streamline the process, especially when scaling recipes or adjusting hydration. Many baking apps allow you to input the weight of your flour and other ingredients (including preferments like sourdough starter, which contributes flour and water) and will automatically calculate the total hydration percentage.
Some calculators also allow you to work backward, letting you specify a desired hydration percentage and flour weight, and then telling you how much water is needed. These tools are excellent for quickly verifying your calculations or adapting recipes, helping you confidently work with various dough hydration levels explained.
Recommended Reading and Online Resources for Mastering Dough Hydration
To truly master dough hydration, continuous learning and practice are essential. Many excellent baking books delve deeply into the science of hydration and its impact on dough. Look for resources that explain the baker's percentage system, the role of different flours, and techniques for handling high hydration doughs.
Online resources, including detailed articles and tutorials on BakeWithEase.com, provide valuable insights and step-by-step guides. Watching videos of experienced bakers handling different hydration doughs can also be incredibly helpful in understanding the feel and techniques involved. Dedicating time to study and practice will solidify your understanding of dough hydration levels explained and elevate your baking skills.
Conclusion: Elevate Your Baking with a Deep Understanding of Dough Hydration
Mastering Dough Hydration: A Journey Towards Baking Excellence with BakeWithEase
Mastering dough hydration is not just about following recipes; it's about understanding the fundamental relationship between water and flour and how it dictates the outcome of your bake. It's a journey that requires patience, practice, and keen observation. By learning to calculate, understand, and manipulate dough hydration levels explained, you gain incredible control over the texture, structure, and flavor of your bread and other baked goods.
At BakeWithEase, we are committed to guiding you on this journey. Our resources are designed to break down the complexities of hydration, making advanced techniques accessible and understandable. We encourage you to experiment, feel the dough, and learn how different hydration percentages behave. This hands-on experience, combined with a solid theoretical understanding, is the path to baking excellence.
The Future of Baking: Experimenting with Hydration for Unique Results
As you become more comfortable with managing dough hydration, you can begin to experiment. What happens if you push the hydration on your favorite sandwich bread recipe slightly? How does a 78% hydration pizza dough compare to a 60% one? Can you adapt a formula designed for one hydration level to another?
Experimentation is the future of your personal baking journey. Understanding the principles of dough hydration levels explained empowers you to confidently tweak recipes, develop your own formulas, and create baked goods with unique textures and characteristics. Don't be afraid to try new things and learn from each bake.
Further Exploration: Advanced Baking Techniques on BakeWithEase.com
Your journey into advanced baking doesn't end with hydration. Explore other critical techniques such as understanding fermentation timing and temperature, working with preferments like poolish and biga, mastering shaping techniques for different loaf styles, and optimizing your baking environment.
BakeWithEase.com offers a wealth of information on these topics and more. Continue to learn, practice, and challenge yourself. With a solid grasp of dough hydration levels explained and other advanced concepts, you are well on your way to becoming a truly exceptional baker.
Frequently Asked Questions
What exactly is dough hydration, and why is it important?
Dough hydration refers to the ratio of water to flour in a bread recipe. It's crucial because it dramatically affects the texture and characteristics of the final baked good, influencing everything from crumb structure to crust crispness.
How do I calculate the hydration percentage of my dough?
You calculate hydration percentage by dividing the weight of the water by the weight of the flour, then multiplying by 100. This gives you a clear understanding of how wet or dry your dough is.
What are some common hydration levels, and what types of baked goods are they best suited for?
Low hydration (50-65%) is common for crisp breads like bagels. Medium hydration (65-75%) is used for artisan loaves. High hydration (75-85%+) is ideal for open-crumb breads like ciabatta.
What are the benefits of using a higher hydration dough?
Higher hydration doughs typically produce breads with a more open and airy crumb, a chewier texture, and a crispier crust. However, they can be more challenging to handle.
What challenges might I face when working with high-hydration dough, and how can I overcome them?
High-hydration doughs are often sticky and difficult to shape. To overcome this, use techniques like folding, coil folds, and pre-shaping, and ensure your work surface and hands are lightly floured.
Final Reflection: The Transformative Power of Hydration
Understanding dough hydration is not merely a technical skill; it's the key that unlocks a world of baking possibilities. Mastering this fundamental aspect transforms the baker from a follower of recipes into a true artisan, capable of crafting breads and pastries with unparalleled texture, flavor, and visual appeal. The impact of precise hydration extends far beyond the simple act of mixing ingredients; it's a journey of discovery and control over the very essence of dough.
The influence of hydration on the final product is profound, shaping everything from the crumb structure to the crust's color and chewiness. It's a subtle dance between flour and water, a delicate balance that requires patience and observation. As I've explored this topic, I've been reminded of the words of renowned baker, Peter Reinhart: The most important single factor in determining the quality of your bread is the amount of water you use.
This simple statement encapsulates the power and complexity of this often-overlooked element. The more I learn, the more I appreciate the artistry involved in achieving the perfect hydration level for each specific flour and desired outcome.
Now, it's your turn to embark on this journey. Experiment with different hydration levels, observe the changes in your dough's behavior, and savor the unique textures and flavors that emerge. Don't be afraid to deviate from recipes; use this knowledge as a foundation to build your own understanding and create your signature loaves. The path to mastering dough hydration is a rewarding one, filled with delicious discoveries and the satisfaction of crafting truly exceptional baked goods. Embrace the challenge, and let your baking flourish.
Unlock Your Baking Potential: Master Dough Hydration!
Thanks for diving deep into the world of dough hydration! You've now got the knowledge to create perfectly textured breads and pastries. Ready to put your newfound expertise into practice?
- Bake a test loaf: Experiment with different hydration levels using your favorite bread recipe. Note the changes in texture and taste—it's the best way to solidify your understanding!
- Share your baking journey: Post a picture of your masterpiece on social media and tag #BakeWithEaseHydration – let's inspire other bakers!
- Explore our recipe section for advanced baking techniques and discover new ways to use your newfound knowledge!
What surprising texture difference will you discover by tweaking your dough's hydration next time?