
Cooling Cakes Correctly for Easy Frosting and Handling

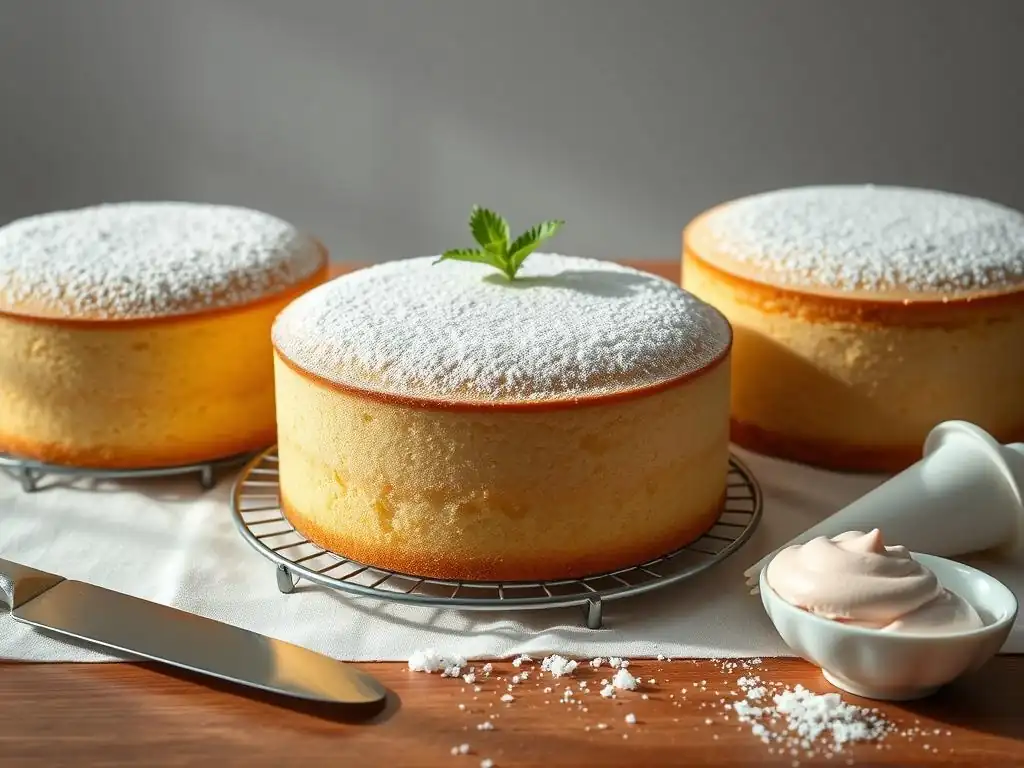
Welcome to BakeWithEase, your guide to effortlessly creating delicious baked goods! Have you ever struggled with frosting a cake, only to have it slide right off? The secret often lies in the cooling process. Dive into our guide on properly cooled cake frosting and discover how mastering this simple step can transform your baking experience. Unlock the secrets to a smooth, stable frosting, perfect for any occasion. Ready to bake with ease? Let's get started!
- Cooling Cakes Correctly for Easy Frosting and Handling: BakeWithEase's Guide
- Why Proper Cake Cooling is Crucial for Frosting and Handling
- The Step-by-Step Guide to Cooling Cakes Like a Pro
- Techniques for Speeding Up the Cake Cooling Process (When You're in a Hurry!)
- Troubleshooting Common Cake Cooling Problems
- Preparing Your Properly Cooled Cake for Frosting
- BakeWithEase's Final Thoughts on Cake Cooling: Mastering the Basics
- Frequently Asked Questions
- Final Reflection: The Sweet Science of Cooling Cakes
- Unlock Perfectly Frosted Cakes: Cool & Conquer!
Cooling Cakes Correctly for Easy Frosting and Handling: BakeWithEase's Guide
Why Proper Cake Cooling is Crucial for Frosting and Handling
The Importance of Cooling Cakes Before Frosting: Preventing a Meltdown
Attempting to apply frosting to a warm cake is one of the most common baking pitfalls, often leading to a messy and frustrating outcome. When frosting, especially buttercream or cream cheese frosting, comes into contact with a warm surface, the fats within it begin to melt.
This doesn't just make the frosting runny and difficult to spread; it can cause it to slide right off the cake layers, taking crumbs with it and resulting in an uneven, unsightly finish. Imagine spending an hour perfecting a silky Swiss meringue buttercream, only for it to turn into a greasy puddle on your still-warm chocolate cake!
Furthermore, a warm cake releases steam and moisture. Applying frosting prematurely traps this moisture against the cake's surface, potentially making the exterior gummy or soggy. This is especially true for delicate frostings. Achieving a properly cooled cake frosting is the fundamental first step towards a smooth, professional-looking cake. Skipping this critical step can compromise both the appearance and the texture of your finished creation, turning a potential masterpiece into a disappointing mess.
Cake Structure and Cooling: How Temperature Affects Texture
Beyond just the frosting, the internal structure of a cake is significantly affected by how it cools. As a cake bakes, its proteins and starches set, forming a stable matrix. While it's still hot, this structure is somewhat fragile. Rapid cooling or improper handling when warm can cause the cake to contract too quickly, potentially leading to a dense texture or even sinking in the center. Think of a delicate sponge cake; if removed from the oven and cooled too fast in a cold environment, it might lose its airy volume.
Conversely, allowing a cake to cool gradually helps the internal moisture redistribute evenly throughout the crumb. This process contributes to a tender and moist final texture. For instance, a classic butter cake left to cool properly on a wire rack will develop a more consistent crumb structure compared to one rushed into the refrigerator while still quite warm, which might result in a slightly tougher or drier texture in certain areas due to uneven moisture retention. Understanding how temperature affects the cake's structure is key to achieving a delicious result.
Handling Warm Cakes: Avoiding Crumbling and Breakage
A warm cake is inherently more delicate and prone to damage than a fully cooled one. The internal structure hasn't completely set and firmed up until it reaches a lower temperature, typically close to room temperature. Trying to move, level, or even slice a cake while it's still significantly warm dramatically increases the risk of it crumbling, breaking, or tearing, especially around the edges or thinner layers. This is particularly true for tender cakes like red velvet or those made with alternative flours.
For example, attempting to flip a still-hot 9-inch vanilla cake out of its pan might result in the bottom sticking or the cake splitting in half under its own weight. Even gently touching a warm cake can leave indentations or cause the surface to peel. Patience during the cooling process is a baker's best friend, ensuring that the cake is sturdy enough to withstand handling, carving, and ultimately, the application of a beautiful, properly cooled cake frosting without incident.
The Step-by-Step Guide to Cooling Cakes Like a Pro
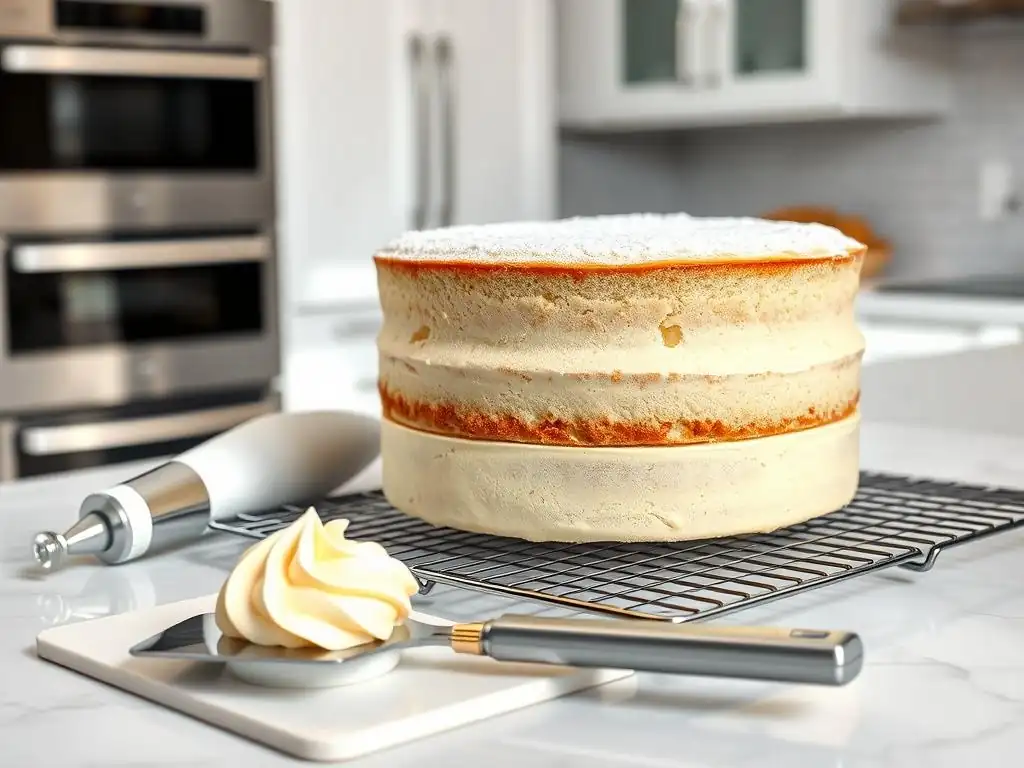
Step 1: Initial Cooling in the Pan - Setting the Stage for Success
Immediately after removing a cake from the oven, it's crucial to allow it to cool slightly while still in its baking pan. This initial cooling period serves a vital purpose: it allows the cake's delicate structure to stabilize slightly as the internal temperature begins to drop. The sides of the pan provide support, preventing the warm, tender cake from collapsing or losing its shape prematurely. Skipping this step and trying to remove a steaming hot cake can often lead to it falling apart.
The heat retained by the metal pan also continues the cooking process slightly through residual heat, helping to ensure the very edges and bottom are fully set. Placing the pan on a wire rack during this phase is essential. This allows air to circulate underneath the pan, starting the cooling process from the bottom and preventing steam from condensing and making the bottom of the cake soggy. This balance of support and initial air circulation sets the stage for a successful release in the next step.
How Long to Cool Cakes in the Pan: BakeWithEase's Recommended Times
The ideal duration for cooling a cake in its pan varies depending on the size and type of cake, but a general guideline is between 10 and 20 minutes. Smaller cakes, like cupcakes or thin sheet cakes, might only need 10-15 minutes. Larger, deeper cakes, such as bundt cakes or substantial layer cakes baked in 8 or 9-inch pans, benefit from a slightly longer cooling period, closer to 15-20 minutes, to ensure the edges have fully firmed up against the pan sides.
For example, a typical 8-inch round vanilla layer cake usually requires about 15 minutes in the pan on a wire rack. A denser cake, like a pound cake baked in a loaf pan, might need the full 20 minutes. If you notice the edges of the cake starting to pull away slightly from the sides of the pan, it's a good indicator that it's ready for the next step. Cooling for too long in the pan, however, can cause the cake to steam and potentially stick, so don't exceed 20 minutes unless the recipe specifically instructs otherwise.
Using a Wire Rack for Even Cooling: A Baker's Essential Tool
A wire cooling rack is an indispensable tool for achieving a properly cooled cake. Its design allows air to circulate freely around the entire surface of the cake (or pan), promoting even cooling. When a cake pan is placed directly on a solid surface, heat is trapped underneath, leading to uneven cooling and potential moisture buildup on the bottom. Placing the pan on a wire rack elevates it, allowing air flow to dissipate heat from the base.
Once the cake is removed from the pan, transferring it to the wire rack is even more critical. The rack ensures that air circulates around the sides and bottom of the cake, preventing the bottom from becoming soggy with trapped steam and allowing the entire cake to cool uniformly. This even cooling is vital for achieving a consistent texture throughout the cake layers and is a non-negotiable step for a smooth, properly cooled cake frosting experience.
Step 2: Removing the Cake from the Pan - Gentle Techniques for Perfect Release
Once the initial cooling period in the pan is complete (typically 10-20 minutes), it's time to gently remove the cake. This step requires care to prevent the cake from sticking or breaking. The goal is a clean release, leaving the cake's structure intact and its surface smooth. Rushing this step is a common cause of broken cake layers, which can be difficult to repair, especially for beginners.
Having your wire cooling rack ready and positioned right next to the cake pan is crucial. You want to minimize the distance the cake has to travel. Using the right technique for inversion, combined with proper pan preparation beforehand, significantly increases your chances of a perfect, effortless release, setting you up for success in achieving a properly cooled cake for frosting.
Preparing the Pan for Easy Cake Removal: Greasing and Flouring Tips
Properly preparing your cake pan before adding the batter is the first line of defense against sticking. The most common method involves greasing and flouring. Apply a thin, even layer of fat (like butter, shortening, or non-stick baking spray containing flour) to the inside surfaces of the pan, ensuring you get into corners and up the sides. For chocolate cakes, using cocoa powder instead of flour after greasing can prevent white marks on the finished cake.
Alternatively, lining the bottom of the pan with parchment paper cut to size provides an excellent non-stick barrier. Some bakers use a combination: grease the sides and line the bottom with parchment. For intricate pans like bundt pans, generous greasing (often with melted shortening or a baking spray specifically designed for intricate molds) is essential, sometimes followed by flour or cocoa, making sure to tap out any excess. A well-prepared pan makes the removal process significantly smoother.
Inverting the Cake: A Safe and Effective Method
The standard technique for removing a cake from a round or square pan is inversion. After the initial cooling period in the pan on the wire rack (10-20 minutes), place the wire cooling rack directly over the top of the cake pan. Wearing oven mitts for safety, firmly hold the pan and the rack together and, in one swift, confident motion, flip them over. The pan should now be upside down on top of the wire rack.
Allow the inverted pan to rest there for a few moments. Gravity, combined with the slight cooling and proper pan preparation, will help the cake release. Gently lift the pan straight up. If the cake doesn't immediately release, tap the bottom and sides of the pan lightly. For stubborn spots, you might need to carefully run a thin, flexible spatula or knife around the very edge of the cake inside the pan before inverting again. With a properly cooled cake frosting as your goal, a clean release is paramount.
Step 3: Cooling the Cake on a Wire Rack - Allowing Air Circulation
Once successfully removed from its pan, the cake must complete its cooling journey directly on a wire rack. This is arguably the most critical phase for achieving a properly cooled cake. Resting the cake directly on the rack allows air to circulate freely around its entire surface – top, bottom, and sides. This uniform airflow is essential for dissipating heat evenly and preventing moisture from becoming trapped, which can lead to a soggy bottom crust.
Placing the warm cake on a solid surface, even after removing it from the pan, would trap steam underneath, hindering the cooling process and potentially damaging the cake's texture. The wire rack ensures that the cake cools down to room temperature efficiently and evenly, firming up its structure completely before any further handling, especially before attempting to apply a smooth, properly cooled cake frosting.
Preventing Cake Sticking to the Rack: Pro Tips and Tricks
While wire racks are designed for airflow, sometimes a very moist or delicate cake can still slightly stick to the wires. To prevent this, you can lightly grease the wire rack before placing the cake on it. Use a minimal amount of butter, shortening, or non-stick spray. Ensure the grease is applied thinly and evenly; you don't want pools of fat.
Another effective method is to place a piece of parchment paper or wax paper cut slightly larger than the cake directly onto the wire rack before inverting the cake onto it. Once the cake has cooled for about 15-20 minutes on the rack, you can carefully slide the parchment paper out from underneath. This allows the cake to finish cooling directly on the rack for maximum airflow without the initial risk of sticking while it's still very tender and warm.
Cooling Time on the Rack: Achieving the Ideal Temperature for Frosting
The time required for a cake to cool completely to room temperature on a wire rack varies based on its size, density, and the ambient temperature of your kitchen. As a general rule, a standard 8 or 9-inch layer cake needs approximately 1 to 2 hours to cool completely. Bundt cakes or denser cakes might take a bit longer, perhaps 2 to 3 hours. It is absolutely crucial that the cake is cool to the touch in the very center before you even think about frosting it.
The ideal temperature for frosting a cake is true room temperature, typically between 70-72°F (21-22°C). If the cake feels even slightly warm, wait longer. Frosting a cake that isn't fully cooled will melt the frosting and create crumbs. Patience here is key to achieving that perfectly smooth, properly cooled cake frosting finish you see in bakeries.
Techniques for Speeding Up the Cake Cooling Process (When You're in a Hurry!)
Sometimes, despite our best intentions, we're short on time and need to speed up the cake cooling process. While allowing a cake to cool naturally at room temperature on a wire rack is always the preferred method for optimal texture and structure, there are a couple of techniques that can help accelerate cooling when you're in a pinch. These methods require careful execution to avoid negatively impacting the cake's quality.
It's important to note that aggressively fast cooling can sometimes lead to a slightly less tender crumb or a drier exterior compared to gradual cooling. However, when time is of the essence for that properly cooled cake frosting deadline, these methods can be lifesavers if used correctly. Always prioritize getting the cake to a truly cool state before attempting any frosting.
Using the Freezer for Quick Cake Cooling: A Time-Saving Hack
One of the quickest ways to cool a cake, particularly for layer cakes that will be trimmed and frosted, is to use the freezer. After the initial cooling period in the pan (10-15 minutes) and removal to a wire rack for about 20-30 minutes to shed some initial heat, the cake can be carefully transferred to the freezer. This method rapidly brings down the internal temperature.
Place the wire rack with the cake directly into the freezer. For a standard layer cake, this might take anywhere from 20 to 45 minutes to become firm and cool throughout. Check the cake periodically; you want it to be firm and cool, but not frozen solid (unless you intend to freeze it for storage). This technique is especially useful for getting layers cold enough for easy leveling and handling before applying that smooth, properly cooled cake frosting.
Precautions When Freezing a Cake for Cooling: Avoiding Freezer Burn
While the freezer is great for speed, care must be taken to prevent freezer burn if the cake will be in there for more than a short period (say, over an hour). Freezer burn occurs when moisture evaporates from the food, causing dry, icy spots. For quick cooling, placing the cake directly on the rack in the freezer for 30-45 minutes is usually fine without wrapping.
However, if you anticipate the cake needing longer, or if you plan to store it in the freezer after cooling, it's essential to wrap it properly once it's cool to the touch. Wrap the cool cake tightly in plastic wrap, then follow with a layer of aluminum foil or place it in a freezer-safe bag. This barrier prevents moisture loss and protects the cake from absorbing freezer odors, ensuring it stays fresh until you're ready for that perfect, properly cooled cake frosting.
The Ice Bath Method: Rapid Cooling for Layer Cakes
The ice bath method is less common for whole cakes but can be incredibly effective for rapidly cooling liquids like custards, curds, or even cake batter if needed. For cooling baked cake layers, a modified approach can be used, though it requires careful handling. This method is more about cooling the pan and, by extension, the cake quickly in the initial stages.
After removing the cake from the oven, let it sit in the pan on a wire rack for just 5-10 minutes. Then, place the bottom of the cake pan into a larger bowl filled with ice water. Ensure the water level doesn't come up over the rim of the pan.
This rapidly draws heat away from the bottom and sides of the pan, significantly speeding up the initial cooling phase. Once the pan is cool enough to handle comfortably (after maybe 10-15 minutes in the ice bath), remove it, dry the bottom, and proceed with inverting the cake onto a wire rack to finish cooling to room temperature. This technique can shave valuable time off the overall cooling process before you work on achieving that ideal, properly cooled cake frosting.
Troubleshooting Common Cake Cooling Problems
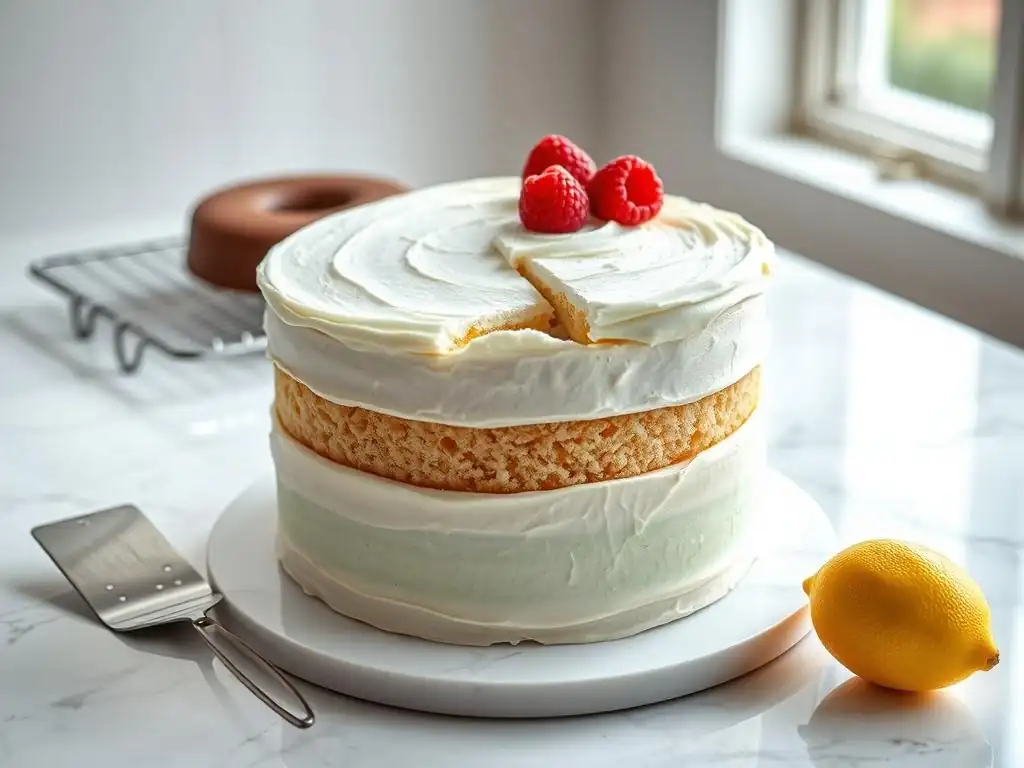
Even with the best intentions, sometimes things don't go perfectly during the cake cooling process. Cakes can stick to the pan, crumble upon removal, or cool unevenly. Recognizing these common issues and knowing how to address them is part of mastering basic baking techniques. Don't be discouraged if your first few attempts aren't flawless; troubleshooting is a natural part of baking.
Understanding the root cause of these problems, whether it's due to pan preparation, cooling time, or handling technique, is key to preventing them in the future. A well-cooled cake is the foundation for beautiful decoration and a pleasant eating experience, and overcoming these hurdles gets you closer to that goal and a smooth, properly cooled cake frosting application.
Cake Sticking to the Pan: Solutions for a Clean Release
Cake sticking is often a result of inadequate pan preparation or trying to remove the cake too soon while it's still very hot and fragile. As mentioned earlier, thorough greasing and flouring (or using parchment paper) is your primary defense. Ensure you cover all interior surfaces of the pan. For intricate pans like bundt pans, consider using a dedicated non-stick baking spray that contains flour, ensuring you get into all the nooks and crannies.
If you've inverted the cake and it hasn't released, place the pan (with the cake still inside) back onto the wire rack right side up. Wait another 5-10 minutes to allow the cake to pull away from the sides slightly as it continues to cool. You can also gently tap the sides and bottom of the pan.
If it's still stuck, carefully run a thin, flexible offset spatula or knife around the edge between the cake and the pan. Be very gentle to avoid damaging the cake's exterior. Sometimes, warming the bottom of the pan slightly with a warm, damp towel for a moment can help release a stubborn spot, but use caution not to steam the cake.
Cake Crumbling After Cooling: Preventing Breakage and Cracking
Crumbling or cracking in a cake after it has cooled is often a sign that it was handled too roughly while still warm or that its structure is particularly delicate. Over-baking can also contribute to dryness and increased fragility, making the cake more prone to crumbling. Ensuring the cake is baked just until a toothpick inserted into the center comes out clean, with moist crumbs attached, helps maintain moisture and structure.
The most effective prevention is patience: allow the cake to cool adequately in the pan (10-20 minutes) and fully on the wire rack (1-2 hours) before attempting to move, level, or frost it. A fully cooled cake is significantly sturdier. If you do end up with a crumbled or cracked cake, don't despair!
Small cracks can often be "glued" together with a bit of frosting or a simple sugar syrup. For severely crumbled cakes, consider turning them into cake pops, trifles, or a crumb-based dessert where the texture isn't as critical. A properly cooled cake frosting can even help hold minor cracks together.
Uneven Cake Cooling: Achieving Consistent Texture Throughout
Uneven cooling can lead to parts of the cake being too moist or too dry, resulting in an inconsistent texture. This is often caused by poor air circulation during the cooling process. Cooling a cake directly on a solid countertop instead of a wire rack is a prime example, as it traps heat and steam underneath.
To ensure even cooling, always use a wire rack for both the initial cooling in the pan and the subsequent cooling of the cake itself. Position the wire rack in an area with good air circulation, away from direct drafts (which can cool the exterior too quickly, leading to a tough crust) or hot spots (like near a stove).
For very large or dense cakes, rotating the cake on the wire rack halfway through the cooling time can help promote uniformity. Consistent, gentle airflow is the key to achieving a cake with a uniform crumb texture, perfectly ready for a smooth, properly cooled cake frosting application.
Preparing Your Properly Cooled Cake for Frosting
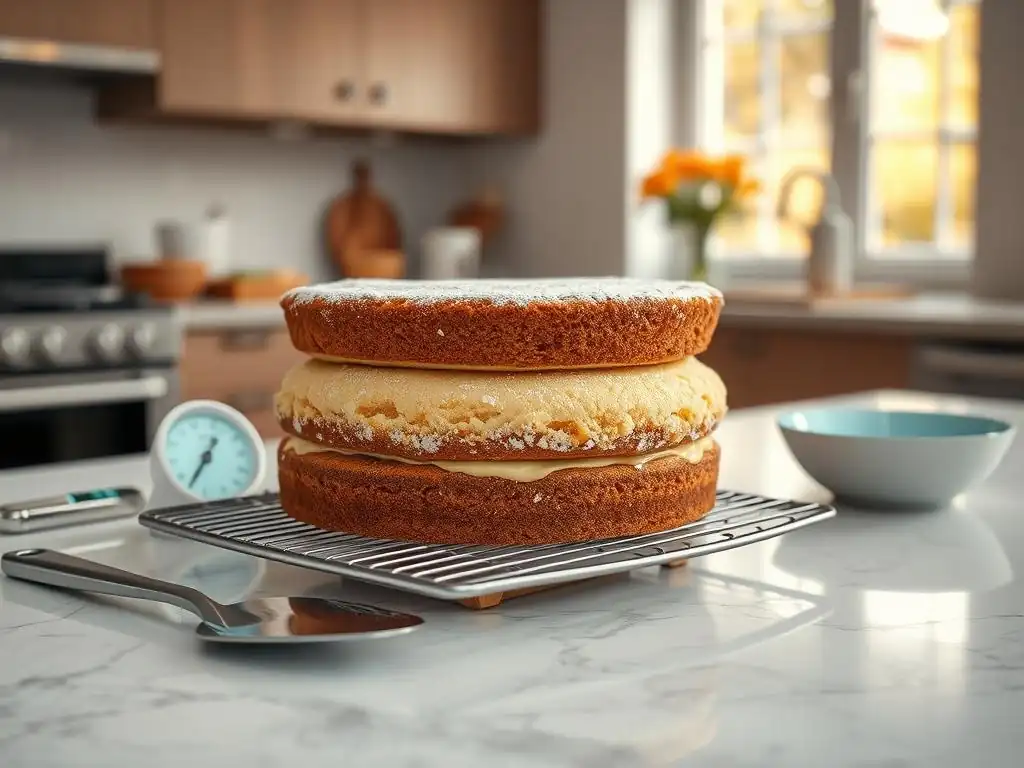
Once your cake has successfully navigated the cooling process and reached true room temperature, it's ready for the final steps before frosting. Proper preparation at this stage ensures a smooth, professional-looking finish and makes the frosting process significantly easier. Taking a few extra minutes here can make all the difference in the final appearance of your cake.
These steps involve ensuring your cake layers are level, retaining moisture if frosting won't happen immediately, and getting the surface ready to receive the frosting. Having a properly cooled cake frosting is within reach once these preparatory steps are completed.
Leveling the Cake Layers: Creating a Flat Surface for Frosting
Most cakes bake with a slight dome on top. To create stable, level layers for stacking and a smooth surface for frosting, this dome needs to be removed. Use a long serrated knife or a cake leveler to carefully slice off the domed top of each cake layer, making it flat. This is best done when the cake is completely cool, as a warm cake will simply crumble.
For very soft or delicate cakes, chilling the properly cooled cake in the refrigerator for 20-30 minutes before leveling can make the process cleaner and reduce crumbling. Hold the knife parallel to the work surface and use a gentle sawing motion. A level cake provides a much better foundation for stacking layers and applying a smooth, even layer of properly cooled cake frosting.
Wrapping the Cooled Cake: Maintaining Moisture and Freshness
If you are not frosting the cake immediately after it has cooled completely, it's crucial to wrap it properly to prevent it from drying out. Exposure to air will cause the cake to lose moisture and develop a dry crust. Once the cake is at room temperature, wrap each layer individually and tightly in plastic wrap. Ensure the wrap is snug against the cake's surface to prevent air pockets.
For longer storage (more than a day), wrap the plastic-wrapped cake again in a layer of aluminum foil. Properly wrapped, a cooled cake can be stored at room temperature for a day or two, or refrigerated for up to a week. This step ensures that when you are ready to apply your properly cooled cake frosting, the cake is still moist and fresh, providing the best possible base.
Frosting a Properly Cooled Cake: Achieving a Smooth and Professional Finish
The moment has arrived! With your cake layers perfectly cooled, leveled, and ready, applying the frosting becomes a much more enjoyable and successful endeavor. Start by placing a small dollop of frosting on your cake stand or serving plate before adding the first layer; this acts as "glue" to keep the cake from sliding.
Apply a crumb coat first – a thin layer of frosting that traps any loose crumbs. Chill the cake for 20-30 minutes to set the crumb coat. Once set, apply your final, thicker layer of frosting. Because the cake is properly cooled, the frosting will spread smoothly without melting, allowing you to achieve sharp edges, smooth sides, and beautiful decorative details. This is the reward for your patience and careful cooling process – a perfectly frosted cake thanks to a properly cooled cake frosting base.
BakeWithEase's Final Thoughts on Cake Cooling: Mastering the Basics
Mastering the art of cake cooling is a foundational skill that significantly impacts the success of your finished bake. It's more than just waiting; it's a critical step that affects texture, structure, and most importantly, your ability to decorate. A perfectly baked cake can be ruined by impatient or improper cooling, leading to breakage, sticking, or a melted, crumb-filled frosting disaster.
By following the steps outlined – initial cooling in the pan, gentle removal, and complete cooling on a wire rack – you lay the groundwork for a sturdy, moist, and level cake that is a joy to frost. While techniques exist for speeding up the process, natural, patient cooling yields the best results. Remember that achieving a beautiful, properly cooled cake frosting starts long before the piping bag comes out. Practice these basic techniques, and you'll find your cakes not only look better but taste better too. Happy baking from BakeWithEase!
Frequently Asked Questions
What is the importance of cooling cakes correctly before frosting?
Cooling cakes correctly is essential because it allows the cake structure to set, preventing soggy or melted frosting. Proper cooling ensures that the frosting adheres well without sliding off.
How long should I cool a cake before frosting it?
A cake should ideally be cooled for at least 1 hour at room temperature. This helps maintain the integrity of the cake, making it easier to frost without damaging it.
Can I frost a cake right after taking it out of the oven?
No, frosting a cake right after baking can lead to melting and messy application. Always wait until the cake is completely cooled to ensure the frosting remains intact and looks appealing.
What are some tips for ensuring my cake cools properly?
To ensure proper cooling, place the cake on a wire rack to allow air circulation. Avoid covering it until it reaches room temperature to prevent condensation, which can affect the texture.
How does the type of frosting affect the cooling process?
Different frostings have varying melting points. For instance, buttercream can be applied to a slightly warm cake, while ganache needs the cake to be completely cooled to maintain its consistency and appearance.
Final Reflection: The Sweet Science of Cooling Cakes
The perfect cake isn't just about the recipe; it's about mastering the art of cooling. A flawlessly frosted cake, smooth and elegant, hinges on a properly cooled base. Ignoring this crucial step can lead to a frosting disaster – melting, sliding, and an overall less-than-perfect presentation. This seemingly simple act is the foundation of baking success.
The impact of proper cake cooling extends far beyond aesthetics. It's about the entire baking experience. From the pride of presenting a beautifully finished cake to the joy of sharing it with loved ones, the process is deeply intertwined with our memories and celebrations. As the old adage goes, A cake is a celebration of life, a moment of joy, a symbol of togetherness.
Proper cooling ensures that this celebration isn't marred by a messy frosting job. It allows the cake to reach its full potential, both in taste and appearance, enhancing the overall enjoyment.
Now, consider your own baking journey. Have you ever struggled with a melting frosting disaster? Remember the frustration? Take this knowledge – the importance of patience and proper cooling techniques – and apply it to your next baking project. Embrace the science behind the sweetness, and watch as your cakes transform from good to truly exceptional. The next time you frost a cake, remember the power of a perfectly cooled base, and savor the sweet reward of your efforts.
Unlock Perfectly Frosted Cakes: Cool & Conquer!
Thanks for taking the time to learn the secrets to cooling cakes like a pro! You're now equipped to avoid those frustrating frosting mishaps. Ready to put your new skills into action?
- Master the Cool-Down: Practice our recommended cooling techniques to create a perfectly stable cake base for flawless frosting.
- Share Your Success: Show off your beautifully frosted creations on social media – use #BakeWithEaseCooling for a chance to be featured!
- Experiment with different fillings and frostings, knowing your cake will be perfectly stable thanks to your newly acquired cooling expertise.
What delicious cake creation will you cool and conquer next?