
Using Your Stand Mixer for Effortless Enriched Dough

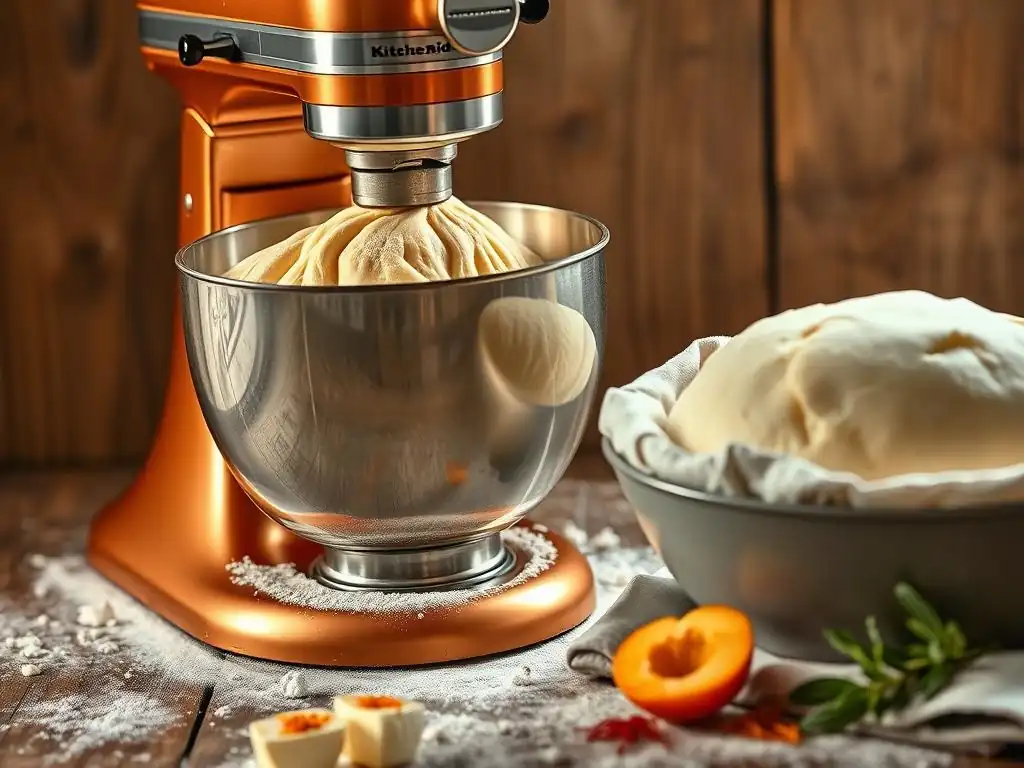
Welcome to BakeWithEase, your guide to baking bliss! Ever dream of effortlessly creating perfectly enriched dough? You're in the right place. We're diving deep into a stand mixer enriched dough recipe that will revolutionize your baking. Discover the secrets to achieving bakery-quality results from the comfort of your own kitchen. Ready to unleash the power of your stand mixer and elevate your baking game? Let's get started!
- Using Your Stand Mixer for Effortless Brioche Dough
- Introduction to Brioche Dough and Stand Mixers
- Essential Stand Mixer Techniques for Brioche Dough
-
Stand Mixer Brioche Dough Recipe: Step-by-Step Guide
- Ingredients for a Classic Brioche Dough
- Preparing the Dough: Activating the Yeast and Combining Dry Ingredients
- Mixing the Dough in Your Stand Mixer: A Detailed Walkthrough
- First Proofing: Achieving Optimal Volume
- Shaping Your Brioche: Loaf, Rolls, or Buns
- Second Proofing: Allowing the Dough to Reach Full Height
- Baking Your Brioche: Temperature and Visual Cues
- Troubleshooting Common Brioche Dough Problems with a Stand Mixer
- Beyond the Basics: Brioche Variations
- Cleaning and Maintaining Your Stand Mixer After Brioche Baking
- Conclusion: Mastering Brioche with Your Stand Mixer
- Frequently Asked Questions
- Final Reflection: The Joy of Effortless Enriched Dough
- Unleash Your Inner Baker: Master Enriched Doughs Today!
Using Your Stand Mixer for Effortless Brioche Dough
Introduction to Brioche Dough and Stand Mixers
Why a Stand Mixer is Ideal for Brioche Dough
Brioche dough is famously rich, containing significant amounts of butter and eggs. This high fat content makes it notoriously sticky and challenging to knead by hand to the proper gluten development stage. Kneading by hand can take 20-30 minutes of strenuous work, often resulting in tired arms and a less-than-perfect dough structure. A stand mixer, however, automates this physically demanding task, consistently applying the necessary force and motion to develop strong gluten networks without the mess or fatigue.
Using a stand mixer provides consistent results that are difficult to achieve manually, especially for beginner bakers. The machine's steady speed and power ensure that the dough is kneaded evenly, promoting uniform gluten development. This consistency is crucial for achieving brioche's signature light, airy texture and rich crumb. Furthermore, a stand mixer allows you to gradually incorporate the large amount of butter required, a process that is much smoother and more effective when done mechanically compared to trying to work cold butter into a sticky dough by hand.
What is Brioche Dough? Understanding the Basics
Brioche is a classic French bread known for its incredibly rich, tender, and slightly sweet character. Unlike lean doughs used for baguettes or rustic loaves, brioche belongs to the category of enriched doughs. This means it contains ingredients beyond the basic flour, water, yeast, and salt, specifically large quantities of butter and eggs, and often sugar and milk. These enrichments inhibit gluten development to some extent, making the dough softer and more challenging to handle, while contributing significantly to flavor, color, and texture.
The high fat content in brioche, sometimes reaching 50% of the flour weight in butter alone, coats the gluten strands, resulting in a very tender crumb. The eggs add richness, color, and structure, while sugar aids in crust browning and provides a subtle sweetness. The process of making brioche involves significant kneading to build enough gluten structure to support these heavy enrichments and allow the dough to rise properly, which is where the stand mixer becomes indispensable.
Benefits of Using a Stand Mixer for Brioche Recipes
The primary benefit of using a stand mixer for your brioche dough recipe is the significant reduction in manual effort. Kneading a sticky, enriched dough like brioche by hand is physically demanding and time-consuming. A stand mixer takes over this task, allowing you to monitor the process and ensure proper gluten development without the strain. This makes baking brioche accessible even for those who may not have the physical strength or endurance for intensive hand kneading.
Beyond ease, a stand mixer offers precision and consistency. It maintains a steady kneading speed, crucial for developing the strong gluten network needed for brioche's structure. The controlled environment of the mixing bowl also helps with the gradual incorporation of butter, ensuring it is fully emulsified into the dough for a smooth, cohesive result. This leads to more reliable outcomes, consistently producing brioche with the desired light texture and even crumb structure, elevating your baking success.
Essential Stand Mixer Techniques for Brioche Dough
Using the Dough Hook for Optimal Brioche Development
The dough hook attachment is your best friend when making brioche in a stand mixer. Its unique shape is designed to mimic the motion of kneading by hand, pulling, stretching, and folding the dough against the sides of the bowl. For brioche, which requires extensive kneading to develop a strong gluten network despite the inhibiting presence of fat, the dough hook is essential. It efficiently works the dough, ensuring that the gluten strands elongate and connect, providing the structure needed for the dough to hold its shape and rise properly.
When starting, the dough might cling to the hook or the sides of the bowl. As kneading progresses, typically over 10-20 minutes depending on the mixer and recipe, the dough should gradually become smoother, more elastic, and eventually pull away from the sides of the bowl, gathering around the hook. This visual cue indicates that the gluten is developing. Ensure you scrape down the sides of the bowl occasionally to incorporate any stray bits of dough, ensuring uniform mixing and gluten development throughout the batch.
Mastering Mixing Speed: Achieving a Smooth Dough
Mixing speed is critical when using a stand mixer for brioche dough. Initially, you'll want to start on a low speed (like speed 1 or 2) to combine the wet and dry ingredients. This prevents flour from flying out of the bowl and allows the ingredients to hydrate evenly. Once a rough dough forms, you can increase the speed to medium-low (like speed 3 or 4). This is the optimal speed for developing gluten; higher speeds can overheat the dough, potentially killing the yeast or melting the butter prematurely, which can negatively impact the final texture.
Kneading at a consistent medium-low speed allows the dough hook to work the dough effectively without generating excessive friction heat. Continue kneading at this speed for 10-20 minutes, or until the dough is smooth, elastic, and passes the windowpane test. Observe how the dough behaves: it should slap against the sides of the bowl but eventually clean the sides as it develops. If the dough seems too warm to the touch, you may need to reduce the speed or briefly pause mixing to allow it to cool slightly, especially important when incorporating butter.
The Windowpane Test: Essential for Brioche Texture
The windowpane test is a crucial indicator of proper gluten development in dough, especially for enriched doughs like brioche. It involves taking a small piece of dough and gently stretching it with your fingers. If the dough can be stretched into a thin, translucent membrane that you can almost see through without tearing, it has developed sufficient gluten. If it tears easily, it needs more kneading. This test helps ensure the dough has enough structure to trap gases produced by the yeast, resulting in a light and airy crumb.
Performing the windowpane test periodically during the kneading process in your stand mixer helps you know exactly when the dough is ready. After about 10 minutes of kneading on medium-low speed, stop the mixer, take a small piece of dough (about the size of a golf ball), and test it. If it tears, continue kneading for another 2-3 minutes and test again. Repeat until the dough passes the test. Over-kneading can result in a tough brioche, so stopping once the dough passes the windowpane test is key to achieving that desirable tender texture.
Stand Mixer Brioche Dough Recipe: Step-by-Step Guide
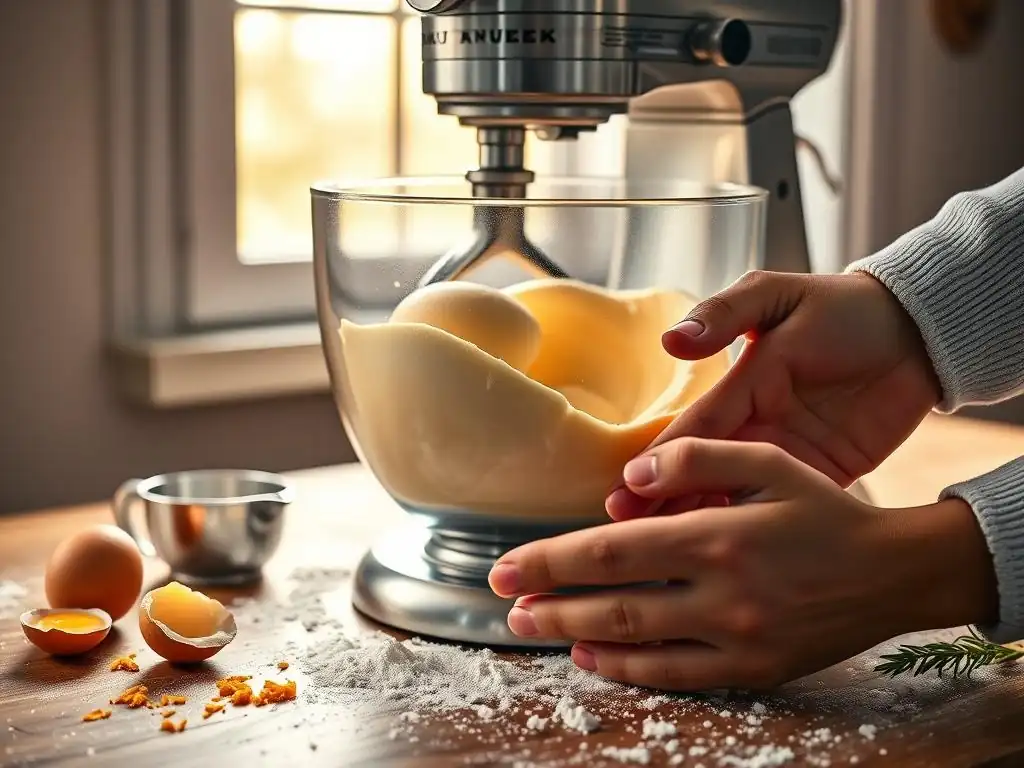
Ingredients for a Classic Brioche Dough
3 3/4 cups (480g) Bread Flour
1/4 cup (50g) Granulated Sugar
1 1/2 teaspoons (7g) Salt
2 1/4 teaspoons (7g) Active Dry Yeast
1/2 cup (120ml) Lukewarm Milk
5 Large Eggs, lightly beaten
1 cup (226g) Unsalted Butter, softened and cubed
Preparing the Dough: Activating the Yeast and Combining Dry Ingredients
Begin by activating your yeast. In a small bowl, combine the lukewarm milk (ensure it's between 105-115°F or 40-46°C) and the active dry yeast. Stir gently and let it sit for 5-10 minutes until it becomes foamy. This indicates the yeast is alive and active. While the yeast is blooming, combine the bread flour, sugar, and salt in the bowl of your stand mixer fitted with the dough hook. Give the dry ingredients a quick whisk to distribute the salt and sugar evenly throughout the flour.
Once the yeast mixture is foamy, pour it into the stand mixer bowl with the dry ingredients. Add the lightly beaten eggs to the bowl as well. This initial combination of wet and dry ingredients forms the base of your brioche dough before the butter is incorporated.
Mixing the Dough in Your Stand Mixer: A Detailed Walkthrough
Attach the bowl to your stand mixer and lower the dough hook. Begin mixing on the lowest speed (Speed 1 or 2) for about 2-3 minutes, just until the ingredients are combined and a shaggy dough forms. The dough will be very sticky at this stage, which is expected.
Increase the speed to medium-low (Speed 3 or 4) and continue kneading for about 8-10 minutes. During this time, the dough will start to become smoother and more elastic. Stop the mixer and scrape down the sides of the bowl occasionally. Once the dough is somewhat developed (it might still be sticky but should show some elasticity), begin adding the softened butter, one cube at a time, with the mixer still running on medium-low speed. Wait until each cube is mostly incorporated before adding the next.
This gradual process allows the butter to emulsify properly into the dough. This step can take another 5-10 minutes. Continue kneading after all the butter is added for another 5-10 minutes, or until the dough is very smooth, elastic, and passes the windowpane test. The total kneading time after initial mixing might be 15-25 minutes.
First Proofing: Achieving Optimal Volume
After kneading is complete and the dough is smooth and elastic, gather it into a ball. Lightly grease a large bowl with butter or oil. Place the dough in the bowl, turning it to coat all sides. Cover the bowl tightly with plastic wrap or a damp kitchen towel.
Place the covered bowl in a warm, draft-free place for the first proofing. An ideal temperature is around 75-80°F (24-27°C). The dough should double in size, which typically takes 1.5 to 2.5 hours, depending on the ambient temperature and yeast activity. Alternatively, for a slower, more flavorful proof and easier handling due to the dough firming up, you can proof the dough in the refrigerator overnight (8-12 hours). This cold proof is often preferred for enriched doughs.
Shaping Your Brioche: Loaf, Rolls, or Buns
Once the first proofing is complete, gently punch down the dough to deflate it. Turn the dough out onto a lightly floured surface. Brioche dough is versatile and can be shaped into various forms:
- Loaf: For a classic loaf, divide the dough into three equal pieces. Shape each piece into a smooth ball, then roll each ball into a log about 8-10 inches long. Braid the three logs together and place the braid in a greased 9x5 inch loaf pan.
- Rolls: Divide the dough into 12-16 equal pieces (about 50-60g each). Shape each piece into a smooth ball by cupping your hand over it and rolling it on the counter. Arrange the balls in a greased baking dish, leaving some space between them, or place them individually on a baking sheet lined with parchment paper.
- Buns: For burger or sandwich buns, divide the dough into 8-10 equal pieces (about 70-85g each). Shape each into a smooth, flat disc about 3-4 inches wide. Place them on a baking sheet lined with parchment paper.
Ensure your shaping is firm enough to create tension on the surface, which helps with oven spring, but gentle enough not to tear the dough.
Second Proofing: Allowing the Dough to Reach Full Height
After shaping, your brioche needs a second proofing (also called the final proof or bench proof). Cover the shaped dough loosely with plastic wrap or a clean kitchen towel to prevent it from drying out.
Let the shaped brioche proof in a warm, draft-free place. This proof is usually shorter than the first, typically taking 45 minutes to 1.5 hours, depending on the room temperature. The dough should increase significantly in size, becoming visibly puffy and soft. It should look almost doubled but not quite. A good test is to gently poke the dough with your finger; if the indentation springs back slowly, it's ready to bake. If it springs back immediately, it needs more time. If the indentation remains, it's likely over-proofed.
Baking Your Brioche: Temperature and Visual Cues
Preheat your oven to 375°F (190°C) for loaves or rolls baked close together, or 350°F (175°C) for individual buns or rolls spaced apart. For a golden crust, you can brush the surface of the brioche with an egg wash (1 egg beaten with 1 tablespoon of water or milk) before baking.
Baking time will vary depending on the size and shape of your brioche. A standard loaf might take 30-40 minutes, while rolls or buns could take 18-25 minutes. The brioche is done when it is deeply golden brown on the top and sides and sounds hollow when tapped on the bottom. An internal temperature of 190-200°F (88-93°C) is also a reliable indicator of doneness. If the top is browning too quickly, you can loosely tent it with aluminum foil.
Troubleshooting Common Brioche Dough Problems with a Stand Mixer
Dough Not Coming Together: Butter Integration Issues
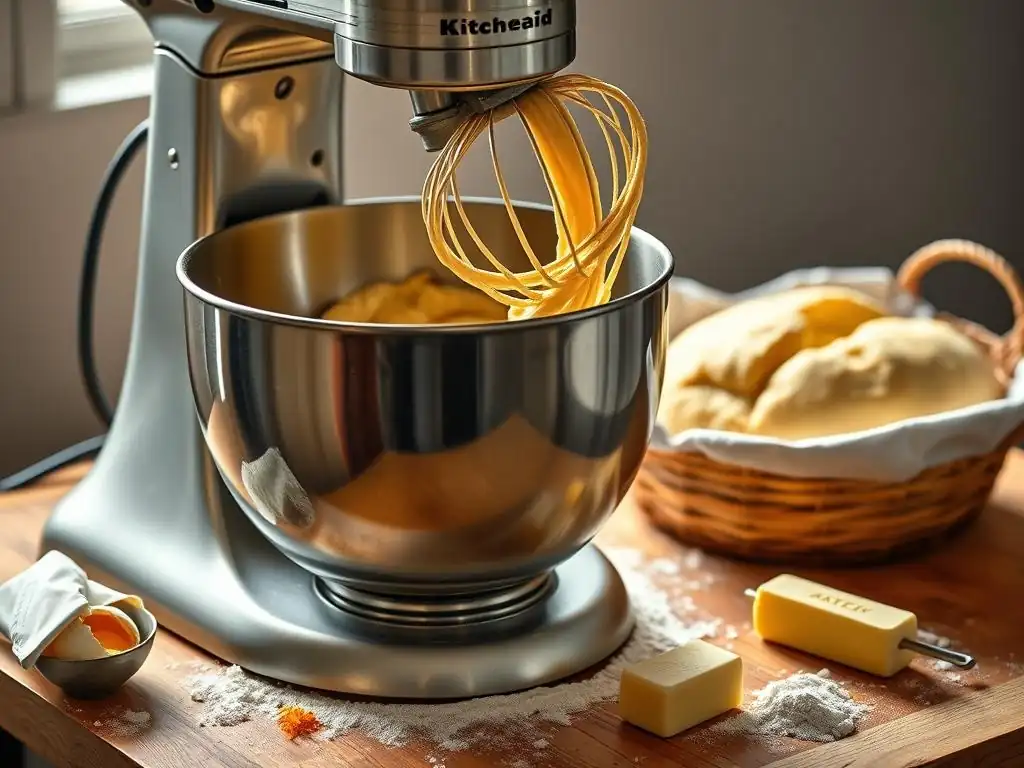
A common issue when using a stand mixer for enriched dough like brioche is the dough not coming together properly, often looking greasy or separated. This usually happens if the butter was not added at the right temperature or too quickly. Softened butter should be pliable but not melted. If it's too cold, it won't incorporate smoothly; if it's too warm, it can make the dough excessively greasy.
To fix this, ensure your butter is properly softened before you begin. Add it gradually, cube by cube, allowing each addition to be mostly absorbed before adding the next. If the dough looks greasy and isn't coming together after adding all the butter, continue kneading on medium-low speed. The friction from the dough hook will help the butter emulsify. It might take an extra 5-10 minutes of kneading, but eventually, the dough should smooth out and pull away from the sides of the bowl as the butter is fully incorporated and gluten develops.
Dough Overheating: Managing Friction
Stand mixers generate heat through friction, and with long kneading times required for brioche, the dough can sometimes overheat. This is particularly problematic as excessive heat can melt the butter, making the dough greasy, and potentially harm the yeast, inhibiting rising. Signs of overheating include the dough feeling very warm or looking visibly greasy.
To manage this, ensure you are using a medium-low speed (Speed 3 or 4) for the main kneading phase, not high speed. If you notice the dough getting warm, stop the mixer for a few minutes to allow the dough and the bowl to cool down before resuming. Some bakers even chill their mixing bowl and dough hook in the refrigerator or freezer beforehand, especially in a warm kitchen, to help keep the dough cool during the process. Using chilled eggs can also help regulate the dough temperature.
Sticky Dough: Achieving the Right Hydration Balance
Brioche is inherently a sticky dough due to its high fat and egg content, but excessively sticky dough that won't pull away from the sides of the bowl even after significant kneading can be frustrating. This usually indicates a hydration imbalance – either too much liquid (eggs/milk) or not enough flour relative to the liquids and fats. Environmental factors like humidity can also play a role.
If your dough remains excessively sticky after 15-20 minutes of kneading on medium-low speed in the stand mixer, you can try adding flour, one tablespoon at a time, allowing each addition to be incorporated before adding more. Add just enough flour until the dough starts to pull away from the sides of the bowl and gather around the dough hook, while still remaining soft and slightly tacky to the touch.
Avoid adding too much flour, as this will result in a dense, dry brioche. Sometimes, simply continuing to knead for a few more minutes allows the gluten to develop sufficiently to handle the hydration level.
Dough Not Rising: Yeast Activity and Proofing Temperature
A common and disheartening problem is brioche dough that fails to rise during proofing. This can stem from a few issues, most commonly related to yeast activity or proofing temperature. If your yeast wasn't fresh or wasn't properly activated (e.g., milk temperature was too hot or too cold), it won't produce the necessary carbon dioxide to leaven the dough.
Ensure your yeast is fresh (check the expiration date) and that your lukewarm milk is within the recommended temperature range (105-115°F or 40-46°C) for active dry yeast. The proofing environment is also crucial; temperatures that are too cold will significantly slow down or halt yeast activity, while temperatures that are too hot can kill the yeast. An ideal proofing temperature is 75-80°F (24-27°C). If your kitchen is cool, find a warmer spot, like in a turned-off oven with the light on, or use a proofing box if you have one, to ensure the dough rises properly.
Beyond the Basics: Brioche Variations
Chocolate Chip Brioche: Adding Flavor and Texture
Elevate your basic stand mixer brioche dough recipe by transforming it into a decadent chocolate chip version. Once the dough has completed its first proofing, gently punch it down and turn it out onto a lightly floured surface. Before shaping, incorporate about 1 to 1.5 cups (roughly 170-255g) of your favorite chocolate chips, such as semi-sweet or dark chocolate.
Gently fold the chocolate chips into the dough by hand or very briefly on low speed in the stand mixer (just enough to distribute them without crushing too many). Be careful not to overwork the dough after adding the chips. Shape the dough as desired – loaves, rolls, or even individual buns filled with chips – and proceed with the second proofing and baking steps outlined in the classic recipe. The melted chocolate chips create pockets of gooey goodness and a wonderful contrast in texture within the tender brioche crumb.
Savory Brioche: Incorporating Herbs and Cheese
Brioche doesn't have to be sweet. A savory version, often made using your stand mixer enriched dough recipe, is fantastic for sandwiches, alongside soups, or simply enjoyed on its own. To make savory brioche, you can slightly reduce the sugar in the recipe (perhaps down to 1-2 tablespoons or 25g) or omit it entirely, though a small amount helps with browning.
During the last few minutes of kneading in the stand mixer, incorporate additions like 1/4 cup chopped fresh herbs (rosemary, thyme, chives) and/or 1/2 to 1 cup (roughly 50-100g) of grated cheese (cheddar, Gruyère, Parmesan). Knead just until the additions are evenly distributed. Proceed with proofing, shaping (savory loaves or rolls work well), and baking as usual. Savory brioche offers a delightful twist on the classic, pairing beautifully with a variety of meals.
Brioche Buns for Burgers: A Gourmet Upgrade
Swap out standard burger buns for homemade brioche buns made effortlessly with your stand mixer enriched dough recipe. The rich, soft texture of brioche makes for a luxurious base for any burger, absorbing juices without becoming soggy and providing a slightly sweet counterpoint to savory fillings.
After the first proof, divide the dough into 8-10 equal portions (about 70-85g each) for standard burger-sized buns. Shape each portion into a smooth, round bun. Place them on a baking sheet lined with parchment paper, leaving ample space for them to expand during the second proofing. Proof until visibly puffy, then brush with egg wash (optional, but gives a nice shine and color) and bake at 350°F (175°C) for 18-25 minutes, or until golden brown. These stand mixer brioche buns will take your burgers to the next level.
Cleaning and Maintaining Your Stand Mixer After Brioche Baking
Best Practices for Cleaning the Dough Hook and Bowl
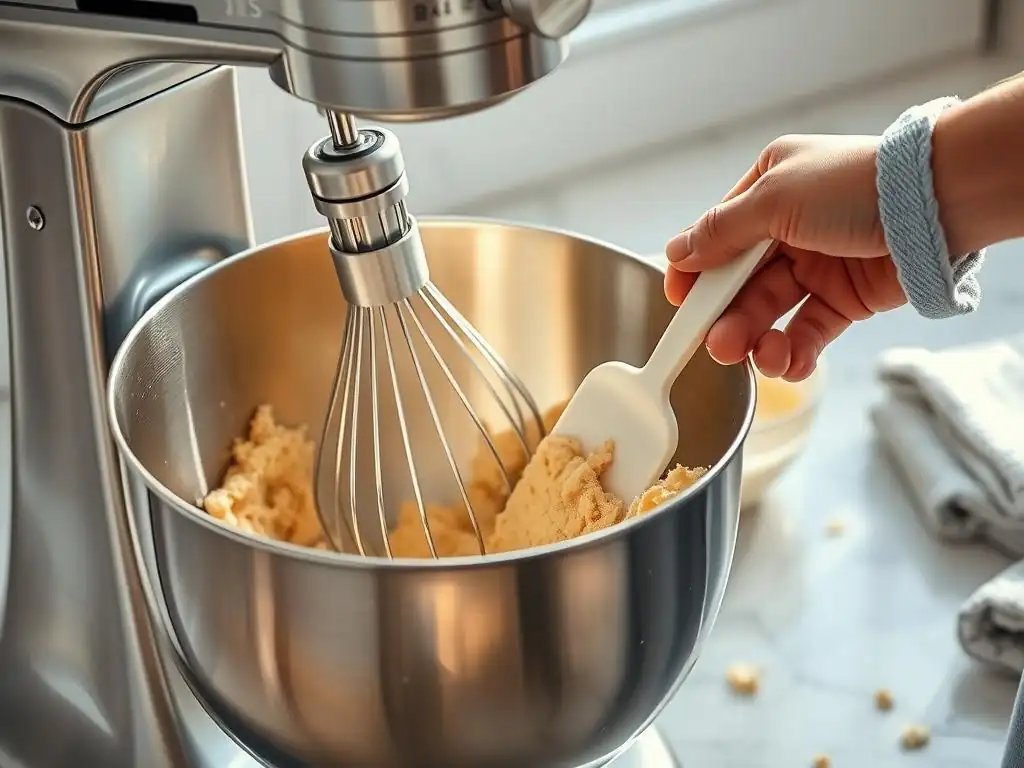
Cleaning your stand mixer after tackling a sticky brioche dough is crucial for maintaining your equipment. The dough hook and mixing bowl are the primary components that come into contact with the dough. Immediately after use, remove the dough hook and bowl from the mixer base. It's easiest to clean them before any residual dough or butter has a chance to harden.
For both the dough hook and the stainless steel bowl, the best practice is to wash them in warm, soapy water. Use a soft sponge or cloth to gently scrub away any dough remnants. Avoid using abrasive scrubbers or harsh chemicals, especially on coated dough hooks or the finish of the bowl, as this can cause damage over time.
Rinse thoroughly with clean water and dry completely with a towel to prevent water spots or rust, particularly on the dough hook. Many stainless steel bowls and some coated dough hooks are dishwasher safe, but always check your manufacturer's instructions to be sure.
Removing Butter Residue and Preventing Sticking
Brioche dough's high butter content means you'll likely encounter greasy residue on your stand mixer bowl and dough hook. Simply washing with soap and water is usually effective, but sometimes a greasy film can linger. For stubborn butter residue, a degreasing dish soap works best. You might also find that soaking the bowl and hook in warm, soapy water for a few minutes before scrubbing helps loosen the grease.
To prevent dough and butter from sticking excessively in the first place, ensure you are adding softened, not melted, butter to your dough. While the dough hook will get coated, proper kneading should result in a dough that eventually pulls away from the sides of the bowl, minimizing sticking there. Keeping your equipment clean immediately after use is the most effective way to manage butter residue and ensure your stand mixer is ready for your next brioche dough recipe adventure.
Conclusion: Mastering Brioche with Your Stand Mixer
Frequently Asked Questions
What is considered an "enriched dough" in baking?
An enriched dough is a dough that contains added fats, sugars, and/or eggs, making it richer and more tender than lean doughs. These additions significantly alter the texture and flavor of the final baked product.
Why is a stand mixer recommended for enriched dough recipes?
Stand mixers are highly recommended because they have the power and durability needed to handle the sticky and dense nature of enriched doughs. They ensure thorough mixing and gluten development, which can be challenging to achieve by hand.
What are some common ingredients found in stand mixer enriched dough recipes?
Common ingredients include flour, yeast, milk, butter, sugar, and eggs. Specific recipes may also call for flavorings like vanilla extract or citrus zest, impacting the dough's final taste.
How long should I knead enriched dough in a stand mixer?
Kneading time varies, but generally, enriched dough should be kneaded for 8-12 minutes on medium speed. Look for a smooth and elastic dough that pulls away from the sides of the bowl.
Can I over-knead enriched dough in a stand mixer?
Yes, over-kneading can occur. Over-kneaded dough can become tough and dense. Keep a close eye on the dough's texture and stop kneading when it reaches the desired consistency.
Final Reflection: The Joy of Effortless Enriched Dough
The ability to effortlessly create enriched doughs at home, once a laborious task, is now within everyone's reach thanks to the humble stand mixer. This seemingly simple shift has democratized baking, allowing home cooks to explore a world of delicious possibilities previously reserved for professional bakers. The convenience and consistency a stand mixer provides unlocks a level of culinary creativity that's truly transformative.
The impact of readily available enriched dough recipes extends far beyond just the kitchen. It's about fostering a connection with food, a deeper appreciation for the process of baking, and the simple joy of sharing homemade treats with loved ones. This accessibility empowers individuals to explore their creativity, experiment with flavors, and build confidence in their baking skills. Baking is at once child's play and adult joy. And love, of course.
– This sentiment perfectly captures the essence of what making enriched dough, easily and reliably, can bring to our lives.
Now, consider your own baking journey. What enriched delights will you create? Will you tackle the classic croissant, the delicate pain au chocolat, or perhaps a rich challah bread? The possibilities are endless. Don't be afraid to experiment, to embrace the process, and to savor the delicious rewards of your labor. The stand mixer is your partner in this culinary adventure; use it to unlock your potential and bring the joy of effortlessly enriched dough into your kitchen.
Unleash Your Inner Baker: Master Enriched Doughs Today!
Thanks for joining us on this journey into the world of enriched doughs! We hope you've discovered new techniques and confidence in tackling those delicious, buttery treats. Ready to put your newfound skills to the test?
- Bake your dream loaf: Choose your favorite enriched dough recipe (brioche, challah, etc.) and give it a try! This is your chance to experiment and perfect your technique.
- Share your baking journey: Snap a photo of your creation and share it on social media using #BakeWithEaseEnrichedDough. Let's inspire each other!
- Explore new recipes: Dive into our website's recipe section for more enriched dough inspiration. Maybe you'll uncover your new signature bread!
What incredible enriched dough creation will you bake next?