
Easy Steps to Flawless Choux Dough Every Time

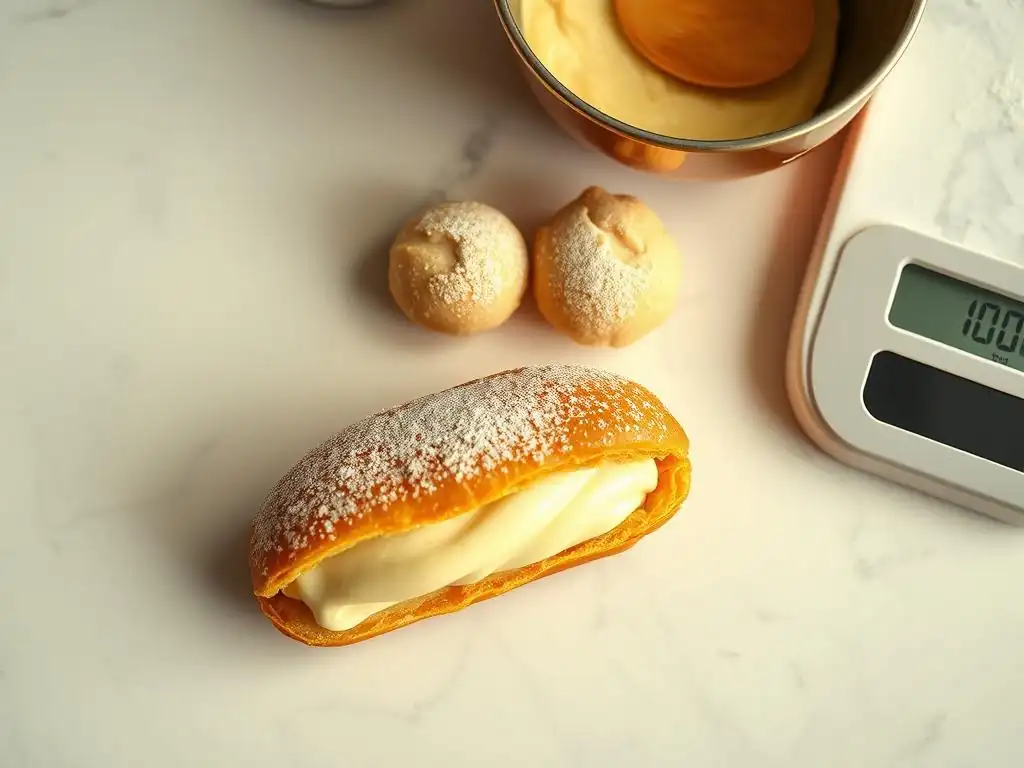
Welcome to BakeWithEase, your partner in creating delicious baked goods! Ever dreamt of light-as-air pastries that melt in your mouth? Discover the secrets to a flawless choux pastry recipe that's easier than you think. Ready to unlock the magic and impress everyone with your baking skills? Let's get started and banish choux pastry anxieties forever!
- Easy Steps to Flawless Choux Dough Every Time: A BakeWithEase Guide
- Introduction to Choux Pastry Perfection at BakeWithEase
- Mastering the Fundamentals: Key Ingredients for Perfect Choux
- Step-by-Step: The Ultimate Flawless Choux Pastry Recipe Easy
- Troubleshooting Common Choux Pastry Problems & Solutions
- Beyond the Basics: Creative Choux Pastry Variations
- Tips and Tricks for Consistently Perfect Choux Pastry Every Time
- Storing and Freezing Your Choux Pastry
- Conclusion: Mastering Choux Pastry with BakeWithEase
-
Frequently Asked Questions
- What exactly is choux pastry, and why is it considered difficult to master?
- What are the key ingredients needed for a flawless choux pastry?
- What is the most common mistake people make when baking choux pastry, and how can I avoid it?
- How do I know when the choux pastry is perfectly baked?
- Can I store unbaked choux pastry dough, and if so, how?
- Final Reflection: Mastering the Art of the Perfect Choux
- Unlock Your Inner Pâtissier: Master Choux Dough Today!
Easy Steps to Flawless Choux Dough Every Time: A BakeWithEase Guide
Introduction to Choux Pastry Perfection at BakeWithEase
Why Choux Pastry Seems Difficult (and Why It's Not!)
Choux pastry, or pâte à choux, often has a reputation for being finicky or difficult. Bakers might worry about flat pastries, soggy bottoms, or shells that just don't puff up beautifully. This perception often stems from a lack of understanding of the fundamental science behind this unique dough. Unlike other pastries that rely on layers of fat (like puff pastry) or chemical leaveners (like cakes), choux pastry uses steam generated from its high moisture content to create its airy interior. This requires specific steps and careful attention to temperature, which can seem daunting at first glance.
However, the truth is that choux pastry is incredibly forgiving once you grasp a few key principles. The basic process involves cooking a simple mixture on the stovetop before adding eggs, a technique that's quite different from typical doughs but surprisingly straightforward. Many common issues can be easily avoided with simple checks during the process, such as ensuring the panade is cooked sufficiently or adding the eggs gradually. With a reliable recipe and a little practice, achieving a flawless choux pastry recipe easy enough for anyone is well within reach.
BakeWithEase' Promise: A Simple Choux Dough Recipe for Success
At BakeWithEase, we believe that mastering classic techniques shouldn't be intimidating. Our goal is to demystify baking and provide clear, step-by-step guidance that builds confidence in the kitchen. This guide is designed to break down the choux pastry process into manageable steps, focusing on the 'why' behind each action so you understand the science at play. We'll provide a simple choux dough recipe that consistently delivers beautiful results.
Our approach emphasizes visual cues and practical tips, ensuring that even if you've never made choux before, you'll know exactly what to look for at each stage. We'll cover everything from selecting the right ingredients to troubleshooting common problems, so you can bake a truly flawless choux pastry recipe easy to replicate time and time again. Get ready to impress yourself and others with perfect cream puffs, éclairs, and more!
Mastering the Fundamentals: Key Ingredients for Perfect Choux
The Essential Flour for Choux Pastry: Bread Flour Matters
While some recipes call for all-purpose flour, using bread flour can significantly impact the structure and puff of your choux pastry. Bread flour typically has a higher protein content, often around 12-14%, compared to all-purpose flour's 10-12%. This higher protein develops stronger gluten strands when cooked with the liquid, creating a more robust framework capable of trapping the steam generated during baking.
This stronger gluten network is crucial for the dramatic puff that choux pastry is known for. A dough made with bread flour is often more stable and less likely to collapse after baking. While you can make choux with all-purpose flour, opting for bread flour provides an extra layer of insurance for achieving that desired hollow, airy interior and a stable shell, making your flawless choux pastry recipe easy to perfect.
Understanding the Role of Butter in Choux Dough Texture
Butter plays a vital role in choux pastry, contributing to both texture and flavor. It provides fat, which tenderizes the dough and helps create a richer taste. More importantly, the butter melts into the liquid at the beginning of the process, creating an emulsion that helps distribute the heat evenly and prevents the flour from clumping when added.
When the dough is cooked, the butter helps create a smooth, pliable consistency. During baking, as the water turns to steam and pushes the dough outwards, the fat from the butter contributes to the crispness of the outer shell. Using unsalted butter is generally recommended so you can control the salt content precisely, ensuring the best flavor balance for your flawless choux pastry recipe easy to customize.
Eggs: The Binding Agent and Leavening Powerhouse
Eggs are arguably the most critical ingredient in choux pastry after the initial cooked paste is made. They serve multiple functions: binding the cooked flour mixture into a cohesive dough, adding richness, and providing significant leavening power. The proteins in the eggs coagulate during baking, setting the structure, while the moisture in the eggs contributes to the steam needed for puffing.
The number of eggs required can vary slightly depending on their size and how much moisture has evaporated during the cooking of the panade. It's essential to add them one at a time and mix thoroughly, checking the consistency of the dough as you go. Too few eggs result in a stiff dough that won't puff well; too many result in a dough that's too wet and collapses. Aiming for a specific dough consistency, often described as a "ribbon," is key to success for a flawless choux pastry recipe easy to handle and bake.
Water vs. Milk: Choosing the Right Liquid for Your Choux
The liquid component in choux pastry is usually water or a mixture of water and milk. Water creates a crispier shell because it turns entirely into steam during baking, providing maximum lift. This is often preferred for classic éclairs or profiteroles where a very crisp exterior is desired.
Milk, on the other hand, adds richness and results in a slightly softer, more tender shell with a creamier flavor. It also contributes to browner shells due to the lactose content caramelizing. A 50/50 mix of water and milk offers a balance between crispness and tenderness. The choice depends on the final application, but for a versatile and reliable flawless choux pastry recipe easy for beginners, starting with mostly or all water is a good approach.
Step-by-Step: The Ultimate Flawless Choux Pastry Recipe Easy
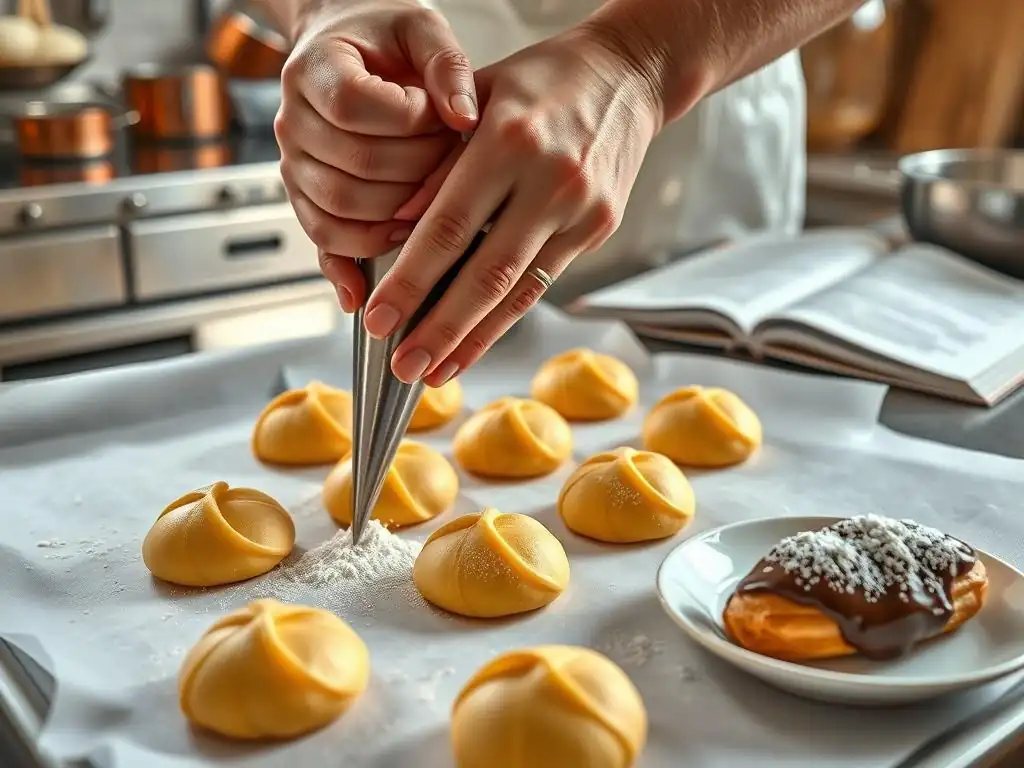
Step 1: Combining Water, Butter, Salt, and Sugar (the "Panade")
Begin by combining your chosen liquid (water, milk, or a mix), cubed unsalted butter, a pinch of salt (about 1/4 teaspoon per cup of liquid), and a pinch of sugar (optional, about 1/2 teaspoon) in a medium saucepan. Place the saucepan over medium heat and stir occasionally until the butter is completely melted. Continue heating until the mixture comes to a rolling boil. This ensures the liquid is hot enough to properly hydrate the flour in the next step.
Once boiling, remove the pan from the heat immediately and get ready to add the flour all at once. Having your measured flour ready is crucial for this step. The goal is to create a cooked paste, often called the "panade," which is the foundation of your choux dough. This initial cooking stage gelatinizes the starch in the flour, allowing it to absorb a large amount of liquid and egg later, which is essential for structure and puff.
Achieving the Perfect Panade Consistency: Visual Cues
After adding the flour off the heat, stir vigorously with a wooden spoon or heatproof spatula. The mixture will look lumpy at first, but keep stirring. Return the pan to medium-low heat. Continue to stir and cook the dough. You'll notice it start to come together into a cohesive ball that pulls away from the sides of the pan.
Cook the dough for another 1 to 2 minutes, stirring constantly. This is a crucial step to dry out the dough slightly and further develop the starch. You'll see a thin film or crust forming on the bottom of the pan. This indicates that sufficient moisture has evaporated, and the panade is ready to move to the next stage. A properly cooked panade is firm but pliable, not sticky, laying the groundwork for a flawless choux pastry recipe easy to work with.
Step 2: Incorporating the Flour: Cooking the Dough
(Content for this header is covered under Step 1 and its sub-headers as per structure, focusing on the panade cooking process.)
Why Cooking the Dough is Crucial for Choux Success
Cooking the flour with the hot liquid and fat is the defining characteristic of choux pastry and is absolutely essential for its unique structure. This process, called the panade stage, gelatinizes the starch in the flour. Gelatinization allows the flour to absorb a significant amount of liquid – far more than uncooked flour would. This high moisture content is what generates the large volume of steam needed to inflate the dough during baking.
Furthermore, cooking the dough helps to evaporate excess moisture, creating a concentrated paste. This firm, cooked base is then capable of absorbing the eggs later without becoming too wet. It also starts to develop the gluten structure, which provides the necessary elasticity and strength for the dough to expand and hold its shape as it bakes. Skipping or shortening this step will result in a dough that is too wet, lacks structure, and will not puff properly, yielding flat or dense pastries instead of a flawless choux pastry recipe easy to achieve airy results.
Avoiding Lumps: Tips for Smooth Flour Incorporation
Adding the flour all at once after removing the pan from the heat is the best strategy to prevent lumps. The hot liquid quickly surrounds all the flour particles simultaneously, promoting even hydration. Stirring vigorously and immediately upon adding the flour is key. Use a strong wooden spoon or a sturdy heatproof spatula and mix energetically until the flour is fully incorporated and no dry pockets remain.
Once the flour is mixed in, return the pan to the heat and continue stirring and pressing the dough against the sides of the pan. This action helps to smooth out any small remaining lumps and ensures even cooking of the panade. The continuous stirring and cooking for 1-2 minutes will transform the initially rough mixture into a smooth, cohesive ball, ready for the addition of eggs and contributing to a perfectly smooth dough for your flawless choux pastry recipe easy to pipe.
Step 3: Adding the Eggs: Achieving the Right Consistency
Once your panade is cooked and has formed a film on the bottom of the pan, transfer it to a bowl. It's best to let it cool slightly for a few minutes before adding the eggs. If the dough is too hot, it can cook the eggs prematurely, leading to a scrambled egg texture within your dough. A good indicator is when you can comfortably touch the dough with your finger.
Add the eggs one at a time, mixing thoroughly after each addition. You can do this by hand with a wooden spoon (it requires effort!) or using a stand mixer with the paddle attachment on medium speed. Do not add the next egg until the previous one is completely incorporated and the dough looks smooth again. The dough will look broken and slippery at first after each egg, but keep mixing, and it will come back together.
The Egg Test: Knowing When Your Dough Is Ready
Determining when you've added enough eggs is critical. The dough should be smooth, glossy, and thick, but still soft enough to pipe. The classic "egg test" involves lifting some dough with your spoon or spatula. It should hang in a V-shape or a thick ribbon that slowly falls back into the bowl, leaving a trailing peak that eventually collapses.
If the dough breaks off cleanly without forming a ribbon, it's too stiff and needs a little more egg. If it's too runny and falls off the spoon too quickly, you've added too much egg. Because egg sizes vary and the moisture content of your panade might differ slightly, you might not need the full amount of the last egg, or you might need a tiny bit more.
Always err on the side of caution and add the last egg gradually, checking the consistency often. This precise attention ensures a flawless choux pastry recipe easy to pipe and bake successfully.
Troubleshooting: Too Wet or Too Dry Choux Dough
If your choux dough is too wet after adding the eggs (it's runny and won't hold its shape), unfortunately, it's difficult to fully correct. The excess moisture will prevent proper puffing. You can try adding a tablespoon or two of all-purpose flour mixed with a tiny bit of water and cooking it into a thick paste, then mixing this into the dough, but this is a patch fix and results may vary. Prevention is key – add the last egg very gradually.
If your choux dough is too dry (it's stiff and doesn't form a ribbon), you can carefully beat another egg in a small bowl and add just a tiny amount (perhaps half a teaspoon to a teaspoon at a time) to the dough, mixing thoroughly and re-testing the consistency until it's just right. It's much easier to add more egg than to remove it, highlighting the importance of the gradual addition in Step 3 for a flawless choux pastry recipe easy to adjust.
Step 4: Piping and Shaping Your Choux Pastry
Once your choux dough has the perfect consistency, transfer it to a piping bag fitted with your desired tip. Piping bags allow for consistent shapes and sizes, which is important for even baking. If you don't have a piping bag, you can use two sturdy ziplock bags with a corner snipped off, though shaping might be less precise.
Prepare your baking sheet by lining it with parchment paper or a silicone baking mat. These prevent sticking and ensure the bottoms don't get too dark too quickly. Pipe your desired shapes onto the prepared sheet, leaving ample space between them as they will expand significantly during baking. Aim for uniform size and shape for even baking results, contributing to a flawless choux pastry recipe easy to execute neatly.
Choosing the Right Piping Tip for Different Choux Shapes
The choice of piping tip depends on the final shape you want to achieve. For classic cream puffs (profiteroles), a large round tip (like Ateco #808 or #809) is ideal. Pipe mounds of dough, pulling the bag straight up to minimize peaks, or gently smooth down any peaks with a wet finger.
For éclairs, a large star tip (like Ateco #826 or #827) or a large plain tip (like Ateco #807 or #808) can be used. Pipe straight lines of dough, applying even pressure. Using a star tip creates ridges that can sometimes help guide cracking during baking for a classic look. For savory gougères, a round tip is also standard. Having the right tool makes piping a flawless choux pastry recipe easy and consistent.
Piping Techniques for Eclairs, Cream Puffs, and Gougères
For cream puffs, hold the piping bag perpendicular to the baking sheet, about 1/2 inch above the surface. Squeeze firmly and consistently, creating a round mound. Stop squeezing and lift straight up. If there's a prominent peak, gently dab it down with a wet fingertip to prevent it from burning. Aim for rounds about 1.5 to 2 inches in diameter.
For éclairs, hold the piping bag at a slight angle (about 45 degrees) just above the sheet. Apply steady pressure and move the bag in a straight line to create logs about 4-5 inches long. Release pressure before lifting the bag cleanly away. Uniform length and thickness are key for even baking. For gougères, pipe small rounds (about 1 inch) and optionally sprinkle with grated cheese before baking for a savory twist on a flawless choux pastry recipe easy to adapt.
Step 5: Baking Your Choux Pastry to Golden Perfection
Baking choux pastry is a two-stage process crucial for achieving both maximum puff and a stable, crisp shell. Preheat your oven to a high temperature, typically around 400°F (200°C). The initial high heat creates a burst of steam from the dough's moisture, causing it to expand rapidly and puff up. Bake at this high temperature for about 10-15 minutes.
After the initial puff, reduce the oven temperature to a lower temperature, usually around 350°F (175°C), without opening the oven door. Continue baking for another 15-25 minutes, or until the pastries are deeply golden brown and feel light and hollow when lifted. This lower temperature allows the shells to dry out and crisp up internally and externally, preventing them from collapsing upon cooling. Proper baking is the final step to ensuring a flawless choux pastry recipe easy to achieve perfect results from.
Oven Temperature and Baking Time: The Key to Puffing
The initial high temperature (e.g., 400°F / 200°C) is non-negotiable for proper puffing. The intense heat quickly turns the water in the dough into steam, which is the primary leavening agent. This rapid expansion creates the hollow interior. Baking for the first 10-15 minutes at this temperature sets the structure.
Reducing the temperature allows the pastry to continue baking without burning the exterior, focusing on drying out the interior. If the temperature isn't reduced, the outside might brown too quickly while the inside remains moist, leading to collapse. Total baking time will vary based on the size of your pastries and your oven, but typically ranges from 25 to 40 minutes total. They should look significantly browned, not just golden, for optimal structure from your flawless choux pastry recipe easy to bake right.
The Importance of Avoiding Door Opening During Baking
Resist the urge to open the oven door during the first 20-25 minutes of baking, especially during the initial high-heat phase. Opening the door causes a sudden drop in oven temperature. This can interrupt the steam leavening process and cause the pastries to deflate before their structure is set.
Once the pastries are fully puffed and starting to turn golden (after the temperature reduction), you can briefly open the door if necessary to check for doneness, but it's still best to observe through the oven window. Prematurely releasing the steam and heat is a common cause of flat or collapsed choux. Patience is a virtue when aiming for a flawless choux pastry recipe easy to bake successfully.
Achieving a Golden Brown Crust: Visual Indicators
A properly baked choux pastry shell should be a rich, deep golden brown, not just pale yellow. This deep color indicates that the crust is fully developed and crisp. Pale choux shells are likely underbaked and will collapse or become soggy quickly upon cooling.
Another visual cue is the texture of the surface; it should look dry and firm. If you gently tap a pastry, it should sound hollow. The pastries should also feel relatively light for their size when lifted. When in doubt, bake them for a few extra minutes; it's better to slightly overbake than underbake choux pastry for guaranteed stability from your flawless choux pastry recipe easy to judge visually.
Troubleshooting Common Choux Pastry Problems & Solutions
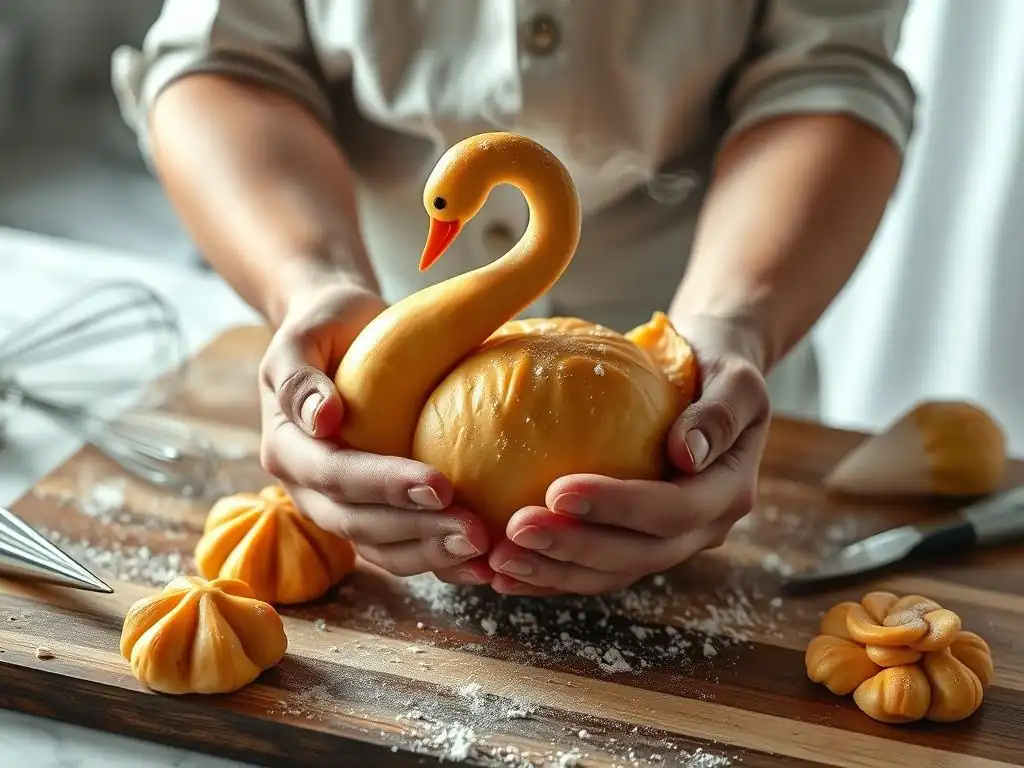
Why Isn't My Choux Pastry Puffing Up?
Lack of puff is a frustrating but common issue. Several factors can contribute. One major culprit is not cooking the panade long enough in Step 1 and 2. If the panade is too wet, it can't absorb enough egg, and more importantly, it won't generate sufficient steam to lift the dough. Ensure you cook it until a film forms on the bottom of the pan.
Another reason is adding too many eggs, resulting in a dough that is too loose and lacks the structure to support its expansion. Always perform the "egg test" in Step 3. Finally, opening the oven door too early during baking (Step 5) causes a temperature drop that can deflate the rising pastries. Ensure the oven reaches the correct initial high temperature and avoid peeking too soon for a flawless choux pastry recipe easy to get right.
My Choux Pastry Is Flat: What Went Wrong?
Flat choux is closely related to lack of puff. If the pastries puffed initially but collapsed, it's usually due to insufficient baking time or temperature reduction. The shells might have puffed due to steam, but their structure wasn't set or dried out enough to hold the shape. They need ample time at the lower temperature (Step 5) to truly crisp up.
Underbaking is a primary cause of flat or collapsed choux. The interior must be dry and the exterior deeply colored to be stable. If they are pale or feel heavy, they are likely underbaked. Next time, bake them longer until they are a deeper golden brown and feel light when lifted, ensuring your flawless choux pastry recipe easy to bake until truly done.
Choux Pastry Is Soggy: How to Prevent It
Soggy choux is almost always a result of underbaking. As mentioned, the lower temperature phase of baking (Step 5) is crucial for drying out the pastry. If this step is too short, or the temperature is too low, the moisture remains trapped inside, leading to a soft, soggy texture instead of a crisp shell.
Ensure your oven temperature is accurate – consider using an oven thermometer. Bake until the pastries are a deep golden brown and feel very light. Cooling them properly (see later section) on a wire rack is also essential to prevent condensation from making the bottoms soggy. Proper baking time and cooling are key to a flawless choux pastry recipe easy to keep crisp.
Avoiding Cracks: Achieving Smooth Choux Shells
While some cracking is natural and even desirable in certain choux shapes (like those piped with a star tip), excessive or unsightly cracking can be minimized. One common cause is a dough that is too dry (too little egg added in Step 3). A stiffer dough has less elasticity to expand smoothly, leading to tears and cracks. Ensure your dough passes the "egg test" and forms a proper ribbon.
Over-mixing the dough after adding the eggs can also sometimes lead to excessive gluten development, resulting in a tougher dough that cracks more. Mix just until the eggs are incorporated and the proper consistency is reached. Finally, uneven oven heat can cause some areas to puff faster than others, leading to cracking. Knowing these potential pitfalls helps you achieve a smoother, flawless choux pastry recipe easy on the eyes.
Beyond the Basics: Creative Choux Pastry Variations
Savory Choux Pastry: Gougères and Cheese Puffs
Choux pastry isn't just for sweets! Omitting the sugar and often adding savory elements to the dough creates delicious savory pastries like gougères or cheese puffs. A basic gougère dough follows the standard choux recipe but with salt instead of sugar and typically incorporates grated cheese, often Gruyère or Parmesan, mixed into the dough after the eggs.
These savory choux puffs are fantastic as appetizers or accompaniments to soups and salads. They are baked in the same two-stage process as sweet choux. You can also add herbs like chives or black pepper to the dough for extra flavor. This adaptability makes a flawless choux pastry recipe easy to turn into a savory treat.
Sweet Choux Pastry: Eclairs, Cream Puffs, and Profiteroles
The classic applications of sweet choux pastry are perhaps the most well-known. Cream puffs are round shells typically filled with whipped cream, pastry cream, or ice cream. Profiteroles are essentially smaller cream puffs, often served stacked into a croquembouche or simply piled high and drizzled with chocolate sauce.
Éclairs are elongated choux pastries filled with pastry cream (crème pâtissière) and traditionally topped with chocolate or coffee glaze. The same basic flawless choux pastry recipe easy to make can be used for all these variations; the main difference lies in the piping shape and the filling and topping choices.
Flavoring Your Choux Dough: Extracts, Spices, and Zest
While classic choux dough is relatively neutral in flavor, you can easily infuse it with subtle notes to complement your fillings. A splash of vanilla extract can be added with the eggs for sweet applications. For chocolate choux, a tablespoon or two of unsweetened cocoa powder can be whisked in with the flour in Step 1.
Citrus zest (lemon, orange) can be added with the butter and liquid in Step 1 for a bright flavor. Spices like cinnamon or nutmeg can be added with the flour. Experimenting with flavorings allows you to customize your flawless choux pastry recipe easy to pair with various fillings, from coffee cream to fruit curds.
Tips and Tricks for Consistently Perfect Choux Pastry Every Time
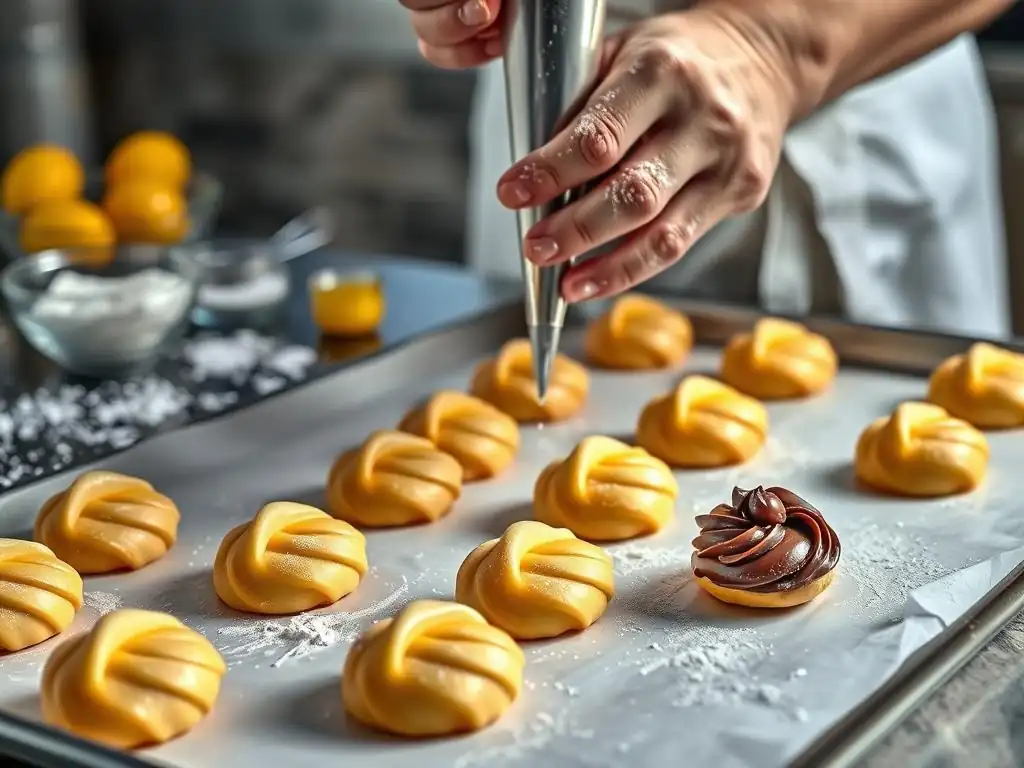
Measuring Ingredients Accurately: The Importance of Precision
Baking, especially something as sensitive to consistency as choux pastry, relies heavily on accurate measurements. Using a kitchen scale to weigh your ingredients is highly recommended, particularly for the flour and eggs. Volume measurements can be inconsistent (e.g., scooping flour can result in varying amounts).
For example, 1 cup of all-purpose flour can weigh anywhere from 120g to 150g depending on how it's measured. This variation can significantly impact the panade consistency and subsequent egg absorption. Weighing ensures you use the exact amount specified in the recipe, leading to more predictable and consistently flawless choux pastry recipe easy to replicate.
Preparing Your Baking Sheet: Parchment Paper vs. Silicone Mat
Lining your baking sheet is essential to prevent the choux pastry from sticking and to promote even browning on the bottom. Both parchment paper and silicone baking mats work well. Parchment paper is disposable and provides a good non-stick surface.
Silicone mats (like Silpat) are reusable and offer excellent non-stick properties, often resulting in slightly less browning on the bottom compared to parchment. Some bakers prefer parchment for slightly crispier bottoms, while others like silicone for ease of use and clean-up. Either choice will effectively prevent sticking for your flawless choux pastry recipe easy to lift off the sheet.
Cooling Your Choux Pastry Properly: Preventing Soggy Bottoms
Once your choux pastries are baked to a deep golden brown and feel light and hollow, remove them from the oven. Immediately transfer them to a wire cooling rack. Cooling on a rack allows air to circulate around the entire pastry, preventing condensation from forming on the hot bottom and making it soggy.
If you plan to fill the pastries, it's best to pierce the bottom or side with a small knife tip or piping tip as soon as they come out of the oven. This allows steam to escape quickly, further ensuring the interior dries out and the shell remains crisp. Proper cooling is the final step to a truly flawless choux pastry recipe easy to fill and enjoy.
Storing and Freezing Your Choux Pastry
Best Practices for Storing Baked Choux Shells
Baked and cooled choux pastry shells are best stored at room temperature in an airtight container. However, they are highly susceptible to moisture and can quickly lose their crispness, becoming soft or chewy, within a day or two. For optimal texture, it's best to bake them the day you plan to fill and serve them.
If you must store them, ensure they are completely cool before placing them in the container. To help absorb any residual moisture, you can place a paper towel in the bottom of the container. For longer storage, freezing is a better option to maintain the quality of your flawless choux pastry recipe easy to revive.
Freezing Unbaked and Baked Choux Pastry: A Guide
Choux pastry freezes exceptionally well, both before and after baking. To freeze unbaked dough, pipe the shapes onto a parchment-lined baking sheet and freeze until solid (about 1-2 hours). Once frozen, transfer the solid shapes to an airtight container or freezer bag. They can be baked directly from frozen; simply add a few extra minutes to the baking time in Step 5.
To freeze baked choux shells, ensure they are completely cool. Store them in an airtight container or freezer bag. To reheat and crisp them up, place the frozen shells on a baking sheet and bake in a preheated oven at 350°F (175°C) for 5-10 minutes until crisp again. This makes having a stash of flawless choux pastry recipe easy to access whenever a craving strikes.
Conclusion: Mastering Choux Pastry with BakeWithEase
Celebrate Your Choux Pastry Success!
Congratulations! By following these steps, you've unlocked the secrets to creating beautiful, airy choux pastry. You've learned the importance of each ingredient, the science behind the panade, the art of adding eggs, and the crucial two-stage baking process. You now have the skills to troubleshoot common issues and achieve a flawless choux pastry recipe easy to make and consistently successful.
Take a moment to admire your perfectly puffed shells. The satisfying crackle of the crisp exterior and the hollow, airy interior are testaments to your newfound mastery. Whether you've made classic cream puffs, elegant éclairs, or savory gougères, you've conquered a fundamental baking technique. Celebrate your success and get ready to share your delicious creations!
Next Steps: Exploring More Choux Pastry Creations on BakeWithEase
Mastering the basic flawless choux pastry recipe easy guide is just the beginning! Choux pastry is incredibly versatile, serving as the base for countless delightful desserts and savory bites. Now that you're comfortable with the foundational technique, we encourage you to explore the many ways you can use your perfect choux shells.
Head back to BakeWithEase.com to find recipes for classic fillings like vanilla pastry cream, rich chocolate ganache, or simple whipped cream. Discover how to make classic French desserts like Paris-Brest or St. Honoré. Experiment with savory fillings like cheese or mushroom duxelles. The possibilities are endless, and we're here to guide you every step of the way as you continue your choux pastry journey.
Frequently Asked Questions
What exactly is choux pastry, and why is it considered difficult to master?
Choux pastry, or pâte à choux, is a light, airy pastry dough used to make profiteroles, éclairs, and gougères. It's considered difficult because it requires a specific process of cooking the dough to develop gluten and evaporate moisture for optimal puffing.
What are the key ingredients needed for a flawless choux pastry?
The essential ingredients are water (or milk), butter, all-purpose flour, eggs, and a pinch of salt. The ratio of these ingredients is crucial for achieving the correct dough consistency.
What is the most common mistake people make when baking choux pastry, and how can I avoid it?
A common mistake is not cooking the dough long enough to remove sufficient moisture. This results in a flat, dense pastry. Ensure the dough forms a smooth ball that pulls away from the sides of the pan before adding eggs.
How do I know when the choux pastry is perfectly baked?
Perfectly baked choux pastry will be golden brown, puffed up, and feel light when lifted. A hollow sound when tapped indicates that the inside is cooked through, allowing for filling.
Can I store unbaked choux pastry dough, and if so, how?
Yes, you can store unbaked choux pastry dough. It can be piped onto a baking sheet, covered with plastic wrap, and refrigerated for up to 24 hours. Let it sit at room temperature for about 15 minutes before baking for the best results.
Final Reflection: Mastering the Art of the Perfect Choux
The pursuit of the flawlessly puffed choux pastry, once a culinary Everest, is now within everyone's reach. This article has demystified the process, breaking down the seemingly complex technique into manageable, easily repeatable steps. No longer need the fear of deflated puffs or soggy bottoms haunt your baking dreams.
The journey of mastering choux pastry is more than just achieving a visually stunning result; it's about understanding the fundamental principles of baking and embracing the precision required. It's a testament to the power of patience and attention to detail, qualities that extend far beyond the kitchen. The most beautiful things are the most simple,
a sentiment that perfectly encapsulates the elegance and simplicity of a perfectly executed choux pastry once the technique is understood. This simple dough, capable of transforming into delicate éclairs, airy profiteroles, or even savory gougères, holds a special place in culinary history, and its continued popularity speaks to its enduring appeal.
Now, it's your turn. Don't let the fear of failure hold you back. Gather your ingredients, follow the steps outlined, and experience the joy of creating something truly beautiful and delicious. The satisfaction of biting into a perfectly puffed choux, its delicate crisp shell giving way to a creamy, flavorful filling, is a reward in itself. Embrace the challenge, experiment with different fillings and flavors, and share your choux creations with the world. The path to flawless choux pastry begins with a single, confident step.
Unlock Your Inner Pâtissier: Master Choux Dough Today!
Thanks for joining us on this delicious journey into the world of choux pastry! We hope you've gained the confidence to tackle this seemingly tricky dough. Now it's time to put your new skills to the test!
- Bake your dream choux: Try the recipe from the article, tweaking it to create your own signature flavor. Don't be afraid to experiment!
- Share your creations: Show off your beautiful choux creations on social media using #BakeWithEaseChoux – we'd love to see them!
- Join our baking community: Head over to our forum (link removed per instructions) to share tips, ask questions, and inspire other bakers with your choux masterpieces.
What unique filling will you create to showcase your perfect choux pastry?