
Troubleshooting OverFermented Sourdough: Saving Your Dough

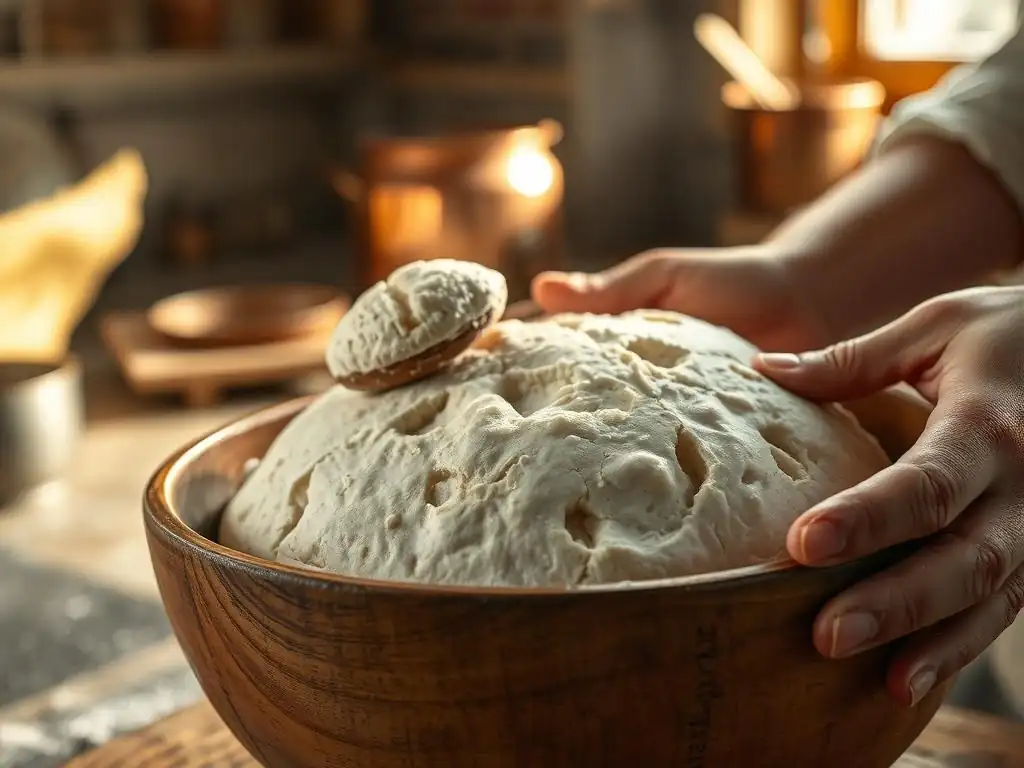
Welcome to BakeWithEase, your haven for all things baking! Ever wondered if you can rescue a sourdough starter that's gone a little too wild? This article dives deep into the common sourdough starter overfermenting problems and, more importantly, provides practical solutions to revive your bubbly friend. Discover how to identify the signs, understand the causes, and implement simple techniques to get your sourdough back on track. Are you ready to salvage your dough and unlock the secrets to perfect sourdough baking? Let's get started!
- Troubleshooting OverFermented Sourdough: Saving Your Dough (BakeWithEase.com)
- Understanding Sourdough Overfermentation: Identifying the Problem
- Why Does Sourdough Overferment? Common Causes Explained
- Saving Overfermented Sourdough Starter: Rescue Techniques
- Troubleshooting Overproofed Sourdough Dough: Can You Still Bake?
- Baking with Overfermented Sourdough: Managing Expectations
- Preventing Future Sourdough Overfermentation: Best Practices
- Overfermented Sourdough Starter Problems: Common Scenarios and Solutions
- Mastering Sourdough Fermentation: Achieving the Perfect Balance
-
Frequently Asked Questions
- What are the telltale signs of an overfermented sourdough starter?
- Can I still use an overfermented sourdough starter in my baking?
- How does overfermentation impact the final sourdough loaf?
- What factors commonly contribute to sourdough starter overfermentation?
- How can I prevent my sourdough starter from overfermenting in the future?
- Final Reflection: The Resilient Art of Sourdough
- Rescue Your Sourdough: Bring Back the Tang!
Troubleshooting OverFermented Sourdough: Saving Your Dough (BakeWithEase.com)
Understanding Sourdough Overfermentation: Identifying the Problem
What is Overfermented Sourdough? Recognizing the Signs
Overfermented sourdough occurs when the natural leavening process goes on for too long, or too quickly, exhausting the available food source (sugars in the flour) for the wild yeasts and bacteria in your starter or dough. This leads to a breakdown of the gluten structure and an imbalance in the microbial activity. Recognizing the signs early is crucial for addressing sourdough starter overfermenting problems before they become irreversible. It's like letting a balloon inflate too much – eventually, it loses its elasticity and might even pop.
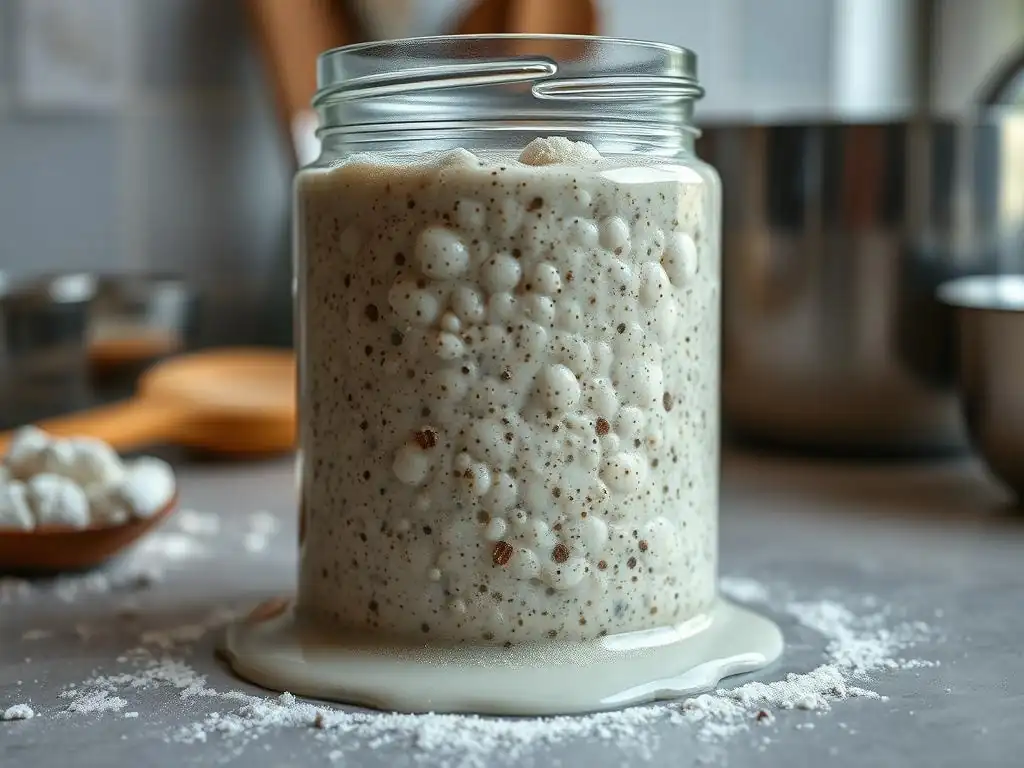
Visually, an overfermented sourdough starter might look very liquidy and collapsed, often with a strong layer of hooch (the alcoholic liquid byproduct) on top. The volume may have peaked significantly and then fallen dramatically. In dough, overfermentation manifests as a very slack, often sticky texture that lacks tension. It might have large, irregular bubbles visible on the surface or through the container, and it often spreads out rather than holding its shape after being turned out.
Key Indicators of Sourdough Starter Overfermentation
One of the primary indicators of sourdough starter overfermentation is its smell. Instead of a pleasant, tangy aroma, it might smell strongly acidic, vinegary, or even like nail polish remover (acetone). This is due to the production of acetic acid and other volatile compounds as the bacteria consume the food source and the starter becomes stressed. A healthy, active starter typically smells more like yogurt or ripe fruit with a mild tang.
Another key sign is the starter's activity pattern. An overfermented starter will typically rise rapidly after feeding, perhaps doubling or tripling in just a few hours at room temperature (e.g., 68-72°F or 20-22°C), but then it will peak quickly and collapse entirely within 6-8 hours, sometimes even less depending on conditions. A properly fermented starter at these temperatures usually takes 8-12 hours to peak before starting a slow decline. Observing this rapid peak and dramatic fall is a strong indicator of sourdough starter overfermenting problems.
Differentiating Overfermentation from Underfermentation in Sourdough
Differentiating between overfermentation and underfermentation is vital for proper troubleshooting sourdough. Underfermented dough or starter typically hasn't risen sufficiently; it feels dense and heavy, with little gas production evident. The smell is usually mild, perhaps just floury or slightly sweet, lacking the characteristic tang of a well-developed sourdough. When poked, underfermented dough springs back quickly due to tight gluten structure and insufficient gas.
In contrast, overfermented dough feels fragile and gassy. When poked, the indentation may remain or recede very slowly, indicating a weakened gluten network unable to hold its structure. The smell, as mentioned, is strongly acidic or alcoholic. While underfermentation results in a dense, less flavorful loaf, overfermentation leads to issues like excessive spread, difficulty shaping, and potentially a gummy texture or collapsed structure after baking. Understanding these differences helps pinpoint the specific sourdough fermentation issues you're facing.
Why Does Sourdough Overferment? Common Causes Explained
Temperature's Role in Sourdough Fermentation Speed
Temperature is perhaps the most significant factor influencing the rate of sourdough fermentation. Warmer temperatures accelerate the metabolic activity of both yeast and bacteria in the starter and dough. For example, fermentation that might take 10-12 hours at a comfortable room temperature of 70°F (21°C) could potentially be completed in just 4-6 hours if the ambient temperature rises to 80°F (27°C) or higher. This increased speed dramatically increases the risk of sourdough starter overfermenting problems if not carefully monitored.
A kitchen environment, particularly in warmer months or near appliances, can fluctuate significantly. Leaving your starter or dough to ferment unchecked in a warm spot, even for a relatively short period beyond its peak, can quickly lead to overfermentation. Conversely, cooler temperatures slow down fermentation, which is why refrigeration is often used to store starter or cold-proof dough for extended periods. Being mindful of your environment's temperature is key to controlling the fermentation process.
The Impact of Hydration Levels on Sourdough Fermentation
Hydration, the ratio of water to flour, also plays a crucial role in fermentation speed and potential sourdough starter overfermenting problems. Higher hydration doughs (those with more water relative to flour, like 80% hydration or more) tend to ferment faster than lower hydration doughs (like 65-70% hydration). Water provides the medium for the yeast and bacteria to move and access the food source (sugars in the flour) more easily.
A very wet starter (e.g., 150% hydration or higher) or a high-hydration dough left at room temperature can reach peak activity and subsequently overferment much more quickly than a stiffer starter or dough made with less water. The increased mobility of the microbes in a wetter environment means they can consume the available sugars at a faster rate, leading to a quicker peak and subsequent decline if not managed. Adjusting hydration can be a tool to help regulate fermentation speed.
Too Much Starter: Accelerating Sourdough Fermentation
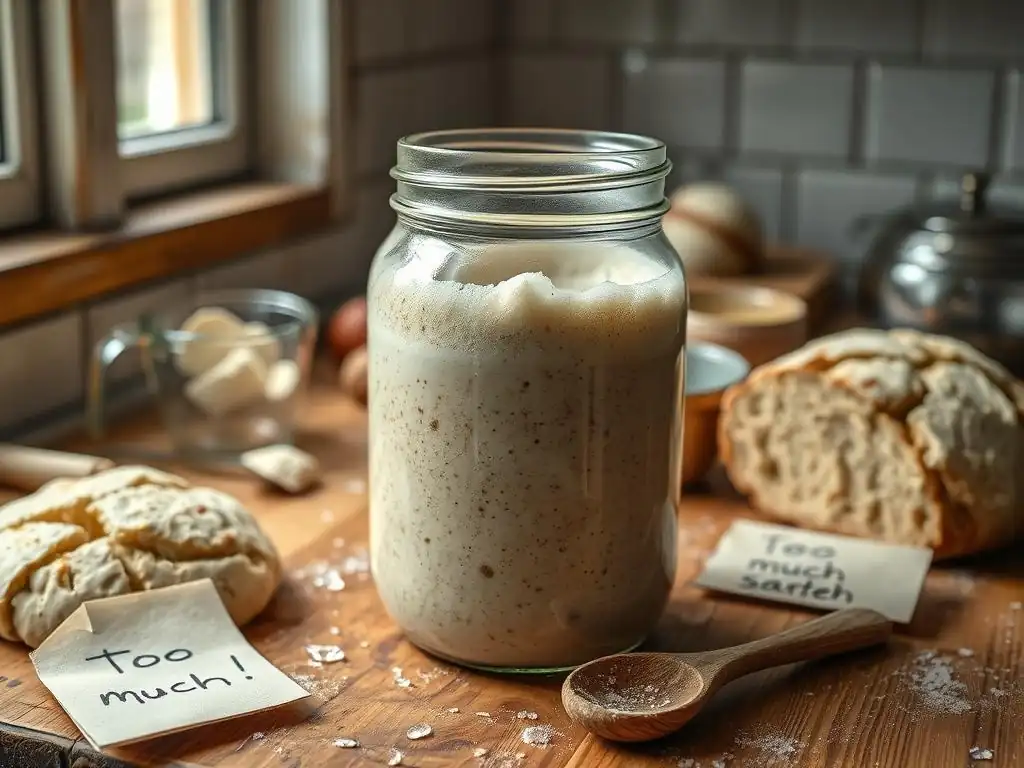
Using a larger proportion of active sourdough starter in your dough recipe will significantly speed up the fermentation process, increasing the likelihood of sourdough starter overfermenting problems if you're not careful. For instance, a recipe calling for 20% starter (relative to the total flour weight) will ferment slower than one calling for 30% or 40% starter under the same conditions. The more microbial population you introduce, the faster they will consume the food available in the dough.
While using more starter can be desirable in cooler environments or when you need a faster turnaround, it requires vigilant monitoring. A dough made with a high percentage of starter might reach its optimal fermentation point in just a few hours, whereas one with a lower percentage could take many more. Understanding this relationship allows bakers to adjust the starter amount based on their desired fermentation timeline and the ambient temperature, helping to prevent accidental overfermentation.
Understanding the Flour's Influence on Overfermentation
The type of flour used can also influence the rate of fermentation and contribute to sourdough fermentation issues. Flours with higher protein content and those that are less refined (like whole wheat or rye) often contain more readily available nutrients (sugars and minerals) for the yeast and bacteria. This can lead to a faster and more vigorous initial fermentation compared to using primarily white bread flour.
While these flours can boost starter activity and dough rise, they can also lead to a quicker exhaustion of resources and potential overfermentation if the fermentation time is not adjusted accordingly. For example, a starter fed with 100% whole wheat flour might peak faster than one fed with 100% white bread flour. Doughs containing significant amounts of whole grains may also ferment more rapidly. Being aware of the flour type and adjusting your process is part of mastering sourdough fermentation.
Saving Overfermented Sourdough Starter: Rescue Techniques
The "Feed and Wait" Method: Reviving Your Overfermented Starter
If your sourdough starter is showing signs of overfermentation – smelling strongly acidic, looking collapsed with hooch – the most common rescue technique is a dilution feeding. This involves discarding a significant portion of the stressed starter and feeding the remaining small amount with fresh flour and water. A common ratio might be to take just 10-20 grams of the overfermented starter and feed it with 50 grams of flour and 50 grams of water (a 1:5:5 ratio) or even a higher dilution like 1:10:10 if it's severely stressed.
This generous feeding dilutes the acidic environment and provides a large amount of fresh food, allowing the yeast and bacteria to recover and re-establish a healthy balance. After feeding, wait at room temperature, monitoring for signs of renewed activity (bubbles, rise). It might take a couple of feedings like this, potentially over 24-48 hours, to bring the starter back to its normal vigorous state. Patience is key when troubleshooting sourdough starter overfermenting problems using this method.
Adjusting Starter Hydration to Slow Down Fermentation
Manipulating the hydration of your starter can help bring it back under control if it's consistently overfermenting too quickly at room temperature. If you're currently maintaining a very wet starter (e.g., 100% hydration or higher), try feeding it with less water to create a stiffer consistency. For instance, if you usually feed 50g starter with 50g flour and 50g water (100% hydration), try feeding 50g starter with 50g flour and only 40g water (80% hydration).
A stiffer starter ferments more slowly because the microbes have less free water to move through and access food. This gives you a longer window before it peaks and potentially overferments, making it easier to manage at room temperature or giving you more time before needing to refrigerate it. Experimenting with hydration is a practical way to regulate your starter's activity and prevent future sourdough starter overfermenting problems.
Cold Storage to Regulate Sourdough Starter Activity
One of the most effective ways to slow down an overactive or consistently overfermenting sourdough starter is to use cold storage. Once your starter has peaked or is just starting its decline after a feeding, you can place it in the refrigerator. The cold temperature significantly slows down the metabolic activity of the yeast and bacteria, essentially pausing the fermentation process.
Storing your starter in the fridge can keep it viable for several days or even weeks between feedings. When you're ready to bake, you simply take it out, let it warm up, and give it one or two feedings at room temperature to revive its activity. This method is excellent for bakers who don't bake every day and helps prevent sourdough starter overfermenting problems by providing a controlled, low-temperature environment.
Troubleshooting Overproofed Sourdough Dough: Can You Still Bake?
Assessing the Damage: Is Your Overproofed Dough Salvageable?
Discovering your sourdough dough is overproofed after bulk fermentation or final proofing can be disheartening, but it doesn't always mean you have to discard it. The first step in troubleshooting overproofed sourdough is to assess its state. Gently poke the dough: if the indentation springs back very slowly or not at all, and the dough feels very light, airy, and potentially fragile or sticky, it's likely overproofed. It might also have large, irregular bubbles on the surface and lack the dome-like structure it had earlier.
If the dough hasn't completely collapsed into a puddle and still has some semblance of structure, it's often salvageable, though the final loaf's appearance and texture will be different from a perfectly proofed one. If it's completely liquidy and smells strongly of acetone, it might be beyond saving for a standard loaf, but could potentially be used in other ways, like in discard recipes or as a starter boost for a new batch.
Gently Re-shaping Overproofed Sourdough Dough
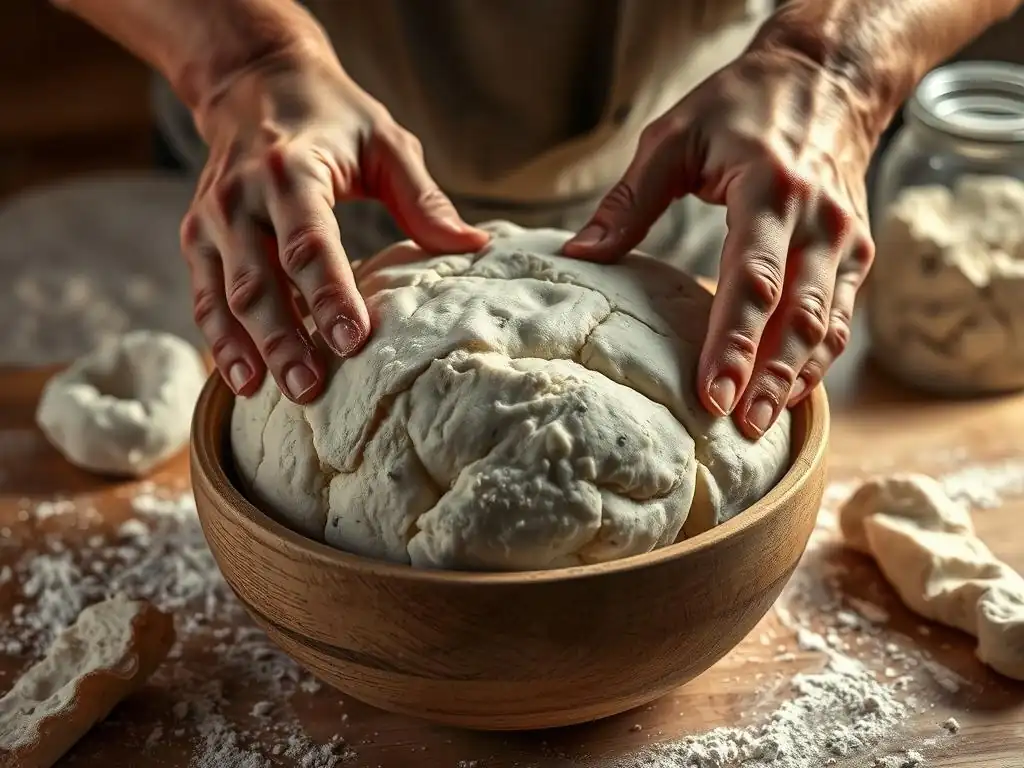
If your overproofed dough is still somewhat manageable, you might attempt a gentle re-shaping. The goal here is not to build significant tension, as the gluten structure is already weakened, but rather to consolidate the dough slightly and redistribute some of the gas. Turn the dough out onto a lightly floured surface very carefully. Avoid excessive handling or degassing.
Fold the edges towards the center, like you would during a normal shaping process, but do so with extreme gentleness. If the dough is very slack, you might need to use a bench scraper to help lift and fold it without tearing. Once shaped, it's usually best to place the dough directly into a well-floured banneton or proofing basket, seam-side up, if you plan to bake immediately or after a very short rest. This minimal handling helps preserve any remaining structure.
Reducing Air Bubbles in Overproofed Sourdough
Overproofed dough often develops very large, irregular air bubbles, which can lead to an uneven crumb and potential collapse during baking. While you want to avoid completely degassing the dough, which would remove the leavening power entirely, a very gentle handling during the re-shaping process can help redistribute some of the gas and reduce the size of the largest bubbles.
As you gently fold the dough, some larger pockets of air may deflate slightly. Again, the emphasis is on gentle handling. You are not punching down the dough. The aim is a delicate consolidation to improve structure without expelling all the precious gas. This step is part of managing expectations when troubleshooting overproofed sourdough, as you're working with compromised dough.
Baking with Overfermented Sourdough: Managing Expectations
Adjusting Baking Time and Temperature for Overfermented Dough
When baking overfermented or overproofed sourdough, adjustments to the baking process can help mitigate some of the issues. Because the gluten structure is weaker and the dough may spread more, baking at a slightly lower temperature initially might help prevent the crust from setting too quickly before the dough has a chance to expand minimally. Consider starting at 450°F (232°C) instead of 500°F (260°C) in a Dutch oven for the first 20 minutes.
The overall baking time might remain similar, but you'll need to watch the loaf closely. Overfermented dough can sometimes brown faster due to increased sugar availability. Pay attention to the crust color and internal temperature (aim for 200-210°F or 93-99°C) to ensure it's fully baked through. These small adjustments are part of adapting your technique when dealing with sourdough fermentation issues.
Understanding the Impact on Flavor and Texture
Baking with overfermented dough will inevitably impact the final flavor and texture of your loaf. The increased production of organic acids during the extended fermentation will result in a much tangier, potentially even sour or vinegary flavor compared to a properly fermented loaf. This can be desirable for those who enjoy a very strong sour taste, but it's a consequence of the over-acidification.
Texture-wise, overproofed dough often results in a loaf with a denser crumb, especially towards the bottom, and potentially large, irregular holes near the top where the largest bubbles were. The crust might be thinner or less robust because the dough didn't have the optimal structure to support a strong oven spring. While not ideal, the bread is often still edible, offering a learning opportunity in troubleshooting sourdough.
Preventing a Flat Loaf: Techniques for Overproofed Dough
One of the most common outcomes of baking overproofed sourdough dough is a flat, pancake-like loaf with minimal oven spring. This happens because the gluten structure has degraded and can no longer hold the gas produced by the yeast, causing the dough to spread outwards rather than rise upwards in the heat of the oven.
To combat this, consider baking the overproofed dough in a loaf pan or a smaller Dutch oven than usual. Baking in a confined space provides physical support to the weakened dough, encouraging it to rise upwards rather than spreading. While it won't achieve the same dramatic rise as perfectly proofed dough, this technique can help salvage a loaf and prevent it from becoming completely flat, offering a more usable bread.
Preventing Future Sourdough Overfermentation: Best Practices
Monitoring Sourdough Starter Activity Closely
Consistent monitoring is the most effective way to prevent sourdough starter overfermenting problems. Don't rely solely on the clock; observe your starter's behavior after feeding. Note how quickly it rises, when it peaks, and how it looks and smells throughout its cycle at room temperature. Keep a log if necessary. A simple float test (dropping a small piece of starter into water) can indicate if it's active enough for baking, but watching its rise and fall pattern over time provides more insight into its fermentation speed.
Understanding your starter's typical activity at your ambient temperature allows you to anticipate when it will be ready and when it might be approaching overfermentation. For example, if your starter typically triples in 8 hours at 72°F (22°C), you know to check it starting around the 6-7 hour mark if you need it at peak. This proactive approach helps you catch potential sourdough fermentation issues before they escalate.
Controlling Fermentation Temperature Effectively
Managing the temperature of your dough and starter is paramount in preventing overfermentation. If your kitchen is warm, fermentation will happen faster. Find a cooler spot in your house, like a basement or a specific cupboard, to ferment your dough if needed. Alternatively, consider investing in a proofing box or using your oven with the light on (checking the temperature with an oven thermometer) to maintain a consistent, lower temperature, perhaps 70-75°F (21-24°C), which offers more control than a warm room.
For longer fermentation periods, especially overnight, using the refrigerator is an excellent strategy. Cold proofing dough at temperatures typically between 38-40°F (3-4°C) slows fermentation to a crawl, allowing you to develop flavor over 12-48 hours without the risk of overproofing. Understanding and controlling temperature is arguably the single most important factor in avoiding sourdough starter overfermenting problems and achieving consistent results.
Adjusting Starter Amounts Based on Ambient Conditions
As discussed earlier, the amount of starter used directly impacts fermentation speed. A key preventive measure is to adjust the percentage of starter in your recipe based on the ambient temperature and your desired fermentation time. In warmer conditions, or if you plan a long bulk fermentation (e.g., overnight at room temperature), reduce the amount of starter. Using 10-15% starter might be appropriate in a warm kitchen (above 75°F / 24°C) for an overnight ferment.
Conversely, in cooler temperatures or if you need a faster ferment, you might increase the starter percentage to 20-25%. Learning to make these adjustments based on your environment is a crucial skill in preventing sourdough fermentation issues. Recipes often provide a starting point, but experienced bakers learn to tweak the starter percentage to fit their specific conditions and schedule.
Refining Your Sourdough Recipe for Consistent Results
Consistently preventing sourdough starter overfermenting problems involves refining your entire baking process, not just fixing issues as they arise. Keep detailed notes on your bakes: date, temperature, hydration, starter percentage, bulk fermentation time and dough behavior, proofing time and temperature, and the final outcome. This data helps you identify patterns and understand how different variables affect fermentation in your specific environment.
Over time, you'll develop a better intuition for how your starter and dough behave. You might find that a certain hydration works best for your flour, or that a specific combination of starter percentage and temperature consistently yields perfectly proofed dough. Continuous learning and recipe refinement based on your observations are key to mastering sourdough fermentation and minimizing troubleshooting overfermented sourdough situations.
Overfermented Sourdough Starter Problems: Common Scenarios and Solutions
Scenario 1: Extremely Sour Sourdough
You've baked a loaf, and the flavor is overwhelmingly sour, almost acrid. This is a classic sign that either your starter was overfermented when you used it, or your dough overfermented during bulk or final proofing, leading to excessive production of acetic acid.
Solution: To prevent this in the future, ensure your starter is fed regularly and used closer to its peak activity (when it has doubled but not yet started to collapse). When fermenting dough, monitor it closely and aim to bake or refrigerate it when it has increased in volume by the amount specified in your recipe (often 50-100% during bulk fermentation), not when it's completely blown out. For the current over-sour loaf, it can still be used for things like croutons, breadcrumbs, or even incorporated into savory dishes where the tang is welcome.
Scenario 2: Sticky and Unmanageable Dough
During shaping, your dough is incredibly sticky, hard to handle, and feels like it's tearing easily rather than stretching. This is a common symptom of overproofed dough where the gluten structure has begun to break down, losing its elasticity and strength.
Solution: This is a difficult dough to salvage for a freeform loaf. Try the gentle re-shaping technique described earlier and immediately place the dough into a well-floured banneton or, preferably, a greased and floured loaf pan. Bake it in the pan to provide necessary structural support. Accept that the crumb may be denser and the rise less dramatic. For future bakes, reduce fermentation time or temperature to avoid this level of gluten degradation.
Scenario 3: Collapsed Loaf After Baking
You baked your loaf, and instead of holding a nice shape, it spread significantly during baking, resulting in a flat or squat loaf, possibly with a very dense bottom crumb. This is another hallmark of overproofed dough that lacked the structural integrity to support oven spring.
Solution: As with the sticky dough, baking overproofed dough in a confined space like a loaf pan or Dutch oven can help. Ensure your oven is fully preheated, including your baking vessel (Dutch oven or baking stone/steel). While oven spring will be limited, proper initial heat can help set the crust quickly. The main preventative measure, however, is accurate proofing. Learn to assess your dough's readiness by feel and visual cues rather than relying solely on time, which varies greatly with conditions.
Mastering Sourdough Fermentation: Achieving the Perfect Balance
Continuous Improvement: Documenting Your Sourdough Journey
Becoming proficient in sourdough baking, and avoiding sourdough starter overfermenting problems, is a journey of continuous learning and adjustment. Start a baking journal. Record details about each bake: the date, ambient temperature, hydration percentage, the amount of starter used, the flour types, the duration of bulk fermentation and how the dough behaved (e.g., "doubled in 6 hours, felt very airy"), the final proofing time and location (room temp/fridge), and the outcome (shape, crumb, flavor).
Reviewing these notes over time will provide invaluable insights into how different variables interact in your specific environment. You'll start to notice patterns – for example, maybe your dough consistently overproofs when bulk fermented for more than 5 hours at 75°F. This data-driven approach allows you to make informed adjustments to your process and refine your techniques, leading to fewer sourdough fermentation issues.
Experimenting with Different Fermentation Techniques
Don't be afraid to experiment with various fermentation techniques to find what works best for you and your schedule while minimizing sourdough starter overfermenting problems. Try bulk fermenting at different temperatures – a shorter time at room temperature versus a longer, slower ferment in a cooler spot or the refrigerator. Experiment with different starter percentages to see how it impacts your timeline.
Explore techniques like cold proofing (final proofing in the refrigerator), which offers a lot of flexibility and can help develop flavor while significantly reducing the risk of overproofing compared to a long room-temperature proof. By trying different approaches, you'll gain a deeper understanding of how fermentation variables affect your dough and develop the skills to control the process effectively.
Joining the BakeWithEase Community for Support and Inspiration
Troubleshooting sourdough fermentation issues and mastering the craft is often easier with support from fellow bakers. Engage with the BakeWithEase community! Share your successes, ask questions about your sourdough starter overfermenting problems, and learn from the experiences of others. Online forums, social media groups, and comments sections on baking websites like BakeWithEase.com are great resources.
Seeing how others manage their starters, adjust their techniques, and troubleshoot problems can provide new perspectives and solutions you might not have considered. The collective knowledge of a baking community is immense and can be incredibly encouraging as you navigate the challenges and joys of sourdough baking, helping you move past sourdough starter overfermenting problems towards consistently great loaves.
Frequently Asked Questions
What are the telltale signs of an overfermented sourdough starter?
An overfermented starter will often have a strong, vinegary or alcoholic smell, a collapsed or sunken appearance, and may have a layer of hooch (liquid) on top.
Can I still use an overfermented sourdough starter in my baking?
Yes, you often can! While it may affect the flavor and texture, try using it in recipes that benefit from tangier flavor, like discard recipes such as pancakes or crackers, or reduce the amount of starter used in your main recipe.
How does overfermentation impact the final sourdough loaf?
Overfermentation can lead to a flat, dense loaf with a gummy texture and an excessively sour taste. The gluten structure weakens, preventing proper rise.
What factors commonly contribute to sourdough starter overfermentation?
Common culprits include too much time at warm temperatures, an inappropriate ratio of starter to flour and water, and insufficient feeding.
How can I prevent my sourdough starter from overfermenting in the future?
To prevent overfermentation, monitor your starter closely, especially during warmer months. Adjust feeding schedules and ratios, and consider refrigerating your starter to slow down activity.
Final Reflection: The Resilient Art of Sourdough
The delicate dance between patience and precision in sourdough baking is a constant learning curve, and understanding overfermentation is key to mastering this ancient craft. A perfectly risen loaf is a testament to careful observation and timely intervention, but even the most experienced bakers face the frustrating reality of an overfermented starter. This isn't a failure; it's an opportunity to refine technique and appreciate the living nature of our sourdough companions.
The impact of sourdough's resurgence on our culinary landscape is undeniable. It's more than just a bread; it's a connection to tradition, a symbol of slow living, and a testament to the power of natural processes. Bread is the staff of life,
a simple phrase that holds profound truth, especially when considering the effort and understanding required to create truly exceptional sourdough. The challenges of overfermentation, while frustrating, highlight the intricate relationship between baker and starter, a partnership built on observation, adaptation, and a deep respect for the natural world.
Now, consider your own sourdough journey. Have you experienced the pitfalls of overfermentation? What did you learn from the experience? Don't be discouraged by setbacks; instead, embrace them as valuable lessons. The next time your starter shows signs of overactivity, remember the techniques discussed in this article, and approach the situation with a renewed sense of purpose and understanding. The path to perfect sourdough is paved with patience, perseverance, and a willingness to learn from every rise and fall. Your next loaf awaits.
Rescue Your Sourdough: Bring Back the Tang!
Thanks for exploring sourdough troubleshooting! We hope you found helpful tips for saving your over-fermented starter. Now, it's time to put that knowledge into practice.
- Primary Action: Assess your sourdough's condition using the guidance provided and take appropriate steps, such as discarding or refreshing, based on what your starter needs. Don't wait too long!
- Share your sourdough rescue story and photos with our BakeWithEase community on social media. Let's learn from each other's experiences!
- Check out our other sourdough resources on BakeWithEase to improve your baking skills. We offer plenty of helpful tips and recipes.
Ready to turn your over-fermented dough into delicious bread? What's the first step you'll take to revive your sourdough starter?