
The Best Way to Cool Cookies for Crisp Edges and Soft Centers

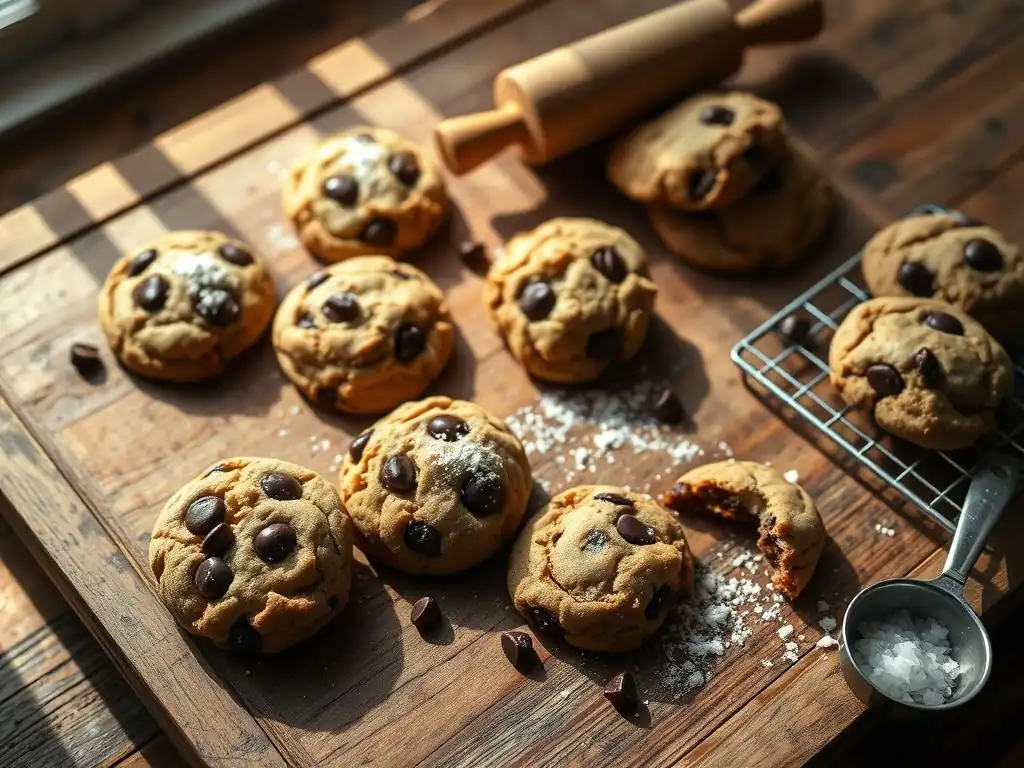
Welcome to BakeWithEase, your companion in the delicious world of baking! Ever wondered how to achieve that perfect texture in your cookies - crisp edges and a soft, chewy center? Unlock the secrets to baking irresistible treats as we dive into essential crispy soft cookies baking tips, starting with a crucial step often overlooked: the cooling process. Prepare to elevate your cookie game and discover the method that makes all the difference!
- The Best Way to Cool Cookies for Crisp Edges and Soft Centers: BakeWithEase Guide
- Introduction: Achieving Perfect Cookie Texture - Crispy Edges, Soft Centers
- Understanding the Key Elements for Baking Perfect Cookies
-
The Ultimate Cookie Cooling Guide: Step-by-Step
- Step 1: Removing Cookies from the Oven at the Right Time
- Step 2: The Importance of a Wire Rack for Cooling
- Step 3: Allowing Cookies to Cool on the Baking Sheet (Partial Cooling Explained)
- Step 4: Transferring Cookies to a Wire Rack for Complete Cooling
- Step 5: Cooling Time: Achieving the Ideal Texture
- Troubleshooting: Common Cookie Cooling Mistakes and How to Avoid Them
- Advanced Cooling Techniques for Specific Cookie Types
- Storing Your Perfectly Cooled Cookies
- Conclusion: Mastering Cookie Cooling for Baking Success
-
Frequently Asked Questions
- How does cooling time affect the texture of my cookies?
- What is the best method for cooling cookies to achieve a crispy/soft texture?
- Can I skip the cooling rack and just leave cookies on the baking sheet?
- How long should I wait before eating freshly baked cookies?
- What can I do if my cookies are too soft after cooling?
- Final Reflection: The Enduring Allure of the Perfect Cookie
- Unleash Your Inner Baker: Crisp Edges, Soft Centers Await!
Baking cookies is one of life's simple pleasures, but achieving that ideal texture – edges wonderfully crisp, centers delightfully soft and chewy – can sometimes feel like a culinary magic trick. Many bakers focus intently on the ingredients and baking time, which are certainly crucial, but often overlook a critical step: cooling.
The cooling process isn't just about getting the cookies to a temperature you can eat; it's a vital part of the baking science that finalizes their structure and texture. Mastering how to cool cookies is a fundamental skill that elevates your baking from good to truly great, consistently delivering those coveted crispy soft cookies.
This guide from BakeWithEase dives deep into the art and science of cookie cooling. We'll explore why cooling is so important, break down the key factors influencing cookie texture, and provide a step-by-step cooling strategy designed to help you achieve perfect results every time. Whether you're tackling classic chocolate chip or experimenting with new flavors, understanding these principles will empower you to control your cookie outcomes and confidently bake delicious treats that everyone will rave about.
The texture of your cookies is largely determined by what happens to the fats and sugars within the dough during and immediately after baking. While in the oven, the heat causes fats to melt, sugars to caramelize, and proteins to set. However, the baking process doesn't stop the moment you pull the tray out.
Residual heat held within the cookies and the baking sheet continues to cook the cookies. Proper cooling manages this residual heat, influencing how fats solidify and sugars recrystallize, which in turn dictates whether your cookie is uniformly hard, soft, or boasts that desirable contrast of crispy edges and a soft, chewy center.
Cooling also plays a crucial role in preventing structural collapse. Hot cookies are delicate and prone to breaking. Allowing them to cool partially on the baking sheet lets their structure firm up enough to handle, while transferring them to a wire rack ensures even cooling and prevents the bottoms from becoming soggy due to condensation. This two-stage cooling process is particularly important for achieving crispy soft cookies, as it allows the edges exposed to air to crisp up while the thicker center retains its warmth longer, promoting a softer texture as it cools more gradually on the rack.
Achieving crispy edges and soft centers is a fascinating interplay of heat, moisture, and ingredient behavior. As cookies bake, the edges, being thinner, heat up and dry out faster. Sugars near the edges caramelize and crystallize, and fats solidify relatively quickly as they cool slightly, contributing to crispness. Meanwhile, the thicker center retains more moisture and heat. When the cookie is removed from the oven, the residual heat continues to cook the center gently, often referred to as "carryover cooking."
The cooling process then finalizes this. Cooling on the warm baking sheet for a few minutes allows the edges to crisp further while the center slowly begins to set. Transferring to a wire rack promotes air circulation around the entire cookie.
This rapid cooling of the underside and edges on the wire rack helps them firm up and become crisp, while the center, which is still warmer and contains more moisture, cools slower, allowing the starches and proteins to set in a way that retains a softer, chewier texture. It's this controlled cooling rate across different parts of the cookie that creates the perfect crispy soft cookies texture contrast.
Before we even get to cooling, the initial stages of baking set the stage for the final texture. The composition and preparation of your cookie dough, the temperature of your oven, and the precise baking time all significantly influence how the cookie structure forms and how it will respond to cooling. Think of these elements as prerequisites for achieving those delightful crispy soft cookies. Getting these right makes the cooling process much more effective in delivering the desired outcome.
For instance, a dough that's too warm when scooped can spread excessively, leading to thinner cookies that might become uniformly crisp rather than having distinct zones. Similarly, an oven that's too hot can cause the edges to burn before the center is cooked, while an oven that's too cool might result in thick, pale cookies that don't spread enough and remain uniformly soft. Understanding how these early factors interact with the cooling process is key to consistent baking success.
The consistency of your cookie dough is incredibly important for texture. A dough that is too wet or soft, often due to insufficient chilling or too much liquid, will spread more during baking. While some spread is necessary for crispy edges, excessive spread can lead to thin, brittle cookies.
Conversely, a dough that is too dry or cold might not spread enough, resulting in thick, cakey cookies that lack the desired soft center and crispy edge contrast. For many recipes aiming for crispy soft cookies, a dough that is chilled for at least 30 minutes (and often several hours) before baking is recommended. Chilling solidifies the fat, which limits spread initially, allowing the edges to set before the entire cookie collapses.
Consider a standard chocolate chip cookie dough. If you bake it immediately after mixing, the cookies might spread into thin discs. If you chill it for 24 hours, the fat is firmer, leading to less spread and a thicker center.
For the ideal crispy soft cookies, a balance is needed. Many recipes suggest chilling for 1-2 hours. This allows the flavors to meld and the fat to firm up just enough to control spread, ensuring the edges can get crisp while the center remains relatively thick, setting it up perfectly for the cooling phase to lock in that soft texture.
Oven Temperature and Baking Time Considerations
Oven temperature and baking time work together to determine how quickly the cookie bakes and dries out. A standard temperature for many drop cookies aiming for crispy soft results is around 350°F (175°C). Baking at this temperature allows the edges to brown and crisp while the center cooks through more slowly.
If the oven is too hot, say 375°F (190°C) or higher, the edges can burn quickly, and the outside might set before the inside is fully baked, leading to an undercooked center that collapses during cooling. Conversely, baking at a lower temperature, like 325°F (160°C), for too long can dry out the entire cookie, resulting in a uniformly hard texture without a soft center.
Baking time is equally critical. For a medium-sized drop cookie (about 2 tablespoons of dough), typical baking time at 350°F is often between 8 and 12 minutes. Removing the cookies when the edges are golden brown but the center still looks slightly soft and perhaps a bit glossy is key for achieving crispy soft cookies. The residual heat on the baking sheet will continue to cook the center after removal. If you wait until the entire cookie looks fully set and golden in the oven, it will likely be overbaked and uniformly crisp once cooled.
The Role of Ingredients: Butter, Sugar, and Flour
The specific ratio and types of ingredients, particularly butter, sugar, and flour, significantly influence the final texture. Butter, especially melted butter compared to softened butter, promotes spread and can lead to crispier cookies. Using a mix of granulated sugar and brown sugar is common for crispy soft cookies. Granulated sugar contributes to spread and crispness, while brown sugar, due to its molasses content, adds moisture and chewiness, which helps maintain a soft center. A recipe heavy on brown sugar and less granulated sugar will generally yield a chewier, softer cookie overall.
Flour type and amount also play a role. Using too much flour can result in dry, cakey cookies. The protein content of the flour (all-purpose vs. bread flour) affects chewiness. The method of combining ingredients matters too; creaming softened butter and sugar incorporates air, which gives cookies lift and contributes to a softer texture. Understanding how these ingredients interact during baking is fundamental to predicting and controlling the texture, setting the stage for the cooling process to perfect those crispy soft cookies.
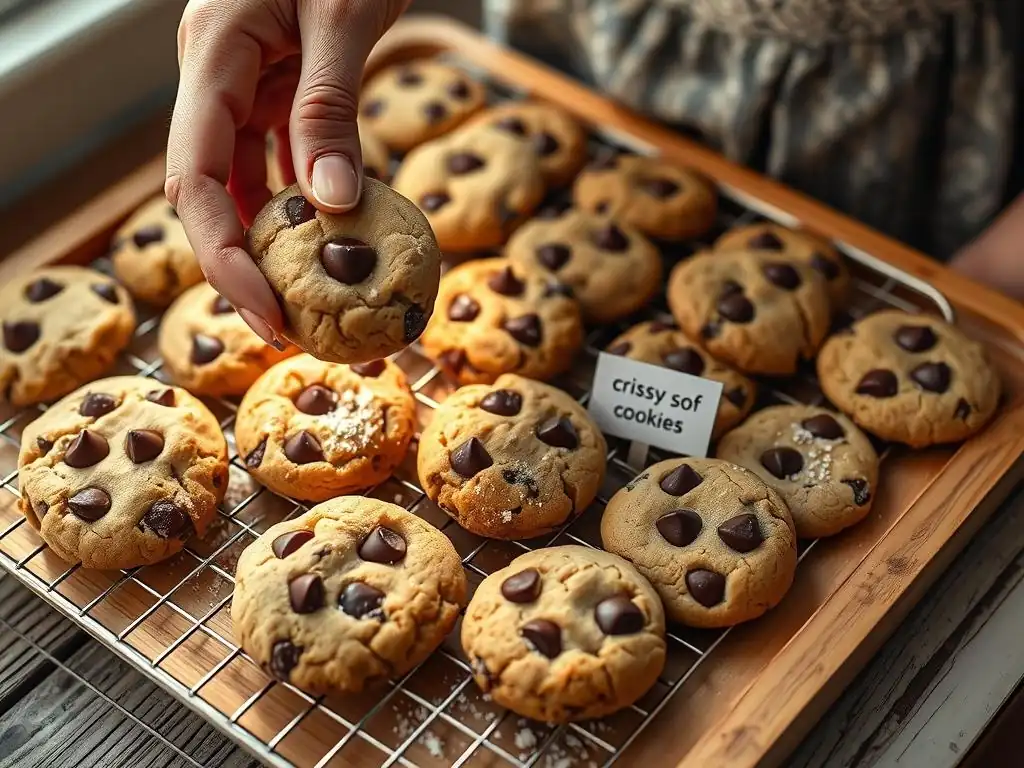
Mastering the cooling process is the final, crucial step in achieving that perfect balance of crispy edges and soft centers in your cookies. It's not as simple as just letting them sit on the counter. A strategic approach ensures that the heat dissipates correctly, allowing the different parts of the cookie to set at the right rate. Following these steps will significantly improve your cookie texture, helping you consistently bake delightful crispy soft cookies.
This guide breaks down the cooling process into manageable steps, explaining the rationale behind each one. From the moment they leave the oven to when they are fully cooled, each phase plays a vital role in the final outcome. Pay close attention to the timing and techniques described, as they are specifically designed to maximize the crispy-soft contrast.
Knowing exactly when to pull your cookies from the oven is perhaps the most critical decision for achieving crispy soft cookies. You want to remove them when the edges are set and lightly golden brown, but the center still appears slightly underbaked, perhaps a bit pale or shiny. This is counterintuitive to many new bakers who might wait until the entire cookie looks "done." However, remembering the concept of carryover cooking is key here.
For a typical 2-tablespoon drop cookie baked at 350°F (175°C), this sweet spot is often between 8 and 12 minutes. Look for visual cues specific to your recipe and oven. The edges should be firm when gently nudged, but the center should seem soft and fragile. Removing them at this point allows the residual heat from the baking sheet and the cookie itself to finish setting the center without drying out the edges. This slight underbaking in the oven is intentional and necessary for a soft center after cooling.
Step 2: The Importance of a Wire Rack for Cooling
A wire cooling rack is an indispensable tool for baking crispy soft cookies. Its design, with elevated wires, allows air to circulate freely around the entire cookie, especially the bottom. This prevents the bottom of the cookie from sitting in its own residual heat and moisture, which would otherwise lead to a soggy or greasy underside. Proper air circulation promotes even cooling and helps the cookie set correctly.
While the initial minutes of cooling often happen on the baking sheet, the transfer to a wire rack is where the cookie finishes setting its structure and texture. The rack ensures that the moisture within the cookie can escape and the fat can solidify evenly as it cools. Without a wire rack, even perfectly baked cookies can end up with disappointingly soft or greasy bottoms, ruining the desired crispy soft cookies outcome.
The first phase of cooling is often done directly on the hot baking sheet immediately after removing it from the oven. This step is crucial for allowing the delicate, just-baked cookies to firm up enough to be moved without falling apart. The residual heat in the baking sheet continues to cook the cookies slightly, particularly the edges and bottom which are in direct contact with the hot surface. This continued exposure to heat on the sheet further promotes the caramelization and drying out of the edges, enhancing their crispness.
Partial cooling on the sheet also allows the very hot, liquid-like fats and sugars in the center to begin solidifying just enough. If you were to transfer cookies immediately from the oven to a cold wire rack, they might collapse or break. This brief period on the sheet provides necessary structural integrity before the next cooling phase. It's a delicate balance – too long on the hot sheet and they might overcook and become uniformly crisp or hard; too short and they might break upon transfer.
Why Partial Cooling is Beneficial
Partial cooling on the baking sheet serves several key purposes vital for achieving crispy soft cookies. Firstly, it allows the cookie's structure to stabilize. When cookies first come out of the oven, they are incredibly fragile, especially in the soft center. The heat retention of the metal sheet provides a firm surface and continued gentle cooking that helps the proteins and starches set just enough to prevent collapse. This is particularly important for cookies with soft centers that might otherwise break when lifted.
Secondly, this initial cooling phase on the hot sheet contributes to the development of crispy edges. The direct contact with the warm surface promotes further drying and browning of the thinner edges and bottom. This controlled exposure to heat after baking helps to solidify the fats and crystallize the sugars in these areas, enhancing their crispness while the center, insulated by its thickness, cools more slowly.
How Long to Cool on the Baking Sheet
The ideal time to cool cookies on the baking sheet varies depending on the cookie size, thickness, and your specific recipe, but a general guideline is between 2 and 5 minutes. For smaller, thinner cookies, 2-3 minutes might be sufficient. For larger, thicker cookies, 4-5 minutes might be necessary to allow them to firm up properly.
During this time, observe the cookies. Their centers should transition from looking very wet or raw to slightly more set, though still soft. The edges should hold their shape when the sheet is gently jiggled. After this brief period, they should be sturdy enough to be carefully lifted with a spatula without bending or breaking. This short duration on the hot sheet is just enough to set the structure and enhance edge crispness without causing the entire cookie to overcook and become hard.
Once the cookies have firmed up sufficiently on the baking sheet, typically after 2-5 minutes, the next crucial step is to transfer them to a wire cooling rack. Use a thin, wide spatula to gently lift each cookie and place it directly on the wire rack, leaving space between them for air circulation. This transfer marks the transition from the controlled, slightly warmer environment of the baking sheet to the open air, which facilitates faster and more even cooling.
This step is non-negotiable for achieving the desired crispy soft cookies texture. Leaving cookies on the hot baking sheet for too long after the initial few minutes will cause them to continue baking and lose their soft centers, resulting in a uniformly hard cookie. The wire rack allows the bottom of the cookie, which was just in contact with the hot sheet, to cool down rapidly, preventing sogginess and promoting crispness, while the center continues its slower cooling process.
Why a Wire Rack Prevents Soggy Bottoms
The primary reason for transferring cookies to a wire rack is to prevent soggy or greasy bottoms. As cookies cool on a solid surface (like a baking sheet or counter), the heat radiating from the cookie can create condensation between the cookie and the surface. This trapped moisture makes the bottom of the cookie soft and potentially greasy. A wire rack elevates the cookie, allowing air to circulate freely underneath.
This air circulation carries away moisture and heat, ensuring that the bottom of the cookie cools and sets properly. For crispy soft cookies, a firm, non-soggy bottom is essential to complement the soft center and crispy edges. The wire rack ensures that all surfaces of the cookie are exposed to air, promoting even cooling and preventing textural defects caused by trapped moisture.
Ensuring Proper Air Circulation
To maximize the benefits of a wire rack, ensure there is ample space between each cookie. Crowding cookies on the rack inhibits air flow, which can lead to uneven cooling and potentially compromise the texture. Aim for at least an inch or two of space around each cookie. If you have a large batch, use multiple racks if necessary.
Proper air circulation is key to achieving the desired crispy soft cookies texture. It allows the edges and bottom to cool relatively quickly and crisp up, while the still-warm, thicker center cools more gradually. This differential cooling rate is what helps create the contrast between the firm, crispy exterior and the soft, yielding interior. Don't stack cookies until they are completely cool, as this will also trap heat and moisture.
Step 5: Cooling Time: Achieving the Ideal Texture
Once transferred to the wire rack, the cookies need sufficient time to cool completely. This final cooling period is when the internal structure of the cookie truly sets and the final texture is locked in. Rushing this step by trying to eat warm cookies (while tempting!) means you're experiencing a texture that hasn't fully developed. The fats and sugars are still solidifying, and the moisture is still redistributing.
Allowing cookies to cool fully on the rack ensures that the soft center has time to set without drying out, while the edges and bottom finish crisping up. For most standard-sized cookies, this process takes between 15 and 30 minutes. Thicker or larger cookies may require longer, perhaps up to 45 minutes. Patience during this stage is rewarded with the perfect crispy soft cookies experience.
General Cooling Time Guidelines
As a general rule for standard drop cookies (like chocolate chip or oatmeal), allow them to cool on a wire rack for at least 15-20 minutes before handling or storing. For optimal texture, especially if aiming for distinct crispy soft cookies, waiting 30 minutes or until they are completely cool to the touch is ideal. Trying to stack or store cookies before they are fully cooled can lead to condensation in the storage container, making them soggy.
Thicker cookies or those with lots of inclusions (like nuts or large chocolate chunks) might retain heat longer and require closer to 30-40 minutes to cool completely. Conversely, very thin cookies might be fully cooled and crisp within 10-15 minutes. Always ensure the cookies are entirely cool before assessing their final texture or storing them.
Factors Affecting Cooling Time (e.g., Cookie Size, Dough Type)
Several factors influence how long your cookies will take to cool completely on the wire rack. The most significant is the size and thickness of the cookie. Larger and thicker cookies contain more mass and therefore retain heat for a longer period than smaller, thinner ones. A cookie that is half an inch thick will take significantly longer to cool than one that is a quarter-inch thick.
The type of dough also plays a role. Doughs with higher fat content might cool slightly differently than lower-fat doughs. Recipes with lots of gooey additions like caramel or large chocolate chunks will also require longer cooling times as these elements retain heat. Environmental factors like room temperature and humidity can also have a minor effect on cooling speed. Adjust your cooling time based on these factors, always prioritizing complete cooling before storage or final texture assessment for the best crispy soft cookies.
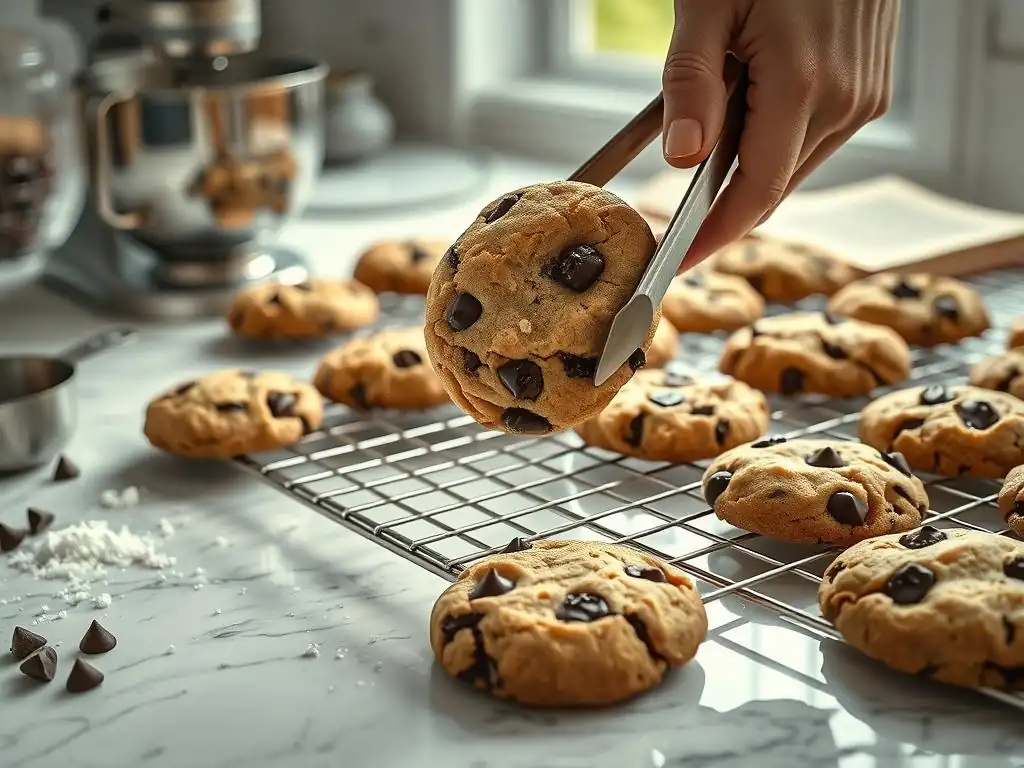
Even with the best recipe and baking technique, cooling mistakes can derail your efforts to achieve perfect crispy soft cookies. Understanding common pitfalls and knowing how to avoid them is crucial for consistent success. Many texture issues that bakers blame on baking time or ingredients are actually a result of improper cooling.
This section addresses the most frequent problems encountered during the cookie cooling phase. By recognizing the signs and implementing the suggested solutions, you can rescue your cookies from textural disappointment and ensure they turn out exactly as intended – with wonderfully crispy edges and tender, soft centers.
Soggy cookies are a common and frustrating problem, often linked directly to cooling. The most frequent cause is inadequate air circulation during cooling. This happens if cookies are left on a solid baking sheet or counter for too long, or if they are stacked before they are completely cool. The trapped heat creates condensation, which makes the bottom of the cookie soft and sometimes greasy.
To avoid soggy cookies, always transfer them to a wire cooling rack after the initial 2-5 minutes on the baking sheet. Ensure there is space between cookies on the rack for proper air flow. Never stack or store cookies until they are entirely cool to the touch, which typically takes 15-30 minutes. If you find your cookies are still slightly soft on the bottom even after cooling on a rack, it might indicate they were slightly underbaked in the center, or the dough had excessive moisture.
If your cookies turn out uniformly crisp or hard, lacking any soft center, it's usually a sign of overbaking or cooling on the hot baking sheet for too long. Overbaking in the oven dries out the entire cookie, leaving no moisture to contribute to a soft center during cooling. Leaving them on the hot sheet for an extended period continues the cooking process beyond the point needed for just setting the edges.
To prevent cookies from being too crisp, adjust your baking time. Remove them from the oven when the edges are golden but the center still looks soft (refer back to Step 1). Also, strictly adhere to the 2-5 minute partial cooling time on the baking sheet before transferring to a wire rack.
If your oven runs hot, consider lowering the temperature by 10-15°F (5-8°C) and baking for the same amount of time, or keep the temperature the same but reduce baking time by a minute or two. These adjustments, combined with proper cooling, are key to achieving crispy soft cookies.
Cookies that are uniformly too soft, lacking any crispness, might be underbaked or have issues with dough consistency. If they are very soft and prone to breaking, they likely needed more time in the oven to set their structure. Removing them too early means the proteins and starches haven't fully set, and the fats haven't solidified correctly, even with cooling.
If the cookies seem fully baked but are still too soft, check your dough consistency. A dough that is too wet or hasn't been chilled sufficiently can lead to cookies that don't spread or crisp properly. Ensure you are measuring ingredients accurately, especially flour.
Also, verify your oven temperature is correct using an oven thermometer. While improper cooling can sometimes contribute to overall softness (e.g., stacking too early and creating steam), it's more likely an issue with the initial baking or dough preparation if they are uniformly soft. For future batches of crispy soft cookies, try baking for an extra minute or ensuring the dough is adequately chilled.
While the general principles of cooling apply to most cookies, some types benefit from slightly modified approaches to achieve their signature texture. Understanding these nuances can help you perfect specific recipes and consistently bake delicious results, ensuring your crispy soft cookies (or other desired textures) are spot on.
From the gooey centers of chocolate chip cookies to the flat, sturdy surface needed for decorating sugar cookies, the cooling process can be tweaked to enhance specific characteristics. These advanced tips build upon the foundational cooling guide, offering specialized advice for popular cookie varieties.
Chocolate chip cookies are the quintessential crispy soft cookies. To achieve this perfect balance, the two-stage cooling method is absolutely essential. Remove them from the oven when the edges are golden and the center is still soft and slightly puffed, usually after 9-12 minutes at 350°F (175°C). Let them cool on the hot baking sheet for precisely 3-5 minutes. This crucial time allows the edges to continue crisping while the molten chocolate and soft center begin to set just slightly.
After 3-5 minutes, carefully transfer the cookies to a wire rack using a thin spatula. Arrange them with space between each one. Allow them to cool completely, which can take 20-30 minutes. The rapid cooling on the wire rack helps the chocolate chips solidify and the edges crisp further, while the internal moisture is retained in the thicker center, resulting in that desired gooey-soft middle texture paired with a crisp exterior.
Sugar cookies, especially those intended for cutting out and decorating, require a different cooling goal: a flat, firm surface and a relatively uniform texture (often soft or slightly crisp, but not typically with a distinct crispy edge/soft center contrast like drop cookies). For cut-out sugar cookies, it's often best to bake them until the edges are just beginning to turn golden and the surface looks set, without significant browning across the top.
After removing from the oven, let them cool on the baking sheet for a slightly longer period than drop cookies, perhaps 5-8 minutes, especially if they are large or thick. This allows them to firm up considerably on the stable, flat surface of the sheet, which is crucial for preventing breakage or warping when transferring. Once they are firm enough to handle easily with a spatula without bending, transfer them to a wire rack to cool completely, ensuring they are fully cool and firm before attempting to decorate them with icing or frosting.
Oatmeal cookies, particularly those made with rolled oats and brown sugar, are often prized for their chewy texture, sometimes with a hint of crispness at the edges. To maintain that desirable chewiness in the center while allowing the edges to set, the cooling process is key. Bake oatmeal cookies until the edges are set and lightly browned, but the center still looks slightly soft and moist, typically 8-11 minutes at 350°F (175°C).
Allow them to cool on the baking sheet for 3-4 minutes. This lets the edges firm up. Then, transfer them to a wire rack to cool completely, usually 20-30 minutes. The oats and brown sugar help the center retain moisture, promoting chewiness as it cools. Ensuring sufficient cooling time on the rack is vital; if stacked while still warm, the trapped moisture can make them overly soft or gummy, losing that pleasant chew. Proper cooling is essential for those perfect, chewy-centered crispy soft cookies variations.
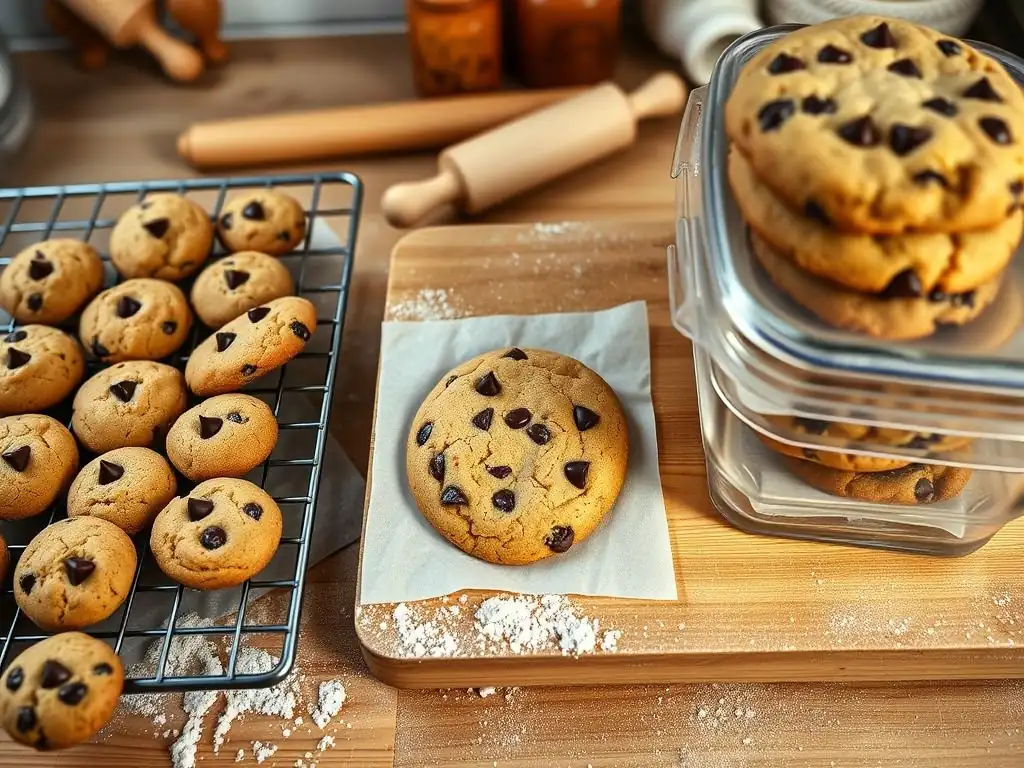
You've put in the effort to bake and cool your cookies to achieve that ideal crispy soft cookies texture. Now, proper storage is essential to preserve that texture for as long as possible. Storing cookies incorrectly can quickly turn crispy cookies soft or soft cookies hard, ruining your hard work. The key is to protect them from excess moisture and air.
Following a few simple storage guidelines will help maintain the delicate balance you achieved during baking and cooling. The method you choose depends on the type of cookie and how long you plan to store them, but the fundamental principle remains the same: keep them cool, dry, and away from fluctuating temperatures.
To maintain the crispy edges and soft centers of your cookies, ensure they are completely cool before storing them. Storing warm cookies, even slightly warm ones, will trap moisture inside the container, leading to condensation that makes the cookies soggy. This is one of the most common mistakes that ruins the texture of crispy soft cookies.
Once fully cooled, store different types of cookies separately. Storing crisp cookies with soft, chewy ones can cause the moisture from the soft cookies to migrate to the crisp ones, making them soft, and vice versa. Use airtight containers to protect them from staling and absorbing odors. Store containers at room temperature in a cool, dry place, away from direct sunlight or heat sources like ovens. For longer storage, some cookies can be frozen.
Different Storage Methods: Airtight Containers vs. Other Options
The best way to store most crispy soft cookies is in an airtight container. Plastic or glass containers with tight-fitting lids or metal cookie tins with secure covers work well. Lining the container with parchment paper can add an extra layer of protection. Ensure the container is completely sealed to prevent air exchange.
While airtight containers are generally preferred, other methods exist depending on the cookie type and desired outcome. For very crisp cookies (where no softness is desired), a container that is not completely airtight might be acceptable to prevent them from becoming soft, but this also risks them going stale faster. However, for crispy soft cookies, airtight storage is necessary to maintain the moisture in the center while protecting the crispness of the edges from external humidity. Avoid storing cookies in open bowls or on plates unless they will be consumed within a few hours.
Achieving that perfect balance of crispy edges and soft centers in your cookies is a baking goal many aspire to, and as we've explored, the cooling process is just as vital as the ingredients and baking time. By understanding the science behind how heat dissipates and affects texture, and by following a strategic cooling plan, you can consistently bake cookies that hit that sweet spot of textural perfection. Mastering these crispy soft cookies baking tips will undoubtedly elevate your baking skills.
Remember, the journey to perfect cookies involves several stages working in harmony: starting with a well-formulated and properly prepared dough, baking at the correct temperature and time, and finally, executing a thoughtful cooling process. Each step contributes to the final outcome, but paying close attention during cooling is often the key to unlocking that ideal crispy-soft contrast.
To recap the essential crispy soft cookies baking tips related to cooling:
- Remove cookies from the oven when edges are golden but the center is still slightly soft (often 8-12 minutes at 350°F).
- Allow cookies to cool on the hot baking sheet for a short period, typically 2-5 minutes, to let them firm up and the edges crisp slightly.
- Transfer cookies to a wire cooling rack using a thin spatula.
- Ensure sufficient space between cookies on the wire rack for optimal air circulation.
- Allow cookies to cool completely on the wire rack (15-30 minutes or longer for thicker cookies) before handling or storing.
- Always store fully cooled cookies in airtight containers, ideally separated by type, to preserve their texture.
With a little practice and attention to these cooling details, you'll be consistently baking cookies with that sought-after crispy edge and soft center combination. Don't be discouraged if your first batch isn't perfect; baking is a learning process. Adjust your timing slightly based on your oven and recipe, and pay close attention during the cooling phase.
Now that you know the secrets to perfect cookie cooling, it's time to put your knowledge into practice. Bake a batch of your favorite cookies, follow these steps, and savor the delightful texture you've achieved. Enjoy sharing your perfectly baked and cooled crispy soft cookies with friends and family – they're sure to be a hit!
Frequently Asked Questions
Cooling time is crucial! Allowing cookies to cool properly on the baking sheet allows them to set and firm up, contributing to both crisp edges and soft centers.
The ideal method is to cool cookies on the baking sheet for a few minutes (2-5 minutes is usually sufficient) before transferring them to a wire rack to cool completely. This prevents excessive softening.
While convenient, leaving cookies on the hot baking sheet for too long can lead to over-baking and a harder texture. A wire rack promotes even cooling and prevents steam from being trapped underneath.
Patience is key! Waiting until the cookies are completely cool (usually around 30 minutes) is essential for achieving the desired crisp edges and soft, chewy centers.
If your cookies are too soft, try baking them for a minute or two longer next time. You can also experiment with using less butter or more flour in your recipe.
The pursuit of the perfect cookie—with its crisp edges and soft center—is more than just a baking challenge; it's a reflection of our desire for balance and precision in a world often lacking both. This article explored various techniques, from chilling the dough to understanding oven temperature nuances, all in the quest for that ideal textural harmony. The seemingly simple act of baking a cookie becomes a microcosm of a larger pursuit of mastery and satisfaction.
The quest for the perfect cookie transcends mere culinary skill; it's a deeply ingrained cultural desire. We connect with cookies on an emotional level – they evoke memories of childhood, comfort, and shared moments. A cookie is a little bit of happiness you can hold in your hand.
This simple truth underscores the enduring power of this seemingly small treat. The techniques discussed here aren't just about achieving a specific texture; they're about understanding the science behind the art, and appreciating the process of creation itself.
Now, consider your own baking journey. What techniques resonate with you? What adjustments will you make to your own cookie recipe based on the insights shared here? Don't be afraid to experiment, to tweak, to strive for that perfect balance of crisp and soft. The journey towards the perfect cookie is a rewarding one, filled with delicious discoveries and the satisfaction of creating something truly special. Embrace the process, and savor the results.
Unleash Your Inner Baker: Crisp Edges, Soft Centers Await!
Thanks for joining us on this delicious journey to perfectly cooled cookies! You've learned the secrets to achieving that amazing texture – now it's time to put your newfound skills to the test.
Here's how to take your cookie game to the next level:
- Bake a batch of your favorite cookies, using the cooling techniques we discussed. (This is your primary action!)
- Share your baking triumph on social media – tag us @BakeWithEase so we can celebrate your success!
- Challenge yourself to experiment with different cookie recipes and cooling methods. What unexpected flavor combinations will you discover?
Ready to create your perfect cookie? What's your favorite cookie recipe to master this technique with?