
Clean Bowls & Room Temp Eggs: Essential Meringue Success Tips You Need to Know

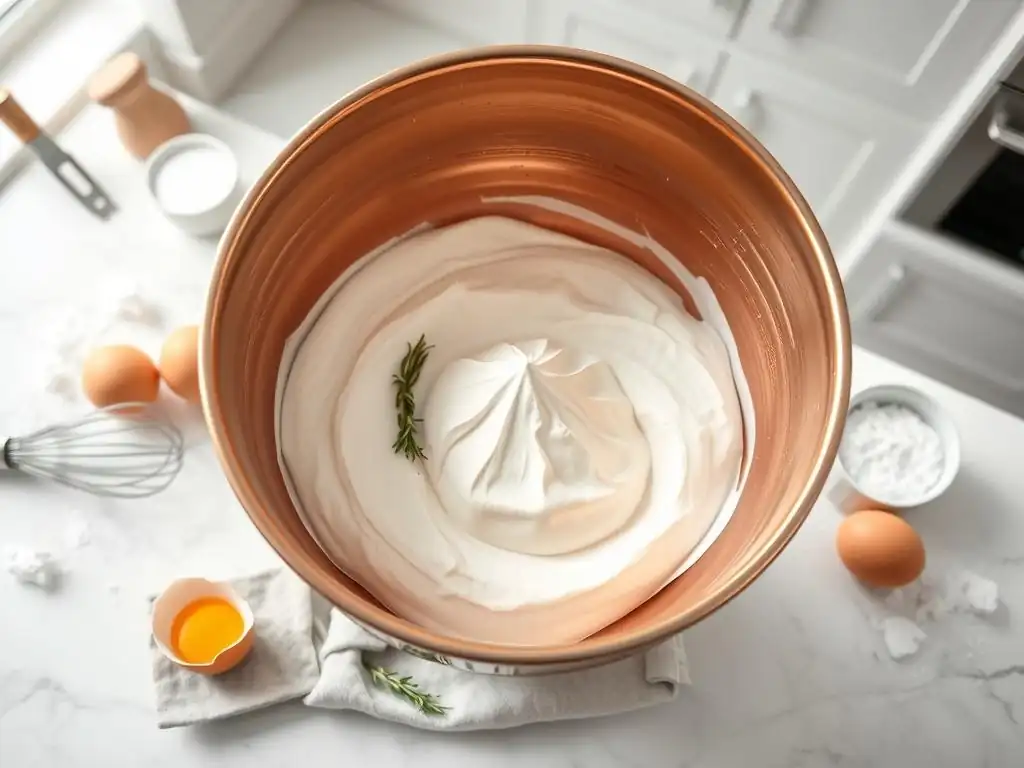
Welcome to BakeWithEase, your trusted guide to baking bliss! Are you ready to finally conquer meringue? Many bakers find it intimidating, but with our easy meringue success tips, achieving that perfect glossy peak is within your reach. Discover the secrets to flawless meringue – from the importance of clean bowls to the ideal egg temperature – and unlock a world of light, airy desserts. Intrigued? Keep reading to transform your meringue game!
- Meringue Magic: Elevate Your Baking with Expert Tips
- Meringue Mastery: Unlocking Baking Success
- Why Meringue Can Be Tricky (And How to Overcome It)
- Essential Meringue Success Tips: Mastering the Fundamentals
- Advanced Meringue Techniques: Achieving Expert Results
- Exploring Meringue Varieties: A Concise Overview
- Troubleshooting Meringue Challenges: Quick Solutions
- Putting Meringue Skills to Work: Recipe Inspirations
- Mastering Meringue: Final Thoughts for Baking Excellence.
-
Frequently Asked Questions
- What is the most crucial factor for achieving a stable meringue?
- Why is it recommended to use room temperature eggs when making meringue?
- What happens if I accidentally get egg yolk into my egg whites when separating them?
- Can I use a hand mixer instead of a stand mixer for making meringue?
- What are some signs that my meringue is over-whipped?
- Final Reflection: The Unexpected Alchemy of Perfect Meringues
- Unleash Your Inner Pâtissier: Master the Art of Meringue!
Meringue Magic: Elevate Your Baking with Expert Tips
Meringue Mastery: Unlocking Baking Success
Meringue, a delicate concoction of whipped egg whites and sugar, is the foundation for many exquisite desserts, from airy cookies and elegant pavlovas to the fluffy topping on a classic lemon meringue pie. Mastering meringue can feel like unlocking a secret level in baking, transforming simple ingredients into something truly magical. Achieving perfect, stable meringue requires attention to detail, but with the right meringue success tips easy to follow, anyone can conquer this technique and elevate their baking creations. This guide will walk you through the essential steps and common pitfalls, making your meringue journey smooth and successful.
Baking with meringue adds a touch of sophistication and lightness that is hard to replicate with other ingredients. Whether you're aiming for a crisp, melt-in-your-mouth cookie or a soft, marshmallow-like topping, understanding the fundamentals is key. We'll explore everything from the absolute necessities like clean equipment and egg temperature to the nuances of sugar and stabilizers, providing practical meringue success tips easy for beginners and helpful reminders for more experienced bakers. Get ready to whip up some airy perfection!
Why Meringue Can Be Tricky (And How to Overcome It)
Creating beautiful, stable meringue can sometimes feel like a high-wire act. It's notoriously sensitive to environmental factors and technique, which can lead to frustrating results like weeping, collapsing, or a lack of volume. Understanding the common challenges is the first step to overcoming them. Many bakers encounter issues with their meringue failing to hold its shape or becoming grainy, often without knowing the specific cause. Identifying these potential problems allows you to implement preventative measures and ensure your efforts result in light, airy meringue.
The good news is that most meringue mishaps stem from a few key issues that are entirely within your control. By focusing on precision and understanding the science behind how egg whites behave, you can dramatically increase your chances of success. This section will break down the typical stumbling blocks and explain the fundamental principles at play, equipping you with the knowledge needed to avoid common pitfalls and achieve consistent, beautiful meringue results every time. Knowing why something goes wrong is often the best meringue success tips easy to remember.
Common Meringue Mistakes That Hinder Success
One of the most frequent mistakes when making meringue is the presence of fat, even a tiny amount, in the mixing bowl or on the whisk. Egg whites are primarily protein and water. When whipped, the proteins (specifically ovalbumin) denature and unfold, trapping air bubbles. Fat molecules interfere with this protein network formation, preventing the egg whites from whipping up properly and achieving maximum volume and stability. Even residual grease from previous baking projects can be enough to sabotage your meringue, leading to flat, lifeless results that refuse to hold peaks.
Another common issue is adding sugar too quickly or using the wrong type of sugar. Sugar plays a crucial role in stabilizing the whipped egg whites by absorbing moisture and strengthening the protein structure. However, if added all at once at the beginning, it can weigh down the egg whites and prevent them from reaching full volume. Additionally, using coarse granulated sugar that doesn't dissolve properly can result in a grainy, unpleasant texture. Understanding the correct method and timing for sugar incorporation is a vital meringue success tips easy to implement for a smooth, glossy meringue.
The Science Behind Perfect Meringue Formation
At its core, meringue is an emulsion of air in a protein matrix. When you whip egg whites, mechanical energy causes the proteins within them to unfold (denature). As they unfold, these proteins rearrange themselves around the incoming air bubbles, forming a stable network that holds the air in place. Think of it like building a scaffold – the proteins create the structure that supports the air. This process is most efficient when the proteins can move freely and aren't hindered by fat or other contaminants.
Sugar is added to meringue not just for sweetness but for stability. It acts as a hydroscopic agent, meaning it attracts and holds onto water molecules. This helps to prevent the meringue from weeping (releasing liquid) over time. Sugar also increases the viscosity of the mixture, making the protein film surrounding the air bubbles stronger and less likely to collapse. The gradual addition of sugar allows it to dissolve properly and integrate into the protein network without deflating the egg whites, contributing significantly to achieving stable, glossy peaks – a key meringue success tips easy principle.
Essential Meringue Success Tips: Mastering the Fundamentals
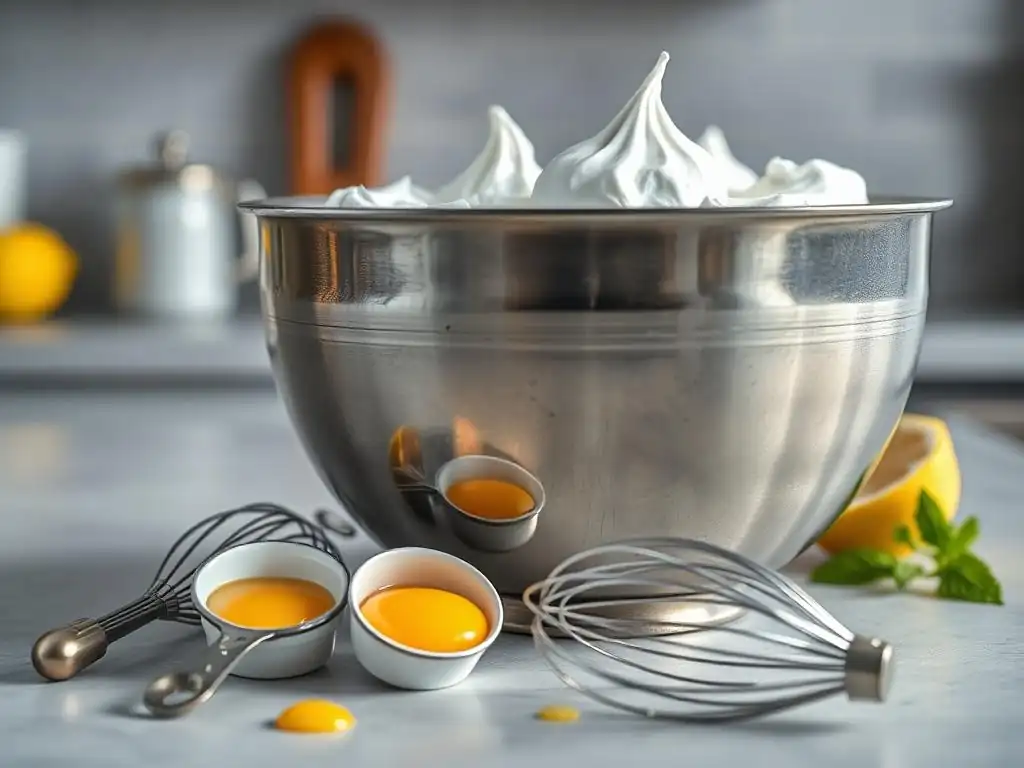
Building a strong foundation is crucial for any baking technique, and meringue is no exception. Focusing on a few fundamental steps can make a world of difference in your results. These aren't complex maneuvers, but simple practices that address the core requirements for egg whites to whip effectively. By paying close attention to your equipment and ingredients from the very beginning, you set yourself up for success.
These initial steps are arguably the most critical because they directly impact the egg whites' ability to form that stable, airy structure. Neglecting them can make subsequent steps, like adding sugar or baking, much more challenging. Think of these as your non-negotiables for achieving reliable meringue. These are perhaps the most important meringue success tips easy to remember and implement consistently.
Tip #1: Spotlessly Clean Bowls: The Foundation for Meringue Success
Ensuring your mixing bowl and whisk attachments are absolutely free of any grease or residue is not just a good practice; it's essential for meringue. Egg whites are incredibly sensitive to fat. Even a microscopic trace can prevent the protein network from forming properly, leading to flat, unstable meringue that won't whip to stiff peaks. This is often cited as the number one reason for meringue failure, making it a critical meringue success tips easy to prioritize.
Before you even crack an egg, take the time to wash your bowl and whisk thoroughly with hot, soapy water. Follow this with a rinse and, ideally, wipe down the inside of the bowl and whisk with a paper towel dipped in white vinegar or lemon juice. The acidity helps to cut through any lingering grease and provides an extra layer of assurance that your equipment is pristine and ready for whipping.
Fat's Impact on Meringue: Ensuring a Grease-Free Bowl
As mentioned earlier, fat molecules disrupt the delicate protein structure of egg whites. When egg whites are whipped, the proteins unfold and link together to create a mesh that traps air. Fat molecules, being non-polar, prefer to interact with each other rather than the polar water and protein molecules. If fat is present, it essentially coats the proteins, preventing them from linking up effectively and forming a stable network.
Imagine trying to build a house frame where the beams are covered in grease – they wouldn't hold together properly. Similarly, fat prevents the egg white proteins from forming strong, stable bonds. This results in meringue that is weak, struggles to gain volume, and is prone to collapsing or weeping shortly after whipping or baking. This understanding highlights why a grease-free bowl is a non-negotiable meringue success tips easy to achieve.
Effective Bowl Cleaning Techniques for Meringue
To ensure your bowl is truly spotless, start with a thorough wash in hot, soapy water. Use a sponge or brush to scrub away any visible residue. Pay special attention to the sides and bottom where grease can cling.
After rinsing the soap away, a common trick is to wipe the inside of the bowl and whisk with a clean paper towel soaked in white vinegar or lemon juice. The acid helps to dissolve any invisible fatty residue. Some bakers even heat their glass or metal bowls slightly in a warm oven (around 200°F or 90°C) for a few minutes before cooling them completely, as heat can help break down fats.
Always use a clean, dry cloth or paper towel to dry the bowl completely before adding your egg whites. This step, while simple, is a cornerstone meringue success tips easy for reliable results.
Tip #2: Room Temperature Eggs: Achieving Maximum Volume
Using eggs that are at room temperature, rather than cold from the refrigerator, is another fundamental meringue success tips easy to remember. Cold egg whites are thicker and more viscous, making it harder for the whisk to incorporate air efficiently. The proteins in cold egg whites are less pliable and take longer to unfold and form the airy network required for volume.
Room temperature egg whites, typically between 68°F and 72°F (20°C and 22°C), have lower surface tension and are more fluid. This allows them to whip up faster and achieve significantly greater volume and stability compared to cold egg whites. This difference in volume can be substantial, potentially resulting in up to 50% more volume, which is crucial for light and airy meringue creations like cookies or pavlovas.
The Superior Whipping Properties of Room Temperature Eggs
When egg whites are at room temperature, the proteins are more relaxed and flexible. As the whisk beats them, these proteins denature and unfold more easily and rapidly. This allows them to efficiently surround and trap air bubbles, building a voluminous foam. The lower viscosity also means less energy is required to whip them, making the process quicker and more effective.
Think of trying to whip cold honey versus room temperature honey – the warmer version is much easier to work with. Similarly, room temperature egg whites allow for a more efficient and robust protein network to form, resulting in a more stable and voluminous meringue that is less likely to collapse after whipping. This is a key meringue success tips easy for maximizing lift.
Quickly Warming Eggs for Optimal Meringue Results
If you forget to take your eggs out of the refrigerator in advance (which typically takes about 30-60 minutes to reach room temperature), there's a quick trick. Place the whole eggs (still in their shells) in a bowl of warm (not hot) water for about 5-10 minutes. The water should feel warm to the touch, not hot enough to cook the egg.
Alternatively, you can crack the eggs and separate the whites into a clean bowl, then place that bowl over a larger bowl of warm water (a makeshift double boiler, but without heat applied from below). Stir the whites gently for a few minutes until they no longer feel cold to the touch. Using room temperature eggs is a simple yet impactful meringue success tips easy that can dramatically improve your results.
Advanced Meringue Techniques: Achieving Expert Results
Once you've mastered the basics of clean equipment and room temperature eggs, you can refine your technique with more advanced considerations. These steps build upon the fundamentals and help you achieve the perfect texture, stability, and gloss that characterizes professional-quality meringue. Focusing on how and when you add sugar and incorporating stabilizers are key parts of this next level.
These advanced techniques aren't necessarily complicated, but they require precision and understanding the role each ingredient plays. Implementing these steps consistently will help you move beyond simply making meringue to creating truly exceptional results, whether you're baking delicate cookies or a show-stopping pavlova. These represent the next level of meringue success tips easy to integrate into your process.
Tip #3: Sugar Selection and Incorporation: Key to Texture and Stability
The type of sugar you use and, more importantly, how you add it are critical factors in achieving stable, smooth, and glossy meringue. Sugar not only sweetens the meringue but also stabilizes the protein structure by absorbing moisture and increasing viscosity. However, adding sugar incorrectly can lead to a grainy texture or even deflate your whipped egg whites.
Choosing the right sugar ensures it dissolves properly within the meringue structure. The method of adding sugar gradually allows the egg whites to build volume first before the sugar is introduced to stabilize the foam. This careful approach prevents the sugar from weighing down the developing protein network and helps create a smooth, non-gritty meringue. This is a crucial meringue success tips easy for achieving a beautiful finish.
Granulated vs. Caster Sugar: Choosing the Right Sugar
For most meringues, especially French and Swiss methods, superfine granulated sugar (also known as caster sugar) is preferred over regular granulated sugar. Caster sugar has smaller crystals, which dissolve much faster into the egg whites. This rapid dissolution is important because it minimizes the risk of a grainy texture in the finished meringue, especially when baking at lower temperatures for longer periods.
While regular granulated sugar can be used, particularly in Italian meringue where it's dissolved in hot syrup, using caster sugar for other types is generally recommended for smoother results. The finer crystals integrate more seamlessly into the delicate foam structure, contributing to a more stable and glossy meringue. This seemingly small detail is an important meringue success tips easy for texture.
Gradual Sugar Addition: Preventing Meringue Graininess
The golden rule for adding sugar to whipped egg whites (for French and Swiss meringues) is to do it slowly and gradually. Once the egg whites have reached soft peaks, begin adding the sugar, about one tablespoon at a time, while the mixer is running on medium-high speed. Allow each addition of sugar to dissolve completely before adding the next spoonful.
This process typically takes several minutes, depending on the quantity of meringue. Adding the sugar gradually allows the egg whites to continue developing volume and the sugar crystals to dissolve fully, integrating into the protein network without causing the foam to collapse. This slow addition is a vital meringue success tips easy technique that prevents a grainy texture and builds a strong, stable meringue.
Tip #4: Acidic Stabilizers: Strengthening Meringue Structure
Adding a small amount of acid to your egg whites can significantly improve the stability of your meringue. Acid helps to further denature the egg white proteins and strengthens the bonds within the protein network. This results in a more robust foam that is less likely to collapse, weep, or deflate, particularly important when you need the meringue to hold its shape for piping or baking.
Common acidic stabilizers include cream of tartar, lemon juice, or white vinegar. Just a small pinch or a few drops is enough to make a difference. Adding the acid at the beginning of the whipping process, usually after the egg whites have become foamy but before they reach soft peaks, allows it to work effectively throughout the whipping process. This is a simple yet effective meringue success tips easy for extra insurance.
Cream of Tartar: Enhancing Meringue Stability
Cream of tartar (potassium bitartrate) is a dry, powdery acid often used in baking. It is a highly effective stabilizer for egg whites. A typical ratio is about 1/8 to 1/4 teaspoon of cream of tartar per two large egg whites. It's usually added once the egg whites are foamy and opaque, just before they start forming soft peaks.
Cream of tartar works by lowering the pH of the egg whites. This helps the proteins unfold and bond more effectively, creating a tighter and more stable foam structure. It also helps the meringue tolerate slight over-whipping and reduces the chances of shrinkage and weeping during baking. Including cream of tartar is a common meringue success tips easy for professional bakers.
Lemon Juice or Vinegar: Alternative Stabilizing Agents
If you don't have cream of tartar on hand, a small amount of fresh lemon juice or white vinegar can serve as effective alternatives. The acidity in these liquids provides a similar stabilizing effect. Use about 1/2 teaspoon of lemon juice or white vinegar per two large egg whites.
Like cream of tartar, these liquid acids should be added once the egg whites are foamy. While they might impart a very subtle flavor if used in excess, the small amount needed is usually undetectable in the final baked meringue. Using lemon juice or vinegar is a convenient meringue success tips easy when other stabilizers aren't available.
Tip #5: Achieving the Ideal Meringue Texture: Stiff Peaks and Gloss
Knowing when your meringue is perfectly whipped is crucial. The goal for most baked meringues is to reach stiff peaks. This means the meringue is thick, glossy, and holds its shape firmly when the whisk is lifted. The tips of the peaks should stand straight up without drooping. Over-whipping, however, can cause the meringue to become granular and unstable.
Observing the meringue's appearance and testing its consistency are key indicators. It transforms from a clear liquid to a frothy foam, then soft peaks, medium peaks, and finally stiff peaks. Stopping at the right moment ensures the meringue has the necessary structure to hold its shape during baking and results in the desired light, airy texture. Recognizing these stages is a vital meringue success tips easy for proper execution.
Meringue Stages: Understanding Soft, Medium, and Stiff Peaks
- Foamy: Egg whites are frothy and bubbly, like soap suds. This stage is reached quickly. Add acid here if using.
- Soft Peaks: The meringue is opaque and white. When you lift the whisk, the peaks form but curl over immediately. This is when you should start adding sugar gradually.
- Medium Peaks: Peaks hold their shape but the very tip curls over slightly. The meringue is becoming glossy.
- Stiff Peaks: Peaks stand straight up when the whisk is lifted. The meringue is thick, smooth, and very glossy. This is typically the desired stage for baked meringues. The meringue should look satiny and smooth, not curdled.
Over-Whipped Meringue: Troubleshooting and Solutions
If you whip meringue past the stiff peak stage, it becomes over-whipped. It will look dull, grainy, and potentially start to separate or curdle. The protein network becomes too tight and brittle, losing its elasticity and ability to hold air effectively.
Unfortunately, over-whipped meringue is difficult to salvage for applications requiring smooth texture or structure. You might be able to gently whisk in another egg white by hand to try and smooth it out slightly, but it likely won't regain its full volume or stability. The best approach is to avoid over-whipping by stopping as soon as stiff peaks are reached. Pay close attention during the final whipping stages, as the transition from stiff peaks to over-whipped can happen quickly. This awareness is a crucial meringue success tips easy for avoiding this issue.
Exploring Meringue Varieties: A Concise Overview
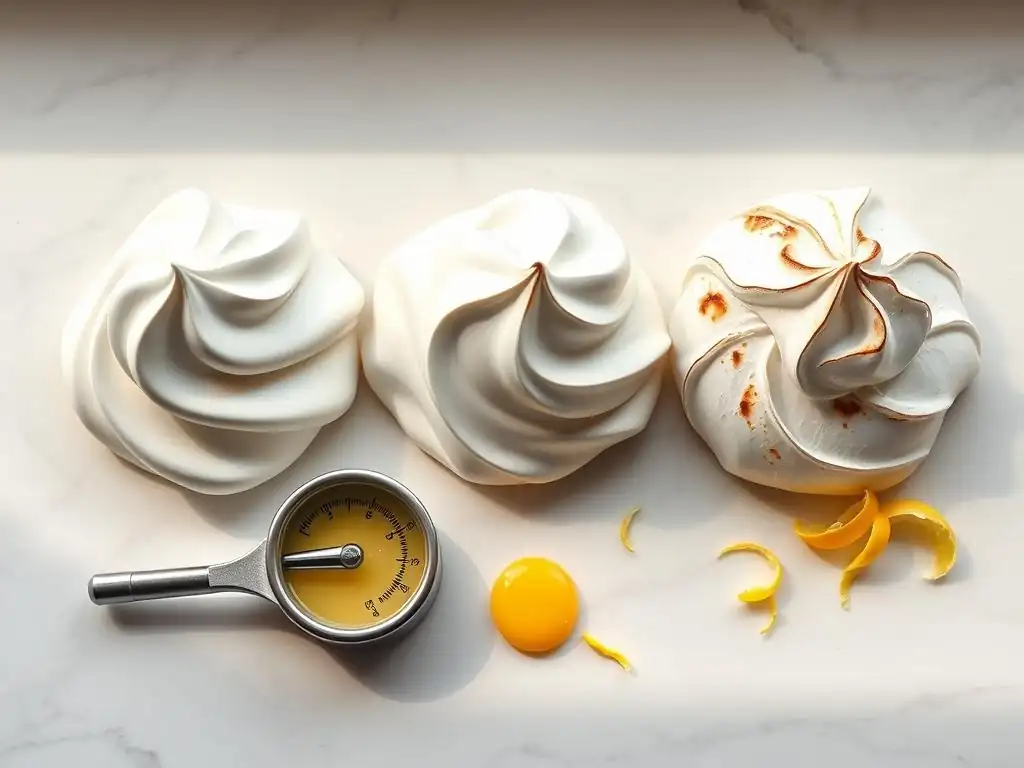
While the basic ingredients (egg whites and sugar) remain the same, the method of combining them defines three main types of meringue, each with unique properties and uses. Understanding these differences is part of mastering meringue.
- French Meringue: The simplest and least stable, made by whipping raw egg whites and gradually adding sugar. Best for low-temperature baking (like meringue cookies) or uses where stability isn't paramount.
- Swiss Meringue: Egg whites and sugar are gently heated over a double boiler while whisking until the sugar dissolves, then whipped until cool and stiff. More stable and glossy than French, great for frostings or gently baked items.
- Italian Meringue: Made by whipping egg whites while slowly pouring in hot sugar syrup (heated to the soft-ball stage, around 240°F or 115°C). The hottest and most stable, ideal for frostings, mousses, and anything requiring uncooked meringue.
Troubleshooting Meringue Challenges: Quick Solutions
Even with the best meringue success tips easy in mind, sometimes things go wrong. Here are quick fixes for common issues:
Meringue Lacks Stiff Peaks? [Troubleshooting Steps]
- Check for Fat: Re-evaluate if any fat (yolk, grease on equipment) was present. This is the most likely culprit.
- Egg Temperature: Were the eggs cold? Warm them next time for better whipping.
- Sugar Addition: Was sugar added too quickly? This can weigh down the whites. Add sugar gradually to soft peaks.
- Patience: Sometimes, it just needs more whipping time. Ensure your mixer is running at medium-high speed.
Meringue Weeping? [Prevention and Solutions]
- Undissolved Sugar: Ensure all sugar is completely dissolved before stopping. Use caster sugar and add it gradually.
- Under-Baking: Meringue needs to dry out properly. Ensure it's baked long enough at a low temperature.
- Humidity: High humidity can cause weeping. Bake on a dry day if possible. Store baked meringue in an airtight container.
Meringue Soggy? [Achieving a Crisp Meringue]
- Baking Temperature and Time: Soggy meringue is usually under-baked or baked at too high a temperature. Bake low and slow (e.g., 200-225°F or 90-110°C) until completely dry and crisp throughout.
- Cooling: Allow meringue to cool completely inside the turned-off oven with the door slightly ajar. This helps it dry out further and prevents cracking from sudden temperature changes.
Putting Meringue Skills to Work: Recipe Inspirations
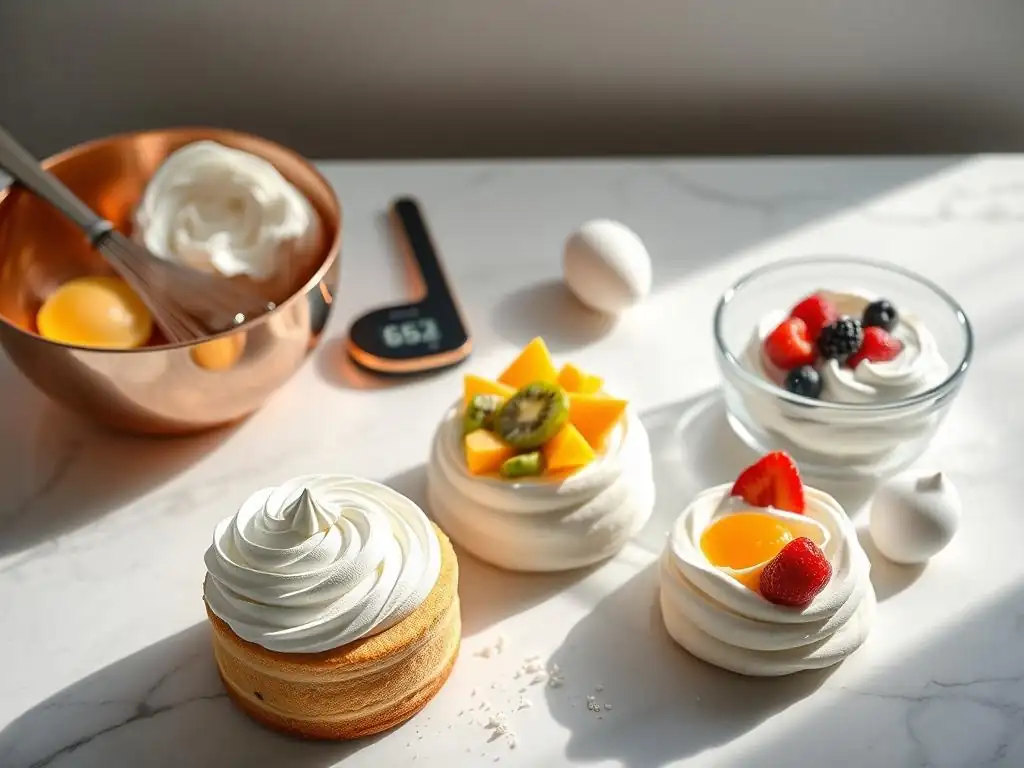
Now that you're armed with essential meringue success tips easy, it's time to put your skills to practice! Meringue is incredibly versatile.
Lemon Meringue Pie: A Classic Recipe
Requires a stable meringue topping (often French or Swiss) piped onto a tangy lemon filling and lightly browned in the oven. Achieving stiff peaks and proper baking ensures the topping holds its shape and develops a beautiful golden color.
Made from French meringue piped into shapes and baked at a very low temperature for a long time until crisp and dry throughout. Success depends on achieving stiff peaks and patient, low-temperature baking.
Pavlova: An Elegant Meringue Dessert
A large, soft-centered meringue shell (typically French or Swiss) baked until crisp on the outside and marshmallowy inside, then topped with whipped cream and fruit. Requires careful baking to achieve the unique texture contrast.
Mastering Meringue: Final Thoughts for Baking Excellence.
Mastering meringue is a rewarding step in your baking journey. By focusing on the fundamentals – spotlessly clean equipment, room temperature eggs, gradual sugar addition, and understanding the stages of whipping – you can overcome the common challenges and reliably create light, airy, and stable meringue. Remember that practice makes perfect, and even experienced bakers have occasional off days with meringue.
Don't be discouraged by initial attempts that aren't picture-perfect. Each batch is a learning opportunity. Armed with these meringue success tips easy to follow, you are well-equipped to tackle meringue recipes with confidence. Enjoy the process of transforming simple ingredients into beautiful, delicious creations!
Frequently Asked Questions
What is the most crucial factor for achieving a stable meringue?
The most crucial factor is ensuring your bowl and whisk are completely clean and free of any grease or oil. This allows the egg whites to whisk properly and form stiff peaks.
Why is it recommended to use room temperature eggs when making meringue?
Room temperature egg whites whip up to a greater volume and create a more stable meringue compared to cold eggs. This is due to the lower surface tension allowing for more air incorporation.
What happens if I accidentally get egg yolk into my egg whites when separating them?
Even a tiny amount of egg yolk can prevent the egg whites from whipping properly. The fat in the yolk inhibits the formation of a stable foam. Careful separation is essential!
Can I use a hand mixer instead of a stand mixer for making meringue?
Yes, you can use a hand mixer! However, it may take longer to reach stiff peaks. Ensure your hand mixer is powerful enough and that you give it breaks to prevent overheating.
What are some signs that my meringue is over-whipped?
An over-whipped meringue will appear dry and curdled. It will also lose its shine and potentially collapse. Be sure to stop mixing when you achieve stiff, glossy peaks.
Final Reflection: The Unexpected Alchemy of Perfect Meringues
The seemingly simple act of whipping egg whites into airy peaks holds a surprising power; mastering the art of meringue is not just about baking, it's about understanding precision and embracing the unexpected. A perfectly formed meringue, a cloud of delicate sweetness, is a testament to the careful balance of technique and ingredients. This article explored the often-overlooked details – from the temperature of your eggs to the cleanliness of your bowl – that can make or break your meringue experience. These seemingly minor factors, as we've seen, are the key to unlocking meringue mastery.
The pursuit of the perfect meringue reflects a larger cultural fascination with precision and the transformative power of simple ingredients. The delicate balance required mirrors the challenges we face in life, where attention to detail and a willingness to experiment are crucial for success. The best things in life are simple, but not easy.
This quote perfectly encapsulates the journey to meringue perfection, and indeed, many aspects of life's endeavors. The seemingly simple act of whipping egg whites becomes a metaphor for achieving any goal, requiring patience, practice, and a keen eye for detail.
Now, consider your own "meringue moments." What seemingly small details in your life, in your work, or in your relationships, require the same level of attention and precision? What seemingly insignificant factors might be holding you back from achieving your own "perfect peaks"?
I encourage you to reflect on this, to embrace the lessons learned in the kitchen, and to apply them to the wider world. The journey to mastery, whether in baking or in life, is a rewarding one, filled with both triumphs and the occasional slightly deflated meringue. But remember, even a slightly imperfect meringue can still be delicious!
Unleash Your Inner Pâtissier: Master the Art of Meringue!
Thanks for taking the time to explore the secrets of perfect meringues! You've now got the knowledge to create light, airy, and delicious confections. Ready to put your newfound skills to the test?
- Bake your dream meringue: Try out one of the recipes mentioned in the article – the results will speak for themselves! Pay close attention to those bowl and egg temperature details.
- Share your meringue masterpiece: Post a picture of your creation on social media and tag us – we’d love to see your baking triumphs! Use #BakeWithEaseMeringue.
- Experiment with flavors: Don't be afraid to get creative! What unique flavor combinations will you explore in your next meringue adventure?
What unexpected flavor will you add to your next batch of perfect meringues?