
Not Enough Steam? Get That BakeryStyle Crust

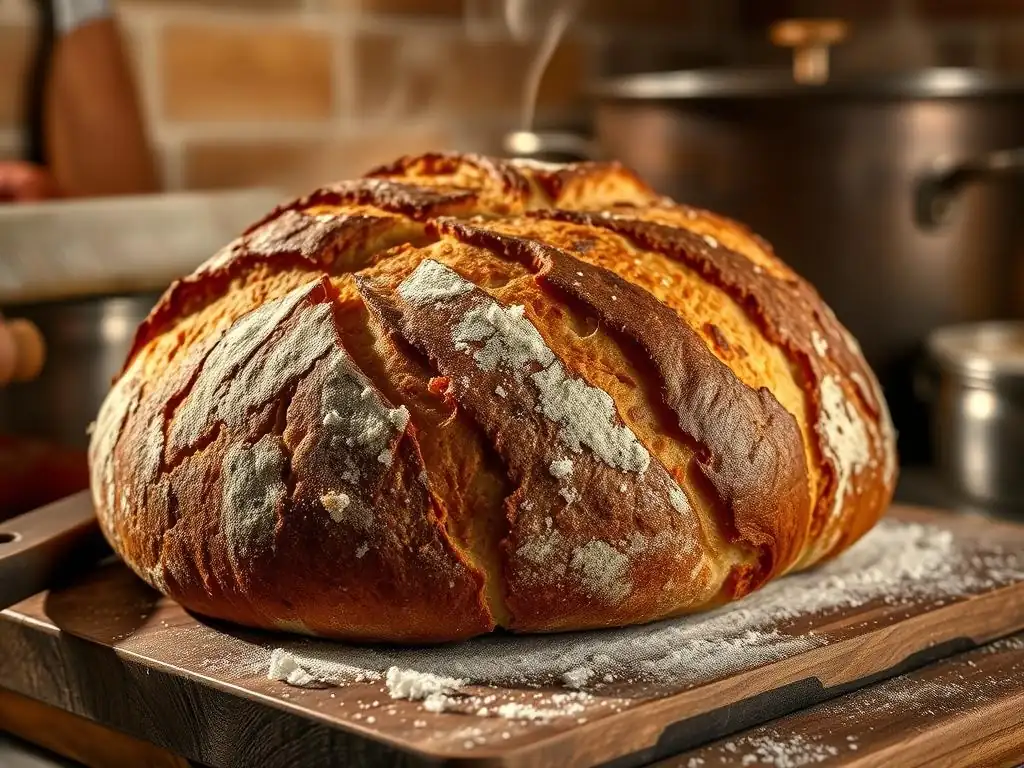
Welcome to BakeWithEase, your haven for all things baking! Ever wondered what separates a good loaf from a truly exceptional one? Prepare to unlock the secrets behind that coveted, shatteringly Crispy Bakery Crust. We're diving deep into the often-overlooked element that can transform your bread baking forever. Ready to discover the missing piece?
- Understanding the Importance of Steam in Bread Baking for a Crispy Crust
- Common Bread Baking Problems: Lack of Steam and Dull Crusts
- Crispy Bakery Crust Secrets Revealed: Proven Techniques for Home Bakers
- Fine-Tuning Your Baking Process for a Perfect Crust
- Troubleshooting Crust Issues: Addressing Common Problems and Solutions
- Advanced Techniques for Bakery-Level Crusts
- Achieving a Bakery-Style Crust: Recap and Key Takeaways
- Frequently Asked Questions
- Final Reflection: The Enduring Allure of the Perfect Crust
- Unleash Your Inner Baker: Achieve that Perfect Crust!
Understanding the Importance of Steam in Bread Baking for a Crispy Crust
Why Steam is Essential for Achieving a Professional Bakery Crust
Achieving that coveted crispy bakery crust at home can feel like a mystery, but one of the most significant factors is often overlooked: steam. When dough is first placed in a hot oven, the intense heat causes the surface to dry out rapidly, forming a hard crust prematurely. This 'setting' of the crust prevents the dough from expanding fully during the initial phase of baking, known as oven spring.
A humid environment created by steam keeps the surface of the dough moist and elastic for the first 10-15 minutes of baking. This allows the loaf to expand significantly before the crust sets, resulting in a larger, airier loaf.
Furthermore, steam plays a crucial role in the development of the final crust texture and appearance. The presence of moisture on the surface of the dough gelatinizes the starch in the outer layer. As the steam dissipates later in the bake, this gelatinized starch layer dehydrates and crisps up beautifully, contributing to the thin, shatteringly crispy texture characteristic of artisan loaves.
Without adequate steam, the crust forms too quickly, lacks the opportunity for starch gelatinization, and often results in a dull, thick, and less desirable crust. Understanding these crispy bakery crust secrets reveal the critical nature of moisture in the oven.
The Science Behind Steam: How it Affects Dough and Crust Formation
The science behind steam's effect on bread involves heat transfer and starch behavior. When dough is placed in a hot, steamy oven (typically around 450°F or 230°C), the water molecules in the steam transfer heat energy efficiently to the surface of the dough. This keeps the surface temperature relatively lower and prevents it from drying out too quickly.
The moisture allows the gluten structure near the surface to remain pliable, permitting the dough to expand as the yeast undergoes a final burst of activity and the internal gasses expand with heat. Think of it as giving your loaf a flexible suit of armor instead of a rigid shell during its most crucial growth spurt.
As the baking progresses and the steam is allowed to escape (either by removing the steam source or opening the oven door), the surface temperature of the loaf increases significantly. The gelatinized starch layer, formed earlier by the interaction of heat and moisture, now rapidly dries out and undergoes the Maillard reaction and caramelization. These chemical processes are responsible for the deep golden-brown color, complex flavors, and the signature crispiness of a well-baked crust. Mastering these crispy bakery crust secrets reveal that timing the steam is just as important as creating it.
Common Bread Baking Problems: Lack of Steam and Dull Crusts
Identifying the Signs: Is Your Bread Missing That Desirable Crust?
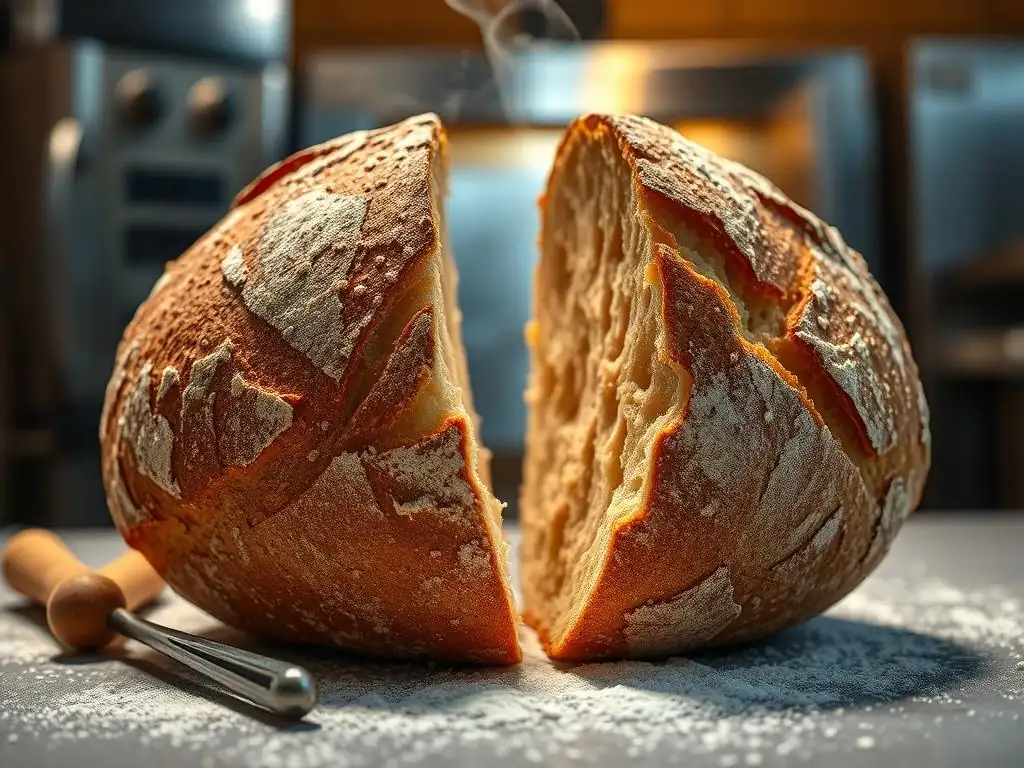
If your homemade bread consistently comes out with a pale, dull, and soft crust instead of a vibrant, golden, and crispy one, insufficient steam is a highly probable culprit. Other tell-tale signs include loaves that seem dense or haven't achieved much height (poor oven spring), or a crust that is thick and tough rather than thin and brittle.
Compare your results to loaves from a local bakery known for artisan bread – notice the difference in color depth and the sound the crust makes when tapped. A loaf baked without enough steam might also have large cracks or blowouts in unexpected places, rather than expanding evenly along intentional scores, because the rigid early crust couldn't accommodate the internal expansion pressure.
Another indicator is the overall shape of the loaf. If your dough was properly proofed but resulted in a loaf that looks squat or underdeveloped compared to its potential, the lack of steam likely hindered its initial expansion. For example, a 70% hydration sourdough loaf baked without adequate steam might only rise 20-30% in the oven, whereas with proper steam, it could easily double in volume, developing a beautiful ear along the score and achieving that sought-after crispy bakery crust. Recognizing these signs is the first step in troubleshooting your baking process.
The Impact of Insufficient Steam on Bread Texture and Appearance
The lack of sufficient steam directly impacts both the internal texture (crumb) and the external appearance of your bread. Without the initial moist environment, the crust forms too quickly, restricting oven spring. This leads to a denser crumb structure because the gas bubbles within the dough cannot expand fully.
The loaf will be smaller and heavier than it should be. A classic example is baking a baguette in a dry home oven; it often results in a pale, thick crust and a tight crumb, a stark contrast to the airy interior and thin, crackly crust of a professionally baked baguette.
Appearance-wise, insufficient steam results in a crust that is often pale, lacking the rich golden-brown hues that develop through proper caramelization and Maillard reactions which are enhanced by the initial gelatinization phase facilitated by steam. The surface might also appear matte and rough rather than slightly glossy and smooth. The desired crispy bakery crust secrets reveal that color and texture are intrinsically linked to the steaming process. A dry bake prevents the development of that thin, brittle layer that shatters when you slice or bite into the bread.
Crispy Bakery Crust Secrets Revealed: Proven Techniques for Home Bakers
The Dutch Oven Method: A Simple Way to Trap Steam
One of the most popular and effective ways for home bakers to mimic a professional steam-injected oven is by using a Dutch oven or a lidded pot. The beauty of this method lies in its simplicity: the pot traps the moisture released by the dough as it bakes, creating a perfectly steamy micro-environment around the loaf for the crucial first part of the bake.
This ensures excellent oven spring and the development of that desirable gelatinized starch layer on the crust. It's a technique that consistently delivers fantastic results, making it a cornerstone of crispy bakery crust secrets reveal for home kitchens.
Using a preheated Dutch oven is particularly effective because the hot surface provides a strong initial burst of heat to the base of the loaf, promoting good oven spring from the bottom up. The trapped steam prevents the top crust from setting too early, allowing the loaf to expand upwards and outwards. Many bakers find this method transforms their bread, achieving a crust and crumb structure they previously thought were only possible in a professional setting. A 5-quart or larger cast iron Dutch oven is a common tool for baking standard-sized loaves (around 500-750g flour).
Using a Dutch Oven for Crusty Bread: Step-by-Step Guide
- Preheat the Oven and Dutch Oven: Place your empty Dutch oven (with the lid on) in your oven and preheat both to a high temperature, typically between 450°F (230°C) and 500°F (260°C), for at least 30-60 minutes. This ensures the pot is scorching hot, which is key for oven spring and initial steam generation from the dough itself.
- Carefully Transfer Dough: Once the oven and pot are fully preheated, carefully remove the hot pot using oven mitts. Gently transfer your shaped and proofed dough into the hot pot. You can do this by carefully dropping it in, or by using parchment paper as a sling (highly recommended for safety).
- Bake Covered: Place the lid back on the Dutch oven and carefully return it to the hot oven. Bake covered for the first 20-30 minutes, depending on your recipe and loaf size. This covered period is where the steam is trapped, allowing for maximum oven spring and crust development.
- Bake Uncovered: After the initial covered period, carefully remove the lid. The loaf should have expanded significantly and the crust will look pale but set. Continue baking uncovered for another 15-25 minutes, or until the crust is a deep golden-brown and the internal temperature reaches around 200-210°F (93-99°C). This uncovered phase allows the steam to dissipate and the crust to crisp up and color.
- Cool: Carefully remove the loaf from the Dutch oven and transfer it to a wire rack to cool completely before slicing. This is a crucial step for preserving the crispy texture.
Dutch Oven Bread Baking: Tips for Success
- Safety First: Always use heavy-duty oven mitts when handling a hot Dutch oven. It retains heat for a long time.
- Parchment Paper Sling: Using parchment paper makes transferring the dough into the hot pot much safer and easier. Simply place the dough on the paper, then lift the corners of the paper to lower the dough into the pot.
- Don't Peek Too Early: Resist the urge to peek under the lid during the first 15-20 minutes of covered baking. You want to keep that steam trapped!
- Listen to Your Loaf: For the final uncovered bake, judge doneness by color and internal temperature, not just time. A dark golden-brown crust indicates good caramelization. Tapping the bottom should produce a hollow sound.
- Adjust Temperature: Some recipes recommend starting at a very high temperature (like 500°F) for the covered bake and then reducing it (to 425-450°F) for the uncovered bake to prevent the crust from burning before the interior is cooked. Experiment to find what works best with your oven and recipe. These are key crispy bakery crust secrets reveal that fine-tuning is essential.
Creating Steam in Your Oven: DIY Solutions for a Professional Crust
Not everyone has a Dutch oven, but that doesn't mean you can't achieve a fantastic crispy bakery crust. There are several effective DIY methods to create steam in a standard home oven. These techniques aim to humidify the oven cavity during the initial phase of baking, providing a similar benefit to baking in a closed environment like a Dutch oven or a professional steam oven. While they may require a little more attention than the Dutch oven method, they can yield excellent results when executed properly.
These methods typically involve introducing water into the hot oven at the moment the bread goes in. The goal is to generate a burst of steam immediately around the dough. Consistency can vary compared to a sealed environment, but with practice, you can learn how to best humidify your specific oven. Experimenting with different techniques will help you discover which one helps you best unlock the crispy bakery crust secrets reveal for your home setup.
Using Ice Cubes or Water in a Hot Pan: A Quick and Easy Steam Boost
One of the most common DIY steam methods involves placing a pan (often an old cast iron skillet or a sturdy metal baking pan) on the bottom rack of your oven while it preheats. Just before you load your bread, carefully pour about 1/2 to 1 cup of hot water or toss in a handful of ice cubes into this hot pan. Close the oven door immediately to trap the resulting steam.
The ice cubes melt and vaporize, creating steam. Hot water vaporizes more quickly, providing an instant burst. Be extremely cautious when pouring water into a hot pan in a hot oven, as the steam produced is very hot and can cause burns.
This method requires quick action – you need to get the bread in and the oven door closed as soon as the steam is generated to prevent it from escaping. Some bakers place lava rocks or crumpled metal chains in the steam pan to increase the surface area, which can help generate more steam from the same amount of water. After 15-20 minutes, you typically open the oven door briefly to let the steam escape for the remainder of the bake, allowing the crust to dry and crisp up.
The Towel Method: A Simple and Effective Steam Generator
Another simple and effective DIY steam method utilizes towels. Soak one or two oven-safe towels (like terry cloth or cotton) thoroughly in water, then wring them out so they are wet but not dripping excessively. Place the wet towels in an old baking pan (a loaf pan or small roasting pan works well). You can also add a cup of hot water to the pan with the towels for extra steam. Place this pan on the lowest rack of your oven while it preheats.
When you are ready to bake your bread, carefully place your loaf on a baking stone or tray on a higher rack, and immediately place the pan with the wet towels on the bottom rack (or ensure it is already there and steaming). The heat of the oven will cause the water in the towels and pan to evaporate, creating a steamy environment around the bread.
Like the ice/water method, you will typically remove the steam source (the pan with towels) after the first 15-20 minutes of baking to allow the crust to crisp. This method is generally considered less volatile than pouring water directly onto a hot surface.
Mastering Dough Hydration for Optimal Crust Development
While external steam is crucial, the internal moisture content of your dough, known as hydration, also plays a significant role in achieving a crispy bakery crust. Hydration is the ratio of water to flour in your recipe, usually expressed as a percentage (e.g., 70% hydration means 700g water for 1000g flour). Higher hydration doughs (like those often used for ciabatta or artisan loaves, often 75-85%) naturally contain more internal moisture that can contribute to initial steam generation and the development of a thinner, crispier crust.
Working with higher hydration doughs can be challenging as they are stickier and harder to handle, but they offer potential benefits for crust development. The extra water helps keep the dough surface moist for longer during the initial bake, even without external steam sources, and contributes to a more open crumb structure. However, simply increasing hydration isn't a magic bullet; it must be balanced with proper dough handling techniques, fermentation, and baking methods.
The Role of Water Content in Achieving a Crispy Crust
The water content within the dough contributes to crust development in a few ways. Firstly, as mentioned, it's a source of internal steam. As the dough heats up, water evaporates from the surface, contributing to the humid environment around the loaf, especially in a confined space like a Dutch oven.
Secondly, the water content affects the dough's extensibility. Higher hydration doughs are typically more extensible (stretchy) and less elastic (snappy), which allows them to expand more easily during oven spring. This better expansion contributes to a thinner final crust structure because the same amount of "crust material" is stretched over a larger volume.
A very low hydration dough (below 60%) will tend to form a thicker, tougher crust, even with external steam, because it lacks the internal moisture and extensibility needed for a light, airy structure. Therefore, understanding and controlling dough hydration is one of the fundamental crispy bakery crust secrets reveal that links the inside of your bread to its outside texture.
Hydration Levels: Finding the Right Balance for Your Bread Recipe
Finding the optimal hydration level depends on the type of flour you are using, the specific recipe, and your skill level. Strong bread flours with higher protein content (like 12-14% protein) can absorb more water than all-purpose flour (typically 10-12% protein) and are better suited for higher hydration doughs. A common starting point for many artisan bread recipes is 65-75% hydration. This range is manageable for most home bakers and allows for good oven spring and crust development when combined with external steam.
For beginners, starting with a slightly lower hydration (60-65%) can make dough handling easier while still allowing for a good crust with proper steaming. As you gain confidence, you can gradually increase the hydration percentage to experiment with airier crumbs and potentially thinner, crispier crusts. Pay attention to how your dough feels and behaves – experienced bakers can often tell if the hydration is right just by touch. It's a balance between manageability and achieving the desired internal and external loaf characteristics.
Fine-Tuning Your Baking Process for a Perfect Crust
Oven Temperature and Baking Time: Key Factors for Crust Development
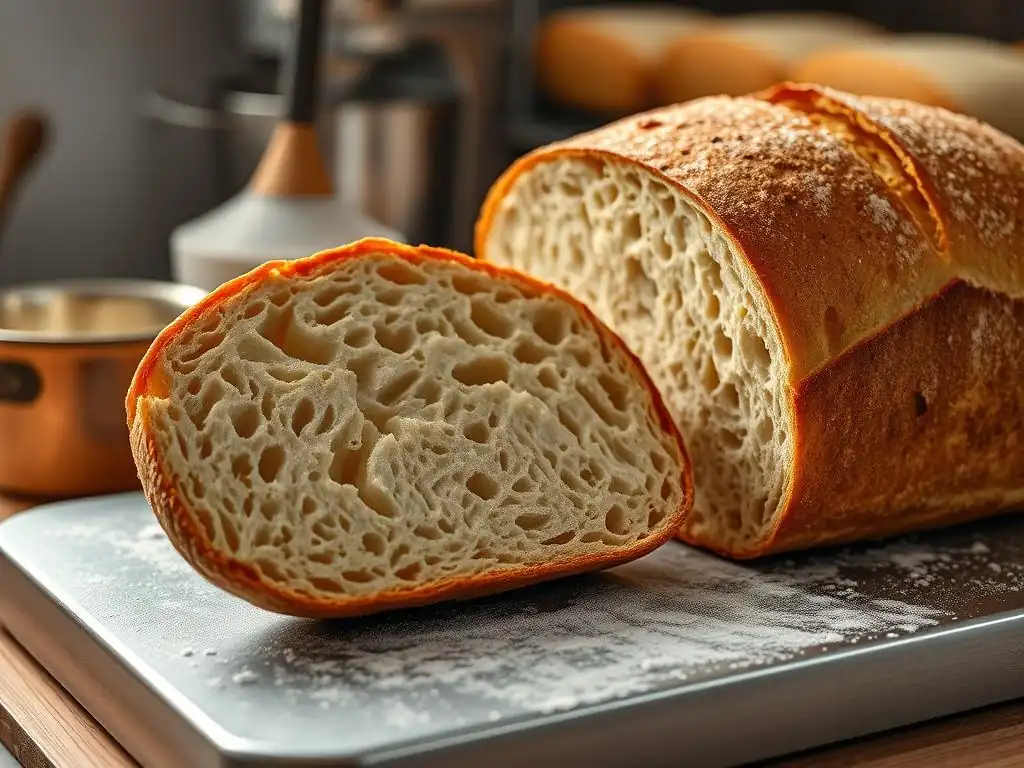
Beyond steam, oven temperature and baking time are critical variables in achieving a desirable crispy bakery crust. Most artisan bread is baked at high temperatures, typically between 425°F (220°C) and 500°F (260°C). This high heat provides the necessary energy for rapid oven spring during the initial phase and drives the Maillard reaction and caramelization that give the crust its color and flavor later in the bake. Baking at too low a temperature will result in a pale crust, poor oven spring, and a longer baking time which can dry out the loaf.
The baking time is split into two phases when using steam: the covered or steamy phase and the uncovered or dry phase. The initial high-heat, steamy phase (usually 15-30 minutes) sets the structure and allows for expansion. The subsequent dry phase (usually 15-30 minutes) is where the crust truly develops its color, flavor, and crispiness.
The total baking time depends on the size and shape of the loaf. A standard 1kg boule might bake for 45-55 minutes total, while a smaller baguette might take only 25-35 minutes. Monitoring the crust color and internal temperature is key to knowing when your bread is perfectly baked.
Scoring Techniques: How to Properly Score Your Dough for Optimal Expansion and Crust Formation
Scoring, or slashing, your dough just before baking isn't just for aesthetics; it's a crucial step for controlling oven spring and contributing to a beautiful crispy bakery crust. As the loaf heats up rapidly in the oven, internal gasses expand. If the surface crust sets too quickly without controlled weak points, the loaf will burst unpredictably, often resulting in an uneven shape and a thick, undesirable crust where it tore open. Scoring provides planned weak points, allowing the dough to expand gracefully along the cuts.
Proper scoring allows the baker to direct the expansion, often creating a beautiful "ear" or "bloom" along the slash, which is a hallmark of artisan bread. Use a sharp lame or razor blade and make swift, confident cuts about 1/2 inch deep. The angle of your cuts can influence the outcome – angled cuts often create a better ear than straight vertical cuts.
Different scoring patterns are used for different loaf shapes (e.g., a single long slash for a baguette, a cross or square pattern for a boule). Practice your scoring on dummy dough or even just paper to get the feel of making quick, clean cuts.
Cooling Your Bread: The Importance of Proper Cooling for Preserving Crust Crispiness
Once your bread comes out of the oven, the baking process isn't entirely finished. The internal temperature is still very high, and moisture is migrating from the hot interior towards the cooler surface. If you were to slice into a hot loaf, you'd release this steam, resulting in a gummy crumb and a rapidly softening crust. Proper cooling on a wire rack allows steam from the interior to escape evenly, preventing it from condensing on the crust and making it soggy. It also allows the internal structure of the bread to set properly.
Cooling is essential for preserving that hard-earned crispy bakery crust. A loaf should cool for at least 1-2 hours, depending on its size, before slicing. Resist the temptation to cut into it early! Placing the hot loaf on a solid surface instead of a wire rack will trap moisture underneath, again leading to a soft or soggy bottom crust. Patience during the cooling process is a simple but vital step in the crispy bakery crust secrets reveal.
Troubleshooting Crust Issues: Addressing Common Problems and Solutions
My Crust is Still Soft: Identifying and Correcting the Underlying Issues
If your bread crust is consistently soft instead of delightfully crispy, several factors could be at play. The most common issue, as highlighted throughout this guide, is insufficient steam during the initial baking phase. Review your steaming method – are you using enough water or ice? Is your Dutch oven preheated adequately? Are you trapping the steam effectively for long enough (typically 15-20 minutes)? Ensure your oven door isn't being opened frequently during the steaming period, allowing moisture to escape.
Another potential cause is insufficient final baking time or temperature. If the crust doesn't reach a high enough temperature for long enough during the uncovered phase, the gelatinized starch layer won't fully dehydrate and crisp up. Try increasing the final baking time or slightly increasing the oven temperature for the last 10-15 minutes. Also, ensure the loaf is fully cooled on a wire rack before slicing.
Slicing too early will definitely lead to a soft crust. Finally, humidity in your kitchen environment can affect the crust after baking; storing the loaf properly (e.g., cut-side down on a board, or in a paper bag once fully cooled) can help maintain crispiness longer. These are practical crispy bakery crust secrets reveal for troubleshooting.
My Crust is Too Thick: Tips for Achieving a Balanced Crust
A thick, tough crust can be as undesirable as a soft one. This often happens when the crust forms too early and too rigidly, preventing the dough from expanding properly. Insufficient steam is a major contributor here as well – without steam, the surface dries out and sets prematurely, resulting in a thicker crust as the dough tries to push against a hardened shell. Ensure your steaming method is effective and allows for good oven spring.
Overworking the dough or using too low hydration can also lead to a dense crumb and a thick crust. Review your mixing and kneading process; the dough should be well-developed but not excessively tight. Consider slightly increasing your dough hydration if you are comfortable handling wetter doughs. Baking at too low a temperature initially can also contribute to a thick crust; ensure your oven is fully preheated to the correct high temperature. Finally, excessive flour dusting on the surface of the dough before baking can create a barrier that thickens the crust. Use flour sparingly if needed.
My Crust is Burnt: Preventing Over-Browning and Achieving Even Baking
A burnt crust, especially on the bottom or top, indicates that one part of the loaf received too much direct heat for too long. If the top is burning, your oven temperature might be too high, or the loaf might be positioned too close to the top heating element. Try reducing the oven temperature slightly after the initial steamy phase, or moving the oven rack lower.
If the bottom is burning, your baking surface (like a baking stone or steel, or the bottom of your Dutch oven) might be too hot or too close to the bottom element. Try placing a baking sheet on the rack below your loaf or Dutch oven to shield the bottom, or using slightly less preheating time for the baking surface itself.
Covering the loaf loosely with aluminum foil for the last 10-15 minutes of baking is a common technique to prevent the top crust from burning while the inside finishes cooking. This is particularly useful for longer bakes or high-sugar doughs that brown quickly. Uneven browning can also be a sign of hot spots in your oven; rotating the loaf halfway through the uncovered bake can help promote even coloring. These adjustments are part of the essential crispy bakery crust secrets reveal for preventing common mishaps.
Advanced Techniques for Bakery-Level Crusts
Using a Baking Stone or Steel: Enhancing Heat Transfer for a Crispier Crust
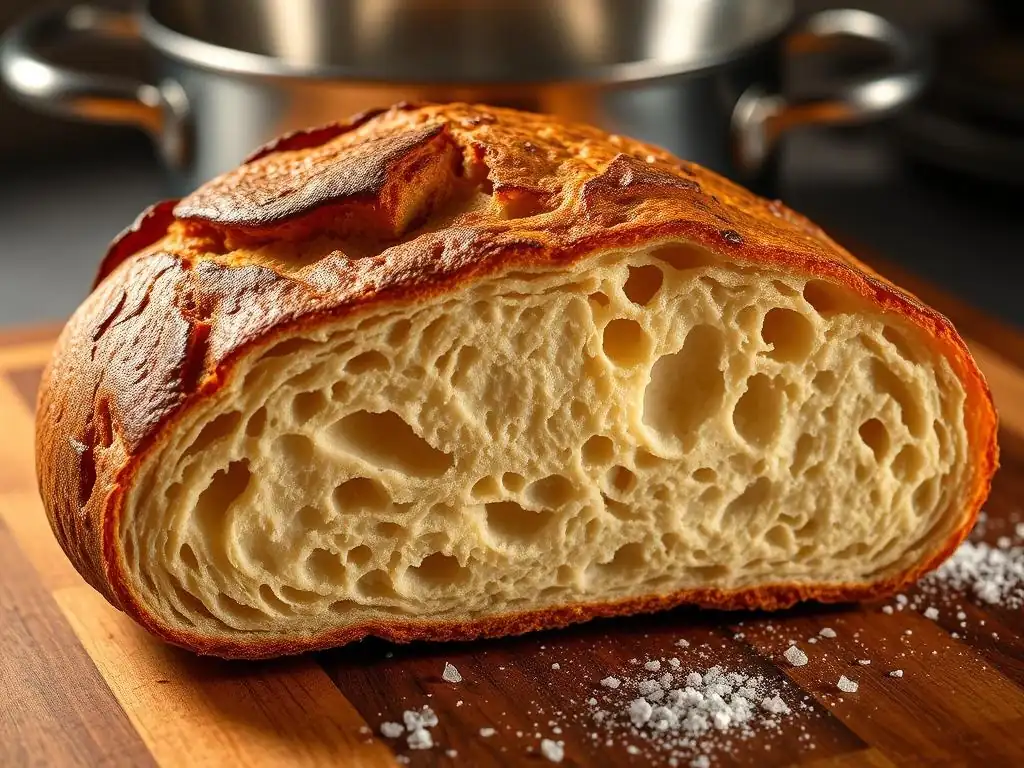
Beyond using a Dutch oven, baking stones or steels are popular tools for improving bread crust. Placed in the oven and preheated thoroughly, they store and radiate heat intensely. When the dough is placed directly on the hot stone or steel, it receives a powerful thermal shock from the bottom, promoting excellent oven spring and contributing to a well-developed bottom crust. This intense heat transfer helps set the base of the loaf quickly and contributes to overall crust crispiness when combined with a good steaming method.
Baking steels generally transfer heat more efficiently than stones and are less prone to breaking from thermal shock. Using a stone or steel requires an external steam source (like the pan of water/ice or towels method) unless you are baking a type of bread that doesn't require significant steam (like some enriched loaves). Place the stone or steel on the middle or lower-middle rack during preheating. When ready to bake, slide your dough (preferably on parchment paper or a peel dusted with cornmeal/semolina) directly onto the hot surface and introduce your chosen steam method simultaneously.
Investing in a Steam Oven: The Ultimate Solution for Consistent Results
For those truly dedicated to achieving professional-level bread crusts with maximum consistency, a dedicated steam oven is the ultimate tool. Professional bakeries often use deck ovens with steam injection systems that provide a powerful, consistent burst of humidity at the beginning of the bake, followed by a dry heat phase. Home steam ovens or combi-steam ovens (which combine steam and convection heat) can replicate this environment.
While a significant investment compared to a Dutch oven or baking stone, a steam oven offers precise control over the steaming phase, ensuring optimal conditions for oven spring and crust development every single time. If you bake bread frequently and are chasing the absolute best crust possible, exploring the capabilities of a home steam oven could be the final piece in unlocking all the crispy bakery crust secrets reveal.
Achieving a Bakery-Style Crust: Recap and Key Takeaways
Summary of Techniques for Achieving a Crispy Bread Crust
Achieving a crispy bakery crust at home is entirely possible by focusing on a few key principles, primarily centered around managing moisture and heat during the baking process. The most impactful techniques include:
- Using a Dutch Oven: Creates a self-steaming environment, trapping moisture released by the dough.
- DIY Steam Methods: Introducing water, ice, or wet towels into a hot oven to humidify the baking cavity.
- Optimal Dough Hydration: Using appropriate water levels in your dough contributes to internal steam and allows for better expansion and a thinner crust.
- High Baking Temperatures: Starting at a high temperature (425-500°F) is essential for oven spring and crust development.
- Proper Scoring: Controlled slashes allow the loaf to expand predictably and create a beautiful crust structure.
- Adequate Cooling: Letting the bread cool completely on a wire rack prevents the crust from softening.
- Using a Baking Stone or Steel: Enhances heat transfer from the bottom, improving oven spring and bottom crust crispiness.
By implementing one or a combination of these methods, you can significantly improve the quality of your bread crusts, moving from dull and soft to golden and shatteringly crispy.
Resources and Further Learning for Bread Baking Enthusiasts
Embarking on the journey to master the crispy bakery crust opens up a world of learning. The BakeWithEase website offers numerous articles and step-by-step guides covering various aspects of bread baking, from understanding flour types to mastering sourdough. Explore our section on dough handling for different hydration levels, delve deeper into fermentation techniques, and find recipes specifically designed for Dutch oven or high-hydration baking.
Look for resources that provide detailed instructions and visuals for scoring techniques, as practice is key to mastering this skill. Experiment with different flours and hydration percentages to see how they affect your crust. Join online baking communities or forums where bakers share their experiences and troubleshooting tips. The more you bake and experiment, the better you will become at understanding the nuances of heat, steam, and dough, ultimately unlocking your own crispy bakery crust secrets reveal. Happy baking!
Frequently Asked Questions
How crucial is steam for achieving a crispy bakery crust?
Steam is extremely important. It creates a moist surface that allows for maximum expansion before the crust sets, resulting in a crispier and shinier finish.
What are some simple ways to create steam in a home oven?
You can introduce steam by using a Dutch oven, placing a hot pan of water on the lower rack, or even spraying water directly into the oven immediately after loading the bread.
What happens if I don't use enough steam when baking bread?
Insufficient steam results in a dull, pale crust and a loaf that may not rise fully. The crust will set too early, inhibiting expansion and leading to a less desirable texture.
Can I use too much steam when baking bread?
Yes, over-steaming can lead to a gummy or tough crust. It's a balance; typically, steam is added at the beginning of the bake and then released.
Besides steam, what other factors contribute to a great bakery-style crust?
Other important factors include using high-quality flour, proper dough handling and proofing, and baking at the correct temperature for the appropriate time.
Final Reflection: The Enduring Allure of the Perfect Crust
The quest for the perfectly crisp bakery crust isn't just about achieving a golden-brown exterior; it's a reflection of our desire for excellence in even the simplest pleasures. The techniques and secrets revealed in this article—from understanding hydration levels to mastering the art of steam—represent a deeper appreciation for the process of baking and the satisfaction of a job well done. This isn't merely about making bread; it's about striving for perfection in a world that often settles for less.
The pursuit of the ideal crust transcends the culinary; it speaks to a broader human desire for mastery and the beauty found in meticulous craftsmanship. It's a journey of experimentation, learning from failures, and celebrating successes. This resonates deeply with me, as I've found that the most rewarding experiences often come from pushing boundaries and embracing the challenges inherent in achieving a specific goal. The reward of a thing well done is to have done it.
This simple truth applies equally to a perfectly crisp loaf of bread as it does to any other endeavor.
Now, I invite you to take what you've learned and apply it to your own baking journey. Don't be afraid to experiment, to tweak the techniques, and to discover your own unique approach to achieving that coveted bakery-style crust. Remember the principles outlined here, but most importantly, remember the joy of the process. The perfectly crisp crust is a testament to your dedication and passion, a delicious reward for your efforts, and a symbol of the beauty that can be found in the pursuit of excellence. Go forth and bake!
Unleash Your Inner Baker: Achieve that Perfect Crust!
Thanks for taking the time to explore the secrets of a bakery-style crust! We hope you now feel empowered to tackle even the flakiest, most golden-brown crusts. Ready to put your new knowledge into action?
- Bake your dream pie (or tart!) today: Don't let this newfound knowledge go to waste. Challenge yourself with a recipe you've always wanted to try!
- Share your baking triumphs (and even your stumbles!): We'd love to see your creations – tag us on social media!
- Explore our other resources on perfecting your baking skills: Discover more tips and tricks to elevate your baking game.
What delicious creation will you bake first – and what’s your biggest baking challenge you’re tackling next?