
How to Make Your Own Custom GlutenFree Bread Blend

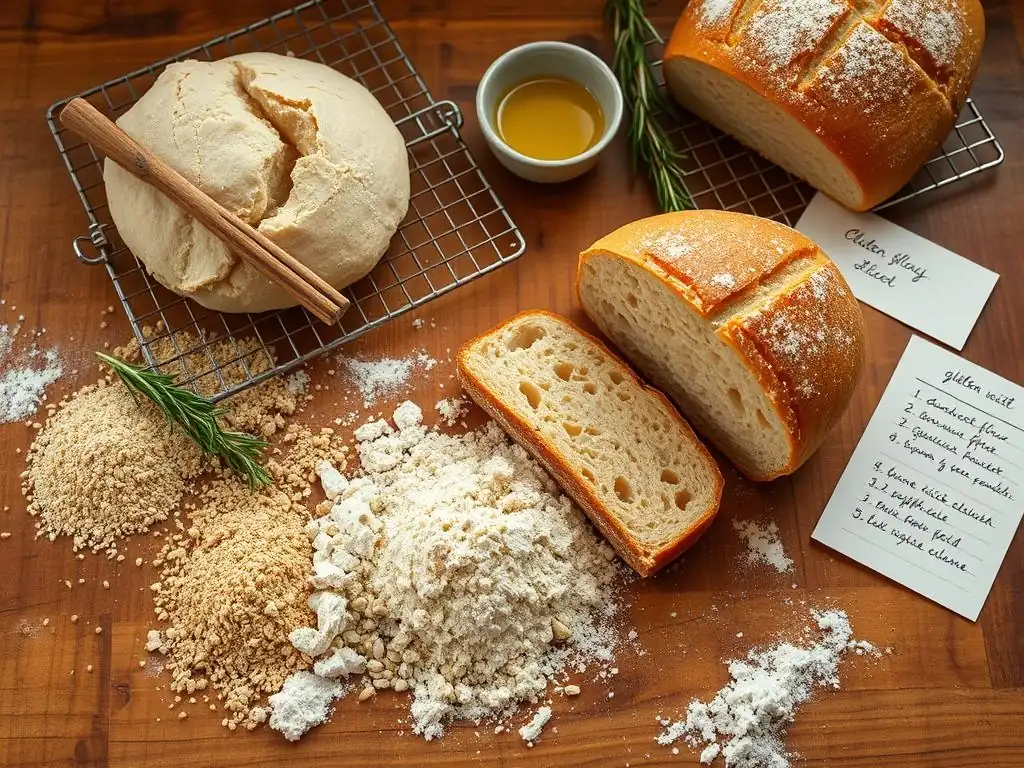
Welcome to BakeWithEase, your haven for unlocking baking mastery! Ever dreamt of creating the perfect gluten-free loaf, tailored exactly to your taste? Discover the secrets within this article as we unveil our foolproof guide on crafting your own custom GlutenFree bread blend recipe. Prepare to be amazed at how easy it is to ditch the store-bought mixes and achieve bakery-worthy results in your own kitchen! Intrigued? Let's get baking!
- Creating a Custom Gluten-Free Bread Flour Blend
- Introduction: Tailor Your Gluten-Free Baking Experience
- Why Create Your Own Gluten-Free Bread Flour Blend?
- Key Ingredients for a Gluten-Free Bread Blend
- Crafting Your Gluten-Free Bread Blend: A Step-by-Step Guide
- Gluten-Free Bread Blend Recipe: A Balanced Formula
- Troubleshooting Your Gluten-Free Bread
- Using Your Blend in Bread Recipes
- Beyond Bread: Exploring Other Gluten-Free Applications
- Conclusion: Embrace the Versatility of Homemade Gluten-Free Bread.
-
Frequently Asked Questions
- What are the main benefits of making my own gluten-free bread blend?
- What are some common gluten-free flours used in bread blends?
- How does xanthan gum contribute to a gluten-free bread blend?
- Can I substitute ingredients in a gluten-free bread blend recipe?
- How should I store my homemade gluten-free bread blend?
- Final Reflection: The Power of Gluten-Free Baking, One Blend at a Time
- Unleash Your Inner Baker: Craft the Perfect Gluten-Free Loaf!
Creating a Custom Gluten-Free Bread Flour Blend
Introduction: Tailor Your Gluten-Free Baking Experience
Embarking on the journey of gluten-free bread baking can feel like navigating a culinary puzzle. Store-bought gluten-free flour blends are convenient, but they often yield inconsistent results depending on the brand and the specific bread you're trying to make. Achieving that perfect rise, tender crumb, and delicious flavor requires understanding the building blocks.
By learning how to make your own custom gluten-free bread blend, you gain control over your baking, allowing you to tailor the texture and taste precisely to your liking. This guide will walk you through creating a versatile gluten-free bread blend recipe that forms the foundation for truly outstanding homemade loaves.
Why Create Your Own Gluten-Free Bread Flour Blend?
Moving beyond pre-mixed bags opens up a world of possibility in gluten-free baking. While commercial blends serve as a starting point, they are often formulated as general-purpose mixes, not optimized specifically for the unique demands of bread. Bread requires a blend that can handle kneading (even if gentle), support yeast activity for a good rise, and develop a structure that doesn't crumble upon slicing. Crafting your own custom blend allows you to fine-tune these properties, leading to more reliable and satisfying results every time you bake.
Benefits of a Custom Gluten-Free Flour Mix
Creating your own custom gluten-free flour mix offers significant advantages, primarily centered around control and quality. You get to select the highest quality flours and starches, avoiding fillers or ingredients you might not want. More importantly, you can adjust the ratios of different components to suit specific bread types, whether you're aiming for a light, airy sandwich loaf or a denser, rustic boule.
This level of customization is simply not possible with pre-made blends. For instance, a blend optimized for delicate cakes might contain a higher proportion of starches, which would lead to a gummy, dense bread if used directly. A bread-specific blend needs more whole grain flours and protein sources.
Another key benefit is cost-effectiveness. Buying individual gluten-free flours and starches in bulk is often cheaper in the long run than purchasing smaller bags of pre-mixed blends. Furthermore, having individual components on hand gives you flexibility. If a recipe calls for a small amount of sorghum flour or tapioca starch, you already have it. This approach also helps bakers with specific dietary needs or preferences, allowing them to exclude certain grains or starches if necessary. For example, someone avoiding corn can ensure their blend contains only potato or tapioca starch.
Understanding the Components of a Great Gluten-Free Bread Blend
A successful gluten-free bread blend is a carefully balanced mix designed to mimic the structure and behavior of wheat flour, specifically its gluten network. Since gluten is absent, other ingredients must step in to provide structure, elasticity, and binding. Typically, a blend consists of a combination of nutrient-rich gluten-free flours, lighter starches, and binding agents (often gums or psyllium husk). The flours provide flavor, protein, and fiber, forming the bulk of the blend. Starches contribute to tenderness and help create an open crumb structure by preventing the flours from becoming too dense.
The binding agents are crucial because they trap gases produced by yeast and prevent the bread from collapsing. Without them, gluten-free dough would be a crumbly mess. Different binders offer varying degrees of elasticity and moisture retention. A well-formulated glutenfree bread blend recipe will balance these components, often using a ratio where whole grain flours make up a significant portion (perhaps 40-60%), starches contribute lightness (around 20-40%), and the binder is a small but mighty percentage (often 1-3% of the total flour/starch weight, depending on the binder). Getting these proportions right is key to a successful loaf.
Key Ingredients for a Gluten-Free Bread Blend
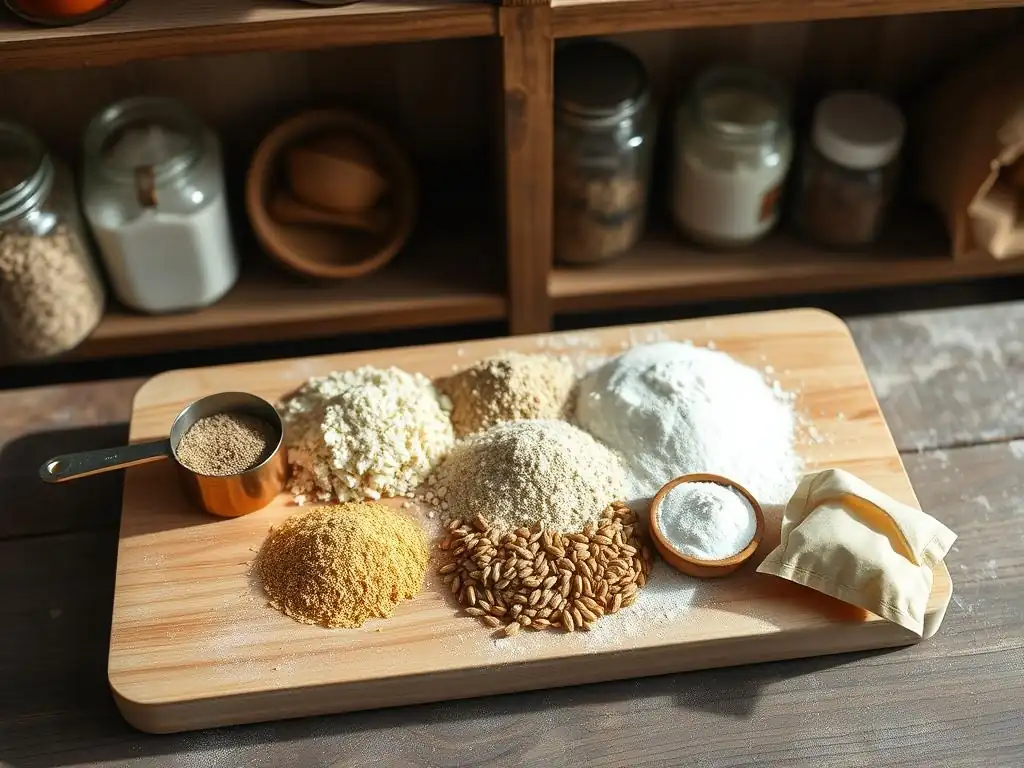
Crafting your own gluten-free bread blend recipe starts with understanding the role each ingredient plays. Think of it like building a team, where each player has a specific skill set needed for the final victory (a perfect loaf!). We'll explore the main categories: flours, starches, and gums/binders, and highlight some popular and effective options within each group.
Gluten-Free Flours: The Foundation
Gluten-free flours provide the bulk, flavor, and nutritional value of your bread blend. They come from various sources and contribute different characteristics to the final loaf. Using a combination is essential to achieve a balanced texture and flavor profile, as relying on just one or two can lead to undesirable results like a gummy or overly dense crumb. Aim for a mix of lighter and heavier flours in your blend.
Brown Rice Flour: [Earthy Flavor and Fiber]
Brown rice flour is a staple in many gluten-free blends, offering a slightly earthy, nutty flavor and valuable fiber content. It provides structure but can make baked goods dense if used in very high proportions without lighter flours or starches to balance it. It's milled from unpolished brown rice kernels.
Sorghum Flour: [Mild Flavor and Protein]
Sorghum flour is gaining popularity for its mild, slightly sweet flavor and relatively high protein content compared to some other gluten-free grains. It contributes to a tender crumb and is less likely to cause grittiness than some rice flours. Sorghum is a good choice for adding structure without overpowering the taste.
Tapioca Flour: [Binding and Chewy Texture]
Tapioca flour (or starch) is extracted from the cassava root. While often categorized with starches due to its high starch content, its unique properties make it function somewhat like a flour in blends. It provides excellent binding qualities and contributes to a desirable chewy texture, particularly in bread crusts. It's a critical component for elasticity.
Potato Starch: [Lightness and Moisture]
Potato starch, extracted from potatoes, is a fine, white powder that adds lightness and helps retain moisture in gluten-free baked goods. It doesn't contribute much flavor but is excellent for tenderizing the crumb and preventing dryness. It's a common component in many successful gluten-free bread blend recipes.
Oat Flour: [Softness and Flavor]
Oat flour, made from ground certified gluten-free oats, adds a lovely softness, a slightly nutty flavor, and beneficial fiber (specifically beta-glucans). It can absorb a good amount of liquid and contributes to a moist crumb. Ensure you use oats certified gluten-free to avoid cross-contamination if baking for someone with Celiac disease.
Starches: Structure and Binding
Starches are refined carbohydrates that play a vital role in gluten-free baking by providing structure, tenderness, and helping to bind ingredients together. They are lighter than flours and help create a more open, less dense crumb structure. Using a combination of starches can offer the best results, leveraging their different properties.
Tapioca Starch: [Chewy Texture]
As mentioned earlier, tapioca starch is excellent for providing chewiness and elasticity. When heated, it becomes gelatinous, helping to bind the dough and contributing to a pleasant texture, especially in the crust. It's often included in gluten-free bread blend recipes for its ability to create that desirable "stretch" in the dough.
Potato Starch: [Light and Airy Texture]
Potato starch is key to achieving a light and airy crumb. It absorbs liquid differently than tapioca and contributes less chewiness, focusing instead on preventing the bread from becoming too heavy or gummy. It works well in combination with other starches and flours to create a balanced texture.
Arrowroot Starch: [Smooth Texture]
Arrowroot starch, derived from the rhizomes of the arrowroot plant, is similar to tapioca and potato starch but creates a slightly smoother texture. It is often used as a thickener and can contribute to binding in baked goods. While perhaps less common than tapioca or potato starch in dedicated bread blends, it can be used interchangeably with them in some recipes to fine-tune texture.
Gums: The Gluten Substitute
Since gluten provides elasticity and structure in wheat bread, a substitute is needed in gluten-free baking to hold everything together and allow the dough to rise without collapsing. Gums or other binding agents perform this crucial function, mimicking some of the properties of gluten by creating a network that traps gas.
Xanthan Gum: [Viscosity and Structure]
Xanthan gum is a polysaccharide produced by fermenting sugar with a microorganism. It's a powerful thickener and stabilizer that creates viscosity and helps provide structure in gluten-free dough. Only a small amount is needed (often less than 1% of the flour/starch weight for bread), as too much can result in a gummy texture. It's a common ingredient in many gluten-free bread blend recipes.
Psyllium Husk Powder: [Fiber and Moisture Retention]
Psyllium husk powder, derived from the seeds of the Plantago ovata plant, is a soluble fiber that absorbs significant amounts of water. When mixed with liquid, it forms a gel-like substance that provides structure and elasticity to gluten-free dough, often resulting in a texture closer to traditional wheat bread. It also helps retain moisture, keeping the bread from drying out. It's often used in slightly higher percentages than xanthan gum (perhaps 2-3% of flour/starch weight) and is considered a more natural binder by some bakers.
Crafting Your Gluten-Free Bread Blend: A Step-by-Step Guide
Now that you understand the roles of the different ingredients, let's put it all together to create your own custom gluten-free bread blend. This process is straightforward and empowers you to bake with confidence, knowing exactly what's in your flour mix. Follow these steps to build your perfect gluten-free bread blend recipe.
Step 1: Defining Your Desired Bread Characteristics
Before you start measuring, think about the type of bread you bake most often or want to create. Are you aiming for a light, soft sandwich loaf? A crusty, chewy artisan style bread? A denser, hearty loaf for toast?
Different bread styles benefit from different flour ratios. For instance, a lighter bread might use more starches and lighter flours like sorghum or oat, while a heartier loaf could incorporate more brown rice or buckwheat (if using). Consider the flavor profile too – do you want a neutral base or something with a distinct grain flavor? Defining your goal helps determine the right proportions of flours and starches.
This initial step is crucial because it dictates the entire formula for your gluten-free bread blend recipe. If you primarily bake simple sandwich loaves, a balanced mix of brown rice, sorghum, tapioca starch, and potato starch with a binder is a great starting point. If you crave rustic loaves with a chewier crust, you might increase the proportion of tapioca starch and perhaps include a bit of millet or teff flour for flavor and structure. Don't be afraid to experiment; your first blend is just the beginning!
Step 2: Selecting and Weighing Your Flours and Starches
Based on your desired bread type from Step 1, select the specific flours and starches you want to include in your blend. Common combinations for a versatile gluten-free bread blend recipe include brown rice flour, sorghum flour, tapioca starch, and potato starch. Decide on the proportions based on the general guidelines (e.g., 50-60% flours, 40-50% starches) and your desired texture. For example, a common starting point might be 30% brown rice flour, 20% sorghum flour, 30% tapioca starch, and 20% potato starch (percentages by weight).
Accuracy is key when creating a gluten-free bread blend recipe. Always weigh your ingredients using a kitchen scale rather than relying on volume measurements (cups). Flours and starches can pack differently, leading to significant variations in weight and thus, in your final blend's composition. Weighing ensures consistency batch after batch. For example, if your recipe calls for 1000 grams of total flour/starch blend, you would weigh out 300g brown rice, 200g sorghum, 300g tapioca starch, and 200g potato starch for the example ratio above.
Step 3: Incorporating Gum or Binding Agent
Once your flours and starches are weighed, it's time to add your chosen binding agent. As discussed, this will likely be xanthan gum or psyllium husk powder. The amount needed is relatively small compared to the total flour weight, but it's absolutely critical for success in your gluten-free bread blend recipe. A typical starting point for xanthan gum in bread is about 0.5% to 1% of the total flour/starch weight. For psyllium husk powder (not whole husks), it's often closer to 2% to 3%.
Weigh the gum or psyllium husk powder carefully. For example, if your total flour/starch blend is 1000 grams, you might add 5-10 grams of xanthan gum or 20-30 grams of psyllium husk powder. It's generally recommended to add the gum directly into the dry flour blend before mixing. This helps disperse it evenly throughout the mix. Some recipes call for hydrating psyllium husk separately, but for a dry blend, incorporating it now works well, assuming you'll add sufficient liquid during the bread-making process.
Step 4: Thoroughly Combining the Ingredients
After weighing all your individual flours, starches, and the binding agent, the next step is to combine them thoroughly to create a homogenous gluten-free bread blend. This is important to ensure that each scoop of your blend has the correct proportion of each ingredient, leading to consistent results in your baking. The best way to achieve this is by sifting the ingredients together.
Use a large bowl and a fine-mesh sieve or flour sifter. Add all the weighed flours, starches, and gum to the sieve and sift them into the bowl. This process helps to break up any clumps and evenly distribute the finer particles (like starch and gum) among the larger flour particles. Sift the mixture at least two to three times. Alternatively, you can use a large whisk or stand mixer on low speed for a few minutes, but sifting is generally the most effective method for achieving uniform distribution in your custom gluten-free bread blend recipe.
Step 5: Properly Storing Your Custom Blend
Once your gluten-free bread blend is thoroughly mixed, proper storage is essential to maintain its freshness and prevent spoilage. Like all flours, gluten-free blends can absorb moisture and odors, and the fats present in some flours (like brown rice or oat) can go rancid over time, especially in warm conditions. Storing your blend correctly ensures it remains potent and yields the best baking results.
Transfer the finished gluten-free bread blend into an airtight container. Glass jars, plastic containers with tight-fitting lids, or heavy-duty freezer bags work well. Label the container clearly with the date you made the blend and, if you like, the specific ratio you used. Store the container in a cool, dark place, such as a pantry or cupboard. For longer-term storage, especially if you've made a large batch or live in a warm climate, the refrigerator or freezer is recommended. Stored properly, a custom gluten-free bread blend can last for several months.
Gluten-Free Bread Blend Recipe: A Balanced Formula
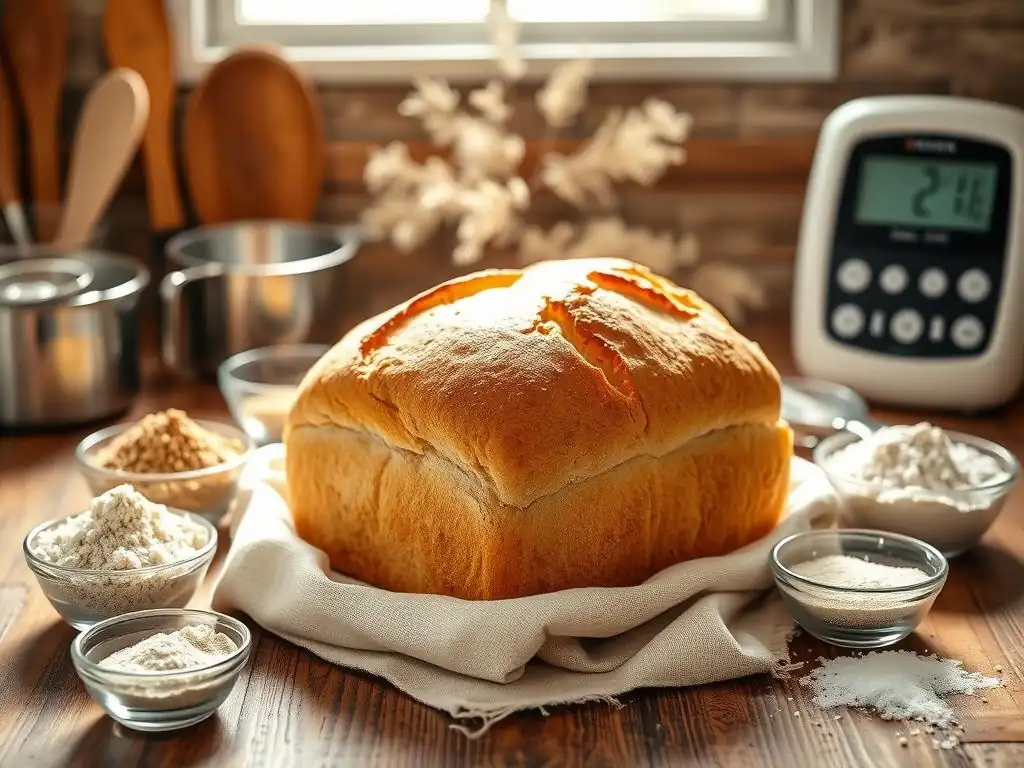
Ready to mix your first batch? Here is a balanced glutenfree bread blend recipe designed for a versatile sandwich-style loaf. This formula provides a good starting point, yielding a blend that is easy to work with and produces reliably soft and sliceable bread. Remember, this is a recipe for the blend itself, not the final bread. You'll use this blend in your favorite gluten-free bread recipes.
Recipe: [Specific Flour, Starch, and Gum Quantities]
This recipe yields approximately 1000 grams (about 7-8 cups) of gluten-free bread blend, a convenient batch size for several loaves.
- Brown Rice Flour: 300 grams (30%)
- Sorghum Flour: 200 grams (20%)
- Tapioca Starch: 300 grams (30%)
- Potato Starch: 200 grams (20%)
- Xanthan Gum: 8 grams (0.8%) OR Psyllium Husk Powder: 25 grams (2.5%)
Instructions:
- Weigh all ingredients precisely using a digital kitchen scale.
- Combine all weighed ingredients in a large bowl.
- Sift the mixture thoroughly at least 2-3 times to ensure even distribution of the gum and starches.
- Transfer the finished gluten-free bread blend into an airtight container and store as directed in Step 5 of the previous section.
Tips for Optimal Results with This Blend
Using this specific gluten-free bread blend recipe requires paying attention to a few details to ensure baking success. Firstly, hydration is key.
Gluten-free flours absorb liquids differently than wheat flour, and this blend is formulated to work well with typical gluten-free bread hydration levels, which are often higher than traditional recipes. Pay close attention to the liquid amounts specified in the bread recipe you are using this blend in, and don't be afraid to add a little extra if the dough seems too dry or stiff – it should resemble a thick batter or very soft dough, not a firm wheat dough.
Secondly, proper mixing and proofing are vital. Unlike wheat dough, gluten-free dough doesn't develop structure through kneading in the traditional sense. Overmixing can actually harm the structure provided by the gums. Mix just until ingredients are combined and the dough is smooth. Proofing (rising) times might also differ; gluten-free dough relies on yeast activity to create air pockets, and it won't typically double in size like wheat dough. Look for a noticeable increase in volume (perhaps 50-75%) and visual signs like bubbles, rather than strictly adhering to time limits, as ambient temperature affects proofing speed.
Troubleshooting Your Gluten-Free Bread
Even with the best gluten-free bread blend recipe, sometimes things don't go exactly as planned. Gluten-free baking has its unique challenges, but understanding common issues can help you quickly diagnose and fix problems. Don't get discouraged by a less-than-perfect loaf; each bake is a learning opportunity!
Common Issues and Solutions
Let's look at some frequent frustrations encountered when baking with a gluten-free bread blend and how to address them. Many issues stem from hydration levels, the balance of ingredients in the blend, or proofing/baking technique. Adjusting one or two variables can often dramatically improve results. Keep notes on your adjustments to refine your process and your specific gluten-free bread blend recipe over time.
Dense Bread: [Adjusting Hydration and Proofing]
If your gluten-free bread turns out heavy and dense, it's often due to insufficient hydration or under-proofing. Gluten-free dough needs ample liquid to allow the starches to gelatinize and the flours to hydrate properly. Try increasing the liquid in your recipe by 10-20% in your next bake.
Additionally, ensure your dough is proofing adequately. If the yeast isn't active enough or the proofing time/temperature is too low, the dough won't rise properly, resulting in a dense loaf. Ensure your yeast is fresh, the water temperature is correct (around 105-115°F or 40-46°C), and the dough is proofing in a warm, draft-free place until visibly risen.
Gummy Bread: [Reducing Starch or Gum]
A gummy texture is often a sign of too much starch or too much binding agent (gum). While starches and gums are necessary, an excess can lead to a sticky, unpleasant crumb. If you're using your custom gluten-free bread blend recipe and consistently getting gummy results, consider slightly reducing the proportion of starches (like tapioca or potato starch) or the amount of gum (xanthan gum or psyllium husk) in your next batch of the blend.
For example, if your blend is 40% starch, try reducing it to 35% and increasing the flour percentage. If using 1% xanthan gum in the blend, try reducing it to 0.7%. Ensure you are also baking the bread fully; underbaked gluten-free bread can also seem gummy.
Crumbly Bread: [Increasing Binding Agents or Hydration]
If your bread falls apart easily when sliced, it's likely lacking sufficient binding or moisture. This means the structure isn't strong enough to hold the crumb together. When using your custom gluten-free bread blend recipe, consider increasing the amount of binding agent (xanthan gum or psyllium husk) in your next batch of the blend. If you used 0.8% xanthan gum, try increasing it to 1%.
If using 2.5% psyllium, try 3%. Also, ensure you are adding enough liquid when making the bread itself. A slightly wetter dough often results in a more cohesive crumb. Check your recipe's hydration level and consider adding a tablespoon or two more water or milk if the dough seems too stiff.
Using Your Blend in Bread Recipes
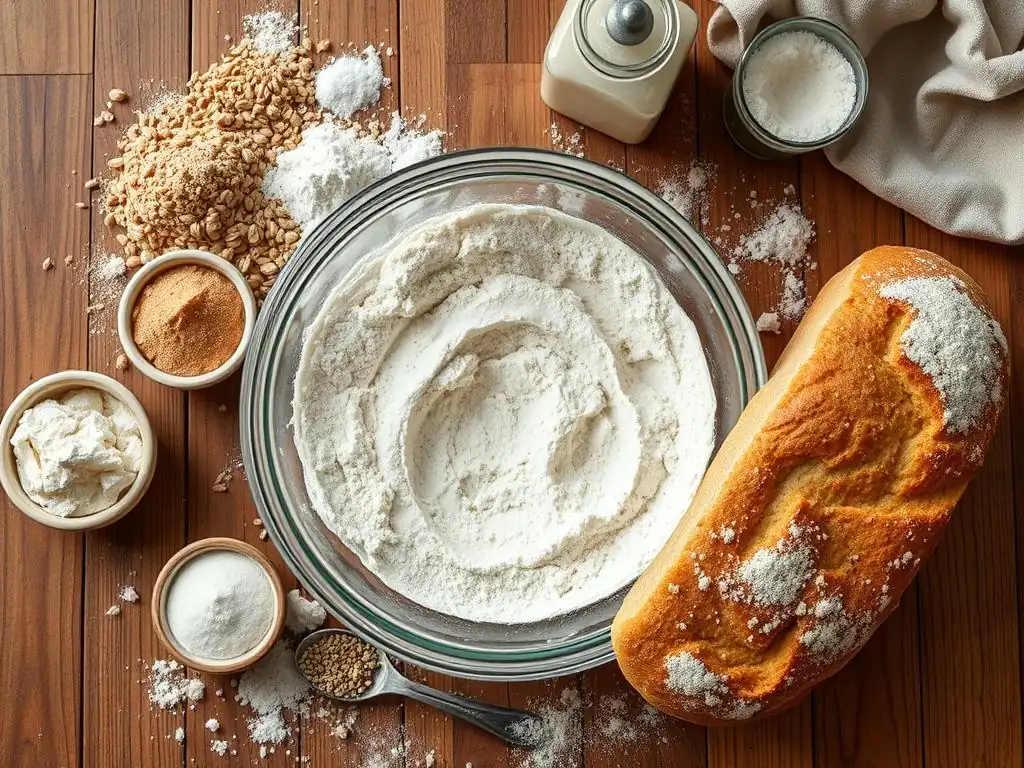
Once you have your perfect custom gluten-free bread blend recipe mixed and stored, you're ready to bake! Using your blend is simple, but adapting existing recipes (both gluten-free and traditional) requires a little understanding of how your blend performs.
Adapting Recipes for Gluten-Free Baking
Using your custom gluten-free bread blend in recipes is generally straightforward. If a gluten-free recipe calls for a specific blend (like a "cup-for-cup" mix), you can often substitute your blend directly by weight. If the original recipe provides weights, match the total weight of flour called for with your blend.
If it uses volume (cups), fill your measuring cup by gently spooning the blend in and leveling it off, then use that volume. Because your blend contains the necessary binders, you usually don't need to add extra xanthan gum or psyllium unless the recipe specifically requires it in addition to a blended flour.
When adapting traditional wheat-based recipes, the process is more involved. A general rule of thumb is to replace the wheat flour with your gluten-free bread blend on a 1:1 basis by weight. However, you will almost certainly need to increase the liquid significantly.
Gluten-free flours and starches absorb liquid differently, and the gums require hydration to form their structure. Start by increasing the liquid by 20-30% and adjust based on the dough consistency (remember: thick batter/soft dough). You also need to ensure the recipe includes a binding agent, which is already in your custom glutenfree bread blend recipe, so you won't need to add it separately.
Gluten-Free Sandwich Bread Recipe: [Specific Recipe Details]
Here is a simple, reliable gluten-free sandwich bread recipe designed specifically to use your custom blend. This recipe is perfect for beginners and yields a soft, sliceable loaf ideal for sandwiches and toast.
Ingredients:
- 500 grams of your custom gluten-free bread blend recipe
- 10 grams (about 1.5 tsp) instant dry yeast
- 10 grams (about 1.5 tsp) sugar (optional, for yeast activation and flavor)
- 7 grams (about 1 tsp) salt
- 450-480 ml warm liquid (water, milk, or non-dairy milk, around 105-115°F / 40-46°C)
- 30 ml (about 2 tbsp) oil or melted butter
- 1 large egg (optional, for richness and binding)
Instructions:
- In a large mixing bowl, whisk together the gluten-free bread blend, yeast, sugar (if using), and salt.
- In a separate bowl, whisk together the warm liquid, oil/butter, and egg (if using).
- Pour the wet ingredients into the dry ingredients. Mix on low speed with a stand mixer (using the paddle attachment) or with a sturdy spoon for 3-5 minutes until the batter is smooth and well combined. It will be thick and sticky, like a very heavy cake batter or soft dough.
- Spoon the batter into a greased 9x5 inch loaf pan, smoothing the top with a wet spatula.
- Cover the pan loosely with plastic wrap or a clean kitchen towel. Place in a warm, draft-free place to proof for 45-75 minutes, or until the dough has visibly risen (about 50-75%). It won't necessarily double.
- Preheat your oven to 375°F (190°C).
- Bake for 45-60 minutes, or until the crust is golden brown and the internal temperature reaches 200-210°F (93-99°C) when checked with an instant-read thermometer. If the top browns too quickly, tent loosely with foil.
- Remove from the oven and immediately turn the bread out onto a wire rack to cool completely before slicing. This is crucial for gluten-free bread to set properly and prevent a gummy texture.
Beyond Bread: Exploring Other Gluten-Free Applications
While your custom gluten-free bread blend recipe is optimized for loaves, the individual components and the general principles of balancing flours, starches, and binders apply to many other gluten-free baked goods. You can absolutely experiment with using your blend in recipes for things other than traditional bread, often with great success.
Gluten-Free Pizza Crust, Muffins, and More
Your custom gluten-free bread blend can often be used as a base for other recipes, though you might need to make adjustments. For instance, for a gluten-free pizza crust, the same blend can work, but you might need slightly less liquid to achieve a dough that can be shaped or pressed. For muffins or quick breads, your blend provides a great starting point, but you might find recipes specifically designed for cakes or muffins yield a lighter, more tender crumb by using a higher proportion of starches or different flours entirely.
Consider the characteristics you want in the final product. A chewy pizza crust benefits from the tapioca starch in your blend. Muffins need lightness, which the potato starch provides. While a dedicated gluten-free cake flour blend might be ideal for delicate pastries, your bread blend is versatile enough for heartier applications like savory muffins, focaccia, or even some cookie recipes that don't require significant spread. Experimenting with your custom gluten-free bread blend recipe in various applications is part of the fun of homemade baking!
Conclusion: Embrace the Versatility of Homemade Gluten-Free Bread.
Creating your own custom gluten-free bread blend recipe is a rewarding step in your baking journey. It gives you unparalleled control over the quality, flavor, and texture of your gluten-free loaves, moving beyond the limitations of generic store-bought mixes. By understanding the role of different flours, starches, and binders, you can fine-tune your blend to achieve the perfect rise, crumb, and crust for any type of bread you desire.
Armed with your homemade gluten-free bread blend recipe, you can tackle everything from simple sandwich loaves to more complex enriched breads, confident that you have the right foundation. Troubleshooting becomes easier as you understand the components. So, gather your ingredients, get out your scale, and start mixing your very own custom gluten-free flour blend. Delicious, homemade gluten-free bread is within your reach!
Frequently Asked Questions
What are the main benefits of making my own gluten-free bread blend?
Creating your own blend allows for customized taste and texture, and you can control the ingredients to avoid unwanted additives or allergens. It's also often more cost-effective than buying pre-made blends.
What are some common gluten-free flours used in bread blends?
Popular choices include rice flour, tapioca starch, potato starch, sorghum flour, and millet flour. The combination of flours helps achieve the desired texture and structure in gluten-free bread.
How does xanthan gum contribute to a gluten-free bread blend?
Xanthan gum acts as a gluten substitute, providing structure and elasticity to the dough. It helps bind the ingredients together, preventing the bread from being crumbly or falling apart.
Can I substitute ingredients in a gluten-free bread blend recipe?
While substitutions are possible, they can significantly impact the final product. It's best to research compatible alternatives and adjust the recipe accordingly. Always start with small-scale experiments.
How should I store my homemade gluten-free bread blend?
Store the blend in an airtight container in a cool, dry place. This will help maintain its freshness and prevent it from absorbing moisture, ideally, you want to prevent clumping for optimal results.
Final Reflection: The Power of Gluten-Free Baking, One Blend at a Time
The ability to craft your own gluten-free bread blend empowers individuals to take control of their dietary needs and unlock a world of culinary possibilities. It's no longer about settling for bland, commercially-produced loaves; it's about embracing the journey of experimentation and discovering the perfect texture and flavor profile tailored to your palate. This is particularly relevant today, as the demand for gluten-free options continues to rise, driven by both dietary restrictions and a growing awareness of the importance of personalized nutrition.
Creating my own gluten-free bread blend has been a transformative experience, moving beyond simply following a recipe to understanding the nuances of gluten-free baking. It's about recognizing the unique characteristics of different flours and starches, and how they interact to create the desired outcome. This journey has deepened my appreciation for the artistry of baking, regardless of dietary restrictions. The best bread is the bread you make yourself.
While I don't know the origin of this quote, its sentiment rings profoundly true in the context of gluten-free baking, where the control and customization are paramount.
Now, it's your turn. Don't be intimidated by the prospect of creating your own blend. Experiment with different flour combinations, adjust ratios based on your preferences, and embrace the learning process. Each loaf you bake will be a testament to your creativity and a delicious reward for your efforts. The journey to finding your perfect gluten-free bread blend is a personal one, filled with discovery and the satisfaction of crafting something truly unique and nourishing. Start baking, and discover the joy of gluten-free breadmaking!
Unleash Your Inner Baker: Craft the Perfect Gluten-Free Loaf!
Thanks for taking the time to explore the world of gluten-free baking with us! You've now unlocked the secrets to creating your own custom blend – a truly rewarding experience. Ready to take the next step?
- Bake your dream loaf: Use your newly designed blend to bake your favorite gluten-free bread recipe. Don't be afraid to experiment with different flours and ratios!
- Share your success: Post a picture of your creation on social media and tag us – we'd love to see your baking triumphs! #BakeWithEase #GlutenFreeBread
- Join our community: Share your blend recipe and feedback in the comments below. Let's inspire each other to create the perfect gluten-free bread!
What unique ingredient will you add to your next custom gluten-free bread blend?