
Is Your Yeast Dead? Simple Tests for Fermentation Power

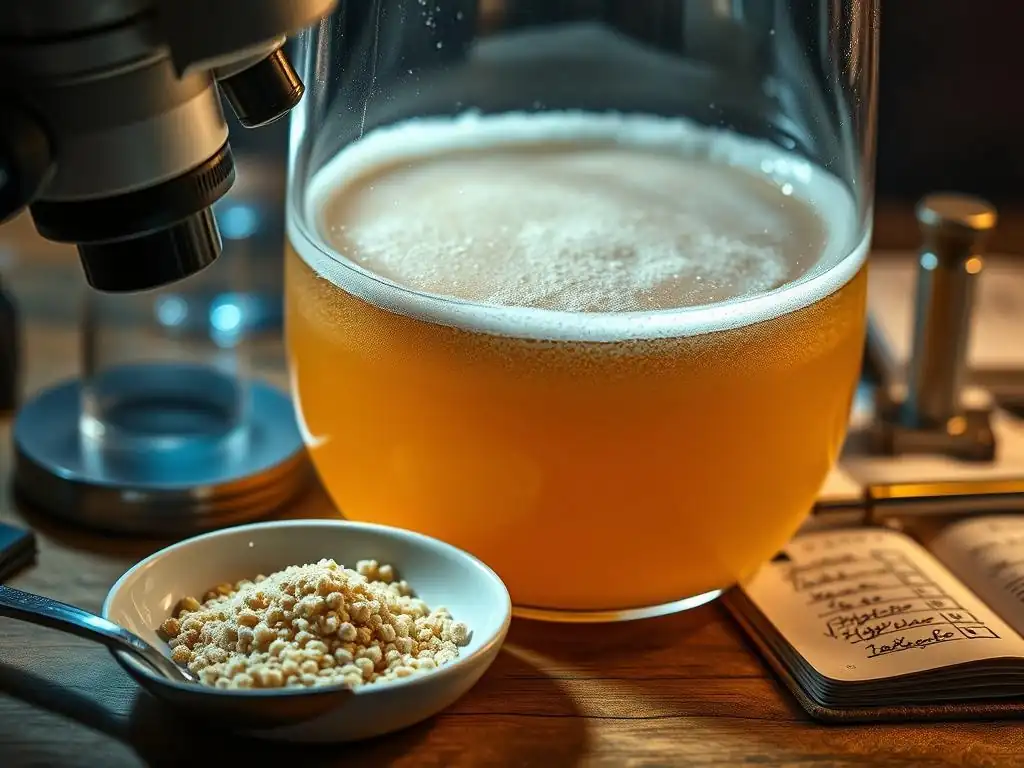
Welcome to BakeWithEase, where baking becomes a joy, not a chore! Ever wondered why your dough just isn't rising? This week, we're diving deep into the science of fermentation. Are you facing yeast starter troubleshooting woes? Don't despair! Discover simple tests and expert tips in our Baking Science Deep Dive to ensure your yeast is thriving and your baked goods reach their full, fluffy potential. Read on to unlock the secrets to successful fermentation!
- Introduction: Understanding Yeast Activity for Baking Success
- Yeast Starter Troubleshooting Tips: Identifying Dead or Inactive Yeast
- Simple Tests to Check Yeast Viability: A Step-by-Step Guide
- Reviving Inactive Yeast: Troubleshooting Steps and Solutions
- Understanding Expiration Dates and Yeast Storage Best Practices
- What to Do If Your Yeast is Truly Dead
- Conclusion: Mastering Yeast Fermentation for Consistent Baking Results
-
Frequently Asked Questions
- What is a yeast starter, and why is it important?
- How can I tell if my yeast is dead before using it?
- What are some common reasons a yeast starter might fail to activate?
- If my yeast starter doesn't double in size, is it always a sign of failure?
- What are some troubleshooting tips for reviving a sluggish yeast starter?
- Final Reflection: The Living Power of Yeast and the Baker's Intuition
- Unleash Your Inner Baker: Test Your Yeast & Bake Better!
Introduction: Understanding Yeast Activity for Baking Success
Why Yeast Activity Matters in Baking
Yeast is a living microorganism, a type of fungus, that is crucial for leavening many baked goods, from rustic loaves of bread to delicate brioche. Its primary role is fermentation: it consumes sugars and produces carbon dioxide gas and alcohol. This gas gets trapped within the dough's gluten structure, causing it to rise and develop that characteristic airy texture.
Without active yeast, dough simply won't rise, resulting in dense, heavy baked goods that lack the desired volume and crumb structure. Understanding yeast activity is the first step in yeast starter troubleshooting tips and ensuring your baking projects turn out successfully.
The temperature of your ingredients, particularly water, significantly impacts how quickly and effectively yeast becomes active. For instance, water that is too cold (below 70°F or 21°C) will result in sluggish yeast activity, leading to slow rises and potential under-proofing. Conversely, water that is too hot (above 130°F or 54°C) can kill the yeast outright, preventing any fermentation from occurring. Achieving the sweet spot, typically between 105°F and 115°F (40°C to 46°C) for activating dry yeast, is vital for jumpstarting the fermentation process and achieving optimal dough rise.
Common Yeast Problems and Solutions
One of the most frequent issues bakers encounter is dough that doesn't rise, or rises poorly. This often points to problems with the yeast itself – it might be old, improperly stored, or simply inactive. Other issues include off-flavors in the bread (sometimes due to yeast stress or using too much yeast), or dough that rises too quickly and then collapses (often related to temperature or proofing time, but can be exacerbated by overly aggressive yeast). Learning yeast starter troubleshooting tips helps identify the root cause.
Fortunately, many common yeast problems have straightforward solutions. If your yeast seems slow, checking its viability with a simple test (like the sugar water test) is the first step. Ensuring your water temperature is correct is critical; using a thermometer is a good practice. Proper storage, like keeping dry yeast in an airtight container in the refrigerator or freezer, significantly extends its lifespan and maintains its potency. Addressing these factors preemptively can save you from flat loaves and wasted ingredients, making your baking much more predictable and enjoyable.
Yeast Starter Troubleshooting Tips: Identifying Dead or Inactive Yeast
Recognizing the Signs of Dormant Yeast
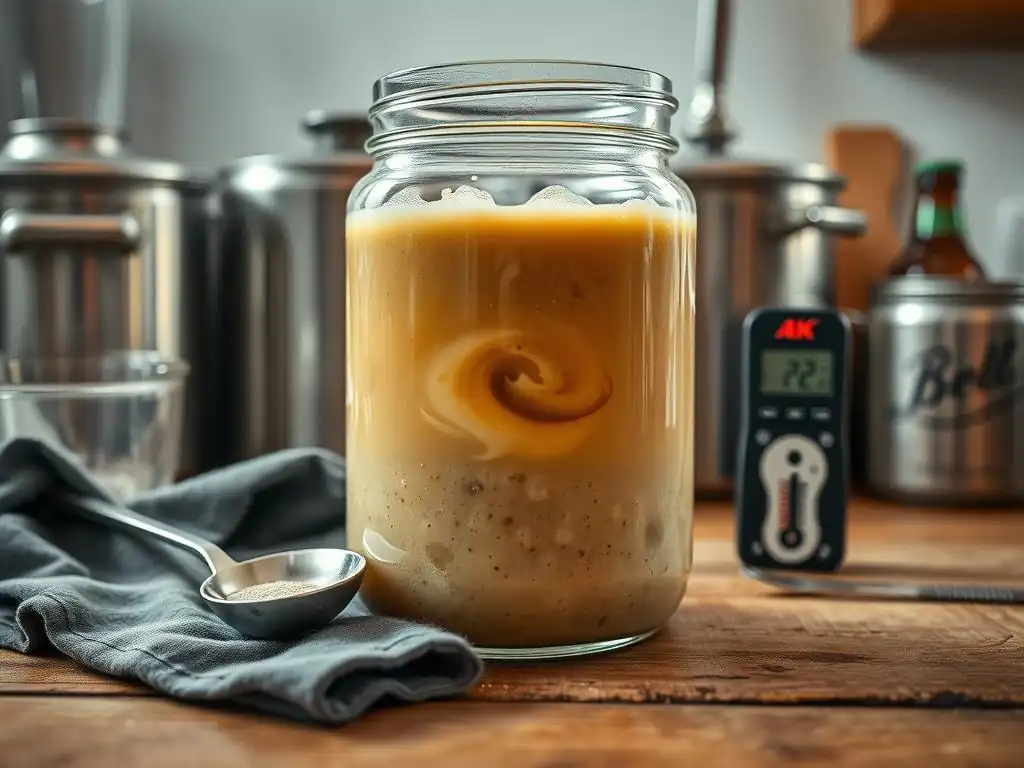
Recognizing that your yeast might be dormant or dead is crucial before you even start mixing your dough. The most obvious sign is a complete lack of activity when yeast is introduced to warm liquid and sugar. Active yeast, when properly proofed, should become foamy or bubbly within 5-10 minutes, indicating it's consuming the sugar and producing gas.
If you mix yeast with warm water and a pinch of sugar, and after 15 minutes there's no visible sign of bubbling or expansion, it's a strong indicator that your yeast is inactive or dead. This lack of reaction is a primary focus in yeast starter troubleshooting tips.
Another sign is dough that doesn't rise at all, even after the recommended proofing time in a warm environment. For example, a typical bread dough using active dry yeast might double in size within 1 to 1.5 hours at room temperature (around 70°F or 21°C). If your dough remains virtually unchanged after this period, despite being mixed correctly with other ingredients, the yeast is the likely culprit. While temperature and hydration can affect rise time, a complete absence of rise almost always points to non-viable yeast, making yeast starter troubleshooting tips essential.
Common Causes of Yeast Inactivity
Several factors can lead to yeast losing its activity. One of the most common is improper storage or age. Dry yeast stored in an opened package at room temperature will rapidly lose potency over time due to exposure to air, moisture, and fluctuating temperatures. Even unopened dry yeast has an expiration date, and while it might be usable slightly past this date if stored perfectly, its activity will decline. Using yeast that is significantly past its prime is a frequent cause of baking failures.
Temperature abuse is another major factor. Exposing yeast to excessive heat, either during storage (like leaving it in a hot pantry or car) or during the dough mixing process (using water that is too hot), will kill the yeast cells. Conversely, very cold temperatures won't kill dry yeast, but they will render it completely inactive until warmed up. Freezing dry yeast is an excellent storage method, but it must be thawed properly before use. Understanding these temperature sensitivities is key to effective yeast starter troubleshooting tips.
Simple Tests to Check Yeast Viability: A Step-by-Step Guide
Test #1: The Sugar Water Test - A Quick Yeast Activity Check
The sugar water test is a simple and fast way to determine if your dry yeast is still alive and active. It mimics the initial conditions yeast needs to thrive in dough – warmth, moisture, and food (sugar). This test is particularly useful for yeast starter troubleshooting tips when you're unsure about the freshness of your yeast packet or jar. It typically takes less than 15 minutes to get a clear result.
If your yeast passes this test, you can proceed with your recipe confidently, knowing the leavening agent is ready to work. If it fails, you've saved yourself the frustration of a failed bake and the cost of other ingredients by identifying the issue early. This test is a fundamental part of basic yeast starter troubleshooting tips for dry yeast users.
Step 1: Preparing the Sugar Water Solution
To prepare the solution, you'll need warm water and a small amount of sugar. The water temperature is critical: it should be warm enough to activate the yeast but not so hot that it kills it. Aim for a temperature between 105°F and 115°F (40°C to 46°C). You can use a kitchen thermometer to be precise, or test it with your finger – it should feel comfortably warm, like a warm bath, not hot.
Measure out about half a cup (120ml) of this warm water into a small bowl or cup. Then, add a teaspoon of sugar to the water. Sugar provides the food source that the yeast will consume to produce gas. Stir the water and sugar together until the sugar is mostly dissolved. This simple preparation is the foundation for effective yeast starter troubleshooting tips using this method.
Step 2: Adding the Yeast and Observing
Next, gently sprinkle about 2 ¼ teaspoons (one standard packet) of the dry yeast over the surface of the sugar water. Do not stir it in initially; letting it sit on the surface allows it to hydrate gradually. Let the mixture stand undisturbed in a warm place for about 5 to 10 minutes. Observe the surface of the water during this time.
Within a few minutes, you should start to see activity. The yeast granules will begin to absorb the water and may swell slightly. As the yeast becomes active and begins consuming the sugar, it will produce carbon dioxide gas. This gas will create a layer of foam or small bubbles on the surface of the water. This visual cue is key in yeast starter troubleshooting tips for identifying vigorous yeast.
Step 3: Interpreting the Results: Is Your Yeast Alive?
After 5 to 10 minutes, evaluate what you see. If the yeast is active and healthy, the mixture should be visibly foamy and bubbly, potentially increasing slightly in volume. A robust, frothy layer indicates that the yeast is alive and ready to ferment your dough. You can then confidently use this yeast (or yeast from the same package) in your recipe.
If, however, after 10 to 15 minutes, the water remains mostly flat with little to no foam or bubbles, your yeast is likely dead or severely inactive. There might be a few granules floating, but no significant sign of fermentation. In this case, the yeast is not viable for baking, and you should discard it and open a new package. This clear result is the goal of this simple test, providing essential yeast starter troubleshooting tips.
Test #2: The Sponge Test - A More Reliable Fermentation Assessment
The sponge test, also known as creating a pre-ferment or poolish (though technically a poolish uses equal parts flour and water by weight), is a slightly longer but often more reliable method for testing yeast viability, especially for understanding its strength over time. It involves combining yeast with a small amount of flour and liquid from your recipe and letting it sit for a period. This method is particularly useful for troubleshooting when you're using a new type of yeast or if the sugar water test gives ambiguous results, offering deeper yeast starter troubleshooting tips.
This test allows you to see how the yeast performs with flour, which is its primary food source in dough, rather than just sugar. A successful sponge will become bubbly, airy, and significantly increase in volume, demonstrating the yeast's ability to leaven flour. This provides a more direct assessment of how the yeast will behave in your actual dough recipe.
Step 1: Creating the Sponge (Yeast Starter)
To create the sponge, take a small portion of the warm liquid specified in your recipe (e.g., ¼ to ½ cup, or 60-120ml). Ensure the temperature is appropriate for activating yeast, typically 105-115°F (40-46°C) for dry yeast. Combine this liquid in a bowl with the amount of yeast required for your recipe (e.g., 2 ¼ teaspoons) and an equal amount of flour from your recipe (e.g., ¼ to ½ cup).
Mix these three ingredients together until they form a thick, paste-like batter, similar in consistency to pancake batter. Cover the bowl loosely with plastic wrap or a clean kitchen towel. Set the bowl aside in a warm place, ideally around 75-80°F (24-27°C), away from drafts. This initial mixing step is critical for the yeast starter troubleshooting tips using the sponge method.
Example Sponge Recipe:

*   1/2 cup (120ml) Warm Water (105-115°F / 40-46°C)
*   2 1/4 tsp Active Dry Yeast
*   1/2 cup (60g) Bread Flour

Combine ingredients in a bowl, mix until smooth, cover, and let sit.
Step 2: Monitoring the Sponge for Rise and Bubbles
Once the sponge is mixed and covered, begin monitoring its activity. Check on it every 15-30 minutes. Within 20-40 minutes, depending on the warmth of the environment and the yeast's activity level, you should start seeing signs of fermentation. The surface of the sponge will become bubbly, and the mixture will gradually increase in volume.
A healthy, active yeast will cause the sponge to double or even triple in size within 60-90 minutes. The texture will become light and airy, with visible bubbles breaking on the surface. You might even hear faint popping sounds as the gas is produced. This active bubbling and rising are the key indicators you're looking for when applying these yeast starter troubleshooting tips.
Step 3: Evaluating Yeast Strength Based on Sponge Performance
After allowing the sponge to develop for 60-90 minutes, evaluate its performance. If the sponge has significantly increased in volume, is full of bubbles, and has a light, airy consistency, your yeast is active and strong. You can confidently incorporate this sponge into the rest of your dough ingredients.
If, however, the sponge shows minimal to no rise after 90 minutes, or only produces a few weak bubbles, the yeast is likely inactive or very weak. In this scenario, the yeast is not suitable for leavening your dough, and you should discard the sponge and use fresh yeast. This evaluation step provides crucial yeast starter troubleshooting tips by giving a clearer picture of yeast vitality compared to the simpler sugar water test.
Reviving Inactive Yeast: Troubleshooting Steps and Solutions

Sometimes, yeast isn't completely dead, but merely dormant or sluggish. This section covers yeast starter troubleshooting tips specifically aimed at coaxing reluctant yeast back to life or optimizing conditions for better fermentation. These steps are worth trying if your initial viability tests show some, but not vigorous, activity.
Adjusting Water Temperature for Optimal Yeast Activity
One of the most common reasons for sluggish yeast is incorrect water temperature. Yeast thrives within a specific temperature range. For active dry yeast, the ideal activation temperature is typically between 105°F and 115°F (40°C to 46°C). Instant yeast is more forgiving and can often be mixed directly with dry ingredients and liquid up to 130°F (54°C), but cooler temperatures (around 80-90°F or 27-32°C) are often preferred for a steadier rise. If your water is too cold (below 70°F or 21°C), the yeast will be very slow or dormant.
If you suspect your water was too cold, gently warming the dough (if you've already mixed it) or ensuring the next batch uses correctly tempered water can make a significant difference. Using a thermometer is highly recommended for accuracy. If you are proofing yeast in water, and it's not foaming, try adding slightly warmer water (within the safe range) to the mixture to see if it wakes up. This temperature adjustment is a primary focus in yeast starter troubleshooting tips.
Adding a Pinch of Sugar to Boost Fermentation
Yeast needs food to produce gas, and sugar is its preferred meal, though it can also ferment starches in flour over time. If your yeast seems slow, adding a small amount of sugar can give it a quick energy boost. Most recipes include sugar or rely on the natural sugars in flour, but sometimes a little extra can help kickstart a hesitant batch.
When proofing dry yeast in water, adding a teaspoon of sugar is standard practice precisely for this reason – it provides immediate food. If you've mixed your dough and the rise is slow, you can try gently kneading in a tablespoon of sugar dissolved in a tiny amount of warm water (be careful not to add too much liquid, which could alter the dough consistency). This extra sugar can sometimes spur the yeast into more vigorous activity, a useful trick in yeast starter troubleshooting tips.
Ensuring Proper Storage to Preserve Yeast Viability
Even the best yeast will lose potency if not stored correctly. Dry yeast is hygroscopic, meaning it readily absorbs moisture from the air, which shortens its shelf life. Exposure to air and warmth also degrades the yeast cells. An opened packet of active dry yeast left in the pantry at room temperature might only remain fully viable for a few weeks.
For maximum longevity, opened dry yeast should be stored in an airtight container (like a small jar or zip-top bag with air squeezed out) in the refrigerator or freezer. Refrigerated yeast can last for 4-6 months, while frozen yeast can remain potent for a year or even longer past its printed expiration date. Proper storage is a preventative measure, but checking that your yeast was stored correctly is a part of yeast starter troubleshooting tips when dealing with inactive yeast.
Understanding Expiration Dates and Yeast Storage Best Practices
How Long Does Yeast Last? Decoding Expiration Dates
Yeast, like many pantry staples, comes with an expiration date. This date indicates the period during which the manufacturer guarantees the product's full potency if stored correctly. For active dry yeast, the printed expiration date is typically 18 to 24 months from the manufacturing date. For instant dry yeast, it's often longer, sometimes up to 2 years. Fresh yeast (also called cake yeast) has a much shorter shelf life, usually only 1-2 weeks from the manufacturing date.
However, the actual lifespan of yeast after opening depends heavily on storage conditions. An opened packet of dry yeast stored improperly at room temperature might significantly lose activity within just 1-2 months, regardless of the printed date. Conversely, dry yeast stored airtight in the freezer can remain highly active well past its expiration date, sometimes for several years. Knowing these general timelines helps in yeast starter troubleshooting tips by allowing you to assess the likelihood of age being a factor.
Proper Yeast Storage Techniques for Maximum Shelf Life
To ensure your yeast remains potent for as long as possible, proper storage is key. For active dry and instant dry yeast, the best practice is to minimize exposure to air, moisture, and heat. Once a package is opened, transfer any unused yeast to an airtight container. Glass jars with tight-fitting lids, or heavy-duty freezer bags with all the air squeezed out, work well.
Store the airtight container in the refrigerator for regular use (it will last 4-6 months) or the freezer for long-term storage (it can last a year or more). Freezing does not harm dry yeast; it simply puts it into a deeper state of dormancy. When ready to use frozen yeast, you can usually measure it directly from the freezer; the small amount needed for a recipe thaws almost instantly in warm liquid. Proper storage is a fundamental aspect of preventing issues and is essential for effective yeast starter troubleshooting tips.
**Yeast Storage Checklist:**

*   [ ] Store in an airtight container.
*   [ ] Keep away from heat and moisture.
*   [ ] Refrigerate for 4-6 months storage.
*   [ ] Freeze for 1+ year storage.
*   [ ] Check expiration date, but prioritize storage method.
Dry Yeast vs. Fresh Yeast: Storage Differences
The storage requirements for dry yeast (active dry and instant) and fresh yeast are quite different due to their moisture content. Dry yeast has very little moisture, making it stable at cooler temperatures and allowing for long-term storage in the fridge or freezer. It does not require refrigeration before opening, but it's highly recommended once opened.
Fresh yeast, on the other hand, contains about 70% moisture and is highly perishable. It must be stored in the refrigerator and typically lasts only 1-2 weeks. It should be kept wrapped tightly to prevent it from drying out or absorbing odors. Freezing fresh yeast is possible, but it can sometimes damage the cell structure, leading to slightly less vigorous activity upon thawing. Due to its short shelf life and storage needs, fresh yeast is less commonly used by home bakers than dry yeast, but understanding its specific requirements is part of comprehensive yeast starter troubleshooting tips.
What to Do If Your Yeast is Truly Dead
When to Discard Your Yeast and Start Fresh
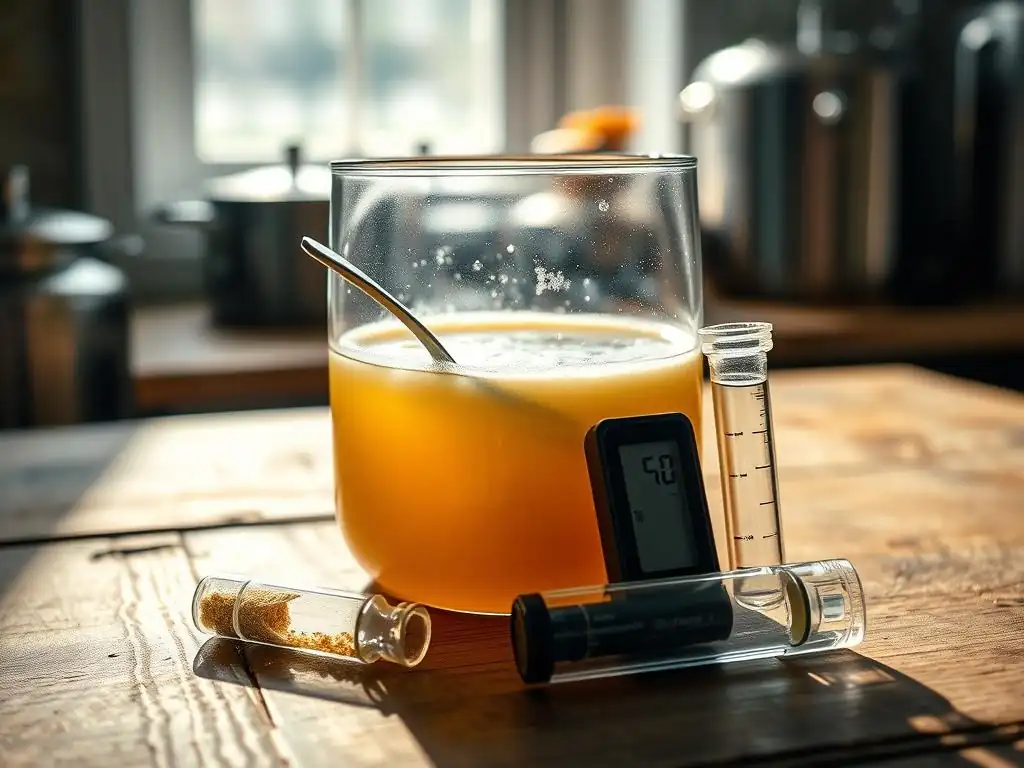
If you've performed the sugar water test or the sponge test and your yeast shows no signs of activity after the recommended time (10-15 minutes for sugar water, 60-90 minutes for sponge), it's time to accept that the yeast is truly dead or too weak to reliably leaven your dough. Do not attempt to use this yeast in your recipe. While it won't harm you, it simply won't perform its essential function, leading to a dense, unrisen loaf.
Holding onto inactive yeast is a false economy; you risk wasting all the other ingredients in your recipe. Discard the non-viable yeast and open a new package. Ensure the new package is within its expiration date and looks and smells fresh (it should have a slightly earthy, yeasty aroma, not an unpleasant or 'off' smell). This decision point is a crucial step in practical yeast starter troubleshooting tips.
Recommended Brands of Active Dry Yeast
Many reliable brands of active dry yeast are available to home bakers. Some popular and widely available options in North America include Fleischmann's Active Dry Yeast and Red Star Active Dry Yeast. Both are known for their consistent performance when stored correctly. These brands are commonly found in most supermarkets.
For those seeking organic options or different types of yeast, brands like Bob's Red Mill or King Arthur Baking Company also offer high-quality active dry yeast. While specific performance can vary slightly between brands and batches, any reputable brand, when fresh and stored properly, should yield excellent results. Experimenting with a few brands can help you find your personal preference, and knowing reliable options is part of broadening your yeast starter troubleshooting tips.
Alternative Leavening Agents if Yeast Fails
If you find yourself without viable yeast and need to bake, or simply want an alternative, several other leavening agents can be used depending on the recipe. Baking soda and baking powder are common chemical leaveners that react with acids or liquids to produce carbon dioxide quickly. They are used in recipes like quick breads, muffins, cakes, and cookies.
For bread-like textures, a sourdough starter is a natural alternative. A sourdough starter is a culture of wild yeast and bacteria that provides leavening and flavor. While it requires ongoing maintenance, a healthy sourdough starter is a powerful leavening agent. Using chemical leaveners or a sourdough starter requires different recipe formulations than those designed for commercial yeast, but they offer viable options when yeast starter troubleshooting tips indicate your yeast is beyond saving.
Conclusion: Mastering Yeast Fermentation for Consistent Baking Results
Key Takeaways for Successful Yeast Handling
Mastering baking with yeast hinges on understanding and respecting the needs of this living ingredient. The key takeaways for consistent success include: always checking your yeast's viability before baking, especially if the package has been opened or is nearing its expiration date; using water at the correct temperature for activation (typically 105-115°F or 40-46°C for active dry yeast); and storing yeast properly in an airtight container in the refrigerator or freezer to maintain its potency.
Recognizing the signs of active yeast – vigorous bubbling and foaming – is your confirmation that it's ready to work. If your tests show little to no activity, trusting those results and starting with fresh yeast is the most reliable path to a successful bake. Implementing these simple yeast starter troubleshooting tips proactively will dramatically improve your baking outcomes and confidence.
Further Resources for Baking with Yeast
For those eager to delve deeper into the fascinating world of yeast and fermentation, numerous resources are available. Cookbooks dedicated to bread baking often contain extensive sections on yeast types, handling, and troubleshooting. Websites like BakeWithEase.com provide detailed guides, recipes, and science-based explanations of the baking process.
Consider exploring topics such as the differences between active dry, instant, and fresh yeast, the role of temperature and hydration in fermentation, and techniques like proofing and shaping. Many online forums and communities are also excellent places to ask questions and share experiences. By continuing to learn and practice yeast starter troubleshooting tips, you'll become a more confident and successful baker.
Frequently Asked Questions
What is a yeast starter, and why is it important?
A yeast starter is a mixture of flour and water that's been inoculated with yeast to increase its activity before adding it to a larger dough. It ensures better fermentation and a more consistent rise.
How can I tell if my yeast is dead before using it?
You can perform a simple test by mixing yeast with warm water and sugar. If it doesn't foam or bubble within 10-15 minutes, the yeast is likely inactive and should be discarded.
What are some common reasons a yeast starter might fail to activate?
Common causes include using expired yeast, water that's too hot or too cold, or a contaminated environment. Always check the expiration date and use filtered water for best results.
If my yeast starter doesn't double in size, is it always a sign of failure?
Not necessarily. Other factors like room temperature can influence the rate of rising. However, a significant lack of activity generally indicates a problem.
What are some troubleshooting tips for reviving a sluggish yeast starter?
Try adding a small amount of sugar or a touch of acidic ingredient like lemon juice. Ensure the starter is in a warm, draft-free location to encourage activity.
Final Reflection: The Living Power of Yeast and the Baker's Intuition
The ability to reliably ferment is the cornerstone of successful baking, yet understanding the vitality of your yeast remains a crucial, often overlooked, skill. A simple test can mean the difference between a perfectly risen loaf and a dense, disappointing failure. This article has explored practical methods for assessing yeast viability, empowering bakers to troubleshoot common fermentation problems.
The impact of understanding yeast extends far beyond the kitchen; it's a microcosm of the delicate balance required in many aspects of life. The careful nurturing of a yeast starter mirrors the patience and attention needed for personal growth and the cultivation of healthy relationships. The greatest discovery of all time is that a person can change his future by merely changing his attitude.
- Oprah Winfrey. This quote resonates deeply, as the simple act of checking your yeast's health reflects a proactive approach to problem-solving, a valuable life skill applicable far beyond baking.
Now, consider your own "starter." What aspects of your life require the same careful attention and nurturing as a thriving yeast culture? Take a moment to reflect on your own processes, identify potential "dead spots," and apply the principles of observation and proactive testing to cultivate success in your endeavors. Don't let a "dead" attitude or neglected potential hinder your growth; embrace the power of observation and the rewarding journey of revitalization.
Unleash Your Inner Baker: Test Your Yeast & Bake Better!
Thanks for diving into the world of yeast with us! You've now learned how to easily check the viability of your precious yeast. Let's put that knowledge into action and get baking!
- Primary Action: Perform the simple float test on your yeast today – you'll be amazed at how quickly you can determine its freshness.
- Share your yeast testing results (and your baking triumphs!) on our BakeWithEase social media pages! Let's inspire each other.
- Explore our recipe archives for some delicious recipes that are perfect for testing your newly verified yeast.
Ready to elevate your baking game with confidently fresh yeast? What's your favorite bread to bake and what's your go-to yeast testing method?