
Basic Guide to Using Yeast for Beginners: Simple Steps

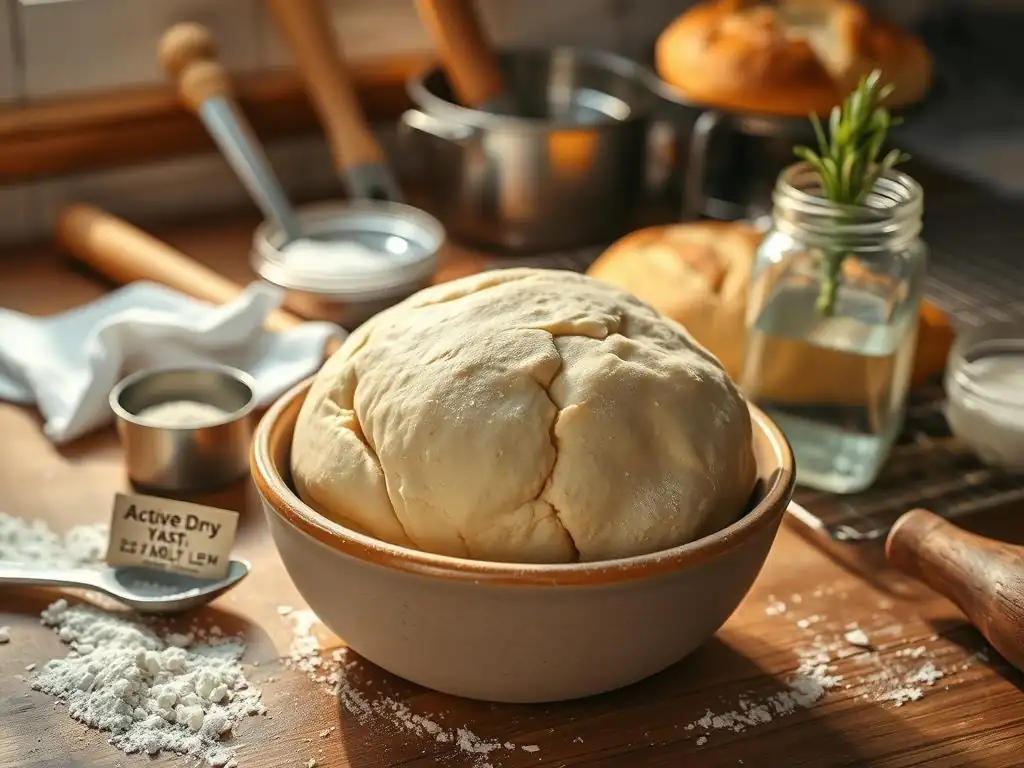
Welcome to BakeWithEase, where baking becomes a joy, not a chore! Ever felt intimidated by the thought of baking with yeast? Don't be! This guide to Yeast Baking Beginner’s Simple Steps will demystify the process and have you creating delicious, airy breads and pastries in no time. Discover the secrets to activating yeast and mastering the basic techniques that will unlock a whole new world of baking possibilities. Ready to rise to the occasion?
- Basic Guide to Using Yeast for Beginners: Yeast Baking Beginner’s Simple Steps
- Preparing Yeast for Baking: Simple Steps for Beginners
-
Step-by-Step Guide to Basic Yeast Baking for Beginners
- Mixing Yeast with Flour and Other Ingredients: Beginner-Friendly Techniques
- Kneading Dough: How to Develop Gluten for Perfect Yeast Breads
- First Rise: How to Proof Yeast Dough Correctly in Beginner Baking
- Shaping and Second Rise: Simple Steps to Prepare Yeast Dough for Baking
- Baking Yeast Bread: Oven Settings and Timing for Beginner Success
- Tips and Tricks for Mastering Yeast Baking as a Beginner
- Exploring Basic Yeast Baking Recipes for Beginners
- Conclusion: Building Confidence in Yeast Baking with Simple Steps for Beginners
- Frequently Asked Questions
- Final Reflection: The Joy of Yeast: A Beginner's Journey
- Unleash Your Inner Baker: Start Baking with Confidence Today!
Basic Guide to Using Yeast for Beginners: Yeast Baking Beginner’s Simple Steps
Understanding Yeast and Its Role in Baking for Beginners
Yeast is a living, single-celled microorganism, specifically a type of fungus, that plays a crucial role in many baking processes, particularly in making bread rise. When yeast is provided with moisture, warmth, and food (like sugar or the natural sugars in flour), it becomes active. This activity involves consuming the sugars and producing carbon dioxide gas and alcohol as byproducts. These gases get trapped within the gluten structure of the dough, causing it to expand and rise – a process known as fermentation.
For beginners, understanding this basic function is key to successful yeast baking. The carbon dioxide bubbles are what give bread its light, airy texture and volume. Without yeast (or another leavening agent), baked goods would be dense and flat. The alcohol produced during fermentation mostly evaporates during baking, but it contributes significantly to the complex flavors and aromas that we associate with delicious homemade bread. Mastering these Yeast baking beginner’s simple steps starts with appreciating this tiny organism's power.
Types of Yeast Suitable for Beginner Baking Recipes
There are several types of yeast available, but for Yeast baking beginner’s simple steps, two are most common and easiest to work with: Active Dry Yeast and Instant Yeast. Active Dry Yeast typically comes in small granules and requires activation (proofing) in warm water before being added to other ingredients. This step verifies that the yeast is alive and ready to work, which is a great confidence builder for beginners. A standard packet is usually around 2.25 teaspoons or 7 grams, often sufficient for 3-4 cups of flour.
Instant Yeast, also known as rapid-rise or fast-acting yeast, has finer granules than active dry and doesn't require proofing beforehand. It can be mixed directly with the dry ingredients, simplifying the process further. Instant yeast is also generally more vigorous, often leading to faster rise times. While both work well for beginners, Instant Yeast offers a slightly more streamlined approach, making it a popular choice for those new to Yeast baking beginner’s simple steps. Using the correct type as specified in a recipe is crucial for predictable results.
Essential Ingredients and Tools for Yeast Baking Beginners
Beyond the yeast itself, a few core ingredients are fundamental to most yeast baking recipes. Flour is the structure of your dough; all-purpose flour is a great starting point for beginners due to its versatility. Water or milk provides the necessary moisture for the yeast to become active and for gluten to develop.
Sugar (or another sweetener like honey or molasses) acts as food for the yeast, accelerating its activity, although yeast can also feed on the starches in flour. Salt is vital for controlling yeast activity, adding flavor, and strengthening the gluten structure – usually about 1-2% of the flour weight. Fat, like butter, oil, or eggs, can enrich the dough, improve texture, and extend shelf life.
Having the right tools makes Yeast baking beginner’s simple steps much smoother. A reliable set of measuring cups and spoons is essential for accurate ingredient ratios. A large mixing bowl provides space for the dough to mix and rise. A sturdy wooden spoon or dough whisk is helpful for initial mixing.
A clean kitchen towel or plastic wrap is needed to cover the dough during rising. A baking scale, while not strictly essential for absolute beginners, is highly recommended for more consistent results, especially when recipes provide weights (e.g., 500g flour). Finally, a warm place for the dough to rise is necessary; this could be a slightly warm oven (turned off!) or simply a draft-free spot in your kitchen.
Preparing Yeast for Baking: Simple Steps for Beginners
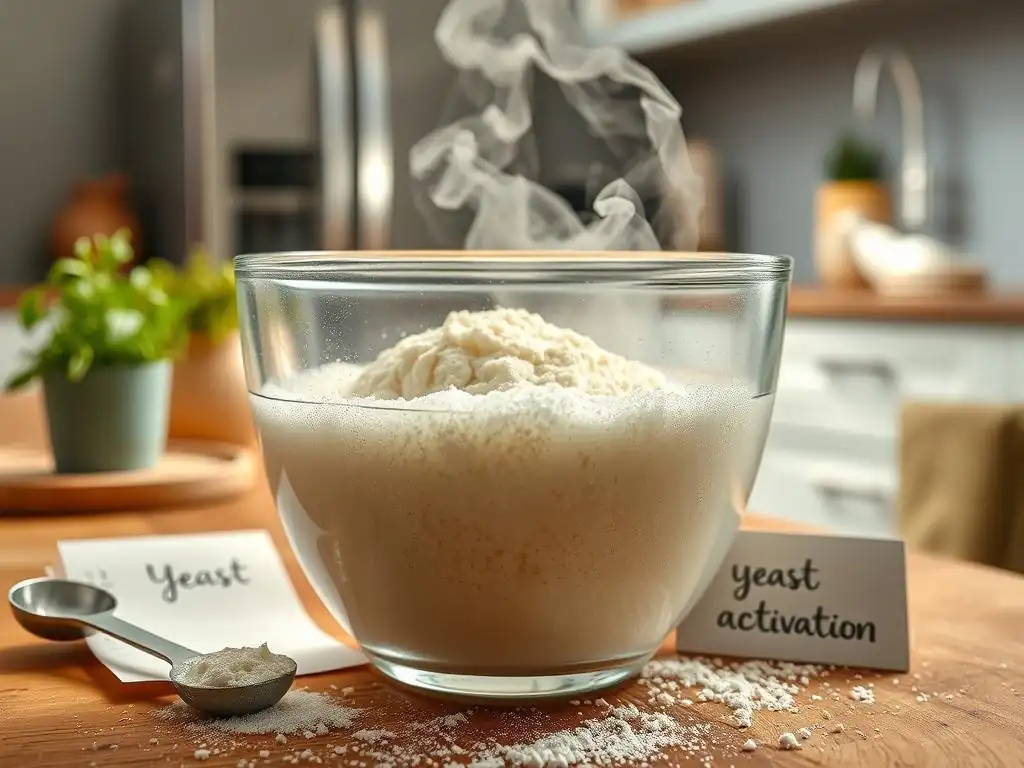
How to Activate Yeast Properly for Successful Baking
Activating or "proofing" active dry yeast is a simple but critical step in Yeast baking beginner’s simple steps. It confirms that your yeast is alive before you commit all your other ingredients. To do this, measure the amount of warm liquid specified in your recipe (usually water or milk, typically around 1/4 to 1/2 cup per packet of yeast).
The temperature is key: aim for a range between 105°F and 115°F (40°C to 46°C). This range is warm enough to wake up the yeast but not so hot that it kills it. You can test the temperature with a thermometer, or if you don't have one, it should feel comfortably warm, like a warm bath, but not hot to the touch.
Pour the warm liquid into a small bowl, then sprinkle the active dry yeast over the top. If the recipe calls for sugar in this step, add a pinch (about 1 teaspoon) to the liquid as well – this gives the yeast a readily available food source to get started. Stir gently once or twice, then let the mixture sit undisturbed for 5-10 minutes.
If the yeast is alive, it will consume the sugar and produce carbon dioxide, causing the mixture to become foamy and bubbly on the surface. This foamy layer indicates your yeast is active and ready to be added to your flour mixture for successful Yeast baking beginner’s simple steps. If it doesn't foam, your yeast may be dead or the water temperature was wrong, and you should start over with fresh yeast.
Troubleshooting Common Yeast Activation Problems in Beginner Baking
One of the most common hurdles in Yeast baking beginner’s simple steps is yeast that fails to activate. The primary culprit is usually the temperature of the liquid. If the water is too cold (below 100°F or 38°C), the yeast will be sluggish or remain dormant. If it's too hot (above 120°F or 49°C), it can kill the yeast organisms. Always aim for that sweet spot between 105°F and 115°F (40-46°C). Using a thermometer removes the guesswork.
Another frequent issue is using old or expired yeast. Yeast is a living organism and has a shelf life. Check the expiration date on the packet or jar.
Storing yeast properly is also important; opened jars of active dry yeast should be kept in an airtight container in the refrigerator or freezer to maintain viability. If your yeast doesn't foam after 10 minutes with the correct temperature water and a pinch of sugar, it's best to discard it and start again with fresh yeast. Don't proceed with the recipe using inactive yeast, as your dough won't rise, making your Yeast baking beginner’s simple steps unsuccessful from the start.
Importance of Water Temperature and Sugar for Yeast Activation
As mentioned, water temperature is paramount for activating active dry yeast. The ideal range of 105°F to 115°F (40°C to 46°C) provides the optimal warm environment for the dormant yeast cells to rehydrate and become active. Too cold, and they stay asleep; too hot, and you risk killing them entirely. Think of it like waking someone up – you want a gentle nudge, not a shock of ice or boiling water. Precision here greatly improves your chances of successful Yeast baking beginner’s simple steps.
Sugar, even just a teaspoon, acts as readily available "fast food" for the yeast during activation. While yeast can eventually break down the more complex starches in flour, providing simple sugars in the initial proofing stage gives them an immediate energy source. This helps them quickly start the fermentation process and produce the visible foam that confirms their vitality. While not always strictly necessary if the recipe liquid contains natural sugars (like milk), adding a pinch of sugar during activation is a good practice for beginners to ensure a vigorous start and a clear indication of live yeast.
Step-by-Step Guide to Basic Yeast Baking for Beginners
Mixing Yeast with Flour and Other Ingredients: Beginner-Friendly Techniques
Once your active dry yeast is proofed (foamy) or you're using instant yeast, the next step in Yeast baking beginner’s simple steps is combining it with the dry ingredients. If using proofed active dry yeast, you'll typically add the foamy mixture along with any other wet ingredients (like milk, oil, or eggs) to the dry ingredients (flour, salt, sugar). Stir with a wooden spoon or a sturdy spatula until a shaggy dough forms and most of the flour is incorporated.
If using instant yeast, you can simply whisk it directly into the flour mixture with the salt and sugar before adding any liquids. Then, add all the wet ingredients and mix as described above. The goal at this stage is just to bring everything together into a cohesive mass. Don't worry about developing gluten yet; that happens during kneading. Ensure all ingredients are roughly combined before moving on to the next phase of your Yeast baking beginner’s simple steps.
Kneading Dough: How to Develop Gluten for Perfect Yeast Breads
Kneading is a vital step in Yeast baking beginner’s simple steps, especially for breads, as it develops the gluten structure. Gluten is a protein network formed when two proteins in flour, glutenin and gliadin, are hydrated and agitated. Kneading stretches and aligns these proteins, creating elastic strands that can trap the carbon dioxide gas produced by the yeast, allowing the dough to rise and hold its shape.
There are two main ways to knead: by hand or with a stand mixer fitted with a dough hook.
- By Hand: Turn the shaggy dough out onto a lightly floured surface. Fold the dough in half towards you, then push it away with the heels of your hands. Rotate the dough a quarter turn and repeat the fold-push-rotate motion. Continue kneading for 8-10 minutes. The dough will initially be sticky but will become smoother, more elastic, and less sticky as you knead. It's done when it passes the windowpane test: you can stretch a small piece of dough thinly enough to see light through it without it tearing.
- Stand Mixer: Attach the dough hook to your stand mixer. Mix the dough on low speed for 2-3 minutes until it comes together, then increase the speed to medium-low and knead for 6-8 minutes. The dough should pull away from the sides of the bowl and look smooth and elastic.
Proper kneading is fundamental to achieving a good texture in your final baked product, making it a key part of successful Yeast baking beginner’s simple steps.
First Rise: How to Proof Yeast Dough Correctly in Beginner Baking
The first rise, or bulk fermentation, is where the magic of Yeast baking beginner’s simple steps really becomes visible. After kneading, the dough needs time in a warm, draft-free place to allow the yeast to actively ferment and produce gas, causing the dough to expand. Lightly grease a large bowl with oil or cooking spray. Place the kneaded dough in the bowl, turning it once to coat the surface with a thin layer of oil (this prevents a dry skin from forming). Cover the bowl tightly with plastic wrap or a clean kitchen towel.
Place the covered bowl in a warm spot. An oven with the light on (and the oven turned OFF) is a common warm spot, usually reaching about 80-85°F (27-30°C). The dough needs to rise until it has roughly doubled in size.
This can take anywhere from 1 to 2 hours, depending on the recipe, the type of yeast used, the dough's temperature, and the ambient temperature. To check if it's ready, gently poke the dough with a floured finger; if the indentation remains, it's usually ready for the next step in your Yeast baking beginner’s simple steps. If it springs back immediately, it needs more time.
Shaping and Second Rise: Simple Steps to Prepare Yeast Dough for Baking
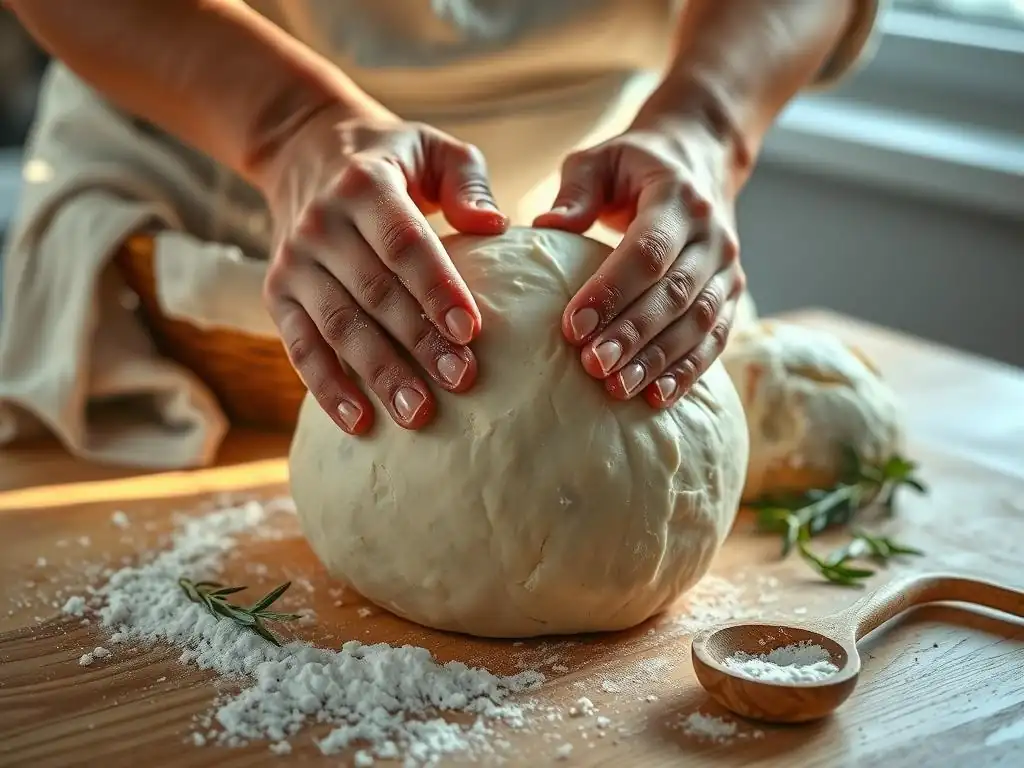
After the first rise, the dough needs to be "punched down" – gently deflated to release excess gas. Turn the dough out onto a lightly floured surface and gently press or fold it to release the air. Now, shape the dough according to your recipe (e.g., into a loaf, rolls, pizza crust). Place the shaped dough onto a prepared baking sheet or into a loaf pan.
The shaped dough then needs a second rise, also called proofing. Cover the dough again with a clean kitchen towel or lightly greased plastic wrap. Place it back in a warm, draft-free spot for the second rise. This rise is typically shorter than the first, often taking 30-60 minutes, or until the dough looks visibly puffy and has increased significantly in size (often about 50-75% larger).
It might not fully double this time. Over-proofing can lead to a collapsed loaf or sour flavor, so keep an eye on it. The dough is ready for baking when it looks light and airy and passes the gentle poke test, leaving a slight indentation that slowly springs back. This careful proofing is essential for achieving a good crumb structure in your Yeast baking beginner’s simple steps.
Baking Yeast Bread: Oven Settings and Timing for Beginner Success
Preheating your oven to the correct temperature is a crucial final step in Yeast baking beginner’s simple steps. Most yeast bread recipes call for oven temperatures between 350°F and 400°F (175°C and 200°C). Ensure your oven is fully preheated for at least 15-20 minutes after it indicates it's reached the set temperature, as the internal temperature can fluctuate. This ensures consistent heat for even baking and good oven spring (the final burst of rising in the oven).
Baking time will vary depending on the size and type of bread. Smaller rolls might bake in 20-30 minutes, while a standard loaf could take 30-45 minutes. The bread is typically done when it's golden brown on the outside and sounds hollow when tapped on the bottom. For extra certainty, you can use an instant-read thermometer; the internal temperature should reach around 190-200°F (88-93°C) for most lean breads. Baking properly completes your Yeast baking beginner’s simple steps journey for this loaf!
Tips and Tricks for Mastering Yeast Baking as a Beginner
How to Store Yeast and Yeast Dough for Best Results
Proper storage is key to keeping your yeast viable and your dough fresh. Unopened packets or jars of dry yeast should be stored in a cool, dry place away from direct sunlight, like your pantry, until their expiration date. Once opened, Active Dry Yeast is best stored in an airtight container in the refrigerator for up to 4-6 months or in the freezer for up to a year.
Instant Yeast can also be stored in the refrigerator or freezer after opening, where it will last for several months. Always bring refrigerated yeast to room temperature before using it in your Yeast baking beginner’s simple steps.
Leftover yeast dough can often be stored for later use. For short-term storage (1-2 days), place the dough in a lightly oiled bowl or container, cover tightly with plastic wrap, and refrigerate. The cold temperature slows down yeast activity significantly. For longer storage, yeast dough can often be frozen for up to 3 months.
Shape the dough as desired, place it on a baking sheet, and freeze until solid. Then, transfer the frozen dough shapes to a freezer bag. To bake, thaw the dough overnight in the refrigerator, then let it come to room temperature and complete the second rise before baking as usual.
Common Mistakes in Yeast Baking Beginners Should Avoid
Several pitfalls can trip up beginners learning Yeast baking beginner’s simple steps. One of the most common is using incorrect liquid temperature when activating active dry yeast – too hot kills the yeast, too cold leaves it dormant. Another is adding salt directly on top of the yeast when combining ingredients; salt can inhibit yeast activity, so it's best to mix it with the flour before adding the yeast or liquid. Not kneading the dough enough can result in a dense loaf with poor texture because the gluten hasn't been adequately developed.
Equally problematic is impatient or incorrect proofing. Rushing the rise times or proofing in a cold, drafty spot will result in a dense, heavy loaf. Conversely, over-proofing can cause the dough to rise too much, develop a sour, alcoholic smell, and potentially collapse during baking. Forgetting to properly preheat the oven or opening the oven door too frequently during baking can also negatively impact the final rise and crust formation. Paying attention to these details will greatly improve your Yeast baking beginner’s simple steps success rate.
Enhancing Flavor and Texture in Yeast Baking with Simple Adjustments
Once you're comfortable with the basic Yeast baking beginner’s simple steps, you can start experimenting with simple adjustments to enhance flavor and texture. Using milk or buttermilk instead of water can produce a softer, richer crumb and a more tender crust due to the fats and proteins they contain. Adding a small amount of fat like butter or oil to the dough also contributes to a softer texture and helps the bread stay fresh longer.
Incorporating a small amount of sugar (beyond just feeding the yeast) or honey can not only speed up fermentation slightly but also contribute to a more golden-brown crust and a touch of sweetness that balances the savory notes. For a chewier texture, consider using bread flour, which has a higher protein content, leading to stronger gluten development. Allowing for a longer, slower first rise in a cooler environment (like the refrigerator overnight) can also develop more complex flavors in the dough, a technique often used in artisan bread making, even for Yeast baking beginner’s simple steps.
Exploring Basic Yeast Baking Recipes for Beginners
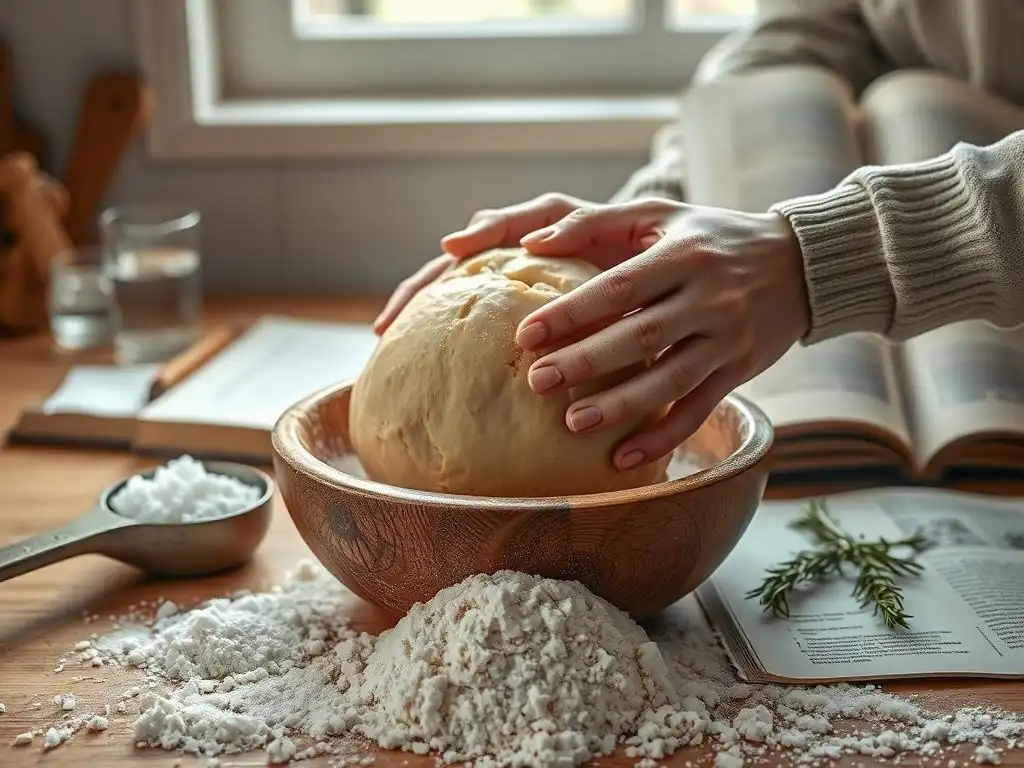
Easy Yeast Bread Recipe for Beginners: Step-by-Step Instructions
Let's walk through a very basic white bread recipe, perfect for Yeast baking beginner’s simple steps. This recipe uses about 3 cups of flour and yields one small loaf or about 8-10 rolls.
- Ingredients:
- 1 packet (2.25 tsp or 7g) Active Dry Yeast
- 1 tsp Sugar
- 1 ¼ cups Warm Water (105-115°F / 40-46°C)
- 3 cups All-Purpose Flour
- 1 tsp Salt
- 1 tbsp Vegetable Oil or Melted Butter
- Instructions:
- In a small bowl, combine warm water, sugar, and yeast. Stir gently and let stand for 5-10 minutes until foamy.
- In a large bowl, whisk together flour and salt.
- Pour the foamy yeast mixture and the oil into the flour mixture. Stir with a spoon or spatula until a shaggy dough forms.
- Turn dough out onto a lightly floured surface and knead for 8-10 minutes until smooth and elastic.
- Lightly grease the large bowl. Place dough in the bowl, turn to coat, and cover with plastic wrap. Let rise in a warm place until doubled (1-1.5 hours).
- Punch down dough gently. Shape into a loaf or rolls. Place on a greased baking sheet or in a loaf pan.
- Cover and let rise for the second rise until puffy (30-45 minutes).
- Preheat oven to 375°F (190°C).
- Bake loaf for 30-35 minutes (rolls 20-25 minutes), or until golden brown and internal temp is 190-200°F (88-93°C).
- Let cool on a wire rack before slicing.
Following these Yeast baking beginner’s simple steps will give you a satisfying first bread baking experience.
Beginner-Friendly Yeast Pastry and Rolls Recipes
While yeast is most famous for bread, it's also used in many delightful pastries and rolls, offering a slightly different application of Yeast baking beginner’s simple steps. Cinnamon rolls are a classic beginner-friendly yeast pastry. The dough is typically enriched with butter, milk, and eggs, resulting in a softer, sweeter dough than lean bread dough. After the first rise, the dough is rolled out, filled with cinnamon-sugar and butter, rolled up, sliced, and then undergoes a second rise before baking.
Dinner rolls are another excellent project for those learning Yeast baking beginner’s simple steps. Using a basic enriched dough recipe similar to cinnamon rolls (minus the sweet filling), you can easily shape the dough into small rounds and bake them close together in a pan. This yields soft, pull-apart rolls perfect for serving with meals. The principles of activating yeast, kneading, and proofing remain the same, but the higher fat and sugar content in the dough changes the handling and texture compared to a simple bread.
Using Yeast in Sweet and Savory Baking: Beginner Ideas
Yeast's versatility extends to both sweet and savory applications, making it a fundamental skill in Yeast baking beginner’s simple steps. On the sweet side, besides cinnamon rolls, think about simple yeast donuts (fried or baked), sweet rolls with various fillings (like fruit or cream cheese), or even a basic brioche dough which can be shaped into loaves or rolls. These recipes often involve more butter, sugar, and eggs, producing a rich, tender crumb perfect for desserts or breakfast treats.
For savory options, mastering a basic pizza dough is a fantastic use of Yeast baking beginner’s simple steps. A simple dough of flour, water, yeast, salt, and a little oil provides the perfect chewy base for any toppings. Focaccia is another easy savory yeast bread; the dough is spread into a pan, dimpled, drizzled with olive oil, and topped with herbs or other savory ingredients before baking. These examples show how the same basic yeast principles can lead to a wide variety of delicious baked goods.
Conclusion: Building Confidence in Yeast Baking with Simple Steps for Beginners
Embarking on your yeast baking journey using these Yeast baking beginner’s simple steps can seem daunting at first, but it is incredibly rewarding. From understanding the basic science of how yeast works to successfully activating it, kneading the dough, and guiding it through its magical transformation during proofing and baking, each step builds your skill and confidence. Remember that practice makes perfect, and even experienced bakers have occasional loaves that don't turn out exactly as planned.
Don't be discouraged by a flat loaf or a dense crumb initially. Review the steps, check your ingredient measurements, verify your yeast is fresh, and ensure your temperatures are correct. Each attempt is a learning opportunity. By focusing on these Yeast baking beginner’s simple steps – proper activation, sufficient kneading, and patient proofing – you will quickly gain proficiency. Soon, you'll be confidently baking delicious homemade breads, rolls, and pastries, enjoying the incredible aroma and taste that only fresh yeast baking can provide. Keep baking, keep learning, and most importantly, enjoy the process!
Frequently Asked Questions
What exactly is yeast, and why is it important in baking?
Yeast is a single-celled microorganism that feeds on sugars. This process creates carbon dioxide, which makes dough rise and gives baked goods their light and airy texture.
What are the different types of yeast, and which one is best for beginners?
The most common types are active dry yeast, instant yeast, and fresh yeast. For beginners, instant yeast is generally the easiest to use as it doesn't require proofing.
What does it mean to "proof" yeast, and how do I do it?
Proofing means testing the viability of the yeast before adding it to the other ingredients. You do this by dissolving it in warm water with a bit of sugar and observing if it bubbles or foams within 5-10 minutes.
What temperature should the water be when activating yeast?
The water should be warm, but not hot. Aim for a temperature between 105-115°F (40-46°C). Too hot water can kill the yeast.
What happens if my dough doesn't rise?
Several factors can cause this, including old or inactive yeast, water that was too hot or cold, or not enough time for rising. Ensure your yeast is fresh and follow the recommended proofing and rising times.
Final Reflection: The Joy of Yeast: A Beginner's Journey
The seemingly simple act of harnessing yeast to create bread is a powerful connection to culinary history and a gateway to endless creative possibilities. From the humble loaf to elaborate pastries, understanding the basics of yeast unlocks a world of flavor and texture previously inaccessible. This knowledge, once considered esoteric, is now readily available, empowering home bakers everywhere.
The influence of yeast extends far beyond the kitchen; it represents a fundamental link between human ingenuity and the natural world. It's a testament to our ability to understand and utilize the microscopic forces shaping our food. Bread is the staff of life,
a simple phrase, yet it encapsulates the profound impact of yeast on human civilization and sustenance. Learning to work with yeast is not just about baking; it's about understanding a process that has sustained humanity for millennia.
Now, I invite you to take this knowledge and embark on your own baking journey. Don't be afraid to experiment, to embrace the occasional failure, and to savor the incredible satisfaction of creating something delicious with your own hands. The world of yeast baking awaits, filled with the aroma of freshly baked bread and the promise of countless culinary adventures. So, gather your ingredients, and let the magic begin!
Unleash Your Inner Baker: Start Baking with Confidence Today!
Thanks for taking the time to explore the wonderful world of yeast baking! We hope you now feel more confident in tackling those delicious, yeasty treats. Ready to get baking?
- Try out one of the recipes from the article today! Pick your favorite and let the baking begin. You'll be surprised how easy it is.
- Share your baking journey with us! Post a picture of your creation on social media using #BakeWithEase and tag us – we'd love to see your results!
- Explore more yeast-based recipes on BakeWithEase.com and discover your new favorite bread or pastry.
What delicious yeast-based creation will you bake first?