
Cracking the Code of Chocolate Tempering for Stunning Results.

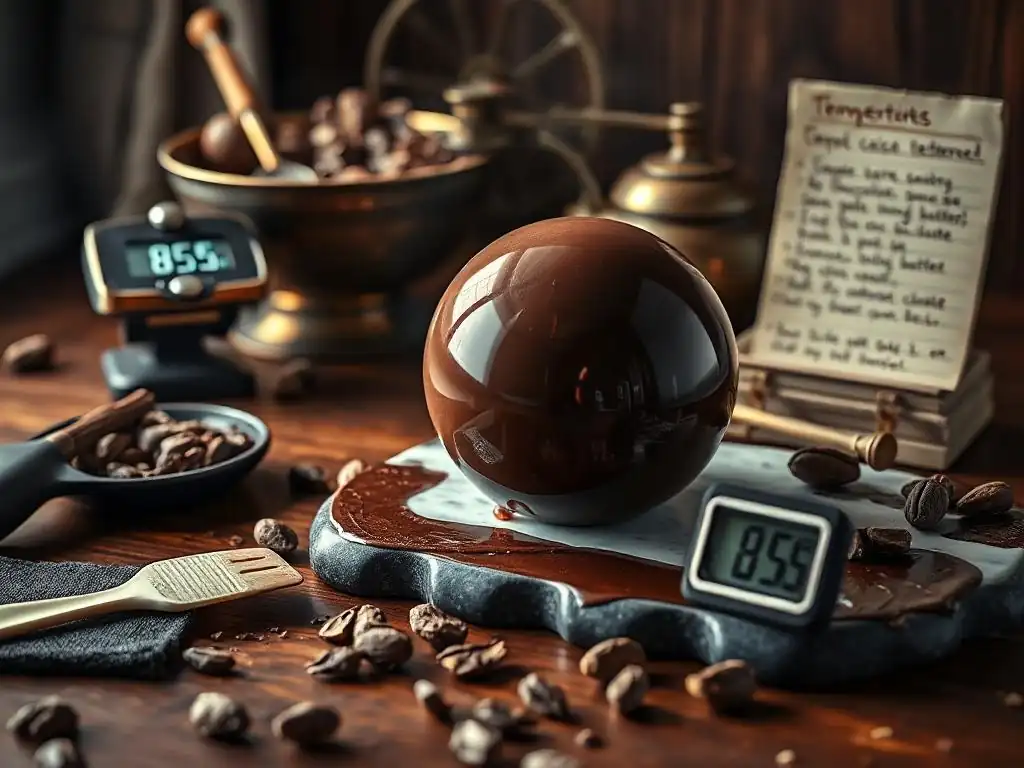
Welcome to BakeWithEase, where we demystify the delicious world of baking! Ready to elevate your creations from good to gorgeous? Ever wondered how professional chocolatiers achieve that perfect shine and satisfying snap? Today, we're diving deep into an advanced baking technique with our comprehensive Chocolate Tempering Beginners Guide. Discover the secrets to perfectly tempered chocolate and unlock a whole new level of culinary artistry. Intrigued? Keep reading to melt away your fears and master the art of chocolate tempering!
- Mastering Chocolate Tempering: A Comprehensive Guide
- Understanding Chocolate Tempering
- Tempering Methods: Step-by-Step
- Troubleshooting Tempering Issues
- Tips for Consistent Tempering
- Applications of Tempered Chocolate
- Advanced Tempering Techniques
- Refining Your Skills
-
Frequently Asked Questions
- What exactly is chocolate tempering, and why is it so important?
- Is tempering chocolate only for professionals, or can beginners learn it too?
- What are some common mistakes beginners make when tempering chocolate?
- What kind of chocolate is best for tempering, and where can I find it?
- Are there different methods for tempering chocolate, and which one is easiest for beginners?
- Final Reflection: The Enduring Allure of Perfectly Tempered Chocolate
- Unlock Your Inner Chocolatier: Master the Art of Tempering!
Mastering Chocolate Tempering: A Comprehensive Guide
Tempering chocolate might sound intimidating, but it's a fundamental technique that elevates your confections from good to spectacular. If you're looking for a chocolate tempering beginners guide, you're in the right place. Proper tempering gives chocolate a beautiful sheen, a satisfying snap when broken, and prevents bloom, ensuring your creations look and taste professional. It's all about controlling the crystal structure of cocoa butter.
Understanding Chocolate Tempering
At its heart, tempering is the process of controlling the crystallization of cocoa butter within the chocolate. Cocoa butter is unique because it can crystallize in several different forms, each with a distinct melting point and structure. Without proper tempering, the cocoa butter crystals form randomly, leading to a dull, streaky finish and a soft, crumbly texture.
The Science of Cocoa Butter Polymorphism
Cocoa butter exhibits polymorphism, meaning it can solidify into six different crystalline structures, often labeled Forms I through VI. These forms differ in how the fat molecules pack together, affecting their stability, melting point, and physical properties. For instance, Form I is unstable and melts around 63°F (17°C), while Form VI is the most stable but forms slowly over time in untempered chocolate, contributing to undesirable bloom and melting around 97°F (36°C).
The goal of chocolate tempering is to encourage the formation of stable, desirable crystals, specifically Form V. These crystals melt sharply just below body temperature (around 92-94°F or 33-34°C), which is why properly tempered chocolate melts smoothly in your mouth. They also provide the characteristic snap, shine, and resistance to bloom that we associate with high-quality chocolate.
Types of Cocoa Butter Crystals: Form V Stability
As mentioned, Form V crystals are the superheroes of tempered chocolate. They are the most stable of the forms that can be easily created during the tempering process and have the ideal melting point. When chocolate is melted and then cooled incorrectly, less stable forms (like Forms I, II, III, and IV) or the very slow-forming Form VI can develop, leading to issues.
Form V crystals are created by carefully controlling the temperature of the melted chocolate. By cooling the chocolate down to a specific temperature range while agitating it, you encourage these stable crystals to form. Once a sufficient number of Form V crystals are present, the chocolate is gently warmed slightly to melt out any remaining unstable crystals, leaving behind a network of stable ones ready to align as the chocolate sets. This understanding is key for any chocolate tempering beginners guide.
Temperature's Impact on Crystal Formation
Temperature control is paramount in chocolate tempering. Each stage of the process relies on hitting and maintaining specific temperature ranges to guide the cocoa butter into forming Form V crystals. Initially, chocolate is melted completely, destroying all existing crystal structures – this usually requires temperatures around 115°F (46°C) for dark chocolate, 110°F (43°C) for milk, and 105°F (40°C) for white.
After melting, the chocolate is cooled down to a specific working temperature range. This cooling phase, often accompanied by agitation, is where Form V crystals are encouraged to form. The target cooling temperature is critical: too warm, and no stable crystals form; too cool, and too many unstable crystals form. Typical cooling ranges are 88-90°F (31-32°C) for dark, 86-88°F (30-31°C) for milk, and 82-84°F (28-29°C) for white chocolate. Finally, the chocolate is slightly warmed or held at a working temperature to eliminate unstable crystals, leaving the desired Form V structure.
Tempering Methods: Step-by-Step
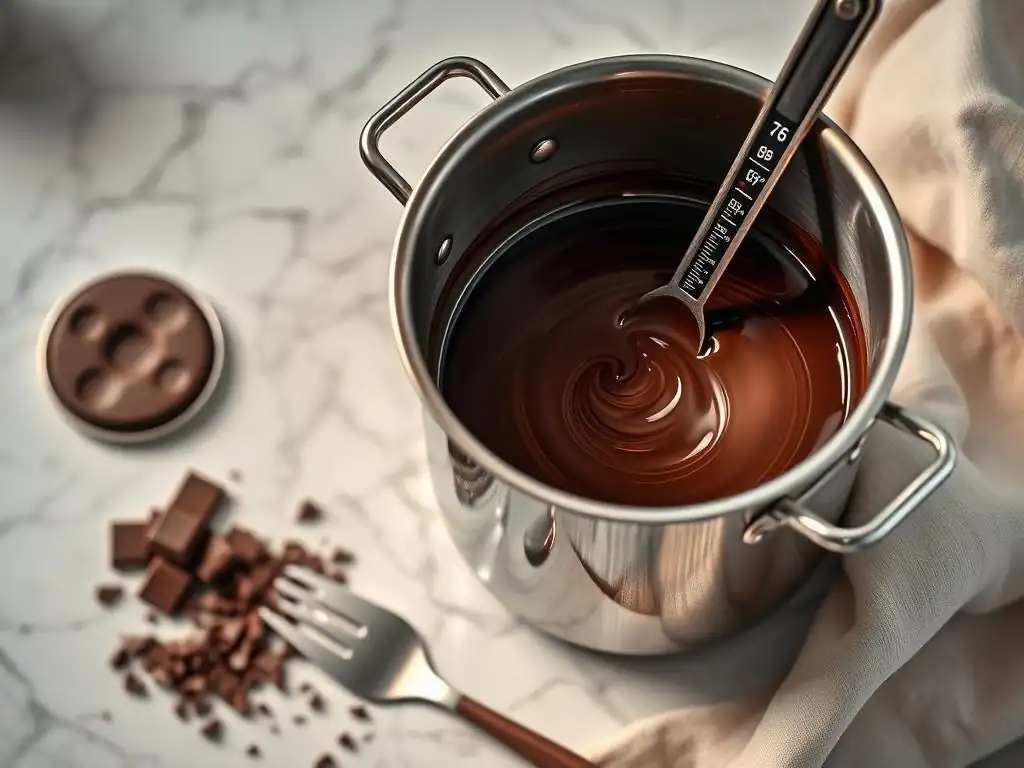
Mastering chocolate tempering involves following a specific process to ensure the correct crystal structure develops. Several methods achieve this, each with its own advantages. For a chocolate tempering beginners guide, understanding the core steps is crucial, regardless of the method chosen.
Seeding Method
The seeding method is popular for its simplicity and is often recommended for beginners. It involves melting chocolate and then adding pieces of already-tempered chocolate (the "seed") to introduce stable crystals.
Melting Phase
Start by gently melting about two-thirds of your chopped chocolate. Use a double boiler or a microwave on low power, stirring frequently. Heat dark chocolate to around 115°F (46°C), milk to 110°F (43°C), and white to 105°F (40°C). Ensure there are no solid pieces remaining and remove from the heat.
Seeding and Cooling Phase
Add the remaining one-third of finely chopped, untempered chocolate (or a smaller amount of already-tempered chocolate pieces) to the melted chocolate. Stir continuously. As the seed chocolate melts, it cools the overall mixture and introduces stable Form V crystals. Continue stirring until the mixture reaches the target working temperature: 88-90°F (31-32°C) for dark, 86-88°F (30-31°C) for milk, and 82-84°F (28-29°C) for white. Remove any unmelted seed pieces if the temperature is reached before they fully dissolve.
Temper Verification
To check if your chocolate is in temper, dip a small piece of parchment paper or the tip of a knife into the chocolate. It should begin to set within 2-3 minutes at room temperature (around 70°F or 21°C) and set completely within 5-10 minutes with a smooth, shiny finish. If it sets quickly and is glossy, it's ready. If it's slow to set or streaky, it needs further cooling and stirring or reheating and trying again.
Tabliering Method (Marble Slab)
The tabliering method, also known as tempering on marble, is a classic technique used by professional chocolatiers. It requires a clean, cool surface, typically marble or granite, to rapidly cool the chocolate while agitating it.
Initial Melting
Similar to the seeding method, start by melting all of your chopped chocolate to the appropriate temperature: 115°F (46°C) for dark, 110°F (43°C) for milk, and 105°F (40°C) for white. Ensure the chocolate is completely melted and smooth.
Cooling and Agitation on Marble
Pour about two-thirds of the melted chocolate onto a clean, dry marble or granite slab. Using a metal scraper and a spatula, spread and scrape the chocolate continuously, moving it around the cold surface. This rapid movement and contact with the cool surface accelerate cooling and promote the formation of Form V crystals. Continue until the chocolate thickens slightly and reaches a temperature a few degrees below the target working temperature (e.g., around 84-86°F for dark chocolate).
Reaching Working Temperature
Scrape the cooled chocolate from the slab and return it to the bowl with the remaining one-third of warm, melted chocolate. Stir them together thoroughly. The warmer chocolate will gently raise the temperature of the cooled portion to the correct working temperature (88-90°F for dark, 86-88°F for milk, 82-84°F for white). Stir until homogenous and check for temper using the paper strip test.
Using a Chocolate Tempering Machine
For consistent results, especially with larger quantities, a chocolate tempering machine is invaluable. These machines automate the heating, cooling, and stirring process, making tempering significantly easier and more reliable.
Machine Preparation
Ensure the tempering machine is clean and dry. Calibrate the thermostat if necessary according to the manufacturer's instructions. Add the chocolate to the machine's basin.
Tempering Process
Set the machine to the initial melting temperature based on the type of chocolate. The machine will gently heat and stir the chocolate until it's fully melted. Then, set the machine to the appropriate working temperature. The machine will cool the chocolate down while continuing to stir, encouraging Form V crystal formation. Some machines use a refrigeration element, while others rely on adding pre-crystallized chocolate.
Maintaining Temper
Once the chocolate reaches the working temperature and holds temper (verified with a test strip), the machine will maintain it at this temperature, keeping it in temper and ready for use. This is a major advantage, allowing you to work with the chocolate for extended periods without it falling out of temper, a significant benefit for anyone following a chocolate tempering beginners guide for larger projects.
Troubleshooting Tempering Issues
Even with careful attention, tempering doesn't always go perfectly on the first try. Understanding common issues and how to fix them is part of mastering the process. Don't get discouraged if your first attempt isn't flawless!
Addressing Fat Bloom
Fat bloom appears as grayish or whitish streaks, spots, or a dull coating on the surface of chocolate. It happens when cocoa butter separates from the chocolate solids and recrystallizes on the surface, typically due to improper tempering or storage at fluctuating temperatures. While harmless to eat, it's visually unappealing.
To address fat bloom, the chocolate needs to be re-tempered. Gather the bloomed chocolate, melt it completely (ensuring all crystals are destroyed), and then go through your preferred tempering process again (seeding, tabliering, or machine). Proper tempering ensures the cocoa butter crystallizes correctly, preventing this separation and migration.
Correcting Over-Tempered Chocolate
Over-tempered chocolate is chocolate that has become too cool during the tempering process, resulting in too many unstable crystals forming. It will be thick, lumpy, and may set too quickly, becoming brittle.
If your chocolate becomes over-tempered, gently reheat it slightly while stirring constantly. The goal is to raise the temperature just enough to melt out the excess unstable crystals, bringing it back into the proper working temperature range (e.g., if dark chocolate is too thick at 88°F, warm it slowly to 89-90°F). Stir vigorously to distribute the heat evenly. Test frequently to ensure you don't overheat and lose temper completely.
Recovering Under-Tempered Chocolate
Under-tempered chocolate hasn't developed enough stable Form V crystals. It will remain fluid for too long, set slowly, and likely develop streaks, a dull finish, and a soft texture prone to fat bloom. This is a common issue for a chocolate tempering beginners guide.
If your chocolate is under-tempered (it's still too fluid at the working temperature and doesn't pass the test strip check), you need to encourage more Form V crystal formation. If using the seeding method, add a little more seed chocolate and stir vigorously to cool it down further into the correct temperature range.
If using the tabliering method, pour a bit more chocolate onto the cool surface to cool it down more aggressively before reincorporating. Alternatively, you can reheat the chocolate slightly above the working temperature (but below the initial melting point) and then cool it down again more carefully, potentially adding more seed.
Tips for Consistent Tempering
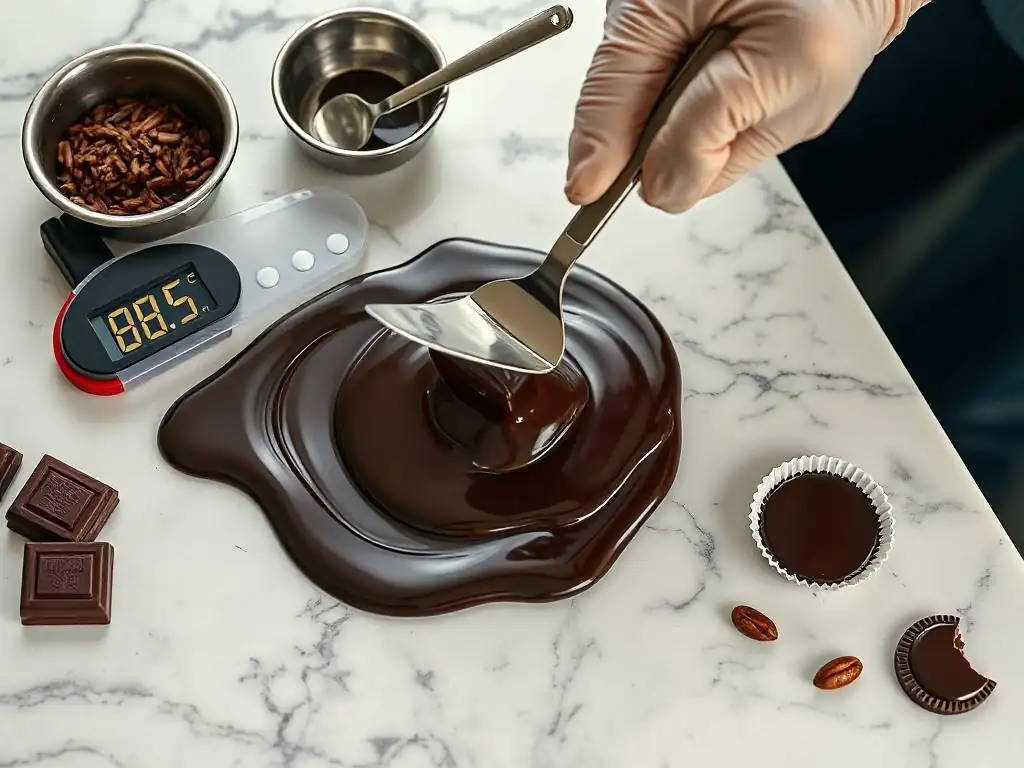
Achieving consistent results when tempering chocolate requires attention to detail and a few key practices. These tips are valuable for any chocolate tempering beginners guide.
Selecting Quality Chocolate
The quality of the chocolate you use significantly impacts tempering success. Chocolate specifically designed for melting and tempering, often labeled "couverture," contains a higher percentage of cocoa butter (typically 32-39%) compared to standard baking or eating chocolate. This higher cocoa butter content makes it more fluid when melted and easier to temper correctly. Look for couverture chocolate with a good flavor profile that suits your application.
Ensuring a Clean, Dry Environment
Water is the enemy of melting and tempering chocolate. Even a single drop can cause the chocolate to seize, becoming a thick, unusable paste. Ensure all your equipment – bowls, spatulas, thermometers, and the work surface – are completely dry. Similarly, high humidity in the environment can also affect tempering results. Choose a dry day or work in a climate-controlled kitchen if possible.
Accurate Temperature Monitoring
Precise temperature control is non-negotiable for successful tempering. Use a reliable thermometer that can accurately measure temperatures in the required ranges (from around 80°F to 120°F). Digital probe thermometers are excellent for this, allowing you to constantly monitor the chocolate's temperature as you heat and cool it. Don't rely on guesswork; hitting those specific temperature targets is critical for forming the right crystals.
Maintaining Stable Temperatures
Once your chocolate is tempered and at its working temperature, it's important to maintain that temperature while you're using it. If it cools too much, it will fall out of temper and thicken. If it gets too warm, the stable crystals will melt, and it will also fall out of temper. Use a gentle heat source, like a warming pad, a heat lamp from a safe distance, or a double boiler without the heat on (just residual warmth from the water below) to keep the chocolate in the ideal working range while you dip or mold.
Applications of Tempered Chocolate
Once you've mastered chocolate tempering, a world of possibilities opens up for your baking and confectionery projects. Tempered chocolate is essential for achieving professional-looking results in many applications.
Creating Chocolate Decorations
Tempered chocolate is perfect for making delicate and shiny decorations. You can pipe intricate designs onto parchment paper, create chocolate curls by scraping a block of tempered chocolate, or mold shapes using polycarbonate molds. The snap and shine ensure your decorations are visually appealing and hold their shape once set. For example, piping simple zigzags or geometric shapes onto acetate sheets allows you to create impressive garnishes for cakes and desserts.
Coating Confections
Whether you're making truffles, caramels, or nougat, coating them in tempered chocolate provides that signature crisp shell and smooth texture. Dipping candies requires the chocolate to be fluid enough to coat evenly but set quickly to prevent drips and streaks. Tempered chocolate adheres beautifully and sets with a glossy finish, giving your homemade confections a professional touch. Imagine dipping smooth caramel cubes into perfectly tempered dark chocolate – the contrast in textures and the clean finish are delightful.
Making Chocolate-Covered Fruit
Chocolate-covered strawberries, raspberries, or orange peels are popular treats that benefit greatly from tempered chocolate. The tempered chocolate forms a thin, crisp shell that contrasts wonderfully with the soft fruit inside. Untempered chocolate would result in a soft, dull coating that melts easily in your hands. Dipping fresh strawberries into tempered milk chocolate, for instance, yields a glossy, firm coating that sets quickly and has a satisfying bite.
Advanced Tempering Techniques
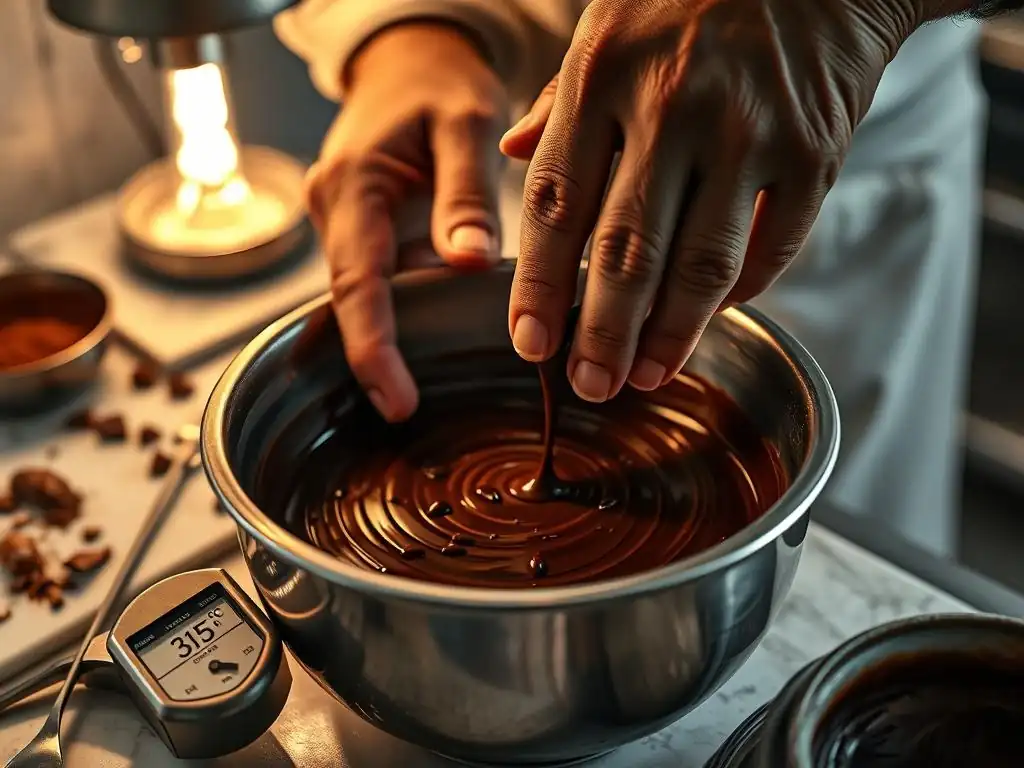
While a chocolate tempering beginners guide covers the fundamentals, there are nuances and variations depending on the type of chocolate and specific goals. Understanding these can further refine your skills.
Dark, Milk, and White Chocolate Tempering Differences
As noted earlier, dark, milk, and white chocolate have different tempering temperature curves. This is primarily due to their differing compositions, specifically the proportion of cocoa solids, milk solids, and cocoa butter. Dark chocolate, with more cocoa solids and typically more cocoa butter, requires higher temperatures for melting and tempering compared to milk and white chocolate, which contain milk solids and often less cocoa butter relative to their sugar content. Always follow the specific temperature guidelines for the type of chocolate you are using.
Pre-Crystallization Methods
Beyond seeding and tabliering, other methods introduce stable Form V crystals, a process called pre-crystallization. One method involves adding commercially available pre-crystallized cocoa butter silk (pure Form V cocoa butter crystals) to melted chocolate. This method is highly reliable as it introduces only the desired crystal type. Another involves using a small amount of already-tempered chocolate and melting it carefully into untempered chocolate at a controlled temperature.
Working with Various Cocoa Butters
Different chocolates use cocoa butter from various origins or blends, which can subtly affect their tempering behavior. Some premium chocolates may have slightly different ideal temperature ranges. Furthermore, some confectionery fats are not cocoa butter (like palm kernel oil in compound chocolate) and do not require tempering at all; they simply melt and solidify. Understanding the fat composition of your chocolate is crucial. Couverture chocolate, made with 100% cocoa butter, is the standard for tempering.
Refining Your Skills
Tempering chocolate is a skill that improves with practice. Like any baking technique, repetition and observation are key to achieving consistent success.
Practice and Observation
Don't expect perfection on your first attempt. Practice with small batches of chocolate. Pay close attention to how the chocolate behaves at different temperatures – how it flows, how quickly it thickens as it cools, and how it sets on your test strip. Observe the texture and appearance of the finished chocolate. Did it snap? Was it shiny? Did it bloom? Each attempt, successful or not, provides valuable learning. Keep a log of temperatures and conditions if helpful.
Achieving Tempering Mastery
True mastery comes from understanding the why behind each step, not just the how. When you understand the science of cocoa butter crystals and how temperature influences their formation, you can troubleshoot issues more effectively and adapt to different chocolates or environmental conditions. Continue experimenting, try different methods, and work with various types of chocolate. Over time, you'll develop an intuition for when your chocolate is perfectly tempered, making it a seamless part of your baking repertoire.
Frequently Asked Questions
What exactly is chocolate tempering, and why is it so important?
Chocolate tempering is the process of stabilizing the cocoa butter crystals in chocolate. Proper tempering results in a shiny appearance, a crisp snap, and prevents bloom (white streaks).
Is tempering chocolate only for professionals, or can beginners learn it too?
Absolutely! While it can seem intimidating, our Cracking the Code of Chocolate Tempering for Stunning Results guide is designed for beginners. We provide simple methods and step-by-step instructions.
What are some common mistakes beginners make when tempering chocolate?
Common mistakes include overheating the chocolate, not stirring enough, and introducing moisture. Our guide addresses these pitfalls with helpful tips.
What kind of chocolate is best for tempering, and where can I find it?
We recommend using high-quality chocolate with a cocoa butter content of at least 30%. Look for it at specialty baking stores or online retailers.
Are there different methods for tempering chocolate, and which one is easiest for beginners?
Yes, there are several methods! We suggest the seeding method as it's generally considered the easiest for beginners and requires minimal equipment.
Final Reflection: The Enduring Allure of Perfectly Tempered Chocolate
The art of chocolate tempering, once a mysterious process reserved for professional chocolatiers, is now accessible to anyone with a passion for creating stunning, melt-in-your-mouth confections. This beginner's guide has demystified the process, revealing that achieving that signature snap and shine isn't about arcane knowledge, but about understanding the fundamental principles of cocoa butter crystallization. The results, as you've seen, are truly transformative.
The impact of mastering chocolate tempering extends far beyond simply creating beautiful chocolates; it's about connecting with a rich culinary history and tradition. It's about the satisfaction of transforming simple ingredients into something exquisite, something that evokes joy and delight. As renowned pastry chef Jacques Torres once said, Chocolate is a magical ingredient. It can transform a simple dessert into something extraordinary.
This sentiment perfectly captures the power of understanding and applying the techniques outlined in this guide. The journey of learning to temper chocolate is a journey of discovery, patience, and ultimately, rewarding accomplishment.
Now, it's your turn. Don't be intimidated by the seemingly complex process. Armed with the knowledge you've gained, experiment, practice, and most importantly, have fun! Each perfectly tempered chocolate you create is a testament to your dedication and a delicious reward for your efforts. Embrace the challenge, and unlock the magic of chocolate tempering for yourself. The world of exquisite chocolate awaits!
Unlock Your Inner Chocolatier: Master the Art of Tempering!
Thanks for diving deep into the world of chocolate tempering! You've now got the knowledge to create flawlessly smooth and shiny chocolate creations. Ready to put your new skills to the test?
- Whip up your first tempered chocolate masterpiece! Try the recipe we hinted at – you'll be amazed at the difference tempering makes.
- Share your chocolate triumphs (or even your struggles!) with our BakeWithEase community. Let's learn and grow together!
- Explore advanced tempering techniques – from different methods to working with various chocolate types.
What unique chocolate treat will you be tempering first? Let us know in the comments below!