
White Chocolate Tempering: Overcoming the Challenges for Success.

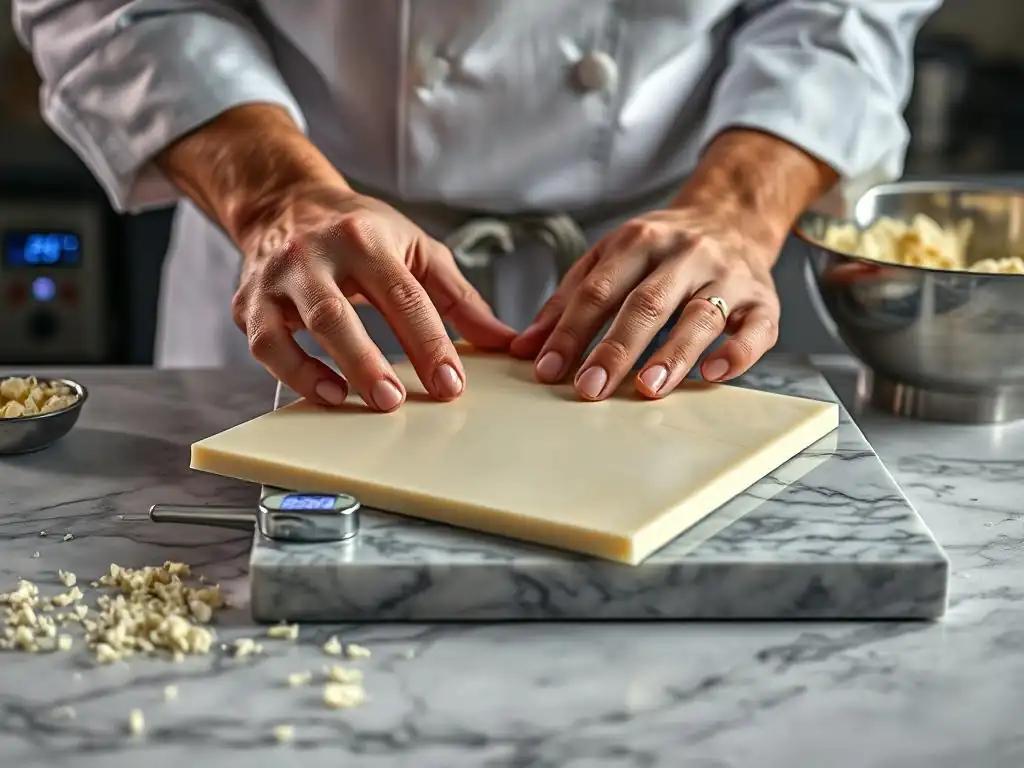
Welcome to BakeWithEase, your haven for all things baking! Ever wrestled with finicky white chocolate, dreaming of that perfect snap and shine? Then you're in the right place. Our White Chocolate Tempering Guide unlocks the secrets to achieving flawless results, even when the odds seem stacked against you. Ready to transform your baking game? Let's dive in and conquer this advanced technique together, leaving you with white chocolate creations that are as beautiful as they are delicious. Prepare to say goodbye to seized chocolate and hello to a world of smooth, glossy perfection!
- Tempering Chocolate: Achieving Professional Results at Home
- Introduction to Tempering Chocolate for Baking and Confectionery
- Understanding Chocolate Composition and Its Impact on Tempering
- Step-by-Step Tempering Guide for Home Bakers
- Common Tempering Problems and Solutions
- Chocolate Tempering Temperatures: A Detailed Guide
- Applications of Properly Tempered Chocolate in Baking and Confectionery
- Tips and Tricks for Consistent Tempering Success
- Advanced Tempering Techniques
- Conclusion: Mastering the Art of Tempering Chocolate
-
Frequently Asked Questions
- What exactly is tempering white chocolate and why is it important?
- What are the common challenges faced when tempering white chocolate?
- What's the ideal temperature range for tempering white chocolate?
- What are some easy methods for tempering white chocolate at home?
- How can I tell if my white chocolate is properly tempered?
- Final Reflection: Mastering the Art of White Chocolate Tempering
- Unlock the Secrets of Perfect White Chocolate!
Tempering Chocolate: Achieving Professional Results at Home
Introduction to Tempering Chocolate for Baking and Confectionery
Why Tempering Chocolate is Essential for Quality
Untempered chocolate might taste okay, but it lacks the desirable physical properties that make professional confections stand out. When chocolate cools from its melted state without proper tempering, the cocoa butter crystals solidify randomly. This chaotic structure results in chocolate that is dull, soft, prone to melting easily at room temperature, and susceptible to developing a grayish-white film known as bloom. For bakers and confectioners aiming for quality, especially when working with the delicate balance of white chocolate, mastering the process is non-negotiable.
Tempering aligns the cocoa butter crystals into a stable, uniform structure – specifically, the desirable Beta (β) form. This stable crystalline matrix is what gives properly tempered chocolate its beautiful sheen, satisfying snap when broken, resistance to melting at room temperature, and a smooth, non-gritty texture. Achieving this state is particularly important for white chocolate tempering guide success, as white chocolate's higher proportion of cocoa butter compared to milk or dark chocolate means it relies heavily on correct crystallization for structure and appearance.
Understanding the Benefits of Properly Tempered Chocolate
The advantages of using properly tempered chocolate are numerous and immediately apparent in the final product. Visually, tempered chocolate has a high gloss and uniform color, free from streaks or dull patches. This is crucial for decorative elements, dipped items, and molded chocolates where appearance is key. A bar of well-tempered chocolate will snap cleanly with a distinct sound when broken, rather than crumbling or bending.
Beyond aesthetics, tempered chocolate is more stable. It resists melting at typical room temperatures (around 20-22°C or 68-72°F), making it ideal for coatings, enrobed candies, and decorations that need to hold their shape. This stability also helps prevent fat bloom, the unsightly grayish film, extending the shelf life and appeal of your creations. Using tempered chocolate in recipes, such as for a chocolate shell or ganache components, contributes to a superior texture and mouthfeel, ensuring that your baked goods and confections meet professional standards, including achieving that desired finish with white chocolate tempering.
Understanding Chocolate Composition and Its Impact on Tempering
The Role of Cocoa Butter in Chocolate Tempering
Cocoa butter is the unique fat found in chocolate, and it's the key component responsible for chocolate's ability to be tempered. Unlike many fats, cocoa butter is polymorphic, meaning it can solidify into six different crystalline forms (Forms I through VI), each with a different melting point and stability. Tempering is essentially the process of manipulating temperature and movement to encourage the cocoa butter to crystallize predominantly into the stable Form V, which melts sharply around 33.8°C (93°F), just below body temperature, contributing to chocolate's characteristic melt-in-your-mouth quality.
White chocolate, by definition, contains a minimum of 20% cocoa butter (often closer to 30-35%), milk solids, and sugar, but no non-fat cocoa solids. This higher proportion of cocoa butter, combined with the presence of sugar and milk solids, makes white chocolate particularly sensitive to heat and can sometimes make white chocolate tempering slightly more challenging. The sugar and milk solids can scorch easily if overheated, and the higher fat content means that controlling the crystallization of the cocoa butter is paramount for achieving a firm, glossy finish and preventing bloom.
Selecting Quality Chocolate for Tempering
The quality of your chocolate profoundly impacts the success of tempering. High-quality chocolate contains a higher percentage of cocoa butter and fewer additives like vegetable oils, which can interfere with proper crystallization. For tempering, especially for a successful white chocolate tempering guide experience, it's best to use couverture chocolate. Couverture chocolate is a professional-grade chocolate that contains a minimum of 35% total cocoa solids, with a significant portion (typically 31-35%) being cocoa butter. This higher cocoa butter content makes it more fluid when melted and easier to temper.
When selecting white chocolate for tempering, look for brands that list cocoa butter as the first ingredient and specify a cocoa butter percentage of 20% or higher, ideally 30% or more for easier tempering. Avoid white chocolate that lists vegetable oil or other fats as primary ingredients, as these will not temper correctly and will result in a soft, greasy product prone to bloom. Using high-quality chocolate ensures you have the best possible foundation for achieving a stable temper and a beautiful finished product.
Step-by-Step Tempering Guide for Home Bakers
Preparing Your Workspace and Tools for Tempering
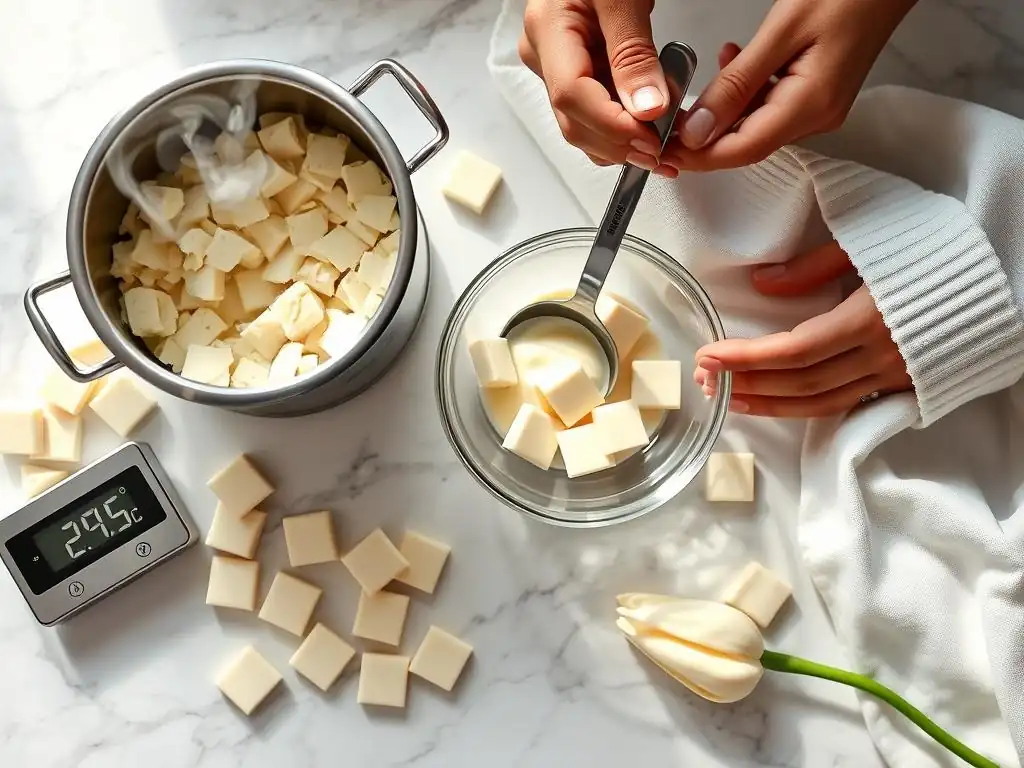
Successful chocolate tempering, including white chocolate tempering, begins with preparation. Ensure your workspace is cool and dry, ideally between 20-22°C (68-72°F). Humidity is chocolate's enemy, as moisture can cause it to seize, so avoid tempering on rainy or humid days if possible, or use a dehumidifier. Gather all your tools before you start. You will need:
- A reliable thermometer (digital or infrared is best for accuracy).
- Heatproof bowls (glass or stainless steel).
- A double boiler setup or microwave-safe bowl.
- A silicone spatula or scraper for stirring.
- An offset spatula or bench scraper if using the tabliering method.
- Clean, dry surfaces for cooling (parchment paper or silicone mats).
Method 1: Seeding Method for Tempering Chocolate
The seeding method is one of the easiest and most reliable ways for home bakers to achieve tempered chocolate, making it a great technique for a white chocolate tempering guide. It involves melting most of the chocolate and then adding finely chopped or grated solid tempered chocolate (the "seed") to introduce stable cocoa butter crystals. These seed crystals then encourage the melted chocolate's cocoa butter to crystallize into the correct form as it cools.
Detailed Steps for the Seeding Method
- Finely chop or grate about 70% of your tempered white chocolate and place it in a dry, heatproof bowl. Reserve the remaining 30% as your "seed" chocolate, also finely chopped.
- Gently melt the 70% portion. For white chocolate, this is typically done over a double boiler set to low heat or in a microwave on low power (e.g., 50% power) in 20-30 second intervals, stirring thoroughly after each interval. Heat white chocolate carefully to about 40-43°C (104-109°F). Do not overheat, as white chocolate scorches easily.
- Once melted and reached the target temperature, remove the bowl from the heat (or microwave). Add the reserved 30% seed chocolate to the melted chocolate.
- Stir continuously with a clean, dry spatula. The goal is to cool the chocolate down while the seed crystals spread throughout, encouraging proper crystallization. Keep stirring until all the seed chocolate has melted and the mixture cools to the working temperature for white chocolate, which is typically 28-29°C (82-84°F).
- Once the working temperature is reached and the chocolate is smooth, test a small amount on parchment paper. It should set within a few minutes, be glossy, and snap cleanly when firm. If it sets properly, your chocolate is tempered and ready to use.
Troubleshooting Common Seeding Method Issues
- Seed chocolate not melting: This usually means the melted chocolate wasn't warm enough or the seed chocolate pieces were too large. Gently warm the mixture slightly over the double boiler or with a heat gun on a very low setting, stirring constantly, until the seed melts. Be careful not to exceed the working temperature.
- Chocolate thickens too quickly: You may have added too much seed chocolate or it cooled too fast. Gently warm the chocolate a degree or two while stirring to make it more fluid.
- Chocolate doesn't set: This indicates the chocolate is not tempered. Either the melted chocolate was too hot when the seed was added, destroying the stable crystals, or not enough seed was used, or it wasn't stirred long enough at the correct temperature. You'll need to start the tempering process over from the beginning. Ensure your white chocolate tempering guide adherence is strict on temperatures.
Method 2: Tabliering Method for Tempering Chocolate
The tabliering method, also known as marbleing, is a classic professional technique. It involves pouring melted chocolate onto a cool surface (like a marble slab or granite countertop) and working it with spatulas to quickly cool it down and encourage crystallization, then returning it to the remaining melted chocolate to raise its temperature back to the working range. This method requires practice and a suitable cool surface, but offers excellent temperature control for a skilled user.
Mastering the Tabliering Technique
- Melt all of your white chocolate gently to its initial melting temperature, 40-43°C (104-109°F), using a double boiler or microwave as described for the seeding method. Ensure it is completely melted and smooth.
- Pour about two-thirds of the melted white chocolate onto a clean, cool, dry marble or granite surface. Keep the remaining one-third in the bowl over the warm (but not hot) double boiler water or in a warming drawer to maintain its warmth.
- Immediately begin working the chocolate on the cool surface. Use a bench scraper in one hand to gather the chocolate and an offset spatula in the other to spread it back out. Continuously scrape and spread the chocolate, bringing it from the edges to the center, until it cools and starts to thicken slightly. You are looking for it to reach the crystallization temperature for white chocolate, around 26-27°C (79-81°F). It should look slightly pasty or thicker than when it was fully melted.
- Quickly scrape the cooled, thickened chocolate back into the bowl with the remaining warm melted chocolate.
- Stir the mixture thoroughly. The warmer chocolate will raise the temperature of the cooled chocolate, bringing the entire batch to the target working temperature of 28-29°C (82-84°F). Stir until the mixture is uniform and smooth.
- Test the temper as described in the seeding method (sets quickly, glossy, snaps).
Tips for Consistent Results with Tabliering
- Surface Temperature: Ensure your marble or granite surface is genuinely cool, but not icy cold, which can cause the chocolate to set too fast. Room temperature is usually sufficient.
- Speed and Movement: Work the chocolate quickly and continuously on the surface. The constant movement helps form the desired crystals evenly. Don't let it sit untouched.
- Don't Cool Too Much: Be careful not to let the chocolate on the surface get too cold or set completely. It should still be workable when you scrape it back into the bowl. If it gets too cold, it can introduce undesirable crystals or lumps.
- Temperature Check: Use your thermometer frequently, both on the surface as you work the chocolate and in the bowl after recombining. Precision is key for a successful white chocolate tempering guide using this method.
Method 3: Using a Double Boiler for Tempering Chocolate
The double boiler method, sometimes called the direct heating method (though careful temperature control makes it distinct from just melting), relies on controlled heating and cooling within the bowl. It's simpler than tabliering but requires very precise temperature management and constant stirring. It's achievable for white chocolate tempering at home.
Controlled Heating with a Double Boiler
- Place your finely chopped white chocolate (all of it this time) in a dry, heatproof bowl set over a saucepan containing about an inch or two of simmering water. Ensure the bottom of the bowl does not touch the water. The steam provides gentle, indirect heat.
- Heat the white chocolate slowly, stirring constantly with a dry spatula, until it is completely melted and reaches its initial melting temperature of 40-43°C (104-109°F). Remove the bowl from the heat immediately once it reaches this temperature.
- Now, the crucial cooling phase. Wipe the bottom of the bowl dry to remove any condensation. Place the bowl on the counter and stir continuously. You need to cool the chocolate down to the crystallization temperature range, approximately 26-27°C (79-81°F), while stirring constantly to encourage the formation of stable crystals. This cooling and stirring is where the "tempering" happens.
- Once the chocolate has cooled to this range and appears slightly thicker, return the bowl briefly to the warm (but not simmering) double boiler. You want to gently raise the temperature just a few degrees back up to the working temperature of 28-29°C (82-84°F). This step melts any unstable crystals that may have formed during cooling, leaving only the desired stable ones.
- Remove from heat and stir until smooth and at the correct working temperature. Test the temper.
Preventing Seizing and Maintaining Smoothness
- Keep it Dry: Any contact with water or steam can cause chocolate to seize, turning it into a thick, grainy paste. Ensure your bowls, spatulas, and workspace are completely dry. Be extra cautious when using a double boiler to prevent steam from entering the chocolate.
- Gentle Heat: White chocolate is particularly prone to scorching due to its sugar content. Use very low heat on the double boiler and never let the water boil vigorously. Patience is key; slow and steady melting is essential for white chocolate tempering success.
- Constant Stirring: Stirring helps distribute the heat evenly and promotes even crystal formation during the cooling phase. Don't stop stirring until the chocolate reaches the desired temperature ranges.
Common Tempering Problems and Solutions
Dealing with Seizing During Tempering
Seizing is perhaps the most frustrating issue encountered during chocolate tempering. It occurs when even a tiny amount of moisture comes into contact with melted chocolate. The sugar particles in the chocolate, which are hydrophilic (water-attracting), grab onto the water and immediately clump together, causing the entire mixture to seize into a stiff, unmanageable mass. This can happen from steam, a drop of water, or even condensation. White chocolate, with its higher sugar and milk solids content, can sometimes feel more susceptible.
If your chocolate seizes, it cannot be truly tempered for a glossy, snapping finish needed for confectionery coatings. However, the seized chocolate isn't entirely wasted. You can sometimes rescue it for use in baked goods where texture isn't paramount.
Try stirring in a tablespoon or two of a hot liquid fat, such as melted cocoa butter, vegetable oil, or even hot cream or milk (if the recipe allows for dairy). This can sometimes loosen the mixture into a usable ganache-like consistency or pourable sauce, though it will not regain its temperable properties or shine. Prevention is the best solution: ensure all equipment and ingredients are bone dry.
Preventing Bloom: Fat Bloom vs. Sugar Bloom
Bloom is the appearance of a grayish or whitish film on the surface of chocolate, making it look old and unappetizing. There are two types:
- Fat Bloom: The most common type, caused by improper tempering or storage at fluctuating or warm temperatures. When chocolate isn't tempered correctly, or if tempered chocolate is stored warm, unstable cocoa butter crystals can melt and rise to the surface, recrystallizing as larger, visible crystals. This often looks like a cloudy film or streaks.
- Sugar Bloom: Less common, caused by moisture condensing on the surface of chocolate (e.g., moving cold chocolate into a warm, humid room). The moisture dissolves tiny sugar crystals on the surface, and when the water evaporates, the sugar recrystallizes into larger, visible crystals, looking powdery or gritty.
Preventing bloom relies on proper technique and storage. For fat bloom, ensure your chocolate is correctly tempered and stored at a consistent, cool temperature (ideally 15-18°C or 59-64°F). For sugar bloom, avoid sudden temperature changes and protect chocolate from humidity. If chocolate develops bloom, it is still safe to eat, but its texture and appearance are compromised. It can often be re-melted and re-tempered (for fat bloom) or used in baking.
Achieving the Perfect Shine and Snap: Indicators of Proper Tempering
The tell-tale signs of successfully tempered chocolate are a brilliant, uniform shine and a clean, sharp snap when broken. These qualities are a direct result of the cocoa butter solidifying into the stable Form V crystal structure. When the crystals are perfectly aligned, light reflects evenly off the surface, creating that desirable gloss. The dense, ordered structure also makes the chocolate firm and brittle at room temperature, leading to that satisfying snap.
To achieve this with white chocolate tempering, precise temperature control during the cooling and rewarming stages is critical. Overheating the initial melt, not cooling sufficiently to form seed crystals, or reheating too much during the final stage will all result in an unstable crystal structure and therefore a dull finish and soft texture. Testing your temper on parchment paper is essential – if it sets quickly (within 3-5 minutes at room temperature), is glossy, and snaps when firm, you've succeeded. If it remains soft, sticky, or dull, it needs to be re-tempered.
Chocolate Tempering Temperatures: A Detailed Guide
Ideal Melting Temperatures for Dark, Milk, and White Chocolate
Understanding the specific temperature ranges for different types of chocolate is fundamental to successful tempering. These temperatures relate directly to the composition, particularly the cocoa butter content and the presence of milk solids and sugar.
- Dark Chocolate: Generally melted to 45-50°C (113-122°F). Its higher cocoa solids content means it can withstand slightly higher temperatures without scorching compared to milk or white chocolate.
- Milk Chocolate: Typically melted to 40-45°C (104-113°F). The presence of milk solids makes it more susceptible to scorching than dark chocolate, requiring a slightly lower initial melt temperature.
- White Chocolate: Requires the lowest initial melting temperature, usually 40-43°C (104-109°F). Its high sugar and milk solid content makes it very prone to scorching, so gentle, controlled heat is absolutely necessary.
These melting temperatures ensure all cocoa butter crystals are melted, preparing the chocolate for the controlled crystallization process.
Optimal Working Temperatures for Different Applications
After melting and cooling to form stable crystals, the chocolate needs to be brought back up to a specific working temperature. This temperature keeps the stable crystals suspended in the melted chocolate, allowing it to remain fluid enough for dipping, molding, or coating, while preventing the stable crystals from melting.
- Dark Chocolate: Working temperature is typically 31-32°C (88-90°F).
- Milk Chocolate: Working temperature is slightly lower, around 30-31°C (86-88°F).
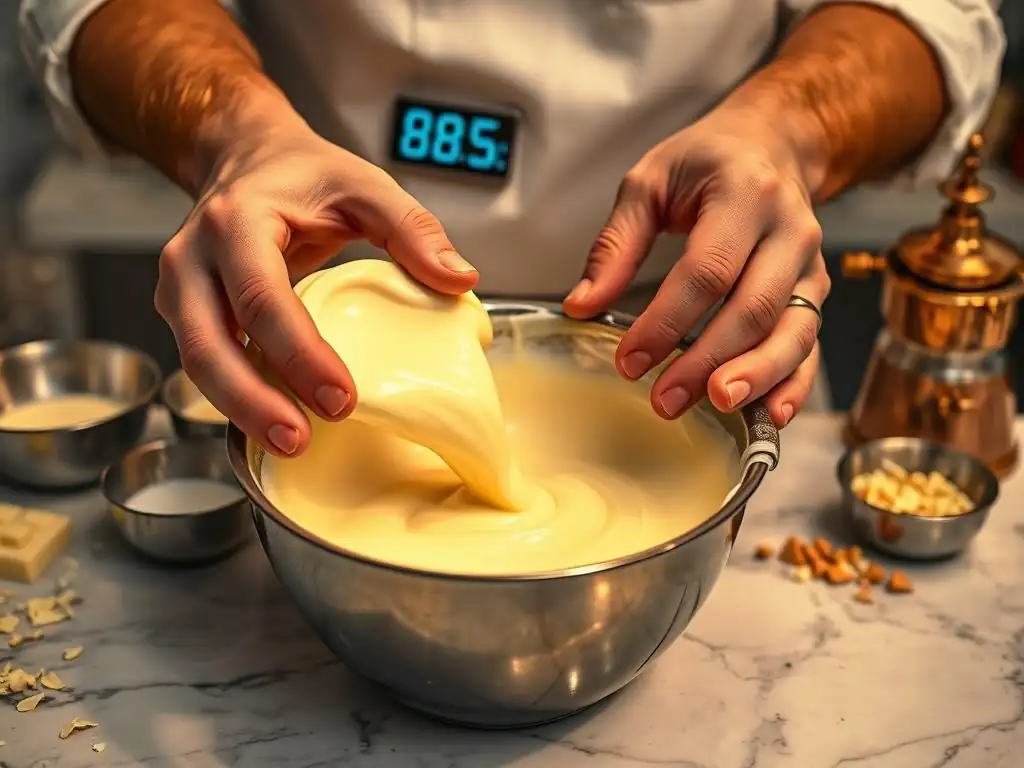
- White Chocolate: Has the lowest working temperature, usually 28-29°C (82-84°F). Maintaining this temperature is crucial for white chocolate tempering guide success, as going even a degree or two too high can melt the newly formed stable crystals, causing the chocolate to lose its temper.
Keeping the chocolate within this precise working range is key while you are using it. If it cools too much, it will thicken; if it warms too much, it will lose temper.
Temperature Control: Using a Chocolate Thermometer Effectively
A reliable thermometer is your most important tool for accurate chocolate tempering. Guessing temperatures is a recipe for failure. Digital thermometers offer fast, accurate readings, and infrared thermometers are excellent for checking the surface temperature of chocolate on a marble slab or in a bowl without touching it.
When using a thermometer:
- Ensure it is clean and dry before inserting it into the chocolate.
- Stir the chocolate before taking a reading to ensure the temperature is uniform throughout the bowl.
- Monitor the temperature constantly during the melting, cooling, and working phases.
- For the seeding and double boiler methods, focus on the temperature of the bulk chocolate. For the tabliering method, check the temperature on the marble slab and then in the bowl after combining.
Accurate temperature monitoring is the backbone of any successful white chocolate tempering guide or general chocolate tempering process. It allows you to navigate the critical phases of melting, crystallization, and working temperature maintenance with confidence.
Applications of Properly Tempered Chocolate in Baking and Confectionery
Creating Chocolate Decorations and Garnishes
Tempered chocolate is essential for creating professional-looking chocolate decorations and garnishes. Its ability to set firmly and hold intricate shapes makes it perfect for piping detailed designs, creating chocolate curls, making shards, or crafting molded figures. Whether you're using dark, milk, or white chocolate tempering techniques, the resulting tempered chocolate will set quickly and cleanly, pop out of molds easily, and maintain its shine and snap, adding a touch of elegance to cakes, pastries, and plated desserts.
Using tempered white chocolate for decorations allows for delicate, visually striking elements that contrast beautifully with other dessert components. Piped lace patterns, chocolate feathers, or molded truffles coated in a thin, crisp layer of white chocolate all benefit immensely from proper tempering. The sharp definition and stable structure mean your decorations won't melt in your fingers as you handle them or lose their shape before serving.
Using Tempered Chocolate for Dipping and Coating
Dipping and coating items like truffles, fruit, cookies, or pralines is another primary application for tempered chocolate. A proper temper ensures a thin, even, and glossy coating that sets quickly, trapping the filling or item inside and providing a satisfying bite. Untempered chocolate coatings would be soft, dull, and sticky, melting too easily and potentially developing bloom.
When using tempered white chocolate for dipping, its lower working temperature (28-29°C) means you need to work relatively quickly, or keep the chocolate gently warmed within that range using a heat lamp or warming pad specifically designed for chocolate. The quick set time of tempered white chocolate is particularly beneficial for coating items, as it minimizes drips and allows for efficient production of consistent, professional-looking confections.
Incorporating Tempered Chocolate into Desserts
Beyond coatings and decorations, tempered chocolate can be used within dessert components. For example, creating a crisp chocolate shell for a tart or entremet requires tempered chocolate to provide structure and a clean cut. Adding shards or pieces of tempered chocolate to ice cream or mousse provides a pleasant textural contrast, as the chocolate remains firm and crisp rather than melting immediately.
While not all dessert applications strictly require tempered chocolate (e.g., chocolate chips in cookies are designed to melt), understanding how and when to use it elevates the quality of your baking. Incorporating tempered white chocolate pieces into a blondie batter before baking can result in delightful pockets of firm, sweet chocolate that hold their shape better than untempered chocolate chips, offering a different texture experience.
Tips and Tricks for Consistent Tempering Success
The Importance of Patience and Practice
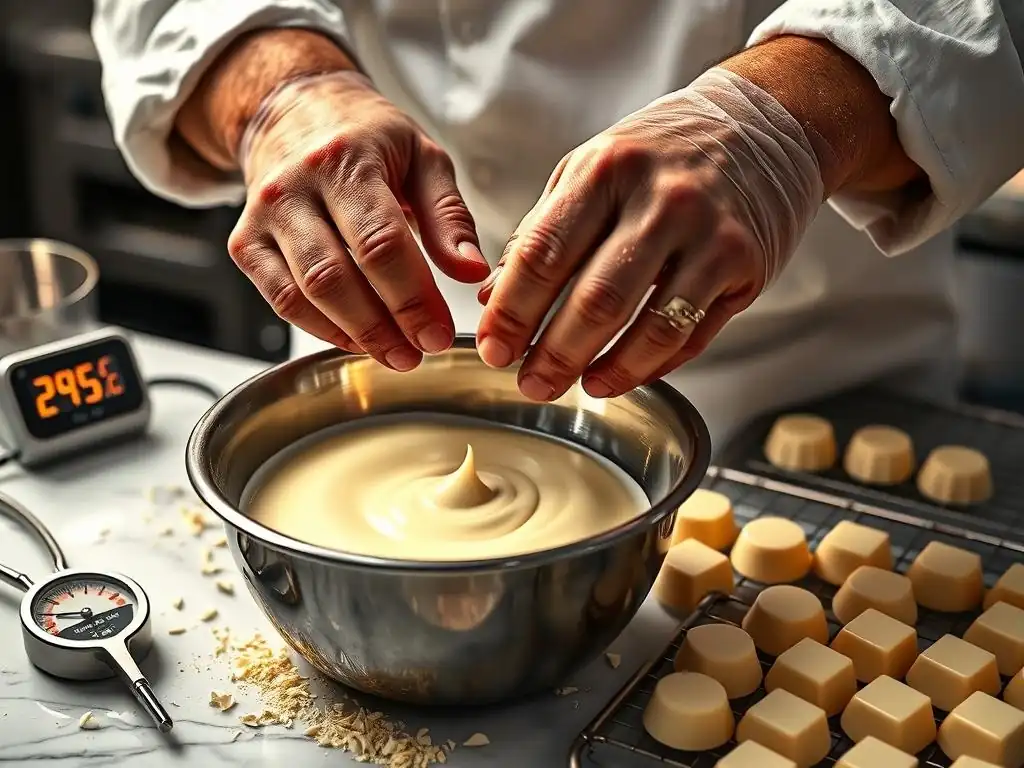
Chocolate tempering is a skill that improves with practice. Don't be discouraged if your first few attempts aren't perfect, especially with the nuances of white chocolate tempering. Each type of chocolate and even different brands can behave slightly differently. Take your time, follow the temperature guidelines precisely, and pay attention to the visual cues – the way the chocolate melts, cools, and thickens.
Patience is crucial during the cooling and stirring phases of any tempering method. Rushing this step can prevent the stable crystals from forming correctly. Similarly, be patient during the final test; allow the sample time to set completely before evaluating the result. Keeping detailed notes about the temperatures and times for different chocolates can help you refine your technique over time. Every successful batch reinforces your understanding and leads to more consistent results.
Choosing the Right Equipment for Tempering
Having the correct tools makes a significant difference in the ease and success of tempering. As mentioned, a reliable digital or infrared thermometer is non-negotiable. Accurate temperature readings are the foundation of the process. Heatproof bowls (glass or stainless steel) are essential, and using separate bowls for melting and adding seed chocolate (if using that method) can be helpful.
For the tabliering method, a clean, dry marble or granite slab is ideal due to its ability to retain coolness. Silicone spatulas are preferred as they are flexible, easy to clean, and don't retain moisture. While not strictly necessary for small batches, a chocolate melter or tempering machine can provide precise temperature control and continuous stirring, significantly simplifying the process for larger volumes or frequent tempering tasks. Investing in quality equipment is investing in your white chocolate tempering guide journey.
Maintaining Ideal Environmental Conditions
The environment in which you temper chocolate plays a critical role. As discussed, humidity is detrimental and can cause seizing. Aim for a dry day or use a dehumidifier. The ambient room temperature also affects how quickly the chocolate cools and sets. An ideal room temperature for tempering is between 20-22°C (68-72°F).
Avoid drafts or sudden temperature changes, which can cause uneven cooling and affect crystallization. If your kitchen is too warm, the chocolate may not cool sufficiently to form stable crystals, even if you follow the temperature guidelines. If it's too cold, it might set too quickly on the edges while the center remains untempered. Finding a stable, cool, dry spot in your kitchen is key to minimizing external variables and increasing your chances of consistent tempering success, especially with the more sensitive white chocolate tempering process.
Advanced Tempering Techniques
Tempering Chocolate with Added Flavors and Inclusions
Once you've mastered tempering plain chocolate, you might want to incorporate flavors or inclusions directly into the tempered mass before using it. This requires careful consideration. Liquid flavorings (like extracts) or water-based colorings should be avoided as they can cause seizing. Oil-based flavorings or fat-soluble colorings are suitable but should be added sparingly and stirred in completely after the chocolate has been tempered and is at its working temperature.
Adding solid inclusions like nuts, dried fruit, or crispy rice needs to be done carefully to avoid cooling the chocolate down too much and causing it to set prematurely. Ensure inclusions are dry and ideally at room temperature or slightly warmed. Stir them in gently to avoid incorporating air bubbles. For white chocolate tempering with additions, consider flavors that complement white chocolate, like vanilla bean seeds, citrus zest (ensure it's dry), or freeze-dried fruit powders.
Tempering Vegan and Dairy-Free Chocolate
Tempering vegan and dairy-free chocolate presents its own set of challenges, particularly with vegan white chocolate. Traditional chocolate's tempering properties rely heavily on cocoa butter. Vegan chocolates often use alternative fats or blends, which may have different melting and crystallization profiles than pure cocoa butter. Vegan white chocolate, in particular, might use a blend of cocoa butter and other vegetable fats, or dairy-free milk solids substitutes.
The key is to understand the specific type of fat used in the vegan chocolate you are working with. Look for brands that specifically state they are temperable couverture. The temperature ranges might differ slightly from traditional chocolate, so following the manufacturer's recommended tempering curve is often necessary. Generally, vegan chocolates, including vegan white chocolate, tend to have slightly lower melting and working temperatures than their dairy counterparts. Patience, accurate temperature monitoring, and practice are even more critical when working with these alternative formulations.
Conclusion: Mastering the Art of Tempering Chocolate
Recap of Key Tempering Principles
Mastering chocolate tempering, including the specific challenges of white chocolate tempering, is a fundamental skill for elevating your baking and confectionery. The core principles involve precisely controlling temperature and applying agitation to guide the cocoa butter into its stable crystalline structure (Form V). This results in chocolate that is glossy, snaps cleanly, resists melting at room temperature, and is free from bloom. Key steps include careful melting to eliminate existing crystals, cooling to initiate stable crystallization, and gently reheating to the working temperature to melt unstable crystals.
Regardless of the method used – seeding, tabliering, or double boiler – accuracy with a thermometer is paramount. Understanding the specific temperature ranges for dark, milk, and white chocolate is crucial, noting white chocolate's lower thresholds and susceptibility to scorching. Maintaining a dry workspace and avoiding humidity are also non-negotiable for preventing the dreaded seizing.
Encouragement for Continued Practice and Experimentation
Tempering chocolate is often seen as intimidating, but it is a skill that becomes much easier with practice. Don't be afraid to try it. Start with smaller quantities of good quality chocolate. Pay close attention to the temperatures and the texture of the chocolate at each stage. Your first attempts might not yield perfect results, but you will learn from each batch.
Experiment with different types of chocolate and different methods to find what works best for you and your kitchen environment. With dedication, patience, and a focus on the key principles outlined in this white chocolate tempering guide, you will gain the confidence to consistently produce beautifully tempered chocolate for all your baking and confectionery projects, achieving that professional shine and snap that truly delights.
Frequently Asked Questions
What exactly is tempering white chocolate and why is it important?
Tempering white chocolate is the process of stabilizing the cocoa butter crystals within it. It's important because it gives the chocolate a smooth, glossy finish and a satisfying snap.
What are the common challenges faced when tempering white chocolate?
White chocolate is notoriously sensitive to heat. Overheating is a key challenge, leading to seizing or graininess. Another challenge is improper cooling, which can result in bloom.
What's the ideal temperature range for tempering white chocolate?
The ideal temperature range for tempering white chocolate is generally lower than for dark or milk chocolate. Typically, you want to melt it to around 110-115°F (43-46°C), then cool it to around 82-84°F (28-29°C) before working with it.
What are some easy methods for tempering white chocolate at home?
Several methods exist, including the seeding method, where you add unmelted chocolate to melted chocolate. Another is the microwave method, using short bursts of heat and constant stirring.
How can I tell if my white chocolate is properly tempered?
A properly tempered white chocolate will have a smooth, glossy sheen. A quick test is to dip a knife into the chocolate; if it hardens quickly and evenly with a glossy finish, it's likely tempered correctly.
Final Reflection: Mastering the Art of White Chocolate Tempering
The pursuit of perfectly tempered white chocolate remains a crucial skill for chocolatiers and home bakers alike, a testament to the enduring allure of this delicate confection. Its creamy texture and vibrant shine are not merely aesthetic; they represent a mastery of technique, a dedication to precision that elevates a simple ingredient into a work of art. The challenges are real, the rewards undeniable.
The journey of tempering white chocolate, as detailed in this guide, is more than just a recipe; it's a reflection of the dedication and patience required to achieve excellence in any craft. The process itself, with its careful monitoring of temperature and meticulous attention to detail, mirrors the dedication needed to overcome obstacles in life. The difference between ordinary and extraordinary is that little extra.
This quote resonates deeply with the subtle nuances of tempering, where a few degrees can mean the difference between a flawless finish and a disappointing result. The impact on the final product, the sheer elegance of perfectly tempered white chocolate, is a powerful reminder of the rewards of perseverance.
Now, it's your turn. Take the knowledge gained from this guide, experiment with the techniques, and embrace the challenges. Don't be discouraged by initial setbacks; remember the satisfaction of achieving that perfect snap, that brilliant sheen, that unforgettable melt-in-your-mouth texture. The art of white chocolate tempering is a journey of continuous learning, a testament to the power of dedication and precision. Embrace the process, and you too can master this delectable art.
Unlock the Secrets of Perfect White Chocolate!
Thanks for joining us on this journey into the world of white chocolate tempering! You've learned valuable techniques to avoid common pitfalls and achieve that beautiful, glossy shine. Now it's time to put your newfound knowledge into practice.
- Try tempering a small batch of white chocolate today! Use the techniques we discussed and see the difference firsthand. Challenge yourself to create something delicious!
- Share your tempering triumphs (or even your learning experiences!) on social media using #BakeWithEaseWhiteChocolate. Let’s inspire others!
- Explore our other baking guides for more tips and tricks to elevate your skills.
Ready to create your most flawless white chocolate creations yet? What delicious treat will you be tempering first?