
Don't Overbeat: Knowing When Your Meringue is Just Right to Avoid Collapse

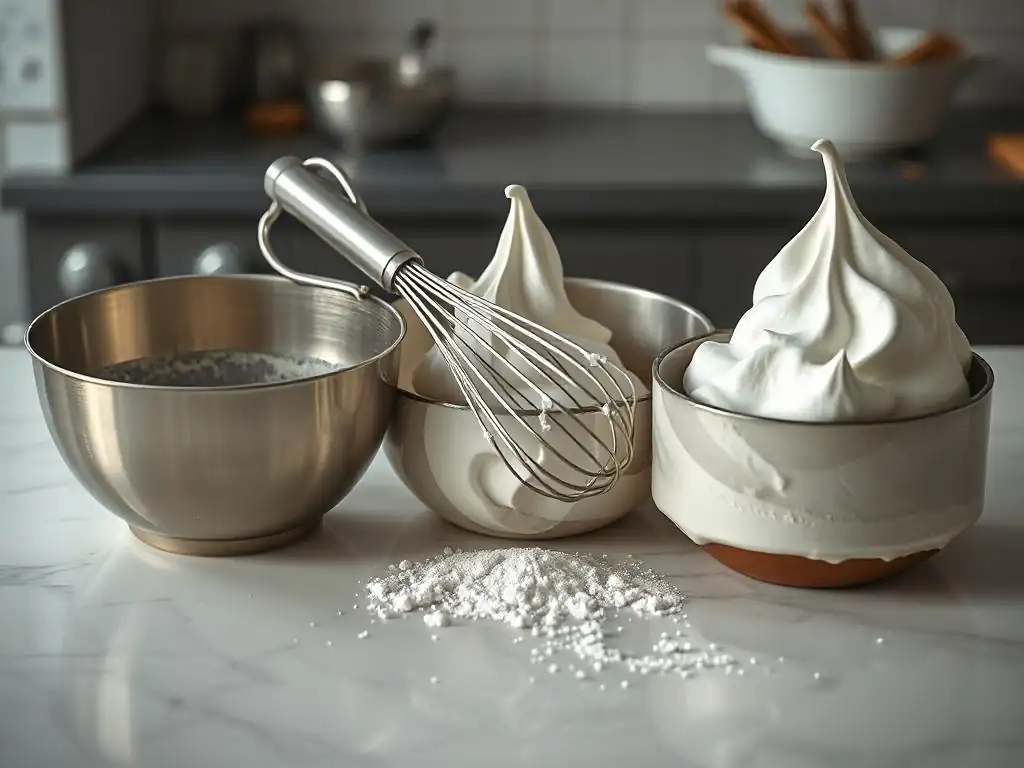
Welcome to BakeWithEase, where baking mastery begins! Ever wondered if you're really nailing your meringue? This week, we dive deep into the secrets of achieving the perfect meringue beating consistency. Discover the subtle visual cues that separate fluffy success from frustrating collapse. Unlock the foolproof techniques that will transform your baking forever...
- Understanding Meringue and Its Delicate Balance: BakeWithEase's Guide
- The Science of Meringue: Egg Whites and Sugar
- Meringue Beating Consistency Guide: Recognizing the Stages
- Identifying Overbeaten Meringue: Signs and Symptoms
- Troubleshooting Overbeaten Meringue: Is There a Fix?
- Tips for Achieving Perfect Meringue Beating Consistency
- Avoiding Meringue Collapse: Beyond Beating Consistency
- Meringue Mastery: Recipes to Practice Your Skills
- Mastering Meringue: BakeWithEase's Final Thoughts
- Frequently Asked Questions
- Final Reflection: Mastering Meringue for Culinary Success
- Unlock Your Perfect Meringue: Master the Art of the Whip!
Understanding Meringue and Its Delicate Balance: BakeWithEase's Guide
What is Meringue and Why Does Beating Matter?
Meringue is a delightful confection made primarily from whipped egg whites and sugar. At its heart, it's a fragile foam, with air bubbles trapped within a network of denatured egg white proteins. When you beat egg whites, mechanical action unfolds the proteins, which then bond together, creating a structure that can hold air. The more you beat, the more air is incorporated, and the stronger this protein network becomes, up to a point.
The process of beating is fundamental to creating meringue's characteristic light and airy texture. However, it's a process that requires precision. Underbeating won't create a stable enough structure to hold its shape or withstand baking, leading to a flat, weeping meringue. Crucially, overbeating is equally detrimental. It tightens the protein network too much, expelling the trapped air and causing the meringue to become dry, grainy, and ultimately, prone to collapse both before and after baking. Mastering the Meringue beating consistency guide is key to achieving that perfect balance.
Meringue Types: French, Swiss, and Italian – Key Differences for Baking Success
There are three primary methods for making meringue, each resulting in a slightly different consistency and stability, influencing how they are used in baking. Understanding these variations is part of a comprehensive Meringue beating consistency guide. French meringue, the simplest, involves whipping raw egg whites and gradually adding sugar. It's the least stable but ideal for light cookies or pavlova where a crisp, melt-in-your-mouth texture is desired.
Swiss meringue is made by heating egg whites and sugar together over a double boiler until the sugar dissolves and the mixture reaches about 130-140°F (54-60°C) before whipping. This gentle heating process creates a more stable, glossy, and slightly denser meringue, often used for frostings or baked Alaska.
Italian meringue, the most stable, involves whipping egg whites while drizzling in a hot sugar syrup heated to the soft-ball stage (around 240-245°F or 115-118°C). The hot syrup partially cooks the egg whites, resulting in a very stable, smooth, and glossy meringue perfect for buttercreams, soufflés, or as a topping that requires minimal baking, like on a lemon meringue pie.
The Science of Meringue: Egg Whites and Sugar
Egg Whites: The Foundation of a Stable Meringue
Egg whites are the star ingredient in meringue, primarily composed of water (about 90%) and protein (about 10%). The protein, particularly ovalbumin, is what makes meringue possible. When egg whites are whipped, mechanical force causes these proteins to unfold, or denature. This unfolding exposes hydrophobic (water-repelling) and hydrophilic (water-attracting) parts of the protein molecules.
As whipping continues, these denatured proteins rearrange themselves at the interface between the air bubbles you're incorporating and the liquid egg white. The hydrophobic parts face inward towards the air, while the hydrophilic parts face outward towards the water. This arrangement creates a thin, flexible film around each air bubble, stabilizing the foam. The strength and elasticity of this protein film are paramount to achieving the correct Meringue beating consistency guide stages and preventing the foam from collapsing.
Sugar's Role: Sweetness and Structure
Sugar plays multiple vital roles in meringue beyond just sweetness. When added gradually to whipped egg whites, sugar dissolves and interacts with the protein network. It helps to stabilize the foam by bonding with the proteins, preventing them from coagulating too tightly and becoming brittle. Think of sugar as a lubricant that allows the protein network to stretch and expand as air is incorporated, leading to a more voluminous and stable foam.
Furthermore, sugar contributes to the texture and structure of the finished meringue. In baked meringues like cookies or pavlova, the sugar crystallizes during the slow drying process in the oven, contributing to the crisp, delicate shell. The amount and type of sugar used can affect the final outcome; superfine sugar (caster sugar) is often preferred for meringue because its smaller granules dissolve more quickly and evenly, reducing the risk of a grainy texture, a common issue if the Meringue beating consistency guide isn't followed carefully regarding sugar incorporation.
The Importance of Clean Equipment for Optimal Meringue Volume
Achieving maximum volume and stability in meringue starts before you even crack an egg. Any trace of fat or oil, no matter how small, can wreak havoc on the egg white proteins' ability to denature and form a stable foam. Fat molecules interfere with the protein bonding process, preventing the formation of that crucial protein film around air bubbles. Even a tiny speck of egg yolk (which contains fat) in your egg whites can significantly reduce the volume and stability of your meringue.
Therefore, it is absolutely essential that your mixing bowl and whisk attachments are spotlessly clean and completely dry. Many bakers recommend wiping down the bowl and whisk with a small amount of vinegar or lemon juice on a paper towel before starting, followed by a dry paper towel wipe. This helps to remove any invisible greasy residue. Using a glass or metal bowl is generally preferred over plastic, as plastic can sometimes retain greasy films even after washing. A clean slate is the first step in any good Meringue beating consistency guide.
Meringue Beating Consistency Guide: Recognizing the Stages
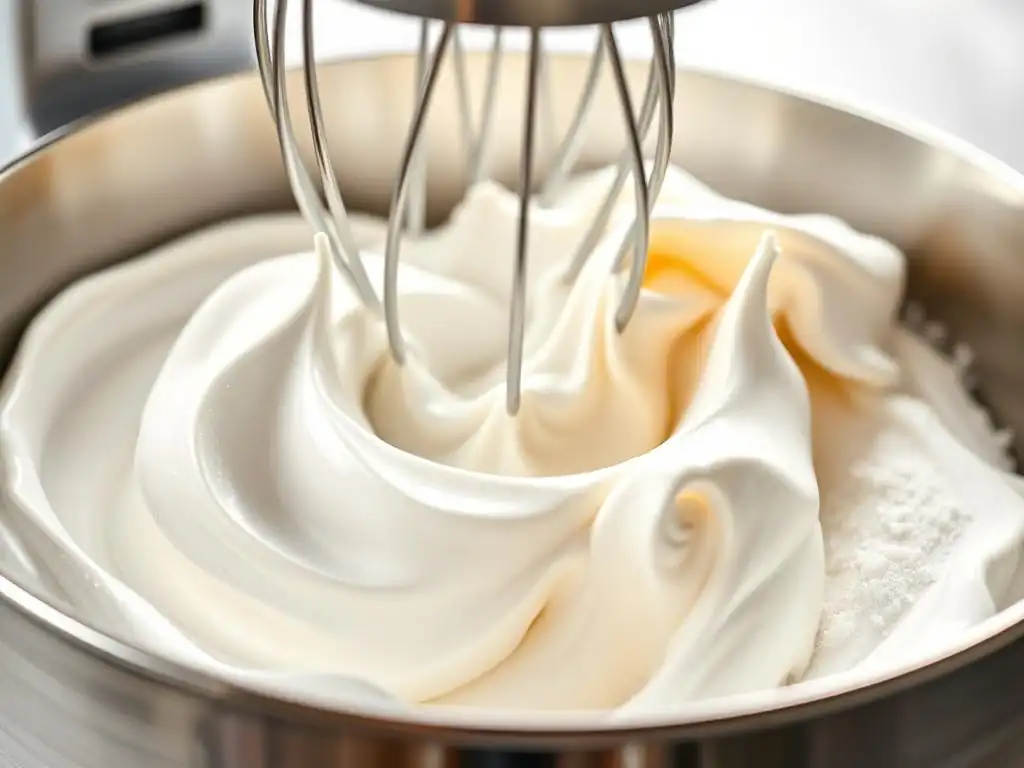
Understanding the different stages of meringue beating is the heart of any Meringue beating consistency guide. It's a visual and tactile process that requires attention.
Stage 1: Foamy Meringue - The Beginning
The initial stage of beating egg whites begins with large, loose bubbles. As you start whipping, the egg whites will look clear and liquidy, quickly transitioning to a cloudy, frothy appearance. This is the foamy stage. The bubbles are large and uneven, and the mixture is very unstable.
At this point, the egg white proteins are just beginning to unfold and capture air. The volume has increased slightly, but there is no structure to speak of. If you stop here, the foam would quickly deflate. This stage typically takes only 1-2 minutes with an electric mixer on medium speed. It's the signal that it's time to start thinking about adding your sugar, especially if you're making French meringue.
Stage 2: Soft Peaks - When to Add Sugar
Continuing to beat the foamy egg whites, the bubbles will become smaller and more uniform, and the mixture will turn opaque and white. When you lift the whisk, the meringue will form peaks that curl over immediately, like a soft wave. This is the soft peak stage.
This is the crucial point to begin gradually adding your sugar, especially for French meringue. Adding sugar too early can inhibit the egg whites from reaching their full potential volume. Adding it slowly, a tablespoon or two at a time, allows the sugar granules to dissolve properly and integrate into the protein structure without collapsing the foam. For Swiss and Italian meringues, the sugar is already incorporated before this stage, but recognizing soft peaks is still a good reference point for the raw egg white base before heating or syrup addition.
Stage 3: Stiff Peaks - The Ideal Meringue Consistency
As you continue beating after adding the sugar, the meringue will become much glossier, smoother, and significantly more stable. When you lift the whisk, the peaks will stand straight up without drooping. You should be able to invert the bowl (carefully!) and the meringue should stay firmly in place. This is the stiff peak stage, often considered the ideal Meringue beating consistency guide target for most applications, particularly for French meringue used in cookies or pavlova, and the final stage for Swiss and Italian meringues.
At stiff peaks, the protein network is fully developed, trapping a maximum amount of air, resulting in a voluminous and stable foam. The sugar should be completely dissolved, making the meringue smooth and shiny. Achieving this stage requires careful observation; it can happen relatively quickly after reaching soft peaks, and overshooting it leads directly to the next, undesirable stage.
Stage 4: Overbeaten Meringue - Identifying the Problem and How to Avoid It
Beating beyond the stiff peak stage results in overbeaten meringue. The protein network, pulled too tight, begins to break down, squeezing out the trapped air and liquid. Visually, the meringue loses its smooth, glossy sheen and starts to look dull, lumpy, and curdled, resembling cottage cheese.
Avoiding this stage is paramount for successful meringue. It's better to stop slightly before stiff peaks than to risk overbeating. Pay close attention to the texture and appearance as you approach the stiff peak stage. If you see signs of curdling or the meringue looks dry, you've likely gone too far. This is why a reliable Meringue beating consistency guide emphasizes recognizing the visual cues at each stage.
Identifying Overbeaten Meringue: Signs and Symptoms
Recognizing overbeaten meringue is crucial for anyone following a Meringue beating consistency guide. It's a state where the delicate foam structure has been compromised.
Dry and Curdled Appearance: Visual Cues
The most obvious sign of overbeaten meringue is its appearance. It loses the beautiful, smooth, glossy sheen that characterizes properly whipped meringue at stiff peaks. Instead, it looks dull, rough, and broken.
You'll notice distinct clumps forming within the mixture, separated by watery liquid that has been squeezed out of the over-tightened protein network. This curdled, cottage cheese-like appearance is a clear visual indicator that the meringue has been beaten too long and the structure has begun to collapse internally.
Loss of Volume: A Clear Indicator
While meringue increases in volume as you beat it through the foamy, soft peak, and stiff peak stages, overbeating causes this volume to decrease. As the protein network breaks down and expels air and liquid, the overall mass will shrink.
If your meringue seems to be deflating or looking less airy than it did a moment ago at stiff peaks, it's a strong sign you've overshot the mark. This loss of volume directly impacts the final baked product, leading to flat, dense meringues instead of light, airy ones.
Grainy Texture: Feeling the Difference
Beyond the visual cues, the texture of overbeaten meringue changes significantly. While perfectly whipped meringue at stiff peaks feels smooth and cohesive, overbeaten meringue feels grainy and coarse.
This graininess isn't just undissolved sugar; it's the feeling of the protein clumps that have formed as the structure broke down. Rubbing a small amount between your fingers will reveal this rough, gritty texture, a stark contrast to the silky feel of properly whipped meringue.
Weakened Structure: Predicting Collapse
The internal breakdown of the protein network in overbeaten meringue means its structural integrity is severely weakened. It can no longer hold its shape effectively.
If you try to pipe overbeaten meringue, it will likely be difficult to work with, appearing lumpy and lacking definition. Baked items made from overbeaten meringue are highly susceptible to cracking, weeping, and collapsing during or after baking because the fragile, broken structure cannot withstand the heat and drying process.
Troubleshooting Overbeaten Meringue: Is There a Fix?
Once meringue is overbeaten, its structure is fundamentally damaged. While there's no magical fix to fully restore it to its former glory, there are limited options depending on the severity and intended use. This is why preventing overbeating by following a Meringue beating consistency guide is always the best approach.
Can You Save Overbeaten Meringue? Limited Options and Techniques
For slightly overbeaten meringue that is just starting to look a little dull or slightly grainy, you might be able to gently whisk in one additional egg white by hand. This can sometimes help to loosen the mixture and incorporate a bit more air and protein to stabilize it. However, this is a delicate process and doesn't always work.
If the meringue is severely curdled and watery, it is generally beyond saving for applications requiring a stable, airy structure like meringue cookies or pie topping. In some cases, severely overbeaten meringue might be repurposed for a less critical use where texture is less important, such as folding into a cake batter (though this is not ideal) or incorporating into certain types of mousses where its structure is less critical than flavor. However, for most meringue recipes, it's usually best to discard it and start over, ensuring you pay close attention to the Meringue beating consistency guide this time.
Prevention is Key: Mastering the Beating Process
The most effective strategy for dealing with overbeaten meringue is to avoid it entirely. This means learning to recognize the visual and tactile cues for each stage of whipping and stopping as soon as stiff peaks are achieved. Don't walk away from the mixer during the final stages; pay close attention.
Understanding your mixer's speed settings and how quickly it whips egg whites is also part of mastering the Meringue beating consistency guide. Start on medium speed to break up the egg whites, then increase to medium-high or high speed once they become foamy. Once you've added all the sugar, watch carefully as the meringue transitions from soft to stiff peaks, and be ready to stop the mixer the moment the peaks hold their shape firmly.
Tips for Achieving Perfect Meringue Beating Consistency
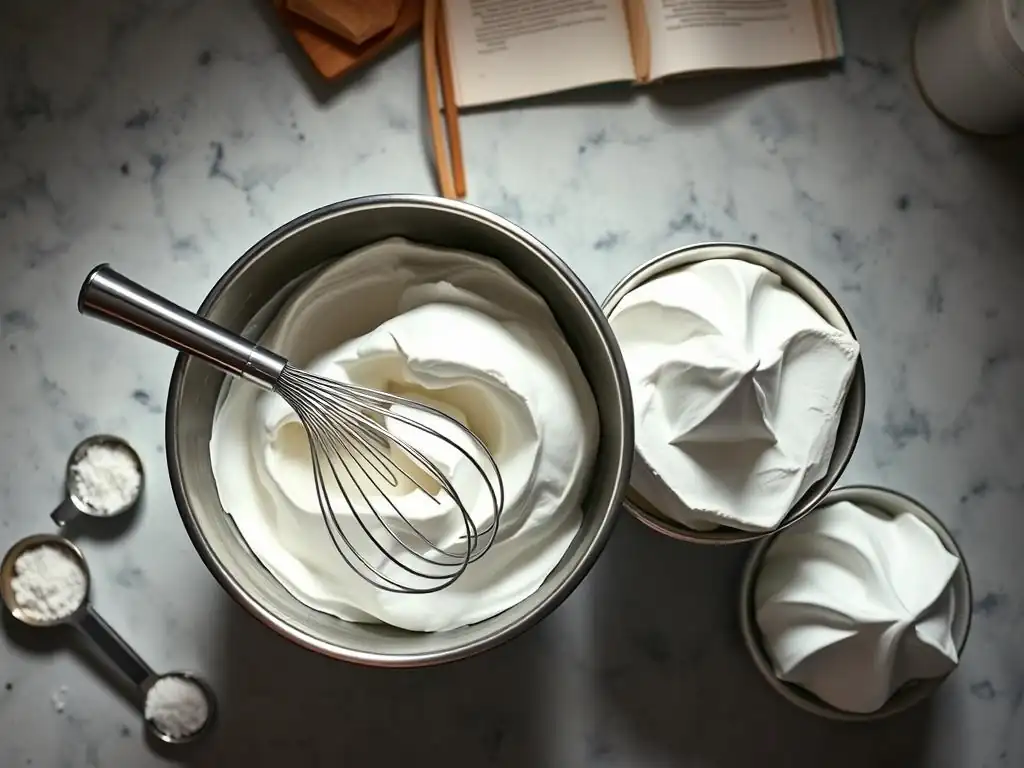
Achieving perfect meringue consistently involves more than just watching the mixer. Several factors contribute to success, all part of a comprehensive Meringue beating consistency guide.
Use Fresh Eggs: Quality Matters
The quality of your ingredients significantly impacts the outcome. Fresher eggs tend to have tighter, stronger protein structures in their whites compared to older eggs, which can become more watery.
While both fresh and older eggs can be used, very fresh eggs might take slightly longer to whip but can potentially yield a more stable meringue. Using fresh, large eggs (typically around 50-57 grams each, with about 30-35 grams of white) is a good starting point for consistent results following a Meringue beating consistency guide.
Room Temperature Egg Whites: Maximizing Volume
Egg whites whip up to a greater volume and more quickly when they are at room temperature compared to cold ones straight from the refrigerator. Colder egg whites are thicker and their proteins are less elastic, making it harder for them to denature and form a stable foam.
Allowing your eggs to sit out at room temperature for 30-60 minutes before separating the whites is a simple step that makes a noticeable difference. Alternatively, you can speed this up by placing the whole eggs in a bowl of warm water for 10-15 minutes. Warmer egg whites are more fluid, allowing air to be incorporated more easily and resulting in a higher, more stable foam, which is crucial for hitting the right Meringue beating consistency guide targets.
Gradual Sugar Addition: Ensuring Proper Dissolution
Adding sugar too quickly can weigh down the egg whites and prevent them from reaching full volume. It can also result in undissolved sugar granules, leading to a gritty meringue. The key is to add the sugar slowly and gradually once the egg whites have reached the soft peak stage (for French meringue).
Add the sugar one to two tablespoons at a time, allowing each addition to be fully incorporated and the meringue to return to a glossy state before adding the next batch. This process typically takes several minutes. For Swiss and Italian meringues, the sugar is dissolved via heat before whipping, eliminating the risk of grittiness from undissolved sugar during the whipping phase, but the principle of integrating the sugar smoothly remains part of their specific Meringue beating consistency guide.
Consistent Beating Speed: Control is Crucial
Using the right speed on your mixer is important. Starting on medium speed helps to gently break up the egg whites without splashing them everywhere. Once they are foamy, increasing the speed to medium-high or high (depending on your mixer) allows for efficient air incorporation and protein denaturation.
However, maintaining a consistent speed during the main whipping phase is better than constantly changing it. Avoid whipping on the absolute highest speed for the entire duration, as this can sometimes lead to overbeating more quickly. A steady, moderately high speed allows you to better observe the meringue's progression through the stages outlined in the Meringue beating consistency guide and stop precisely at stiff peaks.
Test Your Meringue: The Finger Test and Other Methods
Beyond just looking at the peaks, you can perform a simple test to check if the sugar is fully dissolved and the meringue is ready. Carefully rub a tiny amount of meringue between your thumb and forefinger. If it feels completely smooth with no grittiness, the sugar is dissolved. If you feel sugar granules, continue beating for another minute or two until smooth before checking again.
Another test, especially when following a Meringue beating consistency guide for stiff peaks, is the "beak test" or "curl test." Lift the whisk straight up from the meringue. The peak should stand straight up without curling over at the tip. If it curls, it's likely still at soft or medium peaks. If it stands straight and firm, you've hit stiff peaks.
Avoiding Meringue Collapse: Beyond Beating Consistency
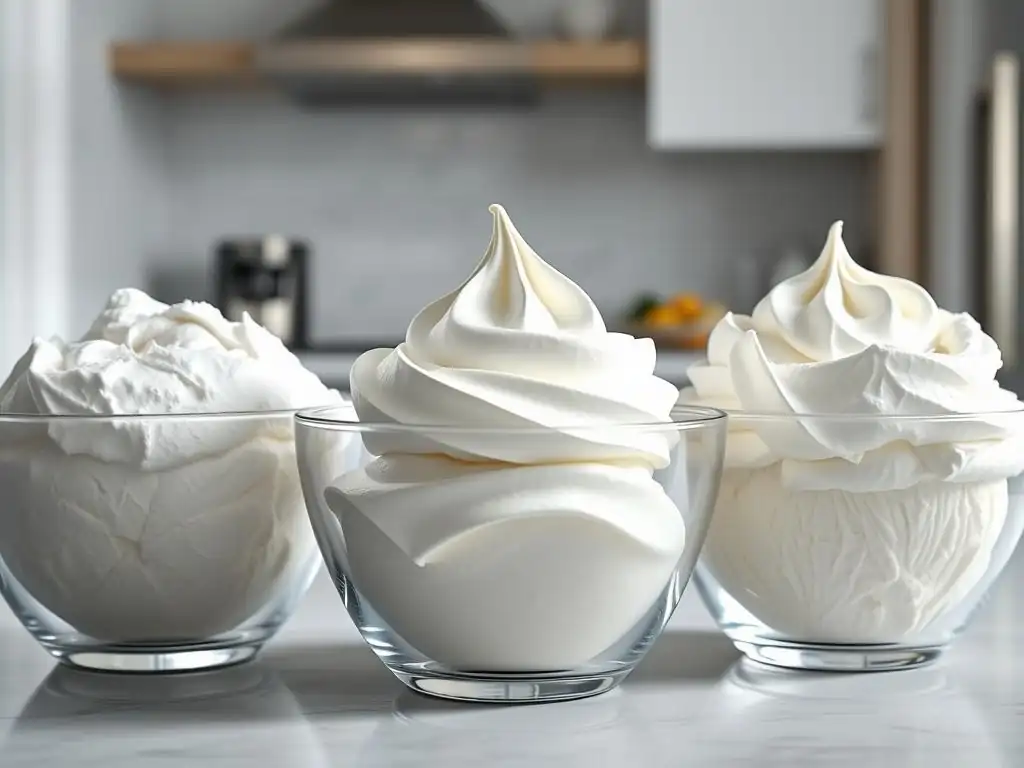
While proper Meringue beating consistency guide adherence is vital, other factors influence whether your meringue stays lofty and doesn't weep or collapse, particularly when baked.
Oven Temperature: Maintaining Stability
Baking meringue, especially meringue cookies or pavlova, isn't really baking in the traditional sense; it's a drying process. Meringues require a low oven temperature, typically between 200°F and 250°F (90°C and 120°C), for an extended period, often 60-90 minutes or even longer for larger pieces.
A temperature that is too high will cause the sugar to caramelize too quickly, potentially browning the meringue unevenly or causing it to crack. More importantly, it can heat the trapped air and moisture too rapidly, causing the structure to expand too fast and then collapse. A low, consistent temperature allows the meringue to dry out slowly and evenly, setting the protein and sugar structure without causing a sudden deflation. An accurate oven thermometer is a baker's best friend here.
Humidity Control: Minimizing Moisture
Meringue is highly susceptible to moisture. High humidity in the environment can prevent meringues from drying out properly during baking and can cause baked meringues to absorb moisture from the air, becoming sticky, soft, and eventually weeping or collapsing.
Bake meringues on a dry day if possible. Ensure your oven is properly vented if it has that feature. After baking, leaving the meringues in the turned-off oven as it cools down slowly can help them dry out further and minimize exposure to ambient humidity while they are still warm and vulnerable. Storing baked meringues in an airtight container after they are completely cool is also essential to protect them from moisture, extending their crispness and structural integrity achieved by following the Meringue beating consistency guide.
Cooling Process: Preventing Shrinkage
Rapid temperature changes can shock the delicate structure of baked meringue, leading to cracking or shrinkage. Once your meringues are baked and the oven is turned off, it's often recommended to let them cool down gradually inside the oven with the door slightly ajar.
This slow cooling process allows the internal temperature of the meringue to decrease gently, minimizing stress on the dried protein and sugar matrix. Removing them too quickly from a hot oven into cooler room air can cause them to contract rapidly and crack or even collapse. Patience during the cooling phase is just as important as patience during the beating phase described in the Meringue beating consistency guide.
Meringue Mastery: Recipes to Practice Your Skills
Putting your knowledge of the Meringue beating consistency guide into practice is the best way to master this technique. Here are a few classic recipes to try.
French meringue cookies are perhaps the most straightforward way to practice achieving stiff peaks and mastering the low-and-slow drying process.
- Ingredients:
- 2 large egg whites, room temperature
- 1/4 teaspoon cream of tartar (optional, helps stabilize)
- 1/2 cup superfine (caster) sugar
- 1/2 teaspoon vanilla extract (optional)
- Instructions:
- Preheat oven to 200°F (90°C). Line a baking sheet with parchment paper.
- Ensure bowl and whisk are scrupulously clean.
- Whip egg whites on medium speed until foamy (Stage 1). Add cream of tartar if using.
- Increase speed to medium-high. Gradually add sugar, 1-2 tablespoons at a time, waiting about 30 seconds between additions.
- Continue whipping until stiff, glossy peaks form (Stage 3). Check for dissolved sugar with the finger test.
- Whip in vanilla extract if using.
- Pipe or spoon dollops of meringue onto the prepared baking sheet.
- Bake for 60-90 minutes, or until meringues are dry and lift easily from the parchment. They should not be browned.
- Turn off oven and let meringues cool completely inside the oven with the door ajar.
- Store in an airtight container.
Lemon Meringue Pie Recipe: Putting Your Skills to the Test
Topping a lemon meringue pie requires a stable meringue that can hold its shape and brown beautifully under a broiler or in a hot oven for a few minutes. Italian or Swiss meringue is often preferred for its stability, but a well-made French meringue can also work if handled carefully. This recipe often uses a French meringue base, requiring careful adherence to the Meringue beating consistency guide for stiff peaks.
- Key Steps for the Meringue Topping:
- Prepare lemon filling and pour into a baked pie crust.
- Whip egg whites (typically 3-4 large) to soft peaks.
- Gradually add sugar (often 6-8 tablespoons per egg white), whipping until very stiff, glossy peaks form.
- Spread or pipe meringue over the hot lemon filling, ensuring it touches the crust all around to prevent shrinkage.
- Brown the meringue under a broiler for 1-2 minutes or in a hot oven (400°F/200°C) for 5-10 minutes until tips are golden brown. Watch constantly to prevent burning.
- Cool the pie completely before slicing to allow the filling to set and minimize weeping from the meringue.
Swiss Meringue Buttercream Recipe: A Smooth and Stable Option
Swiss meringue buttercream is renowned for its silky texture and stability, making it a favorite for frosting cakes. It utilizes the Swiss meringue method, where egg whites and sugar are heated before whipping, resulting in a meringue that is less prone to weeping and holds up well when combined with butter. Mastering the Meringue beating consistency guide for Swiss meringue involves heating to the correct temperature and whipping to firm, glossy peaks.
- Key Steps for Swiss Meringue Buttercream:
- Combine egg whites (typically 4-5 large) and sugar (about 1 cup) in a heatproof bowl set over a saucepan of simmering water (double boiler). Ensure the water doesn't touch the bottom of the bowl.
- Whisk constantly until the sugar is completely dissolved and the mixture reaches 130-140°F (54-60°C) on an instant-read thermometer.
- Remove the bowl from the heat and immediately whip the mixture on high speed using a stand mixer fitted with a whisk attachment.
- Whip until the meringue is very thick, glossy, and has cooled completely to room temperature. This can take 10-15 minutes. The bowl should feel cool to the touch. You should have very firm, stiff peaks.
- Switch to the paddle attachment (if using a stand mixer) and gradually add softened, unsalted butter, a few tablespoons at a time, mixing well after each addition until fully incorporated and the buttercream is smooth and fluffy. Add flavorings like vanilla extract.
Mastering Meringue: BakeWithEase's Final Thoughts
Meringue is a fundamental technique in baking that, while simple in ingredients, requires precision in execution. Understanding the science behind whipping egg whites and the role of sugar is the first step. The second, and perhaps most critical, is learning to read the meringue itself as it progresses through the stages of beating. This is where a reliable Meringue beating consistency guide becomes invaluable.
Achieving Meringue Perfection: Practice and Patience
Achieving perfect meringue consistency consistently takes practice. Don't be discouraged if your first attempt isn't flawless. Pay attention to what happens at each stage, learn to recognize the visual cues of foamy, soft peaks, and stiff peaks, and stop the moment you hit that glossy, firm, upright peak stage. Remember that overbeating is a common pitfall, and prevention is far easier than attempting a fix.
Patience is also key, both in the beating process (gradual sugar addition, allowing time to whip) and in the baking/cooling process (low temperatures, slow cooling). By focusing on these elements and consulting a Meringue beating consistency guide, you'll build the intuition needed to create beautiful, stable meringues for all your baking adventures.
Further Resources for Advanced Baking Techniques
If you're interested in diving deeper into advanced baking techniques like mastering meringue, explore resources that detail the science of ingredients, temperature control, and troubleshooting common baking issues. Look for guides on specific types of meringue (French, Swiss, Italian) and how they are used in different pastries. Understanding the interaction between ingredients and heat is key to unlocking many baking challenges, including achieving that perfect Meringue beating consistency guide result every time.
Frequently Asked Questions
What is the best way to tell if my meringue is at the soft peak stage?
The soft peak stage is reached when the meringue forms peaks that gently curl over when the whisk is lifted. The mixture will appear smooth and glossy, not stiff.
Why is the meringue consistency so important for baking success?
Meringue consistency directly affects the structure and texture of your baked goods. Overbeaten meringue becomes dry and grainy, while underbeaten meringue lacks stability and volume.
What happens if I overbeat my meringue?
Overbeating creates a dry, curdled meringue that will lack volume and weep liquid. This can result in a collapsed or dense baked product.
Can I fix overbeaten meringue?
Sometimes you can carefully add a small amount of unbeaten egg white to try and re-introduce some moisture and smoothness, but it's often better to start fresh.
What are some signs that my meringue is nearing the stiff peak stage?
The meringue will hold its shape firmly when the whisk is lifted, forming stiff, upright peaks. The mixture will be glossy and smooth, but not dry.
Final Reflection: Mastering Meringue for Culinary Success
In the delicate art of baking, understanding the nuances of meringue beating consistency is crucial for achieving the perfect texture and flavor. As we explore the intricacies of this timeless technique, it becomes evident that the ability to discern when your meringue is just right is not merely a skill but an essential aspect of culinary mastery. Today, as home bakers and professional chefs alike strive for perfection, the lessons learned from meringue preparation resonate more than ever, reminding us that patience and precision can lead to delightful results.
The influence of mastering meringue extends beyond the kitchen; it reflects a broader cultural appreciation for craftsmanship and attention to detail. In our fast-paced world, where instant gratification often overshadows the beauty of patience, the art of creating the perfect meringue serves as a metaphor for life itself. Success is the sum of small efforts, repeated day in and day out.
This quote encapsulates the essence of our culinary journey, emphasizing that every whisk and fold contributes to the final masterpiece. As we navigate the complexities of baking, we are reminded that the pursuit of excellence requires dedication and an understanding of the process.
As you reflect on the lessons of this meringue beating consistency guide, I invite you to embrace the journey of culinary exploration. Consider how the principles of patience, observation, and practice can be applied not only in your baking endeavors but also in your everyday life. Every time you step into the kitchen, remember that each attempt brings you closer to mastery, and every challenge is an opportunity for growth. Let this knowledge inspire you to create, experiment, and savor the sweet rewards of your efforts.
Unlock Your Perfect Meringue: Master the Art of the Whip!
Thanks for taking the time to explore the secrets of meringue perfection! We hope you now feel confident in achieving those flawlessly glossy peaks. Ready to put your newfound knowledge to the test?
- Bake your dream meringue: Try out the recipe variations mentioned in the article, experimenting with different sweeteners and flavors! Let us know your favourite in the comments!
- Share your meringue masterpieces: Show off your baking skills by sharing your creations on social media using #BakeWithEaseMeringue. We’d love to see them!
- Dive deeper into baking: Explore our other articles on mastering classic baking techniques – from perfect buttercream to flawlessly crumbed cakes!
What unexpected flavor combination are you excited to try in your next meringue creation?