
Adding Ingredients MidCycle: How to Use Your Bread Machine Smartly

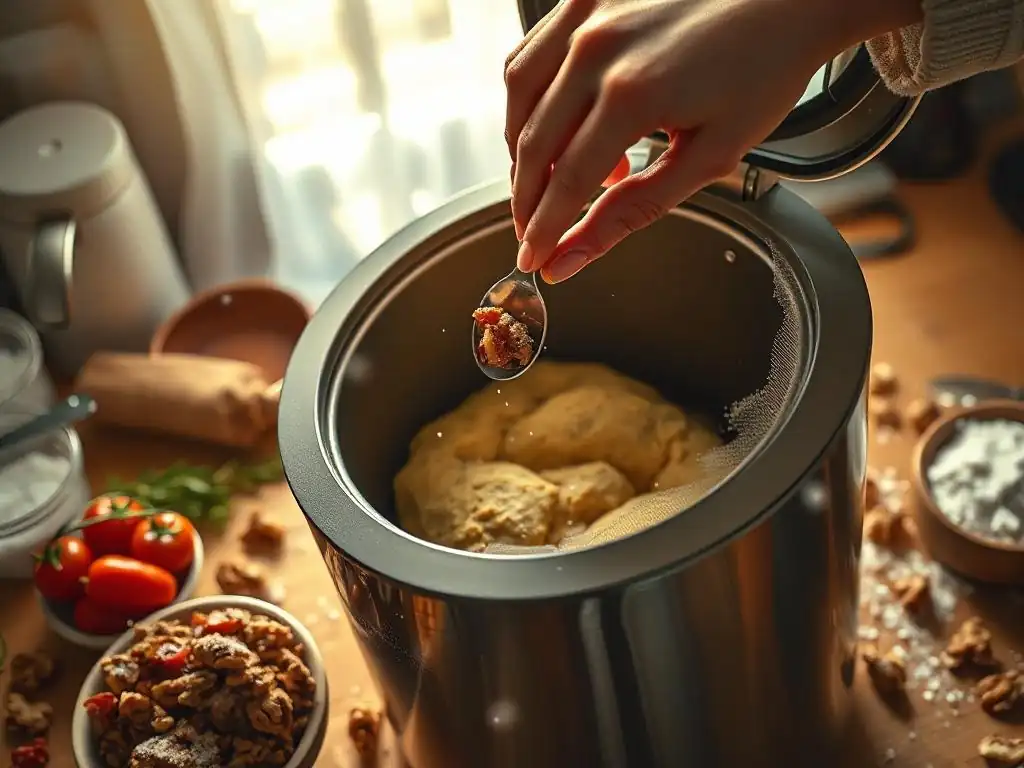
Welcome to BakeWithEase, your baking companion! Ever wondered if you could really fine-tune your bread machine's dough? Our latest guide explores the secrets of bread machine dough adjustments, revealing how strategic ingredient additions mid-cycle can unlock a world of flavor and texture possibilities. Discover the insider tips and tricks to elevate your baking game – are you ready to take control and bake beyond the basics?
- BakeWithEase Guide to Dough Adjustments for Bread Machines
- Understanding Bread Machine Cycles and Ingredient Timing
- When to Add Specific Ingredients for Optimal Results
- Adjusting Dough Consistency During the Kneading Cycle
- Advanced Techniques: Refining Bread Machine Bread
- Recipe Adaptations: Strategies for Incorporating Add-Ins
- Final Thoughts: Mastering Dough Adjustments for Superior Bread
-
Frequently Asked Questions
- Can I add extra ingredients to my bread machine dough after the cycle has started?
- What types of ingredients are typically added mid-cycle in a bread machine?
- How do I know when to add ingredients to my bread machine mid-cycle for the best results?
- Will adding ingredients mid-cycle significantly change the rise time of my bread?
- What precautions should I take when adding ingredients mid-cycle to avoid damaging my bread machine?
- Final Reflection: The Art of Improvisation in Baking
- Unlock Your Bread Machine's Full Potential!
BakeWithEase Guide to Dough Adjustments for Bread Machines
Welcome back to BakeWithEase! Mastering your bread machine goes beyond simply adding ingredients and pressing start. One of the most effective ways to elevate your bread machine loaves is by making bread machine dough adjustments and adding ingredients at the optimal moment during the cycle. This allows you to incorporate delicate or flavorful additions without compromising the dough's structure or the machine's mechanics.
Understanding the rhythm of your bread machine and knowing when and how to make slight bread machine dough adjustments can transform a basic loaf into something truly special. Whether you're aiming for a rustic seeded loaf or a sweet fruit-filled bread, timing and technique are key. Let's dive into the cycles and learn how to make smart additions.
Understanding Bread Machine Cycles and Ingredient Timing
Bread Machine Stages: A Concise Overview
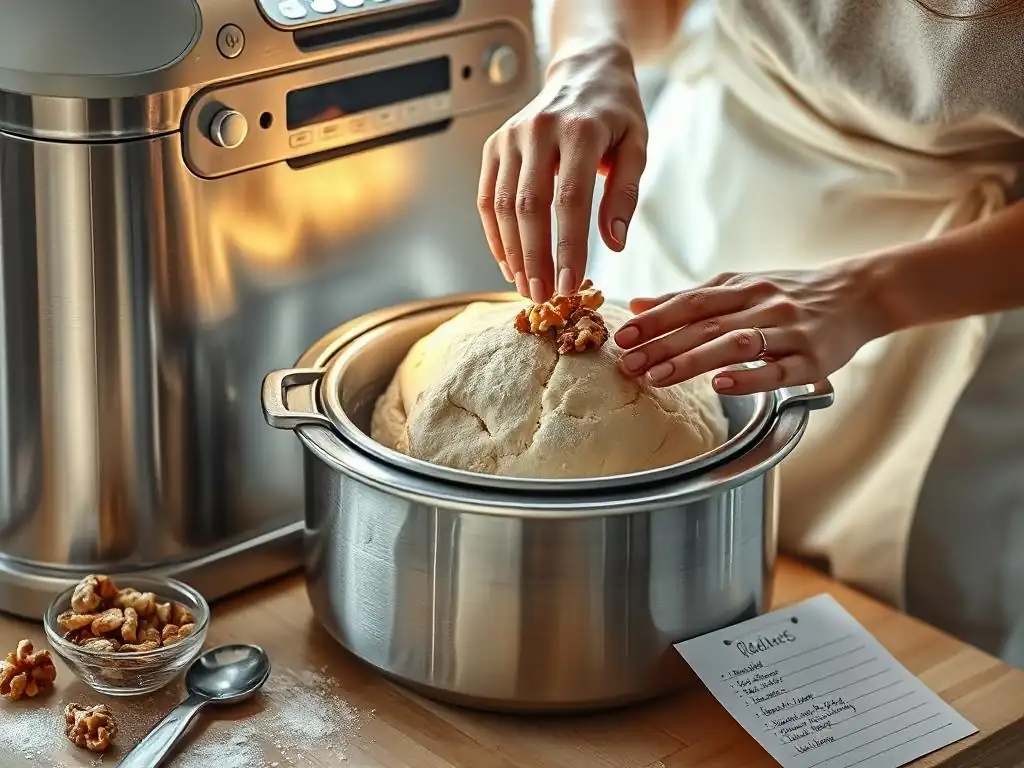
A typical bread machine cycle involves several distinct stages: kneading, rising (or proofing), and baking. The initial kneading cycle, which often includes a rest period, is crucial for developing gluten structure. This is usually when the machine mixes the main ingredients like flour, water, yeast, salt, and sugar into a cohesive dough. Following the initial kneading, the dough enters the first rise, then often a second shorter kneading or punch-down cycle, followed by subsequent rises, and finally, the baking phase.
Most bread machines have a specific signal or 'beep' during the second kneading cycle, precisely timed for adding extra ingredients like nuts, seeds, fruits, or herbs. This timing is deliberate: adding them too early during the initial, vigorous kneading can crush delicate items or interfere with gluten development, while adding them too late might result in uneven distribution. Recognizing this signal is a fundamental step in making successful bread machine dough adjustments for add-ins.
Enhancing Flavor & Texture: Why Add Ingredients Mid-Cycle?
Adding ingredients mid-cycle, typically during the second kneading phase, offers significant advantages for both the flavor and texture of your bread. Delicate ingredients like nuts, dried fruits, chocolate chips, or fresh herbs can be easily broken down or smeared if subjected to the full, lengthy initial kneading process. By adding them later, you preserve their shape, texture, and distinct flavor profiles, ensuring they are distributed throughout the loaf without becoming pulverized.
Furthermore, some ingredients, like certain seeds or coarse grains, can absorb moisture or even interfere with yeast activity if mixed in too early. Adding them at the designated time, often around 10-20 minutes into the second kneading cycle depending on the machine and program, allows the main dough structure to form properly first. This strategic bread machine dough adjustment ensures that your final loaf has the desired crumb structure, even distribution of add-ins, and optimal flavor.
Impact of Timing on Bread Machine Bread Quality
The timing of ingredient addition profoundly impacts the final quality of your bread machine loaf. Adding ingredients too early, during the initial high-speed kneading, can bruise fresh herbs, crush nuts, break down dried fruit, or even inhibit gluten formation by coating the flour particles. For instance, adding sticky dried fruits at the very beginning can prevent proper dough development, leading to a dense loaf.
Conversely, adding ingredients too late after the final kneading is complete means they won't be properly incorporated into the dough. They might simply sit on the surface or create large pockets, leading to uneven texture and distribution. The machine's 'add-in' signal is specifically timed to fall within the second kneading phase, allowing the ingredients to be gently folded into the already-formed dough structure, resulting in even distribution and preserving the integrity of the add-ins – a key element in effective bread machine dough adjustments.
When to Add Specific Ingredients for Optimal Results
Adding Seeds and Grains: Texture and Nutritional Boost
Incorporating seeds and grains is a popular way to add texture, flavor, and nutritional value to bread. However, adding them at the wrong time can lead to issues like crushed seeds, uneven distribution, or hydration problems. Most recipes designed for bread machines will specify adding seeds and grains at the 'add-in' signal, which occurs during the second kneading cycle.
For smaller seeds like poppy or sesame, adding them at the signal prevents them from being pulverized during the initial vigorous mixing. For larger seeds like sunflower or pumpkin seeds, or whole grains, the later addition helps maintain their structure and prevents them from interfering with the initial gluten development. This precise bread machine dough adjustment ensures a pleasant texture throughout the loaf.
Adding Seeds: Preventing Crushing and Ensuring Even Distribution
Adding seeds like flax, chia, sesame, poppy, or sunflower seeds at the bread machine's add-in signal is crucial for maintaining their integrity. If added at the beginning, the intense kneading action can grind smaller seeds or break larger ones, potentially releasing oils that can affect dough consistency. Waiting for the signal, typically about 5-15 minutes into the second kneading, allows them to be gently folded into the developed dough.
To ensure even distribution, simply pour the measured seeds into the pan when the machine beeps. The ongoing gentle kneading will incorporate them throughout the dough. For a standard 1.5 lb loaf, adding anywhere from 2 to 4 tablespoons of mixed seeds is a common range. This timed bread machine dough adjustment prevents a layer of crushed seeds at the bottom and ensures every slice has a delightful seedy bite.
Incorporating Grains: Soaking, Cooking, and Proper Hydration
Incorporating whole grains like oats, barley, or rye berries into bread machine recipes requires careful consideration, especially regarding hydration. Some grains, like rolled oats, can be added directly at the add-in signal, absorbing moisture from the dough during proofing and baking. For a 2 lb loaf, adding about 1/4 to 1/2 cup of rolled oats is a typical amount.
Other grains, particularly harder ones like wheat berries or rye berries, often benefit from pre-soaking or even cooking before being added to the dough. This softens them and prevents them from absorbing too much liquid from the dough, which could result in a dry loaf. If using pre-soaked or cooked grains, ensure they are well-drained before adding them at the add-in signal. This thoughtful bread machine dough adjustment ensures the grains are tender and the dough hydration remains balanced.
Adding Fruits and Nuts: Sweet and Savory Delights
Adding fruits and nuts is a fantastic way to create sweet or savory specialty breads. Common additions include dried cranberries, raisins, chopped apricots, walnuts, pecans, or almonds. As with seeds and grains, the timing of these additions is paramount to prevent crushing and ensure they are evenly distributed throughout the loaf.
Adding them at the bread machine's designated signal prevents the kneading paddle from breaking them down excessively, which is particularly important for delicate nuts or soft dried fruits. It also helps prevent heavier additions like nuts from sinking to the bottom of the loaf during the rise and bake cycles. This simple bread machine dough adjustment makes a significant difference in the final texture and appearance.
Adding Dried Fruits: Preventing Sinking and Maintaining Moisture
Dried fruits like raisins, cranberries, or chopped apricots are popular bread additions. Adding them at the start of the cycle can cause them to be ripped apart by the kneading paddle, potentially smearing sticky fruit throughout the dough and affecting gluten development. Adding them at the add-in signal, usually during the second kneading, allows them to be gently folded in, maintaining their shape and texture.
For a standard loaf, adding around 1/2 to 1 cup of dried fruit is common. If the dried fruit is particularly dry, soaking it briefly in warm water and draining well before adding can help it remain soft in the baked bread. This small bread machine dough adjustment of timing prevents the fruit from becoming a sticky mess and helps ensure it stays suspended throughout the loaf rather than sinking.
Adding Nuts: Avoiding Crushing and Achieving Desired Texture
Nuts such as walnuts, pecans, or almonds add wonderful crunch and flavor to bread. They are quite susceptible to being crushed by the bread machine's kneading paddle if added too early. Adding them at the add-in signal preserves their structure, resulting in distinct pieces of nut in the final loaf rather than fine crumbs.
The amount of nuts to add depends on preference, but typically ranges from 1/2 cup to 1 cup for a 2 lb loaf. Chopping nuts into moderately sized pieces (e.g., 1/4 to 1/2 inch) before adding them at the signal helps with even distribution and prevents them from clumping together. This careful bread machine dough adjustment ensures you get satisfying bites of nut throughout your bread.
Adding Herbs and Spices: Aromatic Bread Variations
Herbs and spices can infuse your bread with delightful aromas and flavors, turning a simple loaf into something special like an Italian herb bread or a cinnamon swirl loaf. The form of the herb or spice (fresh vs. dried) dictates the best timing for addition.
Dried herbs and spices can often be added at the very beginning of the cycle with the dry ingredients, as they are less delicate and their flavors need time to meld. However, fresh herbs require different timing to preserve their freshness and flavor. Understanding this distinction is a key part of making effective bread machine dough adjustments for flavor.
Adding Fresh Herbs: Timing and Considerations for Flavor Release
Fresh herbs like rosemary, thyme, or chives add a vibrant, fresh flavor to bread. Due to their delicate nature and potential to oxidize or break down during long kneading cycles, they are best added at the bread machine's add-in signal, alongside fruits or nuts. This allows them to be incorporated gently into the dough.
For a 1.5 lb loaf, adding 2 to 3 tablespoons of finely chopped fresh herbs is a good starting point. Adding them at the signal ensures their flavor is more pronounced in the final baked bread. Adding them too early can result in their flavors dissipating or becoming bitter. This specific bread machine dough adjustment maximizes the impact of fresh ingredients.
Using Spices: Enhancing Flavor Without Inhibiting Yeast
Ground spices like cinnamon, nutmeg, or cardamom, as well as dried herbs like oregano, basil, or dill, can generally be added at the beginning of the bread machine cycle along with the flour and other dry ingredients. Their flavors are less volatile than fresh herbs and benefit from being dispersed throughout the dough from the start.
However, some spices, particularly those with strong antimicrobial properties (like high concentrations of garlic or onion powder), can potentially slow down yeast activity if added in very large quantities. For most standard recipes using typical amounts (e.g., 1-2 teaspoons of cinnamon), adding them at the beginning is fine. If experimenting with larger quantities or potent spices, adding them at the add-in signal could be a prudent bread machine dough adjustment to protect yeast vitality, though this is less common than for fresh ingredients.
Adjusting Dough Consistency During the Kneading Cycle
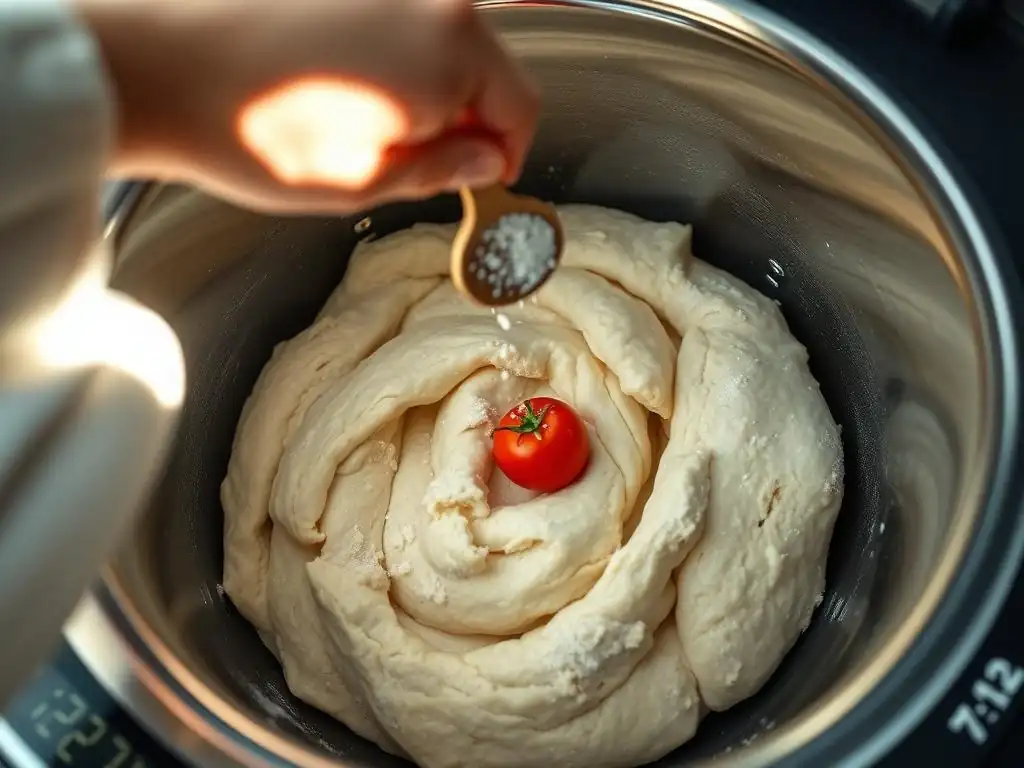
Even when following a recipe precisely, variations in flour type, humidity, and ingredient measurement can lead to dough that is too wet or too dry. Fortunately, the kneading cycle provides a window of opportunity to make small bread machine dough adjustments to achieve the ideal dough consistency. This is often best done during the initial kneading phase, before the first rise.
Observing the dough as it kneads is crucial. It should form a smooth, elastic ball that cleans the sides of the pan, perhaps sticking slightly only at the very bottom. If it's too sticky and slaps against the sides, it's likely too wet. If the machine sounds strained or the dough looks crumbly and isn't forming a cohesive ball, it's likely too dry.
Dough Too Wet? Correcting Excess Moisture
A dough that is too wet will appear slack, sticky, and will stick excessively to the sides of the bread machine pan during kneading. This can happen if you've slightly overmeasured the liquid, or if you're using a flour with lower protein content that absorbs less water. Excessively wet dough can lead to a loaf that collapses during baking or has a very dense, gummy texture.
The solution is to add a small amount of flour during the kneading cycle to help the dough absorb the excess moisture and achieve the correct consistency. This simple bread machine dough adjustment needs to be done gradually to avoid overcorrecting and making the dough too dry.
Adding Flour: A Gradual Approach to Perfect Consistency
If you observe your dough is too wet during the first kneading cycle, add flour very gradually. Stop the machine briefly, add just one tablespoon of bread flour (or the type of flour used in the recipe) over the dough, close the lid, and restart the kneading. Let the machine knead for a minute or two and observe the dough again.
Continue adding flour one tablespoon at a time, waiting a couple of minutes between additions, until the dough forms a smooth, elastic ball that pulls cleanly away from the sides of the pan. For a standard 1.5 lb loaf, you might need to add anywhere from 1 to 4 tablespoons of flour, depending on how wet the dough was initially. This careful bread machine dough adjustment is key to achieving the right dough structure.
Dough Too Dry? Restoring Optimal Hydration
Conversely, dough that is too dry will look shaggy or crumbly and will not form a smooth ball. It might struggle to come together, and the machine's motor might sound labored. Dry dough won't develop gluten properly, resulting in a dense, heavy loaf with poor volume. This can occur if you've undermeasured liquid or if you're using a very absorbent flour without adjusting the recipe.
The fix for dry dough is to add more liquid during the kneading cycle. Just like adding flour, this bread machine dough adjustment must be done slowly and incrementally to avoid making the dough too wet.
Adding Water: Small Increments for Balanced Dough
If your dough appears too dry during the initial kneading, add liquid very gradually. Stop the machine, add just one teaspoon of warm water (or milk/liquid specified in the recipe) over the dough, close the lid, and resume kneading. Observe the dough for a minute or two.
Continue adding liquid one teaspoon at a time, allowing the machine to knead between additions, until the dough comes together into a smooth, elastic ball. It should clean the sides of the pan, maybe sticking just a little at the bottom. For a 1.5 lb loaf, you might need to add anywhere from 1 to 3 teaspoons of liquid. This precise bread machine dough adjustment restores hydration and allows for proper gluten development.
Advanced Techniques: Refining Bread Machine Bread
Beyond simply adding ingredients at the beep, there are more advanced techniques you can employ to refine your bread machine baking and make even better bread machine dough adjustments. These involve actively monitoring the dough's development and understanding how minor interventions can improve the final loaf structure and texture.
Becoming attuned to the look and feel of correctly kneaded dough is a skill that develops with practice. Paying attention during the initial kneading phase allows you to make timely corrections for hydration. Furthermore, understanding how different ingredients affect dough development helps you anticipate potential issues and adjust accordingly.
Monitoring Dough Development: Visual Cues and Tactile Feedback
During the initial kneading cycle, pay close attention to the dough. As mentioned earlier, it should form a smooth, elastic ball. It shouldn't be sticking excessively to the sides or the bottom of the pan. A well-developed dough will look smooth and feel slightly tacky but not sticky when you touch it (be careful of the moving paddle! ).
If your machine has a window, watch how the dough behaves. Is it struggling to come together? Is it slapping wetly against the sides? Learning these visual cues is essential for knowing when to make bread machine dough adjustments for hydration. You can also briefly open the lid (most machines pause when opened) and gently touch the dough ball to assess its tackiness.
Adjusting Kneading Time: Optimizing Gluten Development
While bread machines have pre-programmed kneading times, sometimes minor adjustments can be beneficial, especially when experimenting with different flours or heavily enriched doughs. Most standard cycles provide sufficient kneading, but if you are using a whole grain flour or adding a lot of heavy ingredients, the dough might benefit from a little extra development.
Some machines have a "Dough" cycle that you can stop and restart manually, giving you more control over kneading time. If you find your dough consistently lacks structure or tears easily after the programmed kneading, you might consider running the kneading cycle for an extra 5-10 minutes if your machine allows, or using the manual dough cycle. This bread machine dough adjustment can improve crumb structure and loaf volume.
Troubleshooting Dough Problems: Common Issues and Solutions
Several common issues can arise during the dough phase that require bread machine dough adjustments. If the dough doesn't rise properly, ensure your yeast is fresh and the liquid temperature was correct (not too hot). If the dough overflows the pan, you might have used too much yeast or too much flour/liquid for your machine's capacity.
Sticky dough that won't form a ball usually needs more flour, added a tablespoon at a time. Dry, crumbly dough needs more liquid, added a teaspoon at a time. If add-ins like fruit sink, ensure they were added at the correct signal and consider lightly dusting them with a tablespoon of flour before adding to help them stay suspended – another small but effective bread machine dough adjustment.
Recipe Adaptations: Strategies for Incorporating Add-Ins
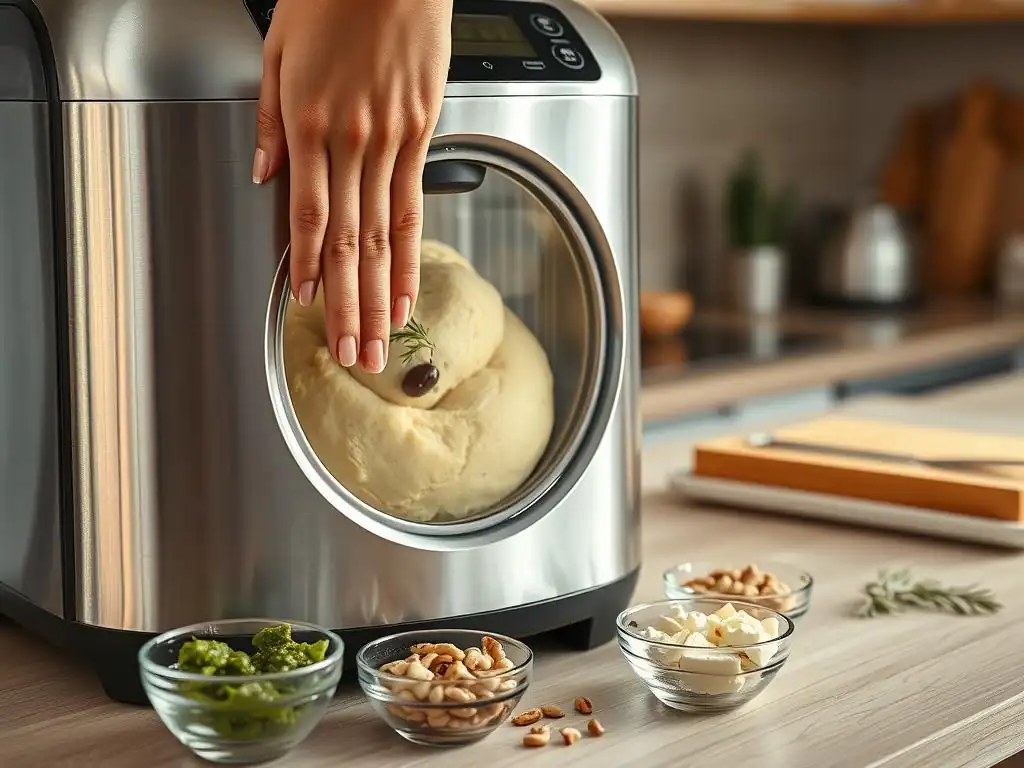
Successfully incorporating add-ins into your bread machine recipes often requires more than just tossing them in at the beep. You might need to slightly adapt the base recipe to account for the volume and potential moisture contribution or absorption of the added ingredients. This is where understanding ingredient ratios and basic recipe adaptation comes into play – key aspects of making effective bread machine dough adjustments.
Thinking of add-ins not just as extras but as integral parts of the recipe helps in planning. For instance, adding a large quantity of moist ingredients like olives or sun-dried tomatoes might mean slightly reducing the initial liquid. Conversely, adding very dry ingredients like bran or certain seeds might require a slight increase in liquid.
Adapting Recipes: Calculating Liquid and Dry Ingredient Ratios
When adding a significant amount of ingredients like fruits, nuts, or vegetables to a standard bread machine recipe, consider their impact on the overall hydration. For example, if adding 1 cup of moist ingredients like chopped olives or sautéed onions, you might need to reduce the initial liquid (water or milk) by approximately 1/4 cup.
If adding very dry ingredients like extra bran, whole grains, or large amounts of seeds, you might need to increase the liquid slightly, perhaps by 1 to 2 tablespoons per 1/4 cup of dry add-in. Making these proactive bread machine dough adjustments to the base liquid/dry ratios helps maintain the correct dough consistency from the start, reducing the need for mid-kneading corrections.
Ingredient Ratios: Understanding Proportions for Success
Understanding the basic ratios in bread making helps you make informed bread machine dough adjustments. A common ratio for white bread is roughly 3 parts flour to 2 parts liquid by weight (or volume, depending on the recipe type). Add-ins add volume and weight, and can also affect hydration.
For a 2 lb loaf (typically using around 3-3.5 cups of flour), adding a total of 1 to 1.5 cups of mixed add-ins (like nuts, seeds, dried fruit) is a common guideline. Exceeding this amount can sometimes overwhelm the dough structure or lead to uneven baking. Keeping add-ins within a reasonable proportion relative to the flour helps ensure the dough rises and bakes correctly.
Sample Recipes: Olive & Rosemary Bread and Cranberry Walnut Bread
Let's consider two examples demonstrating bread machine dough adjustments for add-ins.
For an Olive & Rosemary Bread (2 lb loaf): Start with a basic white or Italian bread recipe. You might use around 3 cups of bread flour, 1 cup warm water, 1.5 tsp salt, 1 tbsp sugar, 1.5 tsp active dry yeast, and 2 tbsp olive oil.
At the add-in signal, add 1 cup of pitted, roughly chopped olives (ensure they are not excessively briny; pat dry if needed) and 2-3 tablespoons of fresh chopped rosemary. Because olives add some moisture and salt, you might slightly reduce the initial salt to 1 tsp and the water by 1-2 tablespoons, observing the dough during kneading for consistency.
For a Cranberry Walnut Bread (1.5 lb loaf): Start with a slightly enriched dough (maybe adding 1 tbsp butter or oil). Use around 2.5 cups bread flour, 3/4 cup warm water or milk, 1 tsp salt, 2 tbsp sugar, 1 tsp active dry yeast. At the add-in signal, add 1/2 cup dried cranberries and 1/2 cup chopped walnuts.
No initial liquid adjustment is typically needed here as the cranberries are relatively dry, but you might consider soaking the cranberries briefly if they are very hard. These specific additions at the correct time are key bread machine dough adjustments for these recipes.
Final Thoughts: Mastering Dough Adjustments for Superior Bread
Making bread machine dough adjustments, whether adding ingredients mid-cycle or correcting consistency during kneading, is a skill that significantly enhances your bread baking results. It transforms your bread machine from a simple appliance into a versatile tool capable of producing a wide variety of delicious, texturally interesting loaves.
By understanding the different cycles, recognizing the ideal dough consistency, and knowing the best time to add specific ingredients, you gain greater control over the process. Don't be afraid to observe your dough and make small, incremental adjustments. With practice, you'll develop an intuition for what your dough needs, leading to consistently superior bread machine creations. Happy baking!
Frequently Asked Questions
Can I add extra ingredients to my bread machine dough after the cycle has started?
Yes, you can often add ingredients after the initial kneading. However, it's best to add them during the second kneading phase if your machine has one, or after the first kneading is complete.
What types of ingredients are typically added mid-cycle in a bread machine?
Common additions include fruits, nuts, seeds, chocolate chips, and herbs. These are often added later to prevent them from being overly processed during the initial mixing.
How do I know when to add ingredients to my bread machine mid-cycle for the best results?
Listen for the audible signals from your machine. Many bread machines will beep to indicate when it's time to add extra ingredients. If yours doesn't, observe the dough after the first kneading cycle.
Will adding ingredients mid-cycle significantly change the rise time of my bread?
Adding wet ingredients could potentially slightly affect the rise time, but generally, the impact is minimal. Just monitor the dough's progress to ensure it doubles in size.
What precautions should I take when adding ingredients mid-cycle to avoid damaging my bread machine?
Always add ingredients carefully and avoid overfilling the bread pan. Be sure to distribute the ingredients evenly to prevent clumping or uneven baking.
Final Reflection: The Art of Improvisation in Baking
Mastering the bread machine isn't just about following recipes; it's about embracing the unexpected. The ability to add ingredients mid-cycle, as we've explored, transforms your bread machine from a simple appliance into a versatile tool capable of creating truly unique and personalized loaves. This skill isn't just a kitchen hack; it's a testament to the adaptable nature of baking itself.
The freedom to adjust dough mid-cycle reflects a broader shift in our approach to cooking – a move away from rigid adherence to recipes and towards a more intuitive, experimental style. This resonates deeply with me, as I've found that the most rewarding baking experiences often arise from embracing spontaneity and adapting to the nuances of each ingredient and machine. The best recipes are those that inspire you to create your own.
– This unsourced quote perfectly captures the spirit of confident baking.
Now, I invite you to consider your own baking journey. What adjustments have you made to your bread machine recipes? What unexpected flavors have you discovered? Don't be afraid to experiment, to deviate from the norm, and to trust your instincts. The next time you're faced with a less-than-perfect dough, remember the power of mid-cycle adjustments. Embrace the challenge, and unlock the full potential of your bread machine – and your creativity.
Unlock Your Bread Machine's Full Potential!
Thanks for taking the time to explore the art of mid-cycle bread making! You've now unlocked a whole new level of bread-baking creativity. Ready to put your newfound knowledge into practice?
- Experiment with add-ins: Try adding those dried cranberries, nuts, or even chocolate chips mid-cycle – the possibilities are endless! This is your chance to personalize your loaves like never before.
- Share your creations: Show off your amazing bread creations on social media using #BakeWithEaseMidCycleMagic – we'd love to see what you bake!
- Consider joining our BakeWithEase community forum for more tips and tricks from fellow bread enthusiasts.
What unexpected ingredient will you add to your next loaf? Let's hear your ideas in the comments below!