
Emulsification Essentials: Incorporating Oils Seamlessly into Batters

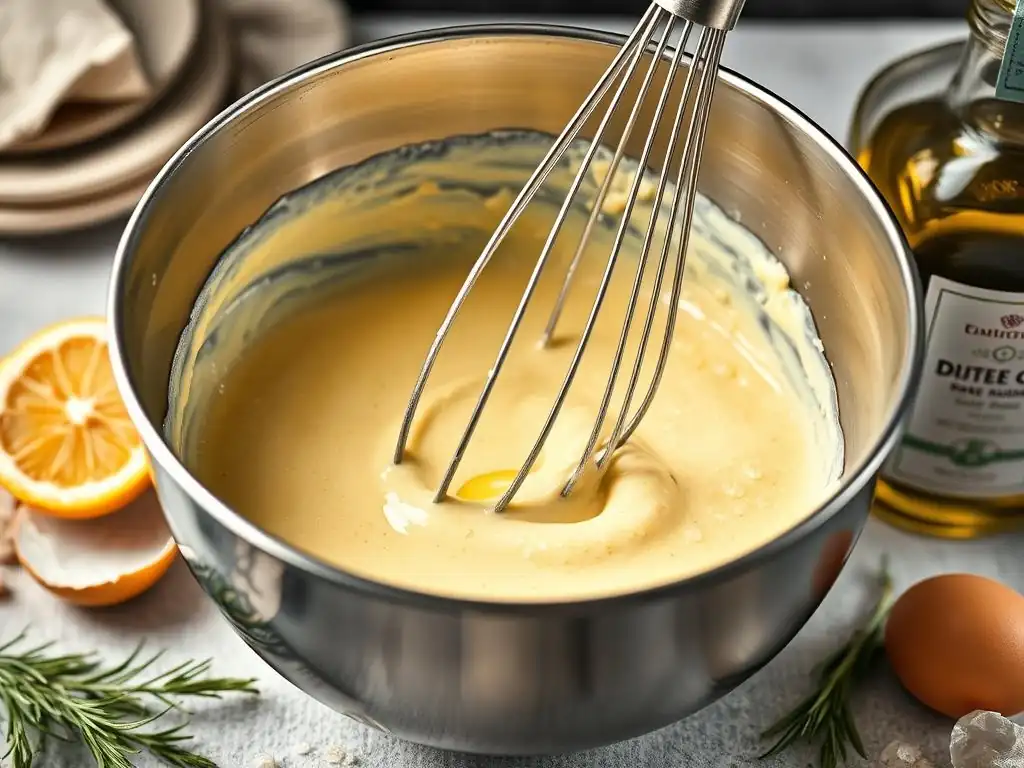
Welcome to BakeWithEase, where turning flour and sugar into edible masterpieces becomes a joy! Ever wondered why your cakes sometimes lack that perfect, velvety texture? This week, we're diving deep into a crucial, often overlooked baking technique: emulsification. Learn how to emulsify batter smoothly and unlock the secret to consistently light, airy, and perfectly combined creations. Prepare to say goodbye to separated batters and hello to baking bliss! Intrigued? Let's get started...
- Emulsification Essentials: Incorporating Fats Seamlessly into Batters (BakeWithEase.com)
- Understanding Emulsification in Baking: Why It Matters for BakeWithEase Bakers
- Mastering the Art of Emulsifying Batter Smoothly: A Step-by-Step Guide
- Troubleshooting Emulsification Problems in Batters
- Emulsification Techniques for Different Types of Batters
- Tips and Tricks for Perfect Emulsification Every Time
- Recipes That Showcase the Power of Emulsification
- Advanced Emulsification Techniques for Experienced Bakers
- Conclusion: BakeWithEase to Achieve Perfectly Emulsified Batters
-
Frequently Asked Questions
- How crucial is emulsification for successful baking, according to BakeWithEase?
- What are the common issues that arise from poor emulsification, as discussed on BakeWithEase.com?
- Does BakeWithEase offer specific techniques to improve emulsification?
- What types of recipes benefit most from proper emulsification, according to BakeWithEase?
- Are there any ingredients BakeWithEase recommends for aiding in emulsification?
- Final Reflection: The Art and Science of a Smooth Batter
- Unlock Your Baking Potential: Master Emulsification Today!
Emulsification Essentials: Incorporating Fats Seamlessly into Batters (BakeWithEase.com)
Understanding Emulsification in Baking: Why It Matters for BakeWithEase Bakers
What is Emulsification and Why Is It Crucial for Batter Consistency?
Emulsification is the process of combining two or more liquids that don't naturally mix, like oil and water, into a stable, smooth mixture. In baking, this usually involves dispersing tiny droplets of fat (like oil or melted butter) evenly throughout a liquid base (like milk, eggs, or water). Think of mayonnaise – it's a classic example of a stable emulsion of oil and vinegar, held together by egg yolk.
Achieving a smooth, stable emulsion in your batter is absolutely crucial because it directly impacts the texture, structure, and overall success of your baked goods. Without proper emulsification, the fat can separate, leading to dense, greasy, or inconsistent results.
When you successfully emulsify batter, you create a homogeneous mixture where fat and liquid coexist happily. This even distribution of fat prevents it from pooling or separating during baking, which can cause tunneling or a heavy texture. For example, in a standard cake batter, the emulsified fat coats the flour particles, inhibiting gluten development slightly and contributing to a tender crumb. It also helps trap air bubbles, which are essential for leavening, leading to a lighter and fluffier end product. Learning how to emulsify batter smoothly is a fundamental skill for any baker looking to elevate their results.
The Science Behind Emulsification: Fat and Water's Relationship in Baking
At a fundamental level, fat and water molecules are inherently incompatible due to their differing polarities. Water molecules are polar, meaning they have a slightly positive end and a slightly negative end, allowing them to attract other polar molecules. Fat molecules, on the other hand, are nonpolar; they lack this charge separation and are more attracted to other nonpolar substances. This difference is why oil floats on water – they don't mix on their own. To force them together, we need to break down the fat into very tiny droplets and keep them suspended in the liquid phase.
This suspension is achieved by overcoming the interfacial tension between the two liquids. Mechanical energy, like whisking or mixing, helps break the fat into smaller droplets, increasing the surface area where interaction can occur. However, these droplets will naturally try to recombine.
This is where emulsifiers come in, acting as intermediaries that have both a fat-attracting (lipophilic) part and a water-attracting (hydrophilic) part. They surround the fat droplets, creating a barrier that prevents them from merging and keeps the emulsion stable. Understanding this basic science helps explain why certain ingredients and techniques are more effective at helping you how to emulsify batter successfully.
Emulsifiers in Baking: Natural and Added Options for Perfect Batters
Emulsifiers are the unsung heroes that make stable emulsions possible in baking. Nature provides several common emulsifiers found in everyday ingredients. Egg yolks are perhaps the most potent natural emulsifier in baking, thanks to the presence of lecithin. A single large egg yolk contains roughly 25-30% fat, a significant portion of which is lecithin, making eggs invaluable for emulsifying batters for cakes, custards, and sauces. Other natural sources include proteins in milk and buttermilk, and even some compounds found in cocoa powder.
Beyond natural sources, many baking ingredients contain added emulsifiers to improve texture and shelf life. Monoglycerides and diglycerides are common additives found in shortenings and some margarines; they are derived from fats and help distribute fat and moisture more evenly in baked goods. Polysorbate 60 is another synthetic emulsifier often used in commercial cake mixes and icings to create very stable, fine-crumb structures.
While focusing on natural ingredients is great for home baking, understanding these added emulsifiers helps clarify why some commercial products achieve incredibly consistent textures. Learning how to emulsify batter effectively often involves leveraging these emulsifying properties, whether from eggs or other ingredients.
Mastering the Art of Emulsifying Batter Smoothly: A Step-by-Step Guide
Step 1: Preparing Your Ingredients for Optimal Emulsification
Achieving a smooth, stable emulsion starts before you even begin mixing. The temperature of your ingredients plays a critical role. Ingredients like butter and eggs should ideally be at room temperature unless the recipe specifically states otherwise.
Room temperature butter (around 68-70°F or 20-21°C) is soft enough to cream easily with sugar, incorporating air and creating tiny fat pockets that are easier to disperse evenly throughout the batter. Cold butter, on the other hand, remains in harder chunks and resists emulsification, often leading to a lumpy or separated mixture. Similarly, cold eggs don't incorporate as readily and their emulsifying lecithin is less effective.
Ensuring your dry ingredients are well-sifted and whisked together is also important. This prevents lumps and ensures that the flour, leavening agents, and other dry components are evenly distributed. When the wet ingredients are added, a uniform dry base helps the liquids and fats disperse more evenly, promoting a smoother emulsion. Consider a standard yellow cake recipe: having room temperature butter and eggs, combined with well-whisked flour, sugar, baking powder, and salt, sets the stage for successfully learning how to emulsify batter for a light and tender cake.
Step 2: Combining Dry and Wet Ingredients Correctly
The order and method of combining wet and dry ingredients significantly impact emulsification. While some recipes use the "creaming method" (creaming butter and sugar, then adding eggs, alternating dry and wet), others employ the "reverse creaming method" or "muffin method." In the creaming method, the initial emulsion happens when eggs are gradually beaten into the creamed butter and sugar mixture.
This step is crucial for incorporating the egg's lecithin and beginning to bind the fat and sugar with the liquid from the eggs. Adding dry and wet ingredients alternately thereafter helps maintain this emulsion and prevents the mixture from breaking.
Using the muffin method, where wet ingredients are mixed separately from dry, and then combined quickly, requires careful handling. Overmixing will develop gluten and toughen the product. Emulsification here relies more on the inherent properties of the ingredients and minimal mixing.
For instance, in a standard muffin batter, milk and oil are whisked together with eggs and sugar before being added to the flour and baking powder. The goal is just to combine until no dry streaks remain, allowing the oil to disperse quickly with the help of the egg's lecithin without overworking the batter. Mastering these combination techniques is key to learning how to emulsify batter effectively for different baked goods.
Step 3: Gradually Adding Fat to the Batter for a Smooth Emulsion
One of the most effective ways to achieve a stable emulsion, particularly when incorporating liquid fats like oil or melted butter, is to add them gradually. This technique is commonly used in recipes like mayonnaise or vinaigrettes, but it's also vital in baking, especially when adding oil to a sugar-egg mixture or incorporating melted butter into a liquid base. Adding the fat slowly, often in a thin stream, while continuously mixing, allows the emulsifiers (like lecithin from eggs) to effectively surround the incoming fat droplets as they are broken down by mechanical action.
Imagine making a simple oil-based batter. If you dump all the oil in at once, it's harder for the other ingredients to integrate it evenly; it's more likely to sit in large pockets or separate. By adding it incrementally, you give the mixture time to incorporate each small addition before the next one is added. This builds the emulsion progressively, resulting in a much smoother and more stable batter. This step is fundamental to successfully learning how to emulsify batter, especially when working with recipes featuring a high proportion of liquid fat.
Step 4: Mixing Techniques for Preventing Batter Separation
The right mixing technique and speed are paramount for maintaining a stable emulsion once formed and preventing separation. Once you've combined your fat and liquid phases, continued mixing is needed to keep the fat droplets dispersed. However, overmixing can be detrimental. Excessive mixing develops gluten in wheat flour, which can tighten the batter structure and potentially squeeze out the fat and liquid, leading to separation. It can also generate heat, which can destabilize some emulsions, especially those based on butter.
Using a moderate speed on your mixer is often ideal. High speeds can sometimes incorporate too much air too quickly or overwork the batter. For many batters, mixing until just combined – until no streaks of dry ingredients are visible – is sufficient. For creamed batters, mixing after adding dry/wet ingredients should be minimal, just enough to create a homogeneous mixture. Proper technique involves scraping down the sides and bottom of the bowl periodically to ensure all ingredients are fully incorporated. By controlling your mixing, you master a key aspect of how to emulsify batter and keep it smooth.
Troubleshooting Emulsification Problems in Batters
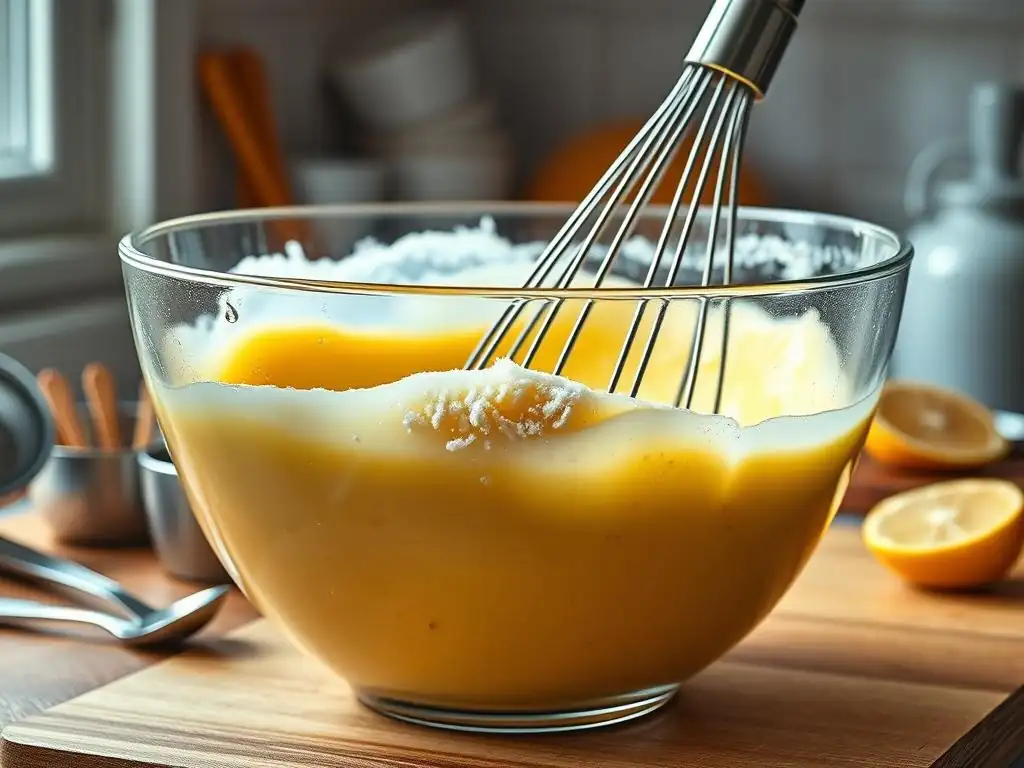
Identifying Signs of a Broken Emulsion
A broken emulsion in baking batter is usually quite noticeable. Instead of a smooth, homogeneous mixture, you'll see distinct separation: pools of liquid (like oil or water) sitting on top of or around a thicker, often curdled or lumpy, mass. The texture will be uneven and potentially grainy.
For example, if you're making a butter cake batter using the creaming method and your eggs are too cold or added too quickly, the mixture might look curdled, with the fat separating from the liquid. This isn't just an aesthetic issue; it means the fat isn't properly distributed, which will negatively impact the final texture of your baked good, potentially leading to a dense, greasy, or uneven crumb.
Another sign can be a greasy sheen on the surface of the batter or around the edges of the bowl. While some batters are naturally glossy, excessive greasiness indicates that the fat hasn't been fully incorporated into the liquid phase. In some cases, especially with high-fat batters, the mixture might look like it's "breaking" or "splitting." Recognizing these visual cues early is the first step in fixing the problem and ensuring you know how to emulsify batter correctly from the start or how to salvage one that has gone wrong.
Common Causes of Batter Separation During Mixing
Several factors can cause a batter emulsion to break. Temperature is a frequent culprit; adding cold ingredients (especially eggs or milk) to a creamed butter-sugar mixture is a very common cause of curdling. The cold liquid hardens the fat, causing it to clump and separate from the liquid. Adding liquid ingredients too quickly is another major reason. If you pour in a large volume of liquid all at once, the existing emulsion can't handle the sudden influx and breaks. This is why adding liquids gradually is often recommended.
Overmixing can also lead to separation, particularly in batters where gluten development is a concern. As gluten develops, the protein network tightens and can expel trapped fat and moisture. Insufficient mixing, however, can also be a problem; if the fat isn't broken down into small enough droplets or if there aren't enough emulsifiers to coat them, the emulsion won't form properly and will likely separate. Using ingredients that are too warm can also melt the fat too much, making it difficult to emulsify effectively. Understanding these causes helps prevent issues when learning how to emulsify batter.
Fixing a Broken Batter: Rescue Techniques for Emulsification
Don't despair if your batter looks curdled or separated! There are often ways to bring it back together. One common technique is to gently warm the mixture. For a curdled creamed butter batter, placing the bowl briefly over a pan of warm (not hot) water and whisking continuously can sometimes help the fat re-incorporate. The gentle heat softens the fat just enough to allow it to re-emulsify with the liquid. Be careful not to overheat, as this can melt the butter completely and make things worse.
Another effective method, especially for batters that have split due to too much liquid added too quickly, is to add a tablespoon or two of the dry ingredients (flour) or a bit more emulsifier (like another egg yolk, whisked). The flour can help absorb some of the excess liquid, changing the consistency, while the extra emulsifier can help bind the fat and liquid together. Whisking vigorously after adding the flour or egg yolk can sometimes bring the mixture back into a smooth emulsion. These rescue techniques are valuable tools for any baker mastering how to emulsify batter.
Emulsification Techniques for Different Types of Batters
Emulsifying Cake Batter: Achieving a Light and Fluffy Texture
Emulsification is paramount in cake baking for achieving that desired light, tender, and fine-crumb texture. The most common method for emulsifying cake batter is the creaming method, which starts by creaming softened butter and sugar together until light and fluffy. This step not only dissolves sugar but also incorporates air, creating tiny pockets that contribute to leavening.
Eggs are then added one at a time, beating well after each addition. The lecithin in the egg yolks acts as a powerful emulsifier, binding the fat (butter) and sugar with the liquid from the eggs, creating a stable, aerated base. This initial emulsion is key.
After the egg-butter-sugar emulsion is formed, dry and wet ingredients are typically added alternately, beginning and ending with the dry. For example, you might add one-third of the flour mixture, mix gently, then half of the milk, mix, another third of the flour, the remaining milk, and finally the last third of the flour.
This alternating addition helps maintain the emulsion formed in the initial creaming step and prevents the batter from breaking. Overmixing at this stage should be avoided; mix only until just combined to keep the batter light and ensure you how to emulsify batter for a perfect cake.
Emulsifying Muffin Batter: Preventing Tough Muffins with Proper Emulsification
Muffin batter typically uses the "muffin method," which involves mixing wet ingredients (like eggs, milk, oil, sugar) in one bowl and dry ingredients (flour, leavening, salt) in another, then combining them quickly with minimal mixing. While this method relies less on creating a strong initial butter-sugar-egg emulsion like the creaming method, proper emulsification is still important, particularly when incorporating liquid fats like oil. Using oil instead of butter often results in a more tender muffin because oil remains liquid at room temperature and coats flour particles more effectively, inhibiting gluten development.
The key to emulsifying muffin batter smoothly and preventing toughness lies in the quick combination step. The liquid fat (oil) needs to be evenly dispersed throughout the batter with minimal stirring. The emulsifiers present in the eggs and milk help achieve this dispersion quickly.
Overmixing is the enemy here; it develops gluten, leading to tough, chewy muffins and can also cause the oil to separate. Mixing just until the dry ingredients are moistened, with a few lumps remaining, ensures the fat is adequately distributed without overworking the batter. This minimal mixing approach is essential for knowing how to emulsify batter for tender muffins.
Emulsifying Pancake Batter: Creating a Smooth and Even Texture
Pancake batter is another example where quick mixing and proper fat distribution are crucial for a desirable texture. Typically, pancake batter follows a similar method to muffins: wet ingredients (milk, eggs, melted butter or oil) are combined separately from dry (flour, sugar, baking powder, salt), then mixed together quickly. The goal is a smooth, lump-free batter that spreads evenly on the griddle and cooks up light and fluffy. Emulsification in pancake batter ensures the fat (melted butter or oil) is evenly distributed, preventing greasy spots on the cooked pancake and contributing to tenderness.
Using melted butter or oil is common. When adding melted butter to the wet ingredients, it's important that the wet ingredients aren't too cold, as this can cause the butter to solidify into small chunks, leading to uneven distribution and potentially greasy or tough pancakes. The lecithin in the eggs helps emulsify the fat into the milk.
When combining wet and dry, whisking gently until just combined is key. Lumps are acceptable and often preferred, as overmixing develops gluten and can make pancakes tough. The minimal mixing approach, combined with the emulsifying properties of the ingredients, is how to emulsify batter for perfectly smooth and fluffy pancakes.
Tips and Tricks for Perfect Emulsification Every Time
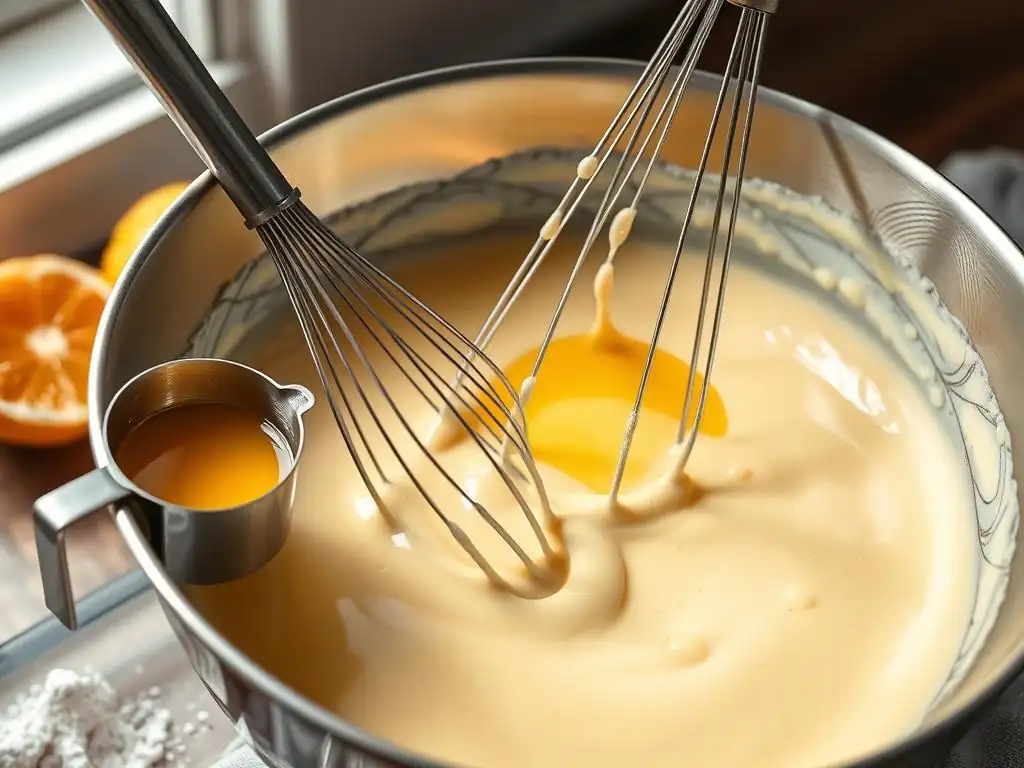
Using Room Temperature Ingredients for Better Emulsification
As mentioned earlier, ingredient temperature is perhaps the most critical factor for successful emulsification, especially when working with fats and eggs. Room temperature butter (around 68-70°F or 20-21°C) is soft and pliable, allowing it to cream easily with sugar and incorporate air effectively. This creates a stable base for the emulsion. Cold butter, on the other hand, is hard and won't emulsify properly, leading to a curdled appearance and poor texture. Similarly, room temperature eggs incorporate more smoothly into batters and their lecithin is more active, making them better emulsifiers.
Using room temperature liquids like milk or buttermilk is also beneficial. Adding cold liquids to a creamed mixture can shock the fat and cause it to seize or curdle. Aim for all your "wet" ingredients (butter, eggs, milk, etc.) to be roughly the same temperature, ideally around room temperature, unless the recipe specifically calls for cold ingredients (which is rare when emulsification is a key goal). This simple step dramatically increases your chances of knowing how to emulsify batter smoothly and consistently.
The Importance of Proper Mixing Speed and Duration
The speed and duration of mixing play a significant role in both forming and maintaining an emulsion. Initially, when creaming butter and sugar or incorporating eggs, a medium speed on a stand mixer or vigorous whisking by hand is needed to break down fat particles and disperse them. For instance, creaming butter and sugar for a cake might take 3-5 minutes on medium speed to become light and fluffy. When adding eggs, continue mixing on medium speed until each egg is fully incorporated and the mixture is smooth before adding the next.
Once the dry and wet ingredients are combined, however, mixing speed and duration should be reduced significantly. For cakes using the creaming method, mix on low speed just until the ingredients are combined, usually less than 1 minute after the last addition of dry ingredients. For muffins or pancakes, mix by hand or on the lowest speed only until no dry streaks remain, typically just 15-30 seconds.
Overmixing develops gluten, which can push the fat out and break the emulsion, leading to tough or greasy results. Understanding the right balance of mixing energy is key to how to emulsify batter successfully without overworking it.
How to Choose the Right Fat for Your Batter and Emulsification Needs
The type of fat you use impacts how easily it emulsifies and the final texture of your baked goods. Butter is a solid fat at room temperature and contains about 80-82% fat, 16-18% water, and some milk solids. Its water content and milk solids contain natural emulsifiers, but its solid state means it needs to be softened or melted to emulsify effectively. Butter contributes significantly to flavor and helps create flaky or tender textures depending on how it's used.
Liquid oils, like vegetable oil, canola oil, or olive oil, are 100% fat and are already in a liquid state, making them easier to disperse throughout a batter. They coat flour particles more effectively than solid fats, which often results in a more tender and moist crumb, particularly in cakes and muffins. However, oils contain no natural emulsifiers themselves, so the batter relies entirely on other ingredients (like eggs or milk) to create and stabilize the emulsion.
Shortening is another option; it's a solid fat (often hydrogenated vegetable oil) that is 100% fat and contains added emulsifiers like monoglycerides, making it excellent for stable, high-volume cakes but often less flavorful than butter. Choosing the right fat is a key consideration when thinking about how to emulsify batter for a specific recipe.
Recipes That Showcase the Power of Emulsification
Olive Oil Cake Recipe: A Moist and Flavorful Delight
Olive oil cake is a fantastic example of how a well-emulsified batter using liquid fat can result in an exceptionally moist and tender cake. Unlike butter-based cakes, which rely heavily on creaming butter and sugar, olive oil cakes often involve whisking eggs and sugar together, then gradually whisking in the olive oil. This process creates a stable emulsion where the oil is finely dispersed throughout the egg-sugar mixture, often aided by the emulsifying power of the egg yolks. A typical recipe might use 1 cup (about 240ml) of olive oil for a standard 9-inch cake.
The high percentage of liquid fat, evenly distributed through careful emulsification, is what gives olive oil cake its characteristic moistness and fine, tender crumb. The oil coats the flour particles more thoroughly than solid fat would, inhibiting gluten development and keeping the cake soft. This method of emulsification, focusing on incorporating the liquid fat into the egg/sugar base, is a departure from the traditional creaming method and highlights a different approach to achieving a stable batter. Mastering how to emulsify batter with oil is essential for this type of recipe.
Sour Cream Muffin Recipe: Achieving Tenderness Through Emulsification
Sour cream muffins are known for their incredibly tender and moist texture, and emulsification plays a role here too, primarily through the use of eggs and the properties of sour cream itself. Sour cream contains fat (typically 18-20% in full-fat versions) and moisture, along with proteins and other compounds that act as natural emulsifiers and tenderizers. In a standard sour cream muffin recipe using the muffin method, liquid fat (like melted butter or oil) is whisked with eggs, sugar, and sour cream before being combined with the dry ingredients.
The combination of the emulsifiers in the eggs and sour cream helps to disperse the added fat evenly throughout the liquid mixture. When this is quickly combined with the dry ingredients, the fat coats the flour, limiting gluten formation. The acidity in the sour cream also helps tenderize the crumb. The key to success is ensuring the initial wet ingredients are well-whisked to form a preliminary emulsion before adding to the dry, and then mixing only until just combined. This ensures the fat is distributed without overworking the batter, showcasing how to emulsify batter for a soft, moist muffin.
Advanced Emulsification Techniques for Experienced Bakers
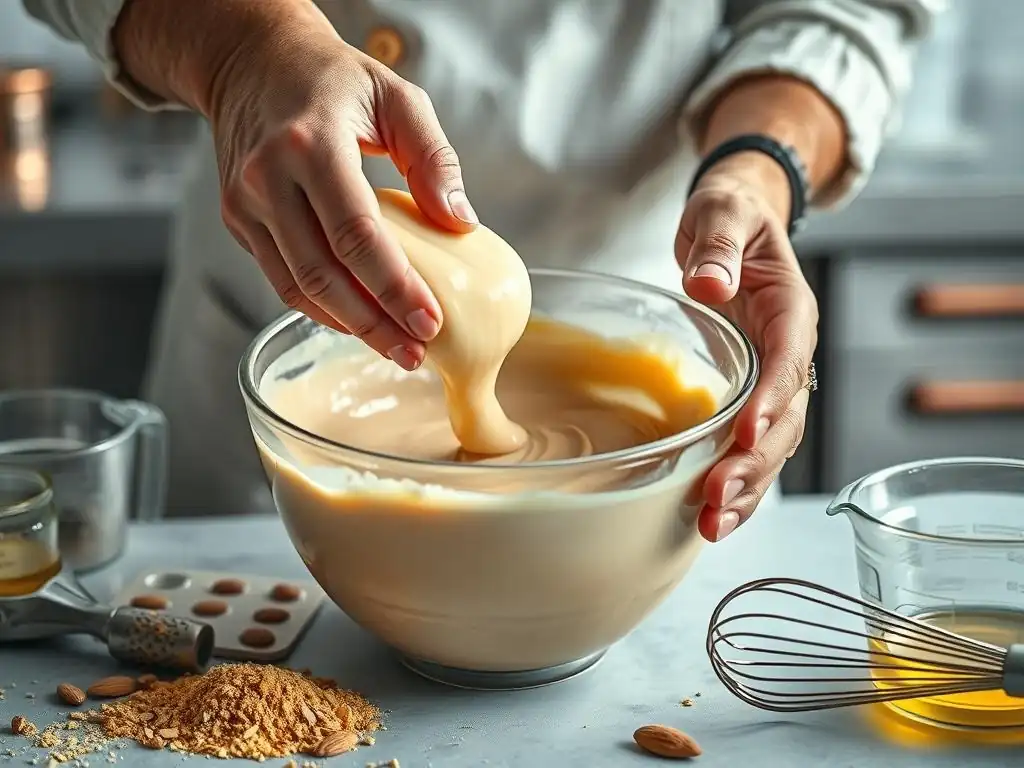
Exploring Alternative Emulsifiers in Baking
Beyond common ingredients like eggs and milk, experienced bakers can explore other emulsifiers to achieve specific textures or accommodate dietary needs. Soy lecithin, available in liquid or granular form, is a powerful plant-based emulsifier often used in vegan baking to replace the function of eggs in binding fat and water. Just a small amount, perhaps 1-2 teaspoons per cup of liquid, can significantly improve the texture and stability of batters lacking egg yolks.
Polysaccharides like xanthan gum, while primarily used as thickeners and stabilizers, also have some emulsifying properties and are often used in gluten-free baking to help bind ingredients that lack the structure provided by gluten. Even ingredients like mustard (often used in savory emulsions like vinaigrettes) contain natural emulsifiers that can be leveraged in certain savory baked goods. Experimenting with these alternative emulsifiers allows bakers to push the boundaries of texture and stability, refining their understanding of how to emulsify batter in various contexts.
Using High-Speed Blenders for Ultra-Smooth Emulsions
While hand whisking or a stand mixer are standard tools, high-speed blenders or immersion blenders can create incredibly fine and stable emulsions, particularly for liquid-heavy mixtures like sauces, dressings, or even certain types of batters or bases for baked goods. The high shear force generated by the blades breaks fat droplets into much smaller sizes than conventional mixing methods can achieve. Smaller fat droplets are easier to keep suspended and result in a smoother, more stable emulsion.
For example, making a very smooth, stable ganache or a fruit curd that incorporates butter can benefit from a quick blitz with an immersion blender after the initial mixing. While you wouldn't typically make a standard cake batter in a blender (due to the risk of over-developing gluten and lack of aeration), this technique can be useful for specific components or bases that require a very tight emulsion. Understanding when and how to apply such high-shear methods adds another dimension to mastering how to emulsify batter components or related mixtures.
The Role of Emulsification in Gluten-Free Baking
Emulsification is particularly critical in gluten-free baking because the absence of gluten means the batter lacks the inherent structure and binding capabilities that gluten provides. Gluten-free flours often absorb liquids differently, and batters can be prone to grittiness or separation. Emulsifiers, both natural (like eggs) and added (like psyllium husk, xanthan gum, or commercial blends containing emulsifiers), play a vital role in binding the fat and liquid phases together, creating a more cohesive batter.
In gluten-free recipes, ensuring proper emulsification helps distribute moisture and fat evenly, improving texture and preventing dryness or crumbling. For instance, a gluten-free cake recipe might rely more heavily on the emulsifying power of multiple egg yolks or added gums to create a stable structure and fine crumb that gluten would normally provide. Mastering how to emulsify batter is arguably even more important in the gluten-free world to compensate for the lack of gluten's binding ability.
Conclusion: BakeWithEase to Achieve Perfectly Emulsified Batters
Frequently Asked Questions
How crucial is emulsification for successful baking, according to BakeWithEase?
Emulsification is extremely important for creating stable and smooth batters. It ensures that oil and water-based ingredients combine properly, resulting in a consistent texture and preventing separation during baking.
What are the common issues that arise from poor emulsification, as discussed on BakeWithEase.com?
Poor emulsification can lead to batter curdling, a greasy or oily final product, and an uneven texture. This can significantly impact the overall quality and taste of your baked goods.
Does BakeWithEase offer specific techniques to improve emulsification?
Yes, BakeWithEase provides step-by-step guides and tips for emulsifying batter smoothly. These often involve adding oil slowly and using ingredients at room temperature for better incorporation.
What types of recipes benefit most from proper emulsification, according to BakeWithEase?
Recipes that rely heavily on fat, such as cakes, cookies, and certain pastries, benefit greatly from proper emulsification. It helps create a tender and moist crumb.
Are there any ingredients BakeWithEase recommends for aiding in emulsification?
BakeWithEase often suggests using ingredients like eggs or lecithin as natural emulsifiers. These help to bind oil and water together, promoting a stable batter.
Final Reflection: The Art and Science of a Smooth Batter
The quest for the perfect batter, free from oily separation and boasting a velvety texture, is a pursuit as old as baking itself. Understanding emulsification isn't just about achieving a visually appealing result; it's the key to unlocking consistent, delicious baked goods, impacting everything from the rise of a cake to the crispness of a pancake. This knowledge, once considered the domain of experienced bakers, is now readily accessible, empowering home cooks to elevate their baking game.
The journey through emulsification techniques has highlighted not only the scientific principles at play but also the artistry involved in balancing ingredients and techniques. The subtle nuances of incorporating fats, the careful manipulation of temperatures, and the patience required to achieve a stable emulsion—these are elements that transcend mere instruction and become a meditative practice. As the culinary historian Waverly Root once wrote, Cooking is at once child's play and adult joy. And cooking done with care is an act of love.
This sentiment perfectly encapsulates the satisfaction derived from mastering the art of emulsification, transforming a simple process into a deeply rewarding experience.
Now, consider your own baking journey. What challenges have you faced in creating smooth batters? What new techniques will you incorporate into your next baking project, armed with this newfound knowledge? Don't be afraid to experiment, to tweak ratios, and to embrace the occasional mishap as a learning opportunity. The path to mastering emulsification, like any culinary pursuit, is a journey of continuous learning and refinement. Embrace the process, and you'll discover the joy of creating truly exceptional baked goods, one perfectly emulsified batter at a time.
Unlock Your Baking Potential: Master Emulsification Today!
Thanks for diving into the world of emulsification with us! You've now got the knowledge to create smoother, richer batters and say goodbye to oil separation. Ready to put your new skills to the test?
- Whip up your dream recipe: Try the recipe we mentioned in the article – or even better, experiment with your favorite recipe, consciously applying the techniques you learned about emulsification!
- Share your baking triumph: Post a photo of your perfectly emulsified creation on social media and tag us! We'd love to see your success.
- Challenge yourself: Try emulsifying a tricky oil, like olive oil, in a delicate batter – let's see those results!
So, what innovative baking adventure will you embark on next?