
Fixing Hard Crust on Artisan Bread: The Steam Solution

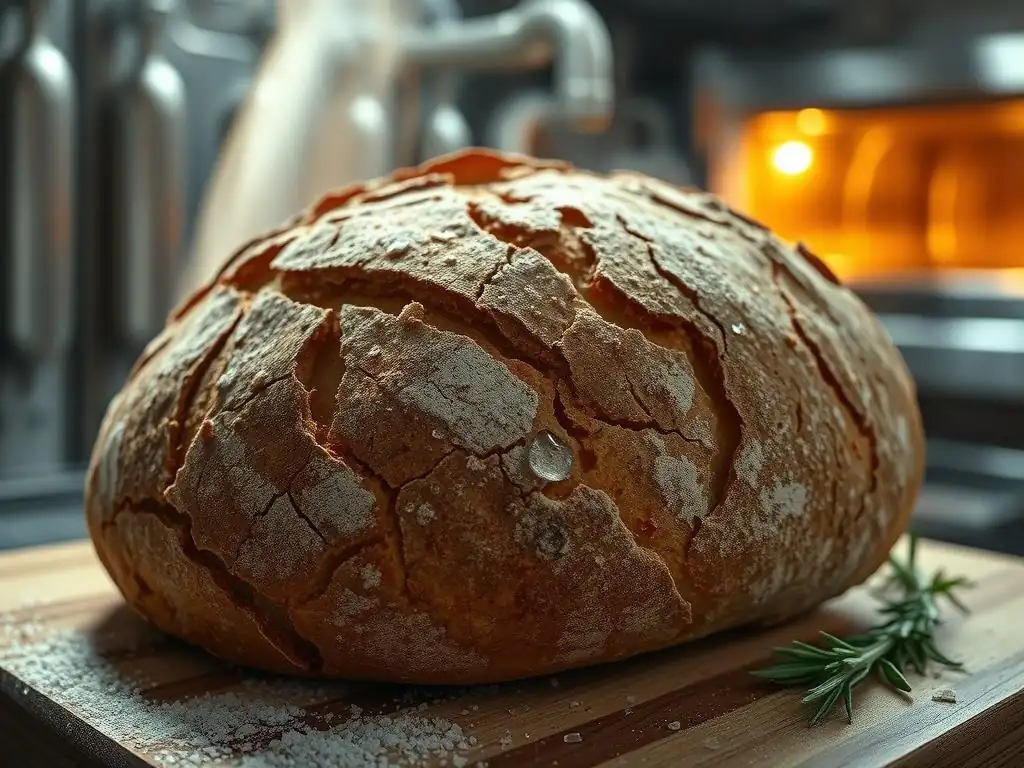
Welcome to BakeWithEase, your trusted guide to baking bliss! Ever wondered how to achieve that perfectly crisp, crackling crust on your artisan bread, instead of a rock-hard one? Unlock the secrets to a superior loaf as we delve into the steam solution – a simple yet transformative technique that will revolutionize your bread baking. Prepare to elevate your artisan bread game and say goodbye to tough crusts forever. Let's bake!
- Fixing Hard Crust on Sourdough Bread: The Steam Solution
- Introduction: The Art of Sourdough Bread and the Crust Conundrum
- Understanding the Hard Crust Problem in Sourdough Bread Baking
- The Steam Solution: How to Create the Ideal Baking Environment
- Troubleshooting Steam-Related Issues in Sourdough Bread
- Beyond Steam: Other Factors Affecting Sourdough Bread Crust
- Step-by-Step Guide: Baking Sourdough Bread with Steam for a Perfect Crust
- Advanced Techniques for Perfecting Your Sourdough Bread Crust
- Conclusion: Mastering the Steam Solution for Sourdough Bread Success
- Frequently Asked Questions
- Final Reflection: Unlocking the Secrets of a Perfect Crust
- Unleash Your Inner Baker: Achieve Perfectly Crusty Artisan Bread!
Fixing Hard Crust on Sourdough Bread: The Steam Solution
Introduction: The Art of Sourdough Bread and the Crust Conundrum
Sourdough bread holds a special place in the hearts of bakers and bread lovers alike. Its complex flavor, chewy interior, and signature tangy aroma are results of a slow fermentation process powered by wild yeast and bacteria. There's immense satisfaction in pulling a beautifully risen, deeply colored loaf from the oven. However, a common frustration encountered by home bakers is ending up with a crust that's simply too hard, thick, or tough, rather than the desired crisp, delicate shell that shatters slightly upon slicing.
Achieving that perfect balance – a light, airy crumb encased in a thin, crackly crust – is often the ultimate goal when baking sourdough. While many factors contribute to the final texture, one of the most critical and often overlooked elements is the baking environment, specifically the presence of steam. Mastering how to steam artisan bread crust effectively is a game-changer, transforming a potentially leaden exterior into a delightful part of the overall bread experience.
Understanding the Hard Crust Problem in Sourdough Bread Baking
Why Did My Sourdough Bread Crust Turn Out So Hard? Common Causes
A tough, overly hard crust on your sourdough loaf can stem from several factors, often working in combination. One primary culprit is baking in a dry oven environment. Without sufficient moisture surrounding the dough during the initial phase of baking, the surface dries out and sets prematurely. This hinders the dough's ability to expand fully during oven spring, resulting in a denser crumb and a thicker, harder crust that lacks the desired crispness.
Another significant factor is insufficient dough hydration. A dough with too little water (say, below 65% hydration) naturally tends to produce a denser crumb and a thicker, harder crust compared to a wetter dough (like 75-80% hydration) baked under the right conditions. Overbaking or baking at too low a temperature can also contribute.
Baking for too long, even at the correct temperature, can excessively dry out the crust. Conversely, baking at too low a temperature might require a longer bake time to achieve internal doneness, also leading to a hard crust. Lack of proper scoring can also contribute, forcing expansion unevenly and sometimes resulting in a tighter, tougher exterior.
The Role of Steam in Achieving a Perfect Sourdough Bread Crust
Steam plays a crucial role in developing the ideal sourdough crust. During the first 15-20 minutes of baking, often called the "oven spring" phase, the dough undergoes rapid expansion fueled by the production of carbon dioxide and the vaporization of water within the dough. In a steamy environment, the surface of the dough remains moist and pliable. This prevents the crust from setting too early, allowing the dough to achieve its maximum volume and rise.
As the oven spring occurs, the moist, extensible surface stretches along with the expanding dough. Once the steam is removed (typically after 15-20 minutes), the heat of the oven can then work on this now-stretched, thinner surface layer. The Maillard reaction and caramelization can occur efficiently, leading to beautiful browning and the development of a thin, crisp, and flavorful crust. Without adequate steam, the crust sets too quickly, restricting expansion and resulting in a thicker, less appealing, and often harder crust texture.
The Steam Solution: How to Create the Ideal Baking Environment
Generating Steam in Your Home Oven: Proven Methods
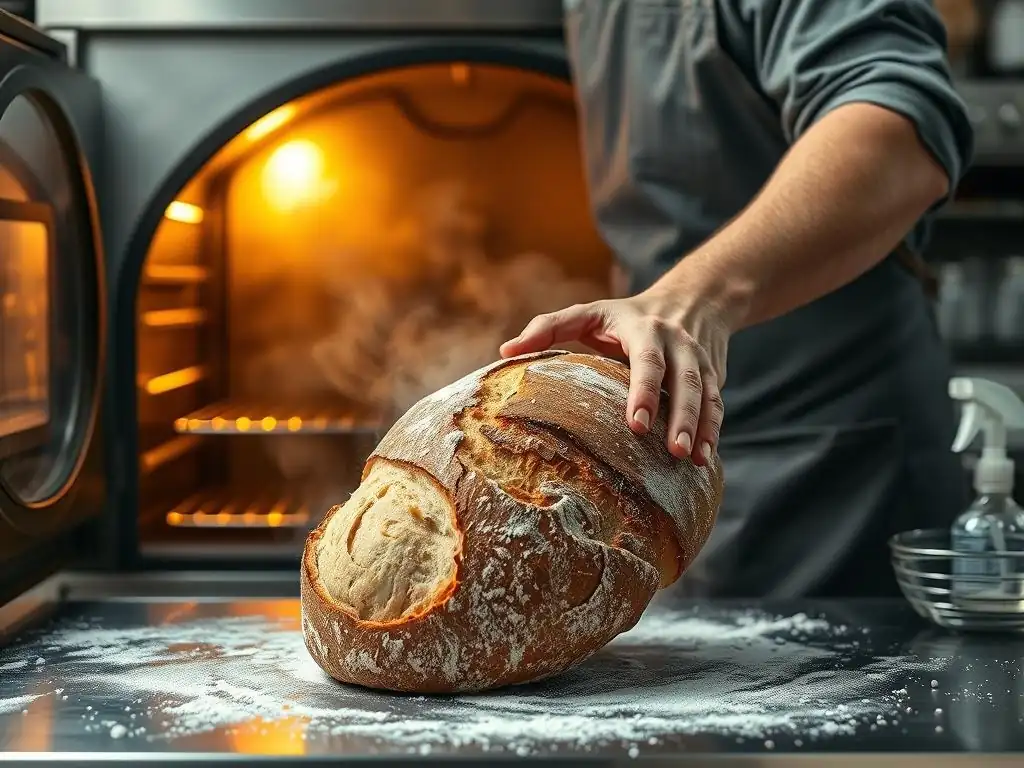
Creating a steamy environment in a standard home oven, which is designed to vent moisture, requires deliberate action. The goal is to surround the loaf with water vapor during the initial critical phase of baking. While professional deck ovens inject steam, home bakers must employ clever techniques to trap or generate sufficient moisture. These methods range from simple tricks to specialized equipment, each with its own advantages in helping you steam artisan bread crust effectively.
Successfully generating steam means introducing water into a very hot environment safely and efficiently. This creates a cloud of vapor that envelops the dough, keeping its surface moist. The duration and intensity of the steam are key; typically, you need a significant amount of steam for the first portion of the bake, followed by a dry heat phase to finish developing the crust color and crispness. Experimenting with different methods can help you find the one that consistently yields the best results in your specific oven.
Using a Dutch Oven for Steamy Sourdough Bread
One of the most popular and effective methods for home bakers is using a preheated Dutch oven. The heavy lid traps the moisture released by the dough as it bakes, essentially creating a mini-steam oven around the loaf. This method is particularly effective because it requires no external water source; the dough itself provides the necessary steam.
To use a Dutch oven, preheat it in your oven, often to temperatures like 450-500°F (230-260°C), for at least 30-60 minutes. Carefully transfer your shaped dough into the hot Dutch oven, score it, place the lid on, and bake for the initial steam phase (usually 15-20 minutes). After this time, remove the lid to allow the crust to dry and brown for the remainder of the bake.
The Towel and Hot Water Trick: A Simple Steam Solution
A low-tech method involves placing a pan filled with hot water and a rolled-up towel (or chain) on the bottom rack of your oven as it preheats. The towel increases the surface area, helping the water evaporate more quickly and generate steam. Make sure the towel is thoroughly soaked but not dripping excessively.
Place the pan with the wet towel in the oven while it heats up, typically to 450-500°F (230-260°C). Once the oven is fully preheated and you are ready to bake, place your dough on a baking stone or tray on a higher rack. The steam generated from the pan below will rise and surround the loaf. Ensure the water pan is removed carefully after the initial 15-20 minutes of baking to allow the crust to dry out.
Adding Lava Rocks to a Hot Pan: Quick and Effective Steam
Using lava rocks or clean, heat-safe stones in a preheated pan is another highly effective way to generate a burst of steam. Place the rocks in a sturdy metal pan (like a cast iron skillet or broiler pan) on the lowest rack of your oven while it preheats to a high temperature, such as 475°F (245°C).
Just before loading your dough, carefully pour about a cup of boiling water over the hot rocks using a heat-safe container. This will instantly create a large volume of steam. Quickly close the oven door to trap the steam and then load your dough onto a baking surface on a higher rack. Be extremely cautious when pouring the water, as the steam produced is intense and can cause burns. Remove the steam pan after the initial baking phase.
Controlling Steam: Timing is Everything
The successful application of steam in baking sourdough bread hinges significantly on timing. It's not just about creating steam, but about when to introduce it and when to release it. Getting this timing right is crucial for achieving that ideal steam artisan bread crust texture – allowing the dough to expand fully under moist conditions and then crisping up in dry heat.
Incorrect timing can lead to issues like a tough, leathery crust if removed too late, or a thick, hard crust if not applied long enough. Understanding the two distinct phases of baking sourdough – the steam phase and the dry heat phase – is fundamental to mastering this technique and consistently producing high-quality loaves.
When to Introduce Steam During Baking
Steam should be introduced at the very beginning of the bake, immediately after you place the dough in the hot oven. This is the critical period for oven spring, typically the first 15 to 20 minutes. During this time, the heat causes rapid expansion of gases within the dough, and the moist environment provided by the steam allows the dough's surface to remain elastic and stretch without prematurely setting into a hard crust.
Introducing steam at this stage ensures that the crust stays soft and pliable, facilitating maximum volume increase. If the crust sets too early due to lack of steam, the dough's ability to expand is restricted, resulting in a smaller, denser loaf with a thicker, harder crust. Think of it as giving your dough room to breathe and grow before its jacket hardens.
When to Release Steam for Optimal Crust Development
After the initial 15-20 minutes of baking with steam, the oven spring phase is largely complete. At this point, you want to transition from a moist environment to a dry one. This is when you release the steam. If using a Dutch oven, you remove the lid. If using a steam pan, you carefully remove the pan from the oven.
Releasing the steam allows the direct heat of the oven to reach the dough's surface. This is when the Maillard reaction and caramelization kick in, developing the rich brown color and the final crisp texture of the crust. Continuing to bake in a steamy environment for too long can result in a thick, leathery crust that doesn't achieve the desired crispness. The goal is to allow the crust to dry out and crisp up during the remainder of the baking time, which might be another 20-30 minutes depending on the loaf size and desired color.
Too Much Steam: Preventing a Gummy Crust
While insufficient steam is a common problem leading to a hard crust, it is also possible to have too much steam, or rather, steam applied for too long. Baking a loaf in a steamy environment for an extended period, say beyond the initial 20-25 minutes, can prevent the crust from drying out properly. The result is often a crust that remains soft, thick, and potentially leathery or even gummy, lacking the desired crispness and shatter.
Signs of excessive steam application include a crust that is pale despite adequate baking time, or one that feels soft and pliable even after cooling. To prevent this, ensure you are releasing the steam source (removing the Dutch oven lid, removing the steam pan) after the initial oven spring phase, typically once the loaf has reached its full volume and the crust has begun to set but not yet browned significantly. Stick to the recommended timings for the steam phase, usually around 15-20 minutes for a standard loaf.
Not Enough Steam: Identifying and Correcting the Problem
The most obvious sign of insufficient steam when baking sourdough is a thick, hard, and often dull-looking crust right out of the oven. The loaf may also exhibit poor oven spring, meaning it didn't rise as much as expected during the first phase of baking. This happens because the crust set too quickly in the dry heat, restricting the dough's expansion.
If you consistently end up with a hard crust despite having a well-developed dough, your steam method might be inadequate. This could mean your steam source isn't generating enough vapor, or the steam is escaping your oven too quickly. To correct this, try increasing the amount of water used, ensuring your steam pan is placed correctly, or switching to a more effective method like the Dutch oven technique, which is excellent at trapping moisture. Sealing any obvious gaps in your oven door (temporarily, with a wet towel placed carefully away from heating elements) can also help trap steam.
Beyond Steam: Other Factors Affecting Sourdough Bread Crust
Dough Hydration and its Impact on Crust Texture
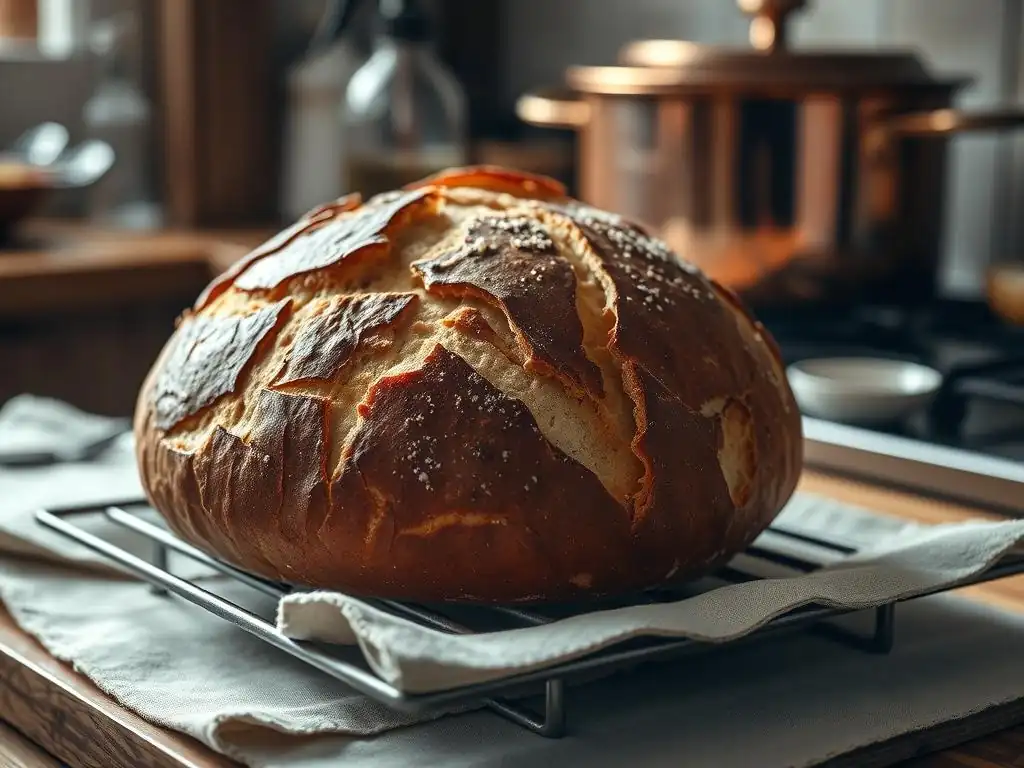
The hydration level of your sourdough dough significantly influences the final crust texture, working in tandem with steam. Higher hydration doughs (those with a higher percentage of water relative to flour, typically 75% and above) contain more moisture that turns into steam during baking. This internal steam helps push outwards, contributing to oven spring and resulting in a thinner, more delicate crust once the external steam is released and the crust dries out.
Conversely, lower hydration doughs (below 70%) are stiffer and contain less internal moisture. While they are easier to handle, they tend to produce a thicker, chewier crust. Achieving a thin, crisp steam artisan bread crust is generally more attainable with higher hydration doughs, provided they are handled correctly and baked with adequate steam. Experimenting with hydration levels (perhaps starting at 70% and gradually increasing to 75% or 80%) while maintaining proper steam is key to finding your preferred crust texture.
Oven Temperature and its Influence on Crust Formation
The temperature at which you bake your sourdough bread is paramount to crust development. Sourdough is typically baked at high temperatures, often between 450°F and 500°F (230°C and 260°C). A very hot oven provides the necessary thermal shock to initiate rapid oven spring and quickly set the crust. This initial blast of heat, combined with steam, is what allows the dough to expand fully before the crust hardens.
Baking at too low a temperature will result in slower oven spring and a longer overall bake time, which can lead to a thicker, harder crust. The high temperature is also essential for achieving good crust color through the Maillard reaction and caramelization once the steam is released. Ensuring your oven is fully preheated to the correct temperature, ideally verified with an oven thermometer, is a critical step for successful crust formation.
The Importance of Dough Scoring for Crust Expansion
Scoring, the act of cutting the surface of the dough just before baking, is not merely for aesthetics; it's a functional technique that directly impacts crust formation and oven spring. Scores act as controlled vents, directing where the dough expands during the initial intense heat of the oven. Without scoring, the crust would split unpredictably at its weakest point, often resulting in a less attractive shape and potentially hindering even expansion.
Proper scoring allows the dough to achieve its maximum volume in a controlled manner. As the dough expands through the cuts, the surface stretches evenly. This controlled expansion, combined with the pliability provided by steam, contributes to a thinner, more uniform crust texture around the slashes. Experimenting with different scoring patterns can also influence the final shape and how the crust develops around the cuts.
Step-by-Step Guide: Baking Sourdough Bread with Steam for a Perfect Crust
Recipe for Basic Sourdough Bread
A basic sourdough recipe typically involves a mature sourdough starter, flour (often a mix of bread flour and possibly whole wheat), water, and salt. The process usually includes mixing the ingredients, a period of bulk fermentation with several folds over a few hours, shaping the dough into a loaf, and then a final proofing period, often done in the refrigerator overnight.
For example, a recipe might use 500g strong bread flour, 375g water (75% hydration), 100g active sourdough starter, and 10g salt. After mixing and folding, the dough might bulk ferment for 4-6 hours at room temperature, followed by shaping and cold proofing for 12-18 hours. This slow, cold proof develops flavor and makes the dough easier to handle for scoring and baking.
Step 1: Preparing the Dough and Shaping
Follow your chosen sourdough recipe through the bulk fermentation and shaping stages. Ensure your dough has developed sufficient strength and is properly proofed according to the recipe's instructions. Shape your dough into your desired form, such as a boule (round) or batard (oval).
Place the shaped dough into a proofing basket (banneton) or a bowl lined with a floured cloth. Allow it to undergo its final proof. If cold proofing, transfer the shaped dough to the refrigerator for the recommended time. Just before baking, gently turn the dough out onto a piece of parchment paper or directly into your preheated baking vessel.
Step 2: Creating Steam in Your Oven
Preheat your oven to a high temperature, typically 450-500°F (230-260°C). If using a Dutch oven, place it in the oven as it preheats for at least 30-60 minutes. If using a steam pan method (with water/towel or lava rocks), place the empty pan on the lowest rack during preheating.
Just before loading your dough, carefully execute your chosen steam method.
- [x] Ensure oven is fully preheated.
- [x] If using a Dutch oven, ensure it's hot.
- [x] If using a steam pan, prepare it (add boiling water if using rocks, or ensure water/towel pan is in place).
- [x] Work quickly and safely to avoid losing heat or getting burned by steam.
Step 3: Baking with Steam
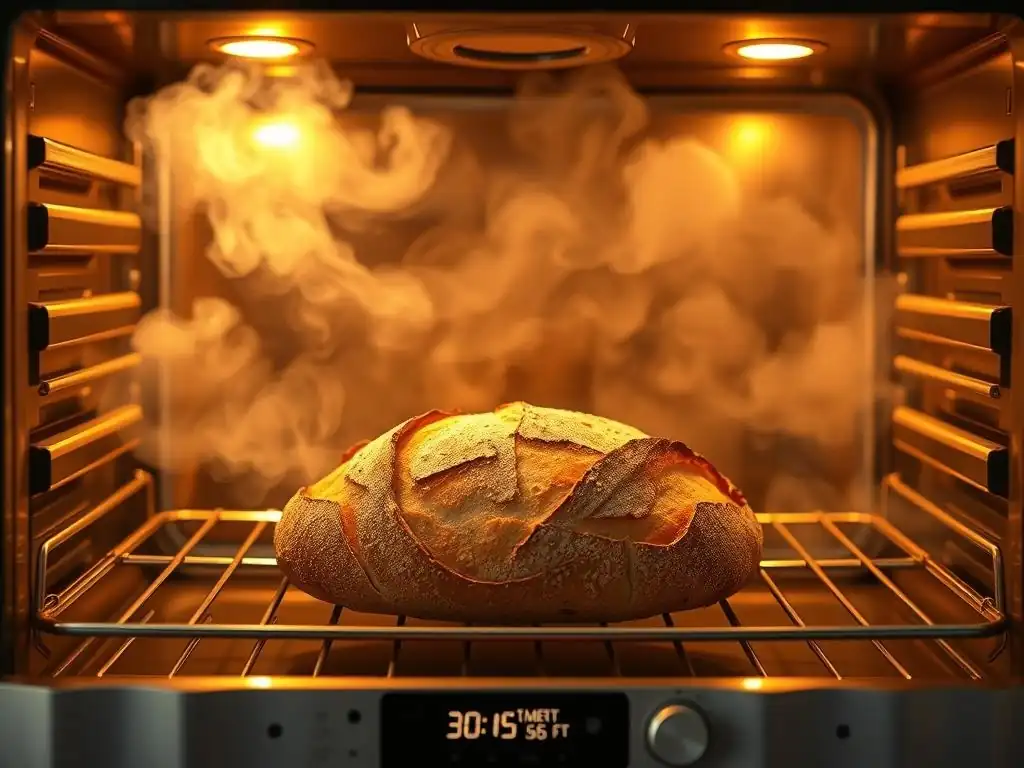
Carefully transfer your shaped and scored dough into the preheated Dutch oven or onto your baking stone/tray above the steam pan. If using a Dutch oven, immediately place the lid on firmly. If using a steam pan method, close the oven door quickly to trap the steam.
Bake the loaf in this steamy environment for the initial phase, typically 15 to 20 minutes. During this time, the steam will keep the crust soft and allow the dough to achieve maximum oven spring. Do not open the oven door during this crucial phase unless absolutely necessary.
Step 4: Releasing Steam and Finishing the Bake
After the initial 15-20 minute steam phase, it's time to release the steam to allow the crust to color and crisp up. Carefully remove the lid from the Dutch oven (use good oven mitts!) or carefully remove the steam pan from the oven.
Reduce the oven temperature slightly if your recipe calls for it (some reduce to 425-450°F or 220-230°C). Continue baking the loaf for another 20-30 minutes, or until the crust is a deep golden brown and the internal temperature of the bread reaches around 205-210°F (96-99°C). A well-baked loaf will sound hollow when tapped on the bottom.
Advanced Techniques for Perfecting Your Sourdough Bread Crust
Using a Baking Stone for Enhanced Crust Development
While a Dutch oven is excellent for steam, baking directly on a preheated baking stone or steel can provide a superior bottom crust and contribute to overall crust development. A stone or steel stores a significant amount of thermal energy and transfers it directly to the base of the loaf upon contact, promoting rapid oven spring from below.
When using a baking stone, it's crucial to employ an effective external steam method (like the lava rock pan or water/towel method) to compensate for not having the enclosed environment of a Dutch oven. Preheat the stone in the oven for at least 60 minutes at your target baking temperature (e.g., 475°F or 245°C). Carefully slide your dough onto the hot stone using a peel or parchment paper immediately after introducing steam to the oven. The combination of radiant heat from the stone and the steamy atmosphere helps create a balanced, well-developed crust all around.
Experimenting with Different Steam Methods
Finding the absolute best way to steam artisan bread crust in your specific oven often involves experimentation. While the Dutch oven is foolproof for many, some ovens might benefit more from a robust external steam setup, especially for larger loaves or when baking multiple loaves at once. Don't be afraid to try different techniques described earlier to see which one gives you the most consistent and desirable results.
Consider combining methods; for instance, some bakers using a Dutch oven add a few ice cubes between the parchment paper and the Dutch oven wall just before covering and baking. As the ice melts, it creates a small burst of steam within the pot. Documenting your results with each method – noting the oven temperature, steam duration, and the resulting crust – can help you refine your process over time.
Adjusting Baking Time for Optimal Crust Color and Texture
Once you've mastered the steam phase, fine-tuning the second, dry-heat phase of baking allows you to control the final crust color and crispness. The longer the loaf bakes in dry heat after the steam is released, the darker and crispier the crust will become. A paler crust indicates less development of flavor compounds created by the Maillard reaction.
If your crust is consistently too pale or not crispy enough, try extending the dry-heat baking time by 5-10 minutes, ensuring the loaf doesn't burn. If the crust is getting too dark too quickly but the inside isn't done, you might need to slightly reduce the temperature during the second phase or tent the loaf loosely with foil. Pay attention to the visual cues – a deep golden-brown color is usually a good indicator of a well-developed, flavorful crust.
Conclusion: Mastering the Steam Solution for Sourdough Bread Success
Key Takeaways for Achieving a Perfectly Crusty Loaf
Achieving that coveted thin, crisp, and flavorful crust on your homemade sourdough bread is a skill that comes with practice, and understanding the role of steam is perhaps the most significant step in mastering it. Steam keeps the dough surface pliable during the crucial initial phase of baking, allowing for maximum oven spring and preventing the crust from setting too early into a thick, hard shell.
By implementing effective steam methods – whether using a Dutch oven, a steam pan with water and a towel, or lava rocks – and paying close attention to timing, you can create the ideal environment for your steam artisan bread crust to develop beautifully. Remember that factors like dough hydration, oven temperature, and proper scoring also play vital supporting roles. Don't be discouraged by imperfect results; each bake is a learning opportunity. Keep experimenting, refine your technique, and you'll be consistently pulling loaves with stunningly perfect crusts from your oven.
Frequently Asked Questions
How does steam affect the crust of artisan bread?
Steam in the oven during the initial baking phase prevents the crust from setting too quickly. This allows the dough to expand fully and develop a thinner, crispier crust.
Why is a hard crust undesirable on artisan bread?
A hard crust can be difficult to chew and can hinder the enjoyment of the soft interior. The ideal artisan crust is crisp and slightly chewy, not rock-hard.
What are some simple methods for creating steam in a home oven?
Easy methods include placing a baking sheet with hot water on the lower rack, using a spray bottle to mist the oven walls, or baking the bread in a Dutch oven with the lid on.
Can you overdo the steam when baking artisan bread?
Yes, too much steam can result in a gummy crust that lacks the desired crispness. It's important to release the steam towards the end of the baking process.
How long should I use steam when baking artisan bread for the best crust?
Generally, you want to use steam for the first 15-20 minutes of baking. After this, release the steam to allow the crust to dry and crisp up properly.
Final Reflection: Unlocking the Secrets of a Perfect Crust
The quest for the perfect artisan bread crust is a journey shared by bakers worldwide, and mastering steam's role is paramount to achieving that coveted crisp exterior. The seemingly simple act of introducing steam into your oven during the crucial initial baking phase dramatically transforms the final product, moving it from a disappointingly tough crust to a beautifully blistered, airy delight. This isn't just about aesthetics; it's about unlocking the full potential of your flour, yeast, and technique.
The impact of steam on bread baking transcends mere technique; it's a fundamental element influencing the very texture and character of the loaf. It's a subtle yet powerful force, shaping the crust's development and influencing the overall eating experience. This journey of exploration into steam's role has reinforced for me the importance of understanding the "why" behind baking techniques, not just the "how." The best bread is made with love, patience, and a deep understanding of the process.
– Unknown. This quote resonates deeply, as mastering steam is a testament to that dedication.
Now, it's your turn. Don't just accept a hard, disappointing crust; take control of your baking experience. Experiment with different steam methods, observe the results, and refine your technique. Each loaf you bake, each experiment you undertake, is a step closer to unlocking your own personal mastery of the perfect artisan crust. Embrace the challenge, savor the process, and enjoy the incredible reward of a truly exceptional loaf of bread.
Unleash Your Inner Baker: Achieve Perfectly Crusty Artisan Bread!
Thanks for taking the time to explore the secrets of achieving that perfect, crackly crust on your artisan bread! We hope you now feel empowered to conquer even the most stubborn dough. Ready to put your new steam-baking skills to the test?
- Bake a masterpiece: Try the steam method outlined in the article with your next loaf. Note the differences in crust texture and share your results!
- Experiment with different flours and hydration levels: See how this impacts the final crust, and don't be afraid to get creative.
- Share your baking journey: Tell us about your experience – what worked, what didn't, and what delicious creations you came up with! Let's build a community of artisan bread lovers.
What surprising ingredient will you try to enhance your bread's crust next?