
No More Soggy Bread: Setting the Right Baking Time for Crispy Artisan Loaves

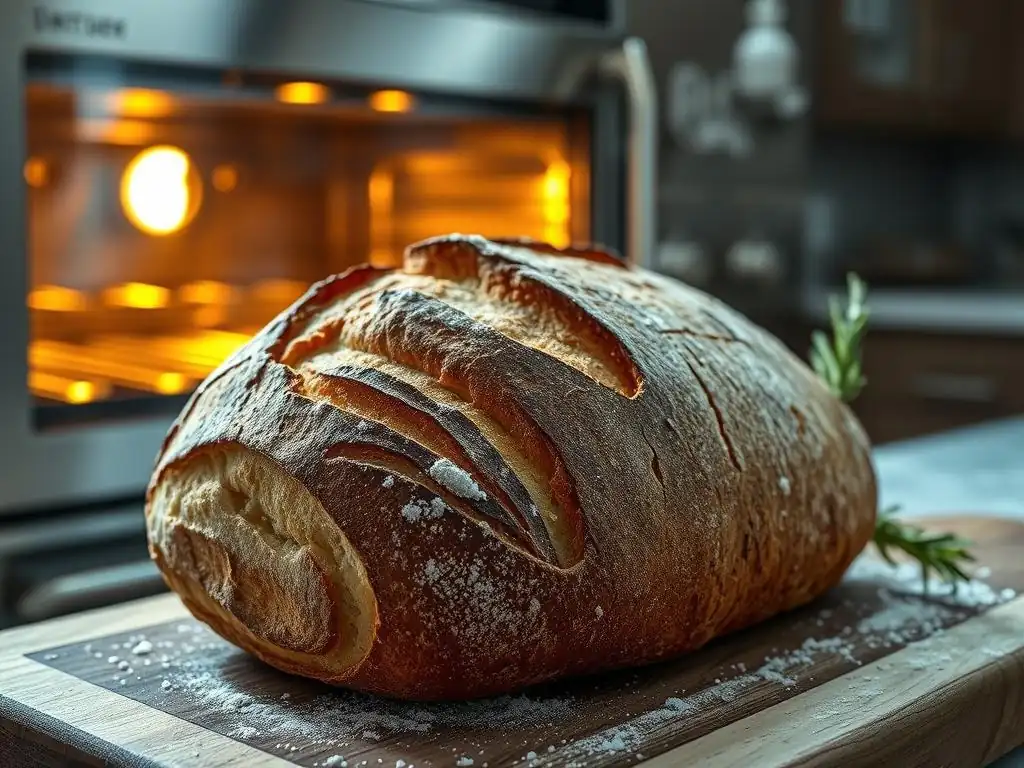
Welcome to BakeWithEase, your guide to confident baking!
Ever wondered why your artisan bread lacks that satisfying crisp? You're not alone! This article dives deep into the secrets of achieving perfectly crispy artisan bread baking every time. Discover the essential baking time adjustments and techniques that will transform your loaves from soggy to spectacular, and unlock the secrets to artisan bread success. Intrigued? Let's get baking!
- Introduction: Achieving Crispy Artisan Bread at Home
- Understanding the Fundamentals of Baking Time for Crispy Crusts
- Mastering Oven Temperature and Baking Time for Artisan Loaves
- The Role of Steam in Crispy Artisan Bread Baking
- Determining Doneness: Signs of Perfectly Baked Artisan Bread
- Troubleshooting Baking Time Issues: Preventing Soggy or Burnt Bread
- Advanced Techniques for Crispy Artisan Bread
- Recipes and Baking Time Examples for Different Artisan Breads
- Conclusion: Consistent Crispy Artisan Bread Baking with the Right Time and Temperature
-
Frequently Asked Questions
- What is the most common mistake that leads to soggy artisan bread?
- How do I determine the correct baking time for my artisan bread?
- What role does oven temperature play in achieving a crispy crust?
- Can I revive a loaf of artisan bread that came out soggy?
- Are there any other techniques besides baking time that contribute to a crispy artisan bread crust?
- Final Reflection: The Golden Crust and the Everlasting Quest for Perfect Bread
- Unleash Your Inner Baker: Perfect Crusts Await!
Introduction: Achieving Crispy Artisan Bread at Home
The Challenge of Soggy Bread: Understanding Common Baking Mistakes
Many home bakers dream of pulling a loaf of artisan bread from the oven with a deeply colored, shatteringly crispy crust and a soft, open interior. However, a common frustration is ending up with a loaf that looks great but has a soft, chewy, or even soggy crust. This often stems from a few key mistakes related to baking time and temperature management.
Underbaking is perhaps the most frequent culprit, preventing enough moisture from evaporating from the crust. Insufficient oven temperature or failing to create the right steamy environment initially can also hinder proper crust development, leading to that dreaded soggy texture instead of the desired crispness associated with excellent crispy artisan bread baking.
Another significant factor contributing to a less-than-crispy crust is improper cooling. While the bread is cooling, moisture from the hot interior continues to migrate outwards. If the loaf is placed on a solid surface, this moisture can condense on the bottom crust, making it soggy. Furthermore, opening the oven door too frequently during the initial high-temperature phase can cause a rapid loss of heat and steam, both crucial for setting the crust properly. Understanding these pitfalls is the first step toward mastering the art of crispy artisan bread baking.
BakeWithEase.com: Your Guide to Perfect Artisan Bread Baking
Welcome to BakeWithEase.com, your dedicated partner in the journey of creating beautiful and delicious baked goods right in your own kitchen. We understand the nuances and challenges of baking, especially when it comes to crafting that perfect loaf of artisan bread. Our goal is to demystify the process, providing clear, step-by-step guides and practical tips that help you achieve professional-quality results, including that coveted crispy crust. Whether you're a beginner attempting your first no-knead loaf or an experienced baker refining your sourdough technique, we have resources tailored for you.
On BakeWithEase.com, you'll find everything from foundational recipes to advanced techniques, all designed to make baking accessible and enjoyable. We delve into the science behind baking, explaining why certain steps are necessary and how they impact the final product. Our comprehensive guides on ingredients, equipment, and troubleshooting common issues are here to support you every step of the way, helping you navigate the path to consistently successful crispy artisan bread baking.
Understanding the Fundamentals of Baking Time for Crispy Crusts
The Science Behind a Crispy Crust: Maillard Reaction and Moisture Evaporation
The magic behind a crispy, flavorful bread crust lies primarily in two chemical processes that occur during baking: the Maillard reaction and moisture evaporation. The Maillard reaction is a complex series of chemical interactions between amino acids and reducing sugars that happens at temperatures above 300°F ( 150°C). This reaction is responsible for the browning of the crust and the development of hundreds of flavor compounds, contributing significantly to the bread's aroma and taste. Without sufficient time at the right temperature, this reaction cannot fully occur, resulting in a pale, less flavorful crust.
Simultaneously, heat from the oven drives moisture out of the dough. As the exterior heats up, water turns to steam and escapes. This drying process is crucial for the crust's crispness. If the baking time is too short, too much residual moisture remains in the crust, preventing it from becoming truly crisp. The rate of moisture evaporation is influenced by oven temperature and air circulation. Achieving the perfect balance of Maillard browning and moisture evaporation through precise baking time and temperature control is the essence of successful crispy artisan bread baking.
Key Factors Influencing Baking Time: Dough Hydration, Oven Calibration, and Loaf Size
Several variables significantly impact the ideal baking time for your artisan bread. Dough hydration, which is the ratio of water to flour, plays a major role. Higher hydration doughs (like ciabatta, often 80% hydration or more) contain more water that needs to evaporate, typically requiring a slightly longer baking time compared to lower hydration doughs (like a standard baguette, perhaps 70% hydration) to achieve the same level of dryness in the crust. Failing to account for hydration can lead to underbaked interiors or soggy crusts.
Oven calibration is another critical factor. Many home ovens have thermostats that are not perfectly accurate, sometimes being off by as much as 25-50°F ( 15-30°C). An oven that runs cool will necessitate a longer baking time to reach the desired internal temperature and crust development. Conversely, an oven that runs hot might require a shorter time or lower temperature setting to prevent burning. Finally, the size and shape of your loaf matter. A large, round boule will take longer to bake through than a thin, elongated baguette or several smaller rolls, even if made from the same dough. Always consider these factors when estimating the baking time needed for your crispy artisan bread baking project.
Mastering Oven Temperature and Baking Time for Artisan Loaves
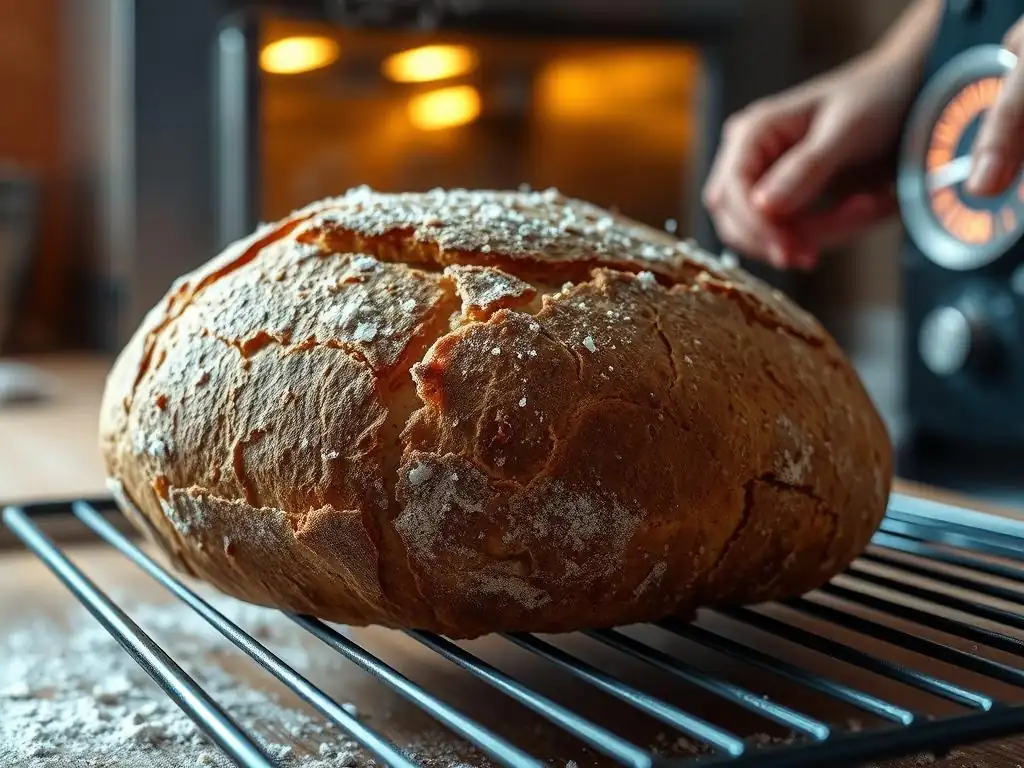
Preheating Your Oven: The Importance of a Hot Start for Crispy Bread
Properly preheating your oven is non-negotiable for achieving a crispy crust on artisan bread. Artisan loaves are typically baked at high temperatures, often starting around 450°F to 500°F ( 230°C to 260°C). Loading your dough into an oven that hasn't reached the target temperature will result in poor oven spring (the rapid rise of the dough in the initial heat) and inadequate crust development. The intense initial heat helps to quickly set the crust, allowing the interior to expand before the crust hardens too much.
For best results, preheat your oven for at least 30 minutes, and preferably 45-60 minutes, especially if you are using a baking stone or Dutch oven. These thermal masses need ample time to absorb and radiate heat effectively. Using an oven thermometer is highly recommended to verify that your oven has indeed reached the desired temperature before you load your bread. This hot start is fundamental to the process of crispy artisan bread baking.
Initial Baking Time: Setting the Stage for Crust Development
The initial phase of baking, often at a high temperature and frequently with steam, is crucial for setting the stage for a crispy crust. During the first 15-25 minutes, the dough undergoes maximum oven spring, and the surface begins to dry and develop color. If baking in a Dutch oven, this is the period when the lid is on, trapping steam released by the dough itself. This moist environment allows the crust to remain pliable longer, facilitating expansion and delaying the formation of a hard crust until the loaf has achieved most of its volume.
For baking directly on a stone or baking steel, creating steam in the oven is necessary during this initial phase. This could involve placing a tray of hot water or lava rocks at the bottom of the oven just before loading the bread. The steam ensures the crust doesn't set prematurely. This initial high-temperature phase is vital for initiating the Maillard reaction and establishing the structure that will become a beautiful, crispy crust during the remainder of the baking time.
Adjusting Temperature During Baking: Achieving Even Browning and Preventing Burning
After the initial high-temperature, steamy phase (typically 15-25 minutes), it's common practice to reduce the oven temperature and, if using a Dutch oven, remove the lid. Reducing the temperature, often to 400°F to 450°F ( 200°C to 230°C), allows the interior of the bread to finish baking through without the crust becoming too dark or burning. Removing the lid of a Dutch oven allows the trapped steam to escape, enabling the crust to dry out and become truly crispy.
Monitoring the crust color during this second phase is essential. If the crust is browning too quickly, you may need to lower the temperature further or tent the loaf loosely with aluminum foil to shield it from direct radiant heat. Conversely, if the crust is too pale as the baking time nears its end, a slight increase in temperature for the last few minutes can help. Mastering these temperature adjustments during the baking process is key to achieving evenly browned, perfectly crispy artisan bread baking results.
The Role of Steam in Crispy Artisan Bread Baking
Creating Steam in Your Home Oven: Methods and Techniques
Steam is arguably the secret ingredient for achieving a professional-quality crispy crust in home artisan bread baking. The presence of steam in the oven during the first part of the bake keeps the surface of the dough moist and pliable. This allows the loaf to expand fully during oven spring before the crust hardens. Without steam, the crust would set too quickly, restricting expansion and resulting in a denser loaf and a thicker, less crispy crust. There are several effective ways to create steam in a home oven.
One popular method is using a Dutch oven or a cloche. Baking the dough inside a preheated lidded pot traps the steam released by the dough itself, creating the ideal environment. Another common technique involves placing a cast iron pan or sturdy baking tray on the bottom rack of the oven while preheating. Just before loading the bread, carefully pour hot water (about 1 cup) into the hot pan to generate a burst of steam. Some bakers also use lava rocks or chains in the steam pan to increase the surface area for water to evaporate from. Using a spray bottle to mist the oven walls is a less effective method as the steam dissipates quickly.
Steam's Impact on Crust Formation: Enhancing Crispness and Shine
The primary benefit of steam during the initial baking period is its effect on gelatinization. The starch molecules on the surface of the dough absorb moisture from the steam and gelatinize. As the bread continues to bake and the steam dissipates (either by removing a lid or opening vents), this gelatinized layer dries out and becomes brittle, forming a thin, crispy crust. Steam also contributes to a more even rise and can give the final crust a slight sheen.
Without sufficient steam, the crust forms too quickly and becomes thick and tough rather than thin and crispy. Think of baking a loaf like a baguette; the characteristic thin, crisp crust is heavily reliant on a very steamy environment during the first 10-15 minutes of baking. The steam delays the formation of a hard crust, allowing the loaf to expand fully and creating the conditions necessary for that signature crispness when the crust finally dries out. This steamy start is a fundamental technique in crispy artisan bread baking.
Baking with and without Steam: A Comparison
Baking artisan bread with adequate steam typically results in a loaf with significantly better oven spring, a thinner, more delicate, and crispier crust, and often a more open crumb structure. The surface is usually more evenly browned and may have a slight shine. Examples baked with steam include classic sourdough boules, baguettes, and ciabatta. A typical bake might involve 20 minutes covered in a Dutch oven at 450°F, followed by 25-30 minutes uncovered at 400°F.
Baking the same dough without steam, or with insufficient steam, will generally lead to a loaf with less oven spring because the crust hardens too quickly, restricting expansion. The crust tends to be thicker, chewier, and less consistently crispy. It may also brown unevenly. While some rustic loaves are baked without added steam, the hallmark of many popular artisan breads – that light, airy interior and shatteringly crispy crust – is achieved through the strategic use of steam during the initial baking phase. For optimal crispy artisan bread baking, steam is your ally.
Determining Doneness: Signs of Perfectly Baked Artisan Bread
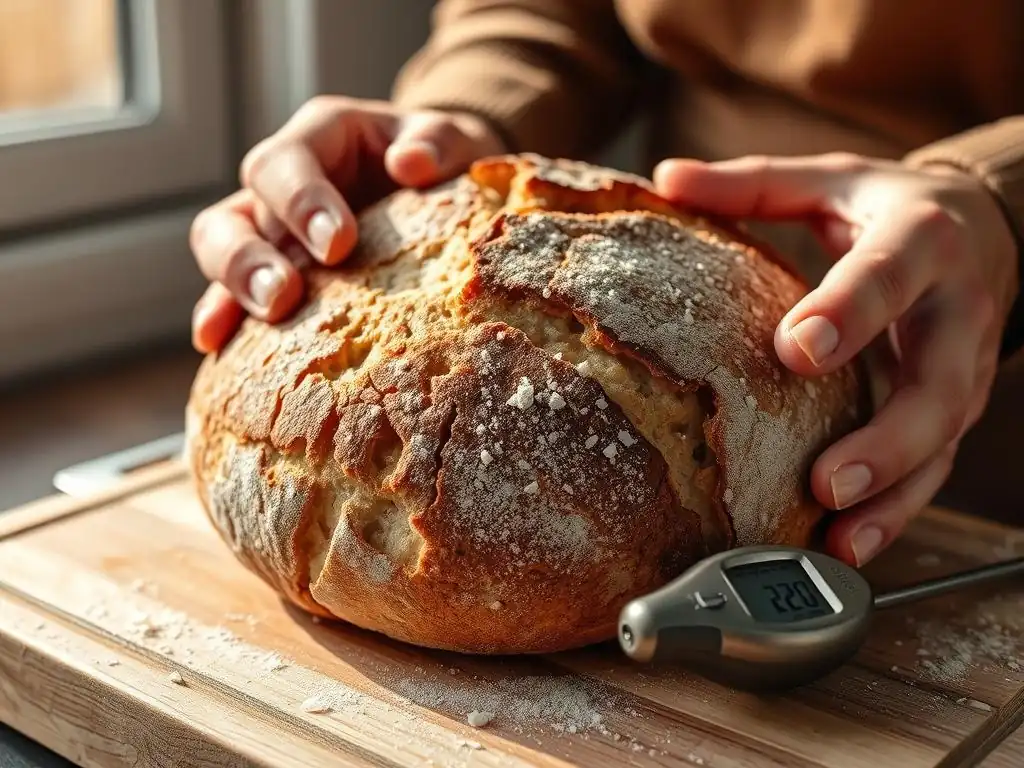
Internal Temperature: The Most Reliable Indicator of Doneness
While visual cues are helpful, the most reliable way to determine if your artisan bread is fully baked is by checking its internal temperature. For most lean artisan breads (those made primarily with flour, water, salt, and yeast/starter, like sourdough or baguettes), a fully baked loaf should reach an internal temperature between 200°F and 210°F ( 93°C and 99°C). At this temperature range, the starches have fully gelatinized and set, and enough moisture has evaporated from the interior.
Using an instant-read thermometer inserted into the center of the loaf (avoiding any large air pockets) provides a definitive answer. Removing the bread from the oven before it reaches this temperature range almost guarantees an underbaked, potentially gummy interior, even if the crust looks done. Always check the internal temperature towards the end of your estimated baking time to ensure your loaf is perfectly cooked through, contributing to overall success in crispy artisan bread baking.
Visual Cues: Color, Shape, and Sound of a Well-Baked Loaf
Beyond temperature, several visual cues indicate a well-baked artisan loaf. The crust color should be a deep golden brown to dark reddish-brown, depending on the type of flour used and personal preference. Lighter crusts often indicate underbaking and will likely be soft rather than crispy. The loaf should have expanded nicely, achieving good volume and shape with visible oven spring.
Additionally, the crust should look dry and firm. If you gently press on the crust, it should feel hard and brittle, not soft or yielding. A well-baked loaf will also often have visible cracks or "shards" on the surface, particularly on the ears of the loaf, which are signs of excellent crust development. These visual indicators work in conjunction with internal temperature to confirm that your crispy artisan bread baking efforts have paid off.
The "Thump" Test: Listening for Hollow Sound to Ensure Baking Time Accuracy
A traditional, though less precise, method for checking doneness is the "thump" test. Carefully remove the loaf from the oven and turn it upside down. Tap firmly on the bottom crust with your fingers. A fully baked loaf will produce a hollow sound, much like tapping on a drum. This hollow sound indicates that the interior crumb structure has set and dried sufficiently.
If the sound is dull or solid, it suggests the bread is still dense and contains too much moisture, meaning it needs more baking time. While not as accurate as a thermometer, the thump test is a useful supplementary check, especially after verifying the internal temperature. It's a classic technique passed down through generations of bakers honing their skills in crispy artisan bread baking.
Troubleshooting Baking Time Issues: Preventing Soggy or Burnt Bread
Common Causes of Soggy Bread: Underbaking, Insufficient Steam, and Low Oven Temperature
Soggy bread crusts are a common frustration, often stemming from a few identifiable issues. The most frequent cause is simply underbaking; the bread hasn't spent enough time in the oven for sufficient moisture to evaporate from the crust and interior. Even if the crust looks brown, the interior might still be too wet, causing moisture to migrate outwards and soften the crust as it cools. Checking the internal temperature is key here.
Insufficient steam during the initial bake is another major factor. Without steam, the crust forms too quickly and becomes thick and chewy, rather than thin and crispy. Finally, baking at too low an oven temperature prevents the rapid heat transfer needed for good oven spring and efficient moisture evaporation. An oven that hasn't been preheated long enough or isn't calibrated correctly can lead to perpetually soggy results, undermining your efforts in crispy artisan bread baking.
Solutions for Soggy Bread: Adjusting Baking Time, Increasing Oven Temperature, and Adding Steam
If you consistently encounter soggy bread, implement these solutions. First, increase your baking time. If your recipe calls for 40 minutes and your bread is soggy, try adding 5-10 minutes to the bake, checking the internal temperature ( 200-210°F) for confirmation. You might also need to increase your oven temperature slightly, ensuring it's adequately preheated (e.g., confirming 450-500°F initially) and potentially reducing it less drastically during the second phase.
Crucially, ensure you are using sufficient steam during the first 15-25 minutes of baking. If you're not using a Dutch oven, try the hot water in a pan method or invest in lava rocks for more sustained steam. If using a Dutch oven, make sure it's fully preheated. By addressing these factors – adequate baking time, correct temperature, and sufficient steam – you'll be well on your way to eliminating soggy crusts and achieving consistent crispy artisan bread baking.
Preventing Burnt Crusts: Lowering Temperature, Using a Baking Stone, and Tenting with Foil
On the flip side, sometimes the crust browns too quickly or even burns before the interior is fully baked. This can happen if the oven runs too hot, the baking time is too long at a high temperature, or if the loaf is positioned too close to a heating element. One solution is to lower the oven temperature slightly during the second half of the bake (e.g., dropping to 375°F instead of 400°F).
Using a baking stone or steel can help by providing consistent, even heat from below, which can reduce the need for prolonged high heat from above. If the top crust is browning too fast, loosely tent the loaf with aluminum foil after it has reached your desired color but still needs more time to bake through. This shields the crust from direct heat while allowing the interior to finish cooking. These adjustments are vital for preventing burnt edges and ensuring successful crispy artisan bread baking.
Advanced Techniques for Crispy Artisan Bread
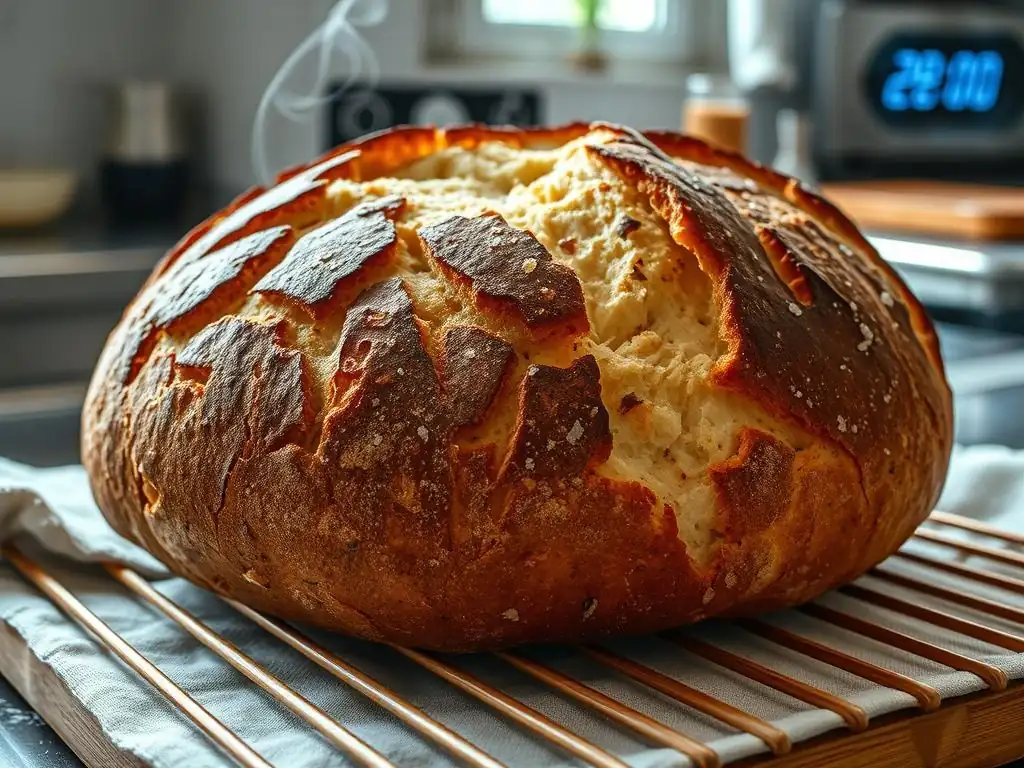
Using a Dutch Oven: Creating a Steamy Environment for Optimal Crust Development
Baking in a Dutch oven is one of the most popular and effective methods for achieving a superb crispy crust in a home oven. The heavy, preheated pot mimics a professional deck oven by trapping the steam released by the dough as it bakes. This creates a humid microclimate around the loaf during the crucial first phase, allowing for maximum oven spring and delaying crust formation.
To use a Dutch oven, preheat it with the lid in the oven at a high temperature, typically 450°F to 500°F, for 45-60 minutes. Carefully transfer your shaped dough into the hot pot, score it, place the lid back on, and bake for 15-25 minutes. Then, remove the lid and continue baking at a slightly lower temperature ( 400-450°F) for another 20-30 minutes until the crust is deeply colored and the internal temperature is met. This method significantly simplifies achieving professional-level crispy artisan bread baking.
Baking on a Baking Stone: Promoting Even Heat Distribution and Crispness
Baking directly on a preheated baking stone or steel is another excellent technique for promoting a crispy bottom crust and overall even baking. A stone or steel absorbs and retains heat extremely well, transferring it directly to the base of the loaf. This intense bottom heat contributes to a strong oven spring and ensures the bottom crust becomes wonderfully crisp, preventing the dreaded soggy bottom.
Preheat your oven with the stone or steel inside for at least 45-60 minutes at your target temperature ( 450-500°F). To create steam when baking on a stone, you'll need to use one of the methods described earlier, such as a steam pan with hot water or lava rocks placed on a rack below the stone. Carefully slide your dough onto the preheated surface. Baking on a stone combined with effective steaming is a classic approach to achieving fantastic crispy artisan bread baking results.
Cooling Your Bread Properly: Preventing Soggy Bottoms
The cooling process is just as important as the baking process for achieving and maintaining a crispy crust. As the hot bread comes out of the oven, moisture from the interior continues to evaporate. If the loaf is placed on a solid surface like a countertop or cutting board, this moisture will condense on the bottom crust, making it soft and potentially soggy.
Always cool your bread on a wire rack. This allows air to circulate freely around the entire loaf, facilitating even cooling and allowing steam to escape from all surfaces, including the bottom. Let the bread cool completely (which can take 2-4 hours for a large loaf) before slicing. Slicing hot bread traps steam inside, leading to a gummy interior and a less crispy crust. Proper cooling is the final, essential step in successful crispy artisan bread baking.
Recipes and Baking Time Examples for Different Artisan Breads
Sourdough Bread Baking Time and Temperature Guide
Sourdough is a staple of crispy artisan bread baking. A typical sourdough boule (around 800-1000g) baked in a Dutch oven might follow this schedule:
- Preheat oven and Dutch oven to
475°F(245°C) for1 hour. - Transfer dough to Dutch oven, score, cover, bake for
20 minutes. - Reduce oven temperature to
450°F(230°C), remove lid, bake for another25-30 minutes, or until internal temperature is205-210°F(96-99°C) and crust is deep golden brown.
Cool completely on a wire rack. Adjust times slightly for smaller or larger loaves or different hydration levels.
Baguette Baking Time and Temperature Guide
Baguettes require a very hot oven and significant steam for their signature thin, crispy crust and open crumb.
- Preheat oven with baking stone (if using) and steam setup (like a pan with lava rocks) to
500°F(260°C) for1 hour. - Load baguettes onto stone, add hot water to steam pan, immediately close oven door. Bake for
10-15 minuteswith steam. - Carefully vent steam (open door briefly or remove steam pan), reduce temperature to
450°F(230°C), and bake for another15-20 minutes, or until crust is deep golden brown and internal temperature is200-205°F(93-96°C).
Cool on a wire rack. Baking multiple baguettes may require slightly longer times.
Ciabatta Bread Baking Time and Temperature Guide
High-hydration ciabatta also benefits greatly from high heat and steam to achieve its characteristic open crumb and crispy crust.
- Preheat oven with baking stone (if using) and steam setup to
475°F(245°C) for1 hour. - Carefully transfer shaped ciabatta dough (it will be wet!) onto the hot stone or baking sheet. Add hot water to steam pan, close oven door. Bake for
15-20 minuteswith steam. - Vent steam, reduce temperature to
425°F(220°C), and bake for another15-20 minutes, or until crust is golden brown and internal temperature is205-210°F(96-99°C).
Cool completely on a wire rack. Due to its high hydration, ensuring ciabatta is fully baked is crucial to avoid a gummy interior.
Conclusion: Consistent Crispy Artisan Bread Baking with the Right Time and Temperature
Recap of Key Baking Time Tips for Crispy Crusts
Achieving that perfect crispy crust on your artisan bread is a rewarding experience, and it boils down to mastering a few key principles related to baking time and temperature. Remember to always preheat your oven thoroughly, preferably with a baking stone or Dutch oven, to ensure a hot start. Utilize steam during the initial phase of baking (the first 15-25 minutes) to allow for maximum oven spring and proper crust development.
Pay close attention to the total baking time, adjusting it based on your specific recipe, dough hydration, loaf size, and oven performance. Don't be afraid to adjust the temperature during the bake – starting high and finishing slightly lower is a common technique to prevent burning while ensuring the interior cooks through. Finally, the most reliable indicator of doneness is the internal temperature ( 200-210°F for lean doughs), supported by visual cues like deep crust color and the hollow thump test. And always, always cool your bread completely on a wire rack! Following these steps will significantly improve your crispy artisan bread baking results.
Further Resources for Mastering Artisan Bread Baking on BakeWithEase.com
Ready to dive deeper into the world of artisan bread? BakeWithEase.com offers a wealth of resources to help you continue your baking journey. Explore our detailed guides on sourdough starter maintenance, different flour types, and shaping techniques for various loaves like boules, batards, and baguettes. We have step-by-step photo tutorials and troubleshooting articles covering everything from gummy crumb to dense loaves.
Whether you're troubleshooting a specific issue or looking for your next baking challenge, BakeWithEase.com is here to support your passion. Our collection of artisan bread recipes includes options for beginners and experienced bakers alike, each with detailed instructions on ingredients, process, and, crucially, recommended baking times and temperatures for achieving that desired crispy crust. Keep practicing, keep exploring, and enjoy the delicious rewards of mastering crispy artisan bread baking with us!
Frequently Asked Questions
What is the most common mistake that leads to soggy artisan bread?
The most common mistake is underbaking. This leaves excess moisture inside the loaf, preventing the crust from achieving that desired crispy texture.
How do I determine the correct baking time for my artisan bread?
Use a combination of internal temperature (aim for 200-210°F) and visual cues like a deep golden-brown crust. Baking time will vary depending on the recipe and oven.
What role does oven temperature play in achieving a crispy crust?
A high initial oven temperature, often followed by a slightly reduced temperature, is crucial for creating steam and promoting a crisp, thick crust.
Can I revive a loaf of artisan bread that came out soggy?
Yes, you can often revive a soggy loaf by returning it to the oven at a lower temperature (around 300°F) for another 10-15 minutes. This helps to evaporate excess moisture and crisp up the crust.
Are there any other techniques besides baking time that contribute to a crispy artisan bread crust?
Yes, using a Dutch oven or adding steam to your oven during the initial baking phase are both effective techniques to create a crispy crust.
Final Reflection: The Golden Crust and the Everlasting Quest for Perfect Bread
The pursuit of the perfect crust—crisp, golden, and echoing with the satisfying crackle of artisan bread—is more than just a culinary quest; it's a reflection of our enduring desire for perfection in the simplest of things. This article has explored the often-overlooked variable of baking time in achieving that coveted crispiness, highlighting the interplay between oven temperature, dough hydration, and the crucial final minutes of baking. Understanding these factors is key to unlocking the secrets of consistently delicious artisan loaves.
The journey to mastering the perfect crust is a deeply personal one. It's about the tactile experience of shaping the dough, the intoxicating aroma filling the kitchen, and the profound satisfaction of sharing the fruits of your labor. Bread is the staff of life,
they say, and in its creation, we find a connection to generations past, a tangible link to the simple pleasures that enrich our lives. The quest for the perfect crust, therefore, is not merely about achieving a desirable texture; it's about embracing the process, learning from each bake, and appreciating the artistry involved.
Now, I invite you to take what you've learned and apply it to your own baking adventures. Don't be afraid to experiment, to adjust baking times based on your oven and your dough. Embrace the imperfections, for they are often the stepping stones to mastery. The next time you pull a loaf from the oven, take a moment to appreciate the golden crust, the aroma, and the connection to something timeless and deeply satisfying. The perfect crust awaits – go forth and bake!
Unleash Your Inner Baker: Perfect Crusts Await!
Thanks for taking the time to learn about baking the perfect artisan loaf! We hope you gained valuable insights into achieving that coveted crispy crust. Now it's time to put your newfound knowledge into action.
- Bake your dream loaf today! Experiment with the timing techniques discussed, and see the difference it makes. Don't be afraid to tweak the recipe to suit your oven and flour. This is your chance to perfect your signature artisan bread.
- Share your baking journey! Snap a photo of your perfectly crusty creation and post it on social media, using #BakeWithEasePerfectCrust. Let's inspire other bakers!
- Explore more baking tips: Dive deeper into the art of bread making by checking out our other articles on BakeWithEase.com (we have a fantastic one on sourdough starters! ).
What unique ingredient or technique will you try to elevate your next loaf? Let's discuss in the comments!