
Easy Gooey Brownies: A Recipe So Simple, It's Magic

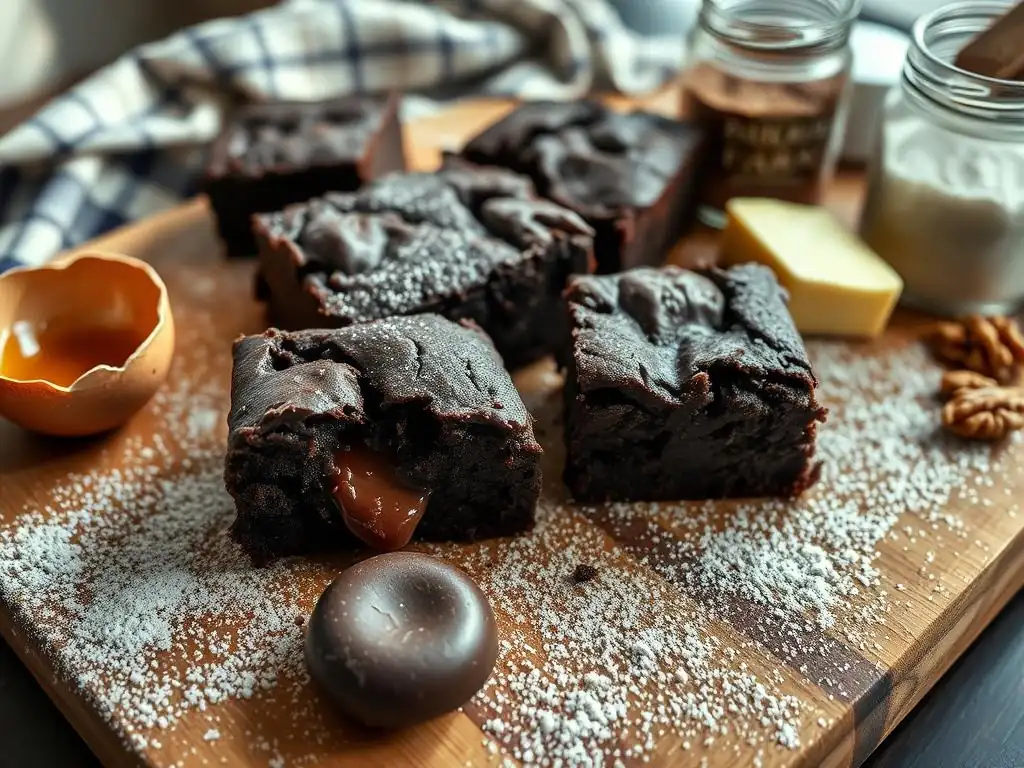
Welcome to BakeWithEase, where delicious baking becomes delightfully simple! Are you ready to unlock the secrets to perfect, melt-in-your-mouth brownies? Our Easy Gooey Brownie Recipe for Beginners is your starting point. Forget complicated techniques and endless ingredients; we're about to show you how to create brownie magic with minimal effort. Intrigued? Let's get baking!
- Fudgy Chocolate Brownies: A Simple Recipe
- Chocolate Bliss: Easy Fudgy Brownie Recipe
- Why This Fudgy Brownie Recipe is a Great Choice
-
Step-by-Step Guide to Making Fudgy Brownies
- Step 1: Gathering Ingredients
- Step 2: Preparing the Baking Pan
- Step 3: Melting Chocolate and Butter
- Step 4: Mixing Wet Ingredients: Eggs and Sugar
- Step 5: Combining Wet and Dry Ingredients
- Step 6: Pouring the Batter and Adding Optional Toppings [Example: Sea Salt]
- Step 7: Baking the Brownies
- Step 8: Cooling and Cutting
- Tips for Achieving Optimal Fudgy Brownie Texture
- Variations and Adaptations
- Troubleshooting Common Brownie Issues
- Enjoy Your Homemade Fudgy Brownies!
- Frequently Asked Questions
- Final Reflection: The Unexpected Magic of Simple Baking
- Unlock Your Inner Brownie Baker!
Fudgy Chocolate Brownies: A Simple Recipe
Chocolate Bliss: Easy Fudgy Brownie Recipe
Welcome to the wonderful world of baking! If you're searching for an easy gooey brownie recipe beginners can master, you've landed in the right place. This particular recipe is designed to take the guesswork out of creating decadent, fudgy brownies right in your own kitchen. Forget dry, cakey disappointments; we're aiming for that perfect, melt-in-your-mouth texture that defines a truly great brownie. It's a simple process that yields impressive results, making it an ideal starting point for anyone new to baking or just looking for a reliable go-to recipe.
Crafting the perfect fudgy brownie doesn't require complex techniques or fancy ingredients. This recipe focuses on straightforward steps and common pantry staples, ensuring that even if you've never baked before, you can achieve delicious success. We'll walk through each stage, from gathering your ingredients to the satisfying moment of cutting into your cooled, intensely chocolatey treats. Get ready to discover the magic of homemade fudgy brownies – it's easier than you think!
Why This Fudgy Brownie Recipe is a Great Choice
This recipe stands out as an excellent choice, especially for beginners, because it prioritizes simplicity without sacrificing flavor or texture. Unlike some recipes that might require creaming butter and sugar extensively or incorporating complicated steps, this method uses melted butter and chocolate, which is much more forgiving and easier to execute consistently. The result is a rich, dense, and incredibly fudgy brownie, exactly what most people crave. It’s a low-stress way to gain confidence in your baking abilities.
Furthermore, this easy gooey brownie recipe beginners will appreciate is built for reliability. By focusing on precise (yet simple) measurements and clear instructions, it minimizes common pitfalls like overmixing or incorrect baking times. The ingredients are likely already in your pantry, meaning you can whip up a batch whenever the craving strikes. It’s proof that you don’t need years of experience to create bakery-quality treats at home.
Core Ingredients for Intense Fudgy Brownies
Achieving that signature intense fudgy texture starts with the right foundation of ingredients. High-quality chocolate and butter are paramount. For this recipe, using about 1 cup of semi-sweet or dark chocolate chips or chopped baking chocolate (around 6-8 ounces) provides deep chocolate flavor and essential fat content. Combining this with approximately 1/2 cup (one stick) of unsalted butter, melted together, creates the rich base that ensures your brownies are dense and moist, not dry or crumbly. The quality of your chocolate directly impacts the depth of flavor, so choose something you enjoy eating on its own.
Beyond the chocolate and butter, other key players contribute to the fudginess. Granulated sugar, typically around 1.5 cups, provides sweetness and helps create that desirable crackly top crust. Eggs, usually 2 large ones, bind everything together and contribute to the richness; ensuring they are at room temperature helps them incorporate better.
A small amount of all-purpose flour (around 3/4 cup) and unsweetened cocoa powder (about 1/4 cup) provide structure and additional chocolate flavor without making the brownies cakey. Don't forget a touch of vanilla extract (around 1 teaspoon) and a pinch of salt (about 1/4 teaspoon) to enhance all the flavors.
Essential Equipment: Simple Brownie Baking
You don't need a professional kitchen setup to bake amazing fudgy brownies. The essential equipment for this easy recipe is quite basic and likely already in your home. You'll need a couple of mixing bowls – one medium-sized for melting chocolate and butter, and a larger one for combining the wet and dry ingredients. A whisk and a rubber spatula are indispensable for mixing and scraping down the bowl. Accurate measuring cups and spoons are crucial for ensuring the correct ingredient ratios, which is key to achieving the perfect fudgy texture.
The most critical piece of equipment specific to baking brownies is the baking pan itself. An 8x8 inch metal baking pan is highly recommended for this recipe. Metal pans conduct heat efficiently, ensuring even baking, and the 8x8 size provides the ideal thickness for fudgy brownies when using the specified amount of batter. Using parchment paper or aluminum foil to line the pan, leaving an overhang, makes removing the cooled brownies incredibly easy and also helps prevent sticking, ensuring that none of that delicious fudgy goodness is left behind.
Step-by-Step Guide to Making Fudgy Brownies
Step 1: Gathering Ingredients
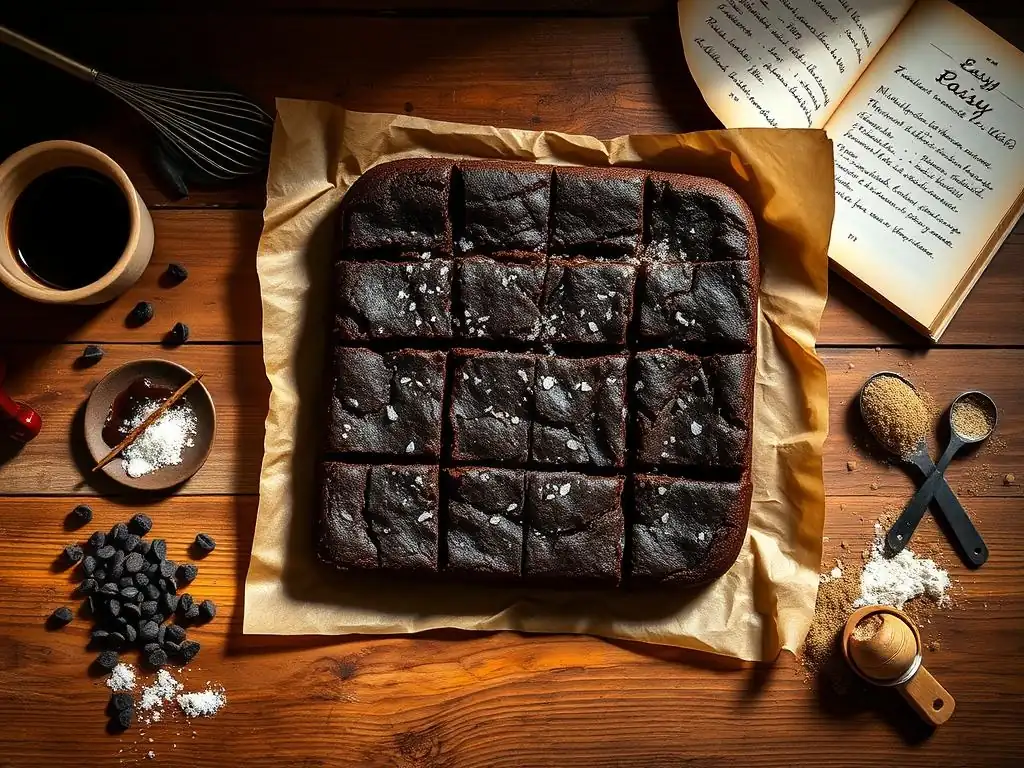
The first step in making these easy gooey brownies, perfect for beginners, is to gather and measure all your ingredients. This practice, known as "mise en place" (everything in its place), is a fundamental technique in baking that helps prevent errors and makes the process smooth and enjoyable. Take out your chocolate, butter, sugar, eggs, flour, cocoa powder, vanilla extract, and salt. Measure everything accurately according to the recipe – approximately 1 cup chocolate, 1/2 cup butter, 1.5 cups sugar, 2 large eggs, 3/4 cup flour, 1/4 cup cocoa powder, 1 teaspoon vanilla, and 1/4 teaspoon salt.
Having all your ingredients measured and ready before you start mixing ensures you won't forget anything or have to scramble mid-process. This is particularly helpful for beginners navigating a new recipe. Place them on your counter in the order you'll need them. Taking this simple preparatory step sets you up for success and makes the rest of the baking process feel much more manageable and fun.
Step 2: Preparing the Baking Pan
Proper pan preparation is key to ensuring your fudgy brownies release cleanly and look picture-perfect. Start with your recommended 8x8 inch metal baking pan. Cut a piece of parchment paper or aluminum foil large enough to line the bottom and sides of the pan, leaving a significant overhang on two opposite sides. This overhang acts as "handles" later, allowing you to easily lift the entire cooled brownie slab out of the pan.
Once the paper or foil is fitted into the pan, lightly grease it. You can use cooking spray, butter, or shortening. This extra layer of grease ensures that even if a bit of batter seeps under the edges of the paper, your brownies won't stick. The combination of lining and greasing provides the best insurance for easy removal and clean cuts, a small step that makes a big difference in the final presentation of your easy gooey brownie recipe for beginners.
Step 3: Melting Chocolate and Butter
Now for the heart of the brownie base: melting the chocolate and butter together. In a medium-sized heatproof bowl, combine your measured chocolate (about 1 cup) and butter (about 1/2 cup). You can melt this mixture using a double boiler method (setting the bowl over a pot of simmering water, ensuring the bottom of the bowl doesn't touch the water) or carefully in the microwave. If using the microwave, heat in 30-second intervals, stirring well after each, until smooth and completely melted. Be careful not to overheat the chocolate, as it can seize or burn.
Once melted and smooth, remove the bowl from the heat or microwave. It's crucial to let this rich mixture cool slightly before proceeding. If you add eggs directly to hot chocolate, you'll cook them, which will negatively impact the texture of your brownies. Let it sit for 5-10 minutes, stirring occasionally, until it's warm to the touch but not hot. This brief cooling period is essential for achieving the desired fudgy consistency.
Step 4: Mixing Wet Ingredients: Eggs and Sugar
While the chocolate-butter mixture cools, turn your attention to the wet ingredients in a separate large mixing bowl. Add your sugar (about 1.5 cups) and large eggs (2) to the bowl. Using a whisk, beat the sugar and eggs together briefly, just until they are combined and the mixture starts to look slightly lighter in color or slightly thickened. You don't need to whip them into a thick, pale foam; a minute or two of whisking is sufficient for this fudgy brownie recipe.
Next, whisk in the vanilla extract (about 1 teaspoon). Then, pour the slightly cooled chocolate-butter mixture into the egg-sugar mixture. Switch to your rubber spatula and gently fold everything together until just combined and smooth. Avoid overmixing at this stage; you're simply incorporating the ingredients evenly. The mixture should be glossy and rich brown.
Step 5: Combining Wet and Dry Ingredients
In a small bowl, whisk together your dry ingredients: the all-purpose flour (about 3/4 cup), unsweetened cocoa powder (about 1/4 cup), and salt (about 1/4 teaspoon). Whisking them together ensures they are evenly distributed before being added to the wet mixture, preventing pockets of dry ingredients in the batter.
Add the whisked dry ingredients to the large bowl containing the wet mixture. This is the most critical point for achieving fudgy texture versus cakey texture. Using your rubber spatula, gently fold the dry ingredients into the wet ingredients. Mix just until no dry streaks are visible. Do not stir vigorously or for an extended period. A few small lumps of flour are perfectly acceptable and preferred over a smooth, overmixed batter. Overmixing develops gluten, which leads to a tougher, less fudgy brownie.
Step 6: Pouring the Batter and Adding Optional Toppings [Example: Sea Salt]
Once the batter is just combined, it will be thick and glossy. Pour this rich batter into your prepared 8x8 inch baking pan. Use your rubber spatula to spread the batter evenly into the corners and level the top. Ensure the batter is distributed uniformly so your brownies bake evenly.
This is the perfect moment to add any optional toppings. For example, a sprinkle of flaky sea salt over the top before baking is a popular choice that enhances the chocolate flavor and adds a delightful contrast in texture. You could also sprinkle on extra chocolate chips (about 1/4 cup), chopped nuts (about 1/2 cup), or even a swirl of peanut butter. If adding sea salt, a light, even sprinkle (about 1/4 - 1/2 teaspoon) is usually sufficient.
Step 7: Baking the Brownies
Preheat your oven to 350°F (175°C). Place the pan of batter into the preheated oven on the center rack. The baking time for fudgy brownies is crucial and often the variable that separates fudgy from cakey. For an 8x8 inch pan, this recipe typically bakes for about 25-30 minutes.
To check for doneness, insert a toothpick into the center of the pan. For fudgy brownies, you don't want the toothpick to come out completely clean. Instead, it should come out with moist crumbs clinging to it. If it comes out wet with raw batter, it needs more time. If it comes out completely clean, they are likely overbaked and will be more cake-like. Start checking around the 25-minute mark. The edges should look set, but the center might still look slightly soft or gooey.
Step 8: Cooling and Cutting
Patience is perhaps the hardest part of baking fudgy brownies, but it's absolutely essential for the perfect texture and clean cuts. Once the brownies are baked (with moist crumbs on the toothpick), remove the pan from the oven. Let the brownies cool completely in the pan on a wire rack. This cooling process allows the brownies to finish setting up and develop their dense, fudgy consistency. This can take at least 2 hours at room temperature, or you can speed it up slightly by placing the cooled-to-room-temperature pan in the refrigerator for 30-60 minutes.
Once fully cooled and set, use the parchment paper or foil overhang to lift the entire brownie slab out of the pan and transfer it to a cutting board. Use a sharp knife to cut the brownies into squares. For clean cuts, wipe the knife blade clean with a warm, damp cloth between each slice. An 8x8 inch pan typically yields 16 squares (a 4x4 grid), but you can cut them larger or smaller as desired.
Tips for Achieving Optimal Fudgy Brownie Texture
The Secret to Fudgy Brownies: Baking Time
The single most important factor in achieving truly fudgy brownies is controlling the baking time. Unlike cakes or cupcakes where a clean toothpick indicates doneness, fudgy brownies should be slightly underbaked when you take them out of the oven. The residual heat in the pan will continue to cook them as they cool, a process called carryover baking. When a toothpick inserted into the center comes out with moist crumbs attached, it means the edges are set, but the center is still soft and gooey – exactly what you want for that dense, rich texture.
If you bake until the toothpick comes out completely clean, you've likely overbaked them for a fudgy result, leading to a more cakey texture. Monitoring closely, perhaps starting checks a few minutes earlier than the recipe suggests the first time you make them, is key. Aim for that sweet spot where the center is just barely set and still looks a little moist. For those using a thermometer, the internal temperature of a fudgy brownie center is typically around 170-180°F (77-82°C) when it comes out of the oven.
Choosing Chocolate: Impact on Flavor
The type and quality of chocolate you use have a significant impact on both the flavor and the texture of your fudgy brownies. Using melted chocolate (as this recipe does) provides a richer, denser result compared to recipes that rely solely on cocoa powder. The fat content in the chocolate contributes directly to the fudginess. Opting for semi-sweet or dark chocolate (around 60-70% cacao) will give you a deep, intense chocolate flavor that balances the sweetness from the sugar. Using milk chocolate will result in a sweeter, less intense brownie.
While chocolate chips are convenient, using chopped baking chocolate often provides a smoother melt and potentially richer flavor depending on the brand. Experimenting with different types and brands of chocolate can help you discover your personal preference for the perfect fudgy brownie taste. Using a mix, like half dark chocolate and half semi-sweet, can also yield interesting flavor profiles.
Mixing Technique: Maintaining Brownie Texture
How you mix the batter, particularly after adding the dry ingredients, is crucial for texture. Overmixing develops gluten in the flour, which gives structure to baked goods like bread or cake. However, for fudgy brownies, you want minimal gluten development to keep them dense and soft, not light and airy like a cake.
Once the dry ingredients are added to the wet, use a gentle folding motion with a spatula. Mix only until the dry ingredients are just incorporated and no streaks of flour are visible. It's okay if there are a few small lumps of flour; they will usually disappear during baking. Mixing beyond this point, especially with a whisk or electric mixer, will toughen the brownies. Think of it as just bringing the ingredients together, not beating air into them.
Storing Brownies: Preserving Freshness
Proper storage ensures your delicious fudgy brownies stay moist and fresh. Once they are completely cooled and cut, store them in an airtight container at room temperature. Layering them with parchment paper can prevent them from sticking together. Stored this way, they should remain wonderfully fudgy for 3 to 4 days. Avoid refrigerating them unless it's very warm in your kitchen, as the cold can sometimes make them seem less fudgy initially (though they soften up at room temperature).
For longer storage, fudgy brownies freeze exceptionally well. Wrap individual brownies or stacks of a few tightly in plastic wrap, then wrap again in aluminum foil or place them in a freezer-safe bag or container. Frozen brownies can last for up to 3 months. Thaw them at room temperature for a few hours before enjoying.
Variations and Adaptations
Adding Espresso Powder for Enhanced Flavor
Adding a small amount of espresso powder is a fantastic way to deepen and enhance the chocolate flavor in your fudgy brownies without making them taste like coffee. Coffee is known to amplify the taste of chocolate. Just 1 to 2 teaspoons of instant espresso powder, whisked in with the dry ingredients (flour, cocoa, salt), is usually enough to make the chocolate taste richer and more intense.
This subtle addition won't overpower the brownie's core flavor but will lift the chocolate notes, making them sing. It's an easy adaptation that adds a layer of sophistication to this simple recipe, highly recommended for those who love a deep chocolate experience. Ensure you use instant espresso powder, as regular coffee grounds will not dissolve properly.
Swirling in Raspberry Jam
For a delightful twist, try swirling some raspberry jam into your brownie batter before baking. The tartness of the raspberry provides a wonderful contrast to the rich, sweet chocolate. Use about 1/4 to 1/2 cup of good quality seedless raspberry jam. After pouring the batter into the prepared pan, dollop spoonfuls of jam over the top.
Then, use a knife or a skewer to gently swirl the jam into the batter. Don't over-swirl; you want distinct pockets and streaks of jam. This variation adds a burst of fruity flavor and a beautiful visual element to your easy gooey brownies.
Gluten-Free Brownies: Almond Flour Substitution
While this specific easy gooey brownie recipe for beginners uses all-purpose flour, you can adapt it to be gluten-free with a simple substitution. Replace the 3/4 cup of all-purpose flour with a similar amount (around 3/4 cup) of a good quality 1:1 gluten-free flour blend or almond flour. Different gluten-free blends behave differently, so you might need slight adjustments.
Using almond flour will likely result in a slightly more delicate texture and potentially a slightly shorter baking time. Start checking for doneness a few minutes earlier than the recipe suggests. The result will still be a rich, chocolatey treat, perfect for those following a gluten-free diet.
Troubleshooting Common Brownie Issues
Brownies Too Dry?
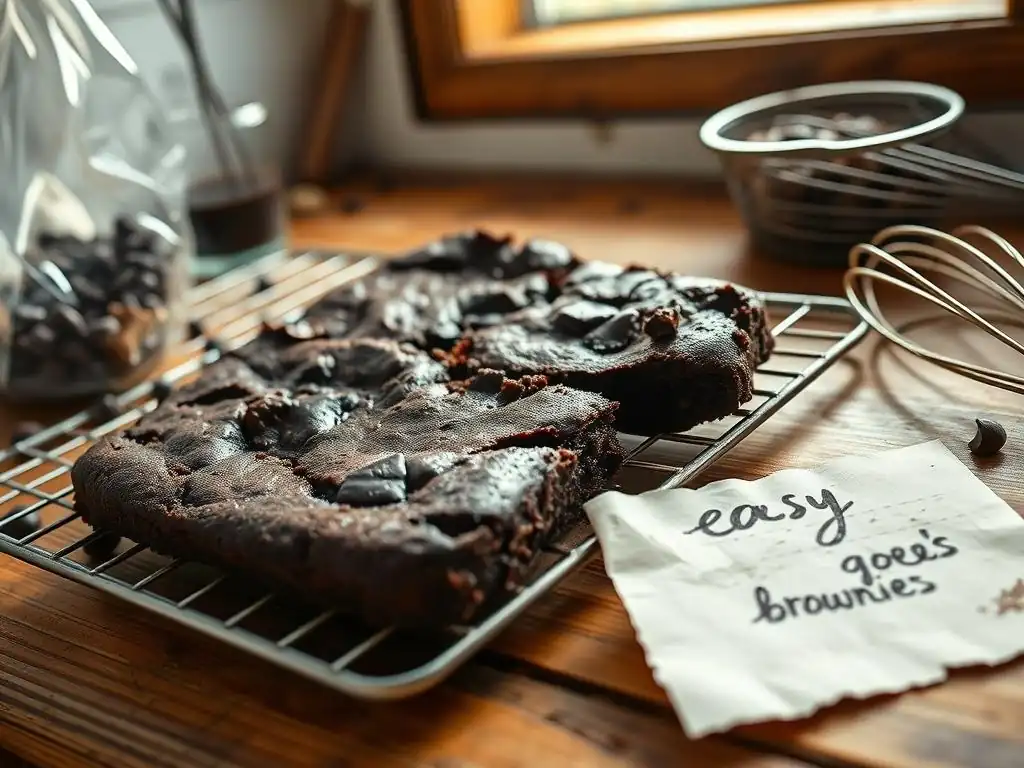
If your fudgy brownies turned out dry instead of moist and dense, the most common culprit is overbaking. Remember that fudgy brownies should come out of the oven when a toothpick inserted in the center has moist crumbs attached, not when it's completely clean. They continue to set as they cool. Baking even a few minutes too long can make the difference between fudgy and dry.
Other potential causes for dryness include incorrect ingredient measurements, such as using too much flour or not enough fat (butter and chocolate). Ensure you're measuring flour correctly, ideally by weighing it if possible, or using the spoon-and-level method rather than scooping directly from the bag. Also, check your oven temperature with an oven thermometer to ensure it's calibrated correctly; an oven that runs too hot can quickly overbake your brownies.
Brownies Not Fudgy Enough?
If your brownies are more cake-like than fudgy, it could be due to a few factors. Overmixing the batter after adding the dry ingredients is a primary cause, as it develops gluten, leading to a cakey texture. Gentle folding is essential. Another reason could be the ingredient ratio – this recipe is designed for fudginess with a high fat-to-flour ratio, but deviations or inaccurate measurements could alter the outcome.
Ensure you used enough melted chocolate and butter as specified. Recipes that rely solely on cocoa powder and less fat tend to be more cake-like. Also, make sure you allowed the brownies to cool completely before cutting; they become denser and fudgier as they cool and set.
Brownie Top Too Hard?
A brownie top that is excessively hard or brittle can also be a sign of slight overbaking or baking at too high a temperature. The sugars caramelize on the surface, and if left in the oven too long, this crust can become overly hard. Again, checking the brownies a few minutes early and relying on the moist-crumb toothpick test is key.
Sometimes, the type of sugar used can influence the crust texture. While this recipe uses granulated sugar which contributes to a pleasant crackle, ensuring your oven temperature is accurate (use an oven thermometer!) is important to prevent the top from getting too hard before the inside is properly set for fudginess.
Enjoy Your Homemade Fudgy Brownies!
You've successfully made a batch of easy gooey brownies, perfect for beginners! Now comes the best part: enjoying the fruits of your labor. These rich, dense, and intensely chocolatey treats are wonderful on their own, perhaps with a glass of milk or a hot cup of coffee. The fudgy texture and deep flavor make them incredibly satisfying.
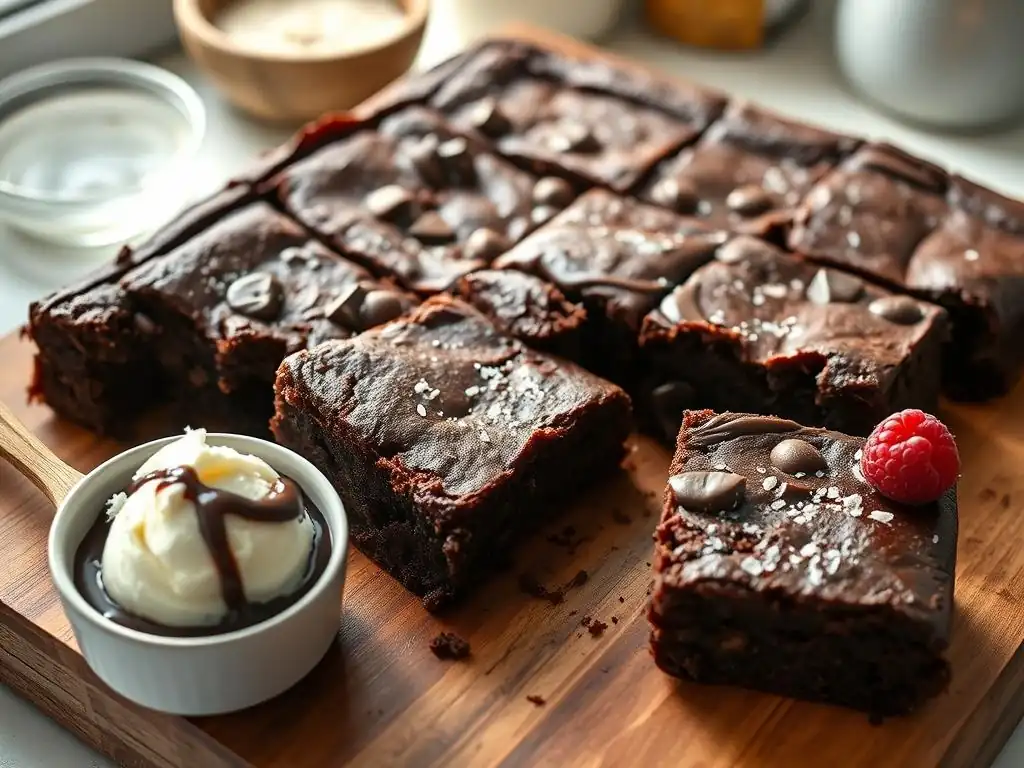
Feel free to serve them warm (though they are fudgiest when completely cool) with a scoop of vanilla ice cream, a drizzle of chocolate sauce, or a dollop of whipped cream for an extra special dessert experience.
Baking is a joy, and sharing what you bake is even better! These easy gooey brownies are perfect for sharing with family and friends. Pack them up for a picnic, bring them to a gathering, or simply share a plate with a neighbor. The simplicity of this recipe means you can whip up a batch whenever you want to spread some chocolatey happiness.
We hope this easy gooey brownie recipe for beginners has given you the confidence to bake more. Don't hesitate to try the variations or experiment once you're comfortable with the basic recipe. Happy baking!
Frequently Asked Questions
What makes this brownie recipe "easy" for beginners?
This recipe focuses on simple instructions and readily available ingredients, minimizing complex techniques that can intimidate new bakers. It's designed for guaranteed gooey success, even for first-timers.
How do I ensure my brownies are gooey and not cakey?
The secret lies in underbaking slightly. You want the center to still appear a little soft when you take them out of the oven. Also, using a higher fat content (butter and chocolate) contributes to the gooiness.
What are the essential ingredients for this "Easy Gooey Brownie Recipe"?
The core ingredients include butter, chocolate, sugar, eggs, and flour. Some variations might include vanilla extract or nuts, but the basic recipe keeps it simple.
Can I substitute any ingredients in this brownie recipe?
While substitutions are possible, they can affect the final result. For example, using oil instead of butter will change the texture. It is best to follow the recipe closely for the best results.
What equipment do I need to make these brownies?
You'll need basic baking equipment like a mixing bowl, measuring cups and spoons, a baking pan, and an oven. A whisk or electric mixer is helpful but not essential.
Final Reflection: The Unexpected Magic of Simple Baking
The ease of creating something delicious often overshadows the joy it brings. These easy gooey brownies, designed for even the most novice baker, prove that culinary magic isn't confined to complex recipes and hours in the kitchen. The simplicity of this recipe unlocks a world of baking satisfaction, accessible to everyone.
The impact of a shared, successful baking experience transcends the simple act of creating a treat. It fosters a sense of accomplishment, a connection to tradition, and a deeper appreciation for the small moments of life. Baking is at once child's play and adult joy. And love, of course.
This quote perfectly encapsulates the feeling of creating these brownies, a process both simple and deeply rewarding. The positive feedback I've received from readers attempting this recipe has only reinforced this belief.
Now, I invite you to embrace the magic. Don't be intimidated by the kitchen; instead, see it as a space for experimentation and self-discovery. Try this recipe, adapt it to your taste, and share the joy with friends and family. The gooey, chocolatey reward is well worth the effort, and the experience itself will leave you with a lasting sense of accomplishment and the sweet taste of success.
Unlock Your Inner Brownie Baker!
Thanks for joining us on this delicious journey! We hope you've gained some magical brownie-baking confidence. Now it's time to put those skills to the test!
- Bake your own batch of gooey perfection: Grab your ingredients and follow the recipe – you deserve a delicious reward!
- Share your brownie triumph: Snap a photo of your creation and tag us on social media – we can't wait to see your masterpiece! Use #BakeWithEaseBrownies.
- Explore more easy recipes: Dive into our recipe collection and discover your next baking adventure.
Ready to transform your kitchen into a chocolate haven? What's your favorite brownie topping? Let us know in the comments below!