
Is 100% Rye Sourdough Possible? Yes, Here's How

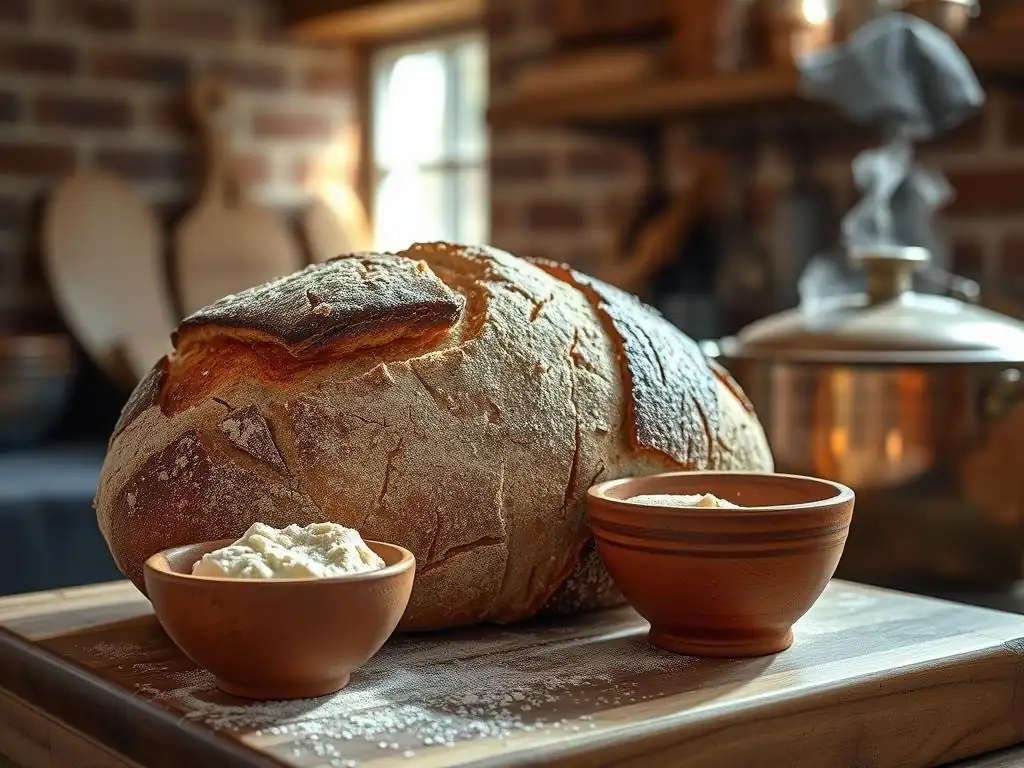
Welcome to BakeWithEase, where the magic of baking comes to life! Ever wondered if crafting a 100% rye sourdough with that characteristic tang and satisfying chew was truly achievable? It is! Dive in as we unlock the secrets to this often-misunderstood bread, providing you with a foolproof recipe and all the tips you need to succeed. Get ready to embark on a delicious journey into the world of rye – you might be surprised at what you discover...
- Understanding Rye Sourdough Characteristics
- Mastering the 100% Rye Sourdough Process
- Troubleshooting Rye Sourdough Issues
- Rye Sourdough Variations
- Tips for Consistent Rye Sourdough Success
-
Frequently Asked Questions
- Can a sourdough bread really be made with 100% rye flour?
- What makes baking with 100% rye flour different from using wheat flour?
- What is a rye starter, and is it different from a regular sourdough starter?
- What are some common problems when baking 100% rye sourdough, and how can I avoid them?
- How does the proofing time differ for 100% rye sourdough compared to wheat sourdough?
- Final Reflection: The Enduring Allure of 100% Rye Sourdough
- Unlock the Secrets of 100% Rye Sourdough!
Understanding Rye Sourdough Characteristics
Challenges of Working with Rye Flour
Baking a truly 100% rye sourdough presents unique challenges compared to working with wheat flour. Rye contains significantly less gluten-forming protein than wheat. While it has proteins, they don't form the strong, elastic network needed to trap gases and create a light, airy crumb like wheat gluten does.
Instead, rye flour contains pentosans, complex carbohydrates that absorb large amounts of water and contribute to the dough's stickiness and density. This lack of gluten elasticity means rye dough requires a different handling approach; it's often more like a thick batter than a traditional bread dough that can be kneaded and shaped vigorously.
Furthermore, rye flour has a higher concentration of amylase enzymes, which break down starch into sugars. In a long fermentation process like sourdough, these enzymes can be overly active, especially in warm conditions.
Without a strong gluten structure to support it, excessive starch breakdown can lead to a gummy texture in the final loaf. The acidity of the sourdough starter helps to inhibit these enzymes, which is why sourdough is particularly well-suited for rye, but careful management of fermentation time and temperature is crucial to prevent enzymatic degradation and ensure a pleasant crumb structure in your 100% rye sourdough recipe.
Flavor Profile and Benefits of 100% Rye
Beyond the technical hurdles, working with 100% rye flour offers distinct rewards, primarily in its rich and complex flavor profile. Unlike the relatively neutral taste of refined wheat, rye imparts a deep, earthy, slightly tangy, and sometimes subtly sweet flavor to bread. The intensity of the flavor can vary depending on the type of rye flour used – light rye is milder, while dark rye or pumpernickel flour yields a much more robust and assertive taste. This unique flavor is a hallmark of many traditional European breads and is highly prized by those who appreciate hearty, full-bodied loaves.
In addition to its compelling flavor, 100% rye bread offers notable health benefits. Rye is a whole grain that is particularly high in dietary fiber, including soluble fiber like beta-glucan, which can help regulate blood sugar and cholesterol levels. It also boasts a good profile of vitamins and minerals, such as B vitamins, magnesium, iron, and zinc.
The naturally lower glycemic index compared to many wheat breads makes it a favorable choice for sustained energy release. Embracing a 100% rye sourdough recipe means creating a loaf that is not only delicious and satisfying but also a nutritious addition to your diet.
Mastering the 100% Rye Sourdough Process
Building a Strong Rye Starter
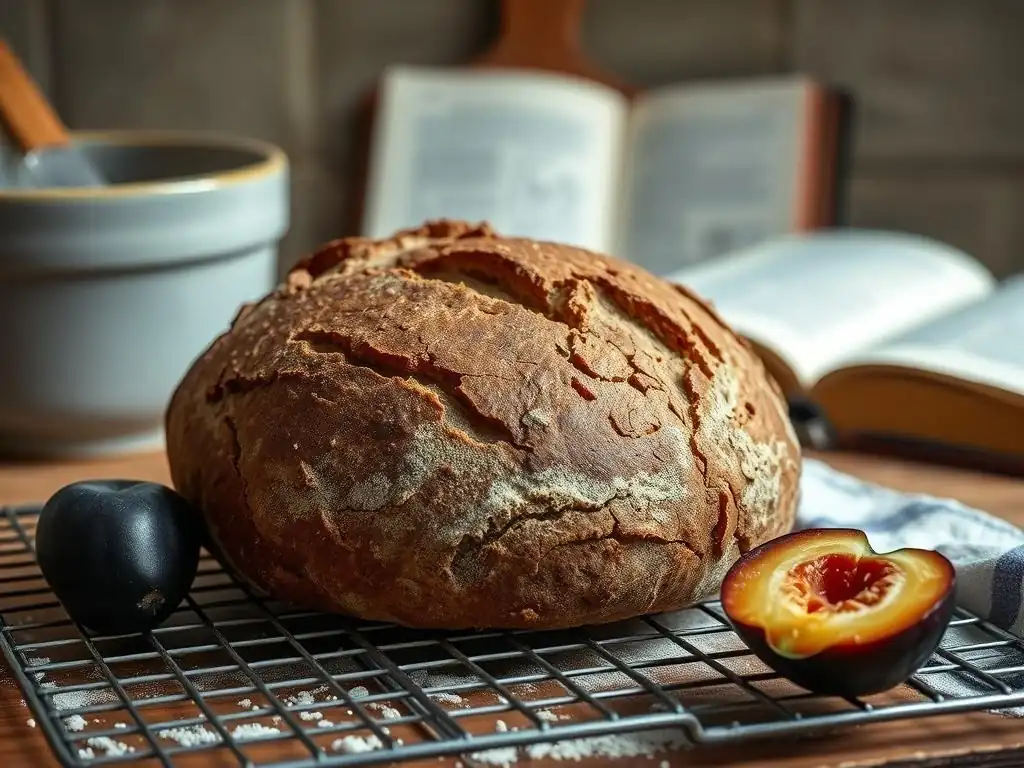
A robust and active rye starter is the foundation for a successful 100% rye sourdough. Because rye flour is so different from wheat, starting or converting a starter specifically with rye flour is highly recommended. The microbial balance in a rye starter tends to be slightly different, and it handles the unique characteristics of the flour better.
To build one, you simply mix equal parts by weight of rye flour (like organic dark rye) and non-chlorinated water, leaving it at room temperature. Discard most of it daily and feed it fresh flour and water. Within 7-14 days, you should have a bubbling, active starter.
Maintaining your rye starter requires consistent feeding. A common feeding ratio is 1:1:1 by weight (1 part starter, 1 part rye flour, 1 part water). If you bake frequently, keeping it at room temperature with daily feedings might work.
However, for less frequent baking, storing it in the refrigerator and feeding it once a week is usually sufficient. Remember to revive it with a couple of room-temperature feedings before baking your 100% rye sourdough recipe. Look for clear signs of activity: it should double or triple in size within 6-12 hours after feeding (depending on temperature), be full of bubbles, and smell pleasantly tangy, not like acetone.
Feeding Schedule and Maintenance
Maintaining a healthy rye starter is key to consistent baking results. For a starter kept at room temperature (around 70-75°F or 21-24°C), daily feedings are generally necessary to keep the yeast and bacteria active and prevent undesirable microbes from taking over. A typical feeding might involve discarding all but 20-30 grams of the starter, then adding 50 grams of fresh rye flour and 50 grams of water. Adjust the feeding ratio (e.g., 1:2:2 or 1:3:3) if you need to slow down or speed up activity, or if you're storing it in a cooler place.
If you bake less often, refrigerating your rye starter is a practical solution. Feed it well, let it sit at room temperature for 1-2 hours to start activity, then place it in the fridge. Feed it weekly by discarding most, adding fresh flour and water, and letting it sit out for a few hours before returning it to the cold. Before baking a 100% rye sourdough recipe, take the refrigerated starter out 1-2 days prior and perform 2-3 room-temperature feedings to ensure it's vigorous and ready to leaven your dough effectively.
Assessing Starter Readiness
Knowing when your rye starter is perfectly ready to use in your 100% rye sourdough recipe is crucial for proper leavening. A healthy, active rye starter will typically double or even triple in volume a few hours after being fed at room temperature (around 70-75°F or 21-24°C). It should be full of visible bubbles throughout, not just on the surface, and the top should be domed before it starts to slowly recede.
A reliable test is the "float test," though it works slightly differently for rye than wheat. While a vigorous wheat starter will float on water, a rye starter, being denser, might not always float, even when ready. Instead, look for peak activity: use the starter when it has reached its maximum height and is just beginning to show signs of deflating. It should smell pleasantly sour and yeasty. Using the starter at its peak ensures maximum leavening power for your dense rye dough.
Preparing the Dough
Preparing dough for a 100% rye sourdough recipe differs significantly from wheat dough due to rye's unique structure. Rye dough is often very wet and sticky, more like a thick porridge or batter than a kneadable mass. Traditional kneading methods used for wheat bread will not develop gluten and can actually make the dough stickier and harder to handle. Instead, mixing rye dough typically involves simply combining the ingredients thoroughly until no dry pockets of flour remain. A sturdy spoon or a stand mixer with a paddle attachment works well for this.
The high water absorption of rye flour means that hydration levels in a 100% rye sourdough recipe are often quite high, sometimes exceeding 80% or even 90% relative to the flour weight. However, this hydration behaves differently than in wheat dough. The pentosans bind water tightly, resulting in a sticky, dense mixture rather than a slack, extensible one. Resist the urge to add more flour if the dough feels wet; this is normal for rye. Focus instead on thorough mixing to ensure even distribution of the starter, salt, and water throughout the flour.
Utilizing a Soaker or Scald
Incorporating a soaker or scald is a technique often used in 100% rye sourdough recipes, particularly those using coarser flours like pumpernickel or chopped rye berries. A soaker simply involves mixing some of the rye flour or grains with water (or even leftover coffee or beer) hours before the main dough mix, allowing them to hydrate fully. This pre-hydration softens the grains and helps prevent them from absorbing water from the final dough mix, which can lead to a dry crumb.
A scald, or brühstück, is a more involved process where a portion of the rye flour or grains is mixed with boiling water or liquid. This gelatinizes the starches in the flour, making them more accessible to the yeast and improving the water-binding capacity of the dough. Scalds can significantly improve the moisture retention of the finished loaf, leading to a softer, longer-lasting crumb and enhancing the characteristic rye flavor. Using a scald is a valuable step towards achieving a moist, flavorful 100% rye sourdough.
Hydration and Mixing Considerations
Hydration levels for a 100% rye sourdough recipe can range widely, often from 75% to over 100% depending on the flour type and desired crumb density. Darker, coarser rye flours typically absorb more water than lighter flours. The key is to understand that rye dough, even at high hydration, will not behave like high-hydration wheat dough; it won't become extensible. It will remain quite sticky and dense.
Mixing rye dough is less about developing structure through kneading and more about homogeneity. Combine all ingredients – active rye starter, water, rye flour, salt, and any additions like seeds – in a bowl. Mix with a sturdy spoon, dough whisk, or stand mixer on low speed until everything is uniformly incorporated and no dry flour patches remain. Avoid overmixing, as this won't build gluten (which is minimal anyway) and can sometimes negatively impact the dough's structure by breaking down the pentosan network. A few minutes of mixing is usually sufficient.
Bulk Fermentation
Bulk fermentation, or the first rise, in a 100% rye sourdough recipe is a critical phase where the starter works to leaven the dough and develop flavor. Unlike wheat dough, which can double or triple in volume, rye dough will typically show much less visual rise during bulk fermentation, maybe increasing by only 20-50%. The main activity happening internally is the production of acids and gases by the sourdough microbes, along with enzymatic activity.
Managing the time and temperature during bulk fermentation is paramount for a successful 100% rye sourdough. Too short a fermentation results in a dense, under-leavened loaf, while over-fermentation can lead to excessive enzymatic breakdown, resulting in a gummy crumb and potentially collapsing dough. Aim for a moderate temperature, perhaps around 75-80°F (24-27°C), which encourages yeast activity while keeping enzyme activity in check. The duration will depend on the temperature and starter strength, but can range from 2 to 4 hours.
Managing Enzyme Activity
Controlling enzyme activity is a key challenge when baking 100% rye sourdough. Rye flour contains alpha-amylase enzymes that break down starch. If these enzymes are too active during fermentation and baking, they can destroy the starch structure that provides internal support for the loaf, leading to a dense, wet, or gummy crumb. The acidity produced by the lactic acid bacteria in the sourdough starter helps to inhibit these enzymes, which is why sourdough is particularly effective for rye bread.
To further manage enzyme activity, consider controlling the dough temperature during bulk fermentation. Cooler temperatures slow down enzymatic action. While a warmer environment (75-80°F) is good for yeast activity, excessively warm or long fermentation can increase enzyme issues. Ensuring your starter is acidic (fermented to a good level of tanginess) before using it is also beneficial. Some recipes also incorporate diastatic malt powder sparingly, which contains amylase, but this must be used with extreme caution in rye bread to avoid excessive breakdown.
Time and Temperature Control
Precise time and temperature control during bulk fermentation are vital for a balanced 100% rye sourdough. A typical bulk fermentation might last between 2 and 4 hours at a room temperature of 75-80°F (24-27°C). However, these times are just guidelines; the dough's activity, not the clock, should be your primary indicator. Look for signs like a slight increase in volume (20-50%), the appearance of some surface bubbles, and a pleasant, tangy aroma.
Fermenting rye dough at temperatures much lower than 70°F (21°C) will significantly slow down activity and might lead to a very long fermentation time, potentially allowing unwanted enzymes to become problematic. Conversely, temperatures much above 80°F (27°C) can accelerate fermentation too much, potentially leading to over-proofing before sufficient flavor development occurs or exacerbating enzymatic issues. Finding the sweet spot for your environment and starter strength is essential for achieving a well-risen and non-gummy 100% rye sourdough recipe.
Shaping and Proofing
Shaping 100% rye sourdough dough is different from shaping wheat dough. Because there's little gluten development, you can't build significant surface tension through traditional shaping techniques like folding and stretching. Rye dough is often too sticky and lacks the elasticity for this. Instead, shaping is more about gently coaxing the dough into a desired form, usually a boule or a loaf shape suitable for a loaf pan or proofing basket.
Proofing rye dough also requires a different approach. Rye dough doesn't expand as dramatically during proofing as wheat dough. Over-proofing is a common pitfall and can lead to a dense, heavy loaf or even collapse because the fragile structure can't support the gas production. The proofing environment, particularly temperature, influences the rate of rise.
Gentle Dough Handling
Given the lack of a strong gluten network, gentle handling is paramount when working with 100% rye sourdough dough. Avoid vigorous kneading or stretching after the initial mixing. Once bulk fermentation is complete, gently transfer the dough to a lightly floured surface. Because it's sticky, using wet hands or a wet spatula can be helpful.
Shape the dough by simply molding it into a rough shape, perhaps by gently tucking the edges underneath to create a somewhat taut surface on top. Don't expect to create the kind of tight surface tension you would with wheat dough. The goal is simply to create a manageable mass that will fit your proofing vessel or baking pan. Excessive handling will only make the dough stickier and harder to manage, potentially damaging the limited structure it does possess.
Proofing Environment
The proofing environment significantly impacts the final rise of your 100% rye sourdough. Rye dough can be proofed at room temperature or in the refrigerator. Room temperature proofing (around 70-75°F or 21-24°C) is faster, typically taking 1-2 hours. Look for a modest increase in volume (maybe 20-30%) and a slightly puffy appearance. The dough should feel light for its size but won't be jiggly like wheat dough.
Cold proofing in the refrigerator (38-40°F or 3-4°C) is much slower, potentially taking 8-24 hours. While it develops more complex flavors, be cautious not to over-proof. Rye dough can sometimes show signs of over-proofing (like spreading) less obviously than wheat dough. A good indicator for both methods is the "poke test," but with rye, the indentation will likely remain without springing back significantly. The dough should feel soft and airy, not dense and slack. Many bakers prefer proofing rye in a loaf pan, which provides support and helps achieve a good shape and rise.
Baking
Baking is where the structure of your 100% rye sourdough is set. Proper oven temperature and steam are crucial for achieving a good crust and crumb. Rye bread benefits from a hot oven to encourage oven spring (the final burst of rising) before the structure sets.
Steam in the oven during the initial phase of baking keeps the crust moist, allowing the loaf to expand fully before the crust hardens. This is particularly important for rye, as it helps prevent the crust from cracking prematurely and contributes to a better final volume and texture.
Oven Temperature and Time
Baking a 100% rye sourdough recipe typically requires a hot oven, similar to wheat sourdough. Preheat your oven to a high temperature, often between 450°F and 500°F (230°C and 260°C). If using a baking stone or steel, ensure it preheats for at least 30-60 minutes at this temperature to store sufficient heat.
Once the loaf is loaded, the temperature is often reduced slightly, perhaps to 400-450°F (200-230°C), for the remainder of the bake. The total baking time for a standard 1-2 pound loaf can range from 45 to 70 minutes, depending on the size and density. The loaf is done when the internal temperature reaches 200-210°F (93-99°C) and the crust is a deep brown color.
Steam Injection
Creating a steamy environment in your oven during the first 15-20 minutes of baking is highly beneficial for 100% rye sourdough. Steam keeps the surface of the dough pliable, allowing the loaf to expand maximally during oven spring. Without sufficient steam, the crust can set too early, restricting expansion and resulting in a denser loaf with potential large cracks.
Common methods for creating steam include baking the loaf in a Dutch oven or lidded baking vessel, which traps the moisture released by the dough. Alternatively, you can place a tray filled with water or ice cubes on the bottom rack of your oven just before loading the bread. Do not open the oven door unnecessarily during this initial steaming phase, as this will release the trapped moisture. After the initial steaming period, the lid or steam source is removed to allow the crust to dry out and brown.
Troubleshooting Rye Sourdough Issues
Dense or Gummy Crumb
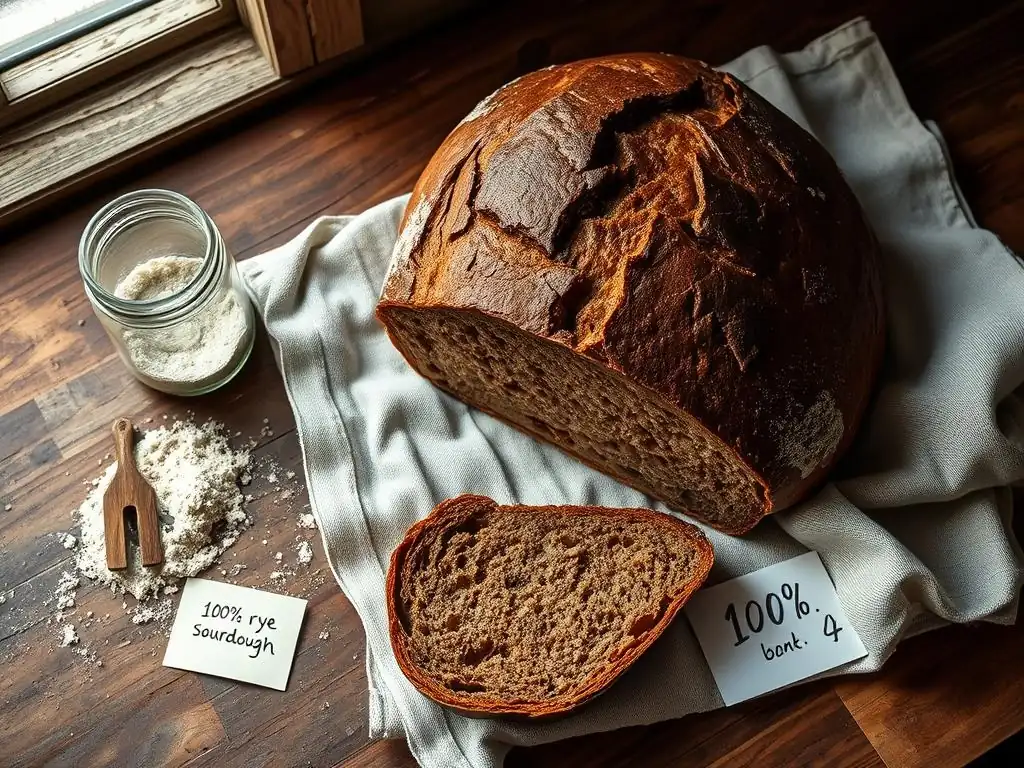
A common issue when baking a 100% rye sourdough recipe is ending up with a dense or gummy crumb. This can stem from several factors. One primary cause is insufficient leavening, meaning your starter wasn't active enough or the fermentation/proofing times were too short for the dough to develop enough gas. Ensure your rye starter is vigorous and used at its peak.
Another significant contributor to gumminess is excessive enzymatic activity or over-proofing. If the fermentation is too long or too warm, the enzymes in the rye flour can break down the starch structure, leading to a sticky, wet interior. Using an acidic starter and managing fermentation temperature and time carefully, as discussed earlier, are crucial preventative measures. Baking the loaf thoroughly to an internal temperature of 200-210°F (93-99°C) is also essential to set the crumb structure properly.
Over-Proofing and Under-Proofing
Over-proofing and under-proofing both lead to suboptimal results in a 100% rye sourdough. Under-proofing occurs when the dough hasn't fermented long enough; it will result in a dense, heavy loaf with a tight crumb and potentially large, irregular tunnels. The loaf may crack severely during baking because the internal structure isn't relaxed enough to expand evenly.
Over-proofing is arguably more detrimental and harder to spot with rye dough. It happens when the dough ferments for too long, exhausting the yeast and potentially allowing enzymes to cause damage. An over-proofed rye loaf might appear slightly puffy before baking but will collapse or spread in the oven, resulting in a very dense, flat loaf with a gummy, sometimes wet, crumb.
The poke test is less reliable with rye, so relying on visual cues (modest volume increase, surface bubbles) and timing based on temperature is important. When in doubt, it's often better to slightly under-proof than significantly over-proof rye.
Flavor and Texture Refinement
Refining the flavor and texture of your 100% rye sourdough recipe is an ongoing process of experimentation. If your loaf lacks the characteristic rye tang, consider increasing the proportion of starter in your recipe or extending the bulk fermentation time slightly (while carefully watching for over-proofing) to allow more acidic compounds to develop. Using a darker rye flour will also contribute a more intense flavor.
For texture, addressing gumminess is key. Ensure your starter is active, manage fermentation temperatures, avoid over-proofing, and bake the loaf thoroughly. If using coarse rye flour or whole berries, incorporating a soaker or scald can significantly improve crumb texture and moisture distribution. Don't be discouraged by initial results; mastering 100% rye takes practice and attention to the specific needs of this unique flour.
Rye Sourdough Variations

Incorporating Seeds and Grains
Adding seeds and other grains is a popular way to enhance both the flavor and texture of a 100% rye sourdough recipe. Common additions include sunflower seeds, pumpkin seeds, flax seeds, caraway seeds, and chopped rye berries or cracked wheat. These additions provide a pleasant crunch, contribute nutty or earthy flavors, and add visual appeal to the crumb.
When adding seeds or grains, it's often beneficial to pre-soak them, especially larger or harder grains like rye berries. Mixing them with hot water and letting them sit for a few hours (or overnight in the fridge) softens them and prevents them from absorbing moisture from the dough during fermentation and baking, which could otherwise lead to a drier loaf. Incorporate the soaked seeds/grains during the final mixing stage of your dough.
Exploring Different Rye Flours
The type of rye flour you use will dramatically impact the outcome of your 100% rye sourdough recipe. Light rye flour, which has had most of the bran and germ removed, will produce a lighter-colored loaf with a milder, less intense rye flavor and slightly less dense crumb compared to whole rye flour.
Whole rye flour contains the entire grain and yields a darker, more intensely flavored loaf with a denser crumb. Pumpernickel flour is a very coarse whole rye flour, often stone-ground, resulting in an even darker, more robust flavor and a very dense texture, characteristic of traditional pumpernickel bread. Experimenting with different types of rye flour allows you to discover your preferred flavor profile and texture.
[Recipe: Simple 100% Rye Sourdough]
(Note: As per instructions, a full recipe is not provided here, but this header indicates where it would be placed in a complete article.)
Tips for Consistent Rye Sourdough Success
The Role of Patience
Patience is arguably the most important ingredient when baking a 100% rye sourdough recipe. Unlike faster-rising wheat breads, rye sourdough processes are often slower and require careful observation rather than strict adherence to timing. Building a strong rye starter takes time and consistent care, potentially a week or two.
Bulk fermentation and proofing, while shorter in duration than for some wheat loaves, still require waiting for the dough to show specific signs of activity, which can vary based on environmental factors. Rushing the process, particularly fermentation or cooling, can lead to a dense, gummy, or under-flavored loaf. Allow sufficient time for the starter to become active, for the dough to ferment properly, and crucially, for the baked loaf to cool completely before slicing. Rye bread improves significantly in texture and flavor as it cools and the crumb structure stabilizes.
Refining Baking Technique
Refining your baking technique is essential for consistent success with a 100% rye sourdough recipe. Pay close attention to oven preheating times, especially if using a baking stone or steel, to ensure maximum heat transfer to the loaf. Mastering steam injection is also critical for achieving optimal oven spring and preventing a hard, cracked crust.
Consider using a loaf pan for baking, especially when starting out. This provides support for the dough, which lacks the structural integrity of wheat dough, and helps achieve a good loaf shape and height. Experiment with slight variations in baking temperature and time to find what works best with your specific oven and desired crust color/internal doneness. Keep a baking journal to track variables like flour type, hydration, fermentation times, and baking parameters to help you learn and improve with each bake.
Serving and Storage Suggestions
Once your 100% rye sourdough loaf is baked, resist the urge to slice into it immediately. This is perhaps the hardest test of patience! Rye bread continues to cook internally and its crumb structure stabilizes as it cools. Cutting into a warm rye loaf will likely result in a gummy texture. Allow the loaf to cool completely on a wire rack for several hours, ideally 4-8 hours, or even overnight, especially for denser loaves.
Properly stored, 100% rye sourdough keeps very well due to its density and acidity. Store the cooled loaf at room temperature, wrapped in a linen bag, beeswax wrap, or placed in a bread box. Avoid plastic wrap, which can trap moisture and soften the crust. For longer storage, slice the cooled loaf and freeze the slices in an airtight container or freezer bag. To enjoy, simply toast slices directly from the freezer.
Frequently Asked Questions
Can a sourdough bread really be made with 100% rye flour?
Yes, absolutely! While more challenging than wheat-based sourdough, a 100% rye sourdough is definitely possible and incredibly flavorful. It relies heavily on proper fermentation techniques and understanding rye flour's unique properties.
What makes baking with 100% rye flour different from using wheat flour?
Rye flour contains less gluten than wheat flour. This means it requires different handling and hydration. It relies on pentosans for structure, requiring a longer fermentation to develop flavor and stability.
What is a rye starter, and is it different from a regular sourdough starter?
A rye starter is a sourdough starter fed exclusively with rye flour. It develops a unique flavor profile and is often more active than a wheat starter when baking with rye. Using a strong, active rye starter is crucial for a successful 100% rye sourdough.
What are some common problems when baking 100% rye sourdough, and how can I avoid them?
Common issues include a dense, gummy texture and a lack of rise. These can be avoided by ensuring proper hydration levels, using a well-fermented starter, and allowing sufficient proofing time.
How does the proofing time differ for 100% rye sourdough compared to wheat sourdough?
Rye sourdough typically requires a longer proofing time than wheat sourdough. Due to the lack of gluten, a longer proof allows the rye flour's pentosans to properly hydrate and develop structure, leading to a less dense and more cohesive loaf.
Final Reflection: The Enduring Allure of 100% Rye Sourdough
The quest for the perfect 100% rye sourdough loaf is not merely a culinary pursuit; it's a testament to the enduring power of tradition and the boundless creativity of baking. This article has explored the challenges and triumphs inherent in crafting this complex bread, highlighting the unique characteristics that make it so rewarding—and sometimes frustrating—to bake. The techniques discussed, from meticulous hydration management to understanding the nuances of rye's enzymatic activity, remain crucial for bakers seeking to master this ancient craft.
The journey into the world of 100% rye sourdough is a deeply personal one. It's a journey of patience, experimentation, and a profound connection to the ingredients and the process itself. The subtle complexities of flavor and texture, the satisfying tang, and the beautiful, open crumb structure are rewards that far outweigh the initial difficulties. As the renowned baker, Chad Robertson, once said: Bread baking is a conversation between you and the dough. It's a dialogue of patience, understanding, and respect.
This sentiment perfectly captures the essence of this baking endeavor.
Now, it's your turn. Don't be intimidated by the perceived difficulty. Embrace the challenge, experiment with the techniques outlined in this article, and discover the unique satisfaction of crafting your own 100% rye sourdough loaf. The journey may be demanding, but the reward—a crusty, flavorful, and deeply satisfying bread—is well worth the effort. So, gather your ingredients, embrace the process, and embark on your own baking adventure. The perfect loaf awaits.
Unlock the Secrets of 100% Rye Sourdough!
Thanks for exploring the world of 100% rye sourdough with us! We hope you now feel empowered to tackle this challenging but incredibly rewarding bread. Ready to take your baking to the next level?
- Bake your own 100% rye loaf: Use the recipe and tips from the article as your guide, and don't be afraid to experiment! This is your chance to create something truly unique.
- Share your baking journey: Post a picture of your finished loaf on social media – we’d love to see your results and hear about your experience! Use #BakeWithEase100Rye to connect with other bakers.
- Explore different rye flours: Discover the nuances of different rye varieties and how they affect the final product. What flavor profiles will you explore next?
What unique ingredient will you add to your next 100% rye sourdough creation?