
Bake Authentic Vegan Naan Bread on Your Stovetop

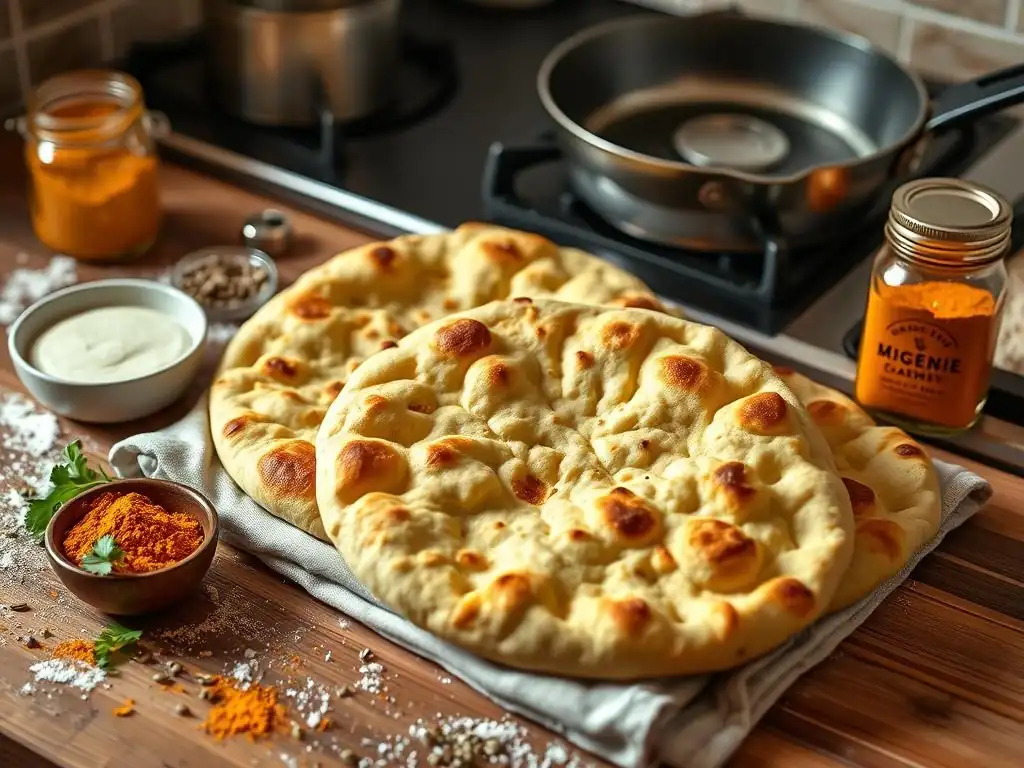
Welcome to BakeWithEase, your haven for unlocking baking brilliance! Ever dreamt of crafting soft, pillowy naan bread that's completely vegan? You're in the right place! Discover our Vegan Naan Bread Stovetop Recipe below and learn how to create authentic, delicious naan using just your stovetop. Intrigued? Let's get baking!
- Bake Authentic Vegan Naan Bread on Your Stovetop: A BakeWithEase Guide
- Introduction: Mastering Stovetop Vegan Naan Bread
- Understanding Vegan Naan Bread: Key Ingredients and Techniques
- Step-by-Step Vegan Naan Bread Stovetop Recipe
- Troubleshooting Common Issues with Vegan Naan Bread
- Serving and Storing Your Stovetop Vegan Naan
- Conclusion: Enjoying Homemade Vegan Naan with Ease
- Frequently Asked Questions
- Final Reflection: The Humble Naan, Reimagined
- Unleash Your Inner Naan-Master!
Bake Authentic Vegan Naan Bread on Your Stovetop: A BakeWithEase Guide
Introduction: Mastering Stovetop Vegan Naan Bread
Welcome to BakeWithEase! Today, we're diving into the wonderfully rewarding world of making homemade naan, specifically focusing on a delicious vegan version that you can easily prepare right on your stovetop. Forget about tandoors or special ovens; this guide will show you how to achieve soft, fluffy, and slightly charred vegan naan using just a simple pan. Whether you're new to baking or looking to expand your bread-making skills, this vegan naan bread stovetop recipe is designed for success, bringing the taste of authentic, freshly baked bread into your kitchen with minimal fuss.
Creating vegan naan at home is not only cost-effective but also incredibly satisfying. The process involves simple ingredients and straightforward techniques that yield impressive results. By following this guide, you'll gain confidence in working with yeast dough and mastering the art of cooking flatbreads on your stovetop, proving that delicious, authentic vegan naan is well within reach for any home baker.
Understanding Vegan Naan Bread: Key Ingredients and Techniques
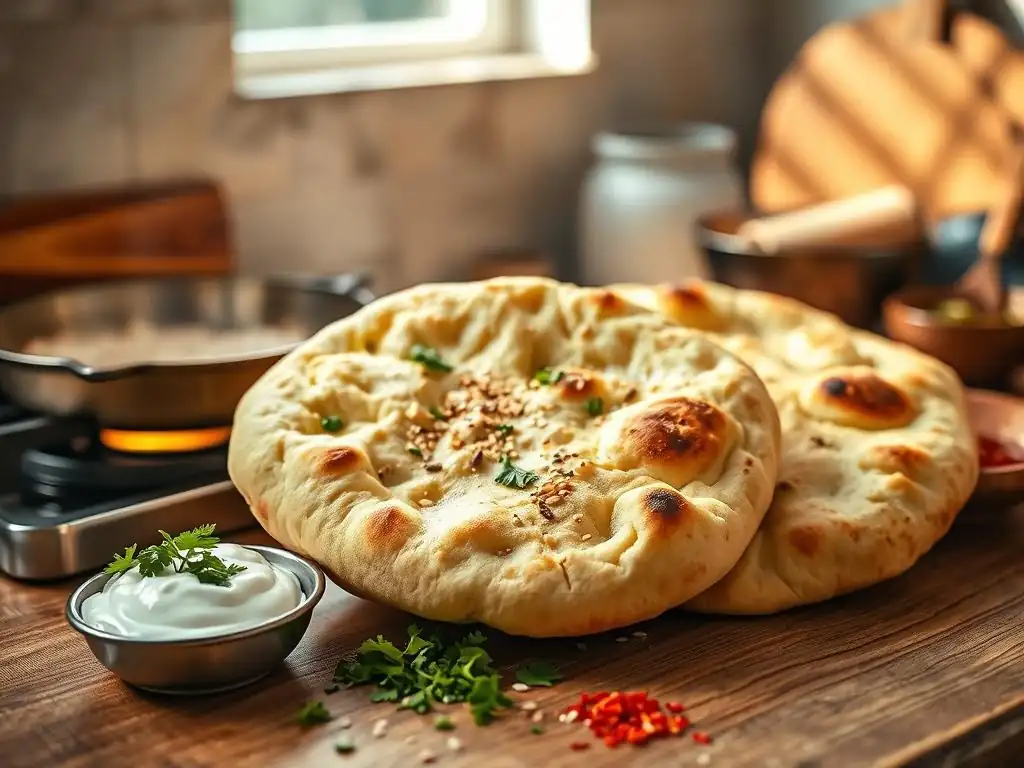
Getting the perfect texture and flavor for vegan naan starts with understanding what makes it different from traditional naan and the role each ingredient plays. Vegan versions replace dairy products like yogurt, milk, or ghee with plant-based alternatives, while still aiming for that characteristic soft chewiness and slightly bubbly surface. The magic happens through careful selection of ingredients and mastering a few key bread-making techniques.
Success with your vegan naan bread stovetop recipe hinges on using the right components and handling the dough properly. This section breaks down the essential elements, from swapping out dairy to understanding the science behind dough development, ensuring you build a strong foundation for baking truly exceptional vegan naan.
What Makes Naan Bread Vegan? Exploring Plant-Based Alternatives
Traditionally, naan dough often includes yogurt or milk for richness and tenderness, and is brushed with ghee or butter after cooking. To make naan vegan, these animal products are simply replaced with plant-based options. Plant-based yogurt, such as soy, almond, or coconut yogurt, serves a similar purpose to dairy yogurt, adding moisture, tenderness, and a slight tang that aids in flavor development and dough structure. Some recipes might use a mix of water and plant-based milk.
For the fat component, olive oil, coconut oil, or a vegan butter substitute can be used instead of ghee or butter. These fats contribute to the dough's softness and prevent it from drying out during cooking. When brushing the cooked naan, a simple mixture of melted vegan butter or oil, often infused with garlic, provides the traditional glossy finish and enhanced flavor without any dairy. This thoughtful substitution ensures the vegan naan maintains its authentic characteristics.
Essential Ingredients for Authentic Vegan Naan
A basic, yet authentic, vegan naan bread stovetop recipe relies on a few core ingredients. You'll need strong bread flour or all-purpose flour, active dry yeast or instant yeast, sugar (often used to activate yeast), salt for flavor, and a liquid base, typically warm water combined with plant-based yogurt or milk. A little oil is also usually included in the dough for richness.
Consider the typical proportions: about 3 cups of flour might require around 1 to 1.5 cups of liquid (water/plant yogurt mix), 1-2 teaspoons of yeast, a pinch of sugar, and perhaps a tablespoon or two of oil. The exact ratios can vary, impacting the dough's hydration and texture. Using a high-quality flour designed for bread can significantly improve the gluten structure, leading to a better rise and chewiness in your final vegan naan.
The Secret to Soft and Fluffy Vegan Naan: Gluten Development and Hydration
Achieving that signature soft and fluffy texture in your vegan naan is primarily about two things: gluten development and proper hydration. Gluten is a protein network formed when water interacts with flour and is developed through kneading. Kneading aligns the gluten strands, creating a strong, elastic structure that can trap the gases produced by yeast, allowing the bread to rise and develop a chewy texture. Insufficient kneading results in a dense, tough naan.
Hydration refers to the ratio of liquid to flour in the dough. Naan dough is typically relatively high in hydration, often ranging from 60% to 70% hydration (meaning the weight of the liquid is 60-70% the weight of the flour). Higher hydration doughs tend to produce softer, airier bread, but they can be stickier and harder to handle. Balancing hydration and kneading time is key to developing a strong, elastic dough that bakes into wonderfully soft and puffy vegan naan on your stovetop.
Step-by-Step Vegan Naan Bread Stovetop Recipe
Ready to bake? This detailed vegan naan bread stovetop recipe walks you through each stage, from mixing the dough to cooking those perfect rounds. Follow these steps for delicious results every time.
Preparing the Vegan Naan Dough: A Detailed Guide
Making the dough is the first crucial step. It involves activating the yeast, bringing the ingredients together, and developing the gluten structure through kneading. This process takes time, primarily for proofing, but the active work is quite manageable.
Activating the Yeast: Ensuring a Light and Airy Texture
Yeast is the leavening agent that makes naan light and airy. If using active dry yeast, you'll need to activate it first. In a small bowl, combine warm water (ideally between 105°F and 115°F, or 40°C to 46°C), a pinch of sugar, and the yeast. Stir gently and let it sit for 5-10 minutes. You should see a foamy layer form on the surface, indicating the yeast is alive and active. If no foam appears, your water might have been too hot or cold, or the yeast is expired, and you'll need to start again with fresh yeast.
Instant yeast can often be mixed directly with the dry ingredients, but proofing it first in warm liquid (around 120°F-130°F or 49°C-54°C for instant yeast) is still a good practice to ensure it's active, especially if you're unsure of its freshness. This small step guarantees your dough will rise properly, contributing significantly to the final texture of your vegan naan bread.
Kneading the Dough: Developing Gluten for Chewy Naan
Once your yeast is active (or mixed in), combine it with the flour, salt, plant-based yogurt/milk, and oil in a large mixing bowl. Mix initially with a spoon or spatula until a shaggy dough forms. Then, turn the dough out onto a lightly floured surface and begin kneading. Kneading develops the gluten network. You can knead by hand for about 8-10 minutes, pushing the dough away from you with the heels of your hands, folding it back, and rotating it.
Alternatively, you can use a stand mixer with a dough hook. Knead on medium-low speed for about 6-8 minutes. The dough is sufficiently kneaded when it becomes smooth, elastic, and passes the "windowpane test" – you should be able to stretch a small piece of dough thin enough to see light through it without it tearing. This indicates a well-developed gluten structure ready for proofing.
First Proofing: Allowing the Dough to Rise Properly
After kneading, the dough needs time to rise. Lightly oil a clean bowl and place the dough inside, turning to coat. Cover the bowl tightly with plastic wrap or a damp kitchen towel. Place it in a warm spot, away from drafts. The ideal temperature for rising is typically between 75°F and 85°F (24°C-30°C).
Allow the dough to proof until it has doubled in size. This usually takes anywhere from 1 to 2 hours, depending on the room temperature and the activity of your yeast. This first rise, also known as the bulk fermentation, is crucial for developing flavor and texture. Don't rush this step; a proper rise is essential for light and airy vegan naan bread.
Cooking Vegan Naan on the Stovetop: The Perfect Method
Cooking naan on the stovetop is surprisingly effective and mimics the intense heat of a tandoor, creating those characteristic bubbles and slight charring.
Dividing and Shaping the Dough: Creating Naan Rounds
Once the dough has doubled in size, gently punch it down to release the air. Turn it out onto a lightly floured surface and divide it into equal portions. Depending on the size of your pan and desired naan size, you might get 6-8 pieces from a standard recipe using 3 cups of flour. Roll each piece into a ball.
Allow the dough balls to rest for 5-10 minutes. This resting period helps the gluten relax, making the dough easier to roll out. Then, take each dough ball and roll it into an oval or teardrop shape, about 1/4 inch thick. Don't make them too thin, or they won't puff up properly when cooking.
Preheating Your Pan: Achieving Optimal Cooking Temperature
The key to successfully cooking vegan naan on the stovetop is using a very hot pan. A cast-iron skillet, griddle, or heavy non-stick pan works best. Place the pan over medium-high to high heat and let it preheat for at least 5-7 minutes. You want it hot enough that when you flick a tiny bit of water onto the surface, it sizzles and evaporates almost instantly.
Do not add any oil to the pan at this stage unless your recipe specifically calls for it before cooking the first piece. The dry, hot surface is what helps the naan puff up and develop those beautiful charred spots quickly, mimicking the effect of a tandoor oven. A properly preheated pan is non-negotiable for achieving authentic stovetop vegan naan.
Cooking the Naan: Achieving Charred Spots and a Soft Interior
Carefully place one rolled-out naan dough onto the hot, dry pan. Cook for about 1-2 minutes, or until bubbles start to appear on the surface and the underside has brown spots. Then, flip the naan using tongs or a spatula and cook the other side for another 1-2 minutes, or until it puffs up and develops more brown and charred spots.
Some cooks like to finish the naan directly over an open flame (if using a gas stove) for a few seconds after cooking in the pan, using tongs. This imparts a smoky flavor and enhances the charring. Be cautious if doing this! As each naan finishes cooking, stack them on a plate and brush immediately with melted vegan butter or oil, often infused with crushed garlic and chopped cilantro. This keeps them soft and adds flavor.
Stovetop Cooking Tips for Perfect Vegan Naan Every Time
To ensure your vegan naan bread stovetop recipe yields perfect results consistently, keep these tips in mind:
- Maintain consistent heat: Adjust the heat as needed between cooking pieces to keep the pan hot but not smoking excessively.
- Don't overcrowd the pan: Cook one or two naan at a time, depending on your pan size, to ensure even cooking and puffing.
- Have everything ready: Roll out all your naan before you start cooking, so you can focus solely on the pan.
- Watch for bubbles: Bubbling is a good sign of yeast activity and proper heat; it indicates the naan is cooking correctly.
- Brush immediately: Brushing with oil/butter right after cooking keeps the naan soft and pliable.
[ ] Activate Yeast
[ ] Prepare Dough
[ ] Knead Dough
[ ] First Proof
[ ] Divide and Shape Dough
[ ] Preheat Pan
[ ] Cook Naan
[ ] Brush with Vegan Butter/Oil
Optional Toppings and Flavors for Your Vegan Naan
While plain vegan naan is delicious on its own, adding flavors can elevate it further. These variations are simple to incorporate.
Garlic and Herb Naan: Infusing Flavor into the Dough
One popular variation is garlic and herb naan. You can incorporate finely minced garlic and chopped fresh herbs like cilantro or parsley directly into the dough during the kneading stage. For a batch using 3 cups of flour, you might add 2-3 cloves of minced garlic and a couple of tablespoons of fresh herbs. This infuses the flavor throughout the bread itself.
Alternatively, and perhaps more commonly, you can make a garlic-herb infused oil or melted vegan butter to brush over the hot, cooked naan. Simply heat vegan butter or oil with minced garlic and herbs for a minute or two, then brush generously. This creates a strong, fresh flavor on the surface.
Sesame Seed Topping: Adding Texture and Visual Appeal
Adding sesame seeds provides a lovely nutty flavor and a satisfying texture contrast. You can sprinkle white or black sesame seeds directly onto the shaped naan dough just before placing it on the hot pan. Press them gently into the dough so they stick.
As the naan cooks on the stovetop, the sesame seeds will toast slightly, enhancing their flavor. This simple addition not only tastes great but also makes your homemade vegan naan look even more appealing, adding a visual cue that it's a special, homemade treat.
Nigella Seed Naan: Adding a Pungent Flavor
Nigella seeds (kalonji) are small black seeds commonly used in Indian and Middle Eastern bread. They have a unique, slightly oniony, pungent, and subtly bitter flavor. Like sesame seeds, they can be sprinkled onto the shaped naan dough before cooking.
A small amount goes a long way; a teaspoon or two for a full batch of dough is usually sufficient. The heat of the pan releases their aromatic oils, adding a distinctive layer of flavor that is very traditional in authentic naan. If you're aiming for a truly traditional taste profile in your vegan naan bread, don't skip the nigella seeds.
Troubleshooting Common Issues with Vegan Naan Bread
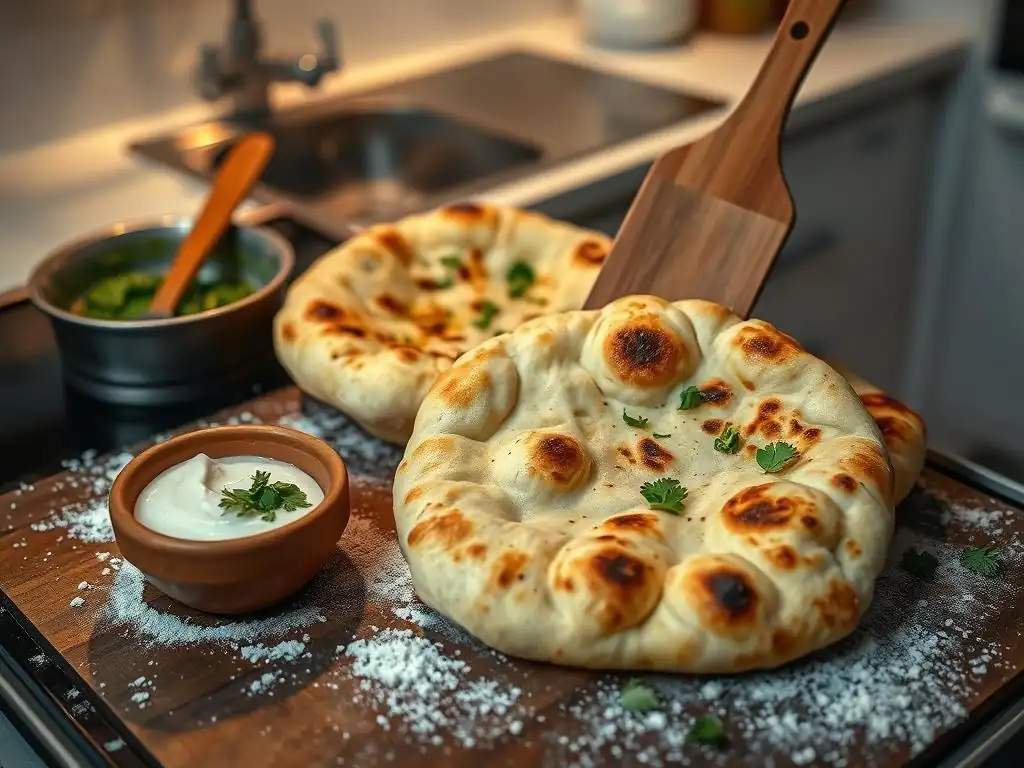
Even with a great vegan naan bread stovetop recipe, sometimes things don't go exactly as planned. Here are some common issues and how to fix them.
Dough Not Rising: Identifying and Fixing the Problem
If your dough isn't rising during the first proofing stage, the most likely culprit is inactive yeast. This could be because the yeast was expired, the liquid used to activate it was too hot (killing the yeast) or too cold (inhibiting activation), or the proofing environment was too cold. Yeast is a living organism and requires specific conditions to thrive, typically warm temperatures between 75°F and 85°F (24°C-30°C).
To troubleshoot, check the yeast's expiration date. If proofing active dry yeast, ensure the water temperature is in the 105°F-115°F range. If using instant yeast and mixing directly, ensure your liquids aren't too cold. Find a warmer spot for proofing, perhaps a slightly warmed oven (turned off!) or near a sunny window. If the yeast was truly inactive, you may need to discard the dough and start over with fresh yeast and correctly tempered liquid.
Naan Burning on the Stovetop: Controlling the Heat
If your vegan naan is burning quickly on the stovetop without cooking through or puffing up, the pan is likely too hot. While a hot pan is essential for getting those desirable bubbles and char marks, excessive heat will scorch the outside before the inside has a chance to cook or the gases can expand sufficiently.
Reduce the heat slightly from high to medium-high. Allow the pan a minute or two to cool down slightly before cooking the next piece. Monitor the pan temperature throughout the cooking process, adjusting the heat as needed. The goal is rapid cooking with charring, not incineration. A pan that's too hot is a common issue when trying this vegan naan bread stovetop recipe for the first time.
Naan Too Tough: Adjusting Hydration and Kneading Time
Tough naan is usually a result of either too little hydration (the dough is too dry) or insufficient kneading. A dry dough won't develop enough elasticity and will result in dense, hard bread. Naan dough should feel soft and slightly tacky after kneading. If it feels stiff or crumbly, it likely needs more liquid; add a tablespoon of water or plant milk at a time during kneading until the desired consistency is reached.
Conversely, not kneading enough means the gluten hasn't developed properly. The dough won't be able to hold the gas produced by the yeast, leading to a flat, tough bread. Ensure you knead for the recommended time (8-10 mins by hand, 6-8 mins in a mixer) until the dough is smooth and elastic. Overtight shaping can also lead to toughness; handle the dough gently when rolling it out.
Kneading is where the magic happens for texture. A well-kneaded dough for your vegan naan bread stovetop recipe should feel alive and spring back slowly when poked.
Serving and Storing Your Stovetop Vegan Naan

Once your delicious homemade vegan naan bread is cooked, the best part begins – enjoying it! Knowing how to serve and store it ensures you get the most out of your baking efforts.
Delicious Serving Suggestions for Vegan Naan Bread
Homemade vegan naan is incredibly versatile. It's the perfect accompaniment to a wide range of dishes. Serve it warm alongside your favorite vegan curries, lentil dals, or stews. Its soft texture is ideal for soaking up rich sauces.
Beyond Indian cuisine, naan makes a fantastic base for vegan pizzas or flatbreads topped with roasted vegetables, hummus, or spreads. You can also use it as a wrap for sandwiches or kebabs. For a simple snack, enjoy it dipped in hummus, baba ghanoush, or a spicy chili oil. The possibilities are nearly endless for incorporating your freshly made vegan naan bread.
Storing Leftover Naan: Maintaining Freshness and Flavor
Freshly cooked naan is always best, but leftovers can be stored and reheated. Allow the naan to cool completely. Stack them and wrap tightly in aluminum foil or place them in an airtight container or resealable bag. Stored at room temperature, they will keep for 1-2 days. For longer storage, you can refrigerate them for up to 4-5 days or freeze them for up to 2-3 months.
To reheat, sprinkle the naan lightly with water and warm in a skillet over medium heat for a minute or two per side, or wrap in foil and warm in a preheated oven at 350°F (175°C) for 5-7 minutes until soft. Avoid microwaving, as this can make the naan tough. Proper storage and reheating methods will help maintain the soft texture of your vegan naan bread.
Conclusion: Enjoying Homemade Vegan Naan with Ease
You've done it! You've successfully baked authentic, fluffy vegan naan bread right on your stovetop using simple ingredients and techniques. This vegan naan bread stovetop recipe proves that you don't need fancy equipment to enjoy warm, fresh flatbread at home. From understanding the role of plant-based substitutes to mastering the heat of your pan, you've gained valuable skills in vegan bread baking.
We hope this BakeWithEase guide has demystified the process and empowered you to make delicious vegan naan whenever the craving strikes. Practice makes perfect, so don't be discouraged if your first few attempts aren't exactly like the pictures. Keep baking, keep experimenting, and soon you'll be whipping up perfect batches of vegan naan bread with ease, ready to enjoy with your favorite meals or simply on its own. Happy baking!
Frequently Asked Questions
What ingredients are needed for the vegan naan bread stovetop recipe?
To make vegan naan bread, you'll need flour, water, yeast, oil, and a pinch of salt. These ingredients are easy to find and create a delicious bread base.
How long does it take to prepare the dough for vegan naan?
The dough preparation for vegan naan takes about 1 hour when considering the rising time. This includes mixing, kneading, and letting the dough rest until it doubles in size.
Can I make vegan naan without yeast?
Yes, you can make yeast-free naan using baking powder as a leavening agent. This method will yield a slightly different texture but still results in a tasty bread.
Is it necessary to use a cast-iron skillet for cooking naan?
While a cast-iron skillet is recommended for its heat retention, you can use any heavy-bottomed pan. The key is to ensure it's hot enough to create those charred spots typical of naan.
How do I store leftover vegan naan bread?
To store leftover naan, wrap it in plastic wrap or place it in an airtight container. It can be kept at room temperature for a day or frozen for longer freshness.
Final Reflection: The Humble Naan, Reimagined
The accessibility of delicious, authentic vegan food is no longer a niche pursuit; it's a culinary revolution. This simple stovetop naan recipe demonstrates that creating complex and satisfying flavors doesn't require complicated equipment or obscure ingredients. The ease with which you can now enjoy this classic bread, adapted for a plant-based lifestyle, speaks volumes about the growing sophistication and inclusivity of vegan cuisine.
The journey of vegan cooking, for me, has been one of constant discovery and adaptation. It's about more than just substituting ingredients; it's about understanding the fundamental principles of flavor and texture and applying them creatively. The best things in life are simple,
a phrase often used, rings especially true when considering the joy found in a perfectly cooked, fluffy piece of vegan naan. This recipe, I hope, embodies that simplicity and joy, making it accessible to anyone, regardless of their culinary experience.
Now, I invite you to go beyond the recipe. Experiment with different herbs and spices, try adding a touch of sweetness, or even explore variations using different flours. The possibilities are endless. More importantly, consider the broader implications: the power of accessible, delicious vegan food to challenge perceptions, broaden palates, and contribute to a more sustainable and compassionate food system. Let this naan be a testament to the creativity and deliciousness possible within a plant-based diet. Go forth and bake!
Unleash Your Inner Naan-Master!
Thanks for joining us on this flavorful journey into the world of vegan naan! We hope you gained the confidence and knowledge to create deliciously authentic bread right in your own kitchen. Ready to take your baking skills to the next level?
- Bake a batch of your own vegan naan tonight! Use the recipe and tips from the article as your guide – you'll be surprised how easy it is.
- Share your naan-baking experience on social media! Use #BakeWithEaseVeganNaan and tag us – we'd love to see your creations.
- Experiment with different herbs and spices to personalize your naan and discover your favorite flavor combinations.
What exciting flavor profile will you create with your next batch of homemade vegan naan?