
Mastering the Art of the Perfect Roll Shape

Welcome to BakeWithEase, your trusted companion in the delightful world of baking! Ever dreamt of achieving bakery-worthy perfection with your homemade rolls? Prepare to unlock the secrets! This article delves into perfect roll shaping techniques, offering a comprehensive guide to elevate your bread baking. Discover the simple steps that transform ordinary dough into beautifully crafted delights, leaving your family and friends utterly impressed. Are you ready to master the art? Let's get baking!
- BakeWithEase: Mastering the Art of the Perfect Roll Shape
- Introduction: Achieving Perfectly Shaped Rolls for Baking Success
- Understanding Dough Consistency for Optimal Roll Shaping
- Essential Roll Shaping Techniques: A Step-by-Step Guide
- Shaping Different Types of Rolls: Techniques and Variations
- Advanced Roll Shaping Techniques for Experienced Bakers
- Baking Tips for Maintaining Roll Shape During Baking
- Troubleshooting Common Roll Shaping Problems
- Perfect Roll Shaping Tools and Equipment
- Practice Makes Perfect: Tips for Improving Your Roll Shaping Skills
- Conclusion: BakeWithEase's Final Thoughts on Perfect Roll Shaping
-
Frequently Asked Questions
- How important is the dough's consistency for achieving perfect roll shapes?
- What are some common mistakes people make when shaping rolls, and how can I avoid them?
- Does the type of flour used affect the final shape and texture of the rolls?
- How long should I let the shaped rolls proof before baking them?
- Can you provide some tips for achieving a uniform look when shaping multiple rolls?
- Final Reflection: Shaping a Legacy, One Roll at a Time
- Unleash Your Inner Baker: Perfect Rolls, Every Time!
BakeWithEase: Mastering the Art of the Perfect Roll Shape
Welcome to BakeWithEase, where we demystify the baking process and help you achieve delicious results every time. Today, we're diving deep into a fundamental skill for any bread baker: shaping rolls. While seemingly simple, mastering the art of the perfect roll shape is crucial for both aesthetics and the final texture of your baked goods.
Introduction: Achieving Perfectly Shaped Rolls for Baking Success
Shaping is one of the most satisfying steps in bread making, transforming a mass of dough into individual portions ready for their final rise and bake. Achieving consistently shaped rolls is a hallmark of a skilled baker and directly impacts the quality of the finished product. Let's explore why this skill is so important and how you can master it.
Why Roll Shape Matters: Aesthetics and Baking Quality
The visual appeal of freshly baked rolls is undeniable. Uniformly shaped rolls present beautifully on a dinner table or in a bakery display, inviting anticipation and enjoyment. Beyond aesthetics, consistent shape ensures that all rolls bake evenly, reaching the perfect internal temperature and crust color simultaneously.
Moreover, the way a roll is shaped affects its internal structure and crumb. Proper tension created during shaping helps the roll hold its form during proofing and baking, contributing to a good rise and a desirable texture. Poorly shaped rolls might spread excessively, bake unevenly, or have dense spots, detracting from the overall quality. Mastering perfect roll shaping techniques is key to achieving both beauty and optimal texture.
BakeWithEase's Guide to Mastering Roll Shaping Techniques
At BakeWithEase, we believe that anyone can learn to shape beautiful rolls with practice and the right guidance. This guide will walk you through the essential steps, from understanding your dough to employing various shaping methods suitable for different types of rolls. We'll share tips and techniques to help you avoid common pitfalls and improve your skills, ultimately leading you to create rolls that are not only delicious but also visually stunning.
Our focus is on providing clear, step-by-step instructions and practical advice. Whether you're aiming for classic dinner rolls, sturdy sub rolls, or decorative knots, understanding the underlying principles of perfect roll shaping techniques is your path to success.
Understanding Dough Consistency for Optimal Roll Shaping
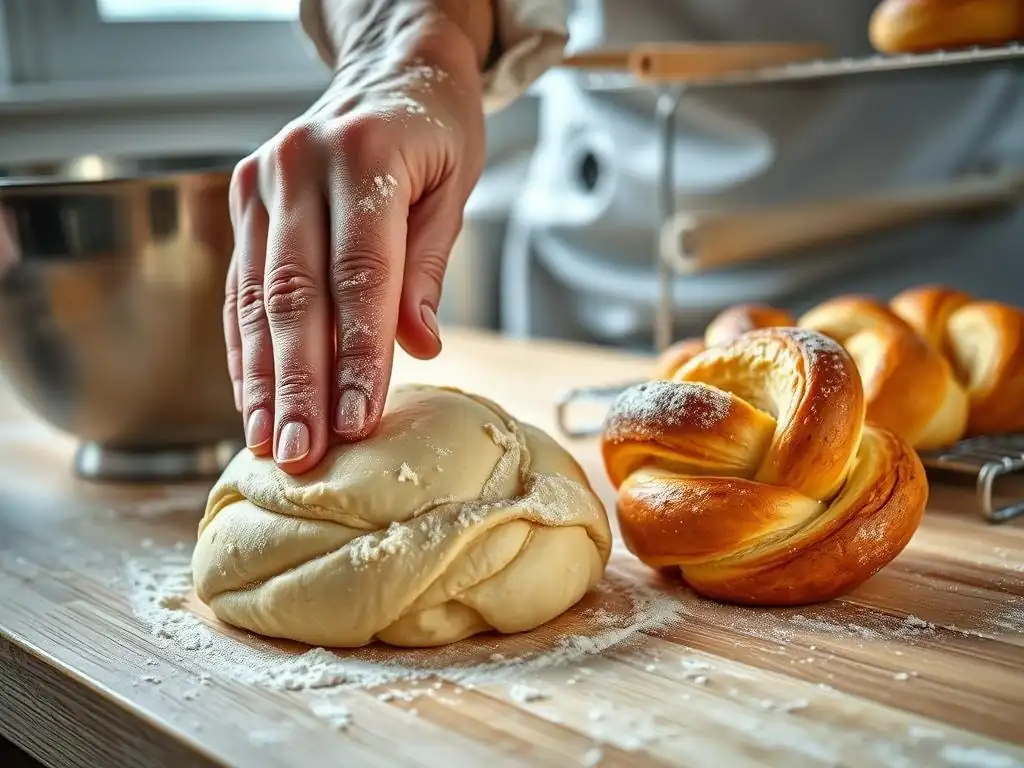
Before you even begin shaping, the state of your dough is paramount. The texture, hydration level, and development of gluten all play critical roles in how easily and effectively you can shape it. Understanding these factors is the foundation for mastering perfect roll shaping techniques.
The Importance of Proper Dough Hydration for Rolls
Dough hydration refers to the ratio of water to flour in your recipe, typically expressed as a percentage. A dough with lower hydration (e.g., 60-65%) is generally stiffer and easier to handle, making it ideal for beginners learning perfect roll shaping techniques like simple rounding. It holds its shape well and is less prone to sticking.
Conversely, a higher hydration dough (e.g., 70% or more) is stickier and more challenging to work with but can result in rolls with a lighter, more open crumb structure. For these doughs, mastering perfect roll shaping techniques often involves using wet hands or a bench scraper and relying on tension-building methods. Recipes for classic dinner rolls often fall in the 60-65% hydration range, while some artisan rolls might push towards 70% or higher.
Troubleshooting Sticky Dough: Tips and Tricks
Working with sticky dough can be frustrating, but it doesn't mean your dough is unusable. Often, stickiness is a sign of proper hydration for the intended crumb structure, or it could indicate insufficient gluten development or improper handling.
Here are some common troubleshooting tips:
- Use a small amount of flour on your work surface and hands, but avoid adding too much, which can make the dough dry and tough.
- Keep your hands slightly damp (not wet) with water if working with very high hydration doughs.
- Utilize a bench scraper or spatula to help lift and move the dough, minimizing direct contact.
- Ensure your dough has rested sufficiently after kneading; sometimes stickiness decreases as the gluten relaxes.
- Chill the dough slightly (15-30 minutes in the refrigerator) if it's excessively sticky and difficult to handle.
Developing Dough Strength: The Key to Well-Shaped Rolls
Dough strength, or gluten development, is crucial for creating rolls that hold their shape and rise properly. Gluten is a protein network formed when flour and water are mixed and kneaded. It provides elasticity and structure to the dough. Sufficient kneading is necessary to develop this network.
A well-developed dough should be smooth, elastic, and pass the "windowpane test" (you can stretch a small piece thin enough to see light through it without tearing). Dough that is not strong enough will be slack, hard to shape, and will likely spread out during proofing and baking instead of holding a defined perfect roll shape. Techniques like stretching and folding during bulk fermentation also contribute significantly to developing dough strength, especially in no-knead or low-knead recipes.
Essential Roll Shaping Techniques: A Step-by-Step Guide
Mastering a few core techniques will equip you to shape a variety of rolls. These methods focus on creating surface tension, which is vital for a good rise and maintaining the perfect roll shape.
The Pinching Method: Creating Uniform Roll Shapes
The pinching method is a straightforward way to portion and initially shape dough into rolls, often used before further refining with rounding. After dividing the dough into equal pieces (aiming for consistency, perhaps around 60-80 grams for a standard dinner roll), take one piece.
Using your thumb and fingers, gently gather the edges of the dough piece and pinch them together at the bottom. This creates a smooth top surface with the seam underneath. Repeat this pinching motion around the entire circumference until you have a roughly rounded shape with all the seams sealed at the base. This technique is a great starting point for beginners learning perfect roll shaping techniques.
The Rounding Technique: Achieving Smooth, Round Rolls
Rounding is perhaps the most fundamental perfect roll shaping technique, used to create classic round dinner rolls. After portioning your dough, place a piece on a lightly floured or unfloured surface (depending on the dough's stickiness). Cup your hand around the dough piece, with your palm slightly curved and fingers tucked under.
Using a circular motion, gently rotate the dough under your cupped hand. The friction against the surface and the tension created by your hand's pressure will cause the dough's surface to tighten and become smooth, forming a perfect sphere. The goal is to create tension on the top surface while sealing the seam underneath. Practice maintaining consistent pressure and speed for uniform results. This technique is central to achieving many perfect roll shaping techniques.
The Tucking Method: A Professional Approach to Roll Shaping
The tucking method is similar to rounding but often provides slightly more control and tension, preferred by many professional bakers for perfect roll shaping techniques. Start with a portioned dough piece. Place it on the work surface.
Using one hand (or both hands, depending on the dough size), gently flatten the dough slightly into a disc. Then, using your fingers, begin tucking the edges of the dough underneath towards the center of the disc. Work your way around the circumference, continuously tucking and rotating the dough. This action creates a tight, smooth surface on top and pulls the dough into a taut ball with the seam neatly tucked underneath. This method is excellent for developing significant surface tension, crucial for rolls that need to hold a high, round shape.
The Coiling Method: Creating Spiral Roll Shapes
The coiling method is used for specific roll shapes, most notably some types of crescent rolls or snails. Start by rolling or stretching a portioned dough piece into a rectangle or triangle, depending on the desired final shape.
For a simple spiral, take the longer edge of the rectangle and begin rolling it up tightly towards the opposite edge. Maintain even tension as you roll. Once fully rolled, the seam should be on the bottom. For crescent rolls, you would typically roll a triangle from the wide base towards the point, then curve the ends inward. This technique requires careful handling to ensure the layers remain distinct but sealed enough not to unravel during baking, contributing to unique perfect roll shaping techniques.
Shaping Different Types of Rolls: Techniques and Variations
While the core techniques are versatile, applying them to different roll types requires slight variations and specific considerations for perfect roll shaping techniques.
Shaping Round Rolls: Classic Dinner Rolls
Shaping classic round dinner rolls typically involves portioning the dough (often 50-85 grams), performing a gentle pre-shape into a rough ball, allowing a short rest (5-10 minutes) for the gluten to relax, and then using either the rounding or tucking method to create a smooth, taut sphere.
The key here is consistency in size and tension. Placing them seam-side down on the baking sheet or in the pan ensures they maintain their perfect roll shape during proofing and baking. Baking time for a standard 65-gram dinner roll at 375°F (190°C) might be around 18-22 minutes.
Shaping Oblong Rolls: Sub Rolls and Hoagies
Oblong rolls, like sub rolls or hoagies, require shaping techniques that elongate the dough while still creating surface tension. After portioning (these are typically larger, perhaps 100-150 grams), gently flatten the dough into a rectangle.
Fold the top edge down to the center and press to seal, then fold the bottom edge up over the first fold and press firmly to seal, creating a seam along the bottom. Then, gently roll the dough back and forth under your hands, applying slight pressure from the center outwards, to elongate it into the desired length while maintaining an even thickness. This sealing and rolling process is critical for the perfect roll shaping techniques needed for elongated forms.
Shaping Braided Rolls: Decorative and Delicious
Braided rolls are more decorative and involve dividing a dough portion into strands and weaving them together. For a simple three-strand braid, divide a portion (e.g., 80-100 grams) into three equal pieces. Roll each piece into a smooth rope of equal length and thickness.
Pinch one end of the three ropes together firmly. Lay the ropes side-by-side and begin braiding, crossing the right rope over the middle, then the left rope over the new middle. Continue alternating until the braid is complete. Pinch the other end firmly to seal. This perfect roll shaping technique adds visual flair and can result in a slightly different texture due to the layering.
Shaping Knot Rolls: An Elegant Presentation
Knot rolls offer an elegant presentation and are surprisingly simple to shape. Portion your dough (around 60-80 grams) and roll it into a smooth rope, typically about 8-10 inches long, ensuring the thickness is uniform.
Tie the rope into a simple overhand knot. Gently arrange the knot, tucking the ends underneath the roll or into the center if they are long enough. The goal is to create a neat knot that will hold its shape. This perfect roll shaping technique transforms a simple rope into a visually appealing roll, often used for slightly richer doughs.
Advanced Roll Shaping Techniques for Experienced Bakers
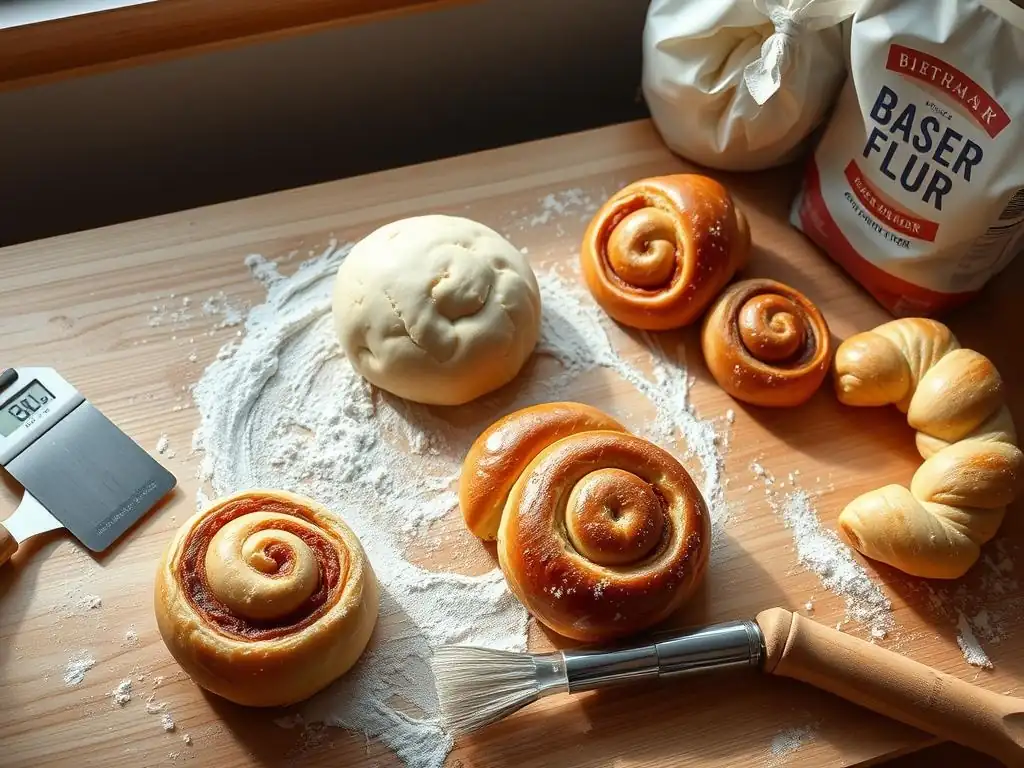
For those who have mastered the basics, exploring more complex doughs and decorative shapes offers new challenges and rewards in perfect roll shaping techniques.
Working with Enriched Doughs: Shaping Brioche Rolls
Enriched doughs, like brioche, contain high amounts of fat (butter), eggs, and sugar, making them soft and sometimes sticky. Shaping brioche rolls requires a delicate touch to avoid deflating the dough while still creating tension.
A common brioche shape is the 'à tête' (with a head), where a large ball of dough is topped with a smaller ball. To shape this, portion the dough into two pieces, one significantly larger than the other (e.g., 80% and 20%). Shape the larger piece into a smooth ball using the rounding or tucking method. Shape the smaller piece into a very tight, smooth ball.
Using your finger, make an indentation in the center of the large ball, almost to the bottom. Gently push the smaller ball into this indentation. The high fat content requires careful handling, making perfect roll shaping techniques for enriched doughs a test of skill.
Shaping Sourdough Rolls: Adding Complexity and Flavor
Sourdough dough often has higher hydration and a more active fermentation, presenting unique challenges for perfect roll shaping techniques. The dough can be stickier and more extensible.
Techniques like the tucking method or using a bench scraper to build tension from the side are particularly effective for sourdough. Because sourdough proofing can be longer, ensuring the rolls are shaped with good surface tension is crucial to prevent them from spreading too much during the extended rise. Many sourdough rolls are shaped using a variation of the rounding or tucking method adapted for the wetter dough consistency.
Creating Decorative Roll Shapes: Mastering Artistic Techniques
Beyond standard shapes, experienced bakers can explore decorative perfect roll shaping techniques like épis (wheat stalk shape), twists, or elaborate braids. These often involve cutting or manipulating the dough after the initial shaping.
For an épis, shape the dough into a baguette-like log, then use shears to make angled cuts along the log, alternating sides, pulling each cut section slightly to the side to resemble a wheat stalk. Mastering these techniques requires precision, understanding of dough elasticity, and practice to ensure the shapes hold through proofing and baking while allowing for proper expansion.
Baking Tips for Maintaining Roll Shape During Baking
Shaping the perfect roll is only half the battle; maintaining that shape through proofing and baking is equally important.
Proper Oven Temperature and Steaming
Baking temperature significantly impacts how rolls rise and set. A sufficiently hot oven (typically 375°F - 425°F or 190°C - 220°C depending on the roll type) provides the necessary oven spring for the rolls to expand upwards before the crust sets. If the oven isn't hot enough, the crust sets too slowly, and the rolls might spread outwards, losing their perfect roll shape.
Introducing steam at the beginning of the bake (e.g., by placing a tray of hot water in the oven) keeps the crust soft longer, allowing for maximum expansion and preventing the crust from cracking prematurely. Steam is less critical for soft dinner rolls but essential for rolls meant to have a crisp crust.
Using the Right Baking Pans for Roll Shape Support
Baking rolls close together in a pan, like a standard 9x13 inch pan for dinner rolls, provides mutual support, helping them maintain a consistent, round shape as they expand. This is particularly useful for softer doughs or when aiming for pull-apart rolls.
For individual rolls that you want to maintain a distinct, standalone perfect roll shape (like hamburger buns or larger rolls), baking them on a flat baking sheet with adequate space between them is preferable. Using baking sheets lined with parchment paper or silicone mats also helps prevent sticking and allows for easier handling without distorting the shape.
Preventing Rolls from Spreading: Dough Handling and Proofing
Several factors during dough handling and proofing can cause rolls to lose their perfect roll shape and spread. Over-proofing is a common culprit; if rolls proof for too long, the gluten structure weakens, and they collapse or spread when they hit the hot oven.
Under-shaping or insufficient surface tension is another major reason for spreading. If the dough ball isn't taut enough after shaping, it lacks the structure to hold its form. Ensure you create good surface tension during shaping. Also, avoid letting the shaped rolls sit at room temperature for excessive periods, especially in warm conditions; consider a cooler proofing environment or a shorter proofing time if necessary.
Troubleshooting Common Roll Shaping Problems
Even with careful technique, issues can arise. Knowing how to identify and address common problems will help you refine your perfect roll shaping techniques.
Rolls Losing Shape During Proofing: Identifying the Cause
If your beautifully shaped rolls flatten out or spread significantly during proofing, the most likely causes are:
- Over-proofing: The dough has fermented too long, and the gluten structure can no longer support the shape. The dough will appear very puffy and may deflate slightly when touched.
- Insufficient Surface Tension: The shaping technique didn't create enough tightness on the dough's surface. The dough ball felt slack after shaping.
- Weak Dough: The dough wasn't kneaded or developed enough, or the flour used has low protein content, resulting in a fragile gluten network.
- Too High Hydration: While sometimes desired, very high hydration doughs are inherently more prone to spreading and require specific handling and shaping perfect roll shaping techniques.
Rolls Bursting During Baking: Preventing Cracks and Splits
Rolls bursting or cracking unexpectedly during baking often indicates that the crust set too quickly before the interior had finished expanding. This can be due to:
- Lack of Steam: Insufficient steam in the oven causes the crust to harden prematurely.
- Oven Too Hot: An oven temperature that is too high can also cause rapid crust setting.
- Insufficient Proofing: If rolls are under-proofed, they have a lot of potential energy left and expand very rapidly in the oven, forcing cracks in the crust.
- Poorly Sealed Seams: If seams are not properly pinched or tucked, they can burst open during baking.
Uneven Roll Shapes: Achieving Consistent Results
Achieving uniform size and shape across a batch of rolls requires practice and attention to detail in perfect roll shaping techniques. Uneven shapes can result from:
- Inconsistent Portioning: Weighing your dough portions is the best way to ensure they are all the same size. Aim for a variance of no more than a few grams.
- Varying Shaping Tension: Some rolls might be shaped tighter than others, leading to different rises and shapes. Try to apply consistent pressure and motion during shaping.
- Uneven Proofing: Rolls placed in different parts of the proofing area might proof at different rates, affecting their readiness for baking.
- Inconsistent Handling: Handling some rolls more roughly than others can damage the gluten structure and affect their shape.
Perfect Roll Shaping Tools and Equipment
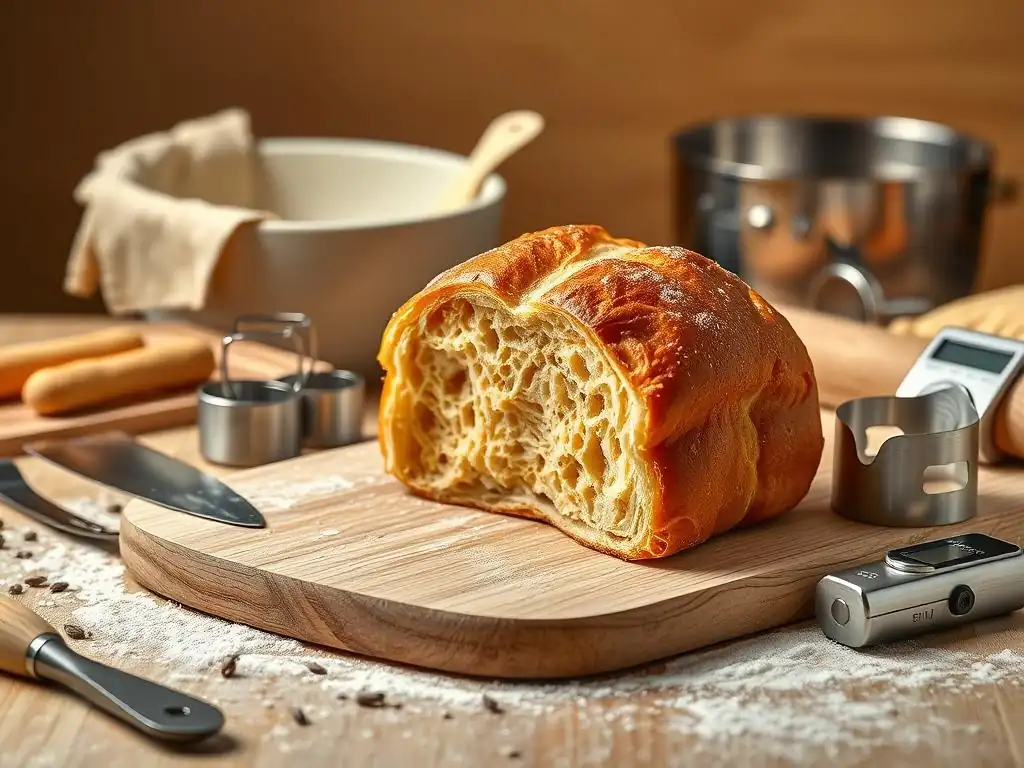
While you can shape rolls with just your hands, certain tools can make the process easier, more efficient, and help you achieve more consistent perfect roll shaping techniques.
The Best Rolling Pins for Roll Shaping
While not used for every roll shape, a rolling pin is essential for techniques like the coiling method or shaping oblong rolls where the dough needs to be flattened or elongated.
- French Rolling Pin: Tapered ends allow for more control over the thickness of the dough and are great for creating even rectangles or triangles.
- Straight Rolling Pin: Provides even pressure across the width, good for flattening dough uniformly.
Choose a pin that is comfortable to handle and made from a material like wood, marble, or non-stick plastic.
Using Dough Scrapers for Clean Cuts and Even Portions
A bench scraper (or dough scraper) is an invaluable tool for perfect roll shaping techniques.
- Portioning: Use the sharp edge to cleanly cut dough into individual portions after bulk fermentation. This is faster and often more accurate than pulling or tearing.
- Handling Sticky Dough: The flat blade is perfect for lifting sticky dough from the work surface or your hands without damaging the structure.
- Shaping Assistance: Some bakers use a bench scraper to help build tension when shaping, pushing the dough against the scraper on the work surface.
Proofing Baskets: Maintaining Roll Shape During Rising
While not strictly necessary for all roll types (especially when proofing in a pan), proofing baskets (bannetons) can be used for larger individual rolls or those with a higher hydration, particularly sourdough, to help them hold their shape during a long proof.
Lined bannetons dusted with flour or rice flour prevent sticking and impart a lovely spiral pattern on the surface. Placing shaped rolls seam-side up in the basket allows them to expand upwards and outwards within the confines of the basket, maintaining a beautiful perfect roll shape until they are inverted onto a baking surface.
Practice Makes Perfect: Tips for Improving Your Roll Shaping Skills
Mastering perfect roll shaping techniques is a skill that improves significantly with repetition. Don't be discouraged if your first few batches aren't perfectly uniform.
Start with Simple Shapes: Building Confidence
Begin by practicing the basic rounding technique with a simple, lower-hydration dough recipe, like a standard white dinner roll dough (often 60-65% hydration). Focus on creating consistent tension and a smooth surface. Once you feel comfortable with round rolls, move on to slightly more complex shapes like oblong rolls or simple knots. Building confidence with fundamental perfect roll shaping techniques is key before tackling advanced methods.
You might find it helpful to practice with dough that hasn't been proofed yet, or even modeling clay, just to get a feel for the hand movements required for different perfect roll shaping techniques.
Watch Tutorials and Learn from Experts
Visual learning is incredibly effective for shaping techniques. Search for videos demonstrating the specific perfect roll shaping techniques you want to learn. Observe how experienced bakers handle the dough, the amount of pressure they use, and the motion of their hands.
BakeWithEase's website offers various guides and tutorials. Watching different bakers can also expose you to slightly different approaches to achieving the same result, helping you find the method that works best for your hands and your dough.
Experiment with Different Techniques: Finding Your Style
Not everyone shapes dough exactly the same way. As you gain experience, feel free to experiment with slight variations in the techniques described. You might find that a slightly different hand position or a different surface (lightly floured vs. unfloured) works better for you and the type of dough you are using.
Try shaping the same dough batch using two different methods side-by-side to see which gives you better results in terms of shape retention and crumb structure. Finding your own comfortable and effective perfect roll shaping techniques is part of the journey.
Conclusion: BakeWithEase's Final Thoughts on Perfect Roll Shaping
Mastering the art of the perfect roll shape is a rewarding skill that elevates your bread baking. It's a process that combines understanding dough behavior with developing muscle memory through practice.
The Importance of Patience and Practice
Achieving consistently beautiful and well-shaped rolls takes time and repetition. Don't aim for perfection on your first try. Be patient with yourself and the dough. Each batch is an opportunity to learn and improve your perfect roll shaping techniques. Pay attention to how the dough feels, how it responds to your touch, and what works and doesn't work.
Keep practicing, and you will notice a significant improvement in the uniformity and structure of your rolls over time. The journey of mastering perfect roll shaping techniques is as enjoyable as the destination.
Enjoy the Process of Creating Beautiful and Delicious Rolls
Ultimately, baking should be a joyful experience. While striving for perfect roll shaping techniques is a worthy goal, remember to enjoy the process of transforming simple ingredients into delicious bread. The tactile experience of working with dough is incredibly satisfying.
Celebrate your progress, even small victories like a batch where the shapes are slightly more consistent than the last. Share your beautifully shaped, delicious rolls with friends and family. The satisfaction of pulling a tray of perfectly shaped, golden-brown rolls from the oven is truly one of baking's greatest pleasures. Keep baking, keep shaping, and keep enjoying the delicious results!
Frequently Asked Questions
How important is the dough's consistency for achieving perfect roll shapes?
The dough's consistency is crucial for shaping. A dough that is too wet will be difficult to handle, while a dough that is too dry will crack. Aim for a dough that is smooth and elastic.
What are some common mistakes people make when shaping rolls, and how can I avoid them?
Common mistakes include overworking the dough, using too much flour on the work surface, and not creating enough surface tension. Avoid these by using a light touch and minimal flour.
Does the type of flour used affect the final shape and texture of the rolls?
Yes, the type of flour significantly impacts the roll's final shape and texture. High-protein flours like bread flour create more gluten, leading to a chewier texture and better structure.
How long should I let the shaped rolls proof before baking them?
Proofing time depends on the recipe and room temperature, but generally, rolls should proof until they have nearly doubled in size. Over-proofing can lead to collapsed rolls during baking.
Can you provide some tips for achieving a uniform look when shaping multiple rolls?
To achieve a uniform look, use a kitchen scale to ensure each dough piece is the same weight. Also, practice your shaping technique to develop consistency in your movements.
Final Reflection: Shaping a Legacy, One Roll at a Time
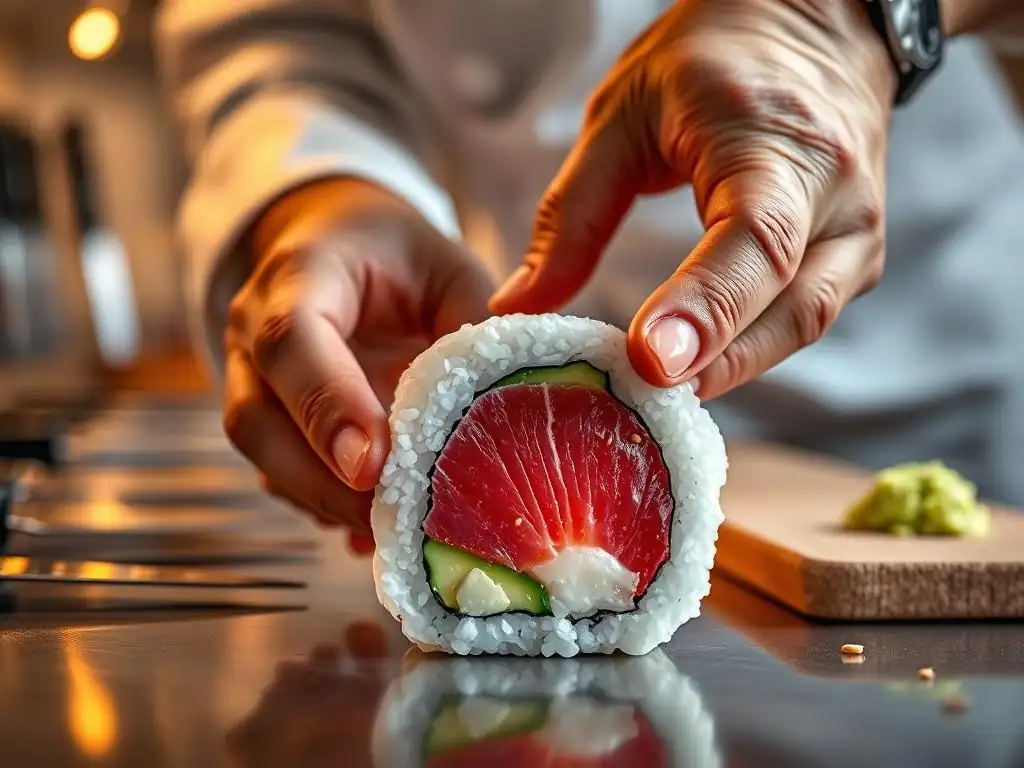
The pursuit of the perfect roll shape transcends mere aesthetics; it's a testament to precision, patience, and the enduring power of mastering a craft. From the delicate folds of a perfectly formed sushi roll to the satisfying heft of a expertly shaped cinnamon roll, the techniques explored in this article resonate far beyond the culinary arts. The principles of consistent pressure, mindful shaping, and attention to detail are applicable to countless endeavors, highlighting the universality of skillful execution.
The impact of mastering any craft, particularly one as seemingly simple as roll shaping, is profound. It fosters a sense of accomplishment, cultivates an appreciation for detail, and ultimately enhances the experience of both the creator and the consumer. The difference between ordinary and extraordinary is that little extra.
This quote speaks volumes about the dedication required to achieve true mastery, a dedication that extends far beyond the kitchen or workshop and into every aspect of life where precision and care are valued.
Now, consider your own "rolls" – the projects, relationships, or even daily tasks that require careful shaping and attention. What adjustments can you make to your approach to achieve a more satisfying outcome? Embrace the principles outlined here: practice diligently, refine your technique, and find joy in the process of perfecting your craft, whatever that may be. The journey towards mastery is ongoing, and the rewards are immeasurable.
Unleash Your Inner Baker: Perfect Rolls, Every Time!
Thanks for taking the time to explore the art of perfect roll shaping with us! We hope you gained valuable insights and newfound confidence in your baking abilities. Now it's time to put your knowledge into practice!
- Bake a batch of your favorite rolls using the techniques we discussed. This is your chance to experiment and perfect your own unique touch!
- Share your baking journey by posting a picture of your creations on social media using #BakeWithEasePerfectRolls. Let’s inspire each other!
- Consider trying a new roll recipe – perhaps a challenging one you've always avoided! Expanding your skills is key to becoming a true baking master.
What new roll shape will you conquer next? Let us know in the comments below!