
Baking Portuguese Broa: A Corn and Rye Delight

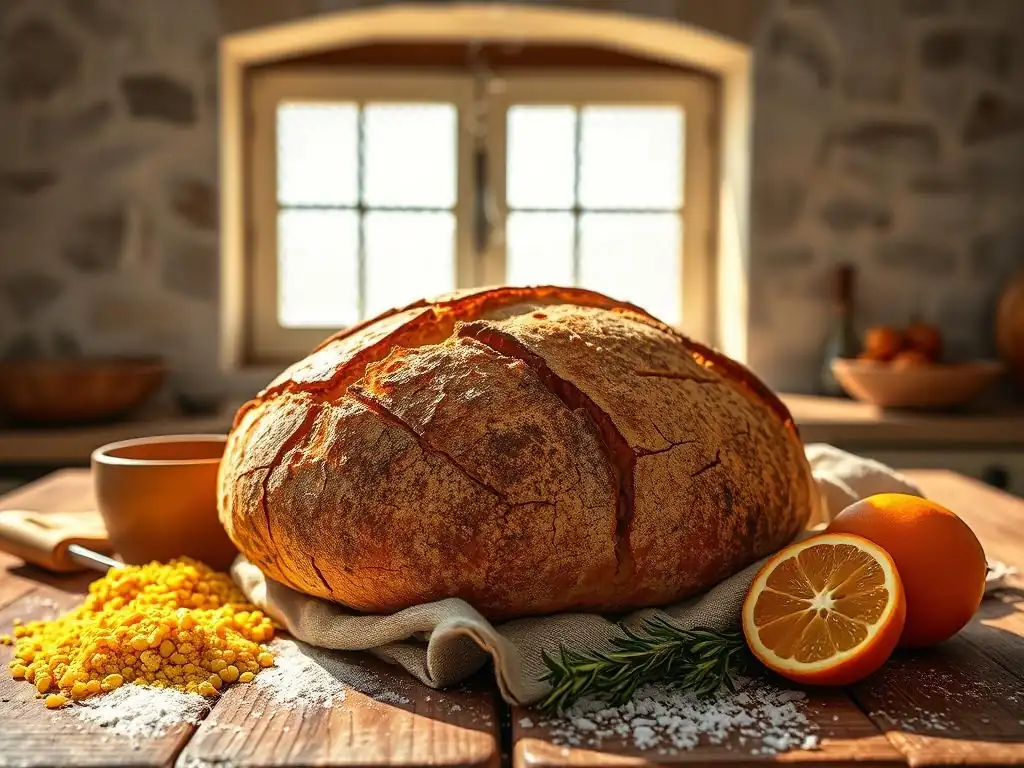
Welcome to BakeWithEase, your guide to unlocking the joy of baking! Ever dreamt of crafting crusty, flavorful bread at home? Then you're in the right place. Today, we're diving into the rustic charm of Portuguese baking. Intrigued? Learn how to easily master the Portuguese broa recipe for beginners and bring the authentic taste of Portugal to your table. Discover the secrets to this delightful corn and rye bread and unlock a new world of baking possibilities...let's get started!
- Baking Authentic Portuguese Broa: A Rustic Corn Bread Recipe
- Introduction to Portuguese Broa: A Traditional Corn Bread
- Key Ingredients for Authentic Portuguese Broa
-
Authentic Portuguese Broa Recipe: A Step-by-Step Guide
- Step 1: Preparing the Cornmeal Soak - Hydrating for Softness
- Step 2: Mixing the Dough - Combining Ingredients for a Coarse Texture
- Step 3: First Fermentation - Allowing the Dough to Develop Flavor
- Step 4: Shaping the Loaves - Creating Rustic, Free-Form Shapes
- Step 5: Second Fermentation - Proofing for Optimal Oven Spring
- Step 6: Baking the Broa - Achieving a Crackled Crust
- Tips and Tricks for Perfecting Your Portuguese Broa
- Serving and Storing Your Homemade Broa
- Conclusion: Embrace the Authentic Taste of Portugal
- Frequently Asked Questions
- Final Reflection: The Enduring Charm of Portuguese Broa
- Unleash Your Inner Baker: Master the Art of Portuguese Broa!
Baking Authentic Portuguese Broa: A Rustic Corn Bread Recipe
Introduction to Portuguese Broa: A Traditional Corn Bread
The Essence of Broa: A Staple of Portuguese Cuisine
Portuguese Broa, often simply called Broa, is far more than just a loaf of bread in Portugal; it's a cultural icon. This rustic, dense bread, traditionally made with a blend of cornmeal and rye flour, boasts a unique texture and slightly sweet, earthy flavor that sets it apart from typical wheat breads. Its characteristic crackled crust and moist, somewhat crumbly interior make it instantly recognizable.
Historically, Broa was a staple in rural Portuguese households, particularly in the north, offering a hearty and economical way to use locally abundant corn and rye. It's a bread deeply intertwined with daily life, often served alongside meals, used for dipping in soups like Caldo Verde, or simply enjoyed with cheese or butter.
The distinct taste and texture of Broa come from the careful balance of flours and a specific baking process. Unlike light, airy wheat loaves, Broa has a substantial weight and a satisfying chew. The fermentation process, often involving a sourdough starter or a combination of yeast and a pre-fermented cornmeal mixture, contributes to its complex flavor profile.
While variations exist across different regions of Portugal, the core elements – cornmeal dominance, a touch of rye, and a dense crumb – remain consistent, embodying a tradition passed down through generations. Mastering a simple Portuguese broa recipe for beginners is a wonderful way to connect with this rich culinary heritage.
Baking Broa at Home: Freshness and Tradition
Baking Portuguese Broa at home offers an unparalleled experience, bringing the authentic aromas and tastes of Portugal right into your kitchen. While good quality Broa can be found in Portuguese bakeries, the freshness of a loaf pulled warm from your own oven is simply unmatched.
The crackle of the crust as it cools, the earthy scent filling your home – these are sensory delights that elevate the simple act of baking. Furthermore, making Broa from scratch allows you to control the quality of your ingredients and tailor the recipe slightly to your preference, perhaps adjusting the ratio of corn to rye or experimenting with different types of cornmeal.
For anyone looking for a rewarding baking project, particularly a Portuguese broa recipe for beginners, tackling this bread is a fantastic choice. Despite its rustic appearance, the fundamental steps are straightforward and achievable for novice bakers. It requires patience, especially during the fermentation periods, but the technique itself is not overly complex. Starting with a reliable, step-by-step guide demystifies the process, transforming what might seem like an intimidating traditional bread into a manageable and enjoyable baking endeavor. The satisfaction derived from sharing a slice of your homemade Broa, knowing you've recreated a piece of Portuguese tradition, is immense.
Key Ingredients for Authentic Portuguese Broa
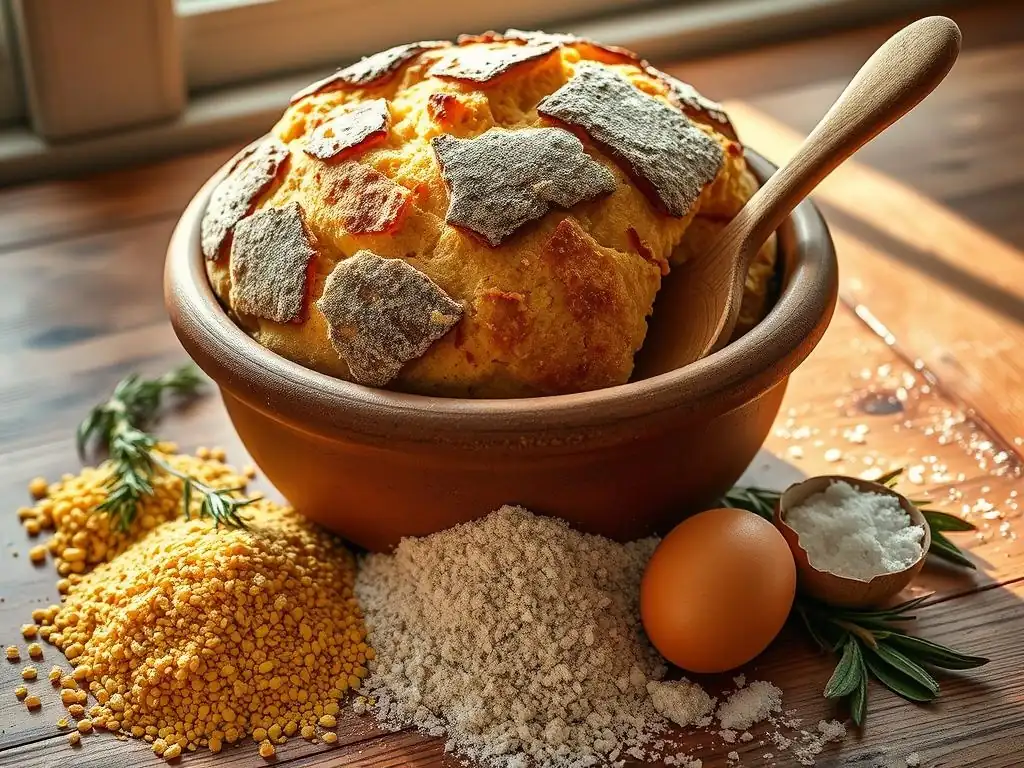
Cornmeal: The Foundation of Broa's Texture and Flavor
Cornmeal is undeniably the star ingredient in Portuguese Broa, giving it its signature golden hue, slightly gritty texture, and earthy sweetness. Traditional Broa uses a coarsely ground cornmeal, often referred to as "farinha de milho grossa" in Portugal. This coarser grind is crucial for achieving the bread's characteristic dense crumb and rustic mouthfeel.
Finer cornmeal, like the type used for cornbread in the US, can result in a softer, less traditional texture. The cornmeal is typically hydrated with hot liquid before being mixed with other ingredients; this process, sometimes called a "soak" or "porridge," helps to soften the cornmeal and makes its starches more available, contributing to a moist crumb.
The type of corn used also influences the flavor. White or yellow cornmeal can be used, with yellow being more common and imparting a richer color. The flavor of the cornmeal itself is subtle but distinct, providing a sweet undertone that balances the slight tang often introduced by fermentation. Approximately 60-80% of the flour content in a typical Broa recipe is cornmeal, highlighting its dominance. Using high-quality, preferably stone-ground cornmeal, will significantly impact the final taste and texture of your homemade Portuguese broa recipe for beginners.
Rye Flour: Adding Depth and Complexity to Broa
While cornmeal provides the bulk and texture, rye flour plays a vital supporting role in Portuguese Broa, contributing depth of flavor, a slightly darker color, and aiding in fermentation. Rye flour contains pentosans, which are complex carbohydrates that absorb a significant amount of water and contribute to the bread's moistness and structure, even with a relatively low gluten content compared to wheat. It also imparts a characteristic tangy or slightly sour note, especially when used in conjunction with longer fermentation or a sourdough starter, which complements the sweetness of the cornmeal beautifully.
Typically, rye flour makes up a smaller proportion of the total flour blend, often ranging from 20% to 40%. Using dark rye flour will lend a stronger flavor and darker crumb than light rye. The interaction between rye flour and the leavening agent, whether commercial yeast or a sourdough starter, is key to developing the complex flavor profile characteristic of authentic Broa. Including rye flour is essential for achieving the traditional taste and texture profile of this unique Portuguese bread.
Yeast: The Leavening Agent for a Perfect Rise
Yeast is the active component responsible for leavening the dough, causing it to rise and develop volume and structure. In traditional Portuguese Broa recipes, natural sourdough starter (massa mãe) is often used, contributing significant flavor complexity and a characteristic tang. However, for a beginner-friendly Portuguese broa recipe, commercial baker's yeast (either active dry or instant) is a perfectly acceptable and reliable alternative, simplifying the process and ensuring consistent results. Yeast consumes sugars in the flour and produces carbon dioxide gas, which gets trapped in the dough's structure, causing it to expand.
The amount of yeast used will depend on the type (instant requires less than active dry) and the desired fermentation time. For a typical batch using commercial yeast, roughly 1-2% of the total flour weight in active dry yeast or 0.8-1.5% in instant yeast is common. Proper yeast activity is crucial for achieving the desired crumb structure and aiding in the development of flavor compounds during fermentation. Ensuring your yeast is fresh and active is a critical first step in any successful bread bake, including this traditional Portuguese broa recipe for beginners.
Water and Salt: Essential for Flavor and Structure
Water is not just a liquid component; it's vital for hydrating the flours, activating the yeast, and developing the dough's structure. The hydration level in Broa dough is typically quite high, often ranging from 75% to over 90% based on the total flour weight. This high hydration is necessary because cornmeal and rye flour absorb a lot of water.
Using warm water (around 30-35°C or 85-95°F) helps to activate the yeast quickly, especially in the initial stages of mixing. The amount of water needed can vary slightly depending on the humidity and the specific type and grind of cornmeal and rye flour used, so it's often best to add water gradually until the desired dough consistency is reached – it should be quite wet and sticky.
Salt, while seemingly simple, plays a crucial role in bread baking. It enhances the flavor of the bread, balancing the sweetness of the cornmeal and the tang of the rye or fermentation. Beyond flavor, salt also controls yeast activity, slowing down fermentation slightly, which allows for better flavor development. It also strengthens the gluten structure (even in a dough with lower gluten like Broa), contributing to a better crumb.
A typical salt percentage in bread is around 1.8-2.2% of the total flour weight. Using non-iodized salt is often preferred by bakers. Both water and salt are fundamental components that significantly impact the final quality of your Portuguese broa recipe for beginners.
Authentic Portuguese Broa Recipe: A Step-by-Step Guide
Step 1: Preparing the Cornmeal Soak - Hydrating for Softness
The first crucial step in making authentic Portuguese Broa is preparing the cornmeal soak, also known as a "massa de milho" or "scalding." This involves hydrating the cornmeal with hot or boiling water. The heat helps to gelatinize the starches in the cornmeal, making them more accessible to the yeast and improving the texture of the final bread.
It also ensures the cornmeal softens properly, preventing a grainy or gritty crumb. For a typical recipe using 300g of coarse cornmeal, you might use around 400-500ml of hot water, roughly a 1:1.3 to 1:1.7 ratio of cornmeal to water by weight.
Combine the cornmeal in a bowl with the hot water and stir thoroughly until no dry clumps remain. The mixture will be thick and porridge-like. Cover the bowl and let it sit for at least 1-2 hours, or even overnight, allowing the cornmeal to fully absorb the liquid and cool down to room temperature. It's essential that the soak cools completely before adding the yeast and other ingredients, as hot temperatures will kill the yeast. This initial hydration step is fundamental to achieving the characteristic moist and tender crumb of Broa.
Step 2: Mixing the Dough - Combining Ingredients for a Coarse Texture
Once the cornmeal soak has cooled, it's time to mix the main dough. In a large mixing bowl, combine the cooled cornmeal soak with the rye flour, wheat flour (if using a small amount for easier handling, though traditional Broa often uses minimal or no wheat), salt, and yeast (either dissolved active dry or instant yeast mixed directly with the flour). If using a sourdough starter, add that now instead of commercial yeast. Mix everything together with a sturdy spoon or in a stand mixer fitted with a dough hook.
Broa dough is typically very wet and sticky, unlike standard wheat bread doughs that develop strong gluten networks. The goal is not extensive kneading to develop gluten, but rather to ensure all ingredients are thoroughly combined into a shaggy, cohesive mass. Mix for just a few minutes until everything is incorporated.
The dough will be too wet to handle easily by hand, often sticking to the bowl and your hands. This coarse, wet texture is characteristic of Broa and contributes to its dense yet moist crumb. Resist the urge to add too much extra flour at this stage, as it will make the final bread dry.
Step 3: First Fermentation - Allowing the Dough to Develop Flavor
After mixing, the dough needs time to ferment, during which the yeast produces gases that leaven the bread and enzymes break down starches and proteins, developing complex flavors. Transfer the sticky dough to a lightly oiled bowl, cover it tightly with plastic wrap or a damp towel, and let it rise in a warm place (ideally around 24-26°C or 75-80°F). The first fermentation, or bulk fermentation, for Broa can vary significantly depending on the temperature and the amount/type of leavening used.
If using commercial yeast, this phase might take 1.5 to 3 hours, or until the dough has visibly increased in size (perhaps by 50-75%) and looks bubbly. If using a sourdough starter, it could take 4-8 hours, or even longer in a cooler environment (like overnight in the refrigerator for a slower, more flavorful rise). During this time, you might perform one or two "stretch and folds" in the bowl within the first hour or two, using wet hands to gently lift and fold the edges of the dough towards the center.
This helps build a little structure, although it's less critical than in wheat breads. The key is allowing sufficient time for flavor development.
Step 4: Shaping the Loaves - Creating Rustic, Free-Form Shapes
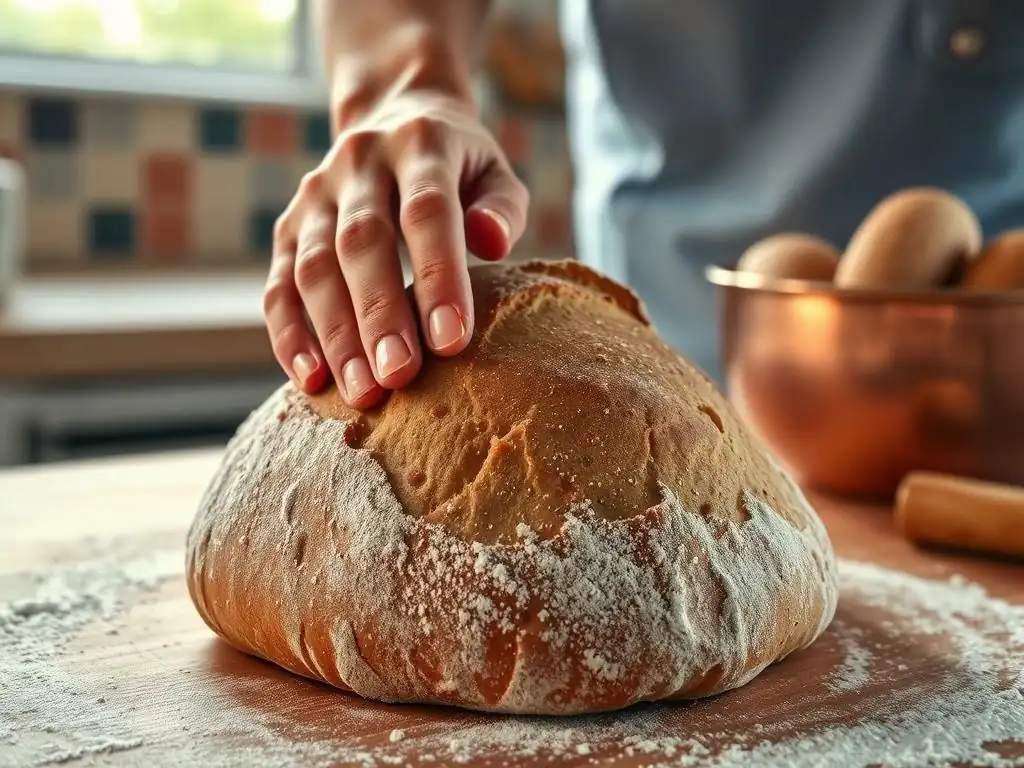
Shaping Broa loaves is relatively simple because of the wet, loose nature of the dough. Unlike breads that hold a tight shape, Broa is typically formed into rustic, free-form rounds or slightly flattened ovals. Gently turn the dough out onto a well-floured surface (using cornmeal or rye flour is traditional and helps prevent sticking). Divide the dough if making multiple loaves. With floured hands or a dough scraper, gently coax each portion into a rough round or oval shape. Avoid excessive handling or degassing the dough completely.
Because the dough is so wet, it won't hold a high profile. The traditional shape is often a flattened disc. You can place the shaped loaves directly onto a baking sheet lined with parchment paper or a cornmeal-dusted peel if using a baking stone. Some bakers like to score the top with a cross or a few slashes, although the characteristic crackled crust often forms naturally without extensive scoring. The goal is a simple, rustic appearance that reflects the bread's heritage.
Step 5: Second Fermentation - Proofing for Optimal Oven Spring
Once shaped, the loaves need a second fermentation, or proofing, before baking. This allows the dough to lighten up and build up gases needed for a good oven spring (the final burst of rising in the oven). Cover the shaped loaves loosely with plastic wrap or a light cloth to prevent a skin from forming. Let them proof at room temperature for 45-90 minutes, or until they look noticeably puffier but are not overly airy. They should feel light when gently nudged.
A good test for readiness is the "poke test": gently press your floured finger into the side of the loaf. If the indentation springs back slowly and not completely, the loaf is ready to bake. If it springs back immediately, it needs more time. If it holds the indentation completely and doesn't spring back at all, it might be over-proofed. Proper proofing is essential for achieving the desired texture and appearance, including the signature crackled crust, when following this Portuguese broa recipe for beginners.
Step 6: Baking the Broa - Achieving a Crackled Crust
Baking is where the magic happens, transforming the proofed dough into a loaf with a deep, flavorful crust and moist interior. Preheat your oven with a baking stone or steel inside (if using) to a high temperature, typically around 230-240°C (450-465°F).
Creating steam in the oven during the initial phase of baking is crucial for developing the crackled crust and allowing the loaf to expand fully before the crust hardens. This can be done by placing a tray of hot water on the bottom rack or by using lava rocks or a cast iron pan heated in the oven and pouring water into it just before loading the bread.
Carefully transfer the proofed loaves to the hot baking surface. Bake for about 15-20 minutes with steam, then carefully remove the steam source and lower the oven temperature slightly to 200-220°C (400-430°F). Continue baking for another 30-40 minutes, or until the crust is a deep golden-brown and the internal temperature reaches 93-99°C (200-210°F). The total baking time for a medium loaf is typically around 45-60 minutes.
The crackled appearance develops as the crust dries and expands in the heat. Once baked, transfer the Broa to a wire rack to cool completely before slicing. Cooling is vital for the internal structure to set.
Tips and Tricks for Perfecting Your Portuguese Broa
Achieving the Right Dough Hydration for Broa's Texture
Understanding and managing dough hydration is key to successful Broa baking. As noted, Broa dough is inherently wet due to the high absorption capacity of cornmeal and rye flour. Aiming for a hydration level between 75% and 90% (relative to total flour weight) is typical. A higher hydration generally results in a more open and moist crumb, while lower hydration yields a denser loaf. The texture should be very sticky and difficult to handle with dry hands.
If your dough feels too stiff after mixing, gradually add a tablespoon of warm water at a time, mixing until it's incorporated, until the desired wet consistency is reached. Conversely, if it seems excessively soupy, you might add a tiny amount more cornmeal and rye flour blend (maintaining the same ratio as in your recipe) until it's just manageable enough to shape roughly.
Remember that different flours absorb water differently, so you might need slight adjustments based on the specific brands you use. Don't be afraid of the stickiness; it's part of the process for this authentic Portuguese broa recipe for beginners.
Baking Temperature and Steam: Creating the Perfect Crust
The high initial baking temperature and the use of steam are non-negotiable for achieving Broa's signature crackled crust and good oven spring. Preheating the oven to 230-240°C (450-465°F) ensures that when the dough hits the heat, it expands rapidly before the crust sets. This rapid expansion contributes to a lighter interior crumb despite the density of the flours.
Steam keeps the surface of the dough moist during the first part of the bake (the first 15-20 minutes). This prevents the crust from hardening too early, allowing the loaf to expand fully. As the steam dissipates and the temperature is slightly lowered, the crust begins to dry out and set. The expansion underneath the setting crust causes it to crackle, creating the beautiful, rustic pattern characteristic of Broa. Ensure your steam setup is ready and effective before loading the bread.
Troubleshooting Common Broa Baking Issues
- Dough too sticky to shape: This is common with high-hydration Broa. Use plenty of flour (cornmeal or rye works well) on your work surface and hands. A bench scraper is invaluable for handling and moving the dough. Embrace the stickiness rather than adding excessive flour, which will dry out the bread.
- Crust didn't crackle: This could be due to insufficient steam during the initial bake, the oven temperature not being high enough, or the dough not being proofed correctly. Ensure you create ample steam and preheat your oven thoroughly.
- Bread is too dense/heavy: This might be caused by under-proofing (not allowing enough time for fermentation), inactive yeast, or adding too much flour during mixing or shaping. Ensure your yeast is active and give the dough sufficient time to rise according to the recipe and ambient temperature.
- Crumb is dry: This usually results from not enough water (low hydration) or over-baking. Ensure you're using enough water in the initial mix and check for the internal temperature (93-99°C / 200-210°F) rather than solely relying on visual cues for doneness.
Flavor Variations: Exploring Regional Broa Recipes
While the core Broa recipe involves cornmeal and rye, regional variations in Portugal offer exciting possibilities.
- Broa de Avintes: This is a famous, very dark, dense, and slightly sweet Broa from the Avintes region near Porto. It often involves a long fermentation (sometimes days!) and a specific ratio of cornmeal to rye, resulting in a much darker crumb and stronger flavor. It's traditionally baked in wood-fired ovens.
- Broa with a touch of wheat: Some recipes incorporate a small percentage of wheat flour (e.g., 10-20%) to make the dough slightly easier to handle and give it a bit more structure. This is a good modification for a Portuguese broa recipe for beginners.
- Adding sweeteners: While the cornmeal provides natural sweetness, some recipes add a little sugar or honey to enhance this, particularly in sweeter regional versions.
- Different cornmeal grinds: Experimenting with finer or coarser cornmeal will significantly alter the final texture.
Exploring these variations allows you to discover the diverse world of Portuguese Broa beyond the basic recipe.
Serving and Storing Your Homemade Broa
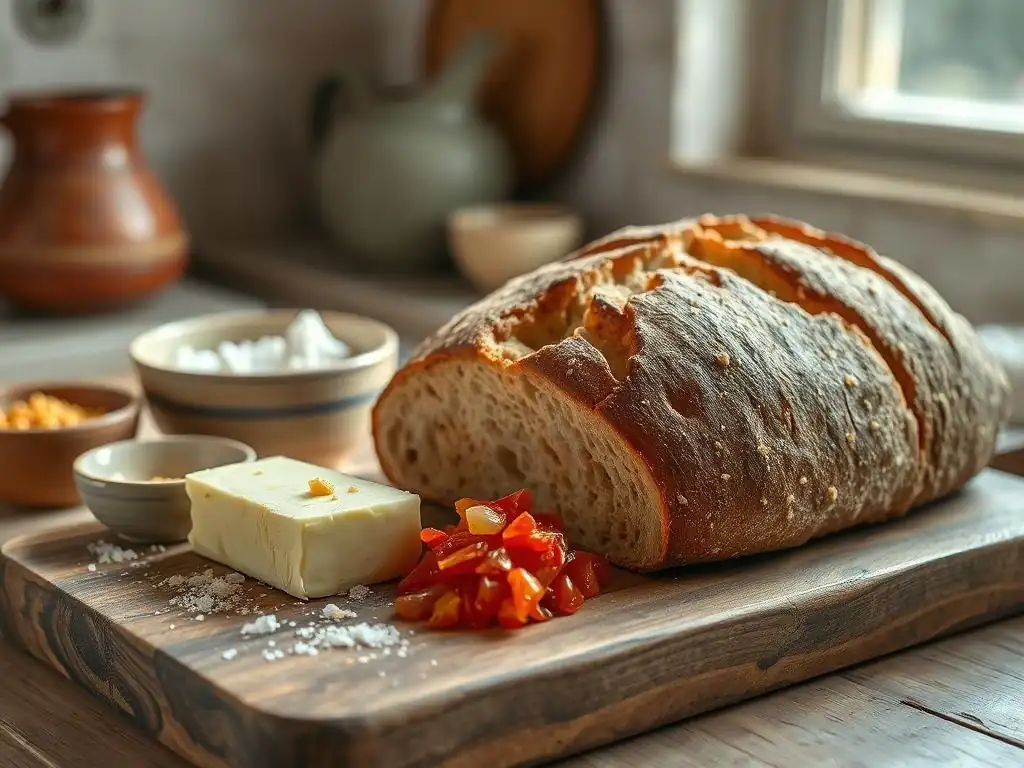
Pairing Suggestions: Complementing Broa's Flavor Profile
Portuguese Broa's unique flavor and texture make it incredibly versatile. It shines when paired with simple, rustic foods that allow its character to come through.
- Soups: Broa is the quintessential accompaniment to Portuguese soups like Caldo Verde (kale soup with chorizo) or Sopa da Pedra (stone soup). Its density makes it perfect for soaking up broth.
- Cheese: A slice of Broa with a mild or semi-hard Portuguese cheese, like Queijo São Jorge or Queijo da Serra (when young), is a classic combination.
- Sardines/Fish: Grilled sardines or other grilled fish, often served with boiled potatoes and greens, are frequently accompanied by Broa.
- Butter or Olive Oil: Sometimes, the simplest pairings are the best. A thick slice with good quality butter or drizzled with Portuguese olive oil is a delicious snack.
- Meats: Broa pairs well with roasted meats, especially pork.
Don't be afraid to experiment! Its earthy, slightly sweet profile complements both savory and lightly sweet dishes.
Storing Broa: Maintaining Freshness and Texture
Broa, due to its dense nature and cornmeal content, tends to stay fresh longer than many purely wheat-based breads. However, proper storage is key to maintaining its texture and preventing it from drying out.
- Room Temperature: Store cooled Broa wrapped tightly in plastic wrap or placed in a bread bin at room temperature for up to 3-4 days. The plastic wrap helps retain moisture, keeping the crumb moist.
- Freezing: For longer storage, Broa freezes exceptionally well. Slice the cooled loaf before freezing, or freeze it whole. Wrap slices or the whole loaf tightly in plastic wrap, then place in a freezer bag or aluminum foil. Frozen Broa can last for several months. Thaw slices as needed or the whole loaf overnight at room temperature.
Avoid storing Broa in the refrigerator, as this can actually cause it to stale faster.
Using Leftover Broa: Recipes and Ideas
Even if your Broa starts to dry out after a few days, it's still perfectly usable in various delicious ways.
- Toasting: Slices of slightly stale Broa are fantastic toasted. Spread with butter or use as a base for open-faced sandwiches.
- Breadcrumbs: Cube dry Broa and process into coarse breadcrumbs. These can be used in stuffings, as a topping for gratins or casseroles, or to coat fried foods.
- Migas: A traditional Portuguese dish similar to bread pudding or stuffing, Migas uses stale bread (often Broa) sautéed with garlic, olive oil, and sometimes greens, beans, or meat.
- Soups (again): Stale Broa is excellent for thickening soups or serving alongside them, as it will soften beautifully when dipped.
Don't let any of your homemade Broa go to waste! Its robust flavor adds character to many dishes.
Conclusion: Embrace the Authentic Taste of Portugal
The Satisfaction of Baking Traditional Broa
Baking your own Portuguese Broa is a deeply satisfying endeavor. From the initial preparation of the cornmeal soak to the final reveal of the beautifully crackled crust emerging from the oven, each step connects you to a rich culinary tradition. There's a unique pleasure in working with the wet, rustic dough and watching it transform into a loaf with such distinctive character.
This simple Portuguese broa recipe for beginners is designed to guide you through the process, making it accessible and enjoyable. The aroma that fills your kitchen as it bakes is truly intoxicating, a preview of the earthy, slightly sweet flavor that awaits.
Sharing a slice of your homemade Broa with family and friends is a rewarding experience. Whether served alongside a hearty soup, with cheese, or simply enjoyed warm with butter, it's a taste of Portugal that you created with your own hands. It’s a testament to the beauty of simple ingredients coming together through patience and technique to create something truly special.
We hope this guide has inspired you to try baking Portuguese Broa at home. This Portuguese broa recipe for beginners is a fantastic starting point for exploring the world of traditional European breads.
- Have you baked Broa before?
- What are your favorite tips for handling wet dough?
- How do you plan to serve your first loaf?
We'd love to hear about your experience! Baking is a journey, and sharing our successes and challenges makes us all better bakers. So, gather your ingredients, set aside some time, and embark on the delicious adventure of baking authentic Portuguese Broa.
Frequently Asked Questions
What is Portuguese broa?
Portuguese broa is a traditional corn and rye bread known for its dense texture and slightly sweet flavor. It's a staple in Portuguese cuisine, often enjoyed with meals or as a snack.
Is the Portuguese broa recipe easy for beginners?
Yes, the Portuguese broa recipe is designed for beginners. It includes step-by-step instructions and uses easily accessible ingredients, making it perfect for those new to baking.
What ingredients are needed for the broa recipe?
The basic ingredients for a Portuguese broa include cornmeal, rye flour, water, yeast, and salt. These simple components come together to create a delicious bread.
How long does it take to bake Portuguese broa?
The total time to bake Portuguese broa is approximately 2 to 3 hours, including mixing, rising, and baking time. This gives you plenty of time to enjoy the process!
Can I customize the Portuguese broa recipe?
Absolutely! You can customize your broa by adding ingredients like seeds, nuts, or even herbs for added flavor. Experimenting is encouraged to make it your own!
Final Reflection: The Enduring Charm of Portuguese Broa
The rustic simplicity of Portuguese broa belies its profound connection to history and culture, a connection that resonates deeply even in today's fast-paced culinary landscape. This humble bread, with its unique blend of corn and rye, offers more than just a delicious taste; it offers a tangible link to generations past and a comforting reminder of simpler times. Its enduring popularity speaks volumes about the power of tradition and the enduring appeal of authentic flavors.
Baking broa isn't just about following a recipe; it's about engaging in a centuries-old tradition, a process that connects us to the rich heritage of Portugal. The act of kneading the dough, feeling the texture of the coarse cornmeal, and smelling the earthy aroma of the rye – these sensory experiences are as important as the final product. As the Portuguese proverb says, A casa sem pão, é como um corpo sem alma
(A house without bread is like a body without a soul). This sentiment perfectly encapsulates the importance of bread, and particularly broa, within Portuguese culture.
Now, I invite you to take what you've learned and embark on your own broa-baking journey. Don't be intimidated by the seemingly simple recipe; embrace the process, savor the experience, and allow the aroma of freshly baked broa to fill your home with warmth and the comforting spirit of Portugal. The reward isn't just a delicious loaf; it's a deeper understanding of culinary tradition and a connection to something far greater than yourself. So, gather your ingredients, preheat your oven, and let the baking begin!
Unleash Your Inner Baker: Master the Art of Portuguese Broa!
Thanks for joining us on this delicious journey into the heart of Portuguese baking! You've now unlocked the secrets to crafting authentic Broa – a truly rewarding experience. Ready to take your baking skills to the next level?
- Bake your own Broa today! Use the recipe we provided as your springboard for culinary creativity. Experiment with different flours or add-ins – the possibilities are endless!
- Share your Broa creation with us! Post a picture on social media using #BakeWithEaseBroa and inspire others to try this amazing bread.
- Explore other traditional Portuguese recipes on BakeWithEase.com – we have a treasure trove of baking delights just waiting to be discovered!
What unique twist will you add to your next Portuguese Broa? Let's hear your ideas in the comments below!