
Baking Rye Bread Without a Starter: Yeast is Your Friend

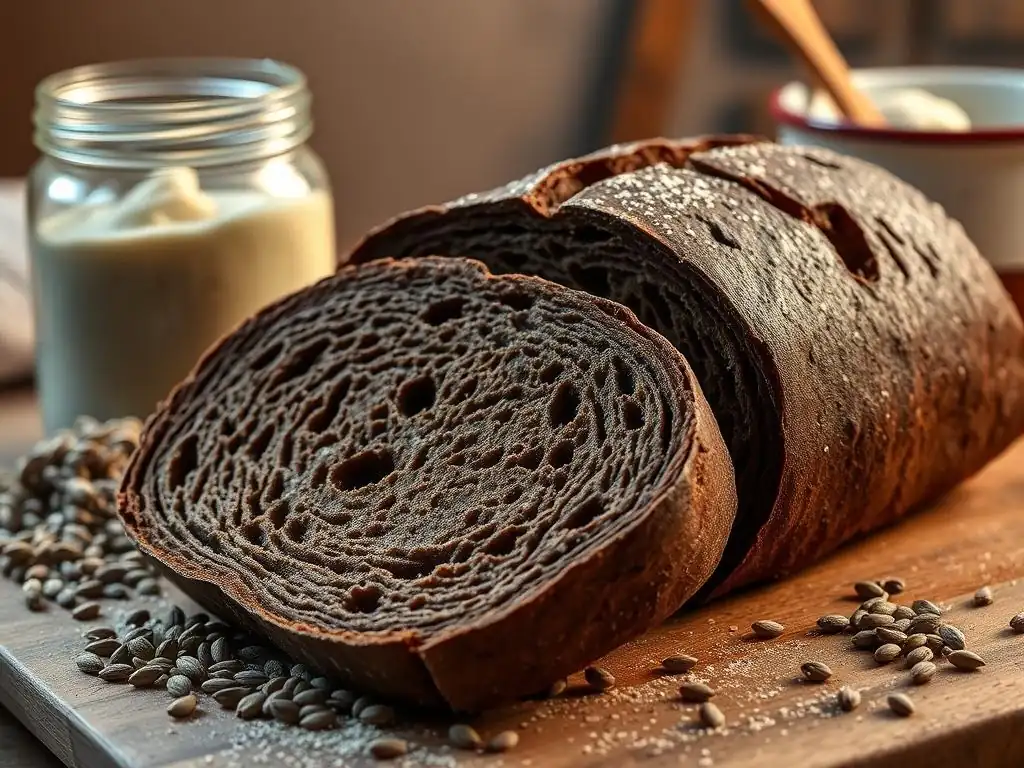
Welcome to BakeWithEase, where simplifying the art of baking is our passion! Ever wondered if you could achieve that perfect rye bread texture and flavor without the fuss of a starter? Our latest article dives into the secrets of a delicious rye bread yeast recipe, unlocking a world of rich, flavorful loaves that are surprisingly easy to create. Discover how to bake exceptional rye bread using a simple yeast-based method and prepare to be amazed by the results. Intrigued? Let's get baking!
- Baking Rye Bread Without a Starter: Yeast is Your Friend - BakeWithEase.com
- Introduction: Easy Rye Bread Recipe with Yeast for Home Bakers
- Understanding Rye Flour for Baking Success
- Rye Bread Yeast Recipe: Ingredients and Equipment
- Step-by-Step Guide: Baking Rye Bread with Yeast
- Troubleshooting Common Rye Bread Baking Problems
- Flavor Variations and Add-Ins for Your Rye Bread
- Storing Your Homemade Rye Bread for Freshness
- Conclusion: Enjoying Your Easy Rye Bread Made with Yeast
-
Frequently Asked Questions
- What is the primary difference between using yeast versus a sourdough starter for rye bread?
- Is it possible to achieve a good rye bread flavor without using a sourdough starter?
- What type of yeast is best suited for baking rye bread without a starter?
- What are some common mistakes people make when baking rye bread with yeast?
- How can I ensure my rye bread has a good rise when using yeast instead of a sourdough starter?
- Final Reflection: The Humble Yeast, the Mighty Loaf
- Unleash Your Inner Baker: Bake Amazing Rye Bread Today!
Baking Rye Bread Without a Starter: Yeast is Your Friend - BakeWithEase.com
Introduction: Easy Rye Bread Recipe with Yeast for Home Bakers
Welcome to BakeWithEase, where we believe baking delicious bread should be accessible to everyone, regardless of your experience level. While sourdough rye bread holds a special place in many hearts, the commitment to maintaining a starter can be a hurdle for busy home bakers. This article focuses on a simpler, quicker path to enjoying homemade rye bread: using commercial yeast. We'll guide you through a straightforward rye bread yeast recipe that delivers wonderful flavor and texture without the complexities of a starter. Get ready to fill your kitchen with the comforting aroma of freshly baked rye!
Opting for a rye bread yeast recipe means you can enjoy a warm loaf in just a few hours, compared to the 24-48+ hours often required for sourdough. It simplifies the process, making it perfect for spontaneous baking sessions or for those new to baking with rye flour. Our goal is to provide a reliable, easy-to-follow method for a delicious loaf that you can make any day of the week.
Why Choose a Yeast-Based Rye Bread Recipe?
Choosing a rye bread yeast recipe offers significant advantages, particularly for beginners or those seeking convenience. The primary benefit is speed. While a sourdough starter needs hours, sometimes days, to develop sufficient leavening power and flavor complexity, commercial yeast can activate and raise dough in a fraction of the time, often within 1-2 hours for the initial rise. This dramatically shortens the overall baking process, making it feasible to bake a loaf after work or on a weekend morning without extensive planning.
Furthermore, a rye bread yeast recipe provides consistency and reliability. Active dry yeast or instant yeast, when stored properly, offers predictable results. You don't have to worry about the variable activity of a starter, which can be influenced by temperature, feeding schedule, and hydration levels. This predictability is incredibly encouraging for new bakers, reducing the chances of a 'failed' loaf and building confidence as you explore the world of bread baking. It's a fantastic entry point into baking with rye flour before potentially venturing into sourdough later.
BakeWithEase: Your Guide to Simple Bread Baking
At BakeWithEase, our mission is to demystify baking and make it an enjoyable, stress-free activity. We provide clear, step-by-step instructions, helpful tips, and explanations that empower bakers of all skill levels. Whether you're attempting your very first loaf or refining your techniques, you'll find resources here to support your baking journey. Our focus is on simple ingredients, accessible equipment, and reliable methods that deliver delicious results every time.
We cover a wide range of baking topics, from simple cookies and cakes to more involved pastries and breads like this rye bread yeast recipe. Each guide is designed to be easy to follow, breaking down complex processes into manageable steps. We believe that with the right guidance, anyone can bake wonderful things in their own kitchen. Think of us as your friendly baking companion, ready to help you navigate the nuances of different flours, leavening agents, and techniques.
Understanding Rye Flour for Baking Success
Rye flour is a fascinating ingredient with unique properties that differ significantly from wheat flour, especially in how it behaves in dough. Understanding these characteristics is key to successful rye bread baking, whether you're using yeast or a starter. Unlike wheat, rye contains less gluten-forming proteins (glutenin and gliadin) and higher levels of pentosans, which are water-soluble fibers. These pentosans absorb a lot of water and contribute to the sticky nature of rye dough and the dense, moist crumb often associated with rye bread.
The lower gluten content means that rye dough doesn't develop the same elastic network as wheat dough. This is why 100% rye breads can be very dense and often don't achieve the same lofty rise as wheat loaves. When baking a rye bread yeast recipe, especially one with a significant percentage of rye flour, you'll notice the dough is stickier and less pliable than a typical wheat dough. Embracing these differences rather than fighting them is crucial for a great outcome.
Types of Rye Flour: From Light to Dark
Rye flour comes in several varieties, distinguished primarily by how much of the rye kernel is included in the milling process. Light rye flour is milled from the endosperm of the rye kernel, similar to how white wheat flour is produced. It has a milder flavor and lighter color compared to darker rye flours. Because it contains less of the bran and germ, it behaves somewhat closer to wheat flour than darker varieties, though it still retains the unique properties of rye.
Moving along the spectrum, we find medium rye flour and dark rye flour. Dark rye flour contains more of the bran and germ, resulting in a stronger, more robust flavor and a darker color. Pumpernickel flour is typically a very coarse grind of whole rye kernels, including all the bran and germ, offering the deepest color and most intense flavor. The type of rye flour you choose will significantly impact the flavor, color, and texture of your finished rye bread yeast recipe. A mix of light and dark rye is often used in recipes to balance flavor and structure.
The Unique Characteristics of Rye Flour: Gluten and Flavor
The most notable characteristic of rye flour, especially when compared to wheat, is its limited gluten development. While rye does contain gluten-forming proteins, they don't form the same strong, elastic network that allows wheat dough to trap gas and rise significantly. Instead, the structure in rye bread is largely provided by those water-absorbing pentosans we mentioned earlier. This is why rye dough tends to be sticky and why high-percentage rye breads often have a tighter, denser crumb structure.
Beyond structure, rye flour imparts a distinctive, slightly tangy and earthy flavor to bread. This flavor becomes more pronounced with darker rye flours and the addition of natural acids (either from a starter or sometimes added to yeast dough). This unique taste profile is what makes rye bread so beloved and versatile, pairing well with everything from savory sandwiches to sweet spreads. Understanding these characteristics helps you manage your expectations and adapt your technique when working with a rye bread yeast recipe.
Rye Bread Yeast Recipe: Ingredients and Equipment
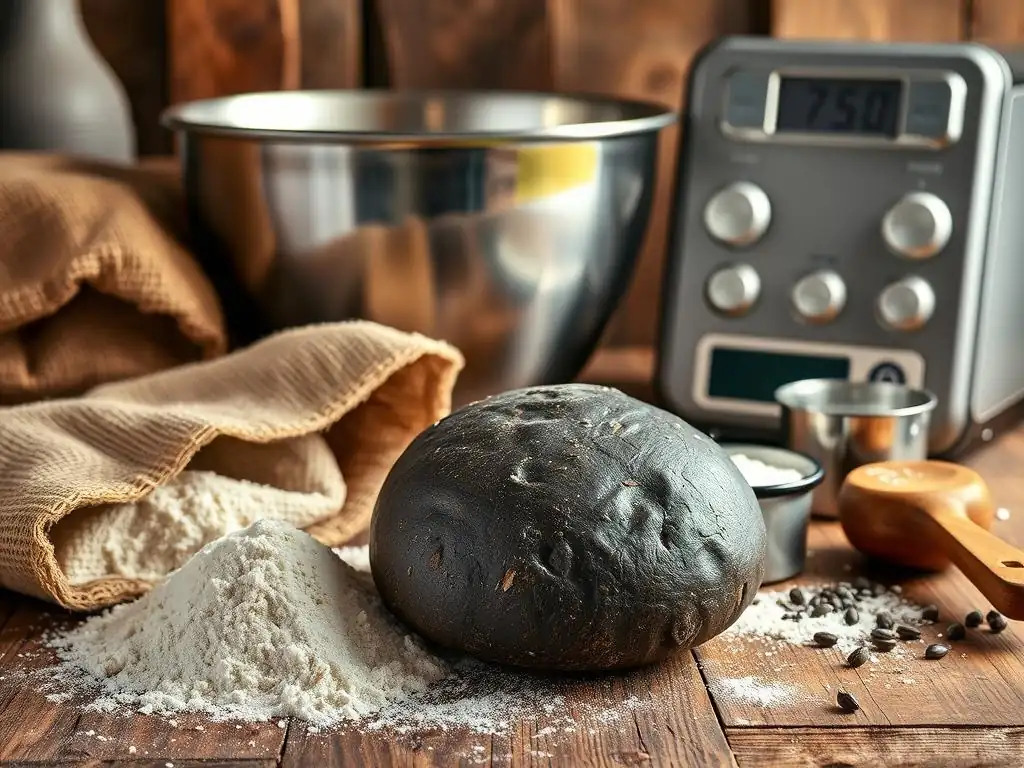
Crafting a delicious rye bread with yeast requires just a few basic ingredients and standard kitchen equipment. The simplicity of the ingredients is part of the appeal of a rye bread yeast recipe – no need for specialized starters or hard-to-find items. You likely have most of what you need in your pantry right now. The magic happens when these simple components come together through the process of mixing, rising, and baking.
Having the right tools, while not strictly necessary for every step, can make the process smoother and more enjoyable. A good scale for accurate measurements is highly recommended, as baking is a science where precision matters. A sturdy mixing bowl, a clean surface for shaping, and a reliable oven are your main allies. Let's break down the essentials for our rye bread yeast recipe.
Essential Ingredients for a Delicious Rye Bread (No Starter Needed)
For a classic rye bread yeast recipe, you'll need:
- Rye Flour: A combination of light and dark rye is often used for balanced flavor and texture. For instance, you might use 60% light rye and 40% dark rye relative to the total flour weight.
- All-Purpose or Bread Flour: Wheat flour provides gluten structure, helping the rye bread rise better and achieve a less dense crumb. A typical ratio might be 50-70% rye flour to 30-50% wheat flour.
- Yeast: Active dry yeast or instant yeast. Instant yeast can usually be mixed directly with the dry ingredients, while active dry yeast often needs to be proofed in warm water first. A standard recipe might use around 7 grams (about 2.25 teaspoons) for a medium loaf.
- Water: Lukewarm water is needed to activate the yeast. The hydration level will be higher than a typical wheat loaf due to rye's absorbency, perhaps 70-80% hydration relative to total flour weight.
- Salt: Essential for flavor and controlling yeast activity. Typically, 1.5% to 2% of the total flour weight. For example, if you use 500g of flour, you'd need 7.5g to 10g of salt.
- Sweetener (Optional but Recommended): A touch of honey, molasses, or sugar enhances flavor and provides food for the yeast. Molasses is traditional for dark rye bread, adding color and depth. A common amount is 1-2 tablespoons per loaf.
- Caraway Seeds (Optional): The quintessential spice for many classic rye bread yeast recipes, adding a distinctive aroma and flavor. Use 1-2 tablespoons depending on preference.
These ingredients, when combined and handled correctly, will yield a flavorful and satisfying loaf of rye bread using yeast.
Key Baking Equipment for Your Rye Bread Project
You don't need a professional bakery setup to make a great rye bread yeast recipe at home. Standard kitchen tools will suffice. Here's a list of helpful equipment:
- Digital Kitchen Scale: Accuracy is crucial in baking, especially with rye flour which absorbs water differently. Measuring ingredients by weight (grams) is highly recommended over volume (cups).
- Large Mixing Bowl: For mixing the dough and the initial rise. A bowl with a capacity of at least 4-6 quarts is usually sufficient for a standard loaf.
- Measuring Cups and Spoons: For measuring liquids and smaller ingredients like salt and yeast, although weighing is preferred for accuracy.
- Dough Scraper or Spatula: Rye dough is sticky; a scraper helps handle it and clean the bowl.
- Clean Kitchen Towel or Plastic Wrap: To cover the dough during rising periods to prevent it from drying out.
- Baking Sheet or Baking Stone/Steel: To bake the bread on. A baking sheet lined with parchment paper is easiest.
- Oven: A reliable oven that holds temperature well is key.
- Wire Cooling Rack: Essential for cooling the bread completely after baking to prevent a soggy bottom and allow steam to escape.
- Loaf Pan (Optional): While some rye breads are freeform, baking in a loaf pan provides support for the relatively weaker rye dough and helps achieve a consistent shape. A standard 9x5 inch loaf pan works well.
Having these tools ready will make the process of baking your rye bread yeast recipe much smoother and more enjoyable.
Step-by-Step Guide: Baking Rye Bread with Yeast
Baking a rye bread yeast recipe is a straightforward process that can be broken down into a few key stages: mixing the dough, allowing it to rise, shaping the loaf, a second rise (proofing), and finally, baking. While rye dough behaves differently than wheat dough, the fundamental principles of yeast bread baking apply. Patience during the rising stages is important to allow the yeast to work and the flavors to develop.
This guide will walk you through each step, providing tips specific to working with rye flour and ensuring you achieve a delicious outcome with your rye bread yeast recipe. Remember that ambient temperature can affect rising times, so pay attention to the dough's appearance rather than strictly adhering to time estimates.
Step 1: Preparing the Dough - Mixing and Initial Rise
Start by accurately weighing all your ingredients. In a large mixing bowl, combine the lukewarm water, yeast, and sweetener (if using). If using active dry yeast, let it sit for 5-10 minutes until foamy. If using instant yeast, you can proceed immediately. Add the rye flour, wheat flour, and salt to the bowl. If adding caraway seeds or other dry spices, add them now as well.
Mix everything together using a sturdy spoon or a stand mixer with a dough hook until the ingredients are just combined. Rye dough will be sticky and might not form a smooth, elastic ball like wheat dough. Avoid overmixing, as this won't develop gluten significantly in rye flour and can make the dough even stickier.
Once combined, cover the bowl with a clean kitchen towel or plastic wrap and let the dough rest in a warm place for the first rise. This usually takes 60-90 minutes, or until the dough has visibly increased in size, perhaps by 50-75%. It won't double like a pure wheat dough.
Step 2: Shaping the Rye Bread Loaf
After the first rise, gently turn the dough out onto a lightly floured surface. Remember, rye dough is sticky, so a light dusting of flour or a bit of oil on your hands and surface can help. Avoid adding too much extra flour, as this can make the final bread dry. Gently deflate the dough; you don't need to punch it down aggressively.
Shape the dough into your desired form. If using a loaf pan, shape it into a log that fits the pan. If baking freeform, shape it into a round or oval loaf. Because rye dough has less structure, shaping can be a bit trickier than with wheat dough.
Use a dough scraper to help lift and fold the dough if needed. The key is to create some surface tension on the outside of the loaf to help it hold its shape during the second rise and baking. Place the shaped loaf into a greased loaf pan or onto a baking sheet lined with parchment paper.
Step 3: The Second Rise: Achieving the Perfect Proof
Once the loaf is shaped and placed in its pan or on the baking sheet, it's time for the second rise, also known as proofing. Cover the loaf loosely with a clean kitchen towel or plastic wrap, ensuring it doesn't stick to the dough as it rises. Place the covered loaf in a warm, draft-free spot.
The second rise for a rye bread yeast recipe is typically shorter than the first, often taking 30-60 minutes. The dough should look visibly puffier and feel light when gently poked. It might not double in size again, perhaps increasing by 25-50%. To check if it's ready, gently press a finger into the side of the loaf; if the indentation springs back slowly but not completely, it's usually ready to bake. Be careful not to over-proof, as this can lead to a dense loaf that collapses in the oven.
Step 4: Baking Your Rye Bread to Golden Perfection
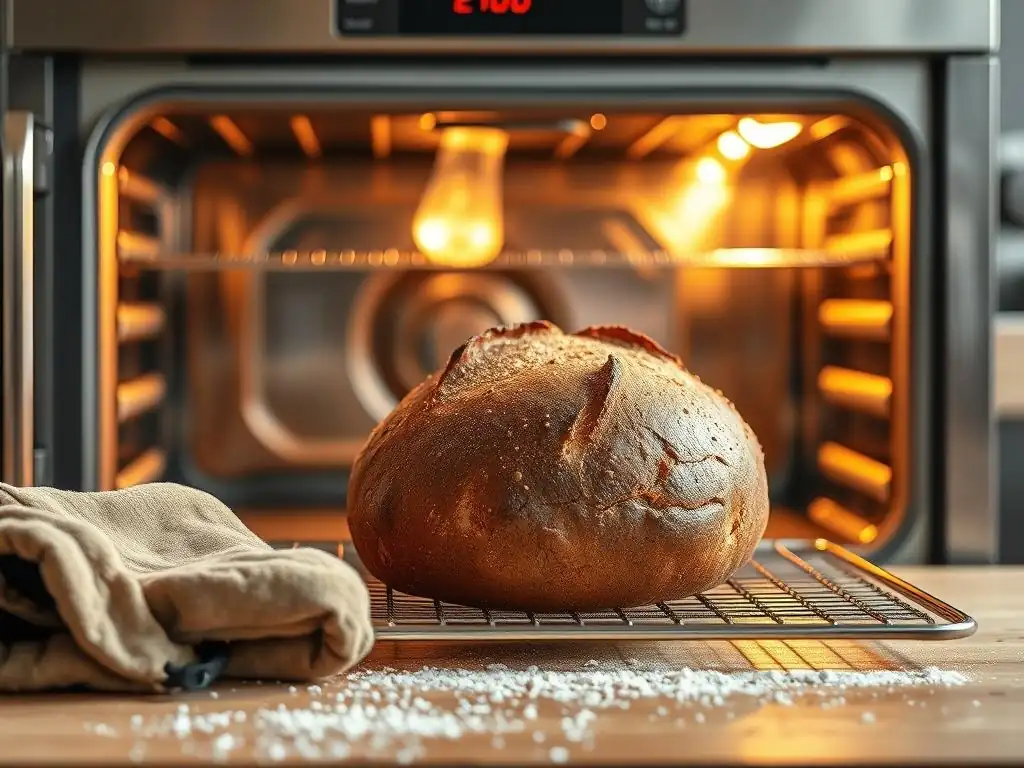
Preheat your oven to the recommended temperature for your specific rye bread yeast recipe, typically between 375°F (190°C) and 425°F (220°C), depending on the loaf size and desired crust. Baking rye bread often benefits from steam in the oven during the initial phase, which helps the crust expand before hardening. You can create steam by placing a pan of hot water on the bottom rack of your oven when you preheat it, or by spraying the oven walls with water just after putting the bread in.
Carefully place the loaf (in its pan or on the baking sheet) into the preheated oven. Bake for the time specified in your recipe, which is often 30-50 minutes for a standard loaf pan. The bread is done when the crust is a deep golden brown (or darker, depending on the rye flour used) and the internal temperature reaches 200-210°F (93-99°C). If you tap the bottom of the loaf, it should sound hollow.
Step 5: Cooling and Slicing Your Homemade Rye Bread
This is arguably the most important step after baking! Immediately transfer the baked rye bread from the pan (if used) to a wire cooling rack. It is absolutely crucial to let the bread cool completely before slicing. Rye bread, especially with a high percentage of rye flour, continues to cook internally and its structure sets as it cools. Slicing too early will result in a gummy, dense texture.
Let the loaf cool on the wire rack for at least 2-3 hours, or ideally, until it reaches room temperature. This cooling process allows the internal moisture to redistribute and the crumb structure to stabilize. While the aroma of warm, fresh rye bread is tempting, patience here is key to achieving the best possible texture from your rye bread yeast recipe. Once fully cooled, slice with a sharp bread knife and enjoy!
Troubleshooting Common Rye Bread Baking Problems
Even with a reliable rye bread yeast recipe, baking can sometimes present challenges. Working with rye flour, with its unique properties, can lead to different issues than baking with pure wheat. Don't be discouraged if your first few loaves aren't perfect. Understanding common problems and their solutions will help you improve with each bake.
Most issues with rye bread relate to density, rise, or crust texture. Often, they stem from factors like dough hydration, mixing technique, proofing time, or oven temperature. Let's look at some frequent hurdles home bakers encounter when making a rye bread yeast recipe and how to overcome them.
My Rye Bread is Too Dense: Solutions
Excessive density is a common complaint with rye bread, particularly high-percentage rye loaves. Several factors can contribute to this when using a rye bread yeast recipe:
- Insufficient Wheat Flour: If using a very high percentage of rye flour (e.g., 80% or more), the lack of a strong gluten network from wheat flour will naturally result in a denser loaf. Try increasing the proportion of bread flour or all-purpose flour to 30-50% of the total flour weight in your recipe.
- Under-Proofing: If the dough didn't rise enough during either the first or second rise, it won't have developed enough air pockets to create a lighter texture. Ensure your yeast is active and that you're giving the dough sufficient, but not excessive, time in a warm environment.
- Over-Mixing: Unlike wheat dough, over-mixing rye dough doesn't improve structure and can actually break down the limited gluten that does form, leading to a tighter crumb. Mix only until the ingredients are just combined.
- Slicing Too Early: As mentioned earlier, slicing warm rye bread is a recipe for a gummy, dense interior. Always let the bread cool completely.
Experimenting with flour ratios, ensuring proper proofing, and being mindful of mixing time are key to reducing density in your rye bread yeast recipe.
My Rye Bread Didn't Rise Enough: Causes and Fixes
If your rye bread yeast recipe resulted in a loaf that barely rose, several issues could be at play:
- Inactive Yeast: The most common culprit. Ensure your yeast is fresh and hasn't expired. If using active dry yeast, proof it in warm water (around 105-115°F or 40-46°C) with a pinch of sugar for 5-10 minutes to check for foaminess before adding it to the rest of the ingredients.
- Water Temperature: Water that is too hot will kill the yeast; water that is too cold will slow it down significantly. Use lukewarm water as specified in the recipe.
- Salt or Sugar Contact: Salt can inhibit yeast activity if it comes into direct contact with the yeast before mixing. Sugar in large amounts can also inhibit yeast initially (though a small amount helps). Try adding salt after the other ingredients have been partially mixed.
- Cold Environment: Yeast activity is slower in cold temperatures. Ensure your dough is rising in a warm, draft-free place. Around 75-80°F (24-27°C) is ideal.
- Under-Kneading/Mixing: While over-mixing is bad, under-mixing might not distribute the yeast evenly throughout the dough. Ensure ingredients are well combined.
Troubleshooting your rise involves checking your yeast, water temperature, and rising environment. Remember that rye dough naturally has a more modest rise than pure wheat dough.
The Crust is Too Hard: Preventing a Tough Crust
A tough or overly hard crust can detract from an otherwise delicious rye bread yeast recipe. This is often related to moisture and baking time/temperature.
- Lack of Steam: Baking in a dry oven can lead to a hard crust that forms too quickly, preventing optimal oven spring and resulting in a thick, tough exterior. Using steam during the first 10-15 minutes of baking helps keep the crust pliable, allowing the loaf to expand better and resulting in a thinner, crisper crust. Place a pan of hot water in the oven or use a Dutch oven/covered baker.
- Over-Baking: Baking the bread for too long or at too high a temperature can dry out the crust excessively. Follow the recipe's recommended baking time and temperature, and check for doneness using an internal thermometer.
- Cooling Method: While crucial for the crumb, letting the bread cool uncovered in a very dry environment might contribute to a harder crust. Some bakers lightly tent the bread with a clean towel while it cools (after the initial intense heat dissipates) to help retain a tiny bit of moisture in the crust, though complete cooling on a rack is essential for the interior.
Ensuring adequate steam during baking and monitoring your baking time are the most effective ways to prevent a tough crust on your rye bread yeast recipe.
Flavor Variations and Add-Ins for Your Rye Bread
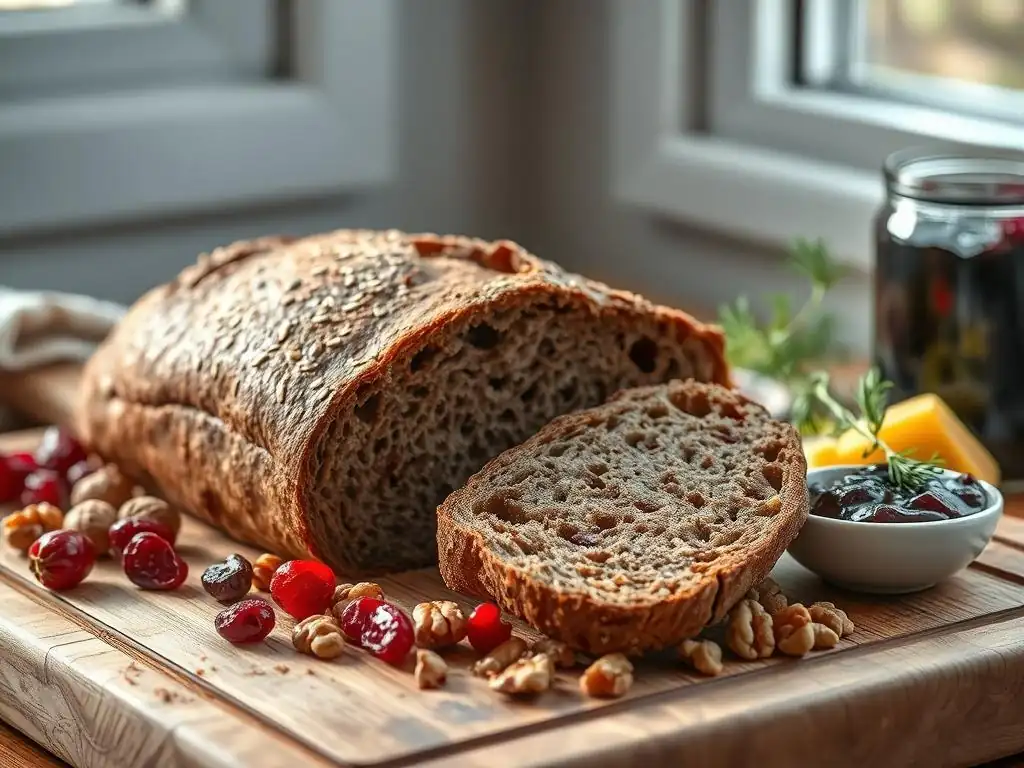
One of the joys of baking a rye bread yeast recipe is the ability to customize its flavor profile. While a simple combination of rye and wheat flour yields a satisfying loaf, adding seeds, spices, or other ingredients can transform it into something truly unique. These additions not only enhance the taste and aroma but can also add interesting textures to the crumb and crust.
Experimenting with add-ins allows you to tailor your homemade rye bread to your personal preferences or to complement specific meals. From classic combinations like caraway and coriander to more adventurous additions, there's a world of flavor waiting to be explored in your rye bread yeast recipe.
Adding Caraway Seeds for Classic Rye Flavor
Caraway seeds are perhaps the most iconic addition to rye bread, creating that distinctively aromatic and slightly peppery flavor often associated with deli-style rye. Adding caraway seeds to your rye bread yeast recipe is simple and makes a significant difference in the final taste.
You can add caraway seeds directly to the dough during the mixing stage. A typical amount ranges from 1 to 2 tablespoons per standard loaf (around 500g total flour), depending on how intense you want the flavor. Some bakers lightly toast the caraway seeds in a dry pan before adding them to the dough to enhance their aroma. You can also sprinkle some seeds on top of the shaped loaf just before baking for added visual appeal and a burst of flavor on the crust.
Experimenting with Other Seeds and Spices in Rye Bread
Beyond caraway, many other seeds and spices pair wonderfully with the earthy flavor of rye flour. Adding a mix of seeds, like sunflower seeds, pumpkin seeds, flax seeds, or sesame seeds, can add delightful crunch and nutty notes to your rye bread yeast recipe. These can be mixed into the dough or sprinkled on top before baking.
Spices like coriander, fennel seeds, and even a pinch of ground allspice or cloves can complement the caraway or be used in its place for a different profile. Some recipes include a small amount of cocoa powder or instant coffee to deepen the color and add a subtle complexity to dark rye breads. Dried onion flakes or powder can also be incorporated for a savory loaf. Start with small amounts (e.g., a teaspoon or two of ground spices) and adjust in future bakes based on your taste.
Creating a Swirl Rye Bread with Pumpernickel and Onion
For a visually stunning and flavorful variation on a basic rye bread yeast recipe, consider making a marbled or swirl loaf. This typically involves making two separate doughs – one lighter rye or wheat-based dough and a darker pumpernickel or dark rye dough, often flavored with ingredients like molasses, cocoa, and dried onion.
After the first rise, each dough is rolled into a rectangle. The darker dough is placed on top of the lighter dough (or vice versa), and they are rolled up together like a jelly roll. This creates a beautiful swirl effect when the bread is sliced. Adding rehydrated dried onion flakes or a dried onion powder mixture (sometimes called "onion soup mix" powder) to the darker dough enhances the classic deli rye flavor, creating a Pumpernickel and Onion Swirl Rye. This variation adds an extra step but is well worth it for the impressive result.
Storing Your Homemade Rye Bread for Freshness
You've successfully baked a delicious rye bread yeast recipe! Now, how do you keep it fresh so you can enjoy it for as long as possible? Proper storage is key to maintaining the texture and flavor of your homemade loaf. Unlike commercial breads that contain preservatives, homemade bread is best enjoyed within a few days, but with the right techniques, you can extend its quality.
The goal is to prevent the bread from drying out too quickly while also avoiding mold growth. The best storage method depends on how quickly you plan to eat the loaf and how humid your environment is.
Proper Storage Techniques to Keep Your Bread Delicious
Once your rye bread yeast recipe loaf has cooled completely (this is crucial! ), you have a few storage options:
- At Room Temperature: For bread that will be eaten within 2-3 days, storing it at room temperature is best. Avoid refrigerating rye bread, as this can actually cause it to stale faster due through a process called starch retrogradation.
- Bread Box: A bread box is designed to allow a little air circulation while keeping the crust crispier for longer.
- Paper Bag: A paper bag is good for keeping the crust crisp, but the bread will dry out faster. Best for eating within 1-2 days.
- Plastic Bag or Airtight Container: A plastic bag or container will keep the bread softer and prevent it from drying out as quickly, but the crust will soften. This is a good option if you prefer a softer crust or plan to eat the bread over 3-4 days. Ensure the bread is completely cool before sealing it to prevent condensation and mold.
- Cutting Surface Down: If storing a partial loaf, placing the cut side down on a clean surface (like a cutting board) can help prevent that exposed surface from drying out.
Choose the method that best suits how you plan to consume your delicious rye bread yeast recipe loaf.
Freezing Rye Bread for Later Enjoyment
If you won't finish your rye bread yeast recipe loaf within a few days, freezing is an excellent way to preserve its freshness for longer periods, typically up to 3-6 months. Freezing bread effectively pauses the staling process.
To freeze:
- Ensure the loaf is completely cooled.
- For best results, slice the bread before freezing if you plan to use individual slices. This way, you can take out just what you need.
- Wrap the loaf or individual slices tightly in plastic wrap, ensuring no air pockets.
- Wrap again in aluminum foil or place in a freezer-safe bag. Double wrapping helps prevent freezer burn.
- Label the package with the date.
To thaw:
- Whole Loaf: Remove from wrapping and let it thaw on a wire rack at room temperature for several hours. You can refresh the crust by warming the thawed loaf in a 350°F (175°C) oven for 10-15 minutes.
- Individual Slices: Slices can often be toasted directly from frozen or thawed quickly at room temperature.
Freezing allows you to enjoy your homemade rye bread yeast recipe whenever the craving strikes, without the rush to finish it all at once.
Conclusion: Enjoying Your Easy Rye Bread Made with Yeast
Congratulations! You've successfully baked a delicious loaf of rye bread using our simple rye bread yeast recipe. You've navigated the unique characteristics of rye flour and created a satisfying loaf with minimal effort compared to a starter-based method. The aroma filling your kitchen and the taste of fresh, homemade bread are truly rewarding. Enjoy your creation, whether it's toasted with butter, piled high with sandwich fillings, or simply savored on its own.
Baking bread, even a straightforward rye bread yeast recipe, is a skill that improves with practice. Each loaf is a learning experience. Don't hesitate to try the recipe again, perhaps experimenting with different types of rye flour or adding your favorite seeds and spices as discussed earlier. The process should be enjoyable, and the result, a warm loaf of bread, is always worth the effort.
Mastering Rye Bread Baking: Next Steps and Resources on BakeWithEase.com
Now that you've successfully baked a rye bread yeast recipe, you might be interested in exploring further. BakeWithEase.com offers a wealth of resources to continue your bread baking journey. You could try another variation of this rye bread, perhaps increasing the percentage of rye flour or incorporating molasses for a darker loaf.
If you feel ready for a new challenge, we have guides on baking other types of bread, from simple white loaves to whole wheat, challah, and even introductory guides to working with sourdough if you decide you're ready for the commitment. Explore our sections on different flours, troubleshooting common issues across various bread types, and tips for achieving perfect crusts and crumbs. The world of bread baking is vast and rewarding, and we're here to guide you every step of the way.
We love seeing what our community bakes! If you made this rye bread yeast recipe, we'd be thrilled to hear about your experience. What type of rye flour did you use? Did you add caraway seeds or experiment with other flavors? How did your loaf turn out?
Sharing your baking successes (and even your learning experiences!) helps inspire others and builds our vibrant baking community. Let us know how your rye bread turned out – we can't wait to celebrate your baking achievement with you! Happy baking from all of us at BakeWithEase.com!
Frequently Asked Questions
What is the primary difference between using yeast versus a sourdough starter for rye bread?
Using yeast offers a faster and more predictable rise compared to a sourdough starter. A sourdough starter imparts a tangier flavor and more complex texture, but requires more time and attention.
Is it possible to achieve a good rye bread flavor without using a sourdough starter?
Yes, absolutely! You can achieve a delicious rye bread flavor by using specific rye flours and flavor enhancers like caraway seeds and molasses, even without a starter.
What type of yeast is best suited for baking rye bread without a starter?
Instant or active dry yeast works well for rye bread recipes that don't use a starter. Make sure to follow the activation instructions provided on the yeast package.
What are some common mistakes people make when baking rye bread with yeast?
Over-proofing the dough can lead to a collapse in the oven. Also, using too much or too little water can affect the dough's consistency and the final bread's texture.
How can I ensure my rye bread has a good rise when using yeast instead of a sourdough starter?
Ensure the yeast is fresh and active by proofing it properly. Also, maintain a warm environment during the proofing process to encourage optimal yeast activity.
Final Reflection: The Humble Yeast, the Mighty Loaf
The accessibility of baking delicious rye bread, even without a sourdough starter, is a revelation for home bakers. This article aimed to demystify the process, proving that achieving a rich, flavorful rye loaf is within everyone's reach with the simple addition of active dry yeast. Forget the weeks-long commitment of a starter; delicious rye bread is now just a few hours away.
The impact of readily available recipes, like the ones explored here, extends beyond the kitchen. It fosters a connection to traditional baking methods while simultaneously empowering individuals to create something beautiful and nourishing from simple ingredients. This act of creation, this tangible connection to the process of food production, is profoundly satisfying. The best things in life are homemade.
This sentiment rings especially true when considering the aroma and taste of a freshly baked rye loaf, crafted entirely by your own hands.
Now, I invite you to roll up your sleeves, gather your ingredients, and embark on your own rye bread journey. Don't be intimidated by the seemingly complex nature of rye; embrace the simplicity of yeast as your ally. The satisfaction of creating a perfect crust, the joy of sharing your creation with loved ones – these are the rewards that await. Let the aroma of freshly baked bread fill your home, a testament to your newfound baking prowess and a delicious reminder of the power of simple ingredients and a little bit of yeast.
Unleash Your Inner Baker: Bake Amazing Rye Bread Today!
Thanks for taking the time to explore the world of rye bread baking! We hope you now feel confident you can create delicious, wholesome loaves without the fuss of a sourdough starter. Ready to get baking?
- Bake your first rye loaf! Use the recipe and tips from the article to create your own masterpiece. Experiment with different flours and spices to discover your perfect rye blend.
- Share your baking journey! Post a picture of your finished loaf on social media and tag #BakeWithEaseRye – let's inspire others!
- Dive deeper into rye! Explore other rye bread recipes and techniques available on BakeWithEase.com (imagine the possibilities! ).
What unique twist will you add to your first rye bread creation? Let us know in the comments!