
Beginner Sourdough Ciabatta: Get Started with Your Starter

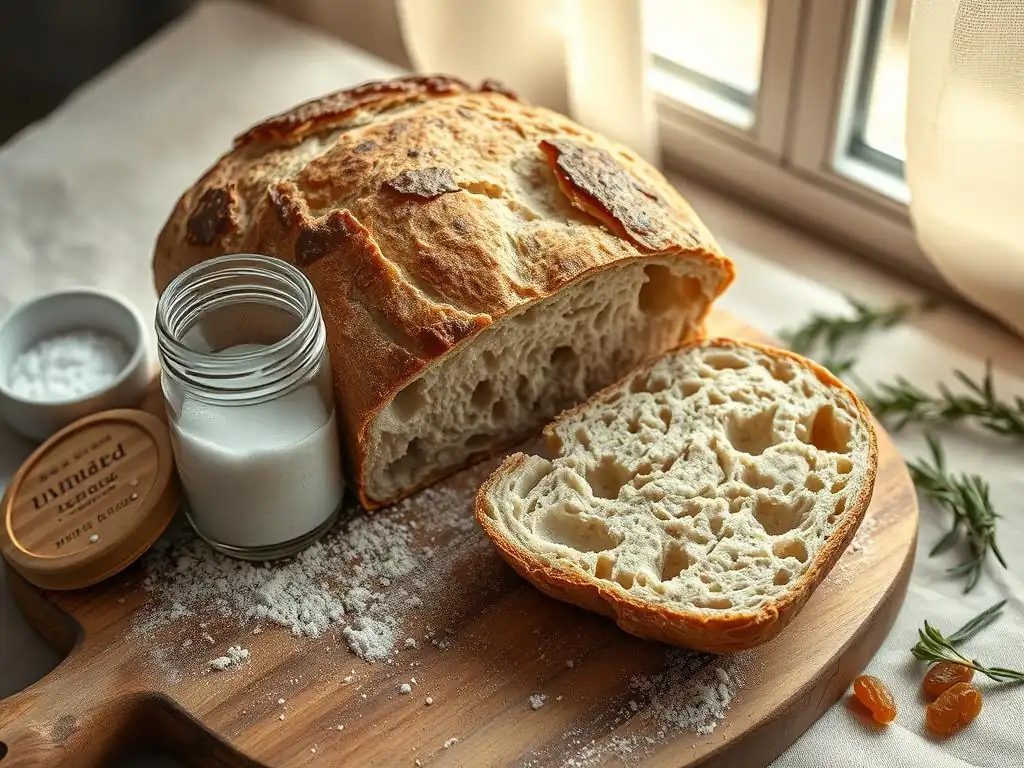
Welcome to BakeWithEase, your kitchen companion for unlocking the secrets of baking! Ever dreamt of crafting that perfectly airy, rustic loaf? Dive in and discover our easy beginner sourdough ciabatta recipe. We'll guide you through each step, turning your starter into a masterpiece. Ready to experience the magic of sourdough? Let's get baking!
- Sourdough Ciabatta for Home Bakers: A Simple Guide
- Introduction to Sourdough Ciabatta Baking
- Understanding Your Sourdough Starter
- Sourdough Ciabatta Recipe: Step-by-Step
- Tips and Tricks for Sourdough Ciabatta Success
- Sourdough Ciabatta Variations
- Understanding Sourdough Fermentation
- Conclusion: Enjoying Your Homemade Ciabatta
-
Frequently Asked Questions
- What makes this sourdough ciabatta recipe "easy" for beginners?
- How important is the sourdough starter for this ciabatta recipe?
- Can I substitute any of the flours listed in the Beginner Sourdough Ciabatta recipe?
- How long does it take to make this Beginner Sourdough Ciabatta from start to finish?
- What if my Beginner Sourdough Ciabatta dough seems too sticky or wet?
- Final Reflection: The Humble Loaf, a Journey of Discovery
- Unleash Your Inner Baker: Craft Your Dream Ciabatta!
Sourdough Ciabatta for Home Bakers: A Simple Guide
Introduction to Sourdough Ciabatta Baking
Why Ciabatta is a Great Introduction to Sourdough
Ciabatta, with its rustic charm and airy crumb, might seem intimidating, but it's actually a fantastic bread for beginners to explore the world of sourdough. Unlike highly structured loaves like a classic boule, ciabatta's wet dough and freeform shape are more forgiving. You don't need to worry about achieving perfect surface tension or elaborate scoring patterns right away. The focus shifts to understanding fermentation and hydration, core concepts in sourdough baking. Mastering an easy beginner sourdough ciabatta recipe provides a solid foundation for tackling other sourdough challenges.
Moreover, the relatively short bulk fermentation and proofing times compared to some other sourdough breads make ciabatta a more manageable project for a weekend bake. The high hydration dough encourages the development of that sought-after open crumb without requiring complex shaping techniques. It's a rewarding loaf to bake, offering delicious results even with imperfections, making it an encouraging step for anyone starting their sourdough journey. This simple approach to baking sourdough ciabatta builds confidence and practical skills.
Our Approach to Home Sourdough Baking
At BakeWithEase, our philosophy for home baking, especially with sourdough, is to demystify the process and make it accessible. We believe that anyone, regardless of experience level, can bake incredible bread in their own kitchen. Our approach focuses on clear, step-by-step instructions, understanding the why behind each step, and encouraging experimentation. We prioritize simple techniques and readily available equipment, proving that you don't need a professional setup to achieve bakery-quality results.
This guide to an easy beginner sourdough ciabatta recipe embodies that philosophy. We break down the process into manageable steps, from understanding your starter to achieving the perfect bake. We provide practical tips for common challenges and offer variations to keep things interesting. Our goal is to empower you to bake delicious, authentic sourdough ciabatta at home, fostering a love for the craft and the joy of sharing homemade bread. It's all about making sourdough baking enjoyable and successful.
Understanding Your Sourdough Starter
What is a Sourdough Starter?
A sourdough starter is a living culture of wild yeasts and beneficial bacteria (primarily Lactobacillus species) that are naturally present in flour and the environment. When flour and water are mixed and left to ferment, these microorganisms multiply, creating a bubbly, active mixture. The yeasts produce carbon dioxide gas, which makes bread rise, while the bacteria produce lactic and acetic acids, which give sourdough its characteristic tangy flavor and help preserve the bread.
Think of your starter as a pet that needs regular feeding to stay healthy and active. It's typically created by combining equal parts flour and water and feeding it regularly over several days or weeks until it shows consistent activity – bubbling, increasing in volume, and having a pleasant, slightly tangy aroma. A robust starter is crucial for leavening your easy beginner sourdough ciabatta recipe and developing its flavor profile.
Maintaining a Healthy and Active Starter
Maintaining a healthy starter requires regular feeding and attention. The frequency of feeding depends on where you store it. Starters kept at room temperature typically need to be fed daily, sometimes even twice a day in warm environments, to keep the microorganisms active and prevent them from becoming too acidic or dormant. Starters stored in the refrigerator can be fed less often, perhaps once a week, as the cold slows down microbial activity.
When feeding, discard a portion of the old starter (this can be used in other recipes like pancakes or crackers) and feed the remainder with fresh flour and water. A common feeding ratio is 1:1:1 by weight (1 part starter, 1 part flour, 1 part water), though other ratios like 1:2:2 or 1:5:5 can be used depending on desired activity and feeding frequency. An active starter for your sourdough ciabatta recipe should double or triple in volume within 4-8 hours after feeding, especially at room temperature (around 70-75°F or 21-24°C).
Feeding Schedule and Ratios for Your Starter
For consistent results with your easy beginner sourdough ciabatta recipe, it's best to use a starter that has been recently fed and is at its peak activity, typically 4-8 hours after feeding at room temperature. If your starter lives in the fridge, take it out a day or two before baking and feed it a few times at room temperature to wake it up. A standard feeding ratio like 1:1:1 (e.g., 50g starter, 50g flour, 50g water) is a good starting point.
However, you might adjust ratios based on temperature and desired timing. A higher ratio, like 1:2:2 or 1:3:3, will slow down the fermentation slightly, giving you more time before the starter peaks. Conversely, a lower ratio like 1:0.5:0.5 will speed it up. Experiment to find what works best for your environment and baking schedule. Consistency in your feeding routine is key to reliable starter activity, which is essential for a successful homemade sourdough ciabatta.
Sourdough Ciabatta Recipe: Step-by-Step
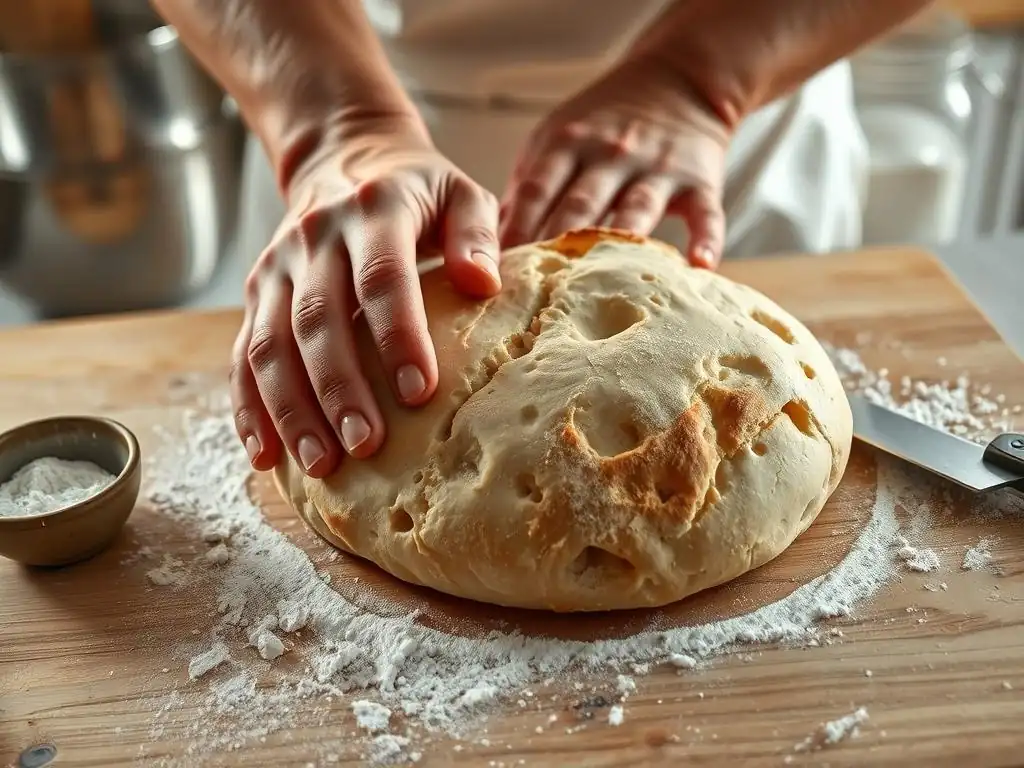
Ingredients for Sourdough Ciabatta
Making this easy beginner sourdough ciabatta recipe requires just a few simple ingredients:
- Active Sourdough Starter (Levain): You'll need about 100 grams of bubbly, active starter, ideally fed 4-8 hours prior. This is the heart of your loaf.
- Bread Flour: Approximately 400 grams. Bread flour has a higher protein content (typically 12-14%) than all-purpose flour, which helps develop a strong gluten network needed for the open crumb structure of ciabatta.
- Water: Around 300-320 grams. Ciabatta is a high-hydration dough, often 75-80% hydration relative to the flour weight. The exact amount might vary slightly based on your flour and environment. Use lukewarm water (around 80-85°F or 27-30°C) as it helps activate the starter and gluten development.
- Fine Sea Salt: Approximately 8-10 grams. Salt is crucial for flavor, controlling fermentation rate, and strengthening the gluten structure.
These basic components are all you need for a delicious, authentic sourdough ciabatta. Ensure your ingredients are measured accurately, preferably by weight using a kitchen scale, for the most consistent results.
Equipment Needed for Baking Ciabatta
While you don't need professional gear, a few basic tools will make baking your easy beginner sourdough ciabatta recipe much smoother:
- Kitchen Scale: Essential for accurate measurement of ingredients, especially for sourdough hydration.
- Large Mixing Bowl: For mixing the dough and bulk fermentation. Glass or plastic bowls work well.
- Dough Scraper: Helpful for handling the wet, sticky ciabatta dough and cleaning your workspace.
- Proofing Containers/Trays: Baking sheets lined with parchment paper or floured couche fabric (or even a well-floured tea towel) are needed for proofing the shaped ciabatta.
- Baking Stone or Steel (Optional but Recommended): Provides even heat and helps create a good crust. If you don't have one, a preheated baking sheet works.
- Oven: A standard home oven is sufficient.
- Spray Bottle: For creating steam in the oven, which is vital for crust development.
- Parchment Paper: Makes transferring the delicate dough easier.
Having these tools ready before you start will ensure a smooth baking process from mixing to baking your homemade sourdough ciabatta.
Step 1: Preparing the Levain
About 4-8 hours before you plan to mix your main dough, you need to prepare your levain (or use your active starter directly, often called 'levain' in this context). Take 100 grams of your active sourdough starter and place it in a clean jar or container. Feed it with 100 grams of bread flour and 100 grams of lukewarm water. Mix thoroughly until no dry flour remains.
Cover the container loosely and let it sit at room temperature (around 70-75°F or 21-24°C) until it has doubled in volume and shows significant bubbling activity. It should pass the float test (a small amount dropped in water floats) and have a pleasant, slightly tangy aroma. This active levain is critical for the lift and structure of your beginner sourdough ciabatta.
Step 2: Mixing the Dough
In a large mixing bowl, combine 300 grams of the lukewarm water with the 100 grams of active levain. Stir gently to disperse the starter. Add the 400 grams of bread flour and the 8-10 grams of salt. Mix with a spoon or your hands until all the flour is hydrated and a shaggy dough forms. At this stage, it will be very sticky and look quite wet – this is normal for high-hydration ciabatta dough.
Cover the bowl and let the dough rest for a period called autolyse, typically 20-30 minutes. This allows the flour to fully absorb the water and gluten development to begin without the interference of salt. After the rest, the dough will be slightly smoother and more cohesive. You can then perform a few gentle folds in the bowl to further incorporate the ingredients.
Step 3: Bulk Fermentation
Bulk fermentation is the crucial period where the dough develops flavor and strength. After mixing, the dough needs to ferment at room temperature, ideally around 75-78°F (24-26°C), for approximately 3-4 hours. During this time, you will perform a series of stretch and folds to build gluten structure.
Perform a set of stretch and folds every 30 minutes for the first 1.5 to 2 hours of bulk fermentation. To do this, wet your hands slightly, grab one side of the dough, stretch it gently upwards, and fold it over the center. Rotate the bowl and repeat this motion 3-4 times until all sides have been stretched and folded.
As you progress through the bulk fermentation, the dough will become noticeably stronger, smoother, and more elastic. It should increase in volume by about 50-75% by the end of the bulk fermentation period for your easy beginner sourdough ciabatta recipe.
Step 4: Shaping the Ciabatta
Once the bulk fermentation is complete, gently turn the dough out onto a lightly floured surface. Ciabatta dough is very wet and sticky, so handle it carefully to avoid degassing it too much. Use a dough scraper to divide the dough into 2-3 equal pieces, depending on how large you want your loaves.
Working with one piece at a time, gently stretch it into a rough rectangle or square shape. Avoid punching down or aggressively shaping the dough. The goal is to maintain as much air as possible. You can gently pull the ends to elongate it into the typical ciabatta shape, about 10-12 inches (25-30 cm) long. Dust the top liberally with flour.
Step 5: Proofing the Ciabatta
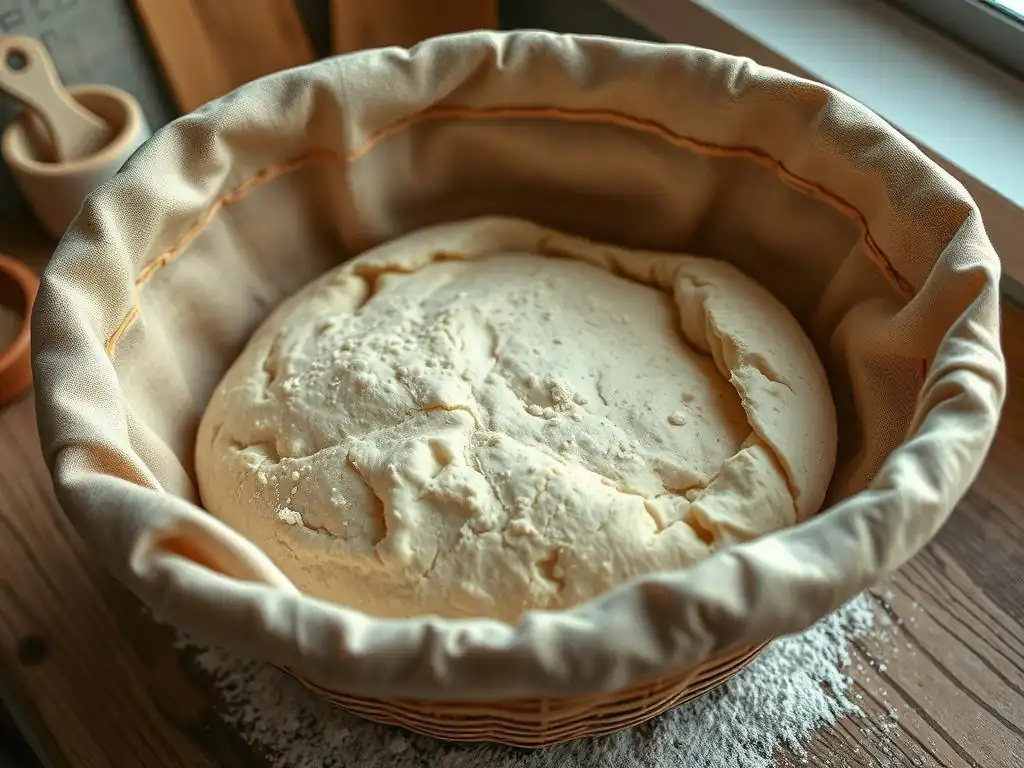
Proofing is the final rise before baking. Prepare your proofing surface – a baking sheet lined with parchment paper or a floured couche/tea towel. Carefully transfer each shaped ciabatta piece to the proofing surface. If using a couche or towel, create folds between the loaves to support their shape during proofing.
Cover the loaves loosely with plastic wrap or a damp tea towel to prevent drying. Proof the ciabatta at room temperature for about 1-1.5 hours. The dough should look visibly puffy and increased in size, but it won't double like a standard loaf. It should feel light and airy when gently poked. Avoid over-proofing, as this can lead to a flat loaf. While the loaves are proofing, preheat your oven and baking surface (stone or steel) to a high temperature, typically 450-475°F (230-245°C).
Step 6: Baking the Ciabatta
Preheat your oven with the baking stone or steel inside for at least 30-60 minutes to ensure it's thoroughly hot. Creating steam in the oven during the initial phase of baking is crucial for a good crust and oven spring. You can do this by placing a pan of hot water on the bottom rack when you preheat, or by spraying water onto the hot oven walls or a separate hot pan just before loading the bread.
Carefully slide the proofed ciabatta loaves onto the preheated baking surface using the parchment paper or a peel. Be quick to minimize heat loss. Bake for 20-25 minutes, or until the crust is golden brown and the internal temperature reaches around 205-210°F (96-99°C). The baking time for your easy beginner sourdough ciabatta recipe may vary slightly depending on your oven.
Step 7: Cooling and Enjoying
Once baked, carefully remove the ciabatta loaves from the oven and transfer them to a wire rack to cool completely. This step is just as important as baking. Cooling allows the internal structure of the bread to set and the flavors to fully develop. Cutting into hot bread can result in a gummy texture.
Allow the ciabatta to cool for at least 1-2 hours before slicing. The crust will crisp up as it cools. Enjoy your homemade sourdough ciabatta sliced for sandwiches, dipped in olive oil, or alongside soup. Celebrate your success with this simple yet rewarding bake!
Tips and Tricks for Sourdough Ciabatta Success
Troubleshooting Common Issues
Baking sourdough, especially a high-hydration dough like ciabatta, can present a few challenges. If your ciabatta is flat, it might be due to an inactive starter, insufficient gluten development during bulk fermentation, or over-proofing. Ensure your starter is bubbly and active, perform enough stretch and folds, and don't let the dough proof for too long. If the crust is pale or soft, your oven might not be hot enough, or you might need more steam during the initial bake. Preheating your oven and stone/steel sufficiently and using a steam method can help.
Another common issue is the dough being too sticky to handle. This is normal for ciabatta, but excessive stickiness might mean your hydration is too high for your flour, or you need more practice handling wet dough. Use a generous amount of flour on your work surface and dough scraper, but avoid incorporating too much into the dough itself. Practice makes perfect with this easy beginner sourdough ciabatta recipe!
Achieving an Open Crumb
The signature of great ciabatta is its open, airy crumb with large holes. Achieving this requires several factors working together. First, an active sourdough starter provides strong leavening power. Second, proper gluten development through stretch and folds during bulk fermentation creates a strong network that can trap the gas produced by the starter. Third, high hydration is key – the wet dough encourages the formation of large air pockets.
Finally, gentle handling during shaping and proofing is crucial to avoid deflating the dough. Don't punch down the dough; instead, gently stretch and shape it. Adequate steam in the oven during the first part of the bake allows the crust to remain pliable, enabling the dough to expand fully and create that beautiful open structure. Patience and attention to these steps are rewarded with a fantastic crumb in your homemade sourdough ciabatta.
Storing Ciabatta for Optimal Freshness
Sourdough ciabatta is best enjoyed on the day it's baked, but you can store it to maintain freshness for a couple of days. Once completely cooled, store the ciabatta at room temperature. For short-term storage (1-2 days), a paper bag is often preferred as it allows the crust to breathe and stay somewhat crisp, though the interior might dry slightly. Avoid plastic bags for the first day as they can make the crust soft.
For longer storage (up to a week) or if you want to preserve the texture, wrap the cooled loaf tightly in plastic wrap and then place it in a bread box or a larger plastic bag. To refresh day-old ciabatta, you can lightly spritz it with water and warm it in a 350°F (175°C) oven for 5-10 minutes. For longer storage, ciabatta freezes exceptionally well. Wrap the cooled loaf tightly in plastic wrap and then foil, and freeze for up to several months. Thaw at room temperature and refresh in the oven.
Sourdough Ciabatta Variations
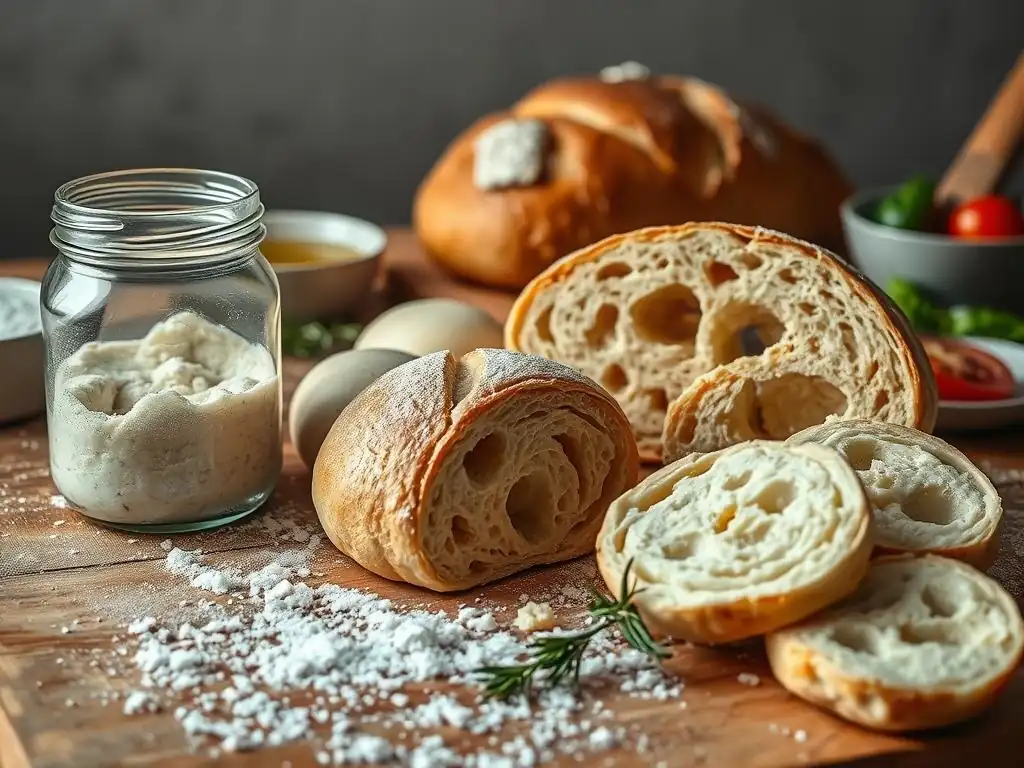
Adding Olives and Herbs
Once you've mastered the basic easy beginner sourdough ciabatta recipe, you can easily add flavor variations. Olives and herbs are classic additions. During the mixing phase or during the first set of stretch and folds, gently fold in about 100-150 grams of pitted olives (like Kalamata or green olives) and 1-2 tablespoons of chopped fresh herbs (such as rosemary, thyme, or oregano) per loaf.
Be careful not to overwork the dough when adding inclusions, as this can damage the gluten structure. The olives and herbs will add bursts of flavor and aroma to your homemade sourdough ciabatta, making it perfect for pairing with cheeses or enjoying on its own. Ensure the olives are well-drained if packed in brine.
Making Mini Ciabatta Rolls
The same dough used for a large loaf can be easily adapted to make mini ciabatta rolls, perfect for sandwiches or dinner rolls. After the bulk fermentation, gently turn the dough out and divide it into smaller portions, perhaps 6-8 pieces, using a dough scraper.
Shape each piece gently into a smaller rectangle or oval, maintaining the airy structure. Dust generously with flour and proof on a baking sheet lined with parchment paper, leaving some space between the rolls. Proofing time might be slightly shorter (around 45-60 minutes) due to their smaller size. Bake at the same temperature (450-475°F or 230-245°C) for a shorter duration, typically 15-20 minutes, until golden brown. These mini versions of your easy beginner sourdough ciabatta recipe are just as delicious and incredibly versatile.
Understanding Sourdough Fermentation
The Fermentation Process Explained
Sourdough fermentation is a complex biochemical process driven by the symbiotic relationship between wild yeasts and lactic acid bacteria present in the starter. During bulk fermentation and proofing, the yeasts consume sugars in the flour and produce carbon dioxide gas, which creates bubbles and causes the dough to rise. Simultaneously, the bacteria metabolize sugars and produce lactic acid (milder, yogurt-like tang) and acetic acid (sharper, vinegar-like tang).
The balance of these acids contributes significantly to the characteristic sourdough flavor profile. Environmental temperature plays a critical role in fermentation rate; warmer temperatures (75-80°F) speed up activity and tend to favor lactic acid production, while cooler temperatures (below 70°F) slow fermentation and can favor acetic acid production. Understanding this process helps you control the timing and flavor of your homemade sourdough ciabatta.
Gluten Development in Sourdough Ciabatta
Gluten development is essential for creating the structure that allows ciabatta to trap gas and achieve its open crumb. Gluten is formed when two proteins in flour, glutenin and gliadin, combine with water and are worked (through mixing and folding). Glutenin provides elasticity, while gliadin provides extensibility.
In high-hydration doughs like ciabatta, the gluten network develops more easily due to the abundance of water allowing the proteins to move and bond. The stretch and folds performed during bulk fermentation physically align and strengthen this gluten network, giving the dough the necessary structure to support the large air pockets. A well-developed gluten network is key to preventing your easy beginner sourdough ciabatta recipe from spreading too much during proofing and baking.
Hydration and its Effect on Texture
Hydration refers to the ratio of water to flour in a dough, typically expressed as a percentage of the flour weight. Ciabatta is known for being a high-hydration bread, often ranging from 75% to 85% hydration. This high water content is directly responsible for several key characteristics of ciabatta.
A higher hydration dough is stickier and more challenging to handle, but it promotes a more open crumb structure because the extra water allows for greater expansion during fermentation and baking. It also contributes to a thinner, crispier crust as the moisture evaporates rapidly in the hot oven. Conversely, a lower hydration dough is easier to handle but results in a denser crumb and a less crispy crust. The 75-80% hydration used in this easy beginner sourdough ciabatta recipe is a good balance for achieving a characteristic texture that is still manageable for home bakers.
Conclusion: Enjoying Your Homemade Ciabatta
There's immense satisfaction in pulling a beautiful loaf of sourdough ciabatta from your oven. The crackling crust, the inviting aroma, and the airy interior are testaments to your efforts. Don't keep this joy to yourself! Share your homemade sourdough ciabatta with friends, family, or neighbors.
Slice it up and serve it with a good olive oil and balsamic vinegar, use it to build epic sandwiches, or simply enjoy it warm with butter. Sharing your bake not only spreads joy but also gives you valuable feedback and encouragement for future sourdough projects. Celebrate mastering this easy beginner sourdough ciabatta recipe!
Exploring Further Sourdough Recipes
Baking your first sourdough ciabatta is a significant achievement and hopefully, just the beginning of your sourdough journey. With your active starter and newfound confidence, a world of sourdough possibilities opens up. You can explore variations of ciabatta, like adding different herbs, cheese, or sundried tomatoes.
Beyond ciabatta, you can delve into baking classic sourdough boules, batards, baguettes, or even enriched doughs like brioche or challah using your starter. Each type of bread offers unique challenges and rewards, allowing you to deepen your understanding of fermentation, shaping, and baking techniques. Keep experimenting, keep learning, and keep enjoying the wonderful process of creating delicious bread from scratch.
Frequently Asked Questions
What makes this sourdough ciabatta recipe "easy" for beginners?
This recipe simplifies the sourdough process by using a straightforward method and readily available ingredients. It also includes detailed, step-by-step instructions to guide beginners through each stage.
How important is the sourdough starter for this ciabatta recipe?
The sourdough starter is absolutely crucial as it provides the leavening power and unique flavor characteristic of sourdough bread. A healthy, active starter is key to a successful bake.
Can I substitute any of the flours listed in the Beginner Sourdough Ciabatta recipe?
While substitutions are possible, it's best to stick to the recipe for your first attempt. Different flours have varying gluten content and absorption rates, which can affect the dough's texture and rise.
How long does it take to make this Beginner Sourdough Ciabatta from start to finish?
The entire process, including starter refreshment, dough fermentation, and baking, takes approximately 24-36 hours. This includes significant resting and fermentation time for optimal flavor development.
What if my Beginner Sourdough Ciabatta dough seems too sticky or wet?
Sourdough ciabatta dough is naturally quite wet and sticky. Avoid adding excessive flour, as this can result in a dense loaf. Instead, focus on gentle handling and proper shaping techniques as described in the recipe.
Final Reflection: The Humble Loaf, a Journey of Discovery
The seemingly simple act of baking sourdough ciabatta unlocks a world of culinary exploration and mindful practice. This journey, from nurturing a starter to the satisfying crust of the finished loaf, is more than just a recipe; it's a testament to patience, precision, and the rewarding connection between effort and delicious results. The accessibility of this recipe, designed for beginners, belies the profound satisfaction derived from creating something beautiful and delicious from scratch.
The impact of sourdough baking extends far beyond the kitchen table. It's a revival of traditional techniques, a celebration of simple ingredients, and a mindful process that encourages a slower pace of life. Bread is the staff of life,
a proverb often repeated, but rarely truly understood until you've felt the warmth of a freshly baked loaf, the aroma filling your home, the satisfying chew of the crust. This experience fosters a deeper appreciation for the ingredients, the process, and the simple pleasures found in creating something with your own hands.
Now, consider your own journey. Will you embark on this adventure? Will you nurture a starter, patiently waiting for its transformation? The rewards are not just in the delicious bread itself, but in the journey of discovery, the connection to tradition, and the quiet satisfaction of creating something truly special. Take the first step, and let the aroma of freshly baked ciabatta guide you.
Unleash Your Inner Baker: Craft Your Dream Ciabatta!
Thanks for joining us on this sourdough journey! We hope you now feel confident taking on the rewarding challenge of ciabatta baking. Ready to put your new knowledge into action?
- Start your sourdough starter today! Follow the simple steps outlined in the article – it's easier than you think.
- Share your baking journey with our community on social media using #BakeWithEaseCiabatta – we'd love to see your creations!
- Explore other sourdough recipes on BakeWithEase.com – discover the endless possibilities of this amazing bread!
What unique twist will you add to your first ciabatta loaf?