
The Difference Between First & Second Rise for White Bread

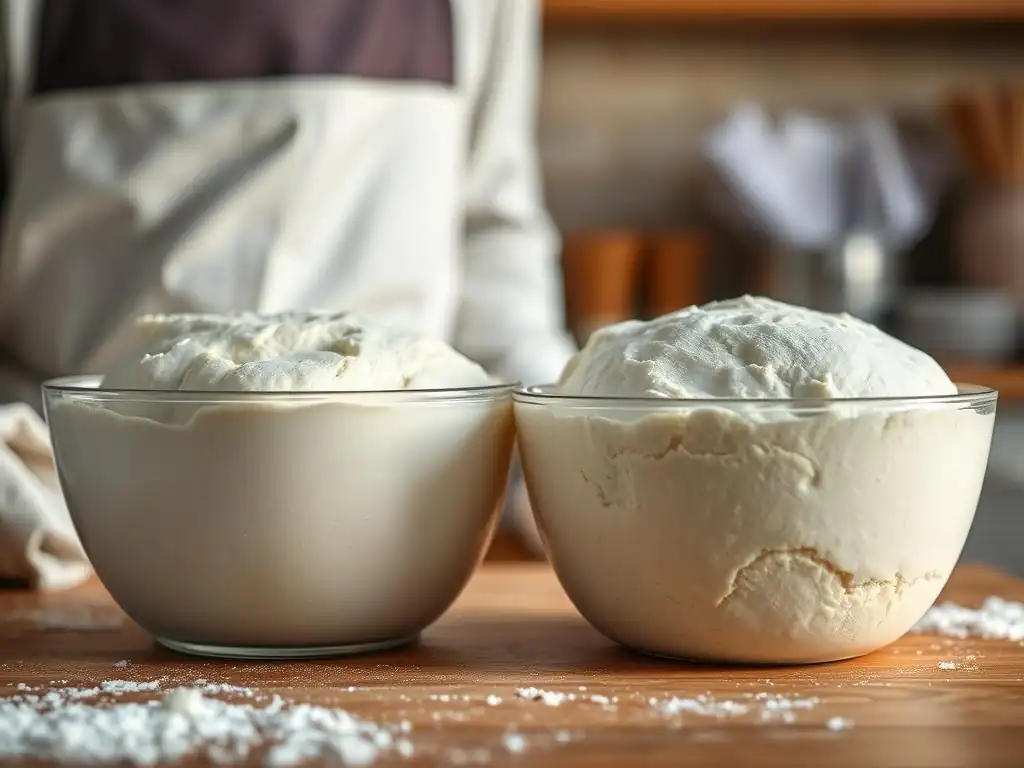
Welcome to BakeWithEase, where the joy of baking meets accessible expertise! Ever wondered if you're really getting the most out of your white bread dough? This week, we're diving deep into the critical differences between the first and second rise for white bread, exploring how each stage impacts flavor, texture, and overall success. Discover the secrets to perfectly proofed loaves and unlock the potential of your homemade bread!
- The Difference Between First & Second Rise for Sourdough Bread: A Baker's Guide
- Understanding Sourdough Bread Rising Times for Baking Perfection
- First Rise in Sourdough Dough: Bulk Fermentation Explained
- Second Rise in Sourdough Bread: Proofing for Perfect Texture
- First Rise vs. Second Rise: Key Differences and Impact on Sourdough Bread
- Troubleshooting Sourdough Bread Rising Times: Common Issues and Solutions
- Mastering Sourdough Bread Rising Times: A Summary for Bakers
-
Frequently Asked Questions
- What is the main difference between the first and second rise for white bread?
- How long should I let my white bread dough rise during the first rise?
- Why is the second rise often shorter than the first rise for white bread?
- Can I over-proof my white bread dough during the second rise?
- What happens if I skip the first rise and only do a second rise for my white bread?
- Final Reflection: The Humble Rise of Understanding White Bread
- Unlock Your Perfect Loaf: Master the Two Rises!
The Difference Between First & Second Rise for Sourdough Bread: A Baker's Guide
Understanding Sourdough Bread Rising Times for Baking Perfection
Why Rising Times Matter in Sourdough Bread Baking
The journey from a shaggy mass of dough to a beautifully risen loaf of sourdough bread is a magical transformation, and at its heart lies the process of fermentation, or rising. Understanding the nuances of sourdough rising times is absolutely critical for achieving that perfect balance of flavor, texture, and structure. The wild yeast and beneficial bacteria in your starter work tirelessly, consuming sugars and producing carbon dioxide gas, which leavens the dough, along with organic acids that build complex flavors.
Getting the rising times right directly impacts the final outcome. Under-proofed dough often results in a dense, heavy loaf with a tight crumb and possibly large, irregular tunnels. Conversely, over-proofed dough can collapse, yielding a loaf with poor structure, a gummy texture, and a potentially overly sour flavor. Mastering these stages is as fundamental to great sourdough as understanding optimal white bread rising times is for a classic loaf made with commercial yeast.
First Rise in Sourdough Dough: Bulk Fermentation Explained
What is Bulk Fermentation and Why is it Important?
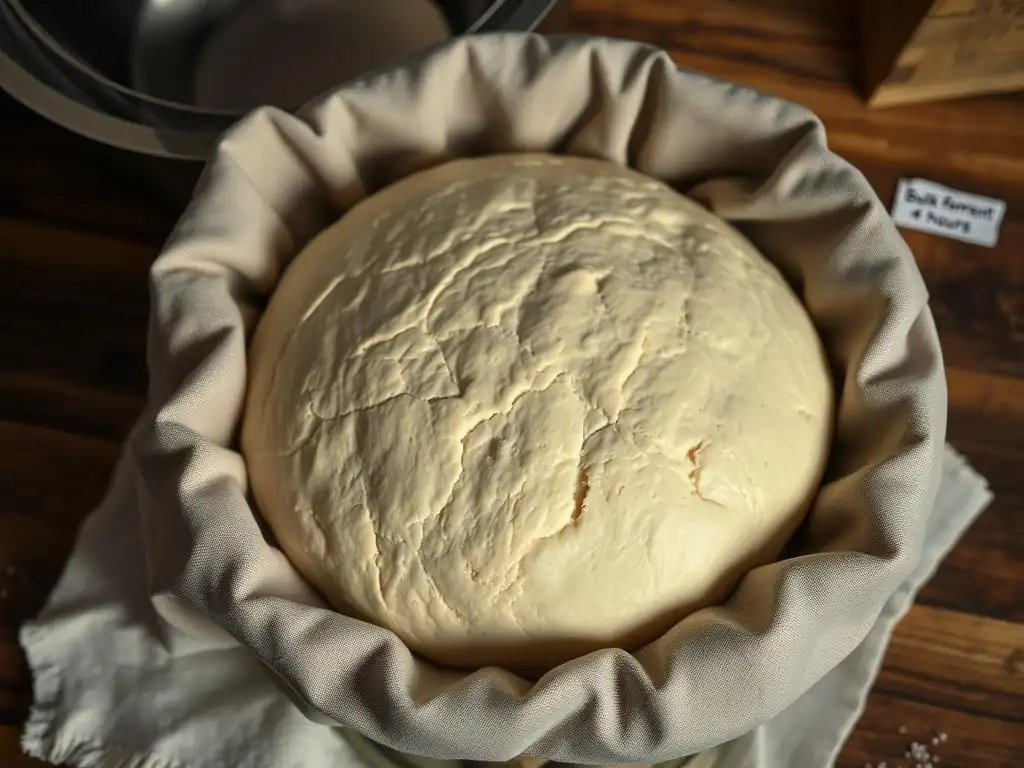
Bulk fermentation, often simply called the first rise, is the initial period of rising that occurs after you've mixed your ingredients and before you shape the dough. This is typically the longest phase of the rising process. During bulk fermentation, the dough undergoes significant development: the yeast and bacteria are most active, producing the majority of the gas that will ultimately leaven the bread, and the gluten network is strengthened, often through periodic stretch-and-folds.
This stage is paramount for several reasons. It's where the characteristic tangy flavor of sourdough largely develops as lactic and acetic acids are produced. It's also where the gluten structure is built to be strong enough to trap the gases produced, leading to a well-risen loaf. Think of it as building the foundational structure of your bread; just as the first rise sets the stage for white bread rising times, bulk fermentation is the bedrock for sourdough.
Achieving Optimal Volume: Indicators of a Successful First Rise
Knowing when bulk fermentation is complete is more about observation than strict timing, though time is a factor. A key indicator is volume increase. Depending on the recipe, temperature, and starter activity, the dough should increase in volume by anywhere from 50% to 100% (or sometimes even a bit more) during this phase. Using a clear, straight-sided container with volume markings can be incredibly helpful for tracking this progress.
Beyond volume, the dough's texture and feel change. It should become noticeably puffier, smoother, and more extensible. A gentle jiggle of the container might show air bubbles forming on the surface or within the dough. Some bakers also use the "windowpane test" during or after bulk fermentation to check gluten development – a small piece of dough should stretch thin enough to see light through it without tearing. For example, if you start with dough filling 1 liter in a container, a successful bulk rise might see it reach 1.5 to 2 liters.
Factors Affecting the First Rise: Temperature, Starter Activity, and Hydration
Ideal Temperature for Sourdough First Rise
Temperature is arguably the most significant factor influencing the speed of bulk fermentation. Wild yeast and bacteria are highly sensitive to temperature. Warmer temperatures accelerate their activity, leading to faster rising times, while cooler temperatures slow them down. A common range for bulk fermentation is between 70°F and 80°F (21°C to 27°C). Fermenting in this range allows for a balance of yeast activity (leavening) and bacterial activity (flavor development).
For instance, a bulk fermentation that might take 4-6 hours at a warm 78°F (26°C) could take 8-12 hours or longer at a cooler 70°F (21°C). Many bakers use cold fermentation in the refrigerator (around 35-40°F or 2-4°C) for extended periods (12-48 hours) to significantly slow the rise and develop deeper flavors. This highlights how temperature dramatically impacts overall sourdough rising times.
The Role of Starter in the First Rise
Your sourdough starter is the engine of fermentation. Its health and activity level directly dictate how quickly and effectively your dough will rise during bulk fermentation. A vigorous starter that reliably doubles or triples in size within 4-6 hours after feeding is essential for predictable sourdough rising times. If your starter is sluggish, your bulk fermentation will take much longer, and the final loaf may be dense.
The ratio of starter used in the recipe also plays a role. Using a higher percentage of starter relative to flour will generally speed up fermentation, while a lower percentage will slow it down. For example, a recipe using 20% starter might bulk ferment in 6 hours at room temperature, while one using only 10% starter might take 8-10 hours under the same conditions.
Hydration's Impact on Sourdough Dough
Dough hydration, the ratio of water to flour, also affects fermentation speed and handling. Higher hydration doughs (e.g., 75-85% hydration) tend to ferment faster than lower hydration doughs (e.g., 65-70%). This is because the yeast and bacteria have easier access to the flour's starches and sugars when there's more water. Higher hydration also results in a looser, stickier dough that requires different handling techniques.
Conversely, lower hydration doughs are stiffer and ferment more slowly. While they are easier to handle and shape, their sourdough rising times for bulk fermentation will typically be longer compared to their higher hydration counterparts at the same temperature. Understanding your dough's hydration helps set realistic expectations for its rising schedule.
Second Rise in Sourdough Bread: Proofing for Perfect Texture
What is Proofing and How Does it Differ from Bulk Fermentation?
Proofing, also known as the final rise, is the stage after you have shaped your dough and placed it in its final proofing vessel (like a banneton or loaf pan) before baking. While bulk fermentation is about building overall strength, structure, and flavor, proofing is the final inflation phase, preparing the dough for maximum expansion and optimal texture in the oven. Gas production continues, but often at a slower rate due to the handling and shaping steps.
The key difference lies in purpose and duration. Bulk fermentation develops the gluten and flavor over a longer period, while proofing is a shorter, more delicate rise focused on achieving the ideal airy structure just before baking. It's the last chance for the dough to fill with gas and relax slightly after being shaped. This final rise is crucial for all leavened breads, including achieving the desired volume during the final white bread rising times.
Shaping the Dough Before the Second Rise: Techniques for Even Baking
Proper shaping is a critical step that directly impacts the success of the second rise and the final bake. Shaping creates surface tension, which helps the dough hold its form during proofing and provides the structure needed for a good oven spring. Techniques like creating a taut skin on a boule (round loaf) or batard (oval loaf) are essential.
Effective shaping distributes the existing gas pockets evenly throughout the dough and seals the surface, preventing blowouts during baking. A well-shaped loaf expands predictably when scored and baked. Poor shaping can lead to uneven rising, lopsided loaves, or a lack of tension needed for a beautiful crust and crumb.
Recognizing Readiness: Visual Cues for the Second Rise
Determining when proofing is complete is crucial to avoid either a dense, under-proofed loaf or a collapsed, over-proofed one. The most common test is the "poke test." Gently but firmly poke the side of the dough with a floured finger. If the indentation springs back immediately, the dough is under-proofed and needs more time. If the indentation slowly springs back most of the way, leaving a slight mark, it's likely perfectly proofed and ready to bake. If the indentation remains completely or mostly, the dough is over-proofed.
Visually, a properly proofed loaf will look significantly puffier and feel lighter than it did right after shaping. It should have increased in volume, perhaps by 30-50%, but typically not doubled in size like during bulk fermentation. The surface should look smooth and airy.
Avoiding Over-Proofing: Maintaining Gluten Structure
Over-proofing is a common pitfall in sourdough baking. It occurs when the dough is allowed to rise for too long during the final proof, causing the yeast to consume too much of the available sugars and the gluten structure to weaken and lose its ability to hold gas. An over-proofed loaf may look very puffy initially but will often collapse when turned out of its proofing basket or during baking, resulting in a flat, dense loaf with poor oven spring.
One effective strategy to avoid over-proofing, especially in warmer conditions, is cold proofing in the refrigerator. Chilling the dough slows down fermentation dramatically, allowing for a longer proofing period (e.g., 12-24 hours) which can also contribute to flavor development, though less significantly than cold bulk fermentation. This offers a much wider window of readiness compared to the potentially rapid final white bread rising times at room temperature.
First Rise vs. Second Rise: Key Differences and Impact on Sourdough Bread
Gluten Development: First Rise's Critical Role
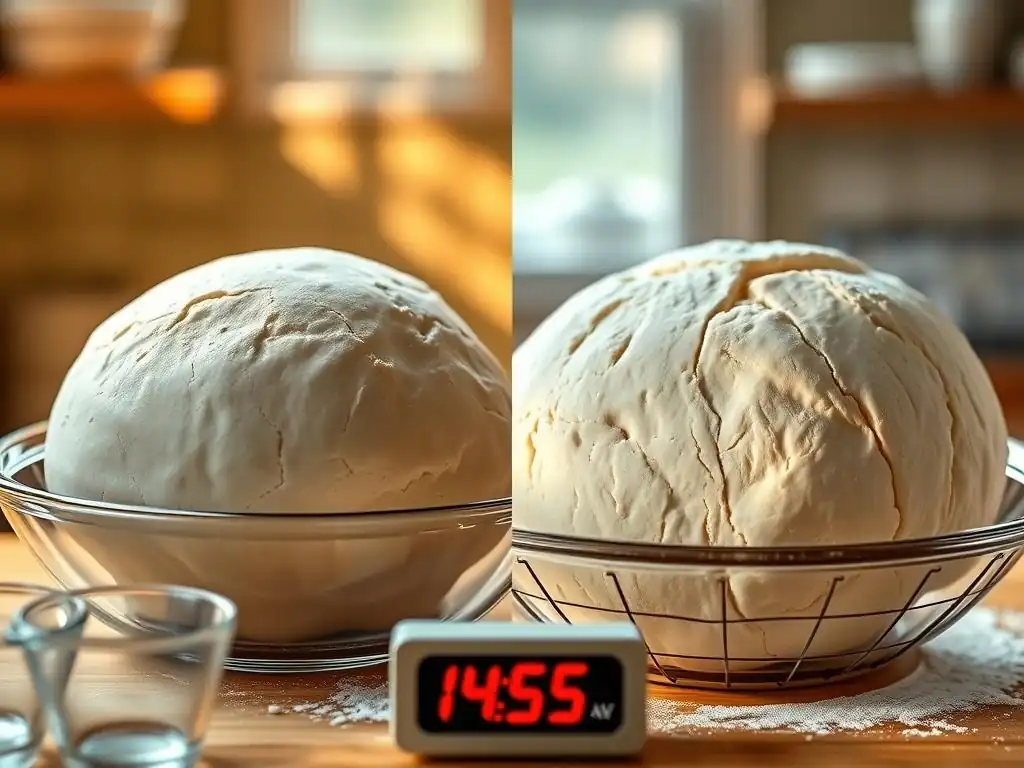
The bulk fermentation phase is where the primary gluten network is developed and strengthened. Through mixing, autolyse (if used), and subsequent stretch-and-folds, the protein strands in the flour link together, creating an elastic structure capable of trapping the gases produced by fermentation. This structural integrity is fundamental to achieving a good crumb structure and oven spring in the final loaf.
The second rise, or proofing, relies on this established gluten network. While some minor relaxation and expansion occur, the significant work of building the internal scaffolding of the bread is completed during the first rise. Think of the first rise as building the framework of a balloon, while the second rise is the final inflation before tying it off.
Flavor Development: How the First Rise Deepens Bread Flavor
Sourdough's distinctive tangy flavor is primarily a result of the metabolic activity of lactic acid bacteria (LAB) during fermentation. These bacteria produce lactic and acetic acids, which contribute to the bread's sourness and overall complexity. The longer duration of the bulk fermentation, especially at cooler temperatures, provides ample time for these bacteria to work and produce these flavorful compounds.
While some flavor development continues during the shorter proofing phase, the bulk fermentation is where the majority of the characteristic sourdough tang originates. This extended initial fermentation is a key differentiator from the typically shorter white bread rising times when using commercial yeast, which relies less on bacterial activity for flavor.
Texture Development: Achieving an Open Crumb
The sought-after open, airy crumb structure in sourdough is a direct result of successful gas production and retention throughout the rising process, heavily reliant on a strong gluten network. During bulk fermentation, gas is produced and trapped within the developing gluten.
The second rise expands these trapped gas pockets, giving the dough its final volume and internal structure before baking. Proper proofing ensures that the gas is well-distributed and the dough has just the right amount of tension and fragility to expand beautifully in the oven, yielding that desirable open crumb.
Shaping and Structure: The Importance of the Second Rise
While bulk fermentation builds the internal structure, the second rise is where the dough sets its final external shape and internal tension within the confines of its proofing vessel. The shaping process creates surface tension, and the subsequent proofing allows the dough to gently expand into its final form, distributing the gas pockets evenly.
The tension created during shaping, combined with the controlled expansion during proofing, dictates how the loaf will behave during oven spring. An under-proofed loaf might have explosive, uncontrolled expansion (blowouts), while an over-proofed loaf might lack the necessary tension to expand vertically, resulting in a flatter loaf.
Troubleshooting Sourdough Bread Rising Times: Common Issues and Solutions
Dough Not Rising: Identifying and Fixing the Problem
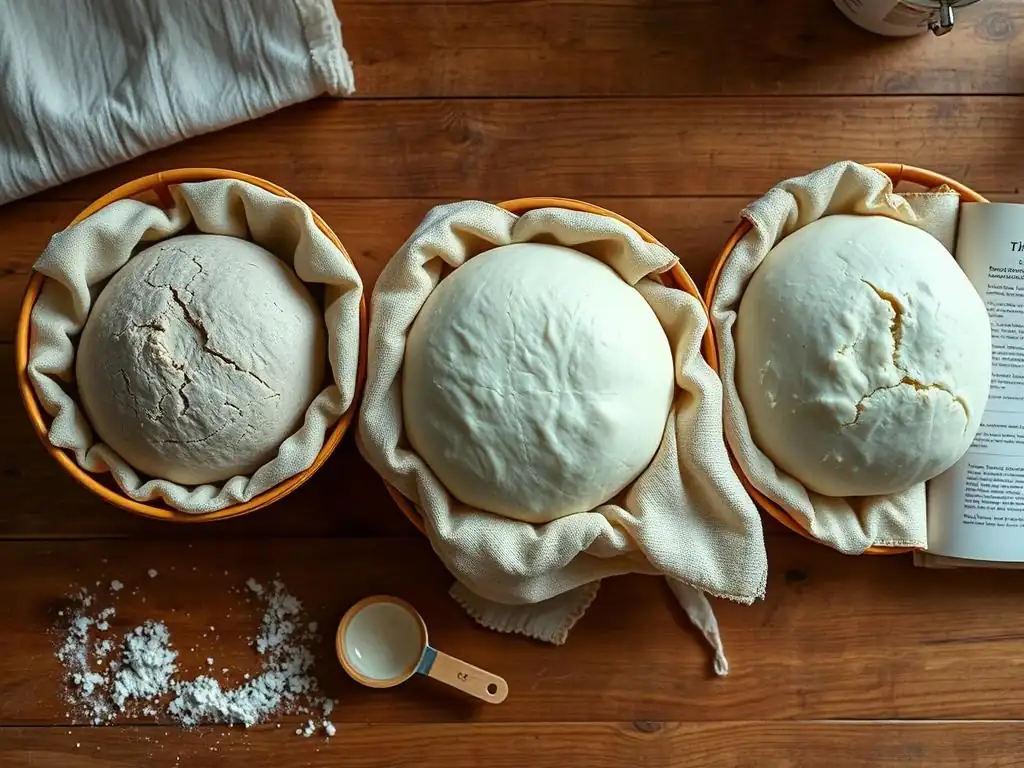
One of the most frustrating issues is dough that simply isn't rising. The most common culprits are an inactive starter, a too-cold environment, or simply not enough time. First, check your starter: has it been recently fed, and is it doubling within a predictable timeframe? If not, it needs to be strengthened with regular feedings before baking.
Next, evaluate your fermentation temperature. Sourdough fermentation is much slower below 70°F (21°C). Try moving your dough to a warmer spot, like an oven with just the light on (check the temperature first, it can get quite warm), or a proofing box if you have one. Finally, be patient! Sourdough rising times are inherently longer and more variable than those for commercial yeast, sometimes taking many hours, especially if conditions aren't ideal.
Over-Proofed Dough: Salvaging Your Batch
Recognizing over-proofed dough (flat, spread out, fragile, passes the poke test completely) means you need to act quickly. While you can't fully reverse over-proofing, you might be able to salvage the batch. Handle the dough very gently to avoid degassing it completely.
One option is to try reshaping it gently and giving it a very short final proof (perhaps just 15-30 minutes) before baking immediately. A more reliable approach is to gently punch it down, reshape it into a flatter form like focaccia or even pizza dough, and bake it right away. It might not have the ideal sourdough loaf structure, but it will still be delicious.
Uneven Rising: Tips for Consistent Results
Uneven rising can result in a lopsided loaf with an inconsistent crumb. This is often caused by temperature variations during fermentation or inconsistent shaping. If your dough is warmer on one side than the other during bulk fermentation or proofing, that side will rise faster.
To ensure consistent rising, try to maintain a stable temperature for your dough throughout the process. Use a proofing box, a dedicated warm spot, or rotate your dough container periodically. Additionally, practice your shaping techniques to create even surface tension around the entire loaf, which encourages uniform expansion during the second rise and baking.
Mastering Sourdough Bread Rising Times: A Summary for Bakers
Perfecting Your Sourdough Baking: Autolyse, Scoring, and Baking Techniques
Mastering sourdough rising times is a cornerstone of successful baking, but it's part of a larger ecosystem of techniques that contribute to the final loaf. Understanding the distinct roles of bulk fermentation (flavor, gluten development, initial rise) and proofing (final structure, shape, last bit of lift) is essential. Factors like temperature, starter health, and hydration all play significant roles in how long these stages take.
Beyond rising, techniques such as autolyse (mixing flour and water before adding starter/salt) can improve gluten development and reduce kneading. Scoring the dough just before baking provides controlled expansion, allowing the loaf to achieve maximum oven spring and influencing the final crumb structure. Finally, baking method, particularly the use of steam (like in a Dutch oven), allows the crust to remain pliable longer, facilitating better expansion. By understanding and practicing all these elements, you can consistently bake beautiful, delicious sourdough bread, much like understanding white bread rising times and techniques leads to a perfect yeasted loaf.
Frequently Asked Questions
What is the main difference between the first and second rise for white bread?
The first rise, or bulk fermentation, focuses on developing flavor and dough strength. The second rise, also known as proofing, is primarily about achieving the final desired shape and volume before baking.
How long should I let my white bread dough rise during the first rise?
The first rise time can vary, but generally, it should be about 1-2 hours, or until the dough has doubled in size. Factors like room temperature and the amount of yeast will affect this.
Why is the second rise often shorter than the first rise for white bread?
The yeast has already done most of its work during the first rise, so the second rise is quicker. It's mainly to relax the dough and allow for final expansion after shaping, usually around 30-60 minutes.
Can I over-proof my white bread dough during the second rise?
Yes, over-proofing can cause the bread to collapse in the oven or have a sour taste. Look for a slight increase in size and a dough that is puffy but still holds its shape.
What happens if I skip the first rise and only do a second rise for my white bread?
Skipping the first rise will result in a bread with poor flavor development and a dense, less airy texture. The first rise is crucial for proper gluten development and yeast activity.
Final Reflection: The Humble Rise of Understanding White Bread
The seemingly simple process of making white bread reveals a profound truth about patience and precision. Understanding the distinct phases of rising – the first and second rise – is not just about achieving a perfectly textured loaf; it's about appreciating the subtle nuances that transform flour and water into something nourishing and delicious. This knowledge, once mastered, elevates the entire baking experience.
The impact of understanding these crucial rising stages extends beyond the kitchen. It's a microcosm of larger processes in life that require careful attention to detail and a willingness to wait for the right moment. The slow, steady fermentation during the first rise mirrors the gradual growth and development we experience in our own lives. The final proof, the second rise, represents the culmination of effort, the moment before the reward. Patience is a virtue,
the old adage reminds us, and nowhere is this more evident than in the art of bread making.
Now, consider your own projects, your own aspirations. Are you rushing through crucial stages, neglecting the importance of a proper "first rise"? Are you allowing yourself the necessary time for reflection and growth before pushing towards the final goal? I encourage you to take a moment, reflect on this parallel, and apply the lessons learned from the humble white bread to your own life. Embrace the process, appreciate the nuances, and savor the delicious results – both in the kitchen and beyond.
Unlock Your Perfect Loaf: Master the Two Rises!
Thanks for taking the time to learn about the crucial difference between the first and second rise in white bread baking! You're now equipped with knowledge that will significantly improve your bread-making skills. Ready to put it into practice?
- Bake a test loaf today! Use what you've learned to perfect your technique. Experiment with timing and see how it affects the final result.
- Share your baking journey! Post a picture of your loaf on social media and tag us — we'd love to see your success!
- Challenge yourself: Try adapting this technique to another bread recipe. How does the double rise affect a different dough?
What small tweak to your baking process are you most excited to try based on what you learned today?