
OverProofing Signs: How to Spot and Maybe Save Your Dough

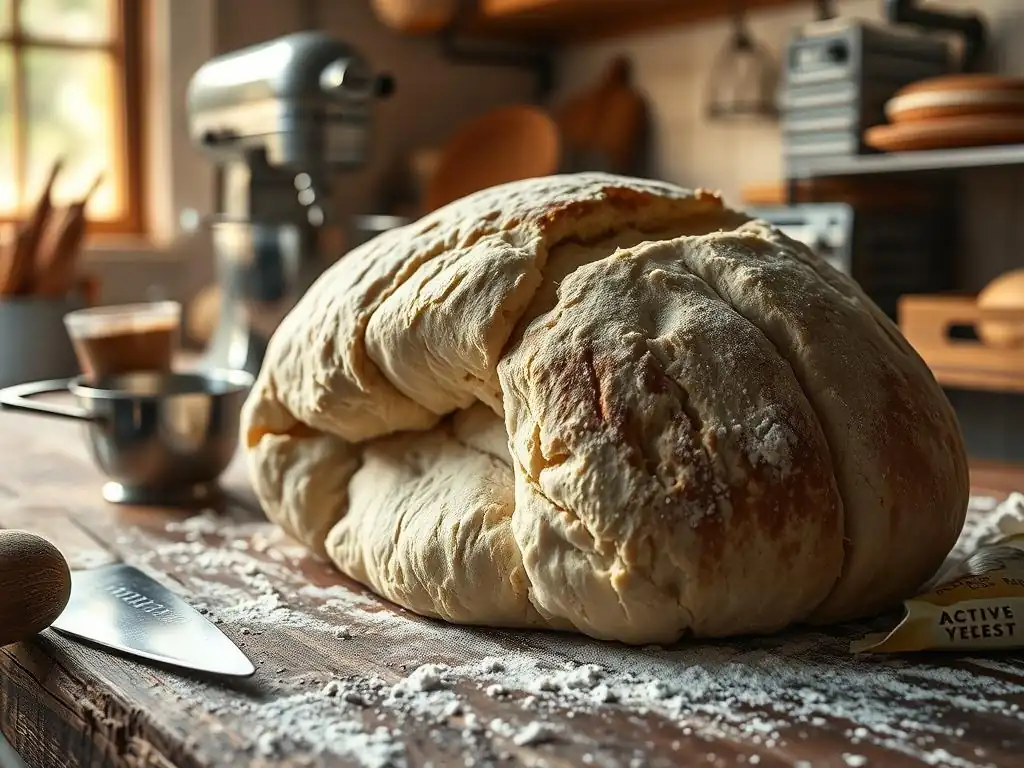
Welcome to BakeWithEase, your trusted companion on your baking journey! Ever felt the dread of a deflated loaf, wondering where you went wrong? This time, we're diving deep into a common baking pitfall: overproofing. Discover the subtle overproofing dough troubleshooting tips that can make all the difference between baking bliss and a baking blunder. Ready to learn how to spot the signs and, just maybe, rescue your precious dough? Let's get started!
- Overproofed Bread Dough: Recognizing and Rectifying Issues
- Understanding Dough Proofing and Overproofing
- Identifying Overproofed Dough: Physical Signs
- Recognizing Overproofed Dough: Baking Performance
- Rectifying Overproofed Dough: Rescue Techniques
- Preventing Overproofing: Best Practices
- Common Causes of Overproofing
- Troubleshooting Overproofed Dough: Specific Dough Types
- Utilizing Overproofed Dough: Alternative Applications
- Mastering Proofing: Continuous Improvement
- Frequently Asked Questions
- Final Reflection: The Resilience of Dough, the Resilience of Us
- Ready to Rise Above Overproofed Dough?
Overproofed Bread Dough: Recognizing and Rectifying Issues
Understanding Dough Proofing and Overproofing
Proofing is a critical stage in bread making, where the dough rests and rises. It's during this period that yeast produces carbon dioxide gas, which is trapped within the gluten network, causing the dough to expand and develop flavor. Achieving the perfect proof is key to a well-structured, airy loaf. However, letting the dough proof for too long or in an environment that's too warm can lead to overproofing, a common issue bakers face. Recognizing the signs early is the first step in overproofing dough troubleshooting tips that can potentially save your bake.
Overproofing happens when the yeast has consumed most of the available sugars and produced an excessive amount of gas, weakening the gluten structure. This can result in a dough that collapses, lacks oven spring, and produces a dense or gummy final product. Understanding the delicate balance required during proofing is fundamental to avoiding this pitfall and mastering your bread baking skills.
What is Proofing and Why is it Important?
Proofing, also known as final fermentation or second rise (after the bulk fermentation), is the period after shaping the dough but before baking. Its primary purpose is to allow the dough to increase in volume and develop a lighter texture due to the trapped carbon dioxide produced by yeast activity. This rise is essential for creating an open crumb structure and ensuring the bread isn't dense or heavy. A well-proofed dough will have enough gas built up to expand properly in the oven.
Furthermore, proofing contributes significantly to the flavor profile of the bread. As yeast and other microorganisms (especially in sourdough) ferment sugars, they produce various metabolic byproducts, including organic acids and alcohols. These compounds add complexity and depth to the final taste and aroma of the baked loaf. Proper proofing ensures these flavors have time to develop, making the difference between a bland bread and one bursting with character.
The Role of Yeast in Dough Development
Yeast, whether commercial baker's yeast or wild yeast in a sourdough starter, is the engine driving the proofing process. These single-celled organisms consume sugars present in the flour and convert them into carbon dioxide gas and ethanol alcohol through fermentation. The gas is what inflates the dough, while the alcohol contributes to flavor. The rate at which yeast produces gas is highly dependent on temperature, available sugar, and the concentration of yeast in the dough.
As yeast ferments, it also contributes to the maturation of the gluten network. The acids produced by yeast (and lactic acid bacteria in sourdough) help break down proteins slightly, making the gluten more extensible and able to hold more gas. However, if fermentation goes on for too long, these enzymatic actions can weaken the gluten network excessively, leading to the dreaded overproofing state where the dough loses its structural integrity and can no longer hold the gas effectively.
The Difference Between Proofing and Fermentation
While often used interchangeably, especially in home baking contexts, fermentation and proofing refer to distinct phases, though both involve yeast activity. Fermentation (specifically, bulk fermentation or the first rise) is the initial period after mixing and kneading, where the dough rests and begins to rise as yeast becomes active. This phase is crucial for developing strength in the gluten network through folds and allowing significant flavor development. It typically happens in a single mass before the dough is divided and shaped.
Proofing, on the other hand, is the final rise that occurs after the dough has been shaped into its final form (like a loaf, roll, or pizza). This stage is shorter than bulk fermentation and focuses on achieving the ideal volume before baking. While fermentation continues during proofing, the term "proofing" specifically refers to this last rise of the shaped dough. Overproofing specifically describes the issue occurring when this final rise goes too far, weakening the structure just before baking.
Identifying Overproofed Dough: Physical Signs
Spotting overproofed dough before it hits the oven is crucial for successful overproofing dough troubleshooting tips. Several physical signs can alert you that your dough has gone past its prime. Pay close attention to how the dough looks, feels, and even smells. These sensory cues are often the most reliable indicators, more so than just following a recipe's suggested timeline, as environmental factors like temperature can drastically alter proofing speed.
Recognizing these signs early can allow you to attempt rescue techniques or adjust your baking plan accordingly. Ignoring these signals and baking an overproofed dough will almost certainly result in a disappointing loaf with poor volume and texture. Therefore, developing a keen eye and touch for properly proofed dough is a vital skill for any baker.
Visual Cues: Appearance and Volume
One of the most immediate signs of overproofing is the dough's appearance and volume. A properly proofed dough should have increased significantly in size, often doubling or nearly doubling, depending on the recipe and dough type. Its surface should appear smooth and rounded, with a slight domed shape. However, an overproofed dough will often look overly large and potentially puffy, sometimes even starting to spread outwards rather than holding a compact shape.
In severe cases of overproofing, the dough might even show signs of deflation or collapse. You might see large bubbles just under the surface, or the surface might look slack and wrinkled rather than taut. Instead of a gentle dome, it might have flattened out considerably. For example, a loaf shaped in a banneton might have overflowed the basket and started spilling over the sides, losing its defined shape.
Texture and Feel: The Touch Test
The "poke test" is a classic method for assessing proofing, and it's particularly useful for identifying overproofed dough. Gently press a floured finger about half an inch into the side of the dough. If the indentation springs back immediately, the dough is underproofed. If it springs back slowly but doesn't completely disappear, leaving a small indentation, the dough is likely perfectly proofed.
If the indentation remains completely or springs back only very slowly and minimally, the dough is likely overproofed. It will feel very soft, slack, and perhaps even a bit fragile. The gluten structure has been stretched too far and weakened, so it lacks the elasticity to bounce back. The dough might also feel oddly light and airy, but without the underlying structure to support it.
Smell: Recognizing the Odor
While less commonly discussed than visual or tactile cues, the smell of the dough can also indicate its proofing stage. A properly proofed dough will have a pleasant, yeasty, slightly sweet aroma. This is the smell of healthy fermentation happening as the yeast consumes sugars.
An overproofed dough, however, can develop a strong, sometimes pungent or overly alcoholic smell. This indicates that the yeast has worked through most of the simple sugars and may be starting to break down more complex carbohydrates or producing excessive amounts of alcohol. The aroma might be sharp or sour, particularly noticeable in doughs that have been proofing for a very long time in a warm environment.
Recognizing Overproofed Dough: Baking Performance
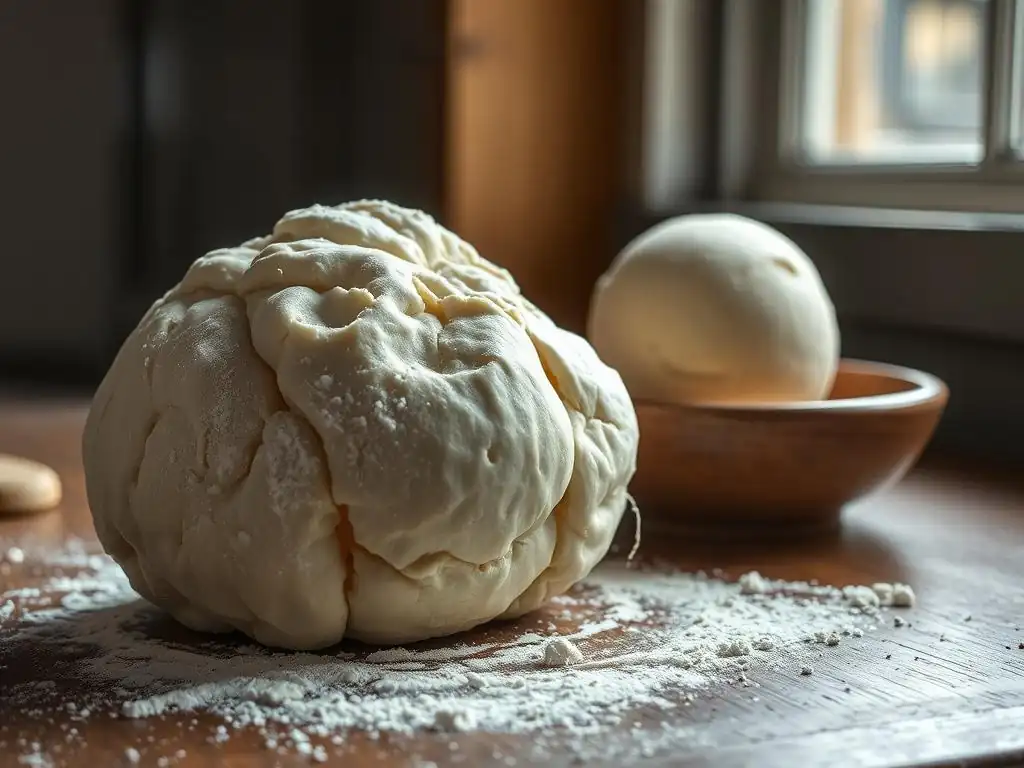
Even if you missed the physical signs, the way your dough behaves in the oven and the final crumb structure of the baked bread will definitively tell you if it was overproofed. Overproofing dough troubleshooting tips often extend to adjusting baking methods to try and mitigate the issues caused by the compromised dough structure. Observing the bake is a crucial diagnostic step for future bakes.
The most telling signs appear during the initial stages of baking and when you slice open the finished loaf. Lack of expected oven spring and a poor crumb structure are hallmarks of dough that has gone too far in its final rise.
Oven Spring and Shape Retention
Oven spring is the rapid expansion of the dough during the first 10-15 minutes of baking, caused by the sudden increase in yeast activity and the conversion of water to steam within the dough. A properly proofed dough will experience significant oven spring, rising beautifully and achieving a good volume. An overproofed dough, however, has a weakened gluten structure that cannot support this rapid expansion.
As a result, an overproofed dough will likely have very little or no oven spring. It might spread out rather than rising upwards, resulting in a flat, dense loaf. The shape you carefully formed during shaping might not hold, becoming amorphous or collapsing as soon as it hits the heat. For instance, a boule shaped for a Dutch oven might flatten into a disc instead of holding its round form.
Crumb Structure and Texture
The internal structure, or crumb, of the baked bread is perhaps the most definitive indicator of overproofing. A properly proofed loaf will have an open, airy crumb with varying sizes of holes, distributed relatively evenly. The texture will be light and pleasant to chew.
An overproofed dough typically results in a dense, tight crumb structure, often with large, irregular tunnels of air near the top or edges and a dense base. The gluten has collapsed, so it can't hold small, evenly distributed pockets of gas. The texture can feel heavy, gummy, or even wet. This is a classic outcome when troubleshooting overproofed dough after the bake.
Rectifying Overproofed Dough: Rescue Techniques
So, you've identified your dough as overproofed. Don't despair! While you can't fully restore the dough to its perfectly proofed state, there are several overproofing dough troubleshooting tips and techniques you can employ to try and salvage your bake or repurpose the dough. The success of these methods depends on the severity of the overproofing. Mildly overproofed dough is much easier to rescue than dough that has completely collapsed.
The goal of these rescue attempts is often to gently redistribute the gas, potentially strengthen the gluten slightly, and adjust the baking process to accommodate the compromised structure. It's about making the best of a less-than-ideal situation and still getting an edible, perhaps even enjoyable, result.
The Punch-Down Method: Releasing Excess Gas
For dough that is only slightly overproofed and hasn't completely collapsed, a gentle punch-down can sometimes help. This involves gently deflating the dough to release some of the excess carbon dioxide gas. Be careful not to be too rough, as aggressive handling can further damage the weakened gluten.
After punching down, you can try reshaping the dough and giving it a very short second proof (perhaps 15-30 minutes, depending on the dough and temperature). The idea is to allow just enough time for a little more gas to be produced and trapped before the gluten weakens again. This method works best for enriched doughs or those with a robust gluten structure.
Re-kneading: When and How to Attempt
In cases of significant overproofing where the dough is very slack and has lost its structure, a more drastic measure is re-kneading. This involves gently kneading the dough again for a few minutes (perhaps 2-5 minutes). The purpose is to develop the gluten structure slightly more and redistribute the yeast and sugars.
After re-kneading, the dough will need to be shaped again and undergo a second proof. This second proof must be significantly shorter and more carefully monitored than the original proof. This method is more successful with lean doughs (flour, water, salt, yeast) than with delicate or enriched doughs. It's a high-risk, high-reward strategy among overproofing dough troubleshooting tips.
Adjusting Baking Time and Temperature: Mitigating the Damage
If the dough is only slightly overproofed and you choose not to punch down or re-knead, or if those steps haven't fully recovered the dough, you can adjust your baking strategy. Overproofed dough benefits from being baked at a slightly higher temperature initially. This helps to set the crust quickly and can provide a little bit of structural support before the weakened interior collapses.
Consider starting your oven 10-15°F (around 5-8°C) higher than usual for the first 10-15 minutes, then reducing it to the recipe's specified temperature for the remainder of the bake. You might also need to reduce the overall baking time slightly, as the dough has less structural integrity and may cook faster. Using a baking stone or steel can also help provide a strong heat source from below, encouraging better initial lift.
Preventing Overproofing: Best Practices
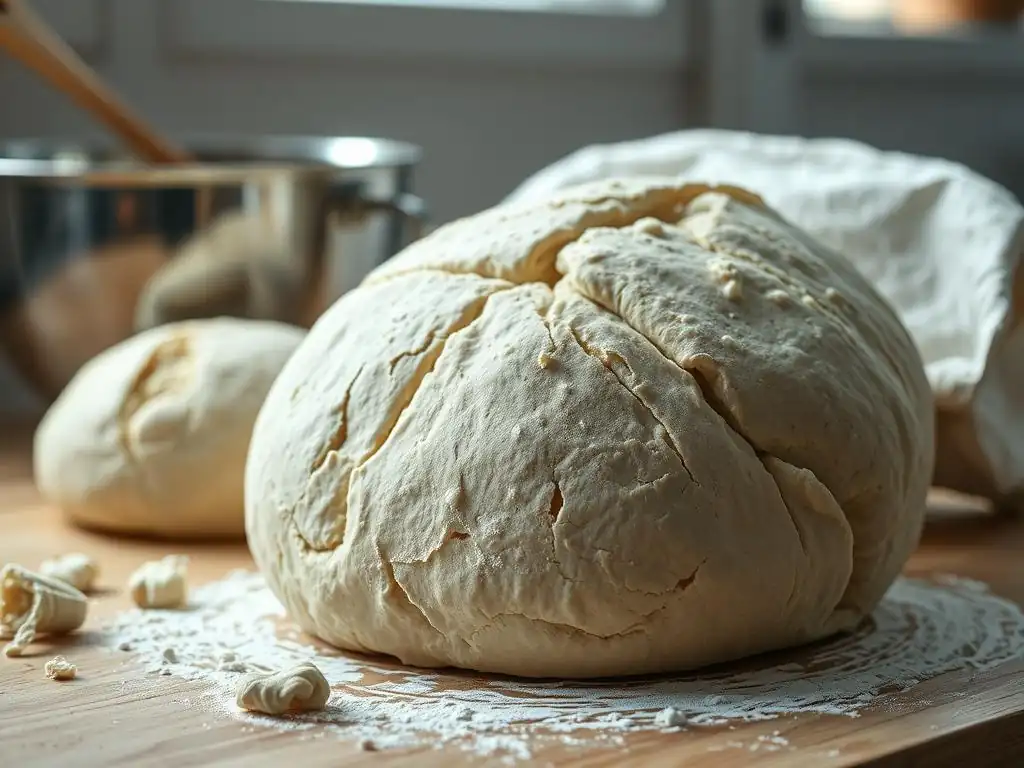
Prevention is always better than cure, especially when it comes to avoiding overproofed dough. By implementing careful practices throughout the proofing process, you can significantly reduce the likelihood of this issue occurring. This involves understanding the factors that influence yeast activity and monitoring your dough closely, rather than relying solely on a clock.
Incorporating these best practices into your regular baking routine will lead to more consistent and successful loaves. It's about creating the optimal environment for your dough and paying attention to its cues, not just the recipe instructions.
Controlling Temperature: Consistent Environment
Temperature is the single most critical factor influencing the rate of yeast activity and, consequently, proofing speed. Warmer temperatures accelerate fermentation, while cooler temperatures slow it down. Proofing dough in a consistent environment is key to predictable results. Aim for a stable temperature, typically between 70-80°F (21-27°C) for faster proofing, or cooler temperatures (like refrigerating at 35-40°F or 2-4°C) for slow, overnight proofing that develops more flavor.
Avoid drafty spots or placing dough directly in sunlight or near a heat source, which can cause uneven and rapid proofing. Using a proofing box (homemade or commercial), an oven with a proofing setting, or even just placing the dough in a turned-off oven with the light on can help maintain a consistent temperature. Understanding how your ambient kitchen temperature affects proofing times is vital for preventing overproofing dough.
Monitoring Time: Visual and Tactile Cues
While recipes provide estimated proofing times, these are merely guidelines. The actual time required can vary significantly based on the temperature, the amount of yeast used, the type of flour, and even the dough's hydration level. Relying solely on the clock is a common cause of overproofing. Instead, use the suggested time as a starting point and begin checking your dough using visual and tactile cues (like the poke test) as the estimated time approaches.
Check the dough's volume – has it roughly doubled? Perform the poke test – does the indentation spring back slowly? Look for the surface tension – is it still taut but not stretched too thin? By actively monitoring the dough's progress and using your senses, you can catch it at the peak of its proofing, before it starts to weaken.
Adjusting Yeast Levels: Considering Environmental Factors
The amount of yeast in a recipe is usually calibrated for a specific proofing time and temperature. If you know your kitchen is particularly warm, or if you want a longer, slower proof for better flavor development, you might need to reduce the amount of yeast used in the recipe. Conversely, in a cooler environment, slightly increasing yeast or finding a warmer spot can help the dough proof within a reasonable timeframe.
For example, a recipe calling for 2 teaspoons of instant yeast might proof in 1 hour at 75°F (24°C). If your kitchen is consistently 85°F (29°C), that dough might be overproofed in 45 minutes. Reducing the yeast to 1.5 teaspoons or proofing in a slightly cooler spot could prevent this. Learning to adjust yeast based on your proofing conditions is a key overproofing dough troubleshooting tip before the problem even starts.
Understanding Hydration: Its Impact on Proofing
Dough hydration (the ratio of water to flour) also plays a role in proofing speed and the signs of overproofing. Higher hydration doughs (like ciabatta or many sourdoughs, often 70-85%+ hydration) tend to proof faster because the yeast has easier access to sugars in the more liquid environment. They also tend to show signs of overproofing (like spreading and losing structure) more quickly and dramatically than lower hydration doughs (like bagel dough, often 50-55% hydration).
Conversely, lower hydration doughs proof more slowly and hold their shape better, making them slightly more forgiving of minor overproofing. Being aware of your dough's hydration level helps you anticipate its proofing speed and adjust your monitoring accordingly. A high-hydration dough will require closer attention during proofing to avoid becoming a slack, overproofed puddle.
Common Causes of Overproofing
While temperature and time are the most significant factors, several common mistakes can lead to overproofed dough. Identifying these potential culprits in your baking process is the first step in applying effective overproofing dough troubleshooting tips and preventing the issue from recurring. Often, it's a combination of factors rather than a single error.
Understanding the root causes allows you to make targeted adjustments to your technique or recipe. For instance, if you consistently overproof, you might be using too much yeast for your proofing environment or misjudging the dough's readiness based on visual cues alone.
Inaccurate Temperature Control
One of the most frequent causes of overproofing is simply proofing the dough in an environment that is too warm, either intentionally or unintentionally. As mentioned, yeast activity doubles roughly every 18°F (10°C) increase in temperature. Proofing dough at 85°F (29°C) instead of the recipe's assumed 75°F (24°C) can cut the required proofing time almost in half.
Leaving dough near a sunny window, next to a warm oven, or in a kitchen that's much warmer than usual can rapidly accelerate proofing. Conversely, trying to rush proofing by placing dough in a very hot spot can lead to poor flavor development and an overproofed state before the gluten has fully relaxed and developed elasticity. Consistent, controlled temperature is paramount.
Relying Solely on Recipe Timelines
Recipes provide estimated proofing times based on typical conditions and yeast levels. However, your kitchen environment, the specific type of flour you use, the age and activity of your yeast, and even the temperature of your water can all affect how quickly the dough proofs. Blindly following a recipe's instruction to "proof for 1-2 hours" without checking the dough's progress is a recipe for overproofing.
Always treat recipe times as estimates. Start checking your dough at the lower end of the suggested range and use tactile and visual cues to determine when it's ready. For example, if a recipe says proof for 60-90 minutes, start checking at 50 minutes, especially if your kitchen feels warm. This proactive monitoring is a fundamental aspect of overproofing dough troubleshooting tips.
Using Excessive Yeast
Some recipes, particularly those designed for very fast results, might call for a relatively high amount of yeast. While this speeds up the process, it also means the dough will reach its peak proofing point much faster and decline more rapidly. If you are new to baking or prone to overproofing, consider slightly reducing the amount of yeast in a recipe (perhaps by 10-20%) to give yourself a larger window of time for monitoring.
Using old or very active yeast can also contribute to faster-than-expected proofing. Always store yeast properly (usually in the refrigerator or freezer) and check its expiration date. If you're unsure about your yeast's activity, you can bloom it in warm water with a pinch of sugar before adding it to the dough to ensure it's alive and gauge its vigor.
Troubleshooting Overproofed Dough: Specific Dough Types
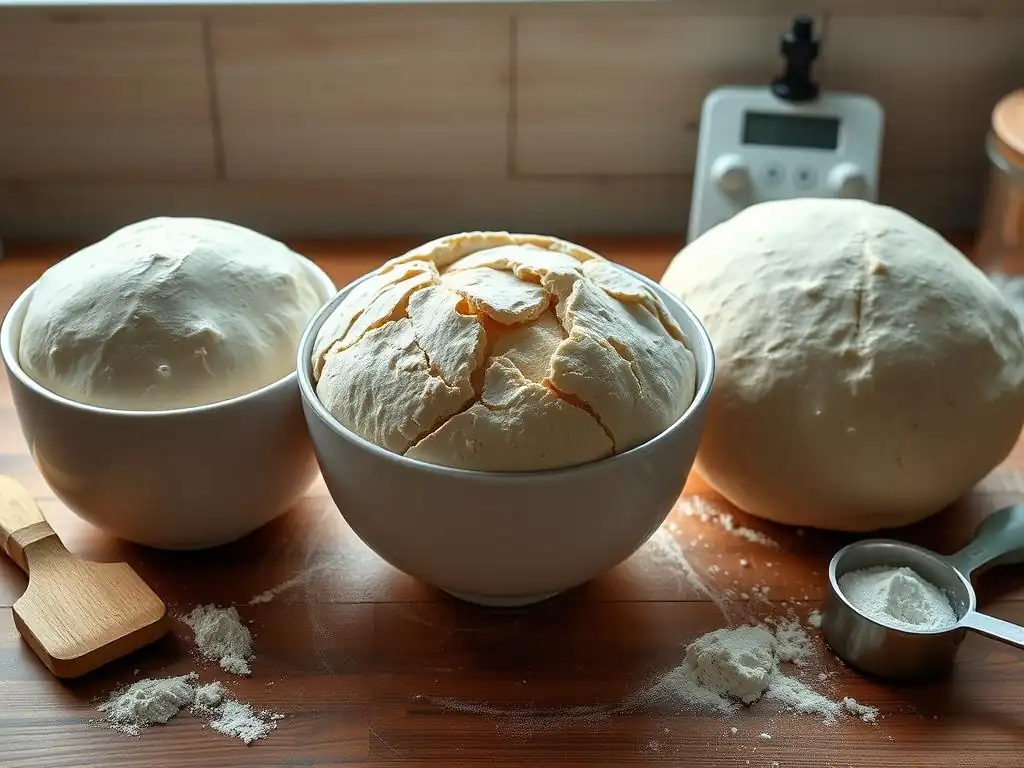
Not all doughs behave the same way when overproofed, and the best overproofing dough troubleshooting tips can vary depending on the type of dough you're working with. Understanding the unique characteristics of different dough formulations helps in both identifying overproofing and attempting a rescue.
The composition of the dough – particularly its hydration, the presence of sugar and fat, and the type of leavening (commercial yeast vs. sourdough) – influences how quickly it proofs, how strong its gluten structure is, and how it responds to corrective measures.
Sourdough: Unique Considerations
Sourdough doughs are leavened by a symbiotic culture of wild yeast and lactic acid bacteria. While wild yeast produces gas like commercial yeast, the bacteria produce organic acids (lactic and acetic). These acids contribute significantly to flavor but also affect gluten structure, potentially weakening it over a long fermentation. Sourdough fermentation is generally slower than commercial yeast, making it slightly less prone to rapid overproofing if managed correctly, but severe overproofing can be harder to fix.
An overproofed sourdough will often smell intensely sour or alcoholic. Visually, it might look very bubbly on the surface and feel exceptionally slack and fragile. Because the gluten might be significantly weakened by the acids, re-kneading can be detrimental. Gentle handling, reshaping, and a very short final proof (perhaps just 15-30 minutes, or straight to the oven if it's very far gone) are usually the best overproofing dough troubleshooting tips for sourdough. Sometimes, turning it into a flatbread is the most reliable salvage method.
Enriched Doughs: Adjusting for Sugar and Fat
Enriched doughs contain significant amounts of sugar, fat (like butter or oil), and sometimes eggs and milk (e.g., brioche, challah, cinnamon rolls). Sugar provides readily available food for yeast, potentially speeding up fermentation. Fat and eggs, while adding richness and tenderness, can also weigh down the dough and interfere slightly with gluten development, making the structure potentially more delicate.
Overproofed enriched doughs might look very puffy and feel greasy or heavy. The fat can make the dough feel less elastic and more prone to tearing if overproofed. While a gentle punch-down might work for slightly overproofed enriched dough, re-kneading is generally not recommended as it can make the dough tough. Adjusting baking temperature (slightly higher start) is often the best approach if physical rescue attempts aren't suitable.
Whole Wheat Doughs: Addressing Fiber Content
Whole wheat flour contains the bran and germ of the wheat kernel, unlike refined white flour. The bran particles are sharp and can interfere with gluten development by cutting the gluten strands. This means whole wheat doughs often have a weaker gluten structure compared to white flour doughs at the same hydration. This weaker structure makes them more susceptible to collapsing if overproofed.
Whole wheat doughs might also proof slightly faster than white doughs due to enzymatic activity in the bran and germ. An overproofed whole wheat dough will look dense and heavy, possibly with large cracks or tears on the surface. Because the gluten is already compromised by the bran, aggressive re-kneading is usually not effective. Gentle reshaping and a very short final proof, or immediately baking, are the recommended overproofing dough troubleshooting tips for whole wheat dough.
Utilizing Overproofed Dough: Alternative Applications
Sometimes, despite your best overproofing dough troubleshooting tips and efforts, the dough is simply too far gone to make a decent loaf of bread. It might be too slack, too sticky, or have completely collapsed. In these instances, the most practical solution is to pivot and use the dough for alternative applications where a strong gluten structure and significant oven spring aren't necessary. This is a great way to avoid waste and still create something delicious.
Think of applications where a flatter, less airy dough is acceptable or even desirable. Many common recipes can be adapted to use dough that didn't quite make the cut for a risen loaf.
Flatbreads and Pizza Crusts
Overproofed dough, particularly lean doughs, is perfectly suited for making flatbreads or pizza crusts. Since these applications don't require significant height or oven spring, the weakened gluten structure isn't a major issue. Simply punch down the overproofed dough, divide it into portions, and roll or stretch it out thinly.
You can bake these on a hot surface like a baking steel, cast iron pan, or grill. The result will be a flavorful flatbread or a chewy pizza crust. This is perhaps the easiest and most common way to salvage overproofed dough.
If the overproofed dough is too sticky or fragile even for flatbreads, you can bake it off and turn it into croutons or breadcrumbs. Bake the collapsed or very slack dough as best as possible – it might be dense and flat, but it will still be cooked.
Once baked and cooled, cut the dense bread into cubes for croutons or process it into breadcrumbs. These can be stored and used later in salads, soups, casseroles, or as a coating for fried foods. This ensures that even severely overproofed dough doesn't go to waste.
Animal Feed (Composting as a Last Resort)
As a final resort, if the dough is truly unusable for human consumption (perhaps it has developed off-flavors from extreme overproofing or wasn't handled hygienically after collapsing), it can potentially be used as animal feed if you have livestock, or added to a compost pile.
Ensure that the dough is cooled before offering it to animals or adding it to compost to avoid issues. While not the ideal outcome, it's better than simply discarding the ingredients. This is the last step in overproofing dough troubleshooting tips when all else fails.
Mastering Proofing: Continuous Improvement
Becoming proficient at proofing dough and avoiding overproofing is a skill that develops over time with practice and observation. Every batch of dough is a learning opportunity, and paying attention to the variables involved will help you understand how to achieve the perfect proof consistently.
Think of it as a journey rather than a destination. There will be times when dough is slightly under or overproofed, but by learning from each experience, you'll build intuition and confidence in managing this crucial stage of bread baking.
Practice and Observation: Key to Success
The more you bake, the better you'll become at recognizing the subtle signs of properly proofed dough. Practice with different recipes, hydration levels, and proofing environments. Pay close attention to how the dough looks and feels at various stages of proofing.
Observe how different temperatures affect the proofing time for the same recipe. Over time, you'll develop a tactile memory and visual reference for what "just right" feels and looks like, making overproofing dough troubleshooting tips less about rescue and more about prevention.
Note-Taking: Tracking Environmental Factors
Keeping a baking journal can be incredibly helpful in mastering proofing. Note down the recipe used, the amount of yeast, the ambient kitchen temperature, the water temperature, the bulk fermentation time, and the proofing time. Also, record your observations on how the dough looked and felt at the end of proofing and how the final bread turned out (oven spring, crumb).
Reviewing these notes can help you identify patterns. Did the dough overproof when the kitchen was particularly warm? Did reducing the yeast help in that specific recipe? This systematic approach allows you to learn from both successes and failures and refine your proofing process.
Further Resources: Recommended Reading
To deepen your understanding of yeast activity, gluten development, and the science behind proofing, consider exploring reputable baking books and online resources. Books like "Flour Water Salt Yeast" by Ken Forkish or "The Bread Baker's Apprentice" by Peter Reinhart offer extensive explanations of fermentation and proofing techniques.
Understanding the underlying principles will make the overproofing dough troubleshooting tips you learn even more effective. Continuously educating yourself about the craft of baking is part of the joy of mastering it.
Frequently Asked Questions
What are the main signs of overproofed dough?
The primary signs include a collapsed or deflated structure, a sour or alcoholic smell, and a sticky, difficult-to-handle texture.
Can overproofed dough be saved, and if so, how?
Sometimes, yes! You can try to gently deflate the dough and reshape it, or add fresh flour and knead it lightly. However, results may vary.
What causes dough to become overproofed in the first place?
Overproofing is typically caused by allowing the dough to rise for too long, or at a temperature that is too warm.
Does the type of flour used affect the risk of overproofing?
Yes, certain flours, particularly those with high gluten content, may be more susceptible to overproofing if not monitored carefully. Weak flours might overproof quicker.
How can I prevent overproofing my dough in the future?
Use the recommended proofing time in the recipe as a guideline, monitor the dough's volume increase, and keep an eye on the dough's overall appearance and texture.
Final Reflection: The Resilience of Dough, the Resilience of Us
The subtle art of bread baking, often perceived as simple, reveals itself as a delicate dance between science and intuition. Overproofing, a seemingly minor mishap, can derail even the most experienced baker's efforts, highlighting the crucial role of observation and adaptation in achieving perfection. This isn't just about perfectly risen loaves; it's about understanding the process, learning from mistakes, and ultimately, finding resilience in the face of unexpected challenges.
The impact of a perfectly risen loaf extends far beyond the simple act of baking. It represents a connection to tradition, a celebration of simple ingredients transformed, and a tangible representation of patience and care. The best bread is made with love,
a wise baker once told me, and I believe it wholeheartedly. This extends beyond the bread itself; the lessons learned from overproofing – the careful observation, the adjustments made, the acceptance of imperfection – these are skills transferable to all aspects of life. We all face moments where our plans go awry, where we need to adapt and adjust to achieve our goals.
Consider this your invitation to embrace the imperfections. Don't be discouraged by a fallen loaf; instead, see it as an opportunity to learn, to refine your technique, and to deepen your understanding of the process. The next time you're kneading dough, remember the lessons learned here. Observe closely, trust your instincts, and don't be afraid to experiment. The journey to perfect bread, like the journey of life itself, is a process of continuous learning and growth. And the rewards, both in the taste and the experience, are well worth the effort.
Ready to Rise Above Overproofed Dough?
Thanks for joining us on this baking adventure! We hope you now feel more confident in spotting those tell-tale signs of overproofed dough. Ready to put your newfound knowledge into practice?
- Bake a perfect loaf today! Grab your favorite recipe and pay close attention to those subtle cues – you’ll be amazed by the difference.
- Share your baking triumphs (and mishaps!) with us in the comments below. Let's build a supportive baking community together!
- Challenge yourself to try a new bread recipe this week, focusing on recognizing the optimal proofing stage.
So, what delicious bread will you be tackling next?