
Troubleshooting Dense Rye Bread: Fix Common Problems

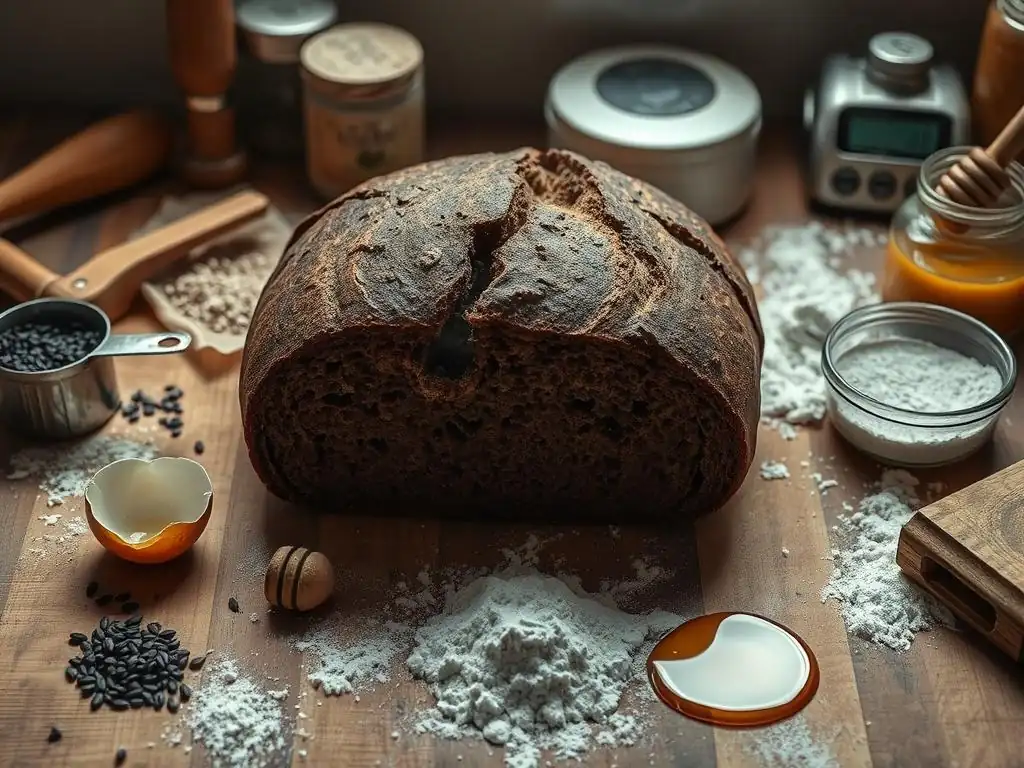
Welcome to BakeWithEase, your guide to confident baking! Ever wrestled with a dense rye bread that just didn't rise? You're not alone! Dive in to discover our expert troubleshooting tips and transform your next loaf into a light, airy masterpiece. Let's unravel the mysteries of rye and unlock the secrets to perfect bread baking, one delicious slice at a time.
- Troubleshooting Dense Rye Bread: Achieving the Perfect Loaf
- Understanding Rye Bread Density
- Troubleshooting Dense Rye Bread: Identifying and Solving Issues
- Common Mistakes in Rye Bread Baking and Prevention
- Achieving Optimal Texture: Advanced Techniques
- Recipe Adjustments for Improved Results
- Conclusion: Mastering Rye Bread Baking
-
Frequently Asked Questions
- What are the most common reasons why rye bread turns out too dense?
- How can I improve gluten development when making rye bread?
- What is the ideal ratio of rye flour to other flours for a less dense rye bread?
- How can I ensure my rye bread is properly proofed?
- What ingredients can I add to rye bread to help improve its texture and prevent it from being too dense?
- Final Reflection: The Enduring Mystery (and Delight) of Rye
- Unlock Your Perfect Rye Loaf!
Troubleshooting Dense Rye Bread: Achieving the Perfect Loaf
Rye bread is celebrated for its distinct flavor and hearty texture, but it can sometimes present challenges, particularly resulting in a dense loaf. Understanding the unique properties of rye flour is the first step in mastering this rewarding bake. Unlike wheat, rye flour has less gluten-forming potential, which significantly impacts dough structure and rise. This guide offers practical dense rye bread troubleshooting tips to help you achieve that ideal balance of flavor and texture.
Understanding Rye Bread Density
Rye flour behaves quite differently from wheat flour in baking. Its starches are highly absorbent and tend to hold onto water, while its proteins don't form the strong gluten network found in wheat. This inherent characteristic contributes to the denser crumb often associated with rye bread compared to airy wheat loaves. Learning to work with these properties is key to successful rye baking and effective dense rye bread troubleshooting.
The Impact of Rye Flour on Bread Structure
Rye flour contains pentosans, complex carbohydrates that are highly water-soluble and viscous. These pentosans absorb a large amount of water, often more than twice their weight, which is why rye doughs can feel incredibly sticky. While they contribute to the moistness and keeping quality of the bread, they also interfere with gluten development. In wheat dough, gluten creates a stretchy network that traps gases produced by yeast, allowing the bread to rise and develop an open structure. With rye, this gluten network is weaker or non-existent depending on the percentage of rye used, leading to a more compact crumb.
Furthermore, rye flour contains enzymes that break down starch more readily than wheat enzymes. This can affect the dough's structure and the final bread's texture, potentially leading to a gummy interior if not managed properly. The unique interaction of pentosans and enzymes is fundamental to the characteristics of rye bread and explains why standard wheat baking techniques don't always translate directly, making specific dense rye bread troubleshooting tips essential.
Common Causes of Dense Rye Bread
Several factors can contribute to a dense rye loaf. One primary cause is incorrect hydration; too little water results in a tight, heavy crumb, while too much can make the dough unmanageable and prevent proper structure formation. Another major issue is related to yeast activity and proofing. Rye doughs often require different proofing times and conditions than wheat doughs, and under- or over-proofing can easily lead to a dense result.
Dough handling also plays a critical role. Over-mixing can break down the limited structure rye provides, while under-mixing might leave ingredients unevenly distributed. Finally, oven temperature and baking time are crucial; baking at too low a temperature or for too short a time can leave the interior undercooked and dense. Addressing these specific points is at the core of effective dense rye bread troubleshooting.
Troubleshooting Dense Rye Bread: Identifying and Solving Issues
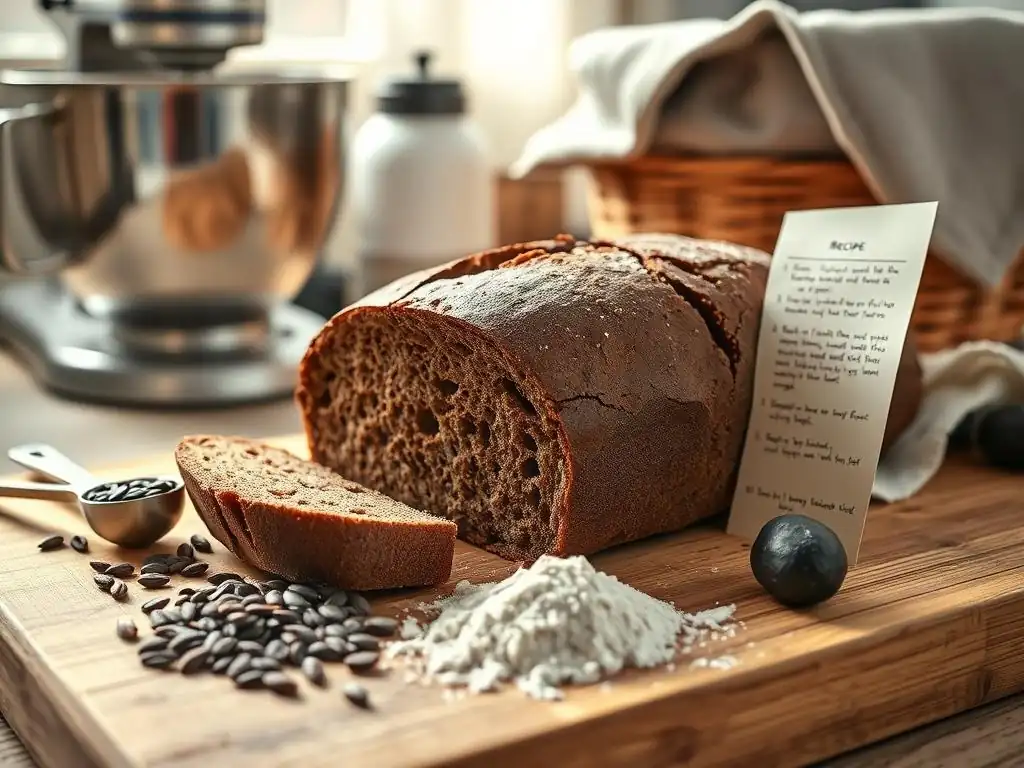
Identifying the specific cause of density is the first step in applying the right dense rye bread troubleshooting tips. Let's break down common problems and their solutions.
Problem 1: Hydration Imbalance
Hydration is arguably the most critical factor when working with rye flour due to its high absorbency. Getting the water-to-flour ratio wrong is a frequent cause of dense rye bread. Rye flour typically requires more water than wheat flour, but finding the sweet spot can be tricky.
Insufficient Hydration: Recognizing and Correcting Dry Dough
A dough with insufficient hydration will feel stiff, dense, and difficult to mix. It might not come together easily and will show cracks or tears during kneading or shaping. When baked, bread from an under-hydrated dough will likely have a very tight, dry, and dense crumb, even if it rose adequately during proofing. This is a classic sign that your hydration needs adjustment.
To correct insufficient hydration, always measure your ingredients accurately, preferably using a kitchen scale for both flour and water. Rye flour absorption can vary based on the type and grind, but a starting point of 75-85% hydration relative to the rye flour weight is common for medium or dark rye. If your dough consistently feels dry, gradually increase the water by 1-2% in your next bake.
You can also add a small amount of water during the initial mixing stage if the dough feels too stiff from the start. Remember, it's easier to add a little more water than to take it away.
Excessive Hydration: Achieving Optimal Dough Consistency
Excessive hydration results in a dough that is excessively sticky, slack, and difficult to handle. It might spread out rather than holding its shape during proofing and baking. While rye dough is inherently sticky, an overly wet dough feels more like a batter than a dough and lacks any semblance of structure. This can lead to a gummy, dense interior because the structure isn't strong enough to support the trapped gases.
Achieving optimal dough consistency involves careful measurement and observation. Start with a recommended hydration level from a trusted recipe. If your dough feels too wet, avoid the urge to add large amounts of flour, as this throws off the ratio. Instead, try reducing the water slightly in your next batch. For the current batch, you can try using wet hands or a dough scraper to handle the sticky dough. Incorporating a soaker or tangzhong (a cooked flour paste) can also help manage high hydration in rye doughs by pre-gelatinizing some starch, making the water less available to make the dough sticky upfront but keeping the crumb moist.
Problem 2: Yeast Activity and Proofing
Yeast activity is crucial for leavening, and rye doughs can sometimes present challenges for yeast due to their acidity (especially with sourdough) and unique structure. Proper proofing is equally vital; it's the stage where the dough develops flavor and volume.
Inactive Yeast: Testing and Activating
Inactive yeast is a common culprit behind a lack of rise, leading directly to dense bread. If your yeast is old, improperly stored, or exposed to too hot or cold water, it may not be viable. For active dry yeast, always "proof" it first. Dissolve the yeast in the amount of warm water specified in the recipe (typically around 105-115°F or 40-46°C) with a pinch of sugar. Wait 5-10 minutes; if it doesn't become foamy and bubbly, your yeast is likely dead and should be replaced.
Instant yeast can usually be mixed directly with dry ingredients, but checking its expiration date is still important. If you suspect your instant yeast might be sluggish, you can perform a similar test as with active dry yeast using a small portion of the recipe's water and sugar. Ensuring your water temperature is within the correct range is also vital for yeast activation; water that is too hot can kill the yeast, while water that is too cold will slow it down considerably.
Insufficient Proofing: Ensuring Proper Dough Rise
Under-proofing occurs when the dough hasn't had enough time or warmth to rise adequately before baking. The yeast hasn't produced enough carbon dioxide gas to properly expand the dough. This results in a loaf that is small, heavy, and dense with a tight crumb and potentially a burst crust where gases tried to escape during baking. It's a common issue when troubleshooting dense rye bread.
To ensure proper proofing, pay attention to the dough's volume and feel, not just the clock, as environmental factors like room temperature significantly affect proofing time. Rye doughs often don't double in size like wheat doughs; a 50-75% increase is often sufficient, depending on the rye percentage. The "poke test" can be helpful: gently press a floured finger into the dough about half an inch deep. If the indentation springs back immediately, the dough is under-proofed.
If it springs back very slowly or only partially, it's likely ready. If it stays indented completely, it might be over-proofed. Proofing in a warm, draft-free place helps ensure consistent rise.
Over-Proofing: Identifying and Preventing
Over-proofing happens when the dough has risen too much and then starts to collapse or lose structure before baking. The yeast has exhausted its food supply (sugars) and the gluten (or rye structure) can no longer hold the gas. Over-proofed dough may look puffy but will feel fragile and might deflate slightly when touched or moved. In the oven, it lacks the "oven spring" (final rapid rise) and can result in a dense, flat loaf with a coarse, uneven crumb and sometimes a gummy texture.
Preventing over-proofing requires careful monitoring, especially in warmer conditions. Again, rely on the poke test and visual cues more than strict timing. If you suspect your dough is approaching over-proofing but aren't ready to bake, you can try refrigerating it. The cold temperature slows down yeast activity significantly, buying you time. For sourdough rye, managing the starter's activity and ensuring it's used at its peak can also help prevent over-proofing issues.
Problem 3: Dough Handling and Mixing
How you mix and handle rye dough significantly impacts its final texture. Rye doesn't build gluten like wheat, so the goal isn't extensive kneading, but rather thorough ingredient incorporation and gentle handling to preserve the structure created by pentosans and other components.
Over-Mixing: Managing Gluten Development
While rye doesn't form a strong gluten network, wheat flour (often present in rye bread recipes) does. Over-mixing a dough containing wheat and rye can lead to the wheat gluten becoming too developed and tight, while simultaneously potentially damaging the delicate structure provided by the rye. This can result in a dense crumb rather than an open or moist one. The dough might feel tough or lose its initial stickiness in an undesirable way.
Focus on mixing until ingredients are just combined and the dough has a relatively uniform texture. Unlike wheat doughs that require vigorous kneading for 10-15 minutes, rye and rye-wheat blends often need only 5-8 minutes of mixing, or even less if using a stand mixer on a low speed. The goal is incorporation, not developing maximum elasticity. Many traditional rye recipes involve minimal kneading, relying more on rest periods and hydration to develop dough structure. These subtle differences are key dense rye bread troubleshooting tips.
Under-Mixing: Achieving Ingredient Incorporation
Conversely, under-mixing leaves ingredients unevenly distributed. You might find pockets of dry flour, salt, or yeast that haven't been fully incorporated into the dough. This leads to inconsistent texture throughout the loaf and can result in dense spots where ingredients weren't properly integrated to support the leavening process.
Ensure all dry ingredients are well distributed in the flour before adding liquids. Mix until no dry pockets remain and the dough is a cohesive mass. While avoiding over-mixing is important, ensuring all the flour is hydrated and all the leavening agent is evenly dispersed is crucial for a uniform crumb. A few minutes of gentle mixing by hand or on low speed in a mixer is usually sufficient to achieve this.
Shaping Techniques for Optimal Rise
The way you shape a rye loaf can affect its rise and final density. Rye doughs are often stickier and less elastic than wheat doughs, making shaping more challenging. Improper shaping can fail to create enough surface tension to support the dough during proofing and baking, leading to a flatter, denser loaf.
When shaping rye dough, work quickly and use a floured surface and floured hands or a dough scraper to minimize sticking. The goal is to create a relatively smooth outer skin that will help hold the dough's shape as it rises. For free-form loaves, a batard or boule shape with some surface tension is beneficial. For very high-percentage rye doughs, baking in a loaf pan provides the necessary support for the dough to rise upwards rather than outwards, often resulting in a better texture and preventing excessive density.
Problem 4: Oven Temperature and Baking Time
Baking is the final step, and getting the oven environment right is critical for the dough's structure to set properly. Incorrect temperature or insufficient baking time can leave the interior undercooked, leading to a gummy, dense center.
Incorrect Baking Temperature: Achieving Optimal Baking
Baking rye bread at too low a temperature can result in a lack of oven spring and a loaf that bakes too slowly, leading to a dense, heavy texture. The initial high heat is important for setting the crust and giving the loaf a final push upwards. Conversely, baking at too high a temperature might cause the crust to set too quickly before the interior is fully baked, also resulting in a dense or gummy middle.
Preheat your oven thoroughly, often for 30-60 minutes, to ensure it reaches and maintains the target temperature. Many rye bread recipes call for baking at a relatively high initial temperature (e.g., 450°F or 230°C) for the first 10-15 minutes to maximize oven spring, then reducing the temperature (e.g., to 400-425°F or 200-220°C) for the remainder of the bake to allow the interior to cook through without burning the crust. Using an oven thermometer is essential to verify your oven's actual temperature.
Insufficient Baking Time: Ensuring a Fully Baked Loaf
Pulling the loaf out of the oven too early is a surefire way to end up with a dense, gummy interior, especially common when troubleshooting dense rye bread. The exterior might look done, but the inside hasn't reached the temperature needed for the starches and proteins to set properly.
Baking time varies greatly depending on the size and shape of the loaf and the oven. A standard 1.5-2 lb rye loaf might need anywhere from 40 to 60 minutes or even longer. The best way to tell if rye bread is fully baked is by its internal temperature. Use an instant-read thermometer inserted into the center of the loaf.
Rye bread is typically done when the internal temperature reaches 200-210°F (93-99°C). The crust should also be a deep brown color, and the loaf should sound hollow when tapped on the bottom. Don't be afraid to bake it longer if it hasn't reached the target internal temperature.
Common Mistakes in Rye Bread Baking and Prevention
Beyond the specific issues above, certain fundamental mistakes can consistently lead to dense rye bread. Avoiding these common pitfalls is key to successful rye baking.
Mistake 1: Flour Selection
Using the wrong type of rye flour or failing to understand how different types behave can significantly impact the final texture.
Light Rye vs. Dark Rye: Understanding the Differences
Light rye flour is milled from the inner part of the rye berry and has a finer texture and less of the bran and germ. It contains less pentosans and more starch than darker rye flours. Doughs made with light rye are less sticky and can develop a slightly more open crumb than those made with darker flours.
Dark rye flour, also known as pumpernickel or medium rye depending on the grind and extraction rate, includes more of the bran, germ, and outer layers of the rye berry. It is higher in pentosans and has less starch. This results in a dough that is significantly stickier and a bread with a denser, moister crumb and a more pronounced rye flavor.
Understanding which type of flour your recipe calls for and its properties is crucial when troubleshooting dense rye bread. Substituting dark rye for light rye without adjusting hydration or technique will likely result in a much denser loaf.
Utilizing Other Flours Appropriately
Most rye bread recipes include some percentage of wheat flour (bread flour or all-purpose flour) to provide gluten structure and improve the loaf's rise and texture. Using too high a percentage of 100% rye can be challenging and often results in a very dense loaf unless specific techniques are employed (like detmolder sour). If your recipe calls for a blend, using the correct ratio of wheat to rye is important.
If you're aiming for a lighter rye loaf, using a higher percentage of wheat flour (e.g., 60-70% wheat, 30-40% rye) and light rye flour will help. For a traditional, denser rye, a higher percentage of dark or medium rye (e.g., 50-80% rye) is appropriate, but be prepared for a different dough consistency and crumb structure compared to wheat bread. Experimenting with different blends can help you find the texture you prefer while applying dense rye bread troubleshooting tips.
Mistake 2: Skipping the Autolyse
An autolyse is a resting period after the initial mixing of just flour and water. It's a technique often used in wheat baking to help with hydration and gluten development. While rye doesn't develop a strong gluten network, an autolyse can still be beneficial for rye doughs.
Autolyse: Importance for Rye Bread
For rye doughs, an autolyse helps the pentosans and starches fully hydrate. This leads to a smoother dough that is easier to handle later. It also allows the limited gluten development in any wheat flour present to begin without the presence of salt (which can tighten gluten) or yeast (which starts fermentation). This initial hydration step makes the subsequent mixing easier and ensures the flour is fully saturated, which is vital for preventing dense spots in the final bread.
An autolyse period of 20-30 minutes is often sufficient for rye doughs. Mix the flour(s) and water from your recipe until just combined, forming a shaggy mass. Cover the bowl and let it rest. After the autolyse, add the salt, yeast (if using commercial yeast), or sourdough starter and mix until fully incorporated. You'll notice the dough is already smoother and more pliable than if you had added all ingredients at once. This simple step is a valuable dense rye bread troubleshooting tip for improving texture.
Autolyse Technique for Rye
- Weigh out all your flour(s) and water according to the recipe.
- In a mixing bowl, combine the flour(s) and water. Mix using a spoon, spatula, or your hands until no dry flour remains and a shaggy dough forms. Do not add salt, yeast, or starter at this stage.
- Cover the bowl with plastic wrap or a damp towel to prevent the surface from drying out.
- Let the dough rest at room temperature for 20 to 30 minutes.
- After the rest, add the remaining ingredients (salt, yeast/starter) and continue mixing or kneading as specified in your recipe.
Mistake 3: Starter or Sourdough Management (if applicable)
If you're baking sourdough rye, the health and activity of your starter are paramount. A weak or improperly managed starter is a primary reason for a lack of rise and, consequently, dense sourdough rye bread.
Maintaining a Healthy Rye Sourdough Starter
A healthy rye sourdough starter should be active, bubbly, and have a pleasant, tangy aroma. It should reliably double or triple in volume within a predictable timeframe after feeding (typically 4-12 hours, depending on temperature and hydration). If your starter is sluggish, doesn't rise much, or smells strongly of acetone, it may be weak or hungry.
Feed your starter regularly (daily if kept at room temperature, weekly if refrigerated) with a consistent ratio of flour and water. Using rye flour to feed a rye starter is ideal, but a mix with wheat flour can also work. Ensure the water temperature is lukewarm, not cold or hot. Discarding a portion before feeding helps maintain a healthy microbial balance. Using the starter when it is at its peak activity (often shortly after it has doubled in size) will provide the best leavening power for your dough, directly impacting your dense rye bread troubleshooting success.
Adjusting Recipe Based on Starter Activity
Not all starters are created equal, and their activity levels can vary. If your starter is less vigorous than what the recipe assumed, the dough will take longer to rise, or might not rise enough, leading to density. Conversely, a very active starter might lead to faster proofing and the risk of over-proofing.
Pay attention to your starter's behavior. If it's less active, you might need to increase the percentage of starter in your recipe slightly (e.g., from 20% to 25% of the flour weight) or extend the proofing time. If it's very active, you might need to shorten proofing times or reduce the starter percentage. Using warm water for the dough can also help boost a sluggish starter's activity. Learning to "read" your starter and adjust accordingly is a key skill in sourdough rye baking and crucial for effective dense rye bread troubleshooting.
Achieving Optimal Texture: Advanced Techniques
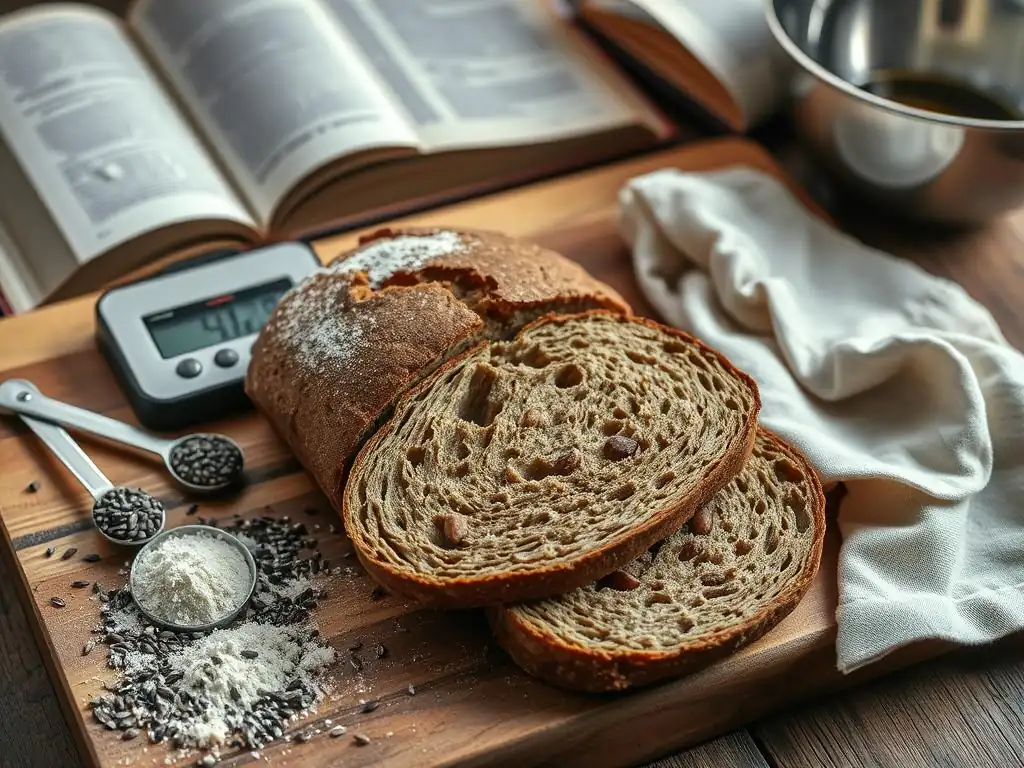
Once you've mastered the basics and are effectively applying dense rye bread troubleshooting tips, you might explore advanced techniques to further refine the texture of your rye loaves.
Incorporating Vital Wheat Gluten for Enhanced Texture
Vital wheat gluten is a protein extracted from wheat flour. Adding a small amount (typically 1-3% of the total flour weight) to doughs with a high percentage of rye can help create a stronger structure. Since rye is low in gluten, adding vital wheat gluten provides that extra network to trap gases, resulting in a loaf with better volume and a slightly less dense crumb, without significantly altering the characteristic rye flavor.
When using vital wheat gluten, simply whisk it into your flour blend before adding any liquids. Start with a small amount, like 1-2 teaspoons per cup of rye flour used, and adjust in future bakes based on your results. It's a straightforward way to give a boost to high-percentage rye doughs that might otherwise struggle to rise.
Enhancing Dough Structure with Dough Conditioners
Dough conditioners are ingredients added in small amounts to improve dough handling and bread quality. For rye bread, ingredients like ascorbic acid (Vitamin C) can help strengthen the protein network (even the limited one in rye or the wheat gluten present). Lecithin, often derived from soy or sunflower, can improve dough extensibility and crumb softness.
These conditioners are typically used in very small quantities, often measured in fractions of a teaspoon or grams per kilogram of flour. While not strictly necessary for home baking, they are common in commercial rye bread production to ensure consistent, desirable texture. If you are consistently struggling with dough structure despite applying other dense rye bread troubleshooting tips, exploring a natural dough conditioner like ascorbic acid might be helpful.
Scoring: Controlling Expansion and Shape
Scoring, or making cuts on the surface of the dough just before baking, isn't just for decoration. It serves a vital purpose: it provides weak points on the dough's surface, allowing the loaf to expand in a controlled manner during oven spring. Without scoring, the crust can split unpredictably, often resulting in a less attractive loaf and potentially inhibiting optimal rise in certain areas, contributing to uneven density.
For rye doughs, which often have a less dramatic oven spring than pure wheat loaves, scoring helps guide the limited expansion and prevents blowouts. A simple cut or two down the length of a batard or a cross on a boule is usually sufficient. Use a sharp lame or razor blade and make quick, confident cuts about half an inch deep. For high-percentage rye loaves baked in pans, scoring is usually unnecessary as the pan provides the structure.
Recipe Adjustments for Improved Results
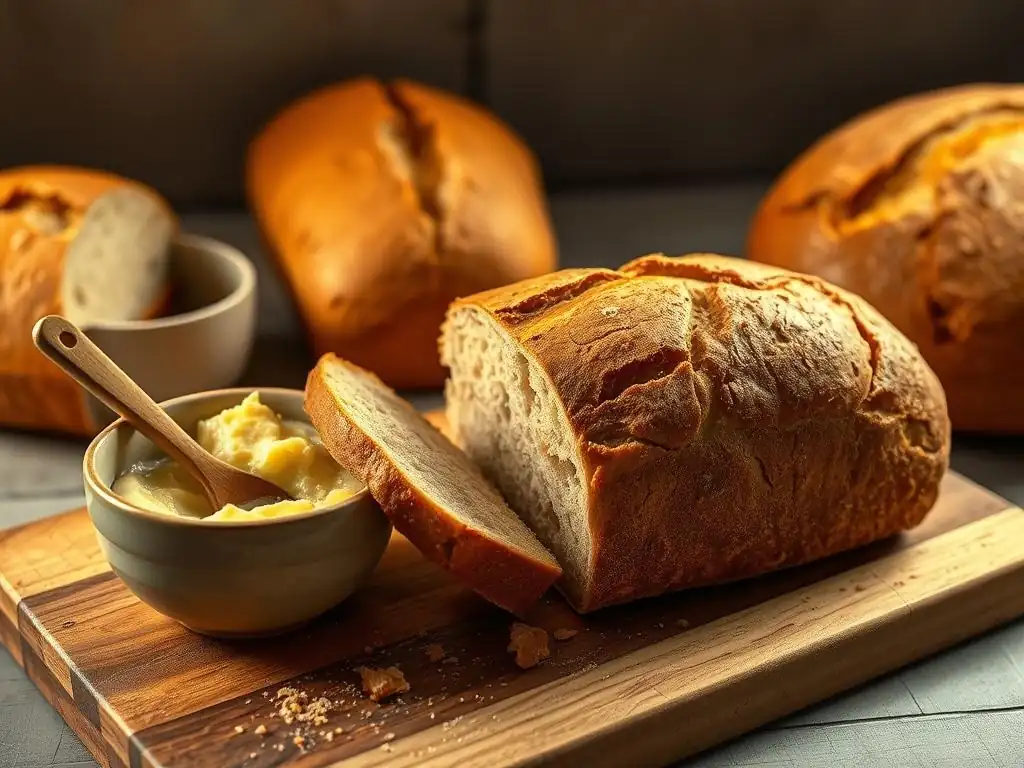
Sometimes, the issue isn't just technique, but the recipe itself. Making smart adjustments can help you achieve a lighter texture in your rye bread. These are fundamental dense rye bread troubleshooting tips to consider from the start.
Adjusting Rye Flour Percentage for Texture Balance
The percentage of rye flour in a recipe is the most significant determinant of the final texture. A recipe with 100% dark rye will be much denser than one with 30% light rye and 70% wheat flour. If your goal is a lighter loaf, reducing the percentage of rye flour and increasing the percentage of wheat flour is the most direct approach.
Experiment by gradually decreasing the rye flour by 10-15% in a favorite recipe and replacing it with bread flour. Observe how the dough handles and how the final bread turns out. You'll find a balance that gives you the rye flavor you love with a texture that is less dense than a very high-percentage rye loaf. Conversely, if you're aiming for a traditional, dense rye, ensure your technique is spot-on to prevent excessive density or gumminess.
Incorporating Other Grains for Lighter Texture
Adding other cooked grains, seeds, or even a small amount of mashed potato to a rye dough can alter its texture. While not directly making the rye less dense, these additions can create pockets of softness or moisture within the loaf, giving the impression of a less uniform, heavy crumb.
Consider incorporating a soaker of cooked rye berries, cracked rye, or other grains like barley or oats. These absorb water during cooking and release it during baking, contributing moisture and a different texture profile. Adding seeds like caraway (a classic pairing with rye), sunflower, or pumpkin seeds also breaks up the density and adds visual and textural interest. A potato rye bread, for instance, often has a surprisingly soft crumb due to the starch from the potato.
Conclusion: Mastering Rye Bread Baking
Baking rye bread successfully requires patience, practice, and an understanding of how rye flour differs from wheat. While a certain level of density is inherent to rye, truly dense or gummy bread is usually a sign that something went wrong in the process. By systematically troubleshooting the common issues related to hydration, yeast activity, dough handling, and baking, you can significantly improve your results.
Key Takeaways for Avoiding Dense Rye Bread
- Hydration is Key: Measure accurately and adjust based on your specific rye flour; rye needs more water than wheat, but too much makes it unmanageable.
- Mind the Yeast/Starter: Ensure your leavening agent is active and proof the dough correctly – avoid both under- and over-proofing.
- Handle Gently: Rye dough doesn't need aggressive kneading; focus on thorough mixing and gentle shaping.
- Bake Thoroughly: Preheat your oven properly and bake until the internal temperature reaches 200-210°F (93-99°C).
- Understand Your Flour: Different rye flours behave differently; adjust hydration and expectations based on the type and percentage used.
- Consider an Autolyse: This simple step improves hydration and dough handling.
- Don't Be Afraid to Adjust: Modify recipes based on your flour, environment, and desired texture.
By applying these dense rye bread troubleshooting tips, you'll be well on your way to baking delicious, well-textured rye loaves that you can be proud of. Happy Baking!
Further Resources for Perfecting Rye Bread
- Explore recipes specifically designed for the percentage and type of rye flour you are using.
- Watch videos demonstrating how to handle sticky rye doughs and shaping techniques.
- Join online baking communities to ask questions and learn from others' experiences with dense rye bread troubleshooting.
- Consider investing in a good kitchen scale and oven thermometer for accuracy.
Frequently Asked Questions
What are the most common reasons why rye bread turns out too dense?
Dense rye bread often results from insufficient gluten development, too much rye flour relative to other flours, or inadequate proofing time. These factors prevent the bread from achieving a light and airy texture.
How can I improve gluten development when making rye bread?
To improve gluten development, try using a higher protein flour like bread flour in combination with rye flour. Also, kneading the dough properly is crucial, though rye doughs generally require less kneading than wheat doughs.
What is the ideal ratio of rye flour to other flours for a less dense rye bread?
While preferences vary, a good starting point is a ratio of around 30-50% rye flour to wheat flour. This allows for the characteristic rye flavor without sacrificing too much gluten structure from the wheat.
How can I ensure my rye bread is properly proofed?
Proper proofing is key! Look for the dough to almost double in size and feel light and airy. Over-proofing can also cause issues, so monitor it closely, especially in warmer environments.
What ingredients can I add to rye bread to help improve its texture and prevent it from being too dense?
Adding ingredients like vital wheat gluten can significantly improve the gluten structure. Also, using a pre-ferment (like a sourdough starter or biga) can enhance flavor and improve dough extensibility, leading to a lighter loaf.
Final Reflection: The Enduring Mystery (and Delight) of Rye
The quest for the perfect rye bread continues, a testament to this bread's complex nature and enduring appeal. While seemingly simple, the process of baking rye can be fraught with challenges, from gummy interiors to stubbornly dense loaves. This article has explored some of the most common pitfalls, offering solutions to help bakers achieve the satisfyingly chewy, tangy loaf they crave. But the journey doesn't end here; it's a journey of experimentation and discovery.
The subtle art of rye bread baking reflects a deeper connection to the craft of bread making itself. It's a process that demands patience, attention to detail, and a willingness to embrace imperfection. The best bread is the bread you bake yourself.
This sentiment, while simple, encapsulates the profound satisfaction derived from mastering a challenging recipe, and the unique connection to the ingredients and the process. The variations in flour, hydration, and fermentation techniques highlight the rich tapestry of possibilities within this seemingly simple recipe, making each loaf a unique expression of the baker's skill and understanding.
So, what will your next rye bread adventure hold? Will you experiment with different types of rye flour, explore the nuances of sourdough starters, or perhaps try a new shaping technique? The possibilities are endless. Remember the lessons learned here, but more importantly, remember the joy of the process. Embrace the challenges, learn from your mistakes, and savor the delicious reward of a perfectly baked loaf. The journey of baking rye bread is a continuous learning experience, and each loaf is a testament to your dedication and passion.
Unlock Your Perfect Rye Loaf!
Thanks for taking the time to explore the world of dense rye bread with us! We hope you've gained valuable insights into common baking pitfalls and how to avoid them. Now, it's time to put your newfound knowledge into action.
- Bake your best rye yet: Try out one of the troubleshooting tips from the article and share your results – we’d love to see your perfectly textured loaf!
- Experiment with different flours: Explore variations in rye flour type and percentage for a truly unique bread experience.
- Share your rye baking journey: Tell your friends about your rye bread adventures—and maybe even bake them a loaf!
Ready to transform your baking game? What rye flour variation are you most excited to try?