
Seed & Fruit Granola Bars: Customizable NutFree Energy Boost

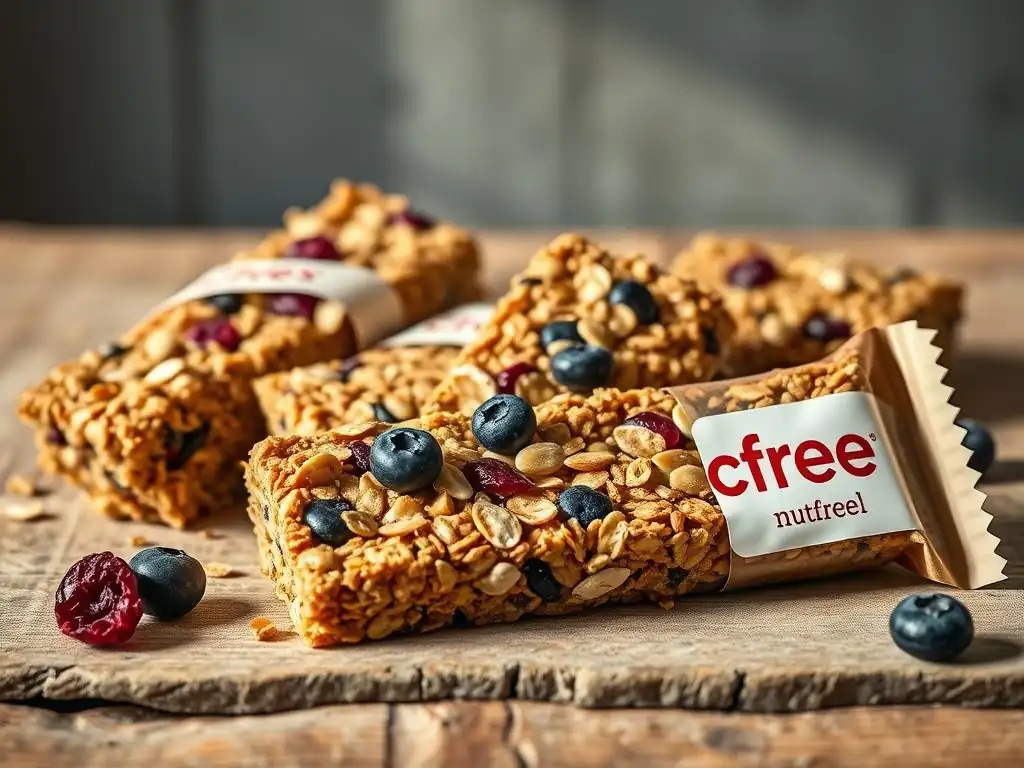
Welcome to BakeWithEase, your partner in creating delightful baked goods!
Tired of nut-filled snacks? Dive into our world of delicious and safe baking with our guide to crafting customizable, energy-boosting Seed & Fruit Granola Bars. Discover how to create a truly satisfying treat, perfectly tailored to your needs and free from common allergens. What secrets lie in the perfect blend of seeds and fruits? Let's unlock them together and start baking!
- Bake Nut-Free Granola Bars at Home with Ease
- Why Choose Homemade Nut-Free Granola Bars?
- Understanding Nut-Free Baking for Granola Bars
- Seed & Fruit Granola Bar Recipe: The Ultimate Guide
- Customizing Your Nut-Free Granola Bar Recipe
- Nut-Free Granola Bar Variations for Every Taste
- Storing Your Homemade Nut-Free Granola Bars
- Troubleshooting Common Granola Bar Baking Issues
- Enjoying Your Delicious and Nut-Free Granola Bars
- Frequently Asked Questions
- Final Reflection: The Power of a Seed & The Promise of a Perfect Bar
- Unleash Your Inner Baker: Craft the Perfect Granola Bar!
Bake Nut-Free Granola Bars at Home with Ease
Creating delicious and energy-boosting snacks at home is a rewarding experience, especially when catering to specific dietary needs like nut allergies. Homemade nut free granola bars offer a fantastic solution, combining wholesome ingredients like seeds, oats, and dried fruits into a convenient, portable treat. This guide will walk you through the process, ensuring your kitchen remains a safe space for baking these delightful, allergy-friendly bars.
Baking your own nut-free granola bar recipe means you have complete control over every ingredient, ensuring no hidden nuts or cross-contamination issues. It's a simple process that yields a batch of fresh, customizable bars perfect for breakfasts on the go, afternoon snacks, or pre-workout fuel. Forget store-bought uncertainties and embrace the ease of making your own homemade nut-free granola bars.
Why Choose Homemade Nut-Free Granola Bars?
Benefits of Baking Your Own Seed & Fruit Granola Bars
Opting to bake your own nut free granola bars comes with a multitude of advantages, from guaranteed freshness to greater nutritional value. When you make them yourself, you know exactly when they were baked, ensuring maximum freshness and flavor compared to bars that might have been sitting on a store shelf for weeks or months. This control also allows you to pack them with nutrient-dense ingredients like chia seeds, flax seeds, and pumpkin seeds, boosting omega-3s, fiber, and protein.
Furthermore, baking at home allows for greater customization to meet specific dietary goals or preferences. For instance, you can adjust the amount of sweetener used, incorporate specific seeds known for certain benefits (like sesame seeds for calcium), or add spices like cinnamon which has been linked to blood sugar regulation. This level of personalization is simply not possible with mass-produced bars, making homemade versions a superior choice for health-conscious individuals and families managing allergies.
One of the most critical reasons to make your own nut free granola bars is the ability to meticulously control every single ingredient that goes into them. For individuals with nut allergies, this is paramount, as hidden allergens and cross-contamination are significant concerns with commercially produced snacks. Many store-bought granola bars, even those labeled "nut-free," may be produced in facilities that also handle nuts, posing a risk of cross-contamination unless they are certified on dedicated nut-free equipment.
By preparing your nut-free granola bar recipe at home, you eliminate this risk entirely, provided you use ingredients specifically sourced from nut-free environments and ensure your kitchen is free from nut residue. Common hidden sources of nuts or cross-contamination can include "natural flavors," shared processing lines, or even ingredients like chocolate chips that might be processed on equipment shared with nuts. Making your own bars gives you the peace of mind that comes from selecting every component yourself and controlling the entire preparation process.
Customizable Recipe: Tailor to Your Taste Preferences
Baking your own homemade nut-free granola bars offers unparalleled flexibility in tailoring the recipe to your exact taste preferences and what you have on hand. Don't like dried cranberries? Swap them for raisins or chopped dried apricots. Prefer a mix of seeds? Combine sunflower, pumpkin, and hemp seeds in proportions you enjoy. This level of customization means you're never stuck with a flavor profile you don't love.
Beyond just swapping ingredients, you can also adjust the texture and sweetness. Want a chewier bar? Increase the amount of liquid binder slightly. Prefer a crunchier bar? Bake it a little longer at a lower temperature. You can also experiment with different sweeteners like maple syrup, agave, or brown rice syrup, and add flavor boosters like vanilla extract, cinnamon, or even a pinch of ginger. This adaptability ensures that your nut free granola bars are not just safe, but also perfectly suited to your palate.
Cost-Effective: Save Money Compared to Pre-Made Options
Regularly purchasing store-bought granola bars, especially those marketed as allergen-friendly, can become quite expensive over time. A single box of premium nut free granola bars might cost anywhere from $4 to $8, containing perhaps 5-6 bars. If you consume one bar daily, this adds up quickly, potentially costing over $20-$40 per month just on this one snack item.
In contrast, the cost of ingredients for a batch of homemade nut-free granola bars is significantly lower per serving. Oats, seeds, dried fruits, and sweeteners are generally more economical when purchased in bulk or standard grocery sizes. For example, a large bag of oats, a variety of seeds, and a bag of dried fruit might cost $15-$20 in total but can yield ingredients for multiple batches, each producing 10-15 bars. This makes baking your own not only a safer option for allergies but also a much more budget-friendly way to enjoy this convenient snack.
Understanding Nut-Free Baking for Granola Bars
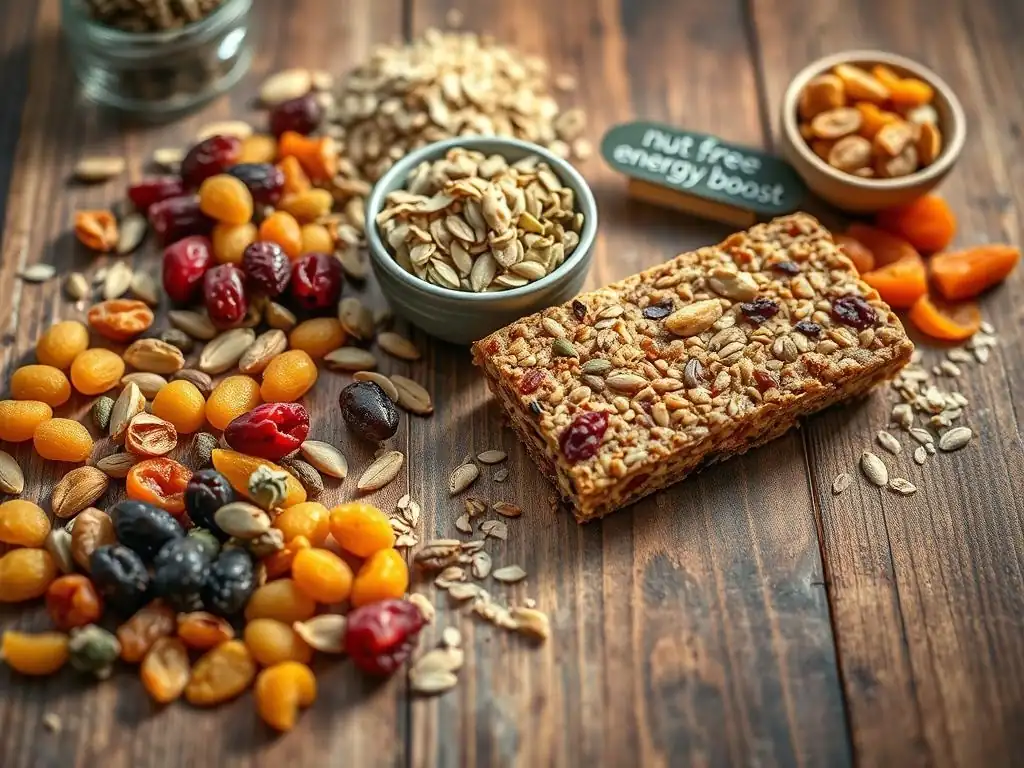
Essential Tips for Nut-Free Baking Success
Successful nut-free baking, especially for items like granola bars, requires diligence and careful attention to detail to prevent any accidental nut contamination. The very first step is ensuring your baking environment is completely free of nut residues. This means thoroughly cleaning all surfaces, utensils, baking sheets, and mixing bowls that will be used, ideally with hot, soapy water or in a dishwasher, especially if they have previously been used with nut products.
Equally crucial is the meticulous checking of every single ingredient label, even for items you might assume are safe. Ingredients like oats, seeds, dried fruits, chocolate chips, and even flours can sometimes be processed on equipment shared with nuts. Look for labels that explicitly state "nut-free," "processed in a nut-free facility," or include certifications. If a label says "may contain nuts" or gives no information about processing, it's safer to avoid that ingredient entirely when making nut free granola bars.
Identifying and Avoiding Common Nut Allergens
Navigating the world of food allergies means being acutely aware of the various forms nuts can take and where they might be hidden. The most common tree nuts include almonds, cashews, walnuts, pecans, pistachios, and hazelnuts, while peanuts are a separate legume but often cause similar severe reactions and cross-reactivity. Avoiding these obvious forms is just the beginning; you must also watch out for ingredients derived from nuts.
Hidden nut allergens can appear in unexpected places and under various names. Examples include: "nut meal" or "nut flour" (used in baking), "nut paste" (like almond paste), "marzipan" (made from almonds), "nougat" (often contains nuts), and even some types of chocolate or candy. Additionally, ingredients like "natural flavors" or "botanicals" could potentially be derived from nuts, although this is less common. Always err on the side of caution and verify with the manufacturer if there is any doubt about an ingredient's safety for your nut-free granola bars.
Safe Ingredient Substitutions in Granola Bar Recipes
Creating a safe and delicious nut-free granola bar recipe often involves substituting traditional nut-based ingredients with safe alternatives. Where recipes might call for chopped nuts for crunch, you can use a variety of seeds like sunflower seeds, pumpkin seeds (pepitas), hemp seeds, or sesame seeds. These provide a similar textural contrast and add their own unique nutritional benefits and flavors.
For binders or flavor enhancers that sometimes use nut butters (like peanut or almond butter), excellent nut-free alternatives include sunflower seed butter (often called "sunbutter"), tahini (sesame seed paste - check for cross-contamination warnings if sesame is also an issue), or even thicker fruit purees like apple or pumpkin butter combined with a seed butter. Using ingredients like rolled oats, puffed rice cereal, and various dried fruits ensures your nut free granola bars remain satisfyingly chewy and flavorful without relying on nuts.
Seed & Fruit Granola Bar Recipe: The Ultimate Guide
Here is a flexible guide to creating your own batch of delicious nut free granola bars, adaptable to your favorite seeds and fruits.
Ingredients for Delicious Nut-Free Granola Bars
A typical batch yielding about 10-12 bars requires a balance of dry and wet ingredients. Precision helps, but slight variations are fine for customization.
Dry Ingredients: Seeds, Oats, and More
- Rolled Oats: About 2 cups (certified gluten-free if needed). Use old-fashioned rolled oats for the best texture.
- Mixed Seeds: Approximately 1 cup total. A combination of sunflower seeds, pumpkin seeds, chia seeds, flaxseeds (whole or ground), and hemp seeds works well. Choose your favorites!
- Crisp Rice Cereal (optional): About 1/2 cup. Adds a nice light crunch.
- Salt: A pinch (about 1/4 teaspoon) to enhance flavors.
Wet Ingredients: Binders and Sweeteners
- Binder/Sweetener: Approximately 1/2 cup. Options include honey, maple syrup, or brown rice syrup. These act as both sweetener and glue.
- Seed Butter: About 1/4 cup of sunflower seed butter or tahini. Helps bind and adds richness. Ensure it's a certified nut-free brand.
- Coconut Oil or Butter (melted): 2 tablespoons. Adds moisture and helps with binding and texture.
- Vanilla Extract: 1 teaspoon. For flavor.
Fruit Additions: Dried and Fresh Options
- Dried Fruit: About 1/2 cup, chopped if large. Examples: cranberries, raisins, chopped apricots, chopped dates, dried cherries.
- Fresh Fruit (limited): Small amounts of finely grated apple or pear (about 1/4 cup) can add moisture and flavor, but too much makes bars soggy. Best used cautiously or omitted unless recipe is specifically designed for it.
Step-by-Step Instructions for Baking Nut-Free Granola Bars
Follow these steps for a successful batch of homemade nut-free granola bars.
Preparing the Ingredients for Granola Bars
Start by gathering all your measured ingredients. If using whole flax or chia seeds, you can briefly pulse them in a blender or food processor if you prefer a finer texture, though this isn't strictly necessary. If using dried fruit like apricots or dates, chop them into small, consistent pieces, roughly the size of raisins, so they distribute evenly throughout the bars. Ensure your seed butter is at room temperature or slightly warmed if it's very stiff, which will make it easier to mix smoothly with the other wet ingredients.
Preheat your oven to a moderate temperature, typically around 300-325°F (150-160°C). Prepare a baking pan – an 8x8 inch or 9x13 inch pan depending on desired thickness and batch size – by lining it completely with parchment paper, leaving some overhang on the sides. This parchment paper is crucial as it prevents sticking and makes lifting the finished nut free granola bars out of the pan much easier for cutting.
Combining Dry and Wet Ingredients
In a large mixing bowl, combine all your dry ingredients: the rolled oats, mixed seeds, crisp rice cereal (if using), and salt. Stir them together thoroughly with a spoon or spatula until everything is evenly distributed. This ensures you don't get clumps of one ingredient in the final bars.
In a separate, smaller bowl, whisk together the wet ingredients: your chosen binder (honey, maple syrup, etc. ), seed butter, melted coconut oil or butter, and vanilla extract. Whisk until the mixture is smooth and well combined. Then, pour the wet mixture into the bowl with the dry ingredients.
Using a sturdy spatula or spoon, mix everything together very well. It might take a few minutes of mixing to ensure all the dry ingredients are coated and sticky, which is essential for the bars to hold together once baked. Gently fold in the chopped dried fruit last, distributing it evenly throughout the mixture.
Baking Time and Temperature for Perfect Granola Bars
Once the mixture is thoroughly combined, transfer it to the prepared baking pan. Press the mixture down firmly and evenly into the pan using the back of a spoon or a flat spatula. The firmer you press, the better your nut free granola bars will hold their shape after cooling. Aim for a consistent thickness across the entire pan.
Place the pan in the preheated oven. The baking time will vary depending on your oven and the desired texture (chewier vs. crispier), but generally ranges from 20 to 35 minutes at 300-325°F (150-160°C). Bake until the edges appear lightly golden brown and the center looks set. Over-baking can result in hard, crumbly bars, while under-baking will make them too soft and likely to fall apart. Keep a close eye on them, especially during the last 10 minutes.
Cooling and Cutting Your Homemade Granola Bars
Once baked, remove the pan from the oven. This is perhaps the most critical step for ensuring your homemade nut-free granola bars hold their shape. Do not attempt to cut them while they are warm. Granola bars need to cool completely in the pan before cutting, allowing the binders to set and firm up. This cooling process can take at least 1-2 hours, or even longer if your kitchen is warm.
Once fully cooled, use the parchment paper overhang to lift the entire slab of granola out of the pan and place it on a cutting board. Use a sharp knife to cut the slab into individual bars or squares. The size is up to you – typically 10-12 bars from an 8x8 inch pan. If they seem slightly crumbly during cutting, pressing down firmly with the knife rather than sawing can help achieve cleaner cuts.
Customizing Your Nut-Free Granola Bar Recipe
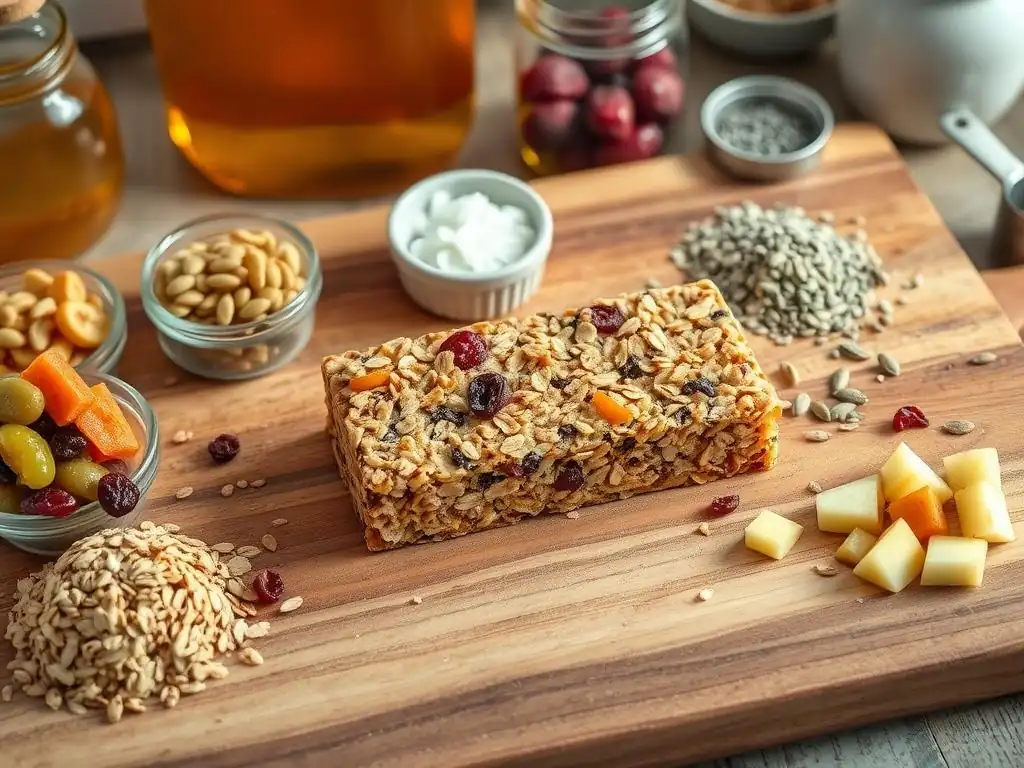
Making nut free granola bars is an excellent opportunity to get creative with ingredients.
Seed Combinations: Exploring Different Seed Varieties
The beauty of nut-free granola bars lies in the incredible variety of seeds you can use to build both flavor and nutritional profile. Sunflower seeds offer a classic, slightly nutty taste and satisfying crunch, while pumpkin seeds (pepitas) provide a distinct earthy flavor and vibrant green color. These larger seeds are great for texture.
For smaller seeds, chia seeds and flaxseeds (whole or ground) are nutritional powerhouses, adding omega-3 fatty acids and fiber, though they absorb moisture differently and can make bars denser if used in large quantities. Hemp seeds are another great option, offering a complete protein source and a mild, pleasant flavor. Experiment with combining 2-4 different seed types in your nut-free granola bar recipe to find your favorite blend – a mix of large and small seeds often provides the best texture.
Fruit Variations: Adding Flavor and Texture
Dried fruits are essential for adding natural sweetness, chewiness, and bursts of flavor to your homemade nut-free granola bars. While cranberries and raisins are popular choices, don't limit yourself. Chopped dried apricots offer a lovely tang and chewy texture, while chopped dates or figs provide a richer, caramel-like sweetness and act as an extra binder. Dried cherries or blueberries add vibrant color and a different kind of sweetness.
For something a bit different, consider adding freeze-dried fruit pieces after baking or mixing them in very gently. Freeze-dried strawberries or raspberries, for example, add intense flavor and a delicate crunch that contrasts nicely with the chewy bar base. Remember to chop larger dried fruits into pieces roughly the size of a raisin for even distribution throughout your nut free granola bars.
Sweetener Options: Honey, Maple Syrup, and Alternatives
The liquid sweetener you choose in your nut-free granola bar recipe plays a dual role: it provides sweetness and acts as a crucial binder. Honey offers a distinct floral note and is a very effective binder. Maple syrup provides a different kind of rich sweetness and is a popular vegan alternative. Brown rice syrup is another option, less sweet than honey or maple syrup and often resulting in a chewier bar.
The amount of sweetener can be adjusted slightly based on your preference, but reducing it too much can affect the bars' ability to hold together. If you prefer less sweetness, focus on incorporating naturally sweet dried fruits. For those avoiding liquid sugars, some recipes use mashed ripe bananas or apple sauce combined with a dry sweetener like coconut sugar, but these often require more flour or binder to achieve a firm bar texture, altering the classic nut free granola bar consistency.
Adding Spices and Extracts for Enhanced Flavor
Elevating the flavor of your homemade nut-free granola bars is easy with the addition of spices and extracts. Cinnamon is a classic choice that pairs beautifully with oats and fruits, adding warmth and depth. A pinch of nutmeg or ground ginger can also add complexity, especially when combined with ingredients like dried apples or cranberries.
Extracts like vanilla are almost always a welcome addition, boosting the overall aroma and flavor profile. For a hint of citrus, consider adding a tiny bit of orange or lemon zest (ensure organic and washed well). You could also experiment with a touch of almond extract if almond is not the nut being avoided and you are comfortable with extracts, but be extremely cautious as extracts can sometimes contain trace elements or be produced in shared facilities. For strict nut-free baking, vanilla is the safest and most versatile choice for your nut free granola bars.
Nut-Free Granola Bar Variations for Every Taste
Once you master the basic nut-free granola bar recipe, the possibilities for variations are endless!
Chocolate Chip Seed Granola Bars (Nut-Free)
A perennial favorite, adding chocolate chips transforms your nut free granola bars into a delightful treat. Use approximately 1/2 cup of mini or regular size chocolate chips. It is absolutely critical to use chocolate chips that are certified nut-free, as many standard brands are processed on equipment shared with nuts. Look for brands that explicitly state "nut-free" on the packaging.
Fold the chocolate chips into the granola mixture just before pressing it into the pan. You can also sprinkle a few extra on top before baking. Bake as directed, but be aware that the chocolate chips may melt slightly during baking. Allow the bars to cool completely before cutting; this is even more important with chocolate chips to prevent them from smearing. The combination of chewy oats, crunchy seeds, sweet fruit, and melted chocolate makes these nut free granola bars irresistible.
Cranberry and Sunflower Seed Granola Bars
This is a classic and popular combination for nut free granola bars, offering a perfect balance of tart and savory. Use about 1/2 cup of dried cranberries and 1/2 cup of sunflower seeds in your recipe. Ensure the sunflower seeds are raw or roasted without oil or salt, depending on your preference.
The bright red cranberries provide a lovely visual contrast and a tangy chewiness that cuts through the richness of the seeds and binder. Sunflower seeds add a satisfying crunch and a mild, slightly earthy flavor. This variation is straightforward, delicious, and a great starting point for anyone new to making homemade nut-free granola bars. It's a reliable recipe that appeals to most palates.
Apple Cinnamon Nut-Free Granola Bars
Capture the comforting flavors of apple pie in your nut free granola bars by incorporating dried apple pieces and ground cinnamon. Use about 1/2 cup of finely chopped dried apple (make sure it's soft and chewy, not hard chips) and 1 teaspoon of ground cinnamon. You can also add a pinch of nutmeg or allspice for extra warmth.
If you want to use fresh apple, grate about 1/4 cup of a firm apple variety like Fuji or Honeycrisp and squeeze out as much moisture as possible before adding it to the mix. The cinnamon pairs wonderfully with the oats and seeds, while the apple adds a subtle sweetness and chewiness. This variation is particularly appealing during the fall season but is delicious year-round as a wholesome and flavorful nut free granola bar.
Storing Your Homemade Nut-Free Granola Bars
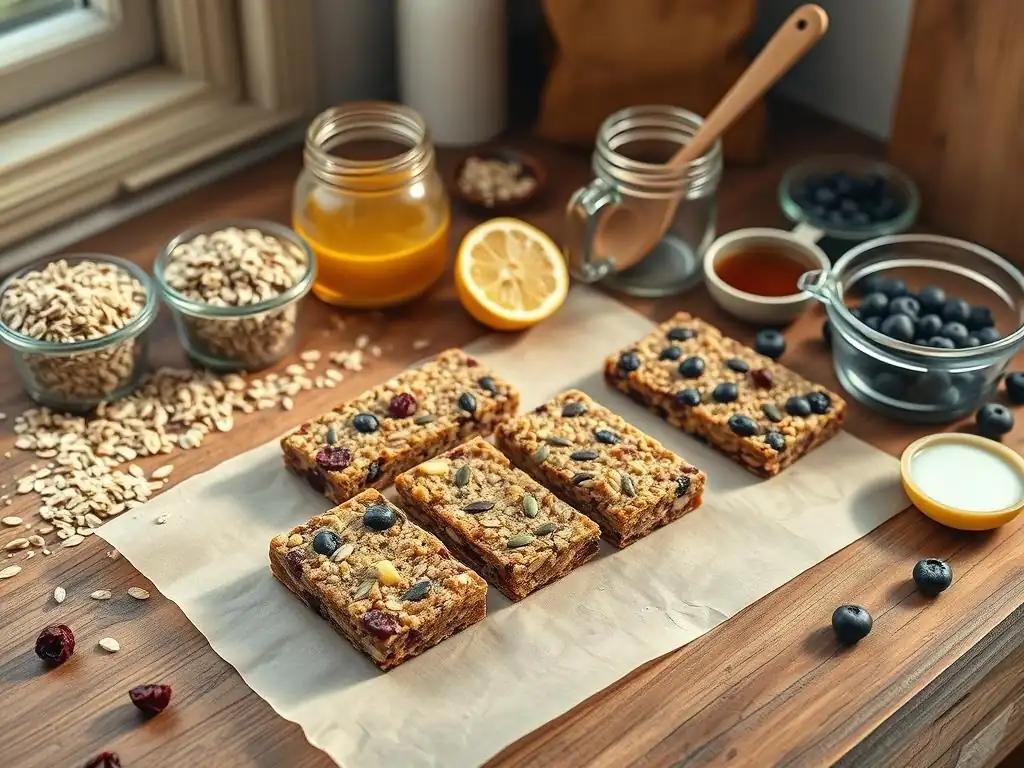
Proper storage is key to keeping your homemade nut-free granola bars fresh and delicious for as long as possible.
Best Practices for Keeping Granola Bars Fresh
Once your nut free granola bars have cooled completely and been cut, store them in an airtight container. Exposure to air is the primary cause of staleness and can make the bars dry or overly hard. Stack the bars with small pieces of parchment paper or wax paper in between layers to prevent them from sticking together, especially if they are slightly soft or contain ingredients like chocolate chips.
Store the airtight container at room temperature in a cool, dry place, away from direct sunlight or heat sources like ovens. A pantry shelf or kitchen counter is ideal. Avoid storing them in the refrigerator unless your recipe contains ingredients that require chilling, as the cold air can sometimes make them overly hard.
Extending the Shelf Life of Your Baked Granola Bars
When stored correctly in an airtight container at room temperature, homemade nut-free granola bars typically stay fresh for about 1-2 weeks. The exact shelf life can depend on the ingredients used; bars with more moisture (like those with fresh fruit or soft dates) might not last quite as long as drier versions.
For longer storage, you can freeze your nut free granola bars. Wrap individual bars tightly in plastic wrap, then place the wrapped bars in a freezer-safe bag or container. Frozen granola bars can last for 2-3 months. To enjoy, simply take a bar out of the freezer and let it thaw at room temperature for about 30-60 minutes. This is a great way to make a large batch and have convenient snacks ready whenever you need them.
Packaging Ideas for On-the-Go Snacking
One of the main appeals of nut free granola bars is their portability. For easy on-the-go snacking, consider wrapping individual bars. You can use plastic wrap, wax paper secured with tape, or small resealable bags. This makes it simple to grab a bar from the container or freezer and toss it into a lunchbox, backpack, or gym bag.
Reusable snack bags made from fabric or silicone are also an eco-friendly option for packaging your homemade nut-free granola bars. These can be washed and reused, reducing waste. Pre-packaging bars not only makes them convenient but also helps maintain their freshness by reducing the need to open the main storage container multiple times, exposing the entire batch to air.
Troubleshooting Common Granola Bar Baking Issues
Even with a great nut-free granola bar recipe, sometimes things don't turn out exactly as planned. Here's how to tackle common issues.
Granola Bars Too Crumbly? Here's Why
If your nut free granola bars are falling apart instead of holding their shape, the most common culprit is an insufficient amount of binder (the wet ingredients like honey, maple syrup, or seed butter) relative to the dry ingredients. Ensure you accurately measure your liquid sweeteners and seed butter as they are crucial for creating a cohesive mixture that sticks together.
Another reason for crumbliness is not pressing the mixture firmly enough into the pan before baking. Compacting the mixture helps the ingredients meld together. Also, attempting to cut the bars before they are completely cooled is a guaranteed way to end up with crumbs. Make sure they are fully cooled and set before slicing. If a batch is too crumbly, you can break it up and use it as a topping for yogurt or cereal!
Granola Bars Too Hard? Adjusting Your Recipe
On the flip side, if your homemade nut-free granola bars are rock hard, it's often due to over-baking or using too much liquid sweetener (which can caramelize and harden excessively). Check your oven temperature with an oven thermometer to ensure it's accurate; a too-hot oven can quickly over-bake the bars. Reduce the baking time slightly in future batches, or lower the temperature by 25°F (about 15°C).
The type of sweetener can also play a role. Using too much honey, which has a higher fructose content than maple syrup, can lead to a crispier, harder bar upon cooling. If you prefer a chewier bar, consider using more brown rice syrup or a combination of sweeteners. Ensure you are measuring accurately and not adding extra sweetener beyond what the recipe calls for.
Ensuring Even Baking for Perfect Nut-Free Granola Bars
Achieving even baking is important for consistent texture throughout your batch of nut free granola bars. Uneven baking can result in hard edges and a soft center, or vice versa. One key factor is pressing the mixture into the pan with uniform thickness. If some areas are thicker than others, they will bake differently.
Another tip for even baking is rotating the pan halfway through the baking time. Ovens often have hot spots, and turning the pan ensures all sides of the granola slab receive equal heat exposure. Using a good quality, light-colored baking pan can also help, as dark pans tend to absorb more heat and can cause the edges to brown and harden faster than the center.
Enjoying Your Delicious and Nut-Free Granola Bars
You've successfully baked a batch of homemade nut-free granola bars! Now it's time to enjoy the fruits of your labor.
Perfect Snack for Any Time of Day
These nut free granola bars are incredibly versatile and make an excellent snack no matter the time of day. Grab one with your morning coffee or tea for a quick breakfast boost. Pack one in your bag for a mid-morning or afternoon pick-me-up at work or school. They are also fantastic fuel before or after a workout, providing carbohydrates for energy and seeds for protein and healthy fats.
Their portability and lack of mess make them ideal for busy lifestyles. Whether you're commuting, hiking, or just need something satisfying between meals, having a stash of homemade nut-free granola bars ready means you always have a wholesome, allergy-friendly option at hand.
Nutritious and Energy-Boosting
Packed with oats, seeds, and dried fruits, these nut free granola bars are more than just a tasty snack; they are a genuinely nutritious and energy-boosting option. Oats provide complex carbohydrates for sustained energy release and are a good source of fiber, which aids digestion. Seeds contribute healthy fats, protein, vitamins, and minerals like magnesium and zinc.
Dried fruits offer natural sugars for quick energy and contribute vitamins and antioxidants. Compared to many processed snacks, these nut-free granola bars offer a balanced mix of macronutrients, helping you feel full and energized without the sugar crash associated with highly processed treats.
We love seeing what our community bakes! If you've made these nut free granola bars using our guide or put your own spin on the recipe, share your creations! Taking photos of your finished bars and sharing them can inspire others looking for safe and delicious allergy-friendly snacks.
Let us know what seed combinations, fruit additions, or flavor variations you tried. Your experience and modifications can help others tailor their own homemade nut-free granola bars to perfection. Baking is a journey, and sharing your successes (and even challenges!) makes the BakeWithEase community stronger and helps everyone bake with more confidence and ease.
Frequently Asked Questions
How can I customize these nut-free granola bars?
You can customize them by adding different dried fruits, seeds, or even chocolate chips that are certified nut-free to the base recipe. Feel free to experiment with flavors you enjoy!
What makes these granola bars a good energy boost?
These bars provide a sustained energy boost due to their combination of complex carbohydrates from oats and healthy fats from seeds. The fiber also contributes to a feeling of fullness.
Are these granola bars suitable for beginners?
Yes, the recipe is designed to be simple and easy to follow, making it perfect for beginner bakers. The instructions are clear and require minimal baking experience.
Can I store these granola bars, and if so, for how long?
Yes, you can store these granola bars in an airtight container at room temperature for up to a week. For longer storage, consider keeping them in the refrigerator for up to two weeks.
What if I don't have all the seeds listed in the recipe?
Don't worry! You can substitute any seeds you have on hand, as long as they are nut-free. Pumpkin seeds, sunflower seeds, and flax seeds are all great options.
Final Reflection: The Power of a Seed & The Promise of a Perfect Bar
The quest for delicious, nutritious, and allergy-friendly snacks is more relevant than ever. The increasing prevalence of nut allergies highlights the urgent need for accessible and safe alternatives, and homemade options like these seed & fruit granola bars offer a powerful solution, putting control and customization directly into your hands.
Creating these bars wasn't just about finding a nut-free recipe; it was about reclaiming the power of mindful snacking. The process itself became a meditation on healthy eating, a celebration of simple ingredients, and a testament to the creativity possible within dietary restrictions. The best things in life are simple,
a phrase often repeated, truly resonates when considering the wholesome satisfaction derived from a homemade granola bar. This recipe transcends mere sustenance; it's a symbol of self-care and a commitment to well-being.
Now, it's your turn. Consider the ingredients you love, the flavors that excite your palate, and the nutritional needs of your body. Don't be afraid to experiment! This recipe is a springboard, a starting point for your own personalized energy boost. Embrace the freedom to create, to adapt, and to enjoy the delicious fruits (and seeds!) of your labor. The perfect nut-free granola bar awaits your creation.
Unleash Your Inner Baker: Craft the Perfect Granola Bar!
Thanks for joining us on this delicious journey into the world of customizable granola bars! We hope you've gained some tasty inspiration and newfound confidence in your baking abilities. Now it's time to put your skills to the test!
- Dive right in and create your own signature granola bar recipe! Use our guide as a starting point, then experiment with different fruits, nuts (or nut-free alternatives! ), and spices to find your perfect combination.
- Share your creations with us and the BakeWithEase community! Post a picture of your masterpiece on social media and tag us – we'd love to see what you come up with.
- Challenge yourself: Try substituting different flours or sweeteners to discover unique flavour profiles and healthy alternatives.
What exciting flavour combinations will you explore first in your granola bar adventure?