
How to Store and Freeze DairyFree Baked Goods for Freshness

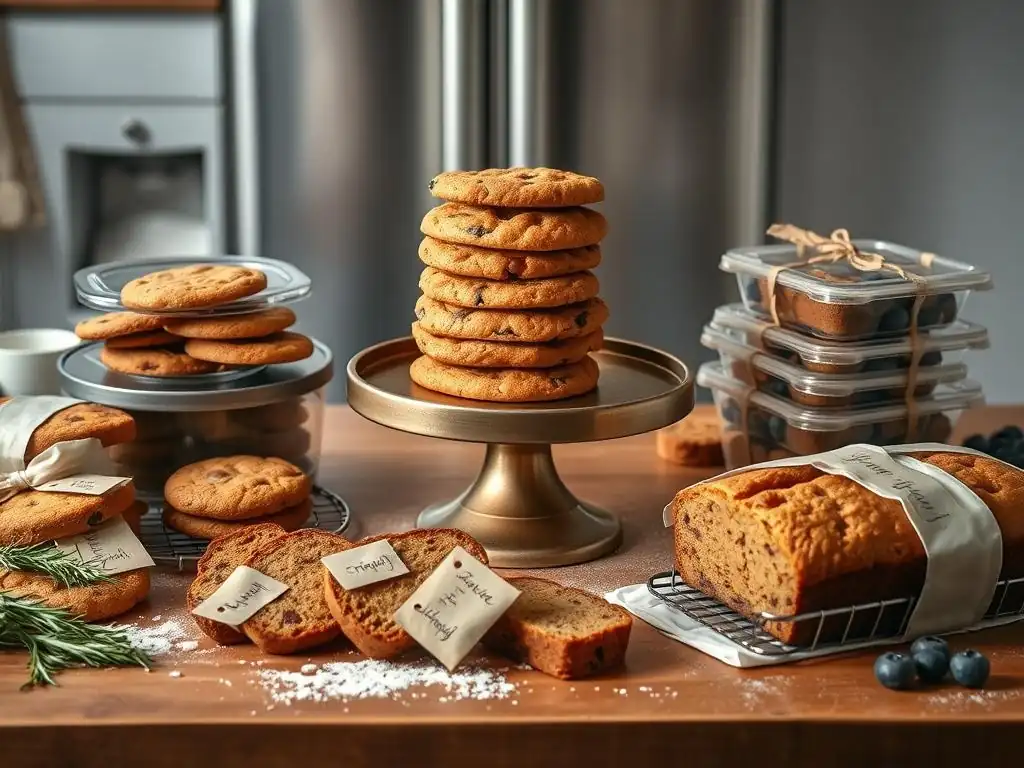
Welcome to BakeWithEase, your passport to baking bliss! Are you ready to unlock the secrets to keeping your delicious dairy-free creations fresh and ready to enjoy? Dive in to discover our essential dairy-free baking freezer tips and learn how to extend the life of your favorite treats. But that's just the beginning... what other allergen-friendly baking secrets await?
- Introduction to Dairy-Free Baking and Freezing
- Preparing Dairy-Free Baked Goods for Freezing: Key Steps
- Best Methods for Freezing Different Types of Dairy-Free Baked Goods
- Thawing Dairy-Free Baked Goods: Restoring Flavor and Texture
- Long-Term Storage: How Long Do Dairy-Free Baked Goods Last in the Freezer?
- Tips and Tricks for Optimal Dairy-Free Baking Freezer Results
- Common Mistakes to Avoid When Freezing Dairy-Free Baked Goods
- Conclusion: Enjoying Fresh Dairy-Free Baked Goods Anytime
-
Frequently Asked Questions
- How long can I realistically freeze dairy-free baked goods and still maintain good quality?
- What's the best way to thaw dairy-free baked goods after freezing?
- Are there any specific dairy-free baked goods that don't freeze well?
- What are some tips for preventing freezer burn on my dairy-free baked goods?
- Can I refreeze dairy-free baked goods after they've been thawed?
- Final Reflection: Preserving the Joy of Dairy-Free Baking
- Unlock the Secret to Longer-Lasting Dairy-Free Delights!
Introduction to Dairy-Free Baking and Freezing
Dairy-free baking has become increasingly popular, whether due to allergies, dietary choices like veganism, or lactose intolerance. Crafting delicious cakes, cookies, breads, and pastries without traditional dairy ingredients like milk, butter, and cheese opens up a world of creative possibilities. However, managing batch sizes and keeping these delightful treats fresh can sometimes be a challenge. This is where mastering the art of freezing comes in, offering a practical solution to extend the life of your dairy-free creations and ensure you always have a homemade treat ready to enjoy.
Freezing dairy-free baked goods effectively requires understanding how different ingredients behave at low temperatures. Unlike conventional baked goods where dairy fats can contribute to moisture and structure stability, dairy-free alternatives might behave differently. Learning the best techniques for preparing, packaging, and thawing is crucial to preserving the texture, flavor, and overall quality of your baked goods, making dairyfree baking freezer tips an essential part of your skill set.
Why Freeze Dairy-Free Baked Goods? Maintaining Freshness and Flavor
Freezing is an excellent way to lock in the peak freshness and flavor of your dairy-free baked goods. When done correctly, it significantly slows down the staling process, which begins almost immediately after baking. This allows you to bake ahead for special occasions, prepare large batches for meal prepping, or simply save leftovers without sacrificing quality. Imagine having perfectly moist dairy-free cupcakes or soft dairy-free bread slices ready whenever a craving strikes, all thanks to effective freezing.
Beyond just preventing staling, freezing helps maintain the delicate balance of flavors developed during baking. Exposure to air and light can degrade flavors over time, but freezing suspends these processes. For instance, freezing a rich dairy-free chocolate cake shortly after it cools will preserve its deep cocoa notes far better than storing it at room temperature for several days. Mastering dairyfree baking freezer tips ensures that every bite, whether fresh from the oven or thawed from the freezer, is as delicious as intended.
Understanding the Challenges of Freezing Dairy-Free Recipes
Freezing dairy-free recipes can present unique challenges compared to their conventional counterparts. The absence of dairy fats, which are solid at room temperature and contribute to richness and moisture, means dairy-free baked goods can sometimes be prone to drying out or developing a tougher texture when frozen and thawed incorrectly. Ingredients like plant-based milks, oils, and dairy-free butter alternatives behave differently, potentially affecting ice crystal formation.
Another factor is the structure provided by ingredients like eggs, which are often also omitted in vegan dairy-free recipes. Without the cohesive properties of eggs, some baked goods can become crumbly or fragile when frozen. Understanding these nuances is key to successful dairyfree baking freezer strategies. Proper cooling, careful packaging to prevent moisture loss and freezer burn, and correct thawing methods are paramount to overcoming these challenges and enjoying high-quality dairy-free treats from your freezer.
Preparing Dairy-Free Baked Goods for Freezing: Key Steps
Proper preparation is the cornerstone of successful freezing for any baked good, and this is especially true for dairy-free varieties. Taking a few extra steps before placing your treats in the freezer can make a significant difference in their quality upon thawing. These steps focus on removing excess heat, protecting the baked goods from the harsh freezer environment, and organizing them for easy access.
Following these preparatory steps diligently ensures that your dairy-free baking freezer efforts yield delicious results. Skipping steps like proper cooling or using inadequate packaging can lead to freezer burn, moisture loss, and compromised texture, undermining all your hard work in the kitchen.
Cooling Completely: The First Step to Successful Freezing
Allowing your dairy-free baked goods to cool completely before freezing is perhaps the most critical initial step. Placing warm or even slightly warm items into the freezer introduces excess moisture into the freezer environment, which can lead to ice crystal formation on the surface of your baked goods. These ice crystals expand and contract, damaging the cellular structure and resulting in a dry, less appealing texture once thawed.
A baked item straight from the oven is still releasing steam. Trapping this steam by packaging it too early guarantees moisture issues in the freezer. Ensure cakes, muffins, cookies, and breads are cooled on a wire rack until they are completely at room temperature, which can take anywhere from 1-3 hours for smaller items like cookies or muffins, up to 4-6 hours or longer for larger cakes or loaves of bread. Patience here pays off significantly in the final quality after thawing.
Choosing the Right Packaging for Dairy-Free Treats: Airtight is Key
Selecting the appropriate packaging is vital for protecting your dairy-free treats from freezer burn, odor absorption, and moisture loss. The goal is to create an airtight barrier around the baked good. Exposure to the cold, dry air of the freezer causes moisture to evaporate from the food surface, leading to the dry, discolored patches known as freezer burn.
Ideal packaging options include heavy-duty aluminum foil, plastic freezer wrap, freezer bags designed for long-term storage, or airtight containers. Often, a combination of methods provides the best protection. For instance, wrapping items tightly in plastic wrap or foil before placing them in a freezer bag or container adds an extra layer of defense against air exposure. Ensure all air is squeezed out of bags and containers are sealed tightly.
Portioning for Convenience: Freeze in Single Servings or Batches
Consider how you will use your dairy-free baked goods after thawing and portion them accordingly before freezing. Freezing items in single servings or smaller batches means you only need to thaw what you need, reducing waste and preserving the quality of the remaining frozen goods. For example, freeze individual slices of dairy-free cake, pairs of cookies, or single muffins.
This approach also makes thawing quicker and more convenient. You can grab just one or two items for a snack or dessert without having to thaw an entire cake or loaf. For items like cookies or muffins, you can place them on a baking sheet lined with parchment paper to freeze individually first (this is called flash freezing). Once solid (usually 1-2 hours), transfer the individual items to a freezer bag or container. This prevents them from sticking together, allowing you to easily remove just one at a time.
Best Methods for Freezing Different Types of Dairy-Free Baked Goods
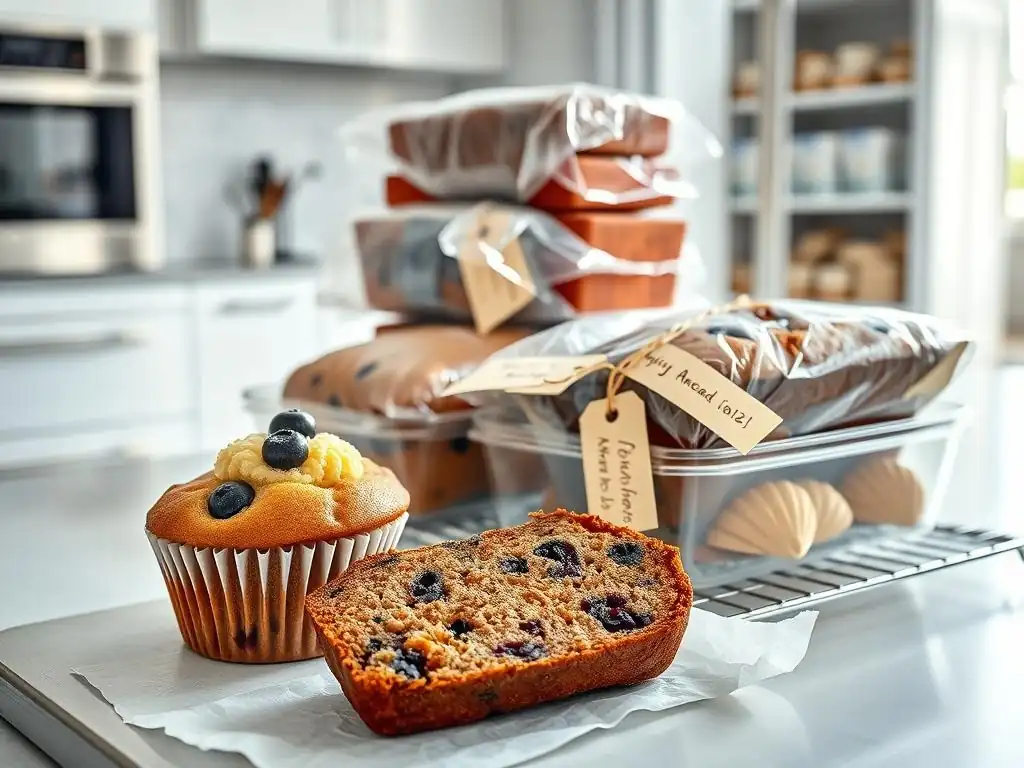
Different dairy-free baked goods require slightly varied approaches to freezing to ensure optimal results. The structure, moisture content, and fragility of items like cakes, cookies, breads, and pastries dictate the best practices for preservation. Tailoring your freezing method to the specific type of baked good is a key dairyfree baking freezer tip.
Understanding these specific techniques will help you maintain the desired texture and flavor profiles of your diverse dairy-free repertoire. A method that works perfectly for a sturdy loaf of bread might ruin the delicate crumb of a dairy-free cupcake.
Freezing Dairy-Free Cakes and Cupcakes: Preventing Dryness
Dairy-free cakes and cupcakes, especially those relying on oil or dairy-free butter alternatives for moisture, can be susceptible to drying out or developing a gummy texture upon freezing and thawing if not handled carefully. The key is to protect their tender crumb and moisture content.
For whole cakes or large cake layers, ensure they are completely cooled. Wrap them tightly first in plastic wrap, ensuring no surface is exposed, then wrap again in heavy-duty aluminum foil. This double layer provides excellent protection.
Cupcakes are best frozen unwrapped on a tray until firm (flash freezing), then individually wrapped in plastic wrap and placed in an airtight container. If frosting them before freezing, use a dairy-free frosting that freezes well (like those based on dairy-free butter and powdered sugar, avoiding those high in water content like meringue). Place frosted cupcakes in a container with space between them or freeze them individually on a tray until firm before carefully transferring to a container, ensuring they don't touch to avoid smudging the frosting.
Dairy-free cookies generally freeze very well, whether baked or as dough. Freezing baked cookies is a fantastic way to have fresh treats on hand quickly. The main goal when freezing baked cookies is to prevent them from sticking together and to protect their texture from freezer burn.
Once completely cool, flash freeze cookies on a baking sheet lined with parchment paper for about an hour. Then, transfer the frozen cookies to a freezer bag or airtight container, placing parchment paper between layers if stacking them. This allows you to take out just a few cookies at a time. Freezing dairy-free cookie dough is also highly recommended; portion the dough into balls or logs, wrap them tightly in plastic wrap, and store in a freezer bag. Baked cookies can typically last 3-4 months in the freezer, while dough can last slightly longer, up to 6 months.
Preserving Dairy-Free Breads and Muffins: Avoiding Freezer Burn
Dairy-free breads and muffins, whether savory or sweet, freeze exceptionally well and are kitchen staples for freezing. The primary concern is preventing freezer burn, which can make the crust hard and the interior dry.
Ensure loaves of bread and muffins are completely cool. For loaves, slice the bread first if desired, as this makes thawing individual slices much easier. Wrap the cooled loaf or individual slices tightly in plastic wrap, then wrap again in aluminum foil or place in a freezer bag, removing as much air as possible. Muffins can be flash-frozen on a tray and then transferred to a freezer bag or container, again using parchment paper between layers if necessary. Properly wrapped, dairy-free breads and muffins can maintain their quality in the freezer for 2-3 months.
Freezing Dairy-Free Pies and Pastries: Keeping Crusts Crisp
Freezing dairy-free pies and pastries requires special attention to preserve the flakiness of the crust and the integrity of the filling. Both unbaked and baked pies can be frozen, each with its own advantages.
For unbaked pies, assemble the pie in a freezer-safe dish, then wrap it very tightly in multiple layers of plastic wrap and foil. Freeze until solid, then place in a freezer bag if space allows. Baking from frozen is often recommended to maintain crust texture – simply add extra baking time. Baked dairy-free pies should be completely cooled before freezing.
Flash freeze the pie until solid, then wrap tightly in plastic wrap and foil. Fruit pies tend to freeze better than creamy or custard-style dairy-free pies, as the latter can sometimes separate or become watery upon thawing. Freezing dairy-free pastries like scones or turnovers follows similar principles: flash freeze individual items, then transfer to an airtight container or bag.
Thawing Dairy-Free Baked Goods: Restoring Flavor and Texture
The thawing process is just as important as the freezing process in ensuring your dairy-free baked goods retain their quality. Rushing the thaw or using improper methods can quickly ruin the texture you worked hard to preserve. Patience is key when bringing frozen treats back to life.
Proper thawing techniques allow moisture to redistribute evenly throughout the baked good, preventing sogginess in some areas and dryness in others. It's about gently reversing the freezing process to restore the item to its pre-frozen state as much as possible.
Safe Thawing Techniques: Countertop vs. Refrigerator
The safest and often best method for thawing most dairy-free baked goods is in the refrigerator. This slow, gradual thawing allows moisture to redistribute evenly, minimizing condensation and preserving texture. Smaller items like muffins or cookies may take a few hours, while larger items like cakes or loaves of bread can take overnight (8-12 hours) or even longer depending on size.
Thawing on the countertop is faster but carries a slightly higher risk, especially for items with fillings or frostings, due to potential temperature fluctuations. If thawing on the countertop, keep the baked goods wrapped to prevent condensation from forming on the surface as they warm up. This is generally suitable for items like bread, muffins, or cookies that will be consumed relatively quickly after thawing. Avoid thawing in the microwave unless the item will be consumed immediately, as it can lead to uneven heating and tough spots.
Reviving Texture: Tips for Thawing Different Baked Goods
Different baked goods benefit from specific thawing nuances to best revive their texture. Bread, for instance, thaws well at room temperature. Once thawed, a quick warm-up in a toaster or oven can restore a lovely crust.
Cookies thaw quickly at room temperature; for a just-baked feel, pop them in a low oven (around 300°F or 150°C) for a few minutes after thawing. Cakes and cupcakes thawed in the refrigerator should be unwrapped only after they have come to room temperature to prevent condensation. Pies are often best thawed overnight in the refrigerator. If you froze an unbaked pie, bake it directly from frozen according to the recipe, adding extra baking time. Baked pies can be gently reheated in the oven after thawing to crisp up the crust.
Reheating for Optimal Freshness: Warming Up Your Dairy-Free Treats
Once thawed, many dairy-free baked goods benefit from a brief reheating to bring them back to their optimal texture and flavor. Reheating can refresh the crumb and restore a warm, comforting feel, much like they just came out of the oven.
For most items like muffins, scones, or bread slices, a few minutes in a toaster oven or conventional oven at a moderate temperature (around 300-350°F or 150-175°C) is sufficient. Be careful not to overheat, as this can dry them out. Cookies can be warmed briefly in the oven. Cakes and cupcakes are generally best enjoyed at room temperature after thawing; reheating might compromise the frosting or delicate crumb. Experiment with small pieces to find the reheating method that works best for your specific dairy-free recipe.
Long-Term Storage: How Long Do Dairy-Free Baked Goods Last in the Freezer?
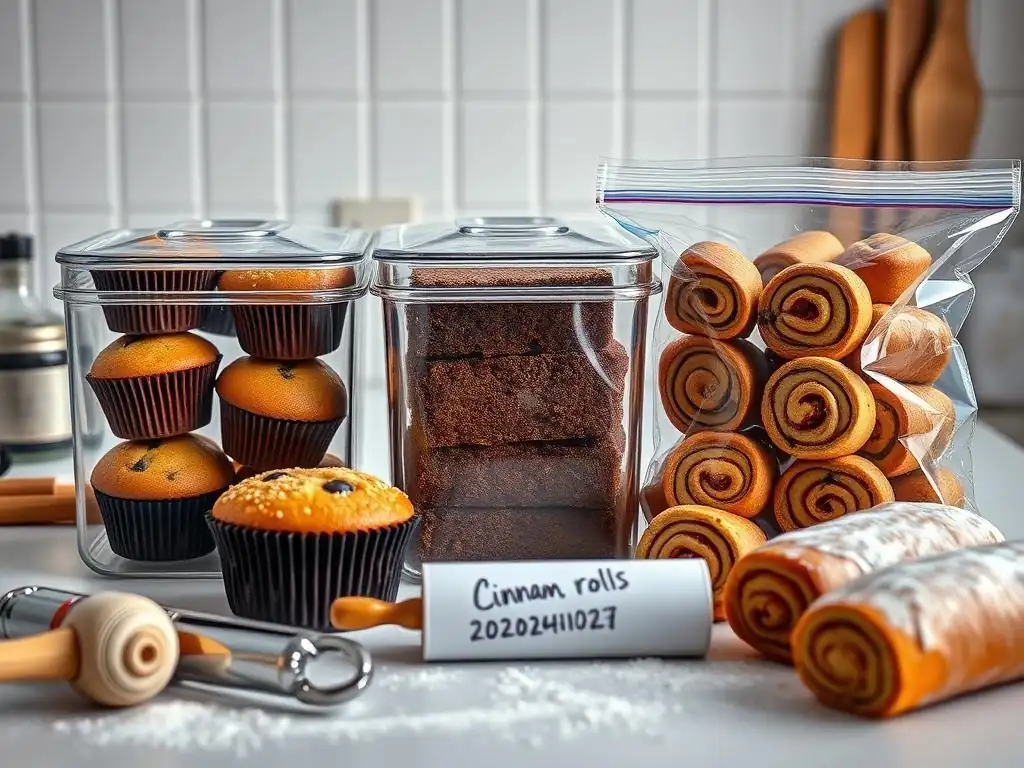
Understanding the recommended freezer storage times helps you make the most of your dairy-free baking freezer efforts and ensures you consume your baked goods while they are still at their best quality. While freezing keeps food safe indefinitely from a bacterial standpoint (as long as the freezer stays below 0°F or -18°C), quality does degrade over time.
The enemy of long-term quality in the freezer is air exposure, leading to freezer burn and flavor loss. Proper packaging is paramount to achieving the maximum recommended storage times.
Freezer Storage Guidelines: Maximizing Shelf Life
General guidelines for how long dairy-free baked goods can last in the freezer while maintaining good quality vary by type. Cookies and brownies tend to be the most forgiving, often lasting 6-8 months if well-wrapped.
Cakes, cupcakes, muffins, and quick breads usually maintain quality for 2-4 months. Yeast breads are best consumed within 2-3 months for optimal texture. Pies and pastries can vary; fruit pies might last 3-4 months, while those with more delicate fillings might be better within 2-3 months. These are general guidelines; always check for signs of freezer burn before consuming.
Signs of Freezer Burn: What to Look For and How to Avoid It
Freezer burn is a common issue that affects the quality of frozen baked goods. It occurs when moisture evaporates from the surface of the food and ice crystals form. Visually, freezer burn appears as dry, discolored spots or patches on the surface of the baked good, often grayish or brownish.
Baked goods affected by freezer burn will have a compromised texture (often tough or dry) and diminished flavor. The best way to avoid it is through meticulous packaging: ensure items are completely cooled, wrap them tightly in moisture-proof materials like plastic wrap and foil, and store them in airtight containers or freezer bags, removing as much air as possible. Using high-quality freezer-specific packaging also helps.
Tips and Tricks for Optimal Dairy-Free Baking Freezer Results
Beyond the basic steps, a few extra dairyfree baking freezer tips can elevate your freezing success and ensure your treats taste their absolute best after thawing. These are small but impactful practices that contribute to better organization and quality preservation.
Incorporating these tips into your routine will make freezing and retrieving your dairy-free baked goods a smooth and rewarding process, maximizing both convenience and deliciousness.
Labeling and Dating: Essential for Organized Freezing
One of the simplest yet most effective dairyfree baking freezer tips is to clearly label and date everything you freeze. Use freezer tape or labels and a permanent marker to write the name of the baked good and the date it was frozen.
This practice helps you easily identify what's in your freezer and ensures you use items within their recommended storage time, preventing quality degradation. An organized freezer saves time and reduces guesswork, making it easier to manage your frozen stash of dairy-free delights.
Preventing Ice Crystals: Strategies for Keeping Baked Goods Fresh
Preventing large ice crystals from forming is crucial for maintaining the texture of dairy-free baked goods. As mentioned, cooling completely is the first defense. Rapid freezing also helps, as smaller crystals form when food freezes quickly. Don't overload your freezer with warm items, as this slows down the freezing process for everything inside.
Tight, airtight packaging is the primary method to prevent ice crystals from forming on the surface. Any air trapped with the baked good contains moisture that can condense and freeze into crystals. Using a double layer of protection (plastic wrap plus foil or a container) is highly effective.
Adjusting Dairy-Free Recipes for Freezing: Adding Stabilizers Like Tapioca Starch
Sometimes, minor adjustments to a dairy-free recipe can improve its performance in the freezer. For recipes prone to becoming crumbly or dry, incorporating ingredients that help retain moisture or provide structure can be beneficial.
Adding a small amount of a starch like tapioca starch or cornstarch (often 1-2 tablespoons per recipe) can help bind ingredients and improve texture stability through the freeze-thaw cycle. Using fats like vegetable oil or melted dairy-free butter alternatives can also contribute to moisture retention compared to drier fat replacers. Experimenting with slight variations in your favorite dairy-free baking freezer recipes can lead to even better post-freezing results.
Common Mistakes to Avoid When Freezing Dairy-Free Baked Goods
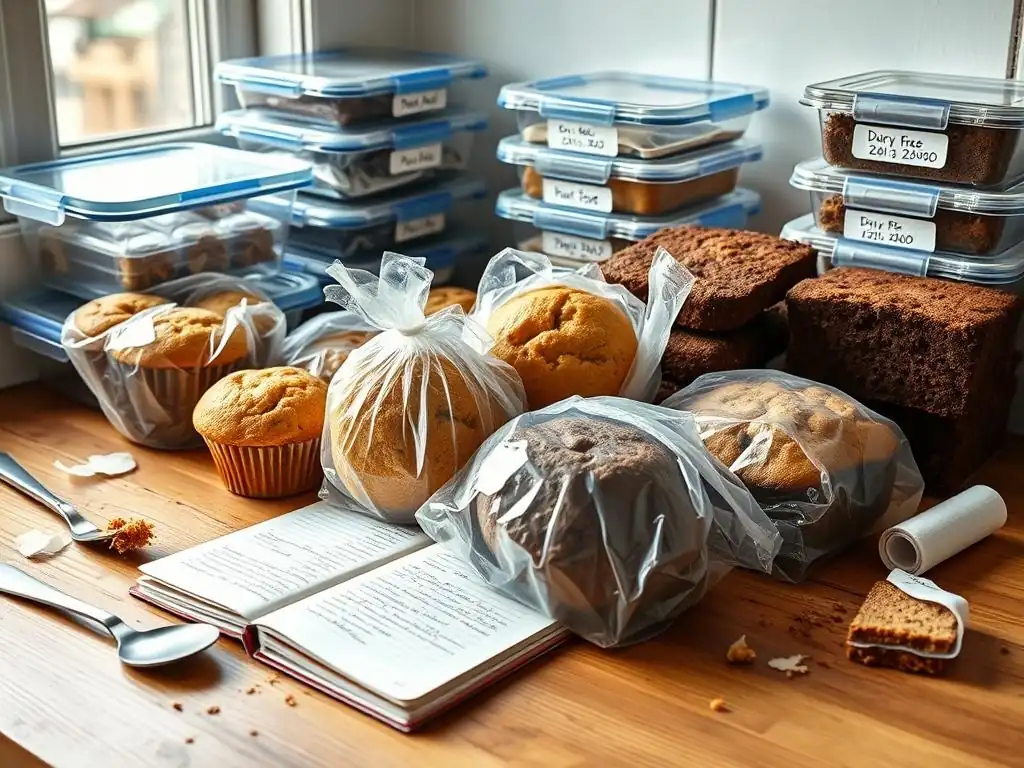
Even with the best intentions, certain mistakes can undermine your dairy-free baking freezer efforts. Being aware of these pitfalls helps you steer clear of common issues that lead to disappointing results.
Avoiding these mistakes ensures that your frozen dairy-free treats are a convenient asset rather than a source of frustration. Proper technique from start to finish is key.
Over-Freezing: The Impact on Texture and Taste
While freezing preserves food, keeping items in the freezer for too long, beyond their recommended quality storage time, can lead to a decline in texture and flavor. This isn't a safety issue, but it impacts the eating experience.
Over-frozen baked goods might become excessively dry, crumbly, or develop off-flavors. Even with perfect packaging, some subtle changes occur over many months. Adhering to the suggested storage times (e.g., 2-4 months for cakes, 6-8 months for cookies) and using the oldest items first (thanks to proper labeling) prevents over-freezing.
Improper Packaging: Leading to Freezer Burn and Loss of Flavor
As highlighted earlier, improper packaging is perhaps the most frequent cause of poor freezing results. Using regular plastic wrap instead of freezer wrap, not removing enough air, or using containers that aren't truly airtight allows air to reach the surface of the baked goods.
This exposure directly causes freezer burn and allows the baked goods to absorb odors from other items in the freezer, resulting in unpleasant tastes. Investing in quality freezer bags, containers, and wraps designed for freezing is essential for protecting your dairy-free creations.
Thawing Too Quickly: Resulting in Soggy Baked Goods
Attempting to thaw baked goods too quickly, especially at room temperature without proper wrapping or in the microwave, can lead to condensation buildup. As the cold item hits warmer air, moisture from the air condenses on the surface.
This condensation can make crusts soggy, cause cakes to become gummy, and generally ruin the texture. Slow, gentle thawing in the refrigerator is the best defense against sogginess. If thawing at room temperature, keep the item wrapped until it reaches room temperature to manage condensation.
Conclusion: Enjoying Fresh Dairy-Free Baked Goods Anytime
Mastering the art of freezing dairy-free baked goods is a game-changer for any baker navigating dietary restrictions. It transforms baking from a perishable activity into one that offers convenience, flexibility, and the joy of having homemade treats readily available. By understanding the specific considerations for dairy-free ingredients and implementing proper techniques for cooling, packaging, freezing, and thawing, you can confidently extend the life of your delicious creations.
Embracing these dairyfree baking freezer tips means you no longer have to worry about finishing a whole cake or batch of cookies before they go stale. It allows you to bake ahead for busy weeks, prepare for unexpected guests, or simply satisfy a sudden craving for a favorite treat.
The Benefits of Freezing Your Dairy-Free Creations
The benefits of freezing your dairy-free creations are numerous. It reduces food waste by preserving leftovers, saves time by allowing batch baking, and provides unparalleled convenience, giving you access to homemade goodness whenever you desire. Freezing is also a fantastic way to portion control, making it easier to grab just one muffin or cookie.
Furthermore, it helps manage inventory if you bake for others or sell your goods, ensuring a consistent supply. The ability to freeze dairy-free baked goods opens up new possibilities for baking schedules and enjoyment, making your kitchen efforts even more rewarding.
Mastering Dairy-Free Baking Freezer Techniques for Baking Success
Becoming proficient in dairy-free baking freezer techniques is an invaluable skill that enhances your overall baking success. It’s about more than just putting food in a cold box; it’s about understanding how temperature and moisture interact with dairy-free ingredients to maintain quality.
By paying attention to details like complete cooling, airtight packaging, appropriate thawing methods, and smart labeling, you can ensure that your dairy-free cakes, cookies, breads, and pastries emerge from the freezer tasting nearly as fresh as the day they were baked. These dairyfree baking freezer tips empower you to bake smarter, reduce waste, and enjoy delicious, homemade dairy-free treats anytime you please.
Frequently Asked Questions
How long can I realistically freeze dairy-free baked goods and still maintain good quality?
Generally, dairy-free baked goods can be frozen for 2-3 months while maintaining optimal quality. After this time, the texture may change slightly, but they should still be safe to eat. Proper wrapping and airtight containers are key to extending their freezer life.
What's the best way to thaw dairy-free baked goods after freezing?
The best method is to thaw them gradually in the refrigerator overnight. Alternatively, you can thaw them at room temperature, but this might take longer. Avoid using the microwave unless you need them immediately, as it can make them soggy or unevenly heated.
Are there any specific dairy-free baked goods that don't freeze well?
Some delicate dairy-free pastries with creamy fillings might not freeze as well due to potential texture changes. Items like meringue-based desserts or those with a very high moisture content can become soggy. Always test a small portion first.
What are some tips for preventing freezer burn on my dairy-free baked goods?
To prevent freezer burn, ensure your baked goods are completely cool before wrapping them tightly in multiple layers of plastic wrap or freezer bags. Consider using a vacuum sealer for optimal protection. Labeling with the date is also important.
Can I refreeze dairy-free baked goods after they've been thawed?
It's generally not recommended to refreeze dairy-free baked goods after they've been thawed. Refreezing can compromise the texture and flavor, and it also increases the risk of bacterial growth.
Final Reflection: Preserving the Joy of Dairy-Free Baking
The art of dairy-free baking is flourishing, but preserving its delicious results requires careful consideration. Mastering the techniques outlined in this article—from proper wrapping to optimal freezing methods—is no longer a niche skill; it's a crucial element in enjoying the fruits of your labor and minimizing food waste. The ability to extend the shelf life of your creations directly impacts both your budget and your commitment to a delicious, dairy-free lifestyle.
The impact of accessible, reliable dairy-free baking extends far beyond individual kitchens. It empowers individuals with dietary restrictions to fully participate in culinary traditions and celebrations, fostering a sense of inclusion and community. This accessibility is vital, and the ability to freeze baked goods successfully is a significant contributor to that. Food is symbolic of love when words are inadequate.
- Alan D. Wolfelt. This sentiment rings true, especially when sharing homemade treats with loved ones, and the ability to preserve those treats ensures that love can be shared more widely and for longer.
Now, consider your own baking journey. What adjustments will you make to your freezing techniques based on the information presented? I encourage you to experiment, to refine your methods, and to share your successes (and even your mishaps!) with others. By embracing these practices, you're not just preserving baked goods; you're preserving moments, memories, and the joy of sharing delicious, dairy-free creations with those you care about. Let's continue to elevate the art of dairy-free baking, one perfectly frozen treat at a time.
Unlock the Secret to Longer-Lasting Dairy-Free Delights!
Thanks for taking the time to learn how to keep your dairy-free baked goods tasting their best! You've now got the tools to avoid that dreaded freezer burn and maintain deliciousness. Ready to put your new knowledge into practice?
- Prioritize your favorite recipe: Immediately try out one of the freezing techniques from the article on your next batch of cookies, cakes, or muffins!
- Share your success (or questions!): Tell us in the comments which method you chose and how it worked. We'd love to hear your experiences!
- Explore our other dairy-free recipes: Discover even more delicious and freezer-friendly options on BakeWithEase.com (this is a placeholder, do not add a link)
What's your go-to dairy-free baked good, and how do you keep it fresh?