
Create Incredible Texture: Using Nuts & Seeds for Crunch and Chew

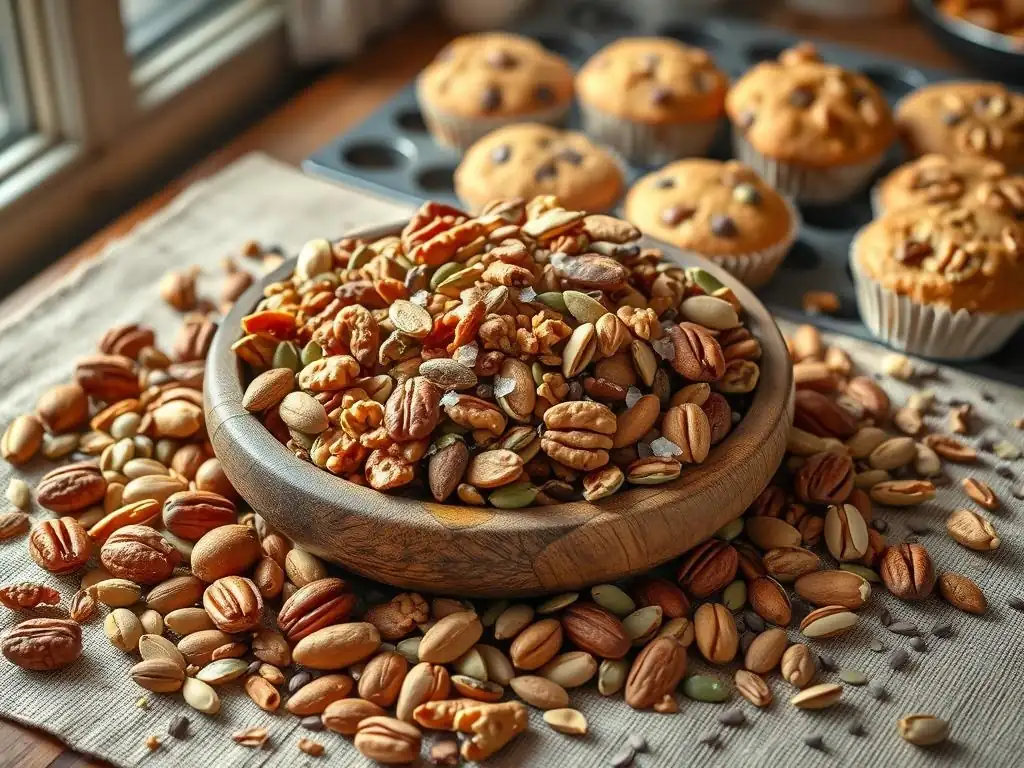
Welcome to BakeWithEase, your guide to unlocking the delicious world of baking!
Ready to elevate your baked goods to a whole new level? This week, we're diving deep into the world of nut and seed baking, exploring how these powerhouse ingredients can add incredible texture and flavor to your favorite recipes. Discover the secrets to achieving the perfect crunch, satisfying chew, and delightful nutty notes. But which nuts work best, and how do you prevent them from burning? Let's explore the answers and transform your baking today!
- BakeWithEase' Guide to Nut and Seed Baking
- Why Incorporate Nuts and Seeds into Your Baking?
- Choosing the Right Nuts and Seeds for Your Baking Projects
- Preparing Nuts and Seeds for Optimal Baking Results
- Nut and Seed Baking Techniques: Tips for Success
- Recipe Inspiration: Baking with Nuts and Seeds
- Troubleshooting Common Nut and Seed Baking Issues
- Storing Baked Goods with Nuts and Seeds
- Mastering Nut and Seed Baking: Final Thoughts and Tips
- Frequently Asked Questions
- Final Reflection: The Enduring Allure of the Perfect Crunch
- Unleash Your Inner Baker: Craft the Perfect Crunch!
BakeWithEase' Guide to Nut and Seed Baking
Adding nuts and seeds to your baked goods is one of the simplest yet most impactful ways to transform texture, flavor, and nutritional value. From the satisfying crunch of toasted walnuts in a brownie to the subtle chewiness of flax seeds in a rustic loaf, mastering nut and seed baking opens up a world of possibilities.
This guide from BakeWithEase explores everything you need to know to successfully incorporate these powerhouses into your recipes, enhancing everything from delicate pastries to hearty breads. Whether you're a beginner eager to try your first seeded cracker recipe or looking to perfect your nut-studded cake, understanding how to handle and integrate nuts and seeds is key to achieving delicious, consistent results in your nut and seed baking endeavors.
Why Incorporate Nuts and Seeds into Your Baking?
Nuts and seeds aren't just fillers; they are fundamental ingredients that can elevate your baking significantly. They provide crucial textural contrast, adding delightful crunch or a pleasant chewiness that complements softer elements in cakes, cookies, and breads. Beyond texture, they bring unique, often complex, flavors – from the earthy depth of walnuts to the sweet subtlety of pecans or the nutty notes of toasted sesame. Incorporating them is a core aspect of successful nut and seed baking.
Elevating Texture and Flavor with Nuts and Seeds
The primary appeal of adding nuts and seeds to baked goods for many bakers lies in their ability to drastically improve texture. Consider a simple chocolate chip cookie; adding chopped walnuts or pecans introduces a satisfying crunch that contrasts beautifully with the soft, chewy interior. In bread, seeds like sunflower or pumpkin seeds embedded in the crust create a delightful exterior crunch, while those mixed into the dough provide pockets of chewiness. This textural interplay is vital for a truly memorable bite.
Flavor is another major contributor. Roasting nuts before adding them, for instance, deepens their natural flavors and releases aromatic oils, contributing rich, complex notes like the caramel-like sweetness of toasted pecans or the robust nuttiness of roasted almonds. Even small seeds, like poppy or sesame, contribute unique, subtle flavors that can enhance a recipe, moving beyond just sweetness or richness to add layers of complexity. Effective nut and seed baking harnesses these attributes.
The Nutritional Benefits of Baking with Nuts and Seeds
Beyond their sensory appeal, nuts and seeds are nutritional powerhouses, adding significant value to your baked goods. They are excellent sources of healthy fats, protein, fiber, vitamins, and minerals. For example, adding just a quarter cup of chopped almonds to a muffin recipe can introduce around 6 grams of protein and 3.5 grams of fiber, along with Vitamin E and magnesium. A similar amount of chia seeds can add omega-3 fatty acids and even more fiber, about 10 grams, and protein, about 5 grams.
Incorporating these ingredients means your baked goods become more than just treats; they can contribute to a balanced diet. This is particularly appealing to health-conscious consumers and is a growing trend in nut and seed baking. While baked goods are still often enjoyed in moderation, enhancing their nutritional profile with nutrient-dense nuts and seeds makes them a more valuable part of one's diet.
Choosing the Right Nuts and Seeds for Your Baking Projects
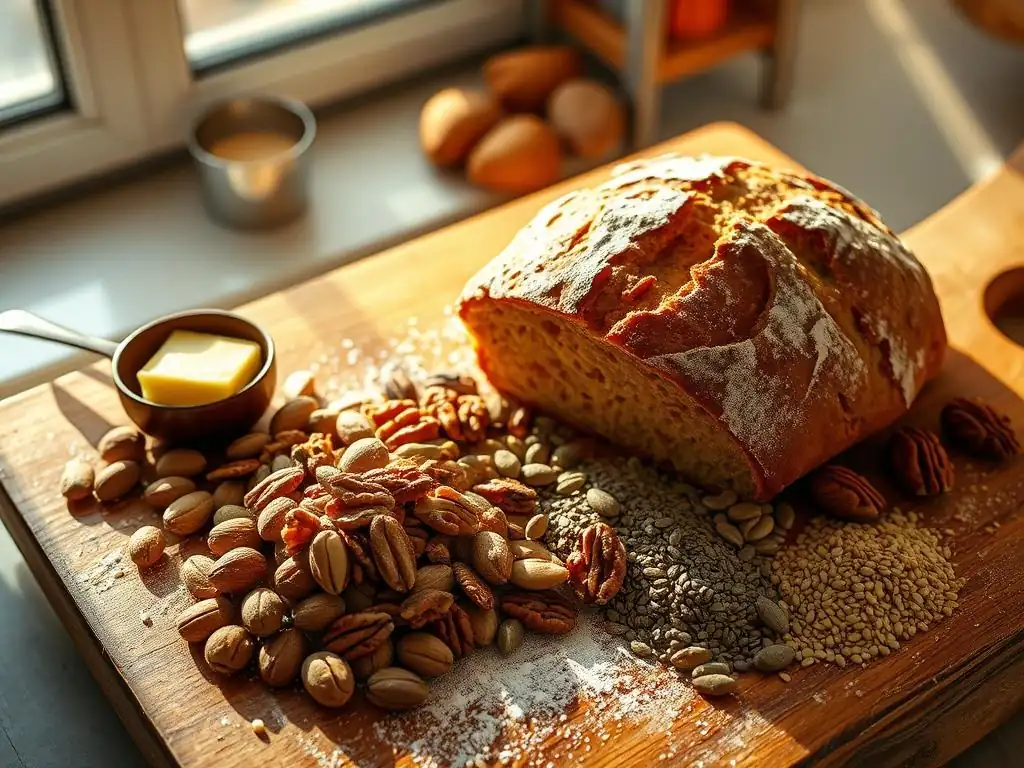
Selecting the appropriate nuts and seeds is crucial for achieving your desired outcome in nut and seed baking. Different varieties offer distinct textures, flavors, and handling characteristics. Your choice should align with the overall profile of your recipe, considering how the nut or seed will interact with other ingredients during the baking process.
A Baker's Guide to Popular Nuts for Baking: Almonds, Walnuts, Pecans, Hazelnuts
These four nuts are staples in many baking traditions for good reason. Almonds, often used sliced, slivered, or ground into flour, provide a delicate crunch and a slightly sweet, versatile flavor perfect for cookies, cakes, and pastries like frangipane tarts. Walnuts offer a bolder, slightly bitter flavor and a tender crunch, making them ideal for pairing with chocolate or spices, as seen in classic brownies or spiced cakes.
Pecans are beloved for their buttery texture and sweet, rich flavor, especially when toasted. They are the star of pecan pie and add luxurious depth to cookies, muffins, and quick breads. Hazelnuts have a distinct, earthy, slightly sweet flavor that pairs exceptionally well with chocolate, famously in gianduja or often used in biscotti and cakes, offering a firm crunch when baked whole or chopped. Each brings a unique profile to nut and seed baking.
Exploring Seed Varieties for Baking: Pumpkin, Sunflower, Sesame, Flax, Chia, Poppy
Seeds, while smaller, pack a significant punch in texture and nutrition. Pumpkin seeds (pepitas) add a noticeable crunch and a slightly sweet, nutty flavor, perfect for bread crusts, granola bars, or sprinkled over muffins. Sunflower seeds offer a similar crunch and mild, nutty taste, widely used in multi-grain breads and savory crackers.
Smaller seeds like sesame add a subtle crunch and distinctive aroma, often used as a topping for bread, buns, or incorporated into tahini-based baked goods. Flax seeds, typically used ground or whole, contribute chewiness and nutritional fiber, common in healthy muffins, breads, and crackers. Chia seeds absorb liquid and create a gel-like texture, useful as an egg substitute or to add moisture and structure in some recipes, while poppy seeds add tiny pops of texture and a unique, slightly nutty flavor to cakes (like lemon-poppy seed) and breads. These tiny additions are vital in versatile nut and seed baking.
Considering Flavor Profiles: Matching Nuts and Seeds to Your Recipes
Pairing nuts and seeds correctly enhances the overall flavor harmony of your baked goods. Bold flavors like walnuts and pecans stand up well to strong partners like chocolate, coffee, or warm spices (cinnamon, nutmeg). Lighter nuts like almonds and hazelnuts complement vanilla, fruit (berries, apples), and lighter chocolate or caramel.
Seeds generally have milder flavors but contribute significantly to the overall profile. Sesame seeds pair wonderfully with savory flavors or honey. Poppy seeds are a classic match for citrus. Sunflower and pumpkin seeds are versatile, working well in both sweet and savory contexts, often alongside grains. Thinking about how the inherent flavor of the nut or seed will interact with the main flavors of your recipe is a crucial step in successful nut and seed baking.
Preparing Nuts and Seeds for Optimal Baking Results
Proper preparation of nuts and seeds before incorporating them into your doughs and batters is key to unlocking their full potential and preventing common baking issues. Simple steps like toasting, chopping, and, in some cases, soaking can dramatically improve their flavor, texture, and how they integrate into your finished product.
Toasting Nuts and Seeds: Enhancing Flavor and Aroma
Toasting is perhaps the most transformative step in preparing nuts and many seeds for baking. Heat helps to release the natural oils within the nuts and seeds, intensifying their flavor and creating a richer, more complex profile. For example, toasting almonds at around 325°F (160°C) for 8-12 minutes turns their subtle sweetness into a more pronounced, fragrant nuttiness. Pecans develop a deep, buttery richness when toasted.
Toasting can be done in a dry skillet over medium heat, stirring frequently until fragrant and lightly colored, or on a baking sheet in a preheated oven. The oven method is often preferred for larger batches, ensuring more even toasting. It's crucial to watch them closely as they can go from perfectly toasted to burnt very quickly. Properly toasted nuts and seeds add a depth of flavor that raw ones simply can't match, making it a vital technique in advanced nut and seed baking.
Chopping and Grinding: Achieving the Desired Texture
The size and form of your nuts and seeds significantly impact the final texture of your baked goods. Chopping nuts provides distinct pieces for a noticeable crunch, while grinding them into a meal or flour creates a finer texture, often used to replace some traditional flour for a tender crumb, as seen in almond cakes or hazelnut cookies. The desired texture dictates your preparation method.
For chopping, a knife or food processor can be used. Be careful not to over-process nuts in a food processor, or you'll end up with nut butter! Aim for consistent pieces appropriate for your recipe – finely chopped for delicate cookies, roughly chopped for hearty muffins or breads. Seeds are often used whole, but some, like flax seeds, are best used ground (flax meal) to make their nutrients more accessible and help them bind ingredients, which is a common technique in healthy nut and seed baking.
Soaking Seeds: Understanding Hydration for Better Baking
Some seeds, particularly smaller, harder varieties like chia seeds and flax seeds, benefit from soaking before being added to certain recipes. These hydrophilic seeds absorb liquid and form a gel-like consistency, which can add moisture, help bind ingredients, and improve the texture of baked goods, especially in gluten-free or vegan recipes. For example, a common ratio is 1 tablespoon of chia seeds or ground flax seeds soaked in 3 tablespoons of water for about 5-10 minutes to create a gel equivalent to roughly one egg.
Soaking can also apply to larger seeds or nuts in specific traditional recipes, sometimes to soften them slightly or reduce phytic acid. However, for standard nut and seed baking applications focused on crunch, soaking is generally not necessary and would be counterproductive to achieving crispness. Understanding which seeds benefit from hydration and when is key to successful integration.
Nut and Seed Baking Techniques: Tips for Success
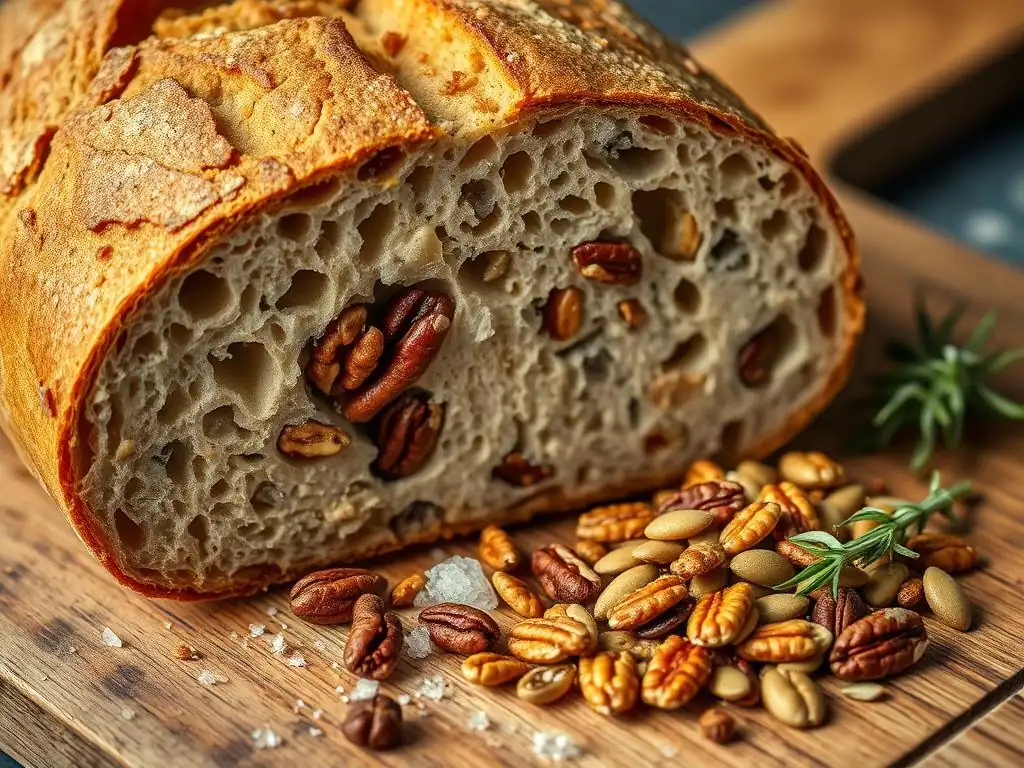
Successfully integrating nuts and seeds into your recipes goes beyond just adding them to the mix. Specific techniques can help ensure they are evenly distributed, don't sink, and contribute their intended texture and flavor without issues like burning. Mastering these methods is essential for consistent, high-quality results in your nut and seed baking.
Incorporating Nuts and Seeds into Doughs and Batters
When adding nuts and seeds to doughs (like bread dough) or batters (for cakes, muffins, cookies), timing and method matter. For batters, especially those that are relatively wet, coating chopped nuts or seeds lightly in a tablespoon or two of the dry ingredients (like flour or cocoa powder) from the recipe before folding them in can help prevent them from sinking to the bottom during baking. This technique is particularly useful for larger, heavier additions like pecan halves in a cake.
For bread doughs, nuts and seeds are often added during the later stages of kneading. This ensures they are evenly distributed without being pulverized by extended mixing. For rustic loaves, they might be folded in gently towards the end.
The amount added should also be considered; too many nuts or seeds can disrupt the gluten structure in bread or make cakes too heavy. A common starting point is adding nuts or seeds equal to 10-20% of the flour weight in bread, or about 1/2 cup to 1 cup per standard cake or muffin batch (using 1.5 to 2 cups of flour).
Creating Nut and Seed Toppings and Crusts
Nuts and seeds make fantastic toppings and crusts, adding both visual appeal and significant crunch. For pie crusts or tart shells, finely ground nuts (like almonds or pecans) can replace a portion of the flour or be combined with butter and sugar for a press-in crust. A common ratio for a simple nut crust is 1.5 cups finely ground nuts mixed with 1/4 cup sugar and 1/2 cup melted butter, pressed into a 9-inch pie plate and baked until golden.
For toppings on muffins, quick breads, or coffee cakes, chopped nuts or seeds can be sprinkled directly on top before baking. For added crunch and shine, they can be mixed with a little sugar or butter first. When creating a seed-heavy crust for bread, seeds are often sprinkled on the exterior of the shaped loaf after it's been misted with water or brushed with egg wash, helping them adhere during baking. This technique ensures a prominent, crunchy exterior, a hallmark of excellent nut and seed baking.
Preventing Nuts and Seeds from Sinking in Cakes and Muffins
As mentioned earlier, coating nuts and seeds with a small amount of the recipe's dry ingredients is a highly effective method to prevent sinking. The flour coating creates a slight barrier and helps the nuts and seeds suspend more evenly within the batter as it bakes and sets. For a standard batch of 12 muffins, using about 1/2 cup of chopped nuts, toss them with 1-2 tablespoons of the flour mixture before folding them into the batter gently with a spatula.
Another factor is the batter consistency. If the batter is too thin, even coated nuts may sink. Ensuring your batter is mixed correctly and has the appropriate consistency for the type of baked good is important. Overmixing can also deflate the batter, making it less able to support the weight of additions. Gentle folding is key. Using smaller pieces of nuts also helps them stay suspended better than large chunks or halves, contributing to more even distribution throughout your nut and seed baking creations.
Recipe Inspiration: Baking with Nuts and Seeds
Ready to put your nut and seed baking knowledge into practice? Here are a couple of classic examples that showcase the versatility of these ingredients, along with tips on how to adapt your own favorite recipes to include them.
Hazelnut Chocolate Biscotti
Biscotti, the twice-baked Italian cookie, is a perfect canvas for nuts. This version highlights the wonderful pairing of hazelnuts and chocolate.
Ingredients might include:
- 1 3/4 cups all-purpose flour
- 1 tsp baking powder
- 1/4 tsp salt
- 3/4 cup sugar
- 2 large eggs
- 1 tsp vanilla extract
- 1 cup toasted, roughly chopped hazelnuts
- 1/2 cup chocolate chips (optional)
The dough is typically formed into logs, baked until firm, then sliced and baked again until dry and crisp. The toasted hazelnuts provide a delightful crunch and their unique flavor permeates the cookie, perfectly complementing the chocolate. This is a prime example of how nut and seed baking enhances traditional recipes.
Sunflower Seed and Honey Granola Bars
Homemade granola bars offer a chewy or crunchy texture depending on how long you bake them, and seeds are essential for substance and nutrition.
A simple recipe base might include:
- 2 cups rolled oats
- 1/2 cup toasted sunflower seeds
- 1/4 cup honey or maple syrup
- 1/4 cup nut butter (peanut, almond, etc.)
- 2 tbsp melted butter or coconut oil
- Optional additions: dried fruit, other seeds (chia, flax), nuts, spices
Ingredients are mixed, pressed into a pan, baked, and then cut into bars. The toasted sunflower seeds add a satisfying chewiness and nutty flavor that pairs beautifully with the sweetness of honey and the richness of oats and nut butter. This demonstrates how nut and seed baking can create wholesome, energy-rich snacks.
Adapting Recipes: Adding Nuts and Seeds
Adding nuts and seeds to existing recipes is straightforward with a few considerations. Start by identifying where the texture and flavor of nuts or seeds would be beneficial – perhaps added to a standard muffin batter, sprinkled on top of a loaf cake, or mixed into cookie dough.
Consider the quantity: A good starting point is 1/2 cup to 1 cup of chopped nuts or seeds per recipe using 1.5 to 2 cups of flour. For bread, aim for 10-20% of the flour weight. Think about preparation: Will toasting enhance the flavor? Should larger nuts be chopped? Remember the tip about coating nuts with dry ingredients to prevent sinking in batters. Experiment with different types and amounts to find your perfect combination in your nut and seed baking explorations.
Troubleshooting Common Nut and Seed Baking Issues
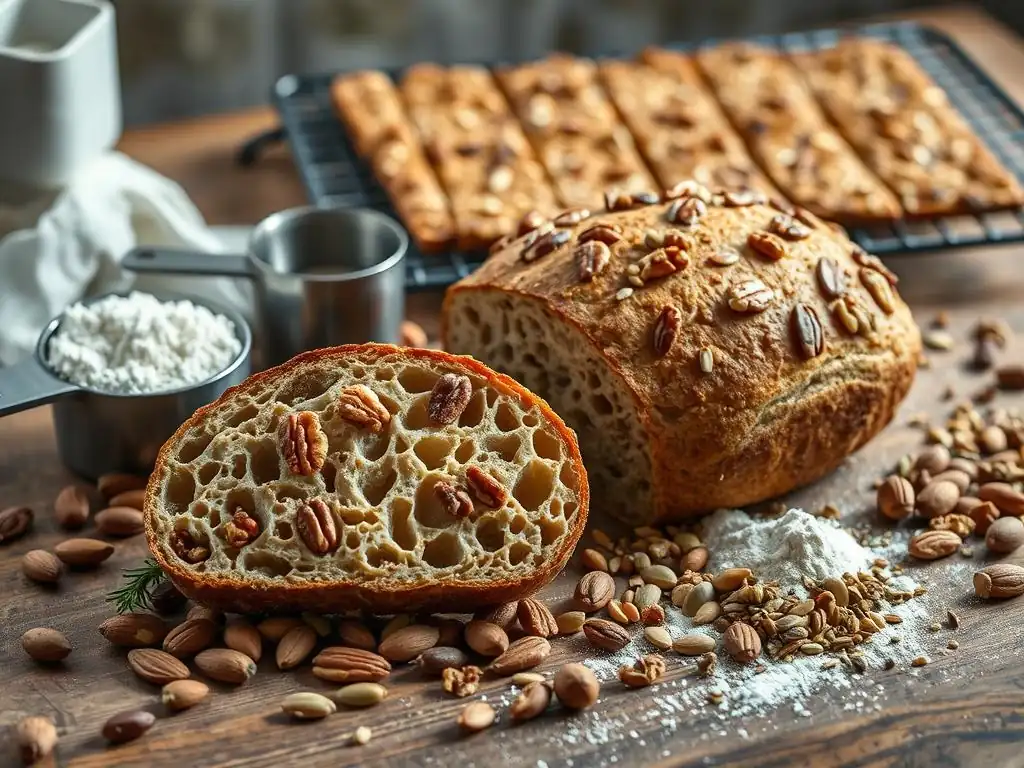
Even with careful preparation, issues can arise when baking with nuts and seeds. Knowing how to identify and prevent common problems like burning or sinking is essential for consistent success in your nut and seed baking journey.
Avoiding Burnt Nuts and Seeds
Burnt nuts or seeds can ruin an entire batch of baked goods, imparting a bitter, acrid flavor. This often happens because nuts and seeds contain oils which can burn quickly at high temperatures or with prolonged exposure to heat. The most common culprits are toasting them too long or at too high a temperature before baking, or if they are used as a topping and exposed directly to radiant heat in the oven.
To prevent burning:
- Toast nuts and seeds at a moderate temperature (around 300-325°F or 150-160°C) and watch them constantly. They are done when fragrant and lightly golden, not dark brown.
- If using nuts or seeds as a topping that browns too quickly, you can loosely tent the baked good with aluminum foil during the last portion of baking.
- Ensure nuts and seeds are fresh; old nuts are more likely to burn due to rancid oils. Store them properly (more on this later).
Task List: Preventing Burnt Nuts & Seeds
- [x] Preheat oven to moderate temp (300-325°F).
- [x] Spread nuts/seeds in a single layer on a baking sheet.
- [x] Toast, watching continuously, until fragrant and lightly colored (approx. 8-12 mins).
- [x] Remove from oven and cool completely before using.
- [ ] If topping browns too fast in recipe, tent with foil.
Preventing Soggy Nut and Seed Crusts
A soggy bottom crust on a nut-based pie or tart is disappointing. This usually occurs when the moisture from the filling or the air isn't properly managed, causing the crust to steam rather than crisp. Nuts, especially ground ones used in crusts, can absorb moisture readily.
Strategies to ensure a crisp crust:
- Pre-bake (blind bake) nut-based crusts partially or fully before adding a wet filling. Bake until set and lightly golden. For a pecan pie, for instance, a partial blind bake is often recommended.
- Ensure the filling isn't excessively wet. Some fillings benefit from cooling slightly before being added to the crust.
- If using a press-in nut crust, ensure it's pressed firmly and evenly into the pan. Baking it until it's a good golden brown before adding the filling helps set the structure and repel moisture.
Achieving Even Distribution of Nuts and Seeds in Your Baked Goods
Uneven distribution means some bites are packed with nuts while others have none. This is especially common in batters. The coating-with-dry-ingredients trick mentioned earlier is the primary defense against sinking in cakes and muffins. For doughs, proper mixing time is key.
For cookie doughs or quick breads where you fold in additions:
- Wait until the batter or dough is just mixed before adding nuts and seeds. Overmixing after additions can cause them to break down or sink.
- Fold gently with a spatula rather than using a mixer.
- For very thick doughs (like some cookie doughs), you can often just mix them in briefly on low speed with a stand mixer.
- Ensure the nuts are chopped to an appropriate size – large chunks are more likely to sink than smaller, evenly chopped pieces.
Storing Baked Goods with Nuts and Seeds
Proper storage is crucial for maintaining the texture and flavor of baked goods containing nuts and seeds, and also for preventing spoilage. Due to their oil content, nuts and seeds can go rancid if not stored correctly, imparting an unpleasant, stale flavor.
Maintaining Freshness and Texture
The best way to store baked goods with nuts and seeds depends on the type of baked good.
- Cookies and Biscotti: Store in an airtight container at room temperature. The low moisture content means they will stay crisp for several days, sometimes up to a week. Ensure they are completely cool before storing to prevent condensation, which can lead to sogginess.
- Cakes, Muffins, Breads: These are often softer and have higher moisture. Store them in an airtight container at room temperature for 2-3 days, or in the refrigerator for longer storage (up to a week). For longer periods, freezing is the best option. Wrap tightly in plastic wrap and then foil or place in a freezer bag for up to 2-3 months. Thaw at room temperature.
The airtight container is key to preventing them from drying out or absorbing off-flavors, while also protecting the nuts and seeds from excess air exposure.
Preventing Rancidity
Nuts and seeds contain unsaturated fats that can oxidize and become rancid when exposed to air, light, and heat over time. Rancid nuts have a distinct, unpleasant smell and taste, often described as bitter or like old crayons.
To prevent nuts and seeds from going rancid before baking:
- Store nuts and seeds in airtight containers in a cool, dark place.
- For longer storage, especially for large quantities or oily nuts like walnuts and pecans, the refrigerator or freezer is best. Nuts stored in the freezer can last for many months.
- Always check nuts and seeds for freshness before using them in nut and seed baking. If they smell off or taste bitter, discard them.
Once baked into goods, the risk of rancidity is reduced by the baking process and enclosure within the baked item, but proper storage as described above (airtight, cool, dark, or frozen) is still the best defense against flavor degradation over time.
Mastering Nut and Seed Baking: Final Thoughts and Tips
Incorporating nuts and seeds into your baking is a rewarding journey that adds incredible dimension to your creations. By understanding the unique properties of different varieties, preparing them properly through toasting and chopping, and employing smart techniques for integration and storage, you can consistently achieve fantastic results. Remember that successful nut and seed baking is about balancing textures, harmonizing flavors, and adding nutritional value.
Don't be afraid to experiment with different combinations – perhaps toasted pecans in banana bread, sunflower seeds in your next rustic loaf, or ground almonds in shortbread. Pay attention to the details: the smell of nuts as they toast, the feel of the dough as you fold in seeds, the sound of the crunch in your finished bite. With practice and attention, you'll master the art of using nuts and seeds to create truly memorable baked goods that delight the senses.
Frequently Asked Questions
How do nuts and seeds enhance baked goods?
Nuts and seeds add incredible texture like crunch and chewiness, improving the overall mouthfeel. They also contribute distinct flavors and valuable nutrients to your baking.
What are some popular nuts and seeds for baking?
Common choices include almonds, walnuts, pecans, sunflower seeds, and sesame seeds. The best choices depend on the desired flavor profile and texture.
How should I prepare nuts and seeds before adding them to my recipes?
Toasting nuts and seeds before baking intensifies their flavor and enhances their crunch. You can also chop or grind them to achieve different textures.
Can I substitute different nuts and seeds in a recipe?
Yes, most nuts and seeds can be substituted, but consider the flavor and texture differences. Adjust quantities accordingly to maintain the recipe's balance.
Where can I find easy-to-follow recipes using nuts and seeds?
BakeWithEase.com offers a variety of simple recipes that incorporate nuts and seeds, suitable for all baking levels. Explore our pastries, breads, cakes, and cookies for inspiration.
Final Reflection: The Enduring Allure of the Perfect Crunch
The satisfying crunch of nuts and seeds in baked goods isn't just a textural delight; it's a fundamental element of culinary satisfaction, a key to unlocking truly incredible recipes. From the humble cookie to the most elaborate cake, the strategic incorporation of these tiny powerhouses elevates the entire baking experience, transforming a simple treat into something truly memorable. This is more than just a trend; it's a testament to our enduring appreciation for natural flavors and textures.
The influence of nuts and seeds extends far beyond the simple addition of crunch. They represent a connection to nature, a celebration of wholesome ingredients, and a nod to culinary traditions passed down through generations. The best things in life are simple,
a sentiment perfectly captured by the uncomplicated yet profound impact of a perfectly toasted pecan or a scattering of crunchy sunflower seeds. Their versatility allows for endless creative exploration, pushing the boundaries of flavor and texture in ways that continue to inspire bakers worldwide.
Consider the possibilities: the nutty depth of almonds in a biscotti, the earthy warmth of pumpkin seeds in a bread, the vibrant pop of pistachios in a macaron. These aren't just ingredients; they are the building blocks of culinary artistry. You, the baker, hold the power to transform simple nuts and seeds into extraordinary experiences. Experiment with different varieties, explore diverse roasting techniques, and discover the unique magic each one brings to your creations. Embrace the crunch, embrace the possibilities, and embrace the joy of baking with nature's perfect additions.
Unleash Your Inner Baker: Craft the Perfect Crunch!
Thanks for taking the time to explore the wonderful world of nutty and seedy textures! You’ve now unlocked a secret weapon for elevating your baking to the next level. Ready to put your new knowledge into practice?
- Embrace the Crunch: Experiment with different nut and seed combinations in your favorite recipes. Try adding slivered almonds to your next batch of cookies, or toasted pumpkin seeds to your granola bars!
- Share Your Creations: Show off your newly acquired texture expertise by sharing photos of your delicious creations on social media – tag us! #BakeWithEase #NuttyTextures
- Dive Deeper: Explore our other articles on baking techniques for even more inspiration. Discover new ways to elevate your baking game!
What unique texture combinations will you create next?