
Achieving a Crispy Exterior on Your Viennoiseries

Welcome to BakeWithEase!
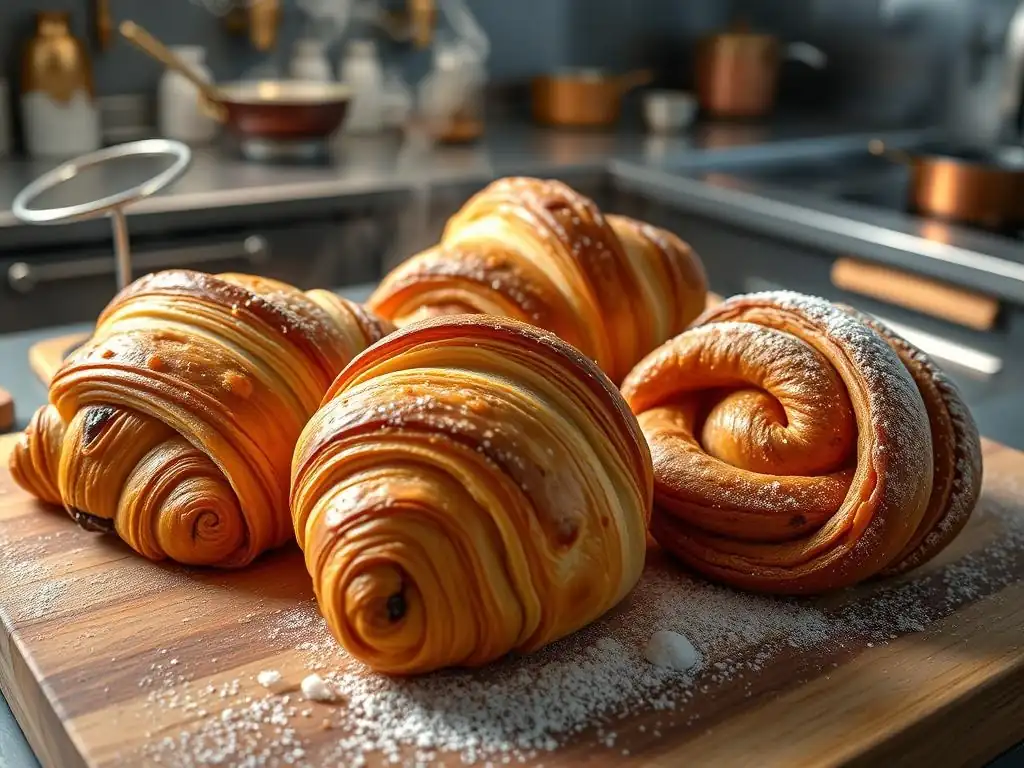
Unlock the secrets to perfectly crisp viennoiseries with our expert guidance. Ever wondered how to achieve that irresistible flaky crust on your croissants or pain au chocolat? Discover the essential techniques and insider tips that will transform your baking and elevate your viennoiseries to bakery-worthy masterpieces. Dive in and prepare to be amazed!
- Achieving a Crispy Exterior on Viennoiseries: A Baker's Guide
- Introduction: The Key to Perfectly Crisped Viennoiseries
- Understanding the Science Behind a Crispy Crust
- Key Ingredients and Their Impact on Crispiness
- Baking Tips: Step-by-Step Guide
- Troubleshooting Common Issues
- Advanced Techniques for Enhancing Crispiness
- Viennoiseries Recipes
- Storing Viennoiseries to Maintain Crispiness
- Conclusion: Mastering Crispy Viennoiseries.
-
Frequently Asked Questions
- How can I achieve that perfect crispy exterior on my viennoiseries?
- What type of fat works best for maximizing the crispness of viennoiseries?
- Is there a specific technique for glazing viennoiseries to enhance their crispiness?
- How does proofing time affect the final crispiness of viennoiseries?
- What role does oven placement play in achieving a crispy viennoiserie?
- Final Reflection: The Golden Crust: A Journey to Viennoiserie Perfection
- Unlock Your Viennoiserie's Golden Crust!
Achieving a Crispy Exterior on Viennoiseries: A Baker's Guide
Introduction: The Key to Perfectly Crisped Viennoiseries
Few things compare to the sensory delight of biting into a perfectly crafted viennoiserie. That tell-tale shatter of a golden, flaky crust giving way to a tender, airy interior is the hallmark of success. Achieving this signature crispiness is a goal for many home bakers venturing into the world of croissants, pain au chocolat, and other laminated pastries. It's not just about following a recipe; it involves understanding the fundamental science and mastering specific techniques.
This guide is designed to walk you through the essential steps and secrets to baking crispy viennoiseries consistently. We'll explore everything from the science behind the shatteringly crisp crust to precise baking tips and troubleshooting common hurdles. Get ready to elevate your baking game and produce viennoiseries that rival those from your favorite patisserie, focusing on achieving that coveted crispy exterior every time.
Understanding the Science Behind a Crispy Crust
The Role of Gluten Development in Crispness
Gluten, formed when wheat flour proteins (glutenin and gliadin) combine with water and are worked, provides the structure in baked goods. For viennoiseries, proper, yet not excessive, gluten development is crucial. It creates a strong, elastic network capable of trapping steam during baking, which helps the layers separate and puff up.
However, too much gluten development can result in a tough, chewy pastry rather than a light, crispy one. The balance lies in gentle mixing and sufficient resting periods. For instance, an autolyse period—simply mixing flour and water and letting it rest for 20-30 minutes before adding other ingredients—allows gluten to develop naturally without rigorous kneading, contributing to a more tender crumb while still providing the necessary structure for lamination and a subsequently crispy crust.
How Moisture Affects Texture
Moisture plays a dual role in achieving crispy viennoiseries. Initially, water in the dough is essential for gluten development and creating steam during baking. As the pastry bakes at high temperatures, this water turns to steam, forcing the layers apart and creating the characteristic honeycomb structure. This internal structure is key to a light texture, which complements the crisp exterior.
During the final stages of baking, moisture needs to escape from the pastry. If too much moisture remains trapped, the crust will be soft or even soggy, lacking that desired crispness. Proper baking time and temperature are critical to allow sufficient drying and browning of the outer layers. For example, baking at a slightly lower temperature after an initial hot burst helps ensure the interior cooks through and moisture evaporates without burning the exterior.
The Importance of Fat for a Flaky and Crispy Result
Fat, specifically butter in traditional viennoiseries, is perhaps the most critical component for flakiness and contributing to crispiness. The process of lamination involves folding layers of dough and butter repeatedly. As the pastry bakes, the water within the butter turns to steam, creating pockets between the dough layers and forcing them apart.
This separation of layers, known as 'lift', is what creates the flaky structure. The butter also coats the gluten strands, preventing them from forming a continuous, tough network and contributing to tenderness. Furthermore, as the butter melts and renders during baking, it fries the dough layers slightly, enhancing the crispness of the final product. Using high-quality butter with a specific fat content (around 82-84%) is often recommended for optimal lamination and a superior crispy texture compared to lower-fat alternatives.
Key Ingredients and Their Impact on Crispiness
The Best Type of Flour
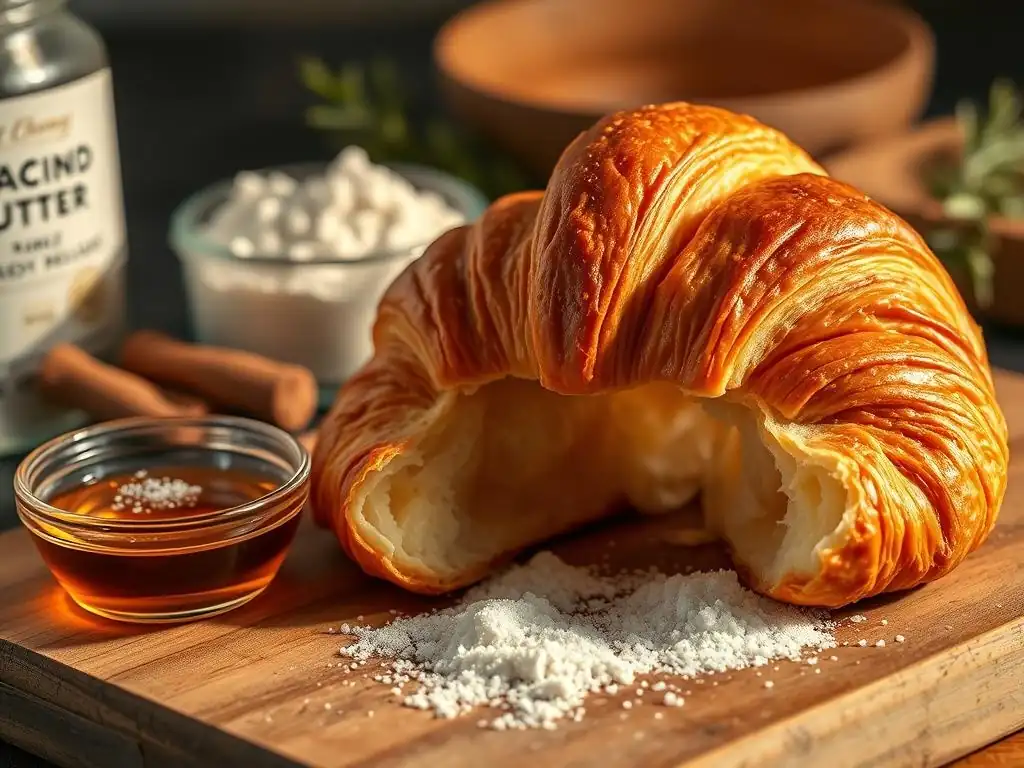
The type of flour significantly impacts the structure and potential crispness of your viennoiseries. A medium-protein bread flour, typically with 11-12.5% protein content, is often preferred. This protein level provides enough gluten structure to withstand the rigorous process of lamination without becoming excessively tough.
Using a flour with too low a protein content might result in a weak dough that tears easily during rolling and lamination, hindering the development of distinct layers needed for flakiness and crispness. Conversely, a very high-protein flour (like strong bread flour over 13%) can make the dough too elastic and difficult to roll thinly, potentially leading to a dense rather than airy and crispy result. Experimenting with flours around the 11.5-12% mark often yields the best balance for crispy viennoiseries.
Butter: The Foundation of Flaky Pastries
Butter is the star ingredient in achieving both flakiness and crispiness in viennoiseries. Its role in creating steam pockets between layers during baking is paramount. The quality and type of butter make a significant difference; high-fat European-style butters (often containing 82% or more butterfat) are highly prized for lamination.
The higher fat content and lower water content in these butters make them more pliable yet firm at cold temperatures, ideal for creating thin, even layers during rolling. Butter that is too soft or has too much water can melt into the dough during lamination, destroying the distinct layers needed for a crispy, flaky texture. Keeping the butter cold and firm throughout the lamination process is non-negotiable for success.
The Role of Sugar in Caramelization
Sugar in the dough doesn't just add sweetness; it contributes significantly to the browning and crisping of the crust through caramelization and the Maillard reaction. Typically, viennoiserie dough contains a relatively small amount of sugar compared to cakes or cookies, often in the range of 5-10% of the flour weight.
This amount is sufficient to promote beautiful golden-brown coloring during baking, especially on the exposed surfaces. The caramelization of sugars on the crust creates desirable flavors and contributes to the crisp texture. Without enough sugar, the crust might remain pale and soft, lacking the visual appeal and the satisfying crispness.
Baking Tips: Step-by-Step Guide
Step 1: Preparing the Dough for Optimal Crispness
Preparing the dough correctly sets the foundation for crispy viennoiseries. It begins with accurate measurement of ingredients, ideally using a digital scale for precision. Temperature control is vital throughout the process; aim for a dough temperature around 75-78°F (24-26°C) after mixing.
Allowing the dough sufficient rest periods, such as an autolyse (mixing flour and water only) followed by bulk fermentation (the first rise after all ingredients are combined), develops strength and elasticity gently. A typical bulk fermentation for viennoiserie dough might last 1-2 hours at room temperature, followed by a cold retardation in the refrigerator for 8-12 hours or even up to 24 hours.
This cold rest is crucial as it chills the dough thoroughly, making it easier to handle during lamination and contributing to better flavor development and a more relaxed gluten structure, aiding in achieving a crispy texture later.
Proper Mixing Techniques
Mixing should develop moderate gluten. Overmixing can lead to a tough dough that resists rolling, resulting in uneven layers and less crispness. Aim for a dough that is smooth but not overly elastic.
The Importance of Resting: Autolyse and Bulk Fermentation
Resting phases are non-negotiable. Autolyse allows enzymatic activity to naturally develop gluten and makes the dough more extensible. Bulk fermentation builds flavor and strength. Cold retardation firms the dough and butter block for lamination and improves flavor depth.
Step 2: Lamination Techniques for Maximum Flakiness
Lamination is the art of creating hundreds of thin alternating layers of dough and butter. This process is the heart of flaky and crispy viennoiseries. The key is to keep the dough and butter cold and firm throughout.
Start with a well-chilled dough and a butter block that is pliable but not soft – around 45-50°F (7-10°C) is ideal. Encase the butter block in the dough and roll it out before performing your first turn (fold). A common approach is to perform several turns (e.g., three single turns or one double and one single).
Rest the dough in the refrigerator for 30-60 minutes between turns to allow the gluten to relax and the butter to firm up. This prevents the butter from breaking through the dough or melting into it, ensuring distinct layers that will puff up into a crispy structure during baking.
Mastering Turns: Single vs. Double
Single turn: Fold one-third of the dough over the middle third, then the remaining third over that (like folding a letter). Double turn (or book fold): Fold both ends towards the center, leaving a small gap, then fold in half along the center. Each turn increases the number of layers significantly (single multiplies layers by 3, double by 4). Combining turns, like one double and one single, results in 12 layers from the initial three (dough, butter, dough). More layers generally lead to finer flakiness and crispness.
Keeping the Butter Cold
This is paramount. If the butter melts, it incorporates into the dough, destroying the layers. Work quickly, use a cold surface, and chill the dough thoroughly between each turn. If the dough becomes warm or sticky, stop and refrigerate immediately.
Step 3: Proofing for the Perfect Rise
Proofing is the final rise before baking, where yeast activity produces carbon dioxide, causing the shaped pastries to expand. Proper proofing is crucial for achieving an airy interior and contributes indirectly to crispiness by creating a structure that bakes evenly.
Over-proofing is a common mistake that can lead to flat, dense pastries with a soft, rather than crispy, crust. The ideal proofing environment is warm and humid, typically around 75-80°F (24-27°C) with 70-80% humidity. Proofing time can vary greatly depending on temperature and humidity, often taking 1.5 to 3 hours. The pastries should look visibly puffy and jiggly but still hold their shape. A gentle poke test should leave a slight indentation that slowly springs back.
Achieving the Ideal Proofing Conditions
A proofer box is ideal, but you can create a humid environment in your oven (turned off) with a pan of hot water on the rack below. Aim for the temperature and humidity ranges mentioned above.
Avoiding Over-Proofing
Over-proofed dough loses its structure and can collapse in the oven. The butter layers may also melt prematurely. Watch the pastries carefully; they should double in size but not look fragile or bubbly on the surface. The poke test is your best guide.
Step 4: Baking for a Golden-Brown Finish
Baking is where the magic happens, transforming the laminated dough into golden, crispy viennoiseries. High heat is necessary to create oven spring and rapidly turn the butter's water content into steam, separating the layers.
A common technique is to start baking at a high temperature, such as 400-425°F (200-220°C), for the first 10-15 minutes. This initial blast of heat promotes maximum lift and quickly sets the outer crust. Then, the temperature is typically reduced to 350-375°F (175-190°C) for the remainder of the baking time (another 10-20 minutes, depending on the size of the pastry). This lower temperature ensures the interior cooks through and the crust achieves a deep, even golden-brown color without burning. The final color is a key indicator of crispness; a pale pastry is likely underbaked and soft.
Oven Temperature
Start high (400-425°F) for initial lift, then reduce (350-375°F) to cook through and brown evenly. Preheat your oven thoroughly, potentially for 30-45 minutes, to ensure it's at the correct temperature.
Using Steam for a Shiny Crust
Introducing steam into the oven for the first 10-15 minutes of baking helps keep the surface of the dough moist, allowing it to expand fully before the crust sets. This results in a thinner, shinier crust that is more likely to become crispy. You can create steam by placing a tray of hot water or ice cubes in the bottom of the oven when you put the pastries in, or by using a steam oven function if available.
Achieving the Perfect Color
Bake until the viennoiseries are a deep golden-brown all over, including the sides. This color indicates that the sugars have caramelized sufficiently and the moisture has been driven out of the outer layers, resulting in maximum crispness. Don't be afraid of color; pale pastries are rarely crispy.
Troubleshooting Common Issues
Soggy Bottoms: Causes and Solutions
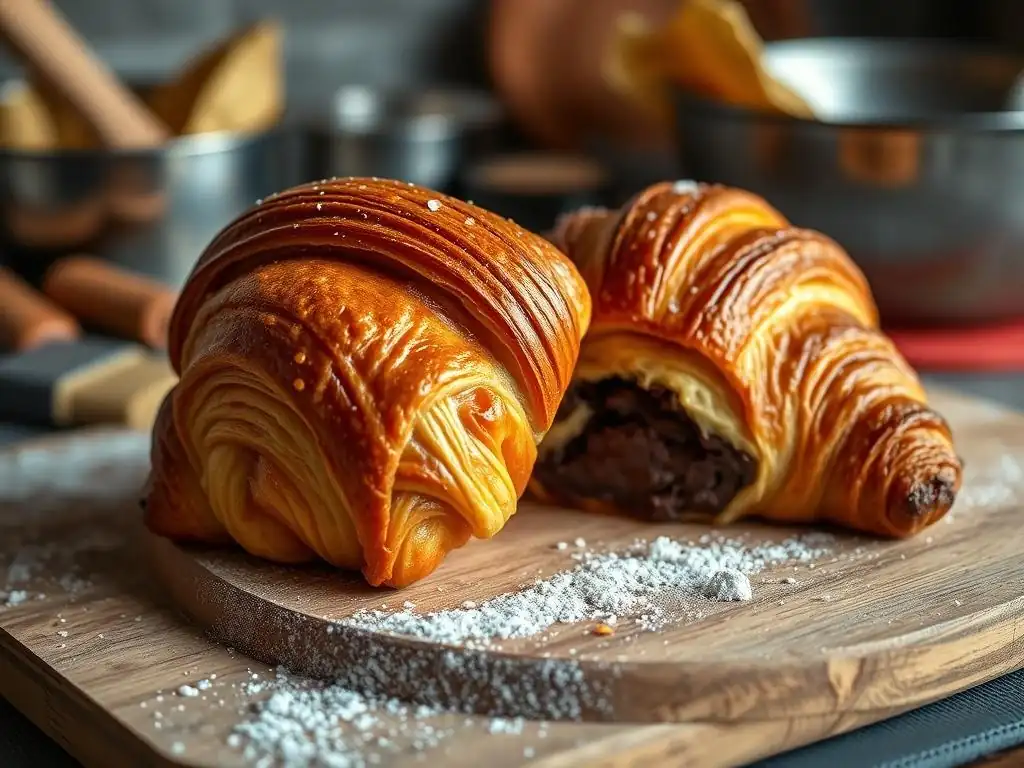
Soggy bottoms are a frustrating problem in viennoiseries, often caused by insufficient heat transfer to the bottom of the pastry or moisture pooling underneath. This can happen if the baking surface isn't hot enough, if too many pastries are crowded onto one tray, or if the oven isn't properly preheated.
To combat soggy bottoms, ensure your baking surface (a baking sheet, stone, or steel) is thoroughly preheated. Using a perforated baking sheet or a silicone baking mat designed for ventilation can help air circulate underneath the pastries. Baking on a preheated baking stone or steel provides intense, even heat from below, which is highly effective at ensuring a crispy bottom crust. Avoid placing pastries directly on a cold baking sheet.
Uneven Baking: Tips for Consistency
Uneven baking results in some parts of the pastry being perfectly golden and crispy while others are pale and underbaked. This is typically due to hot spots in your oven or crowding the baking sheet. Ovens rarely heat perfectly evenly.
To achieve consistent baking, rotate your baking sheet halfway through the baking time. For example, after reducing the temperature, turn the tray 180 degrees. Also, ensure there is adequate space between each pastry on the baking sheet to allow for proper air circulation; crowding inhibits even heat distribution. If using multiple trays, swap their positions on the oven racks partway through baking.
Preventing Burnt Tops: Adjusting Oven Settings
Sometimes the tops of viennoiseries brown too quickly while the insides are still raw or the bottoms are pale. This indicates the top heating element in your oven is too strong or too close to the pastries.
If tops are burning before the rest is done, you can loosely tent the viennoiseries with aluminum foil once they reach the desired color. This shields the top from direct radiant heat while allowing the rest of the pastry to continue baking. Alternatively, you may need to adjust your oven rack position, moving the tray to a lower rack, or slightly reduce the initial high temperature if it's consistently causing premature burning. Monitoring closely during the final minutes of baking is key.
Advanced Techniques for Enhancing Crispiness
Using a Baking Stone or Steel
A baking stone or steel is a game-changer for achieving truly crispy viennoiseries. These surfaces absorb and retain a significant amount of heat, providing a burst of intense, even heat to the bottom of the pastry as soon as it's placed in the oven.
This high heat transfer from below is crucial for maximum oven spring and ensuring the base of the viennoiserie cooks rapidly and becomes wonderfully crispy, preventing the dreaded soggy bottom. Place the stone or steel on a rack in the lower third of your oven and preheat it for at least 30-60 minutes at your target baking temperature. Slide the pastries (ideally on parchment paper or a peel) directly onto the hot surface.
Egg Wash Alternatives
While a standard egg wash (whole egg whisked with a little water or milk) provides a beautiful golden sheen, some bakers experiment with alternatives to influence crispiness. A wash made purely from egg yolk and cream can result in a darker, richer color and potentially a slightly thicker, more intensely crispy crust due to the higher fat content promoting more frying.
Conversely, some recipes suggest using only egg white or a very thin wash for a lighter color, or even omitting egg wash entirely on certain parts to allow for a more rustic, shattered crispness. For pain au chocolat, a double egg wash application – one before proofing and one just before baking – is common to achieve a deep, glossy finish that contributes to the crispy exterior.
Cold Shocking the Dough Before Baking
A less common but effective technique for enhancing crispiness is briefly "cold shocking" the shaped viennoiseries just before baking. After proofing, place the tray of pastries in the freezer for 10-15 minutes until the outer layer feels firm to the touch but not frozen solid.
This rapid chilling firms up the butter layers and the outer dough surface. When placed in the hot oven, the cold exterior helps delay the melting of the butter just long enough for the dough layers to set and steam to build more effectively. This can lead to greater layer separation and a more explosive oven spring, resulting in a lighter, more airy interior and a noticeably crispier exterior. It requires careful timing to avoid freezing the pastries.
Viennoiseries Recipes
Classic Croissant Recipe
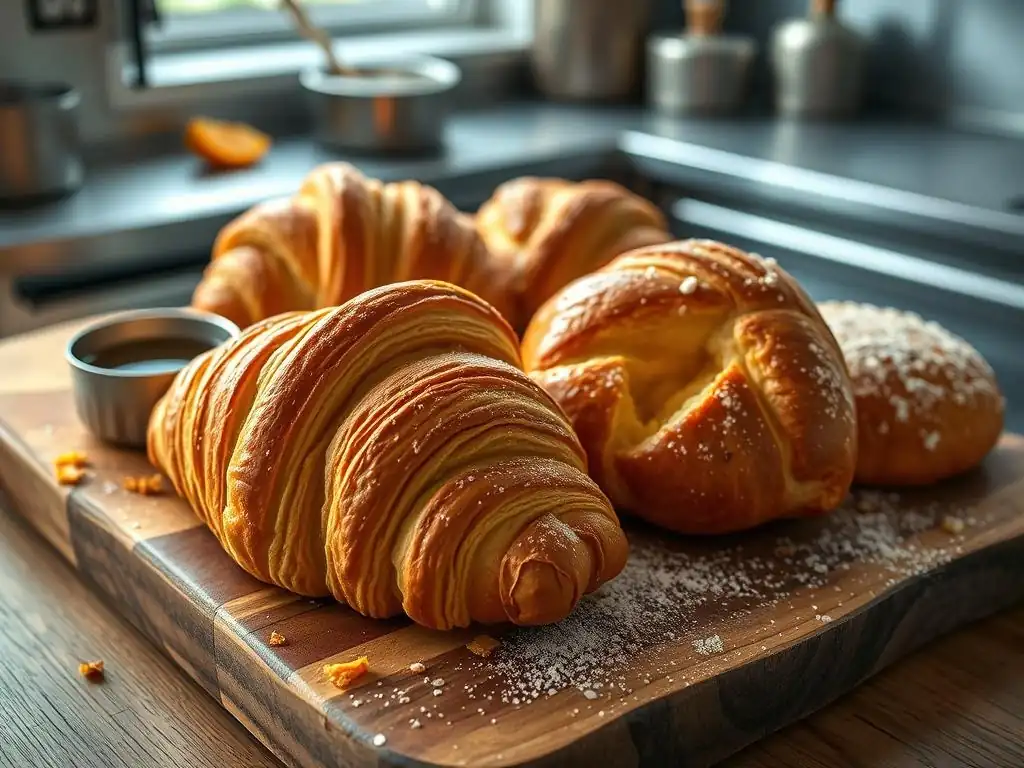
Crafting classic crispy croissants involves meticulous adherence to the lamination process discussed earlier. A successful recipe emphasizes cold temperatures throughout dough preparation and turning. Typically, this includes an initial dough mix with a cold rest period, followed by incorporating a cold butter block and performing multiple turns (like a book fold and a single fold) with ample chilling time between each.
The shaping of croissants is also key; rolling the dough to the correct thickness (around 3-4mm) and cutting even triangles ensures uniform layers. Proofing is critical – aiming for approximately double in size in a warm, humid environment without over-proofing. Baking starts hot (e.g., 400-425°F) for 10-15 minutes to set the layers and create steam, then reduced to 350-375°F to achieve that signature deep golden-brown, crispy crust.
Pain au Chocolat Recipe
Pain au chocolat, or chocolate croissants, follow a similar lamination process to classic croissants. The specific challenge here is incorporating the chocolate batons without tearing the dough during shaping or affecting the layer structure too much. The recipe emphasizes rolling the final dough sheet to the correct dimensions to perfectly enclose the chocolate.
Achieving crispy pain au chocolat relies heavily on careful lamination with cold butter and dough, precise shaping to ensure the chocolate is sealed within the layers, and proper proofing. The baking temperature strategy is identical: high heat initially for lift and then lower heat to bake through and crisp the exterior. The melted chocolate inside adds moisture, so ensuring the pastry is baked long enough to drive out sufficient moisture from the crust is particularly important for crispiness.
Almond Croissant Recipe
Almond croissants are typically made from day-old croissants that are filled with almond cream and baked again. While starting with a crispy base is ideal, the second bake presents an opportunity to re-crisp the exterior. The recipe involves dipping the croissant in a sugar syrup (often flavored with rum or orange) and filling it with frangipane before a second bake.
The key to a crispy almond croissant lies in the second bake. Baking at a moderate temperature (around 350-375°F or 175-190°C) for 15-25 minutes allows the frangipane to set and the exterior to toast and crisp up again. The sugar syrup helps promote browning and a pleasant, slightly chewy crispness on the surface. Ensuring the first bake created a good, open structure helps the almond cream distribute well, contributing to a pleasant texture contrast with the re-crisped exterior.
Storing Viennoiseries to Maintain Crispiness
Best Practices for Keeping Fresh
Maintaining the crispiness of viennoiseries after baking is a challenge, as their delicate structure is susceptible to moisture in the air. The absolute best way to enjoy crispy viennoiseries is immediately after they have cooled slightly from the oven. However, if you must store them, proper technique can help.
Avoid storing them in airtight containers at room temperature for extended periods, as this traps moisture and quickly makes the crust soft and chewy. Instead, store them loosely covered in paper bags or on a wire rack at room temperature for a few hours. For longer storage (beyond a day), it's best to freeze them once completely cool. Wrap them individually in plastic wrap and then place them in a freezer bag or airtight container. Freezing preserves their quality much better than refrigeration, which can actually stale the dough faster.
Reheating Techniques to Restore Crispiness
The good news is that you can often revive the crispy exterior of viennoiseries that have softened. The key is to briefly reheat them in a dry oven. Avoid using a microwave, which will only make them rubbery.
Preheat your oven or toaster oven to a moderate temperature, around 300-350°F (150-175°C). Place the viennoiseries directly on the oven rack or on a baking sheet and heat for 5-10 minutes. The heat will evaporate trapped moisture in the crust, restoring some of that desirable crispness. Keep a close eye on them to prevent burning. Frozen viennoiseries can be reheated directly from the freezer; simply add a few extra minutes to the reheating time. This reheating method is one of the most effective crispy viennoiseries baking tips for enjoying leftovers.
Conclusion: Mastering Crispy Viennoiseries.
Achieving that coveted crispy exterior on your viennoiseries is a rewarding goal that elevates your baking from good to exceptional. It's a journey that involves understanding the science of ingredients, mastering the precise techniques of lamination and proofing, and controlling the baking process. From selecting the right flour and butter to ensuring proper chilling and applying the correct oven temperatures, each step plays a vital role in developing those hundreds of delicate, flaky layers that contribute to the ultimate crispness.
While challenges like soggy bottoms or uneven baking can arise, armed with the right knowledge and these targeted baking tips, you can troubleshoot common issues and move towards consistent success. Practicing techniques like using a baking stone, understanding the impact of egg wash, and even trying a cold shock can further refine your results. With patience and attention to detail, you'll soon be enjoying perfectly crispy viennoiseries fresh from your own oven, a testament to your growing baking mastery.
Frequently Asked Questions
How can I achieve that perfect crispy exterior on my viennoiseries?
The key is all about oven temperature and steam. A hot oven, initially around 400-425°F (200-220°C), helps create that initial crispness. Then using steam in the first part of the baking process is crucial for a light and airy crumb.
What type of fat works best for maximizing the crispness of viennoiseries?
High-quality European-style butter with a high fat content (at least 82%) is highly recommended. The higher fat content creates more steam during baking, leading to a flakier, crispier crust.
Is there a specific technique for glazing viennoiseries to enhance their crispiness?
An egg wash, applied carefully before baking, adds shine and helps with browning. Avoid getting egg wash on the cut edges of laminated dough, as it can prevent proper layering and crispness.
How does proofing time affect the final crispiness of viennoiseries?
Over-proofing can lead to a collapse in the oven, resulting in a softer, less crisp exterior. Aim for a sufficient but not excessive proof, allowing the dough to rise but still retain structure.
What role does oven placement play in achieving a crispy viennoiserie?
Place your viennoiseries on the middle rack of your oven for even heat distribution. This ensures that the tops and bottoms brown evenly, contributing to an all-over crispy texture.
Final Reflection: The Golden Crust: A Journey to Viennoiserie Perfection
The pursuit of the perfect, shatteringly crisp exterior on viennoiseries remains a holy grail for bakers worldwide, a testament to the delicate balance between technique and understanding. This quest, far from being a mere aesthetic pursuit, speaks to a deeper appreciation for the artistry and science behind baking. The crispness itself isn't just a textural delight; it's a sign of mastery, a visible indicator of perfectly controlled fermentation, lamination, and baking.
The impact of achieving that ideal crust extends beyond the individual baker's satisfaction. It's a tangible representation of tradition, a connection to generations of bakers who have refined these techniques over centuries. The best things in life are simple, but not easy.
This quote perfectly encapsulates the challenge and reward of crafting truly exceptional viennoiseries. The pursuit of this seemingly small detail – a crisp crust – elevates the entire baking experience, transforming a simple pastry into a work of art. It's a journey of continuous learning, pushing boundaries, and celebrating the small victories along the way.
Now, I invite you to reflect on your own baking journey. Consider the techniques discussed in this article – the importance of steam, the precise control of oven temperature, the subtle nuances of dough hydration. Don't be afraid to experiment, to push your own boundaries, and to strive for that elusive, perfect crisp. Each attempt, each slightly improved result, brings you closer to mastering the art of viennoiserie baking. Embrace the challenge, and the reward of a perfectly crisp crust will be yours.
Unlock Your Viennoiserie's Golden Crust!
Thanks for joining us on this buttery journey into achieving the perfect viennoiserie crust! You've learned valuable techniques to elevate your baking game. Now it's time to put your newfound knowledge into practice.
- Bake your dream viennoiserie today! Use what you've learned to create your favorite pastry – the golden-brown crust will be your reward.
- Share your baking success! Post a picture of your masterpiece on social media and tag us – we’d love to see your results!
- Explore our other baking guides for more tips and tricks to perfect your craft.
Ready to transform your baking? What’s your next viennoiserie challenge?